Announcement

Collapse
No announcement yet.

1991 Mini - Project Trig

Collapse
X
 
  • Filter
  • Time
  • Show
Clear All
new posts

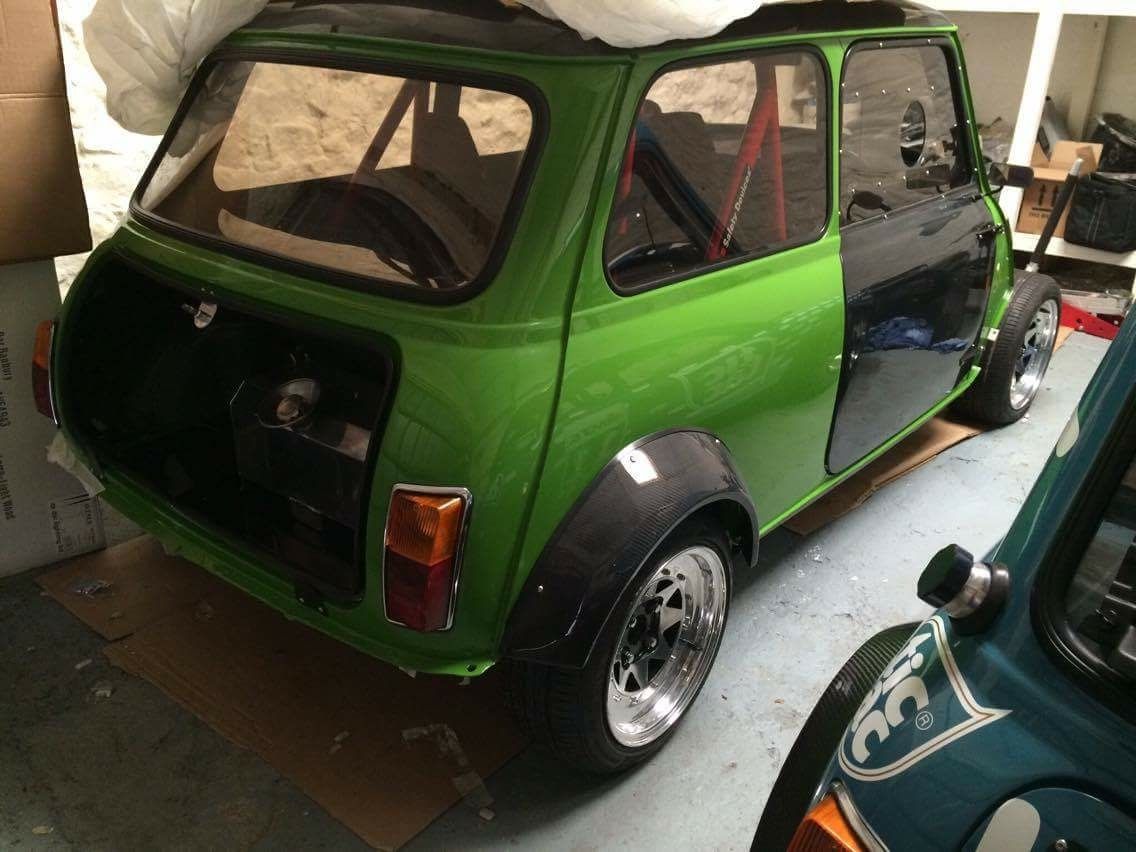
  • Well having just bought a house which we will hopefully be in by mid August, I can turn my efforts to getting this old thing back on the road for next years show season.

    Needs a few bits and pieces doing to get it to a standard I would like..... so commence my inner thoughts and dreams! Obviously not all of this will be done by next year buuuut its a plan of everything I wanted to do to it but couldn't during the rebuild. I just need to get it roadworthy again to be happy for next year.


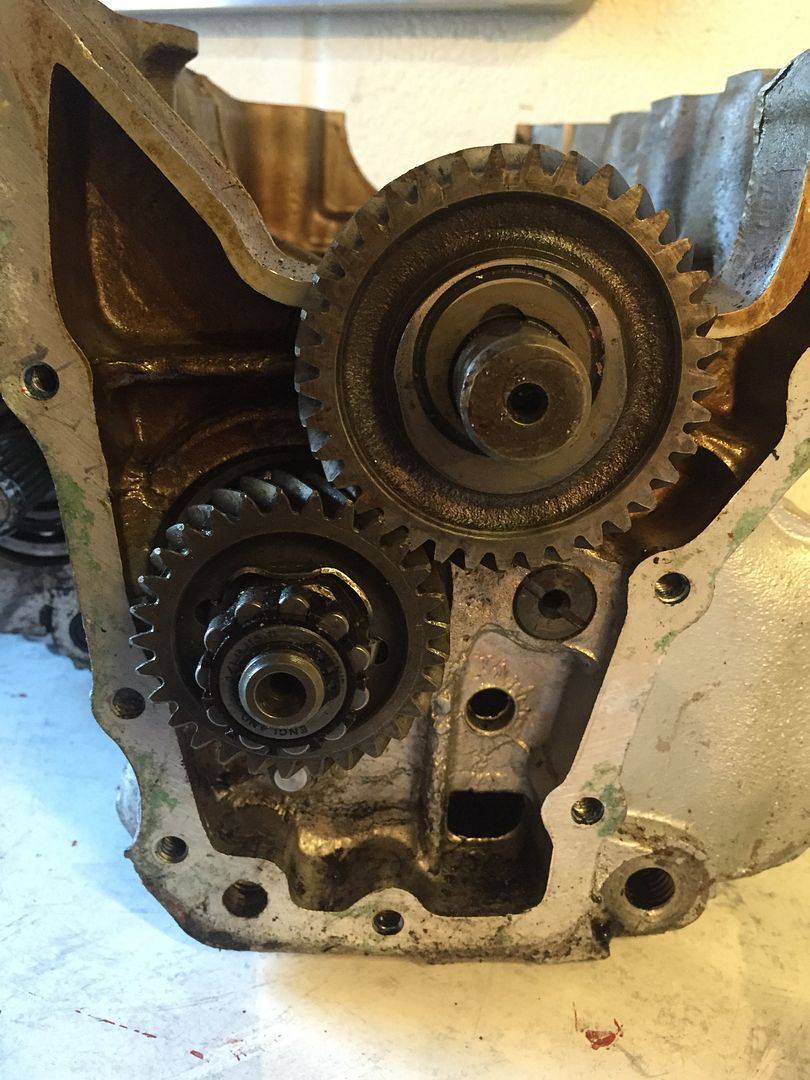
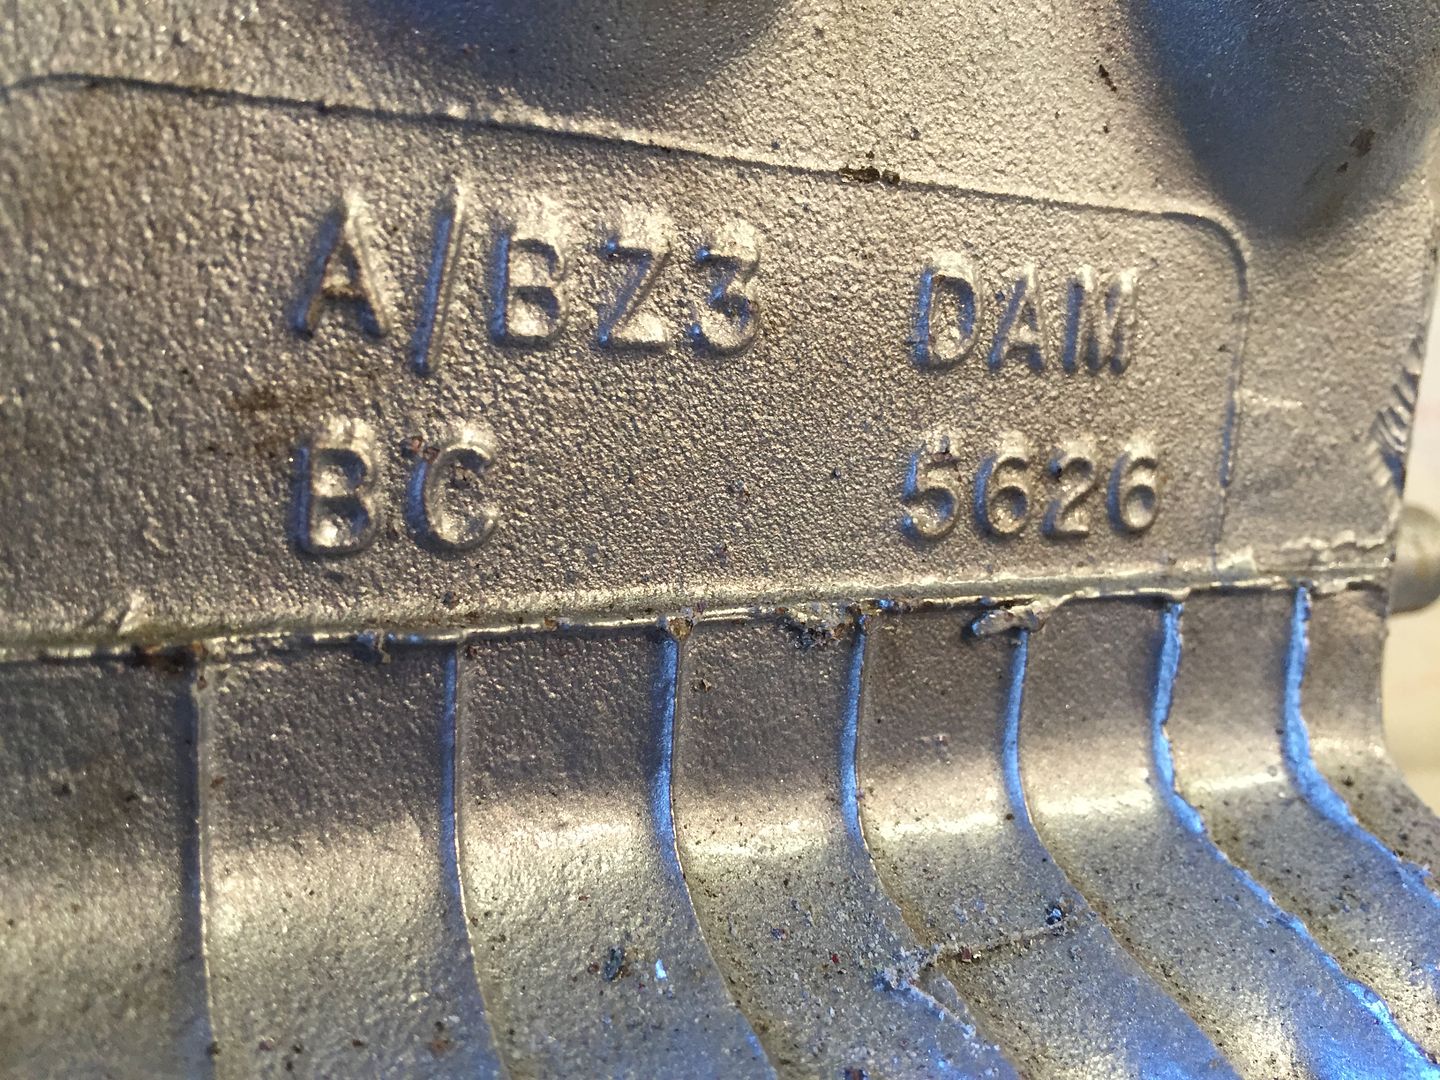
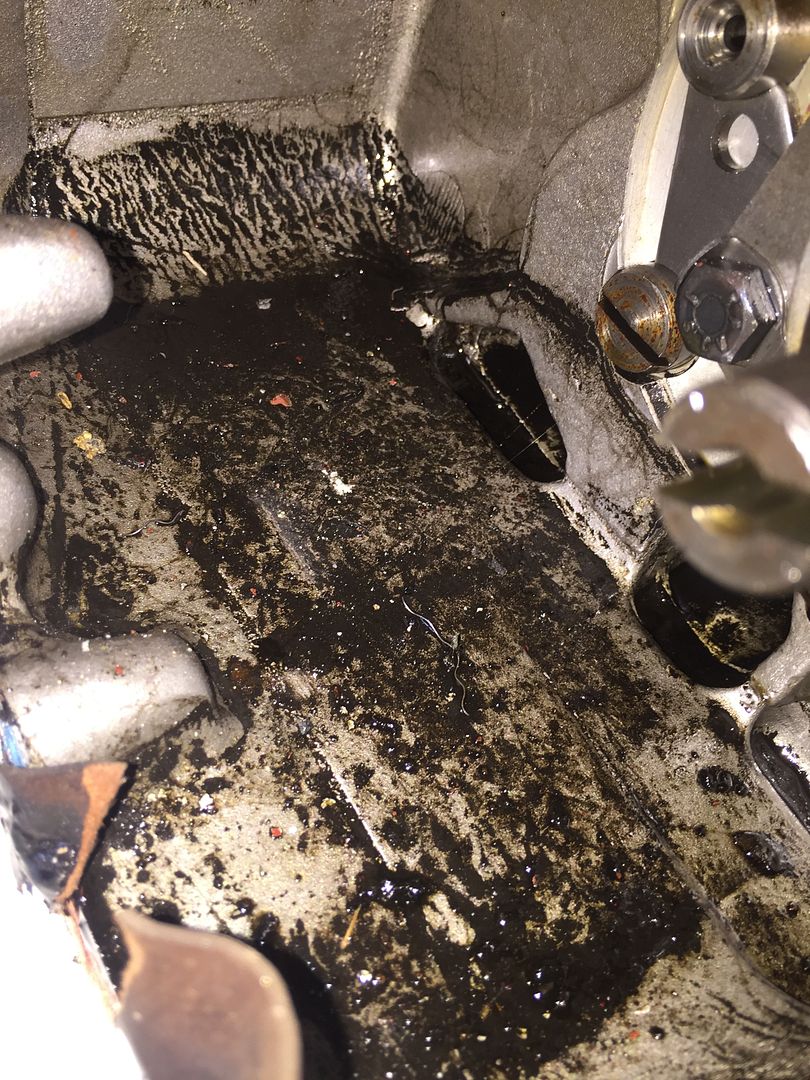
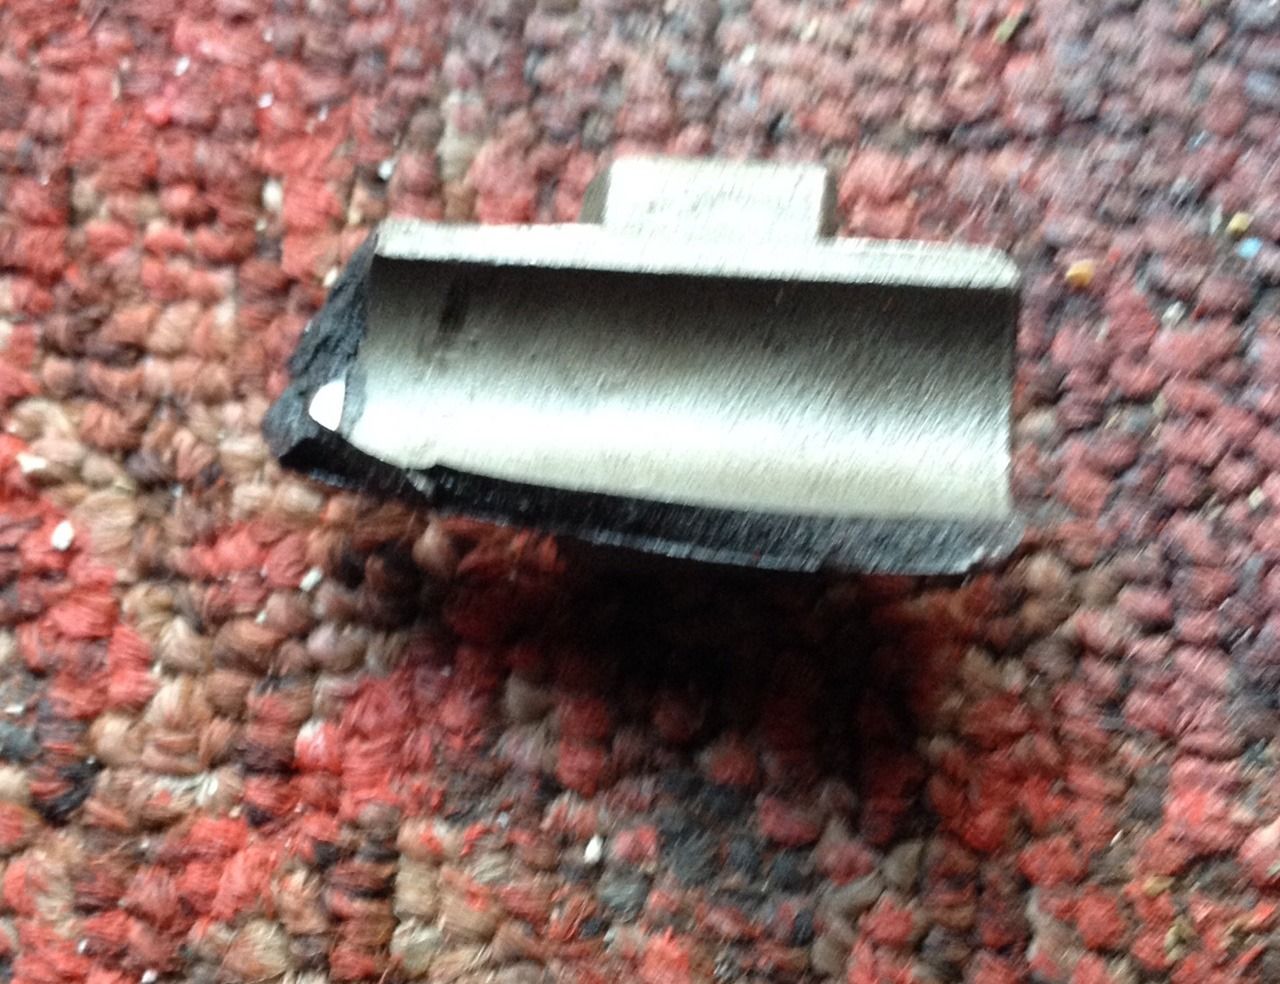
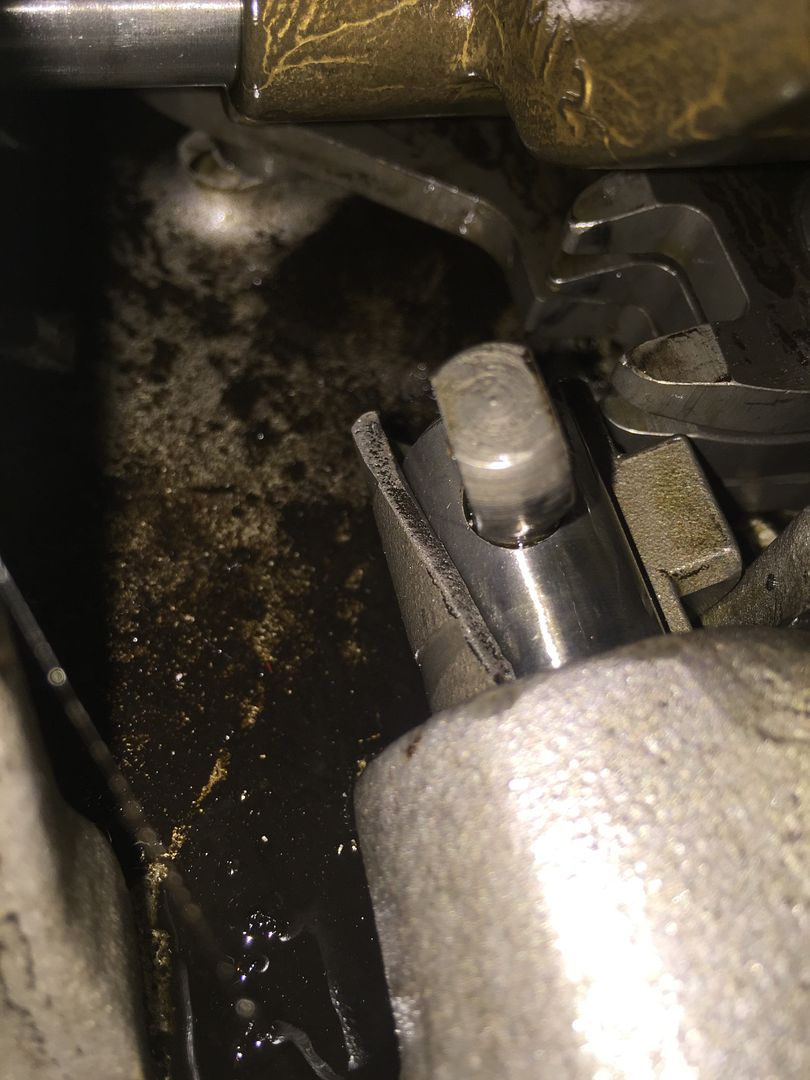
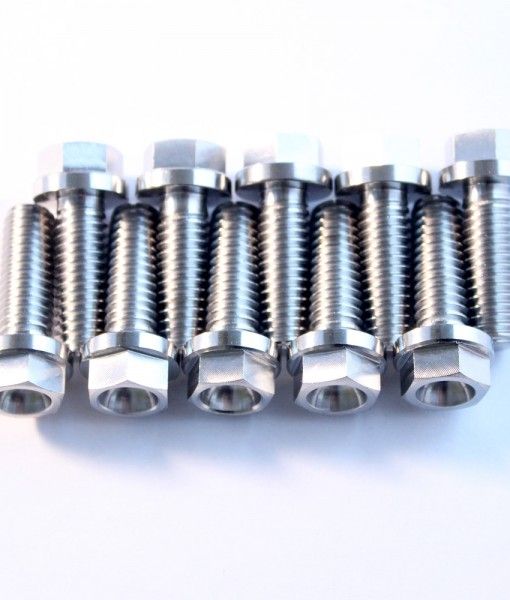
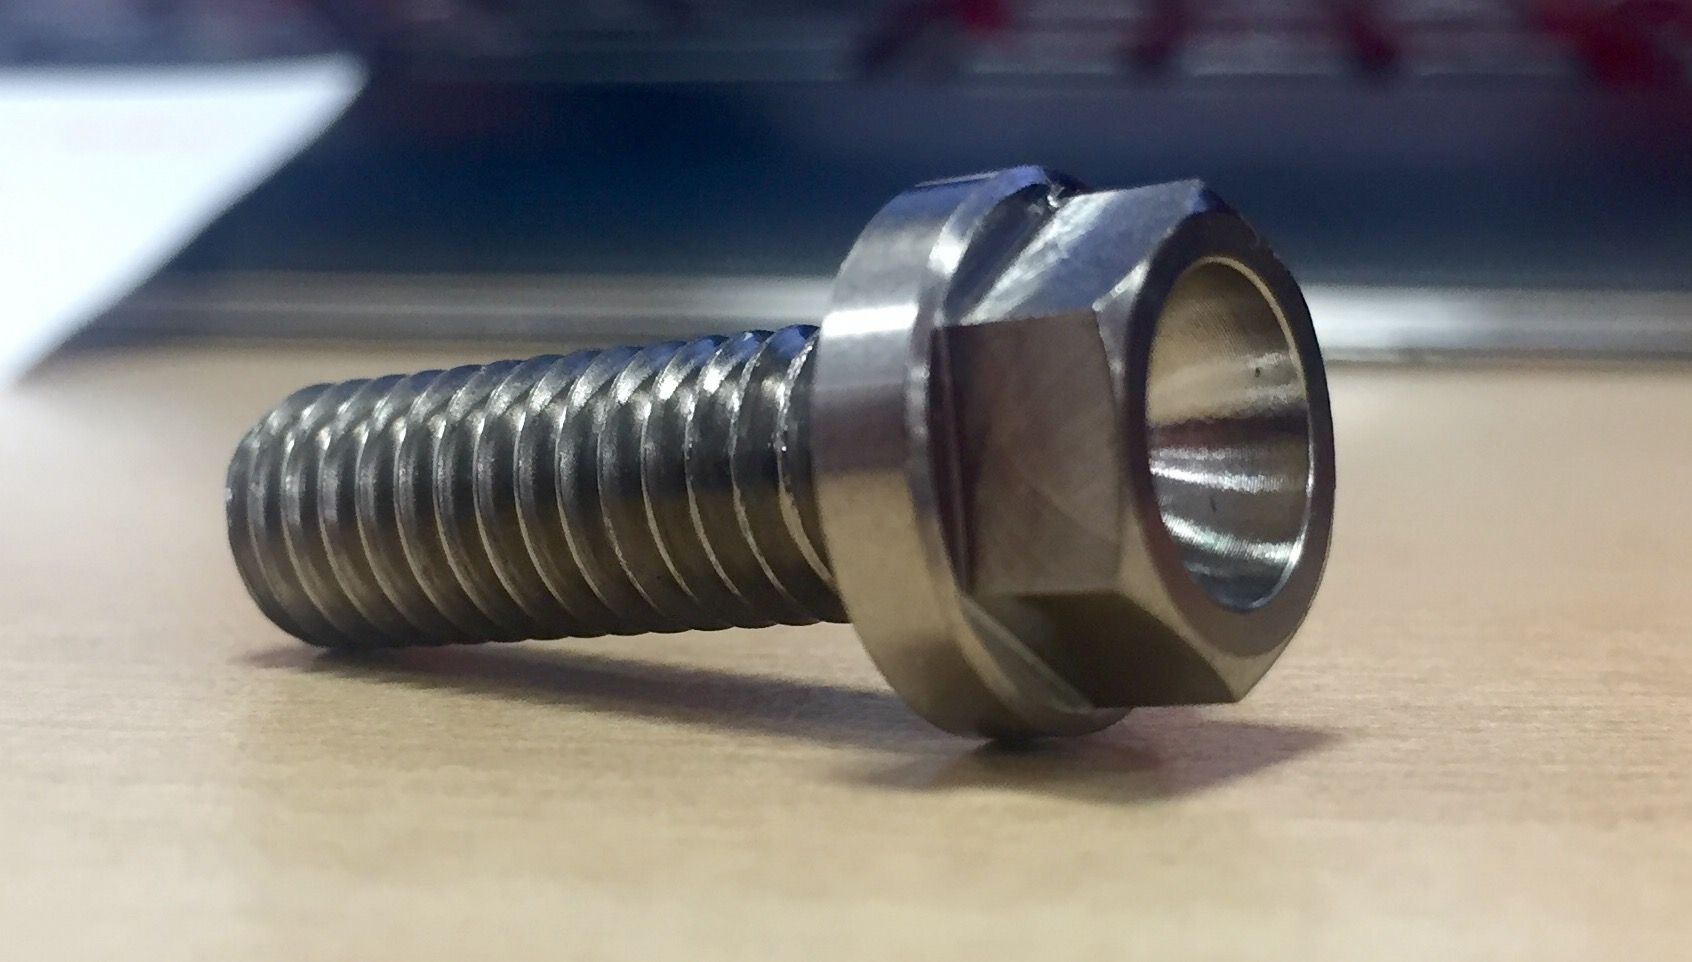
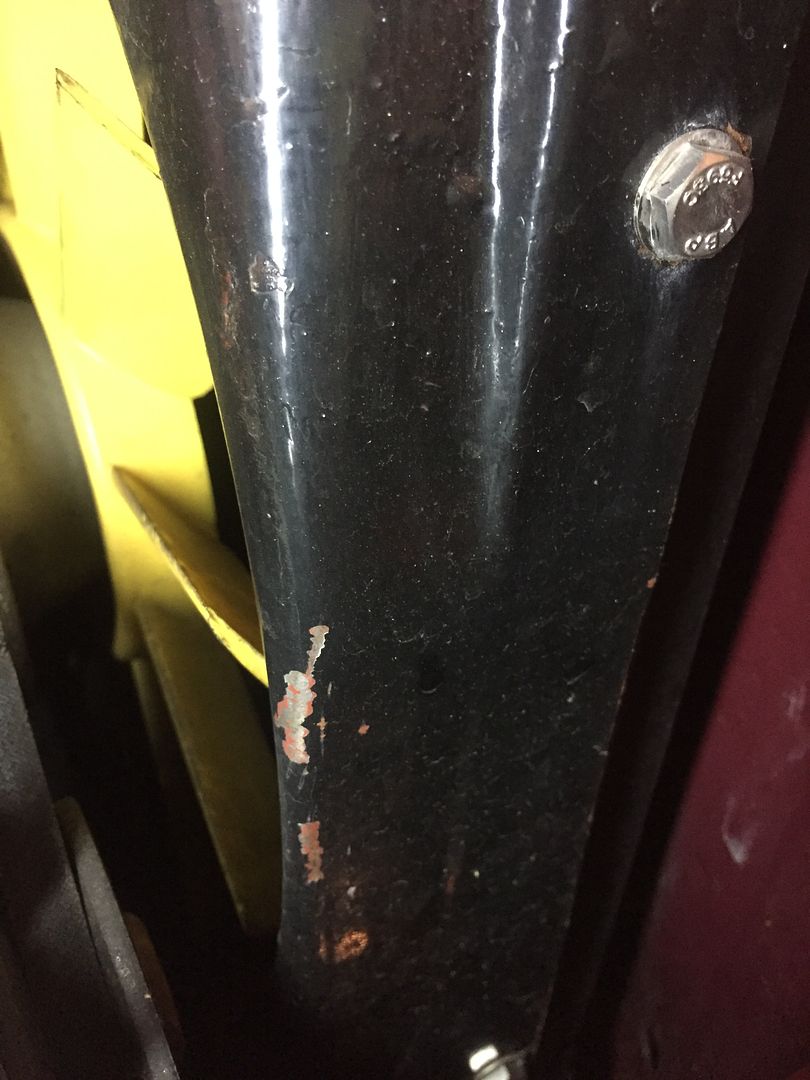
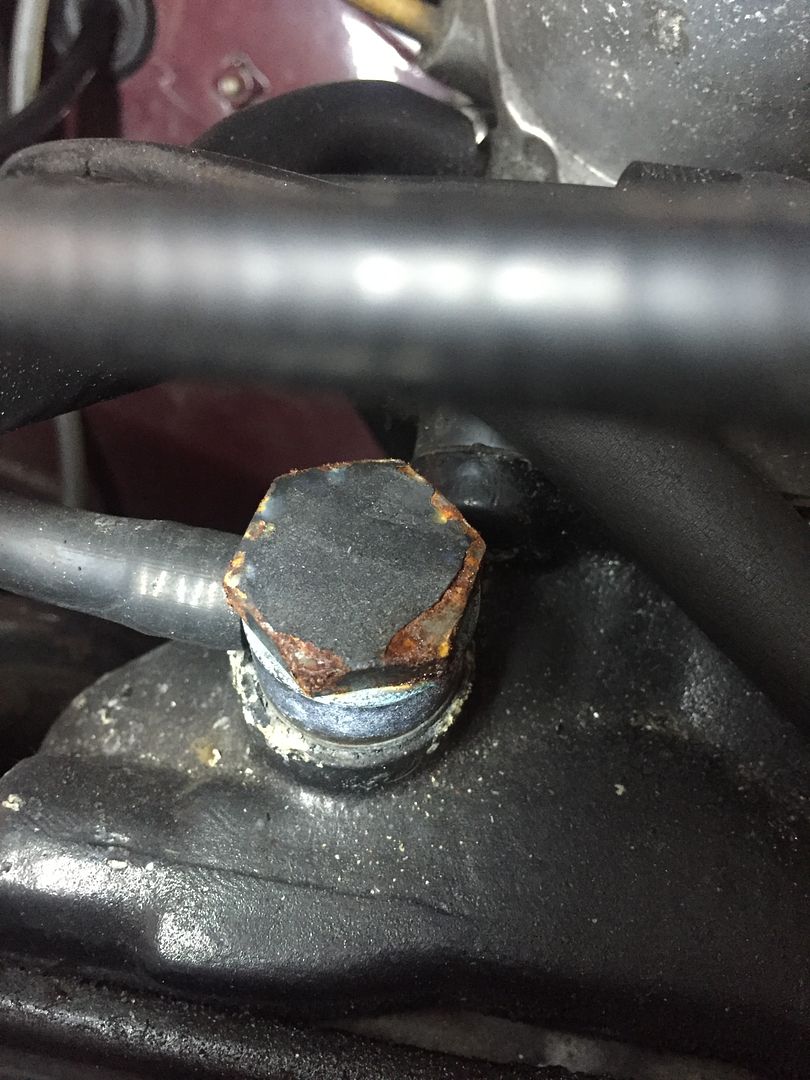
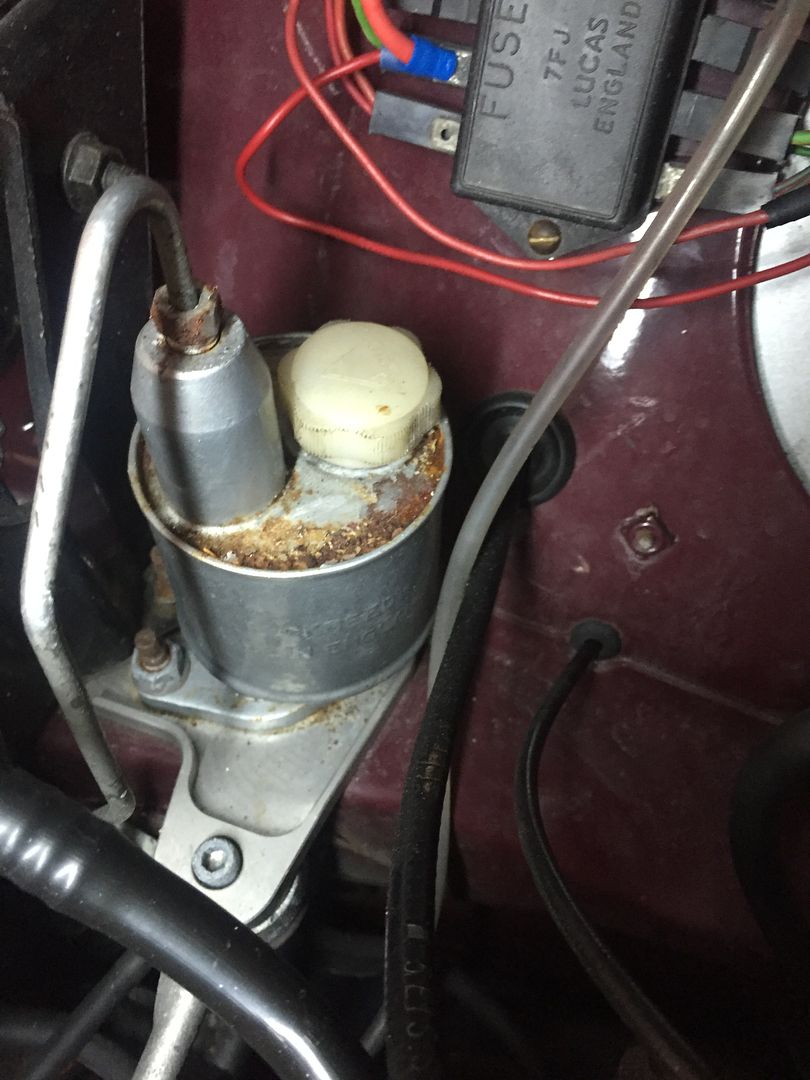
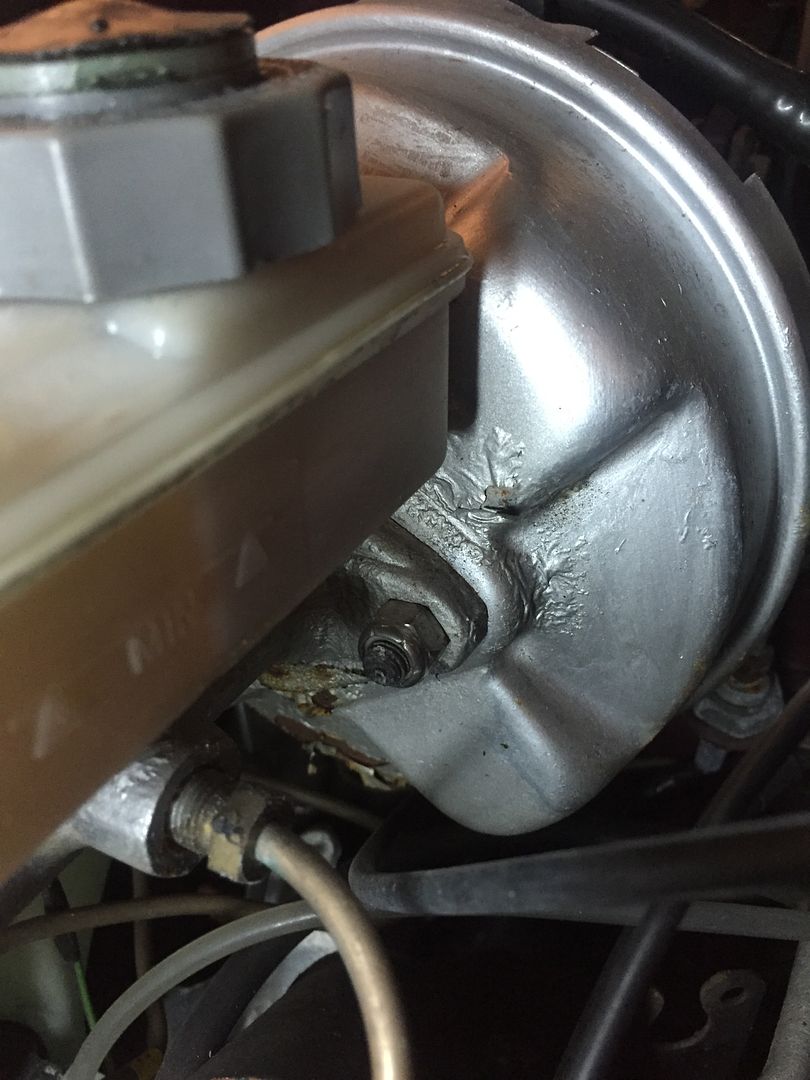
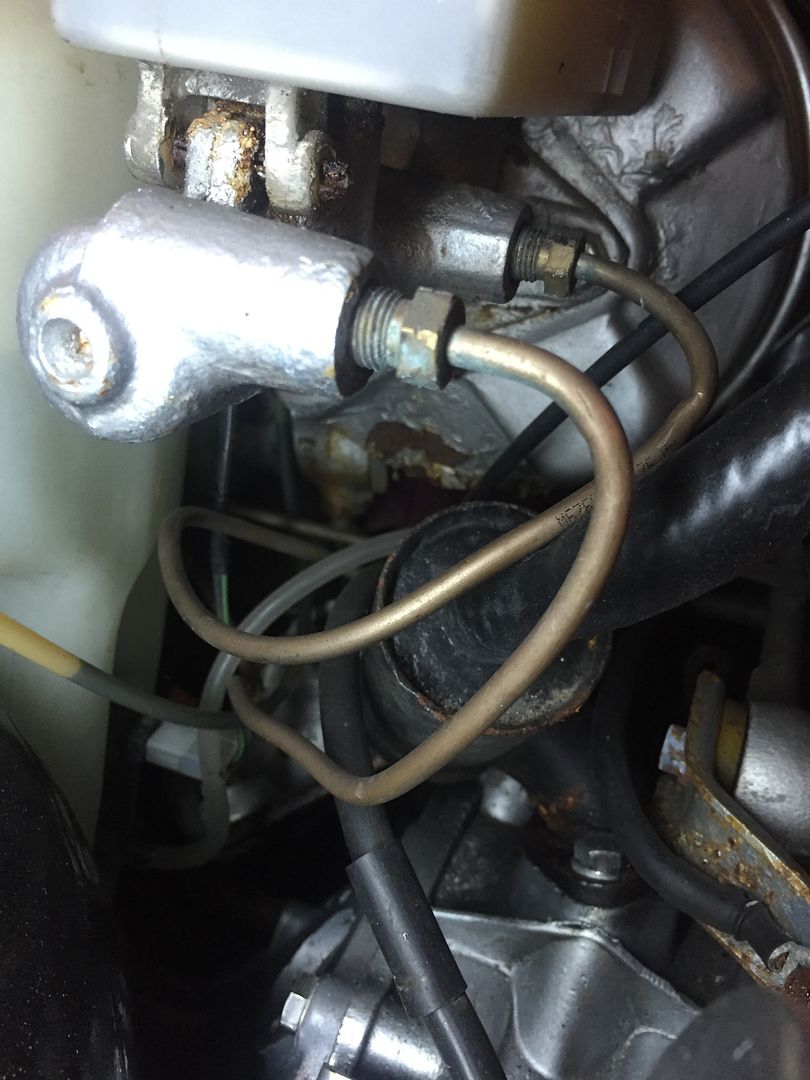
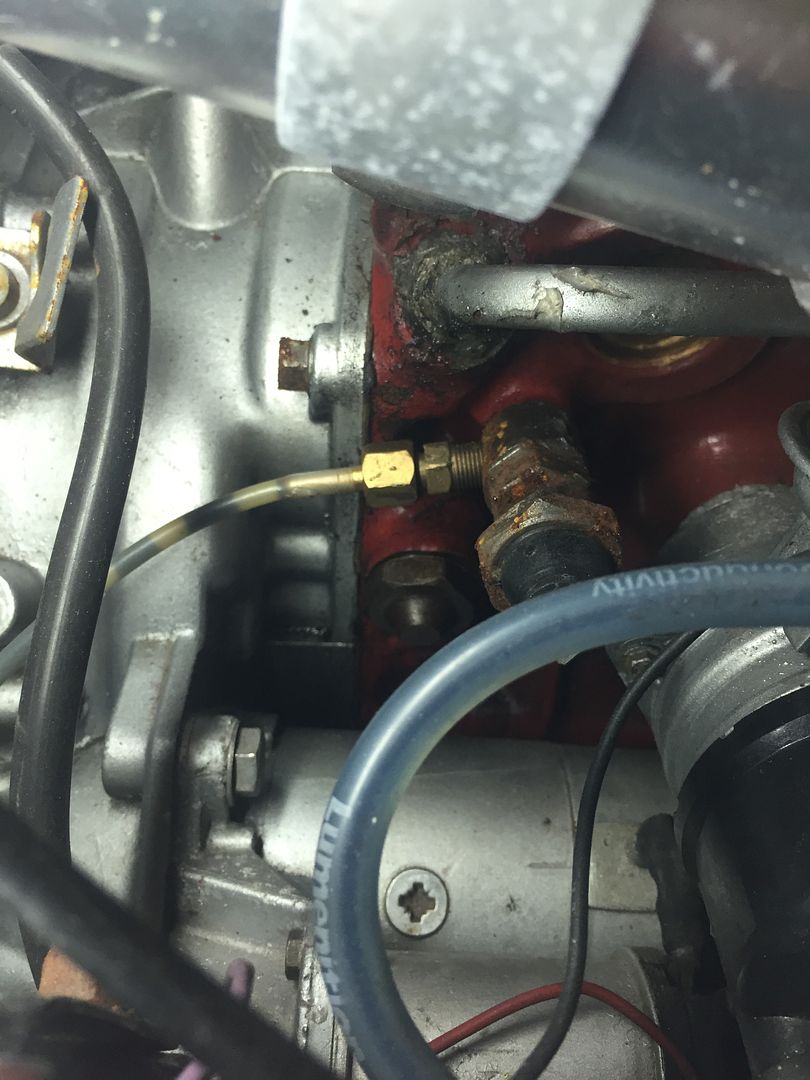
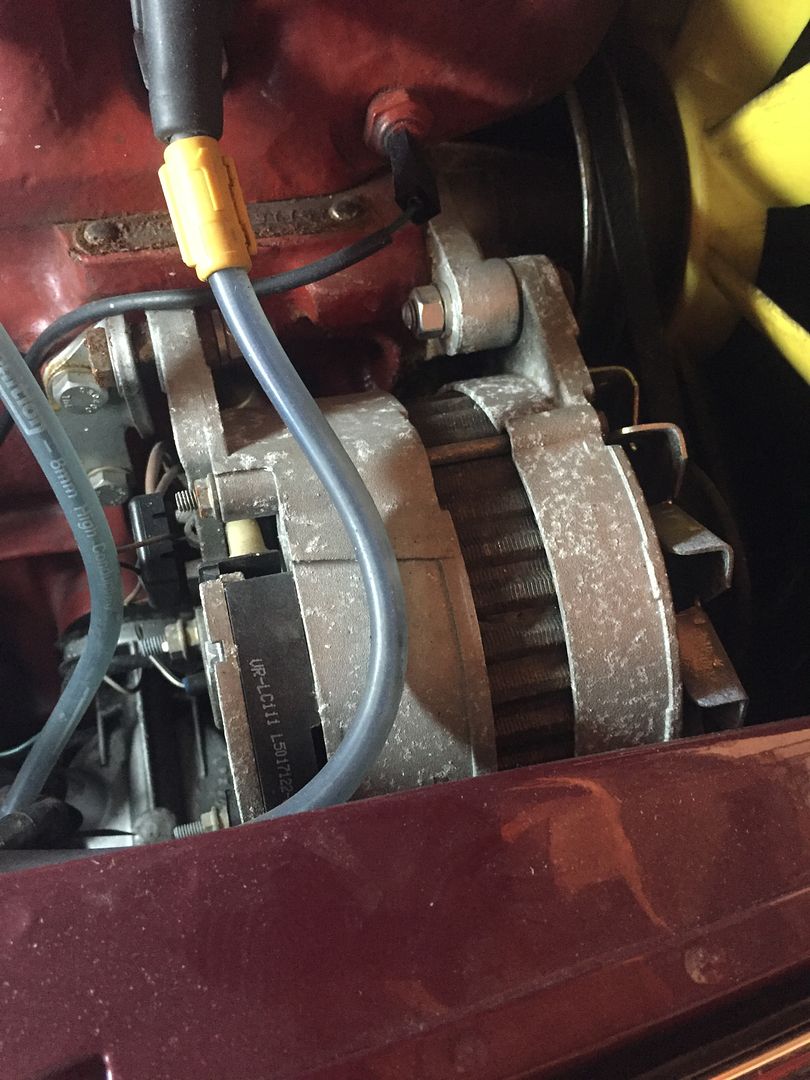
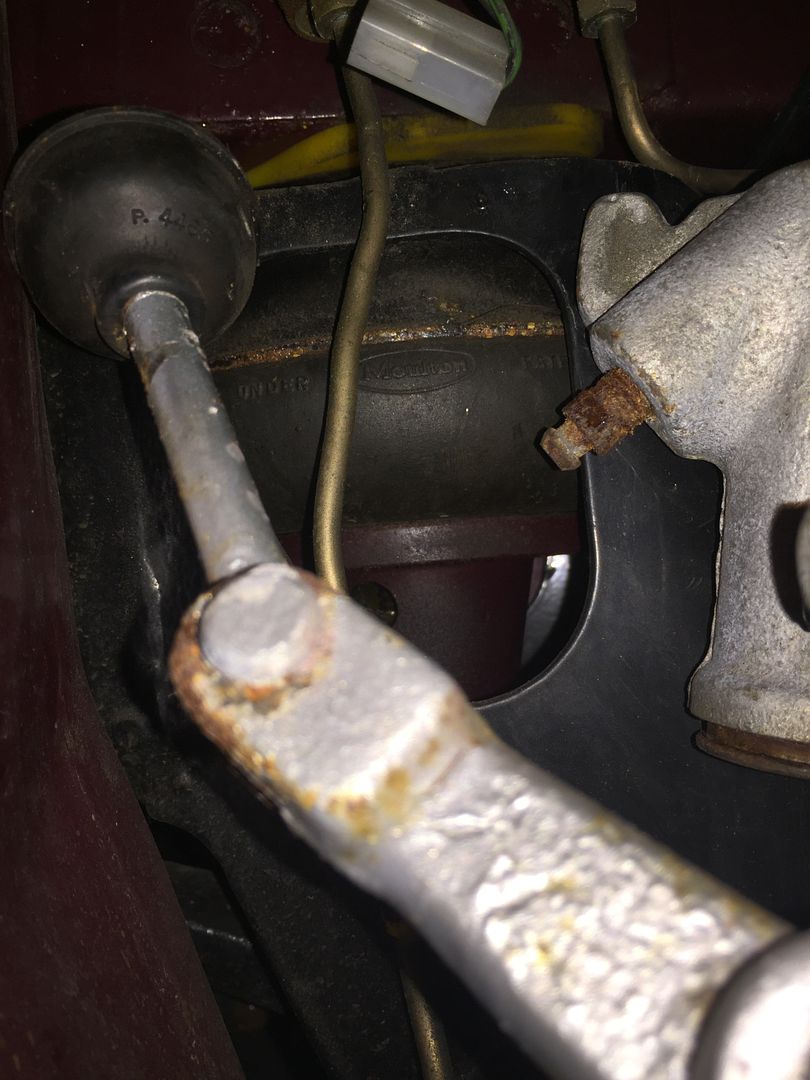
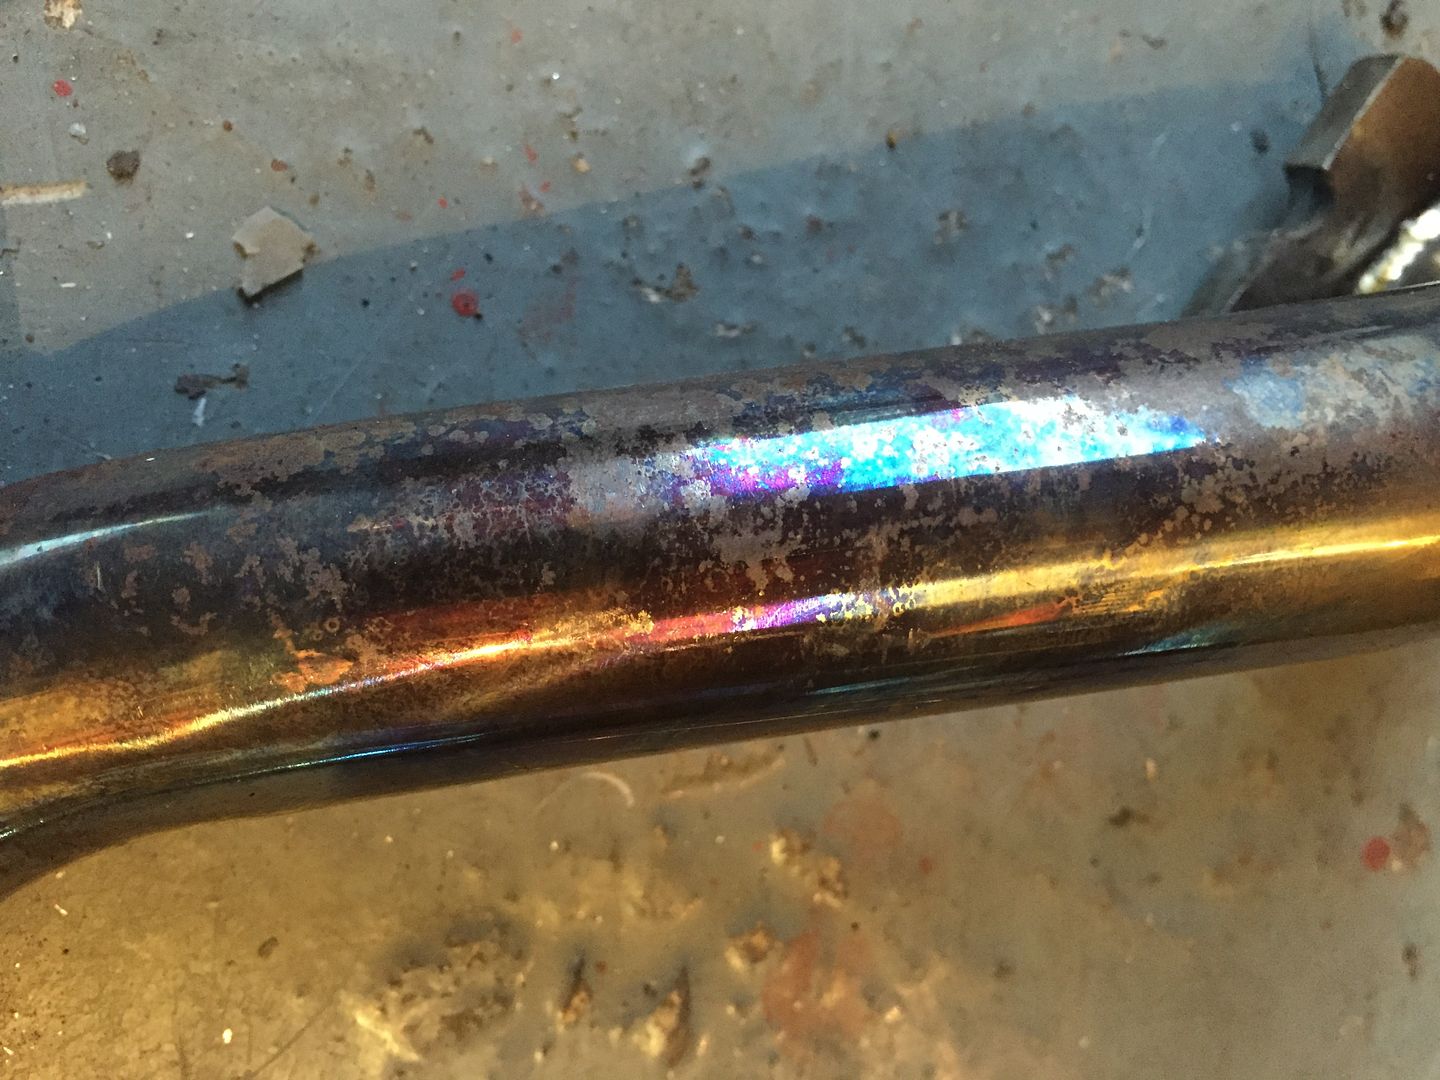
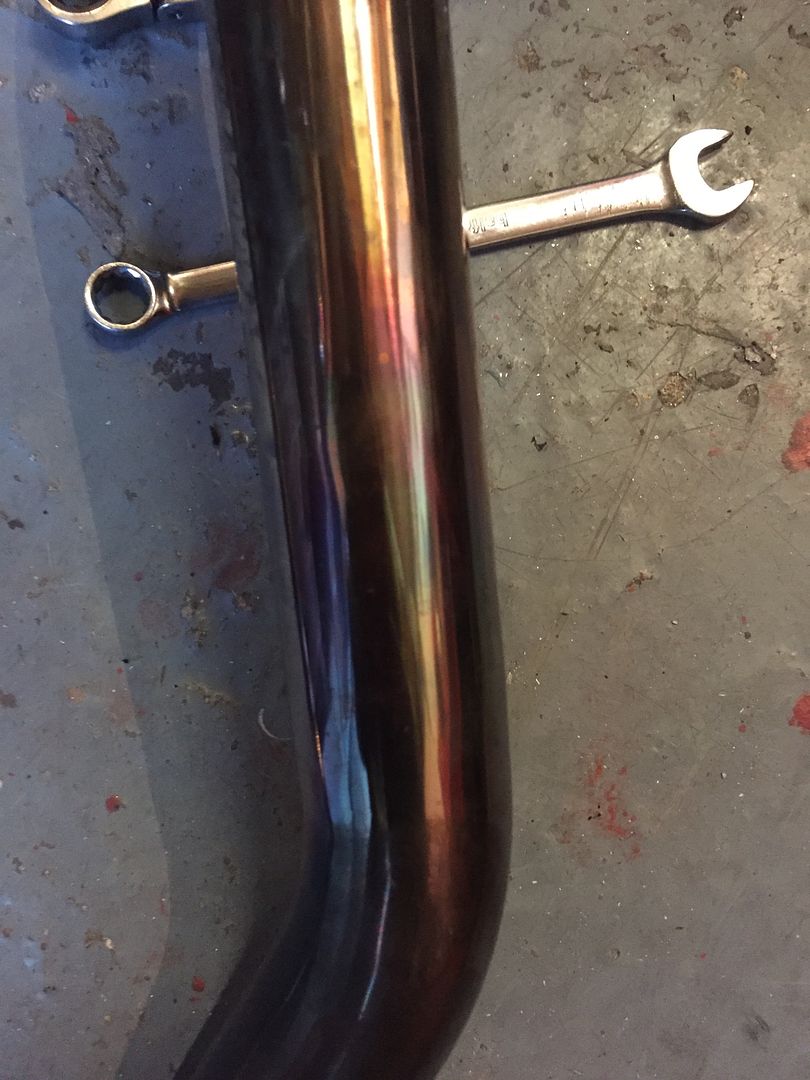
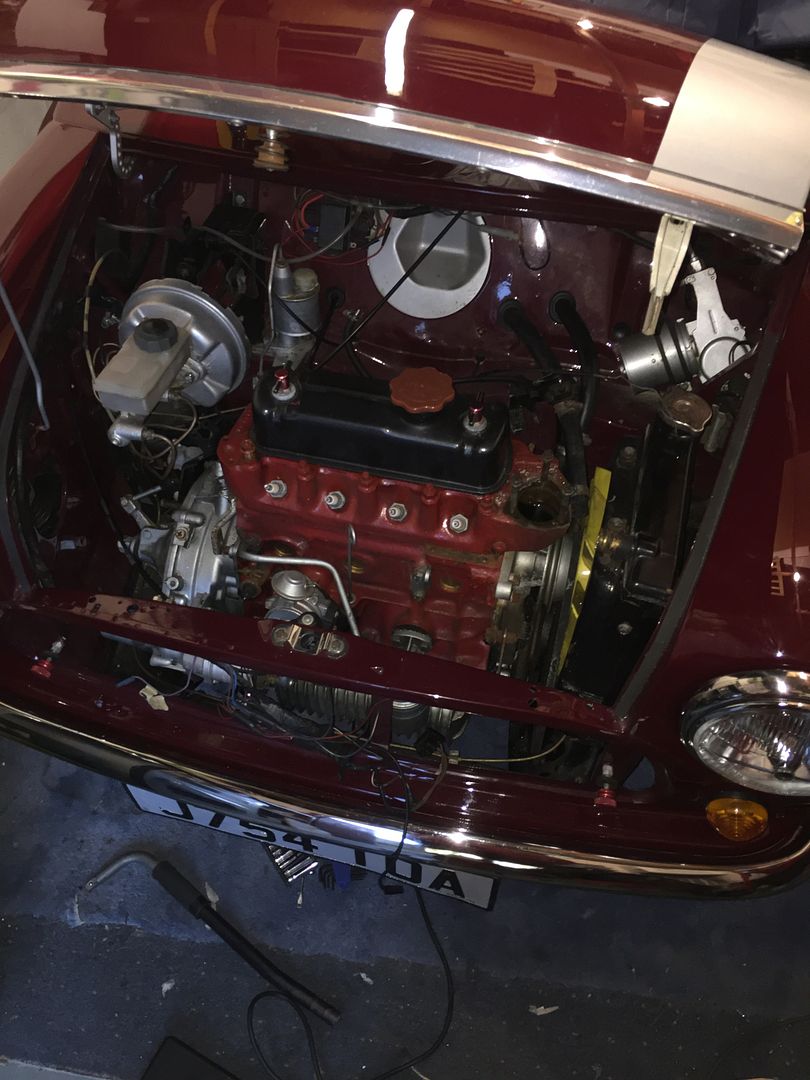
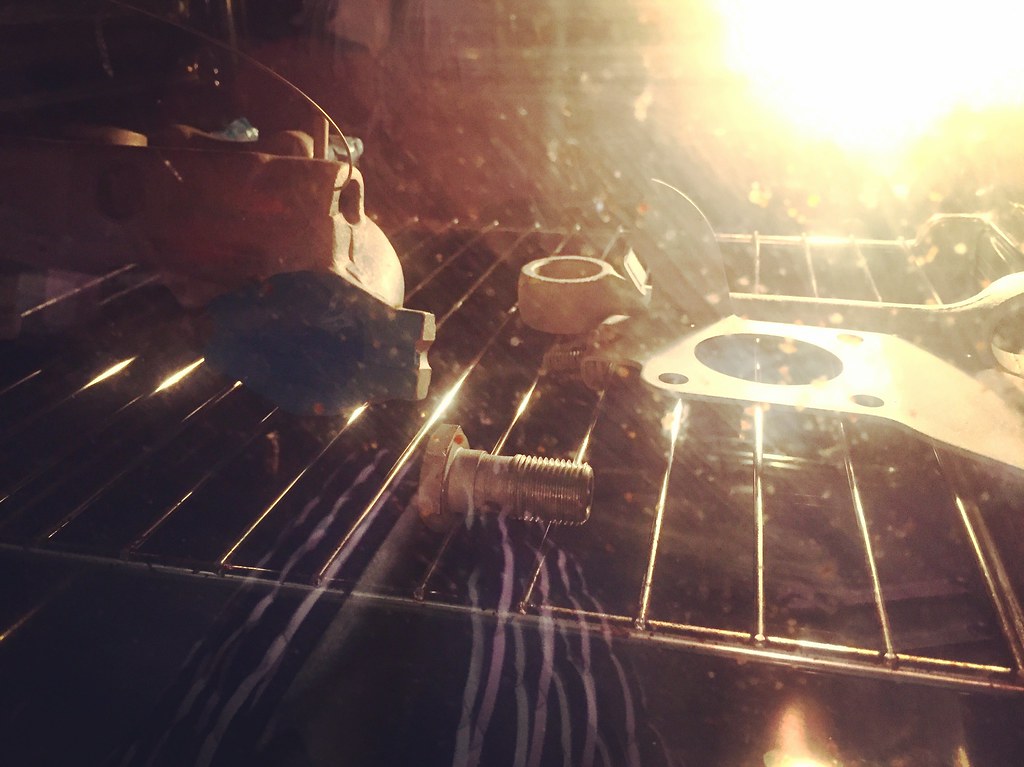
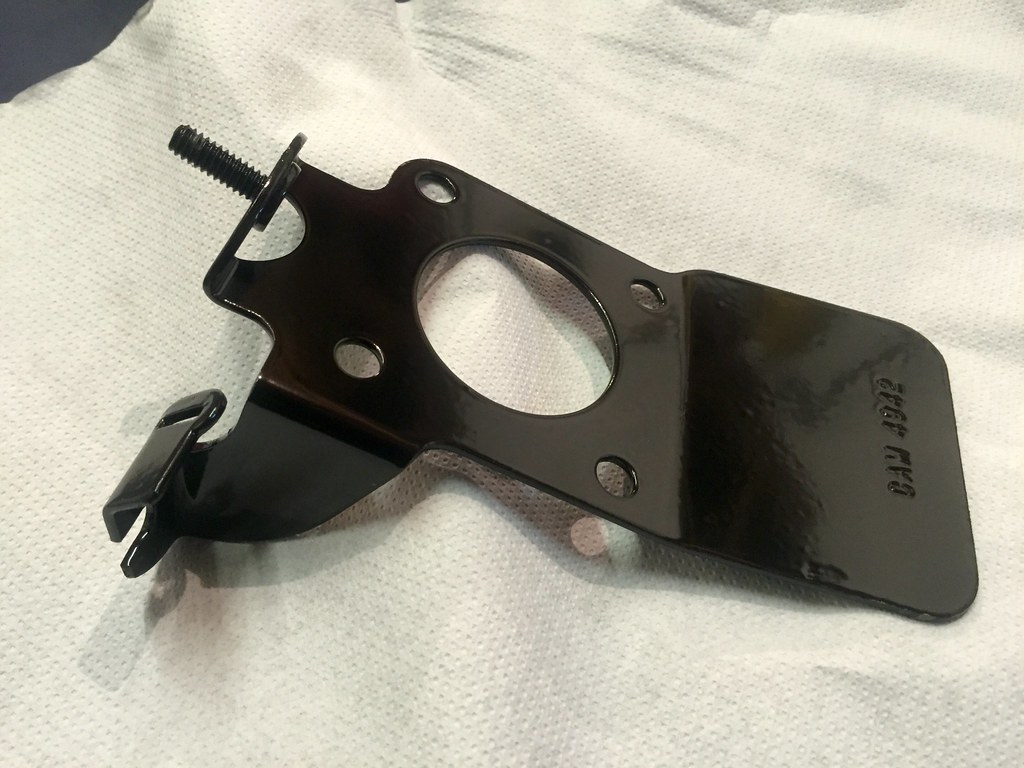
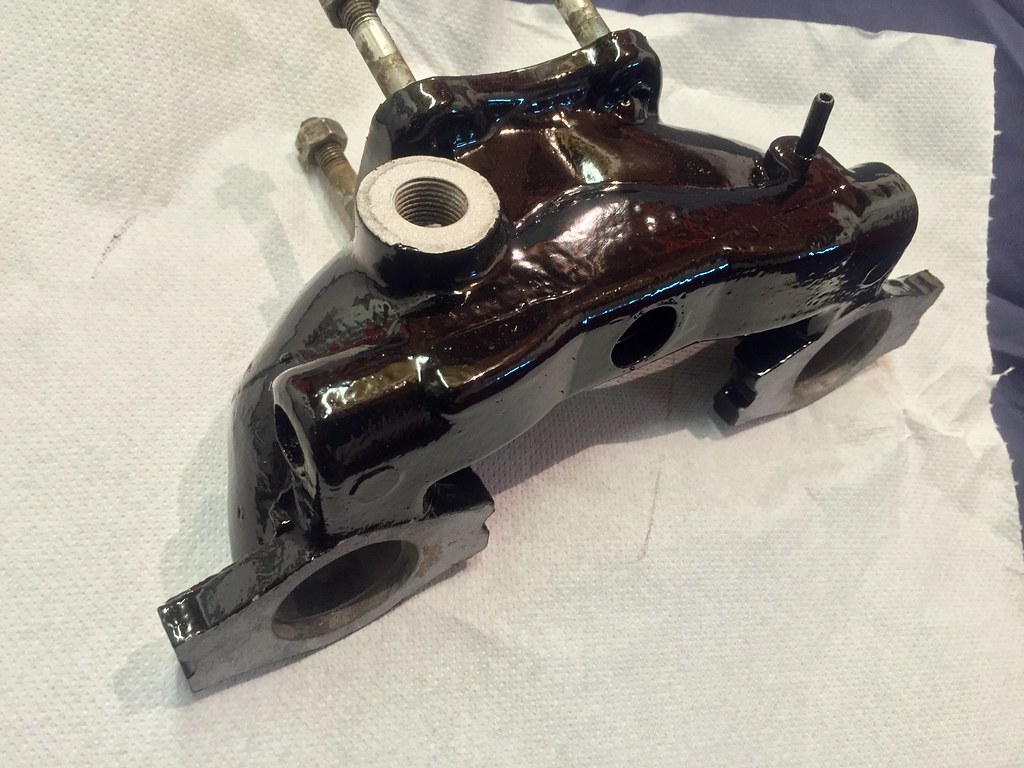
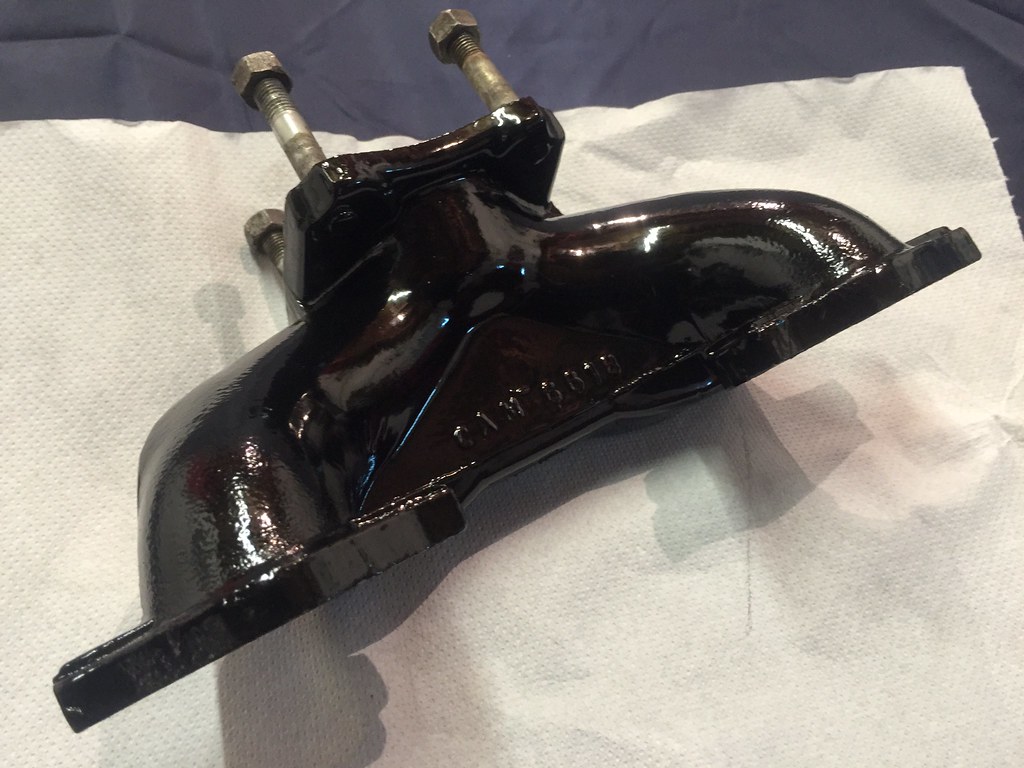
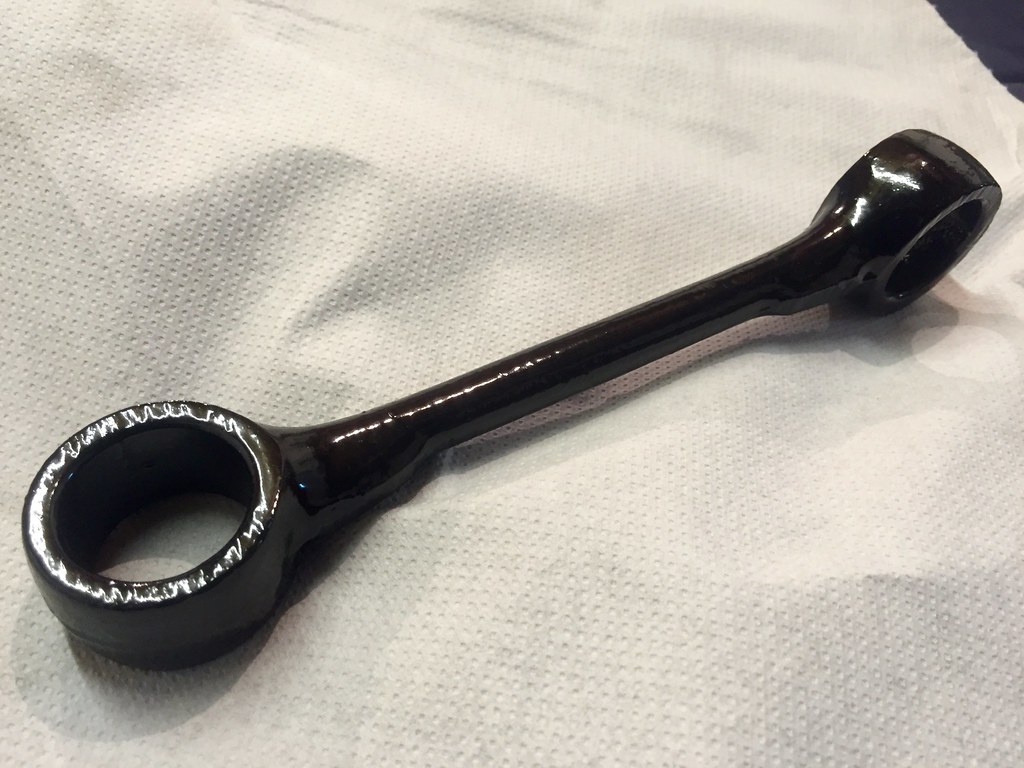
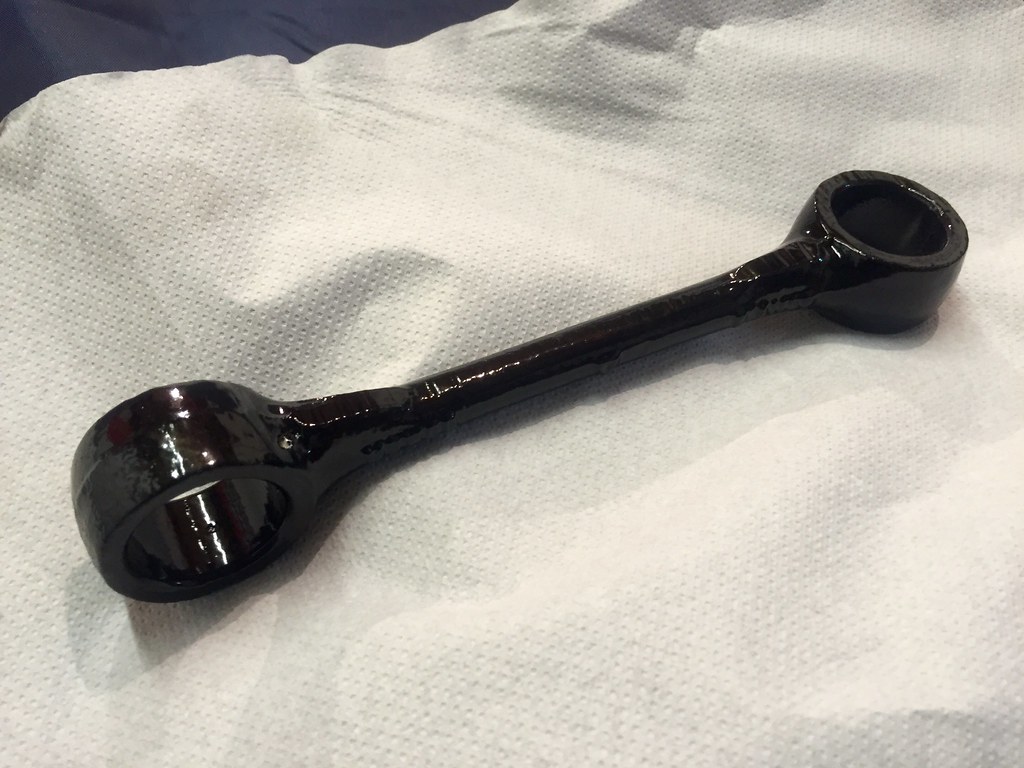
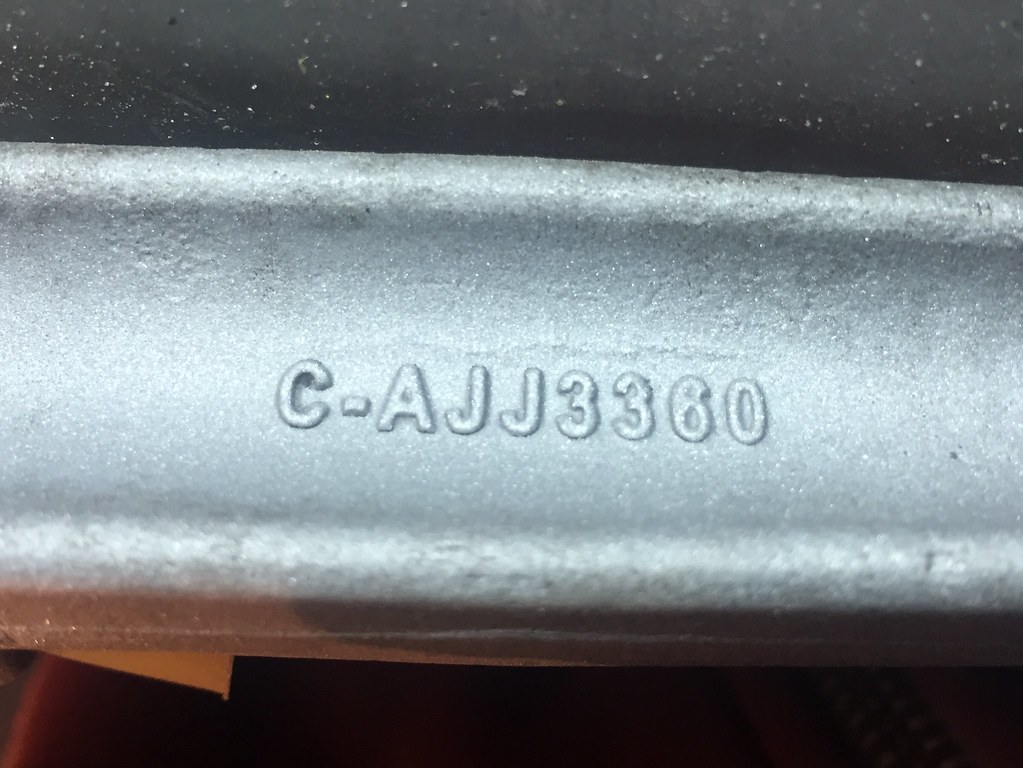
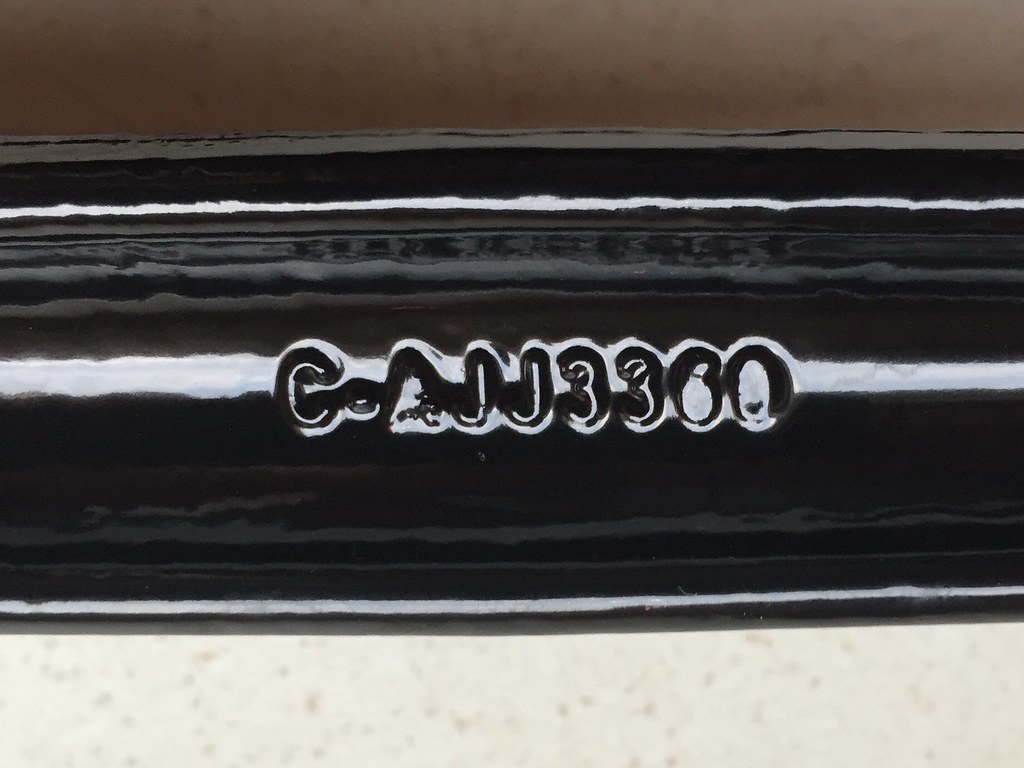
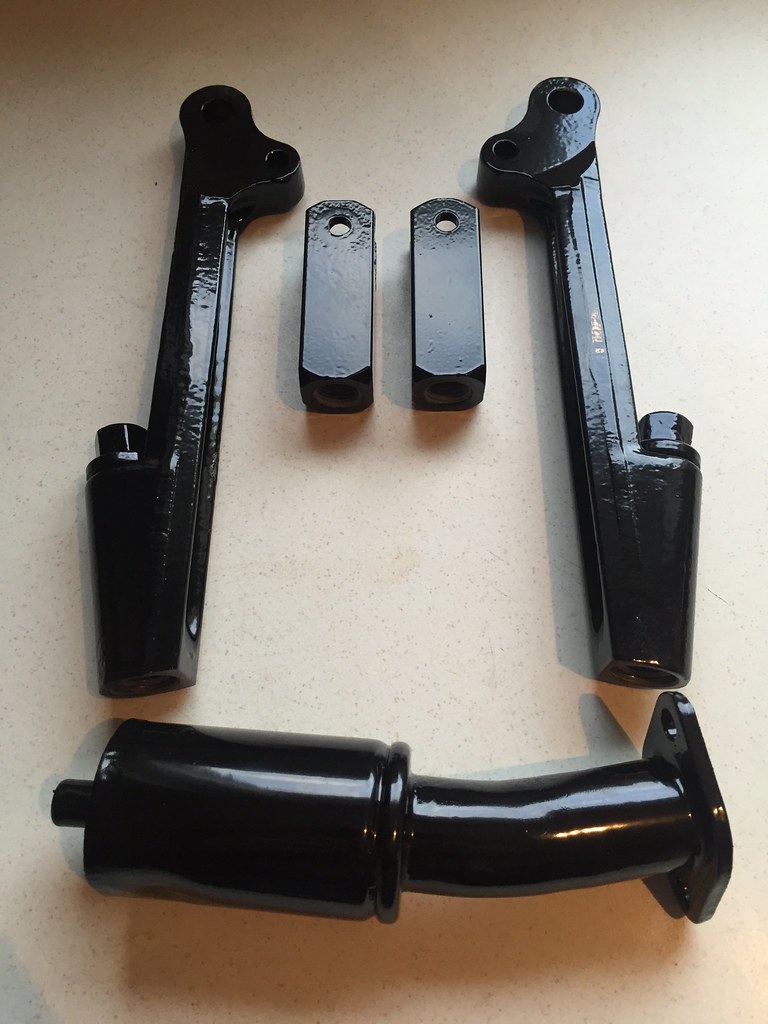
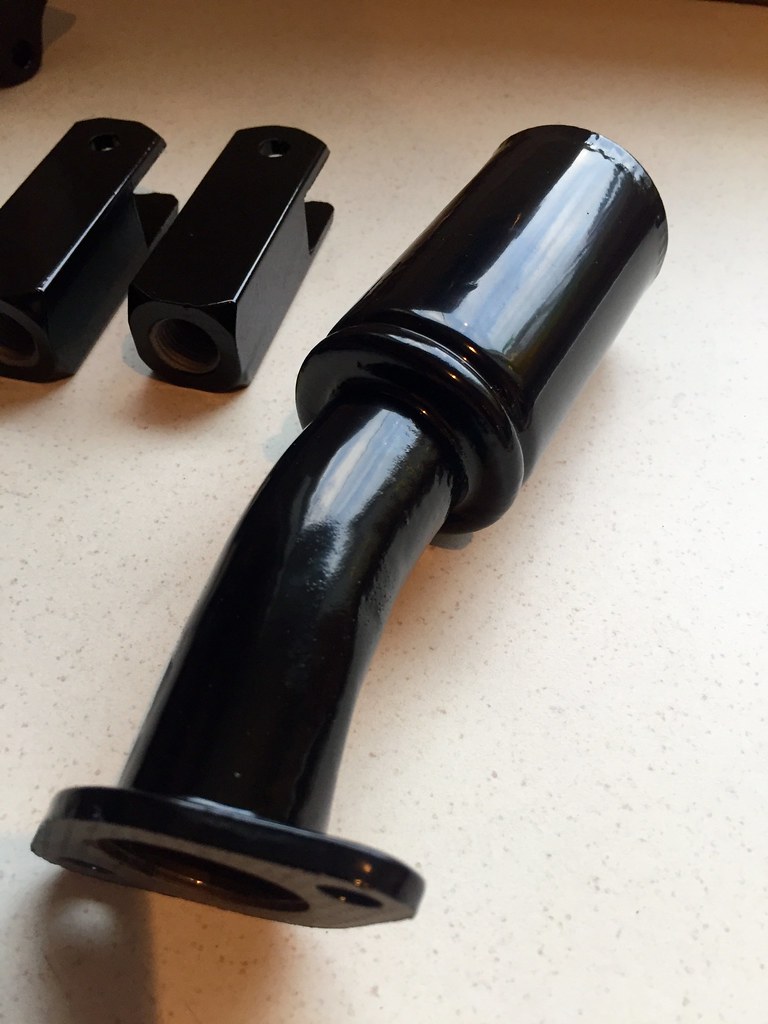
    Engine/engine bay - Its a mess. Wires all over, various little leaks have stained parts and peeled paint. I want to strip everything out again and powder coat all ancillaries and update a few bits things with DSN Retrospect billet alloy parts. Wanting Minivation hinges too for a vertical lift bonnet for easy access. Exhaust is leaking slightly between manifold and link pipe so that needs sorted too. Superchargers are also highly interesting things.....

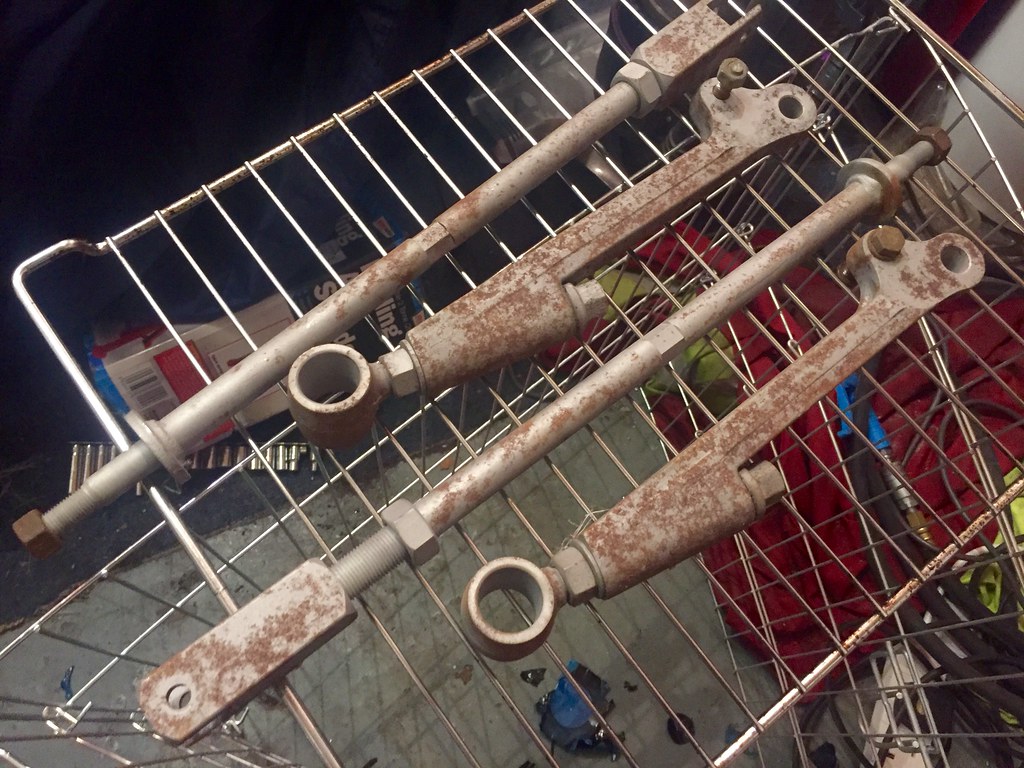
    Suspension - Its harsh as hell and twitchy. Thinking of saving for Protech dual-adjust coilovers having read incredible things about them (plus they look epic and are designed and built in the UK). Until I can afford them though, I think an update with fresh cones will suffice. The GAZ shocks are designed for the lowered height but they are harsh even at 3 clicks from full soft which is a tried and tested setup. Also needs a new rear radius arm and wheel bearings on the back too. Crap wheel alignment (won't name and shame...) meant they got destroyed on the IMM trip last year.

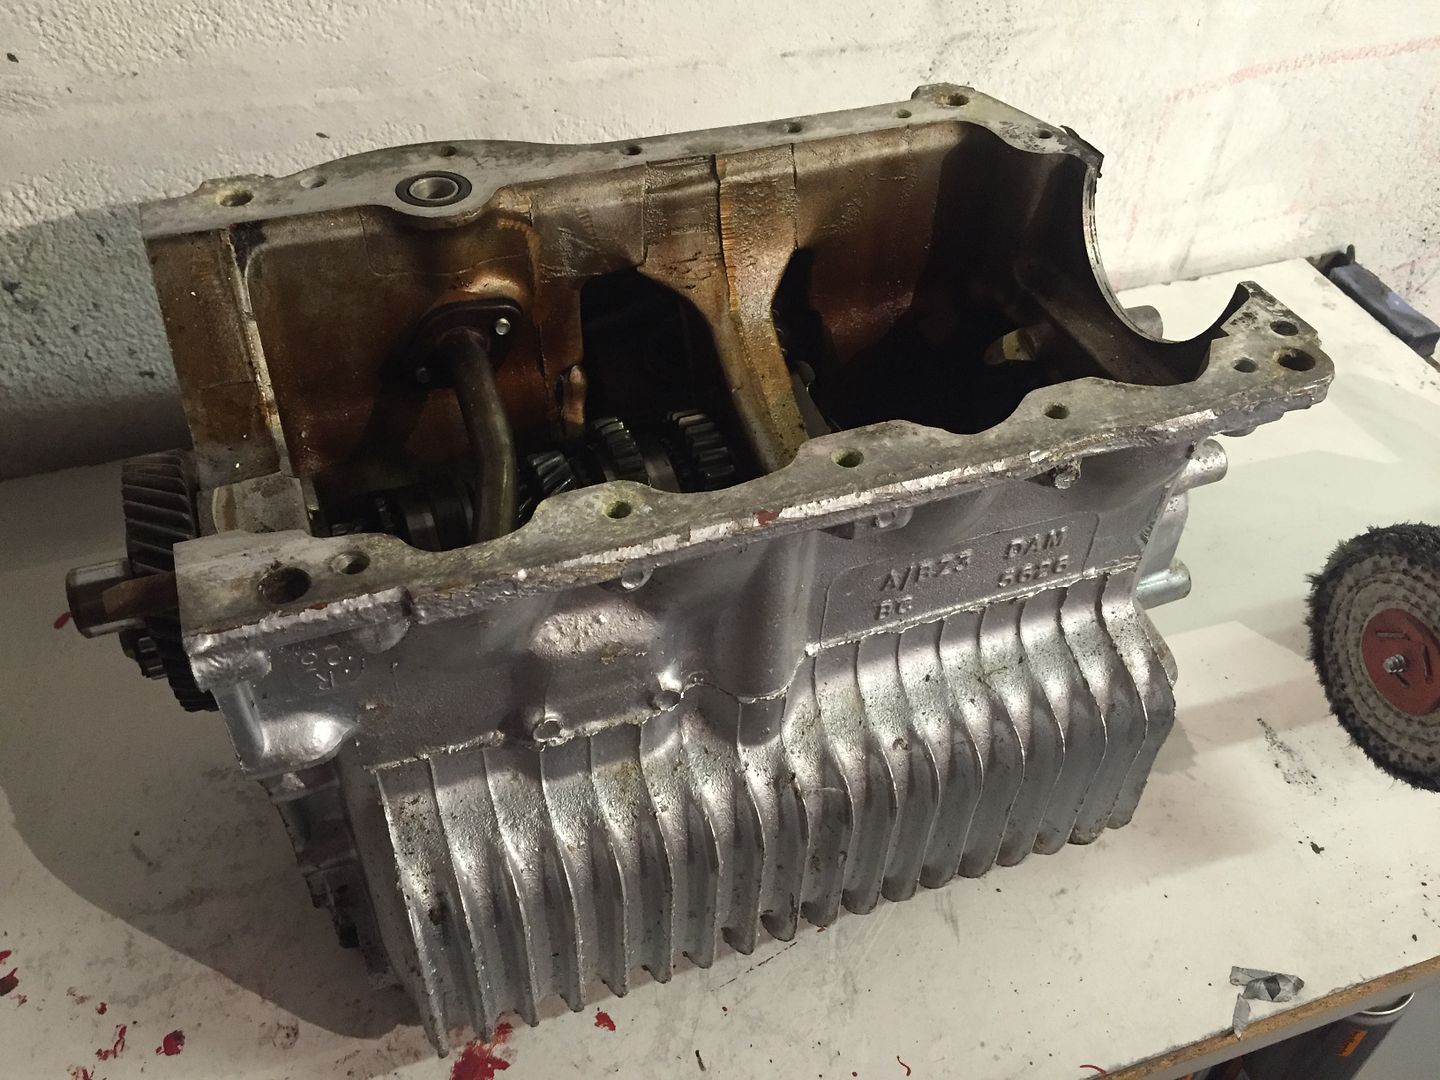
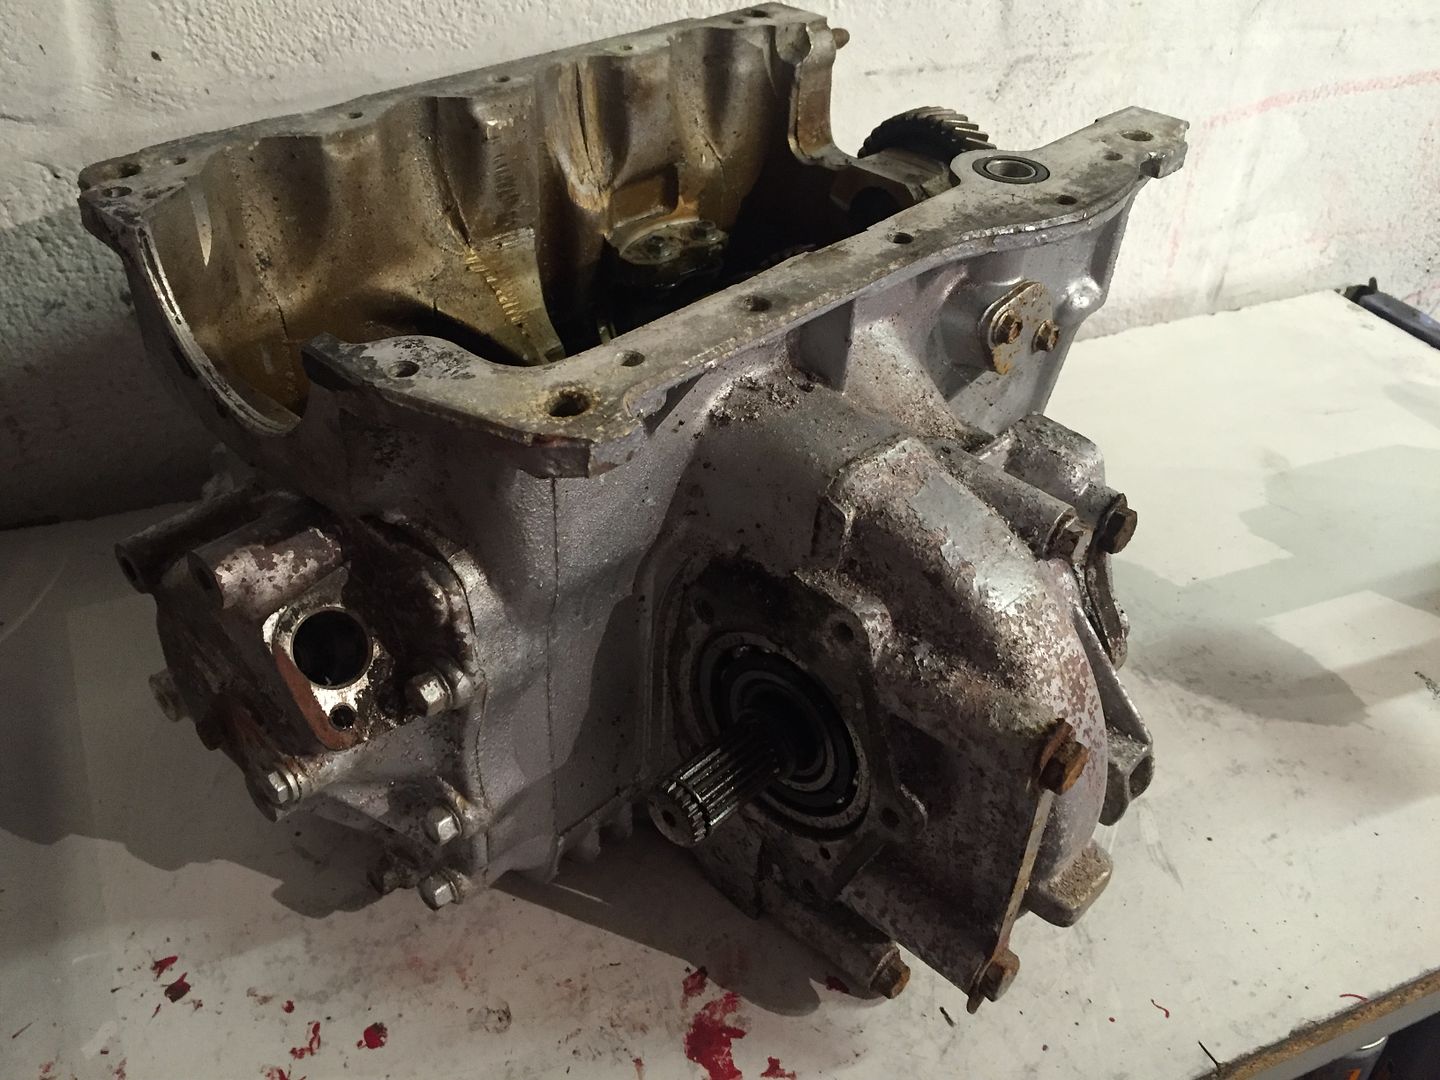
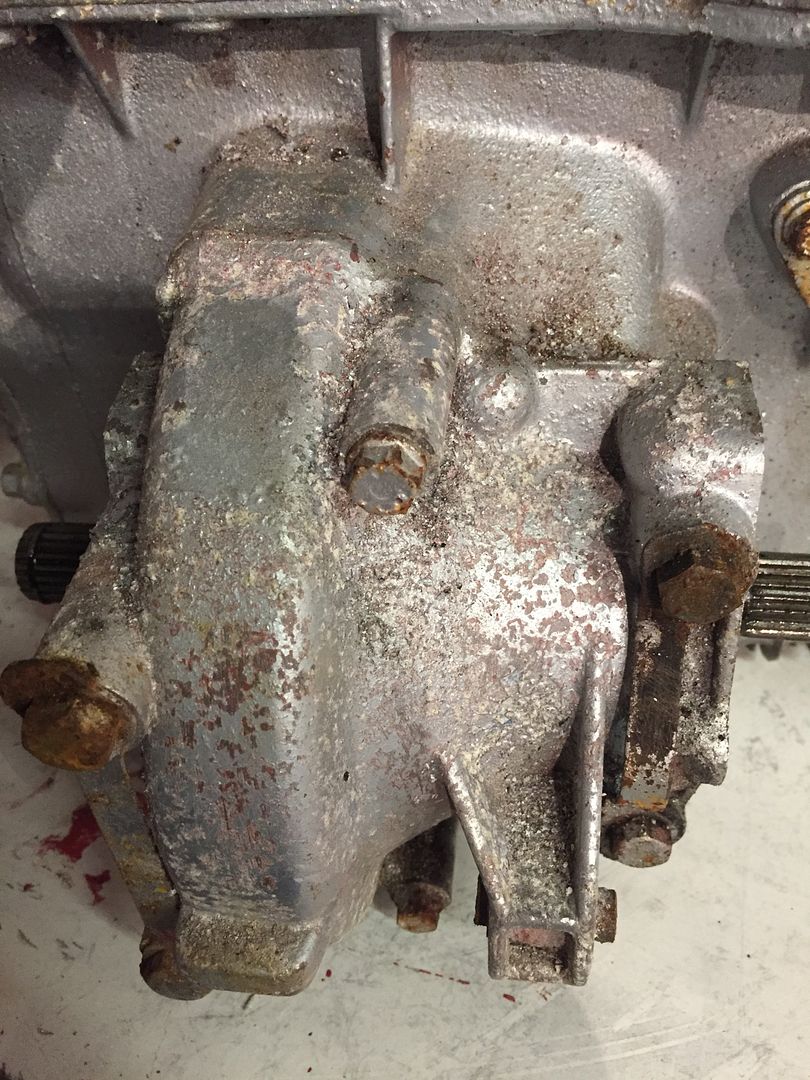
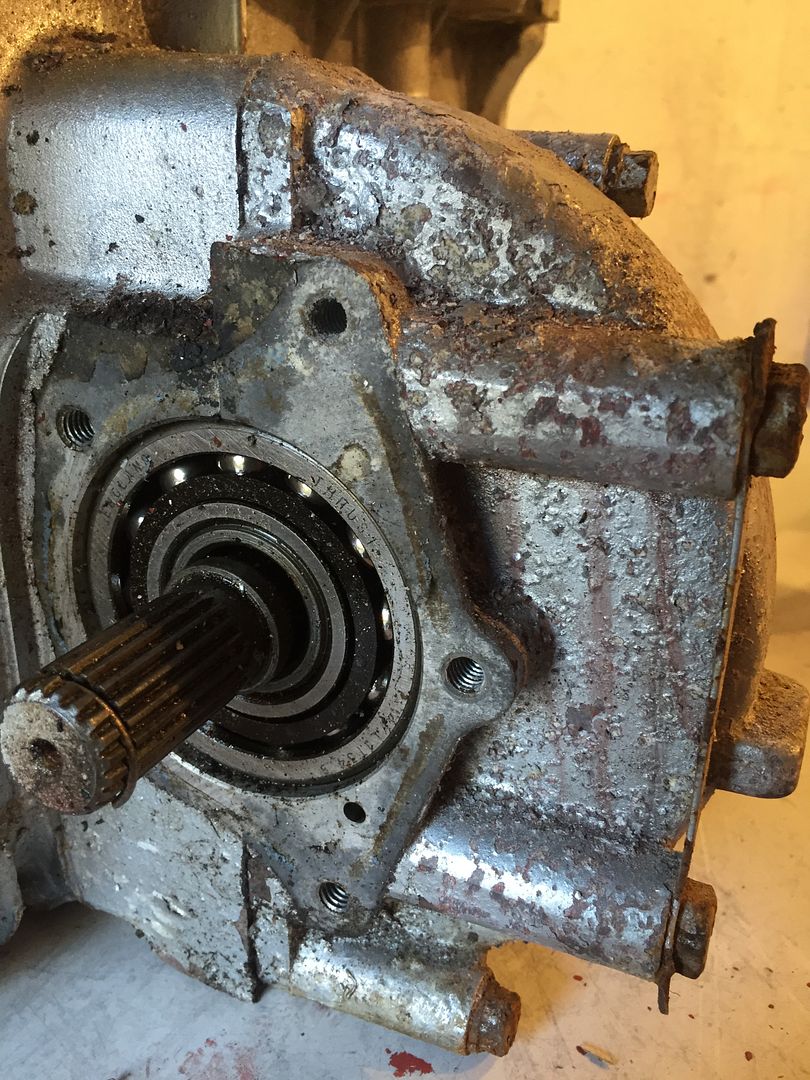
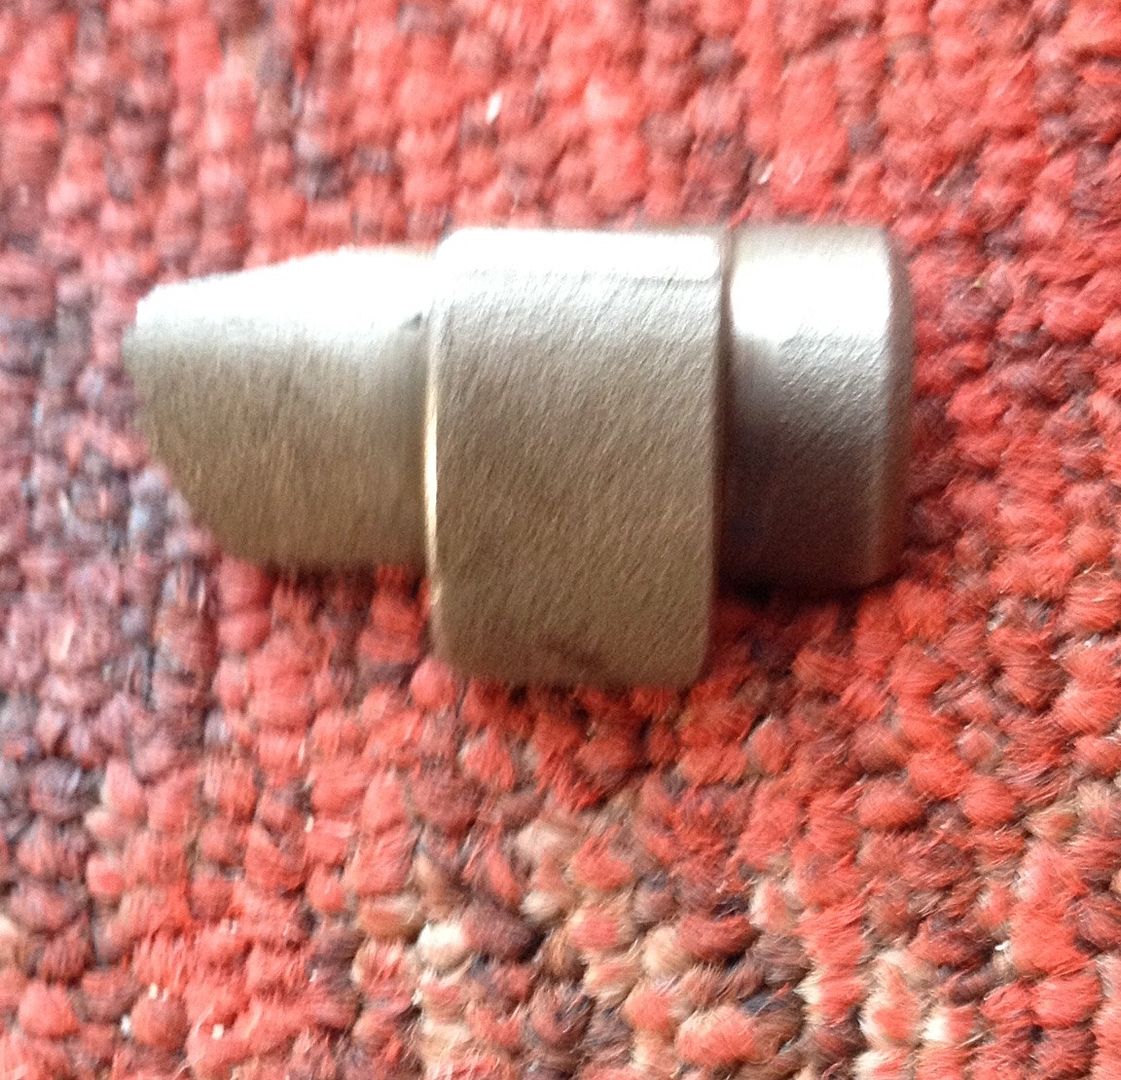
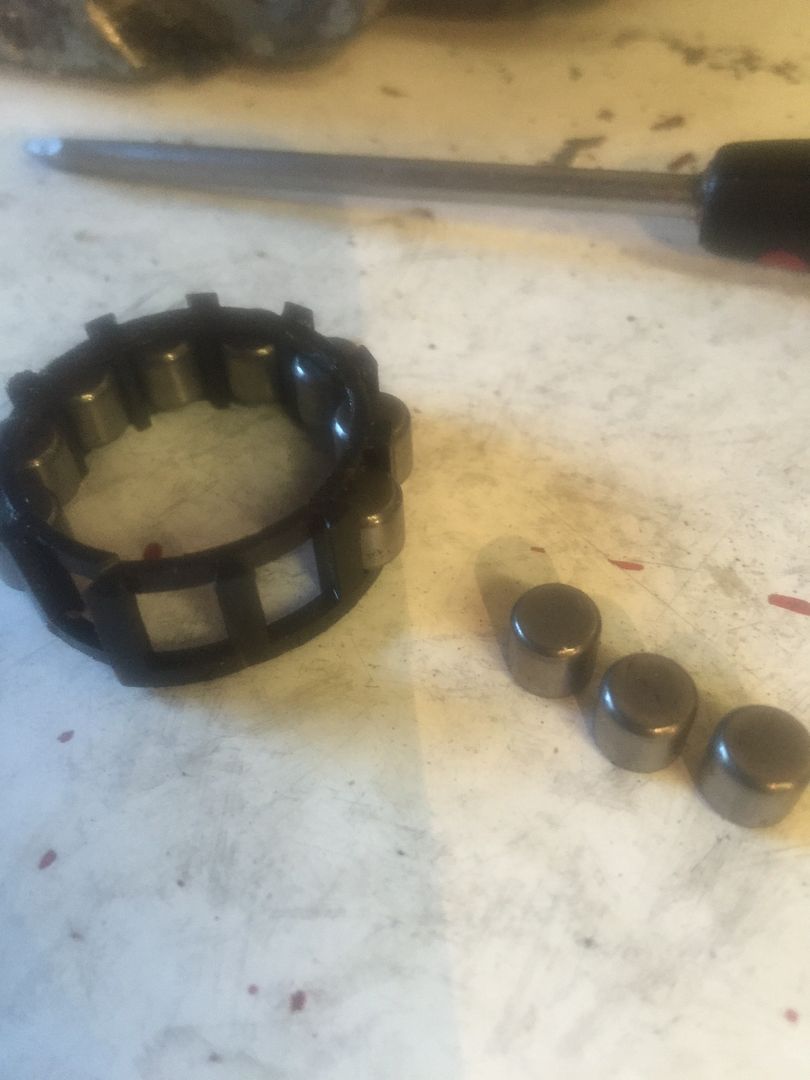
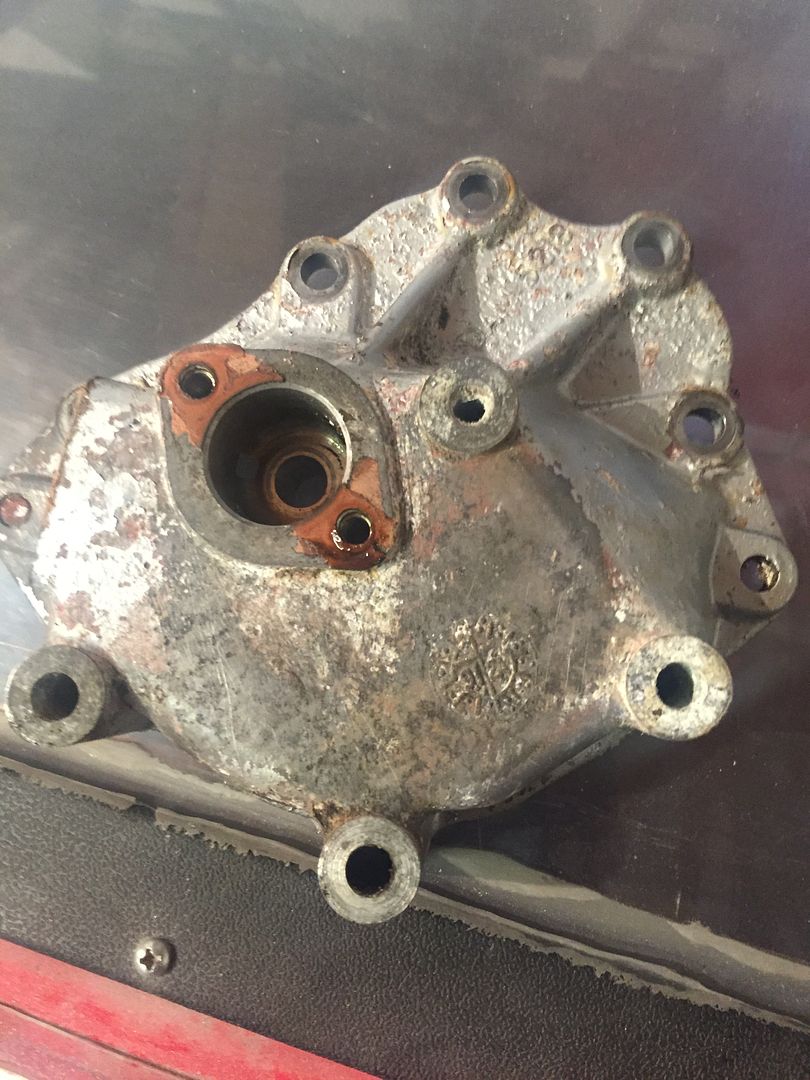
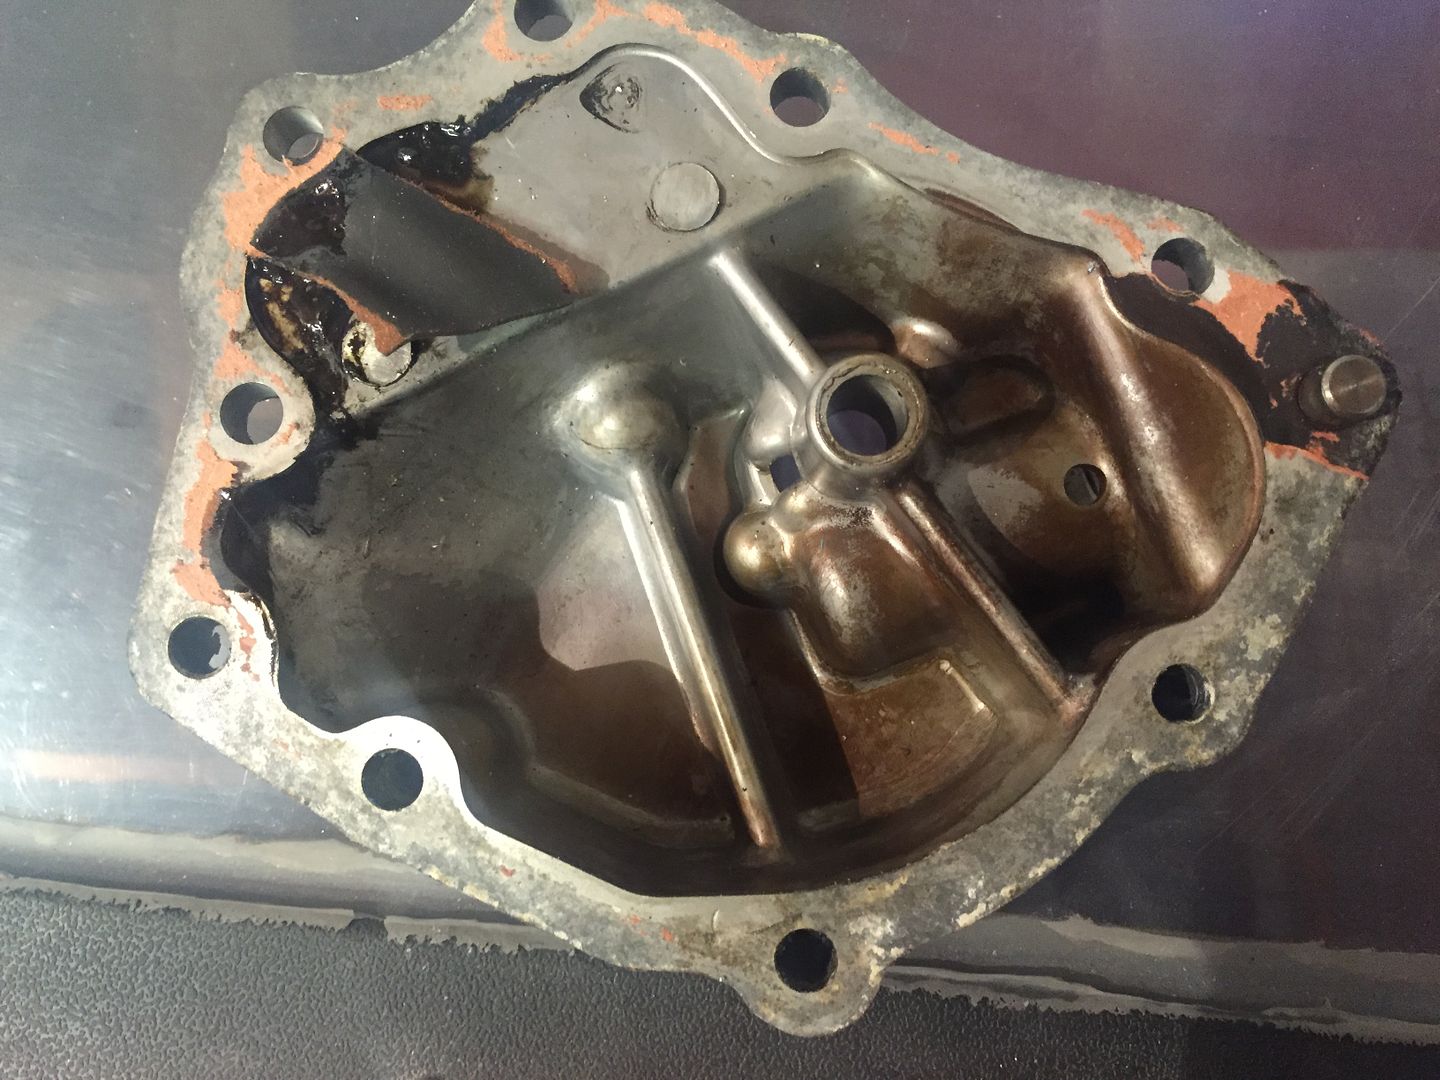
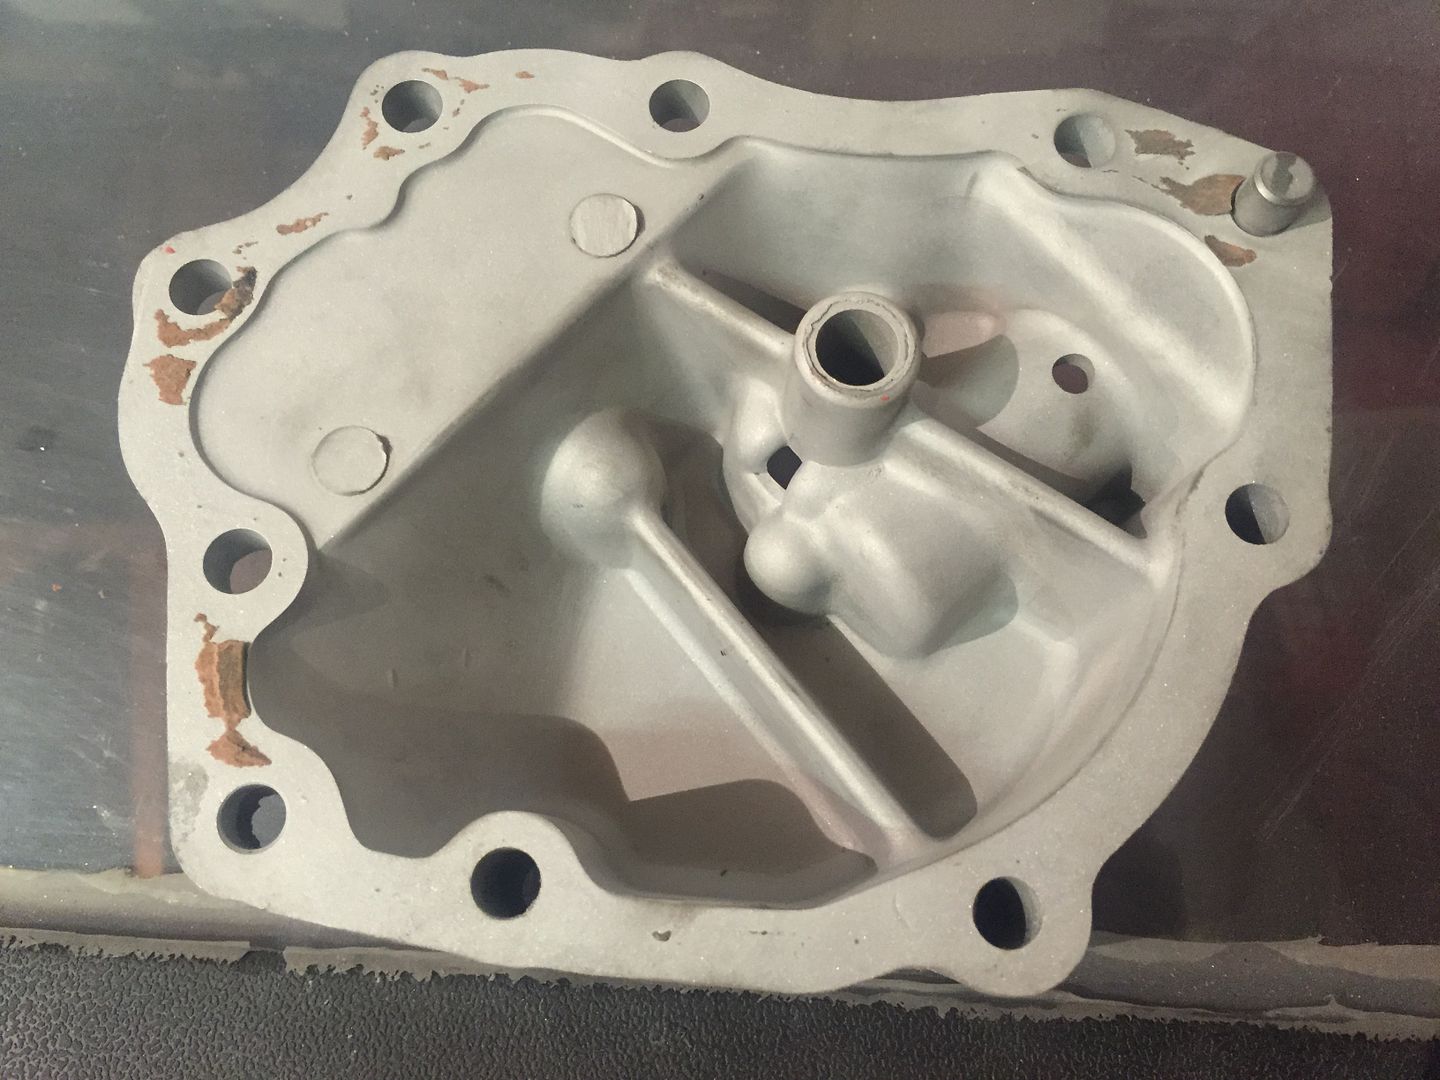
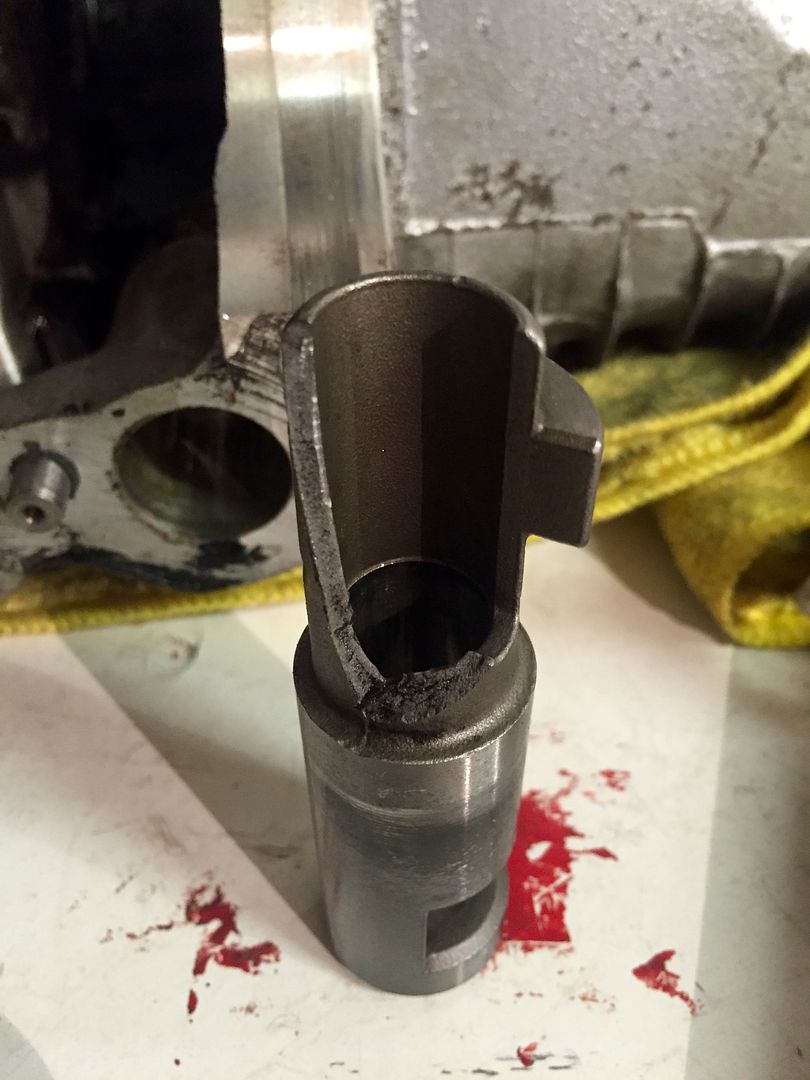
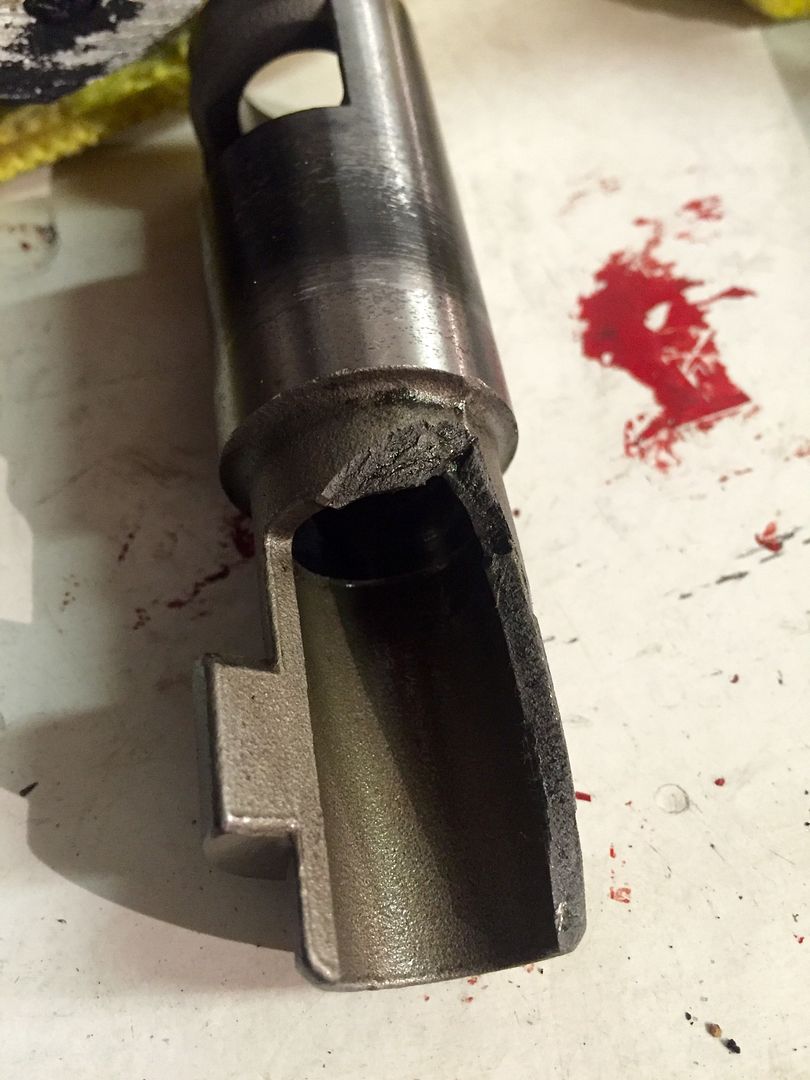
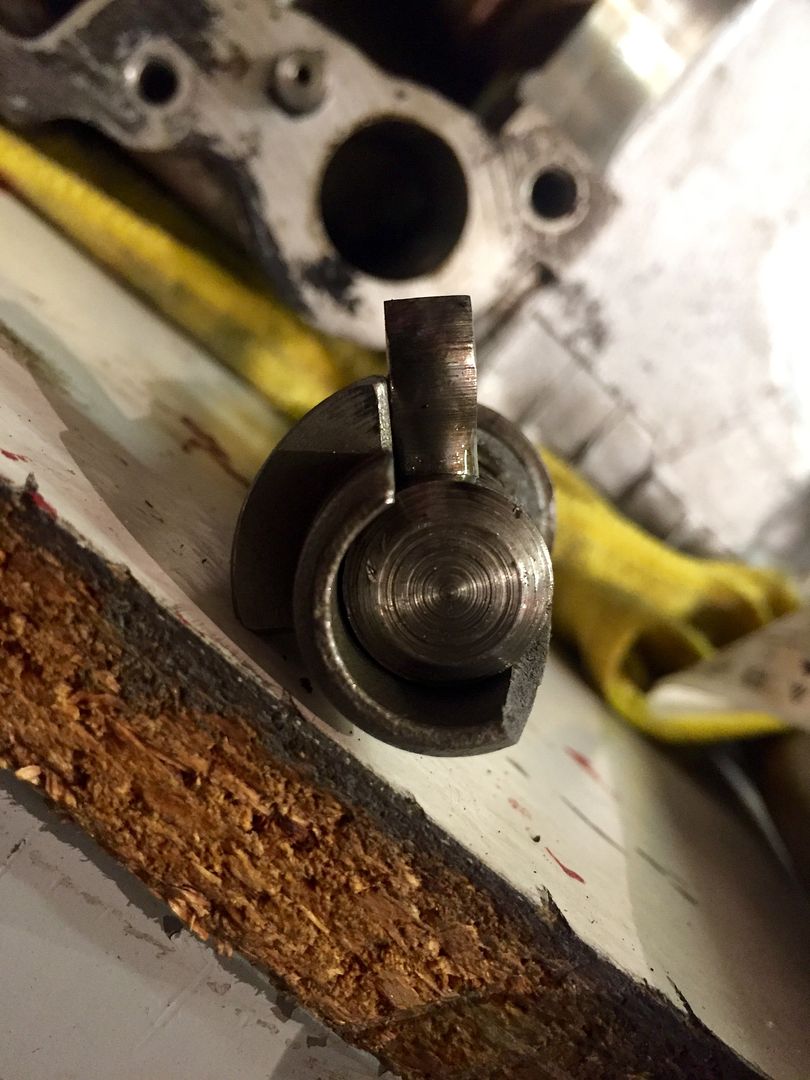
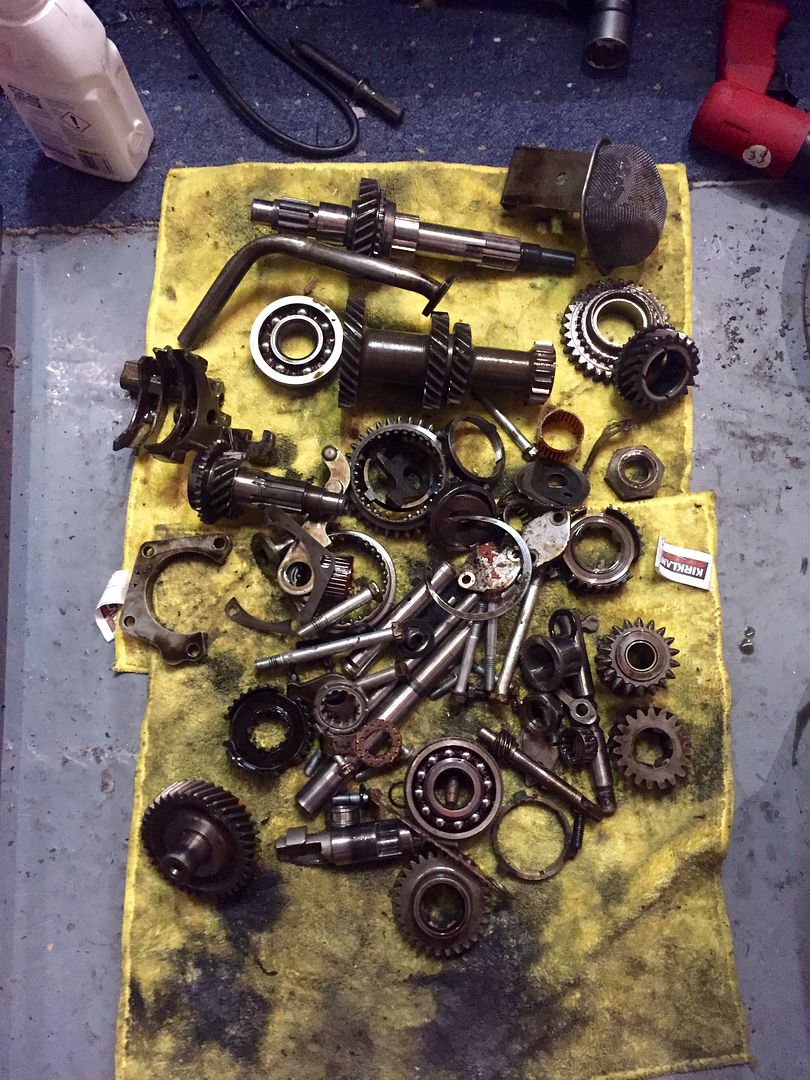
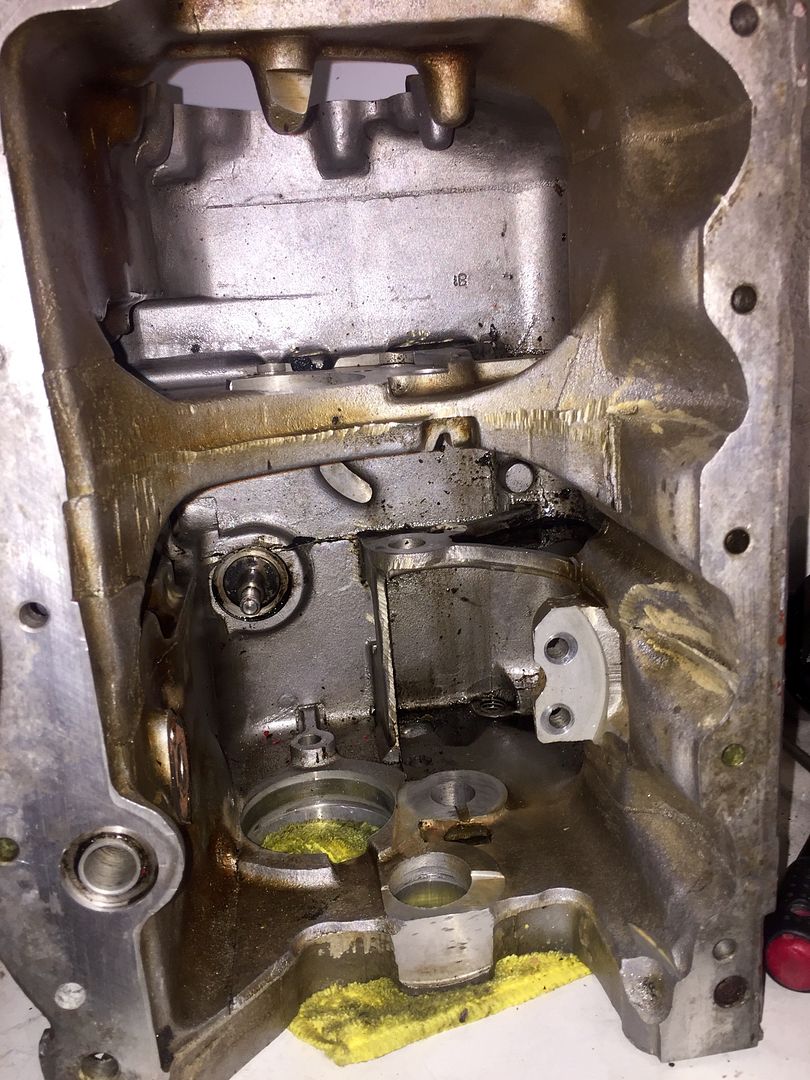
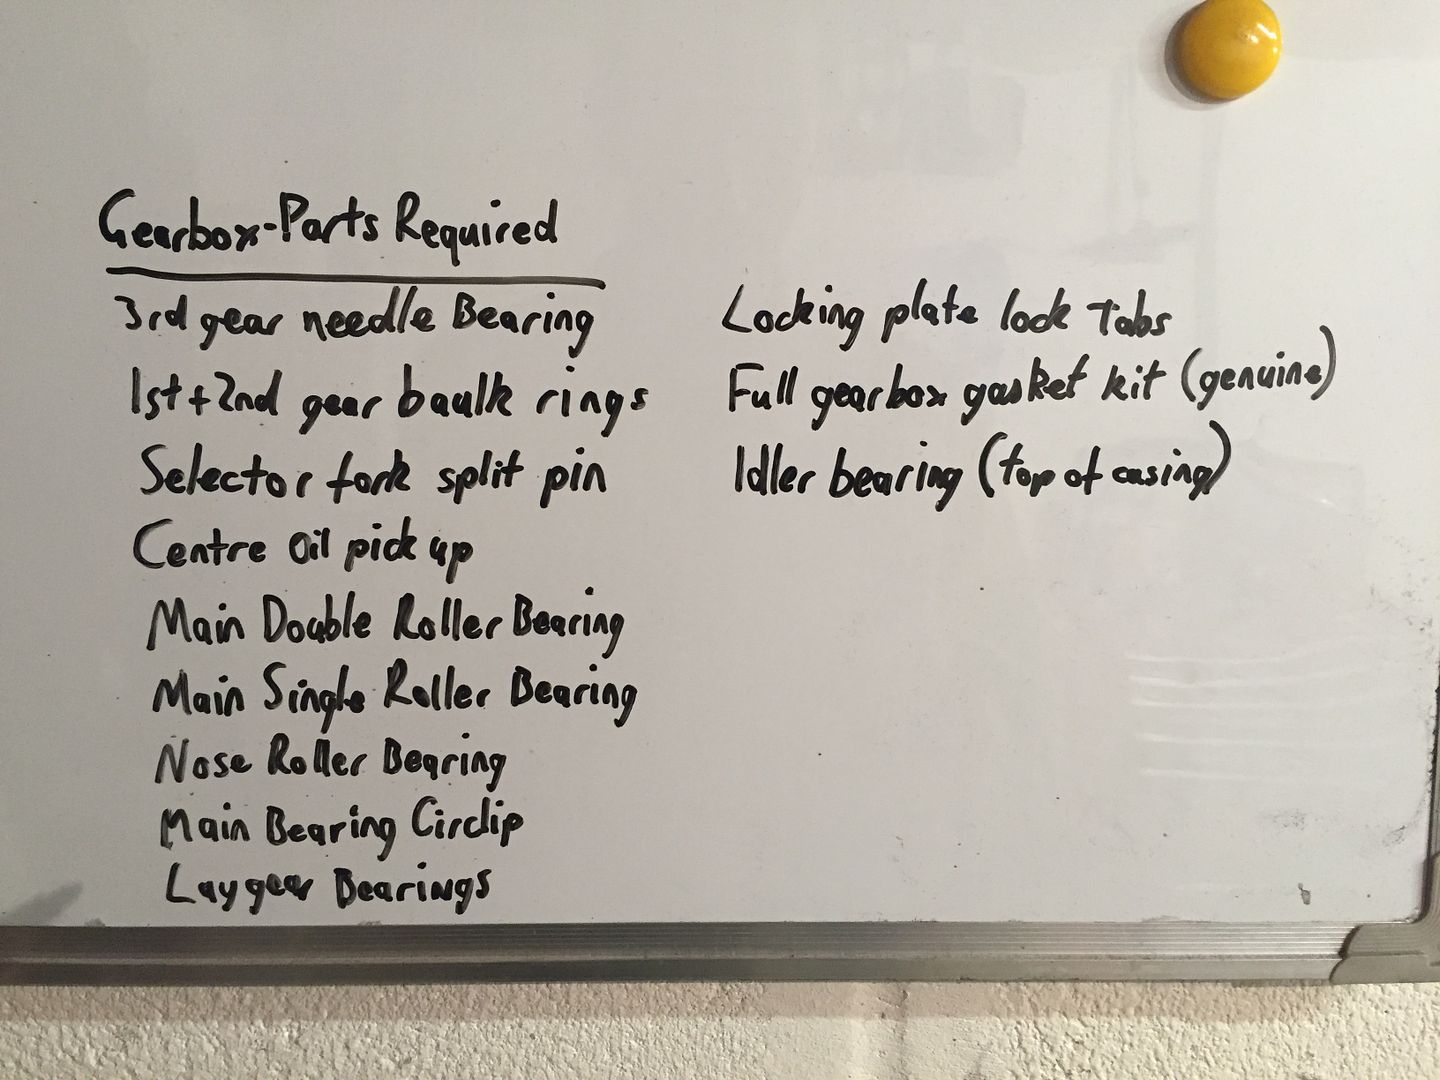
    Gearbox - Struggles to stay in 4th gear and crunches into 2nd both up and down. So a rebuild of that will be required. Not going to go straight cut as Im not a fan of bleeding ears and they don't offer any benefit on a road car in my opinion.

    Interior - Get nicer harnesses (thinking schroth or the likes) than the cheap crap Sabelt ones I fitted. Seats are nice but I really want a set of recaro Speeds. Had them in my old DC2 Integra and they were incredibly comfy but still enough of a bucket style to keep your arse in the right place. Get them retrimmed in diamond stitched alcantara to match the rest of the interior.

    Carbon Fibre - Plan to get some bits and pieces carbon skinned too (no, not crap 'carbon' vinyl or just as crap 'carbon' hydrodipping) Looking at the column cowl, switch plinth in the dash, door caps, mirror plinths, rear view mirror, harness bar, air intake in the bay, carbon rocker cover and I'm sure a few other bits and pieces too!

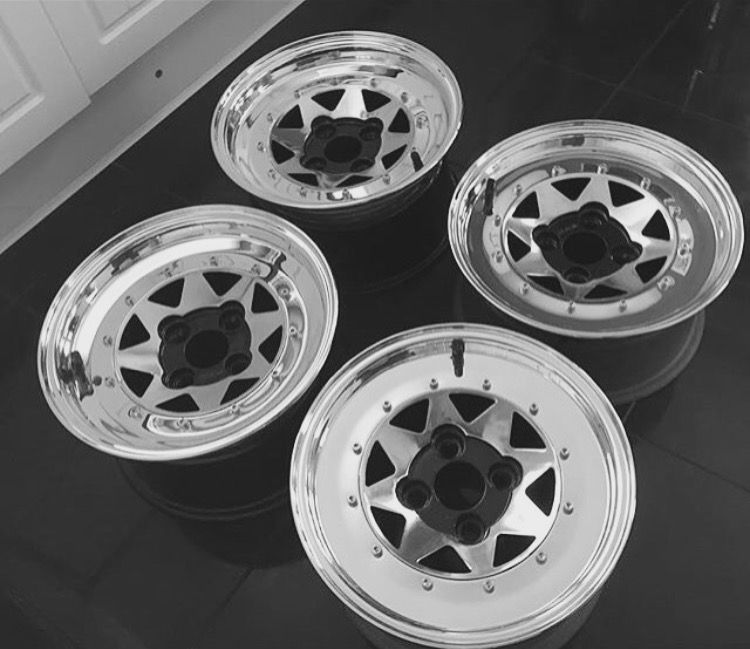
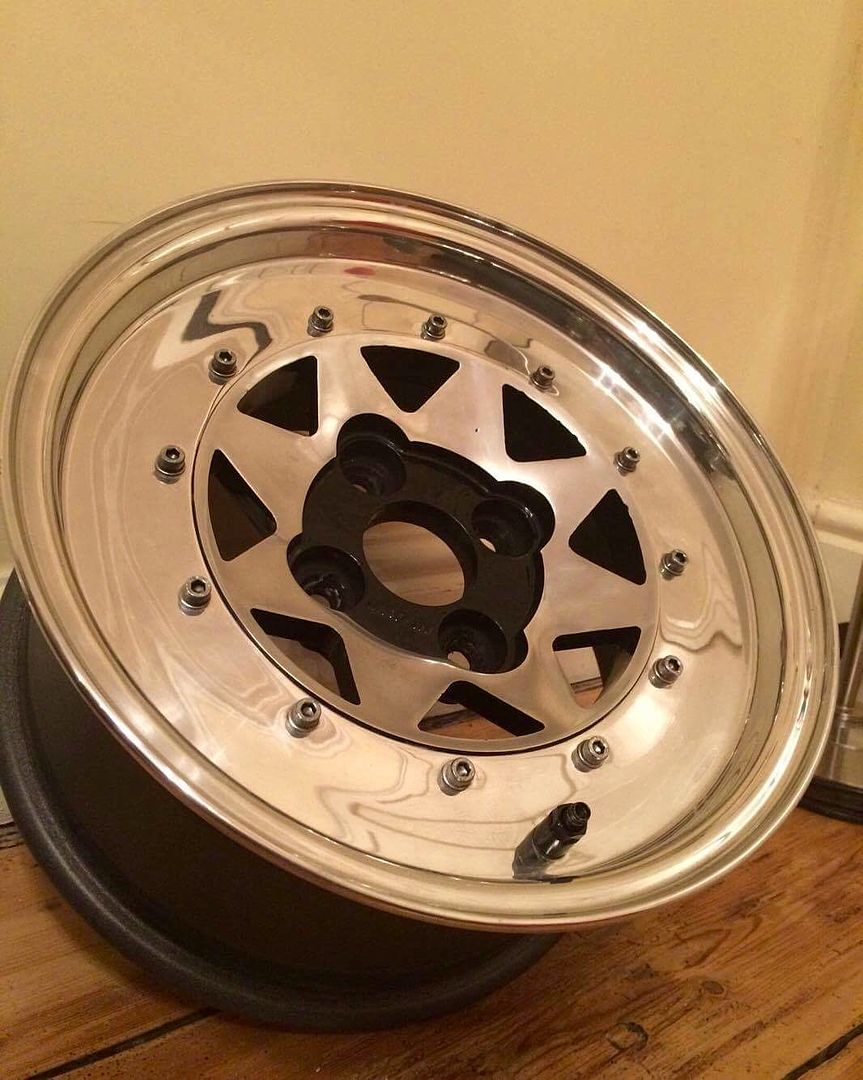
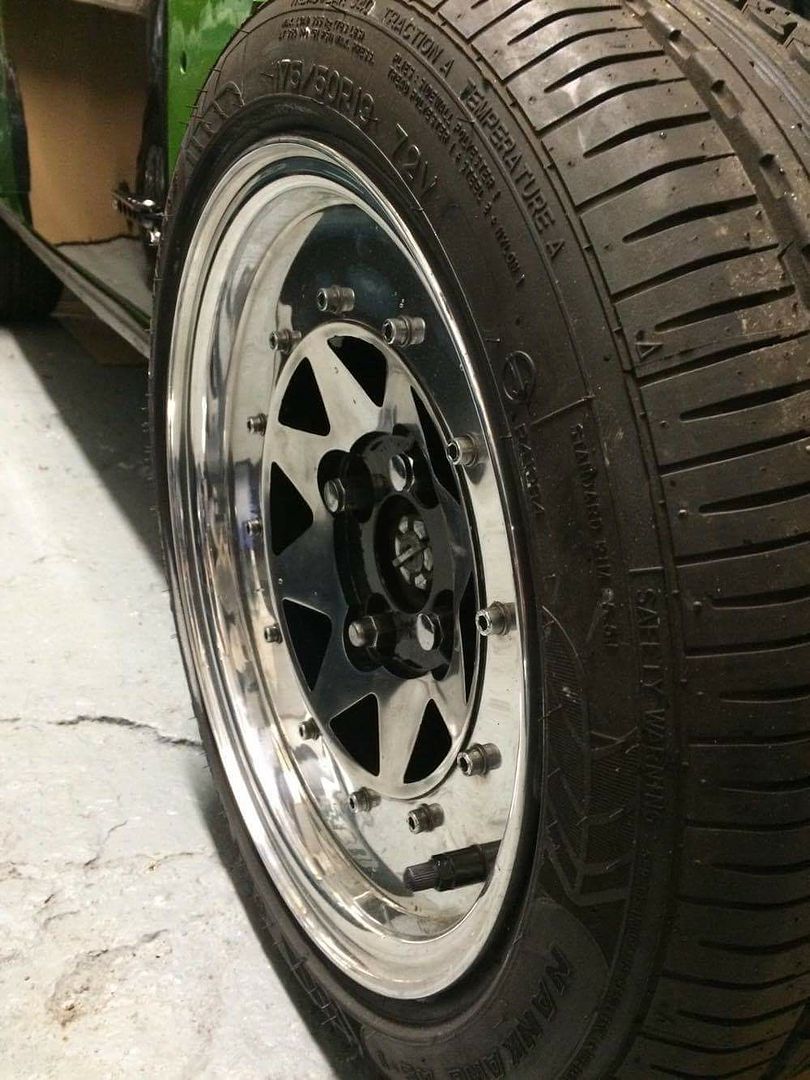
    Wheels - Been offered money for my current ones more than once and all offers have been above their original purchase price so I think they will get the heave ho for a set of Force Racing splits as I've lusted after a set for years but could never justify them.


    All that in an even smaller single garage will be tricky but I'm up to the challenge as it can't be as tough as the rebuild was. Can't wait to get tinkering with cars again over winter again!

    Comment


    • I love it when builds keep being refined after the car is considered 'complete'. Cant' wait to see the next stage take shape, your plans sound great.

      Comment


      • Long overdue update!

        Well, I've still got a job somehow (oil industry sucks!) but with the R53 needing discs/pads/callipers all round, funds are lower than your grannies nipples and Trig isn't seeing any of them! However, I gave the old boy a wash today to get rid of storage dust etc. Cleans up ok but looks terrible in the metal. Needs a decent machine polish to get him right again. Sitting in storage with dust/hands/fingers being drawn all over him hasn't been kind to the paint....

        Got a set of split rims I need to sell to make space for a gearbox rebuild to start. Got the original 998cc box with daft final drive in it, so rather than when the engine any box out and take up precious floor space, I am planning on ripping apart the spare box, seeing what needs replaced, then rebuilding it to my ideal spec. No straight cut gears as the car is used for long distance to shows up and down the country but looking at 3.44 final drives for a mix of acceleration and cruising at reasonable revs. When the engine comes out, I'm redoing the engine bay top to bottom as the paintwork on the ancillaries hasn't lasted any length of time and really lets the whole car down. Im sure it would be passable but its not to my standard...

        But anyhow, hers the beastie after a quick wash


        MASSIVE list of bits I want for the car but they will have to wait until i know for definite my job is secure for the long term. If the oil price jumped up by 2-300% that would be great....!

        Comment


        • Well I still have no spare money buuuut I felt sorry for the car sitting there unloved and unused and as its till insured I want to get it back on the road.... The main thing keeping it off the road is the gearbox. It jumps out of 2nd (common fault) struggles to go into third and jumps out of 4th (which isn't fun when you're cruising at 80mph and the revs suddenly start screaming!).

          Thankfully I have the original box that was attached to the 1275 (using the box from the 998cc engine at the moment) which has a fault where it wont select 1st or 2nd, which I think is down to a selctor fork/shaft issue.

          So last night I started stripping the spare box to see whats going on inside and to get a list of parts to replace, as I want this to be an 'as new' build.

          Looks pretty ropey having sat in a plastic bag round the back of my parents shed for about 3yrs, however all the oily bits are rust free which is surprising!


          Diff housing looks like moisture has crept in between the metal and the paint, hence the bubbling.[/size]


          Drop gears are in good condition with no signs of wear so these can be reused. *Did consider switching to straight cut drops for all of two seconds. *The use the car gets is mainly long drives to shows etc so noise being reduced rather than increased is a nicer idea. *Although straight cut drops do sound epic....


          Pretty sure these markings refer to the box casing rather than whats inside it but you never know. Im going to clean up the cast marks on this as well as it looks rough as fuck.


          Speedo drive full of crap. Thankfully the gear that connects with this is plastic so this crap wouldnt have been crushed too badly or caused much damage but still...pretty bad.

          Bottom of the casing/sump. Lots of debris in it.


          This was rattling around in the sump...hence why I couldn't select 1st or 2nd.


          I guess a 25yr old cast metal part is allowed to fatigue over time. *Pretty clean shear as well. *Hopefully a cheap part new or second hand if not.


          The end bearing on the drop gear side was broken although still spun freely, the plastic had cracked for reasons unknown.


          Speedo drive housing was a state so I set about blasting it clean again. *Just need to scrape off the remaining gaskets and then reblast it.


          Removed the diff as well but hands were oily so didnt get any pics of that. *Need to count the teeth to confirm what ratio of final drive it is.

          Enjoyed getting back into Mini stuff for a change. *Hoping to get the box fully stripped over the weekend for inspection and then get the casings off for powdercoating.

          Comment


          • Fully disassembled the gearbox last night and started going through cleaning and blasting everything today. Looks like it's in good condition throughout, minus the broken collar on the selector pin. Planning on replacing a few common fault parts like bearings and potentially a cross pin diff (to future proof the box if I do eventually modify the engine too).

            With the box locked in both 1st and 4th gear it meant I could remove gears without the shafts spinning freely.

            The bearing on the end of the mainshaft was a pain in the arse to remove as I didn't have a bearing puller at the time. Bought one now which helped on other ones. The nut behind this needs a 1-1/8 socket but as nowhere in Aberdeen seems to sell imperial stuff anymore (tried 5 different motor factors), I had to get a 29mm from Gibbs which did the job. Had to stand on the gearbox and use a bit of old exhaust pipe to apply enough torque to get it off though.


            Fully disassembled the gearbox last night and started going through cleaning and blasting everything today. Looks like it's in good condition throughout, minus the broken collar on the selector pin. Planning on replacing a few common fault parts like bearings and potentially a cross pin diff (to future proof the box if I do eventually modify the engine too).

            With the box locked in both 1st and 4th gear it meant I could remove gears without the shafts spinning freely.

            The bearing on the end of the mainshaft was a pain in the arse to remove as I didn't have a bearing puller at the time. Bought one now which helped on other ones. The nut behind this needs a 1-1/8 socket but as nowhere in Aberdeen seems to sell imperial stuff anymore (tried 5 different motor factors), I had to get a 29mm from Gibbs which did the job. Had to stand on the gearbox and use a bit of old exhaust pipe to apply enough torque to get it off though.


            Here's the selector pin collar in all its sheared glory


            This should be symmetrical. Turns out this is a ridiculously rare failure and the part is now obsolete so I will have to source a decent used one instead of buying new.


            All parts removed and disassembled awaiting cleaning


            Cleaned the inside of the box with Autosmart Tardis which made light work of the years of oil, grease and debris that had collected inside it.


            And I started to remove the casting marks from the box for a smoother final finish to help future cleaning and gives nicer finish when the Powdercoat is applied.


            Hoping to have the engine removed sometime this week so I can get ancillaries off and stripped ready for coating as well to hopefully get a bulk buying discount.

            Comment


            • Still working away on smoothing the casing. Taking a fair amount of effort by it will look much nicer than before.

              In the meantime I was thinking about why the case had external corrosion on it despite the paint being applied correctly. Looking at a few of the covers and bolts, the bolt heads had corroded, leading the paint to lift around them and then the paint continued to lift and allowed the casings to corrode.

              Perhaps overkill but to prevent rusty fasteners, I've just ordered up this kit from Titan Classics...


              These won't tarnish or rust as they are full titanium bolts for some of the gearbox. Will order more when I see what quality they are when they arrive. Not cheap but fitting stainless bolts to a gearbox doesn't sound like a good idea to me....

              Comment


              • My overpriced and totally pointless titanium bolts arrived after a short delay due to broken tooling. They are ace.

                [imghttp://i71.photobucket.com/albums/i126/iia03forbesa/5EB5DC5A-14C2-4FEF-B756-78A1F02BBF9E_zpsrf8vtgck.jpg[/img]


                Will give them a polish up before fitting

                Comment


                • Got some time to get stuck into this last night again. *Still smoothing casting marks from the gearbox casing but as that is boring to do I started to strip the bay ready to remove the engine.

                  Heres the current state of the enginebay.....what I would call a complete mess.


                  [img=http://i71.photobucket.com/albums/i126/iia03forbesa/1CB17C64-6040-4808-9676-55EEFE0A4829_zpsmclrvpmd.jpg[/img]


                  Also diagnosed my shit ride quality issue. *Suspension cones have collapsed. Set of new ones are only £160 which isnt bad as they have lasted 7yrs.


                  Obviously had to take the exhaust manifold off and its turned a lovely shade of rainbow with the heat. *Polishes up bonny too.


                  All that remains is to drop the fluids, disconnect the driveshafts and its ready to rip out. That will mean I can get the other casings from the flywheel/clutch side, along with lots of other bits, powdercoated at the same time.


                  Got a list of gearbox parts I need so will try and get them ordered after payday.


                  *
                  Feels great to be working on the actual car again. Lots of ideas developing as I go so should be good fun

                  Comment


                  • Well there has been no update since the last post other than disconnecting everything from the engine bay and removing the ancillaries. *Delay was due to waiting for birthday monies which meant I could buy myself a powdercoating kit. *It arrived the other day and had a quick bash at it. *Quick lessons learned are I need to use more powder to even out the finish and get the oven installed so it gets cured more evenly and for longer (used a heat gun on this as a test as I I'm impatient and couldn't wait to use the kit :lol
                    *
                    Test part is this carburetor heat shield with integrated throttle cable bracket. *Sandwiches between the intake manifold and the carb. *
                    *

                    *
                    Super simple to use though and with it going from rusty part, to cooled coated part ready to fit in under an hour, its a massive time saver over paint. *Currently stripping the coating off now so I can redo when the oven is installed.

                    Comment


                    • Well due to a spur of the moment purchase at a fair price, I now own these....

                      7&8x13 Mad-Ins in Mini fitment. Freshly refurbished by Mike the Polisher with new tyres hardware throughout. Wanted splits for ages but didn't want to go down the usual route of fitting Force Racings like most seem to do. Should arrive next week but will be hidden away for a while. *Not convinced I like the black centre details so I may blast and coat them silver to match the bonnet stripes/roof but we shall see


                      *

                      *

                      *
                      Fitted to previous owners car...
                      *

                      Comment


                      • Got stuck into powder coating some stuff for this over the weekend.
                        *
                        Started by redoing the carb bracket. *Using the oven makes a huge difference to the final finish. *Much smoother and more uniform.
                        *
                        Everything outgassing.
                        *

                        *
                        Carb bracket
                        *

                        *
                        Its only as smooth as the part underneath. *Should really have smoothed this inlet manifold out a bit but still looks smart and you don't see it in its final position.
                        *

                        *

                        *
                        Engine steady
                        *

                        *

                        *
                        Blasted the adjustable lower arms/tie bars ages ago so they rusted up again. *
                        *

                        *
                        Blasted clean again
                        *

                        *
                        Outgassed and masked. Heres a shot of the detail on one of the arms.
                        *

                        *
                        and some after shots*
                        *

                        *
                        Really happy with the final finish on everything. *Nice and uniform throughout. *
                        *

                        *
                        As I say, the final finish depends on the metal underneath, hence this smooth faced engine breather came out pretty good!
                        *

                        *
                        Wheels should arrive either tomorrow or tuesday. *Cant wait to see them in the metal

                        Comment


                        • This was going to be an update but Photobucket says no!

                          Coming soon...!

                          Comment


                          • No activity on this due to the standard lack of funds...

                            However I was fortunate to get some MiniSpares vouchers for Christmas, so I've ordered a gearbox rebuild kit so I can get cracking with that sometime. Was going to top up my order with suspension cones and a few other bits and pieces but with my job officially at risk of redundancy I don't want to spend a penny more than I need to at the moment

                            Comment


                            • Bits! Gearbox rebuild kit (with couple extra bits that aren't included in the kit) and full gearbox gasket/seal kit. Should get me going with a box build then! Bearings are all from original manufacturers so should last forever now. Main extras are the centre oil pickup tube to reduce risk of oil starvation, rod change seal leak kit (never worked before but you never know, they might have improved it...) and went for the kit with the competition layshaft to future proof the box.

                              Im aware the kit doesn't come with EVERY bearing in the box but if during the build i see anything needing replaced that isn't supplied, I will order them up as necessary. One thing Im not a fan of is the half seal for between the box and crank. This should have a metal reinforcement strip to help it maintain its shape but its missing so must be a nonagon seal. Will add it to the list of things to buy....

                              Not in a rush to get anything done for a set date, so it will get done when it gets done. Need to smooth the casing and powder coat it first anyway


                              Comment


                              • Originally posted by Mini 360 View Post
                                No activity on this due to the standard lack of funds...

                                However I was fortunate to get some MiniSpares vouchers for Christmas, so I've ordered a gearbox rebuild kit so I can get cracking with that sometime. Was going to top up my order with suspension cones and a few other bits and pieces but with my job officially at risk of redundancy I don't want to spend a penny more than I need to at the moment
                                It's looking good!

                                It's tough when things get in the way, but job & financial security is important. Just do whatever you can and in time you'll get everything sorted.

                                Best of luck!


                                1963 850 - 1408cc, 45DCOE, 'S' 7.5" brakes, 6-point cage, blasted, Velo GPT-2's, rear beam

                                Comment

                                Working...
                                X