-
-
very nice build!!
rare rims, i like them.
the cluster in super tits! im very jelly hereLeave a comment:
-
Thank you sir!
Happy Thanksgiving everyone, I am about to go stuff my face!Leave a comment:
-
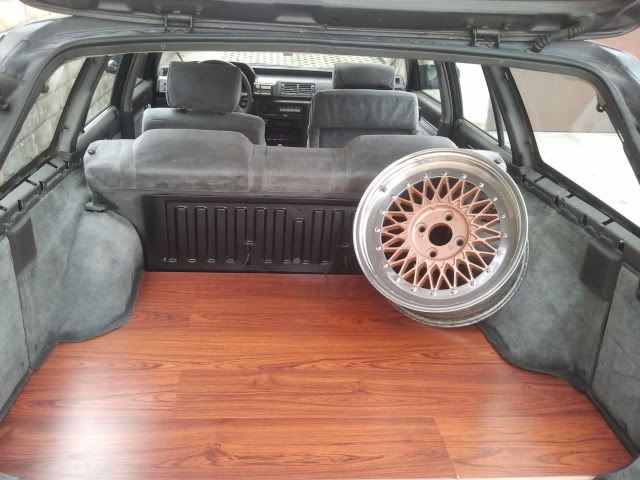
I put some wood floor in the rear now since the car had no carpet. Freehanding it was a PITA unlike people who get to trace templates with their carpet/cover.
Leave a comment:
-
Got the cluster up and running, it is very very easy. Just seems scary in the beginning cutting into the stock harness and soldering about 30 wires. Swapped the speedo bracket and the fuel sender and they both work great.
You can see how much further back the electronic bracket is recessed (left):
80s baby! Planning to cover up the PRND2L tomorrow.

Crappy quick video, I was impressed how quick the lights on the tachometer move for 25 old technology:

Leave a comment:
-
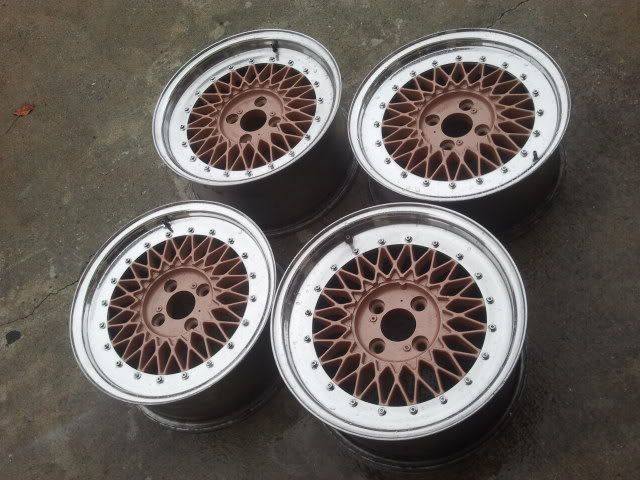
Finally had someone chime in, IDK why I didn't think of it before seeing they use 20 bolt (compomotive, HRE, Revolution). Anyone selling center caps for them :
:
They are 501s
 Last edited by electricalbox; 11-21-2011, 02:15 PM.
Leave a comment:
-
Use a wheel cleaner (I like mothers products). Spray it on, wait 10-15 seconds, and use a brush and keep scrubbing. For certain areas that the dirt won't come off, use some sand paper (approximately 220W). For grease that just smears, use brake cleaner and some thick paper towels. Also paint stripper can help in some situations as well if you don't have to worry about ruining paint/plastic. Last resort if it is really bad is a wire wheel, this works great on a drill as well.Originally posted by ThatEF9kid View PostLeave a comment:
-
Ive got some wheels thats are super dirty like these, how did you clean the barrels so well??Originally posted by electricalbox View Post
Car looks awesome too man cant wait to see how the rest plays outLeave a comment:
-
Thank you sirOriginally posted by softg View Post
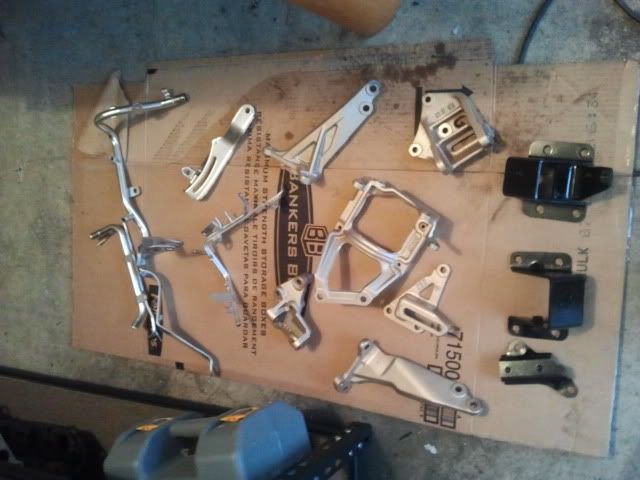
Tons of cleaned/painted parts:
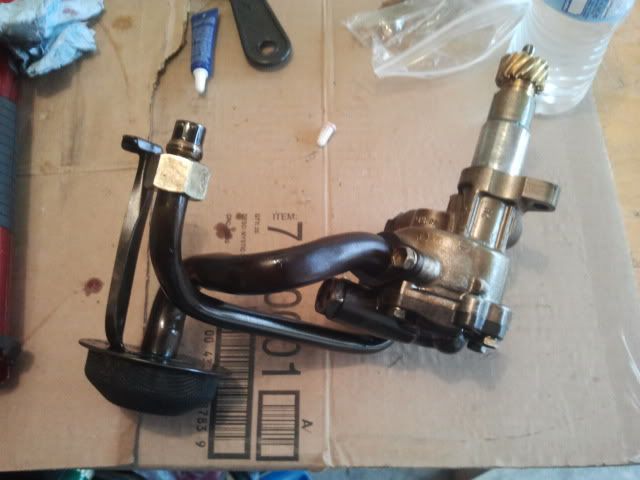
Long boring update on the dipstick relocation: More so just for specifics for people who want info on the swap...
Stuck a screwdriver in the dipstick tube from the bottom (to keep from collapsing) then clamped down with vice grips. If it hold well, you can turn the dipstick tube to help loosen it up; then pound it out with a dead blow hammer/ hammer with a block of wood from the bottom.
Dipstick tube:

Measuring the diameter of the tube where it meets the block:
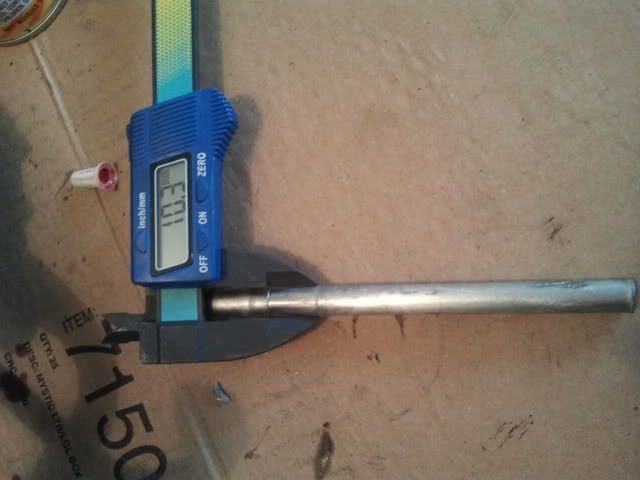
Thanks to all the threads being F'd on my head's exhaust manifold area, I had to buy this 13/32s drill bit for the helicoils.
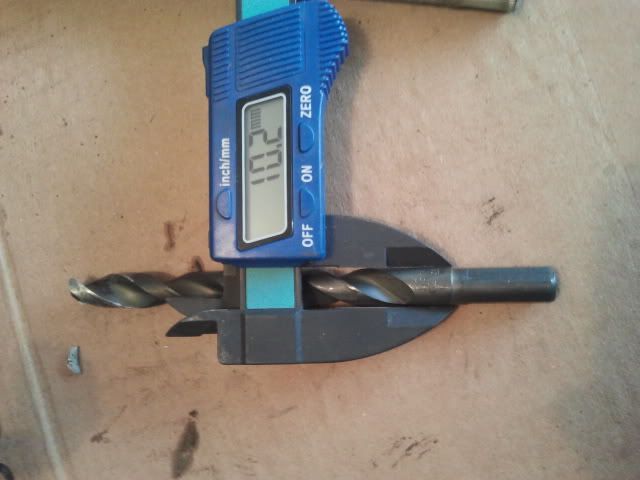
This was the exact size I needed: .406" = 10.3mm
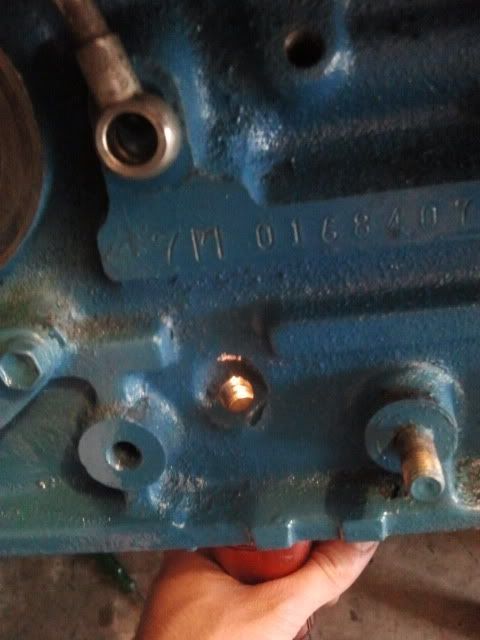
Located the front sump dipstick recessed area... drilled a pilot hole and it was pretty spot on, after that drilled the proper size hole (light is shining through the new hole).

I used a high temp silicone on the tube where it meets the block, put it in and pounded down until the unpainted portion was sunken into the block.
To plug the old hole, I located a bolt I had that was 1mm smaller, but utilized it with a lock washer, a nut, & a ton of the silicone. Instead of doing the bolt through the top with nut inside like most, I reversed it (nut on top) for multiple reasons.
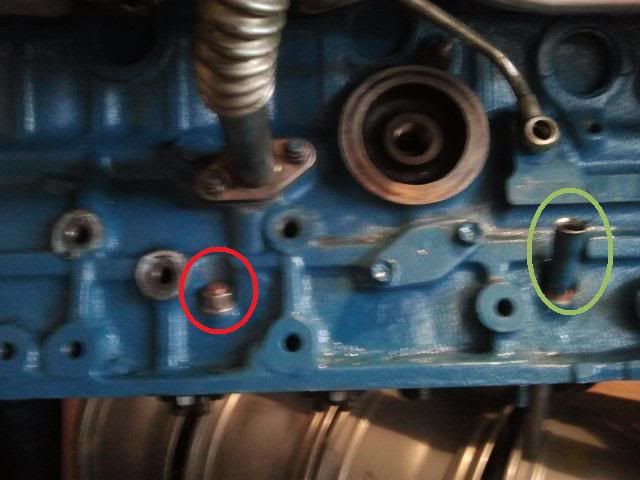
Red circle shows the old location now with the bolt, and green circle is the new tube location:
Leave a comment:
-
regardless of the manufacturer of the mystery wheels, they are looking goodLeave a comment:
-
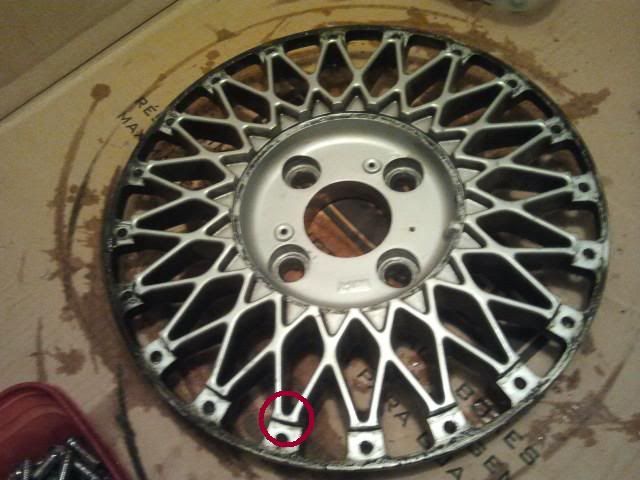
Thanks guys, as for the wheels they are not linea sports (the common difference between what I have and almost all others I search for is that the spokes of the mesh come together at the outer most part of the face) please see the circled area for reference below:
As for the price, I didn't pay to much for them, but I put about 8-9 hours in them so far.
Took my oil pump out (mid sump), now I am drilling out the block for the front mount dip stick and sealing up the old location.
Finished putting all the wheels together, damn this rain!
More updates to come later!Leave a comment:
-
pretty sure the mesh's are linea sports but I could be wrong
check these for reference
nice find in a 4x10⁸, some old audi guys would love to have those in their quiver
great project by the way
subbedLeave a comment:


Leave a comment: