If this is your first visit, be sure to
check out the FAQ by clicking the
link above. You may have to register
before you can post: click the register link above to proceed. To start viewing messages,
select the forum that you want to visit from the selection below.
I find this build very interesting (good interesting lol) since 99.9% of the time you don't see legit builds on these. Good work so far and can't wait to see what else is in store.
I find this build very interesting (good interesting lol) since 99.9% of the time you don't see legit builds on these. Good work so far and can't wait to see what else is in store.
This Cavalier is getting some work done, keep it up.
thanks!
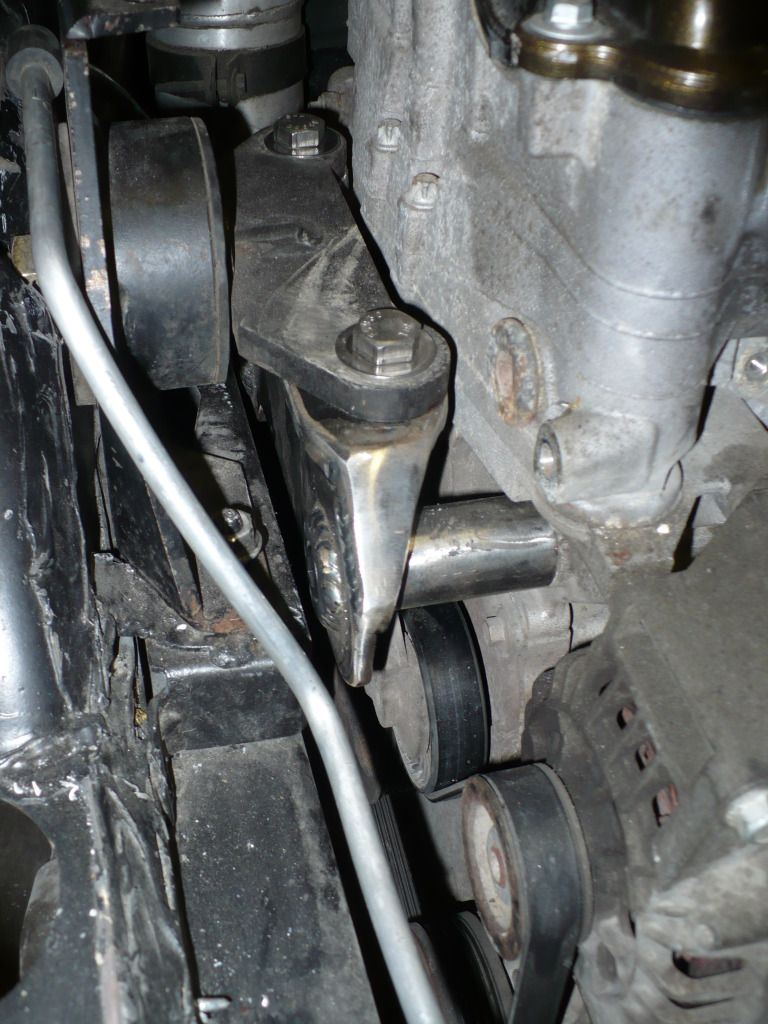
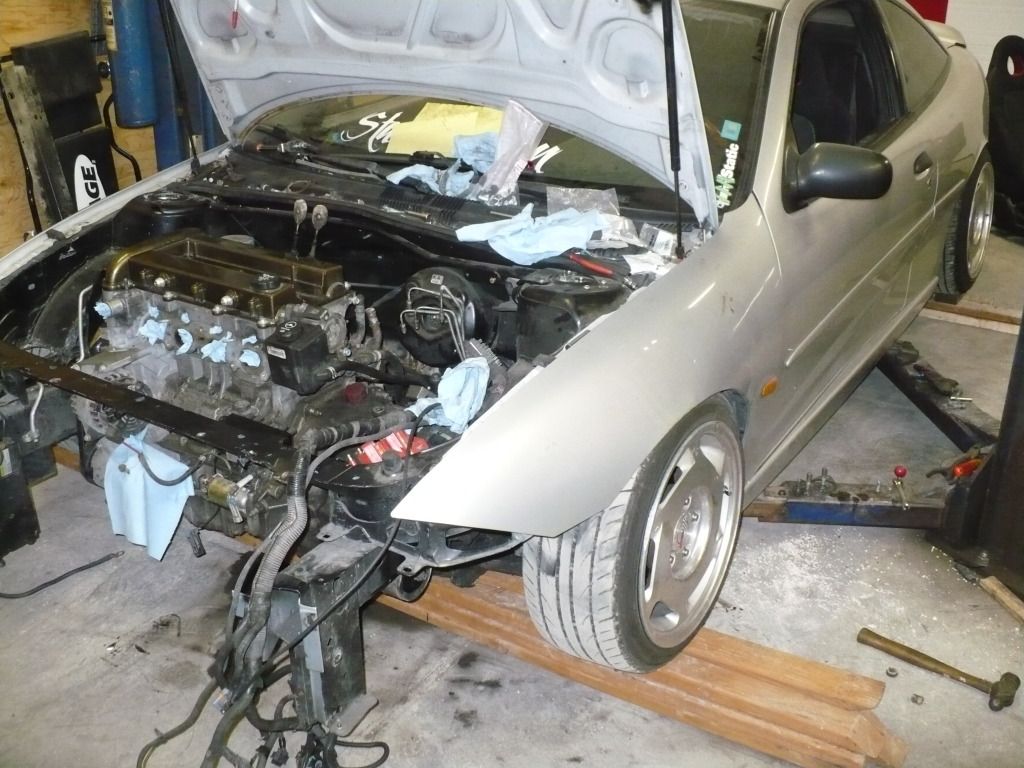
Had another real good day at the shop today - got the front trans mount done and finally the car held the engine in on it's own again. Got the subframe in just to see where everything sits, and the diff and oil pan are 3 full inches higher than before. I couldn't be happier.
First the engine sitting mounted
Vs. the stock front cross piece
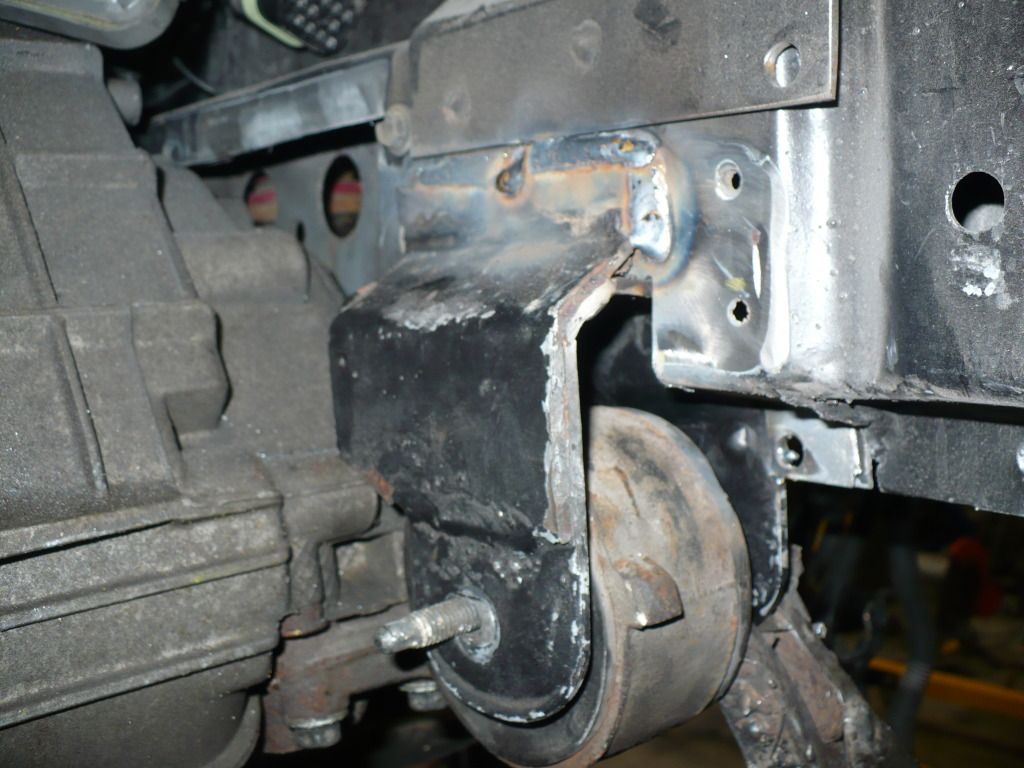
Trans mount, notched into the frame.
Still need to get the engine mount bracket made up, and finish the notch on the drivers frame rail. I think I can finally see the light at the end of the tunnel.
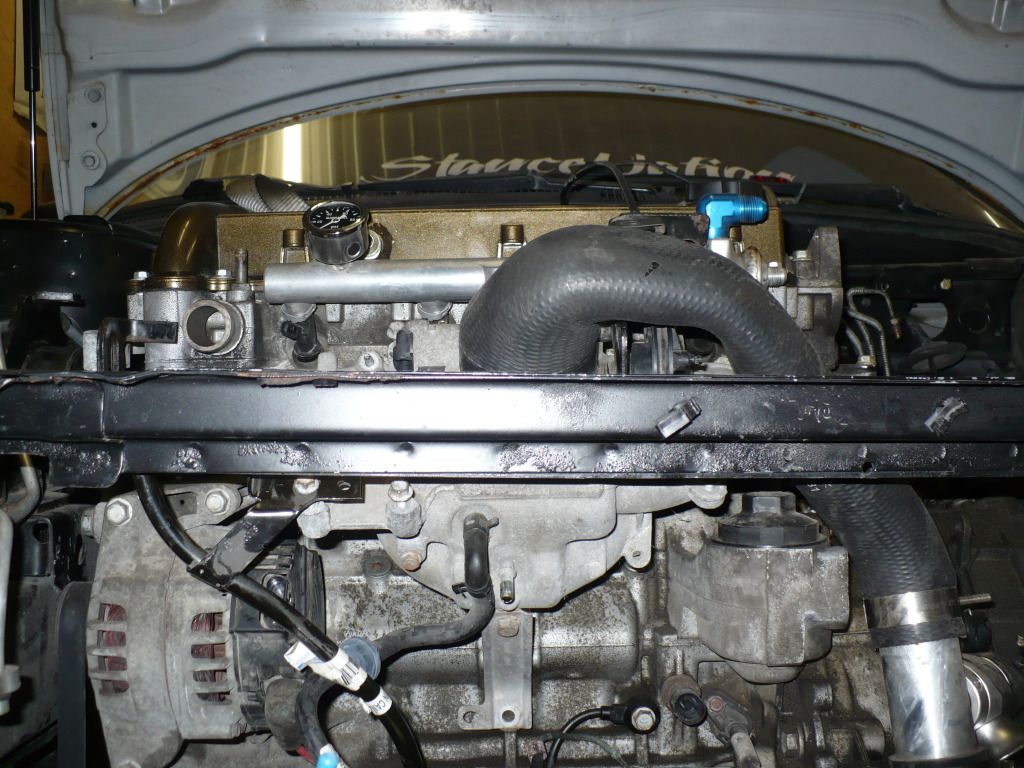
Took a break from cutting and grinding tonight to sit back and figure a few concerns out. Initially the plan was to swap the car back to N/A for the rest of the summer until the it went away again, simply because the hood would not close with the current tb/saab intake piping.
Well, Ryan to the rescue again. The factory Saab intake manifold is a direct Eco bolt on and sits much lower. All clears now, and the turbo will be reinstalled for the summer.
The dipstick tube I was running prior - from a 2.4 Eco, won't bolt down to the Saab manifold, luckily I had a brand new 2.2 Eco one laying around, that bolts directly to the Saab manifold where the PCM for the Saab's sit.
Slowly starting to come together.
Also put an axle back in and set some vehicle weight down, I knew I was going to have to notch the frame rail for the axles, but I was very happy to find out it wasn't going to need notched near as much as I thought - never grabbed a pic, oops. However, the CV shafts are at a much more acceptable angle, pretty excited to not have driveshaft shake anymore.
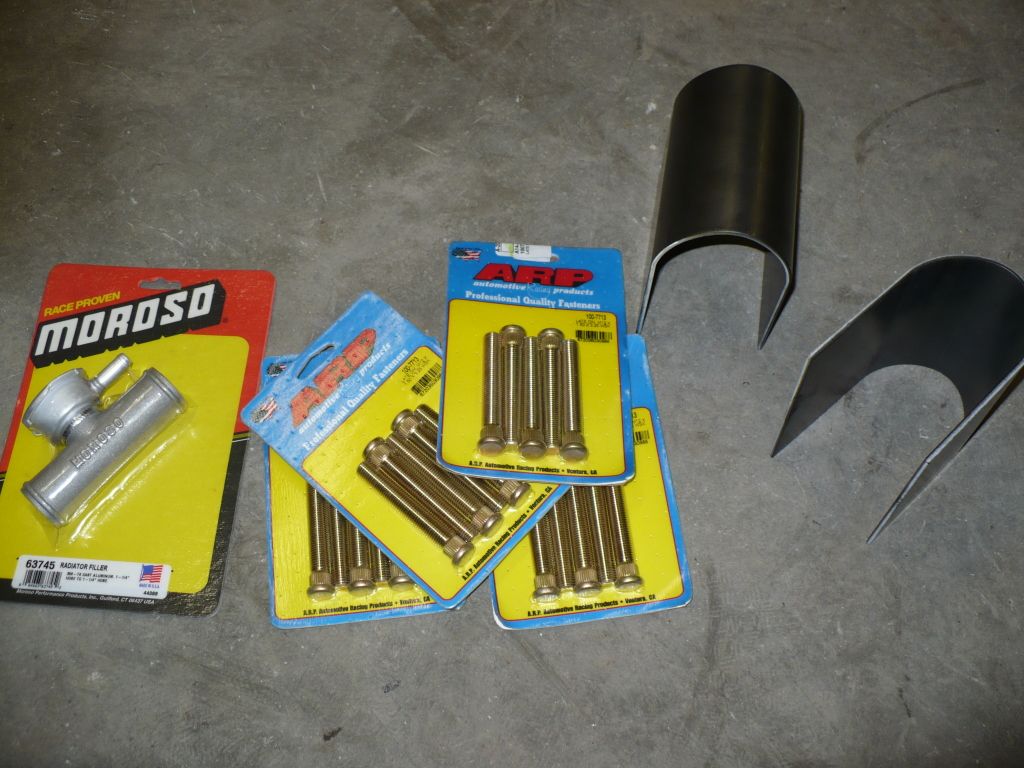
Got some goods in the mail today/an order showed up at work. Since the new wheels won't need spacers/adapters (aside from a 10mm in the rear) I decided to get new studs, since I've always liked some stud poke through the wheel nuts. Also got a Moroso ....thingy... to put in the rad hose since I won't be able to run my G6 overflow jug anymore.
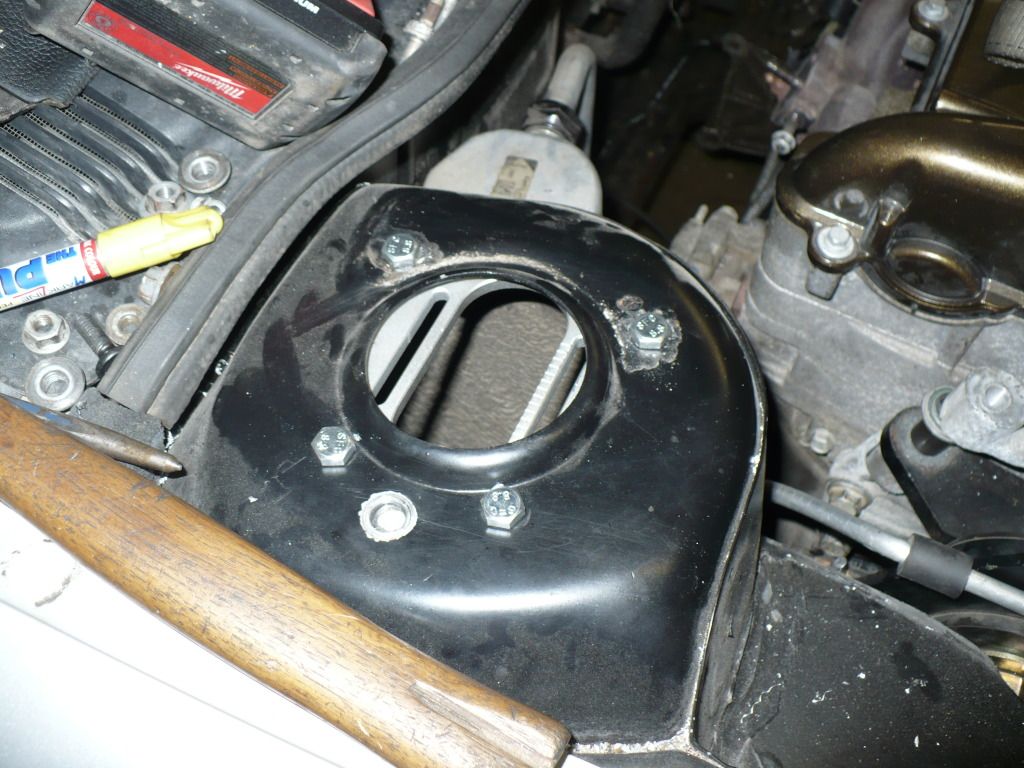
And what I've been waiting for anxiously, my camber plates. I bought "universal" ones off of Ebay, they were cheap and I thought for the price I can just toss them if they're junk. To my surprise they're actually quite nice.
They come blank, so you have to drill your own holes. The plates on these is about the same diameter as the bolt circle for the stock mount, so you can't use the 3 stock holes. I decided to slide it in slightly and utilize the stock two inner holes, so I can still use my strut bar. I then decided to drill an added two holes on the outer side, then drilled and tapped all 4 holes to m8x1.25, same thread as stock.
Grabbed some temp bolts, and installed them, the bolts on both the adjusters and the plates themselves will be replaced with button head hex bolts.
I drilled one, then bolted them together to make a mirrored pattern for the other side. Worked quite well.
The plate installed -
Apparently I forgot to take pics of the whole thing assembled and in, but they are, so you'll have to wait until tomorrow, I guess.
The "factory" 3rd hole on the strut tower will be welded and smoothed, so don't start ****** on that.
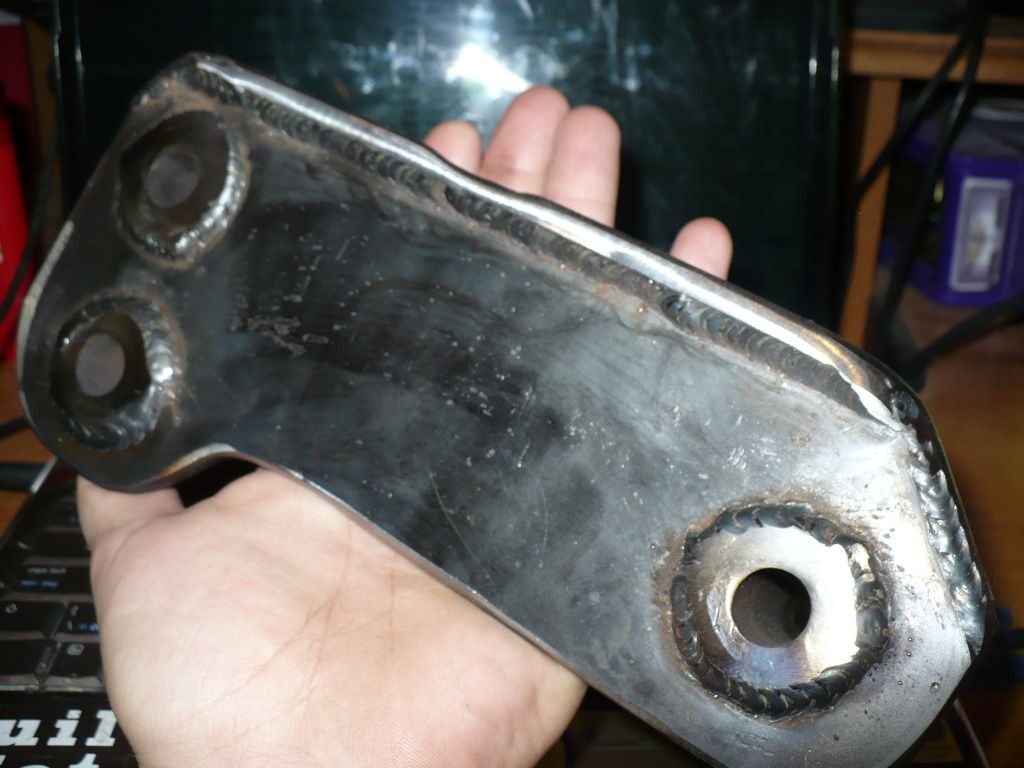
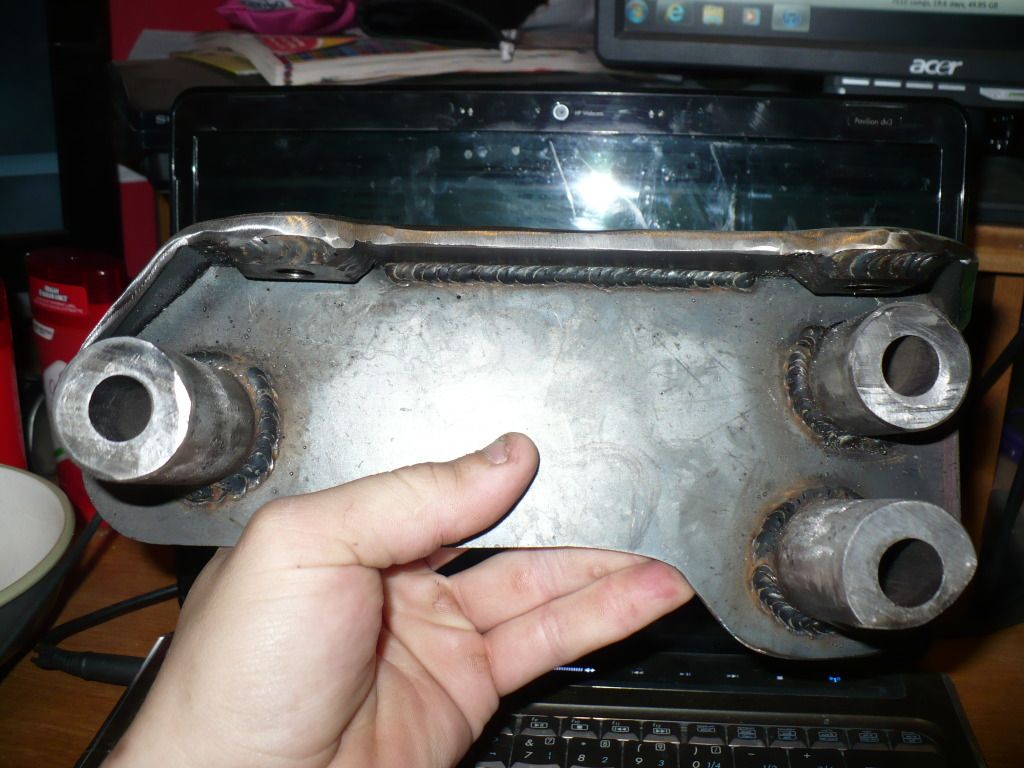
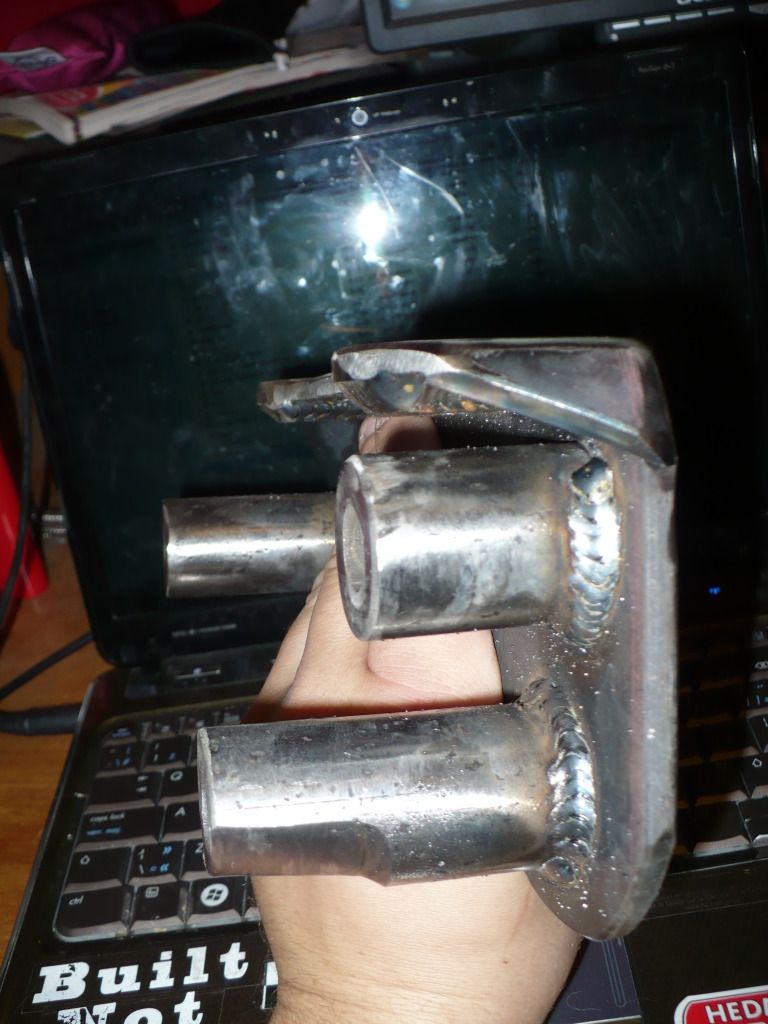
Well, finally got the engine mount bracket figured out, and made. I would pay good money to see Michigan try to destroy this thing again. I still need to have the bottom two holes straight bored, and will have to run flush mounted grade 8 hex bolts in them, just due to them being super close to the frame rail.
Forgot my camera at home last night, so I just brought the mount home... pics on the car soon, promise.
I wouldn't mind having some pattern milled into the center section, but I'm not real worried about it right now.
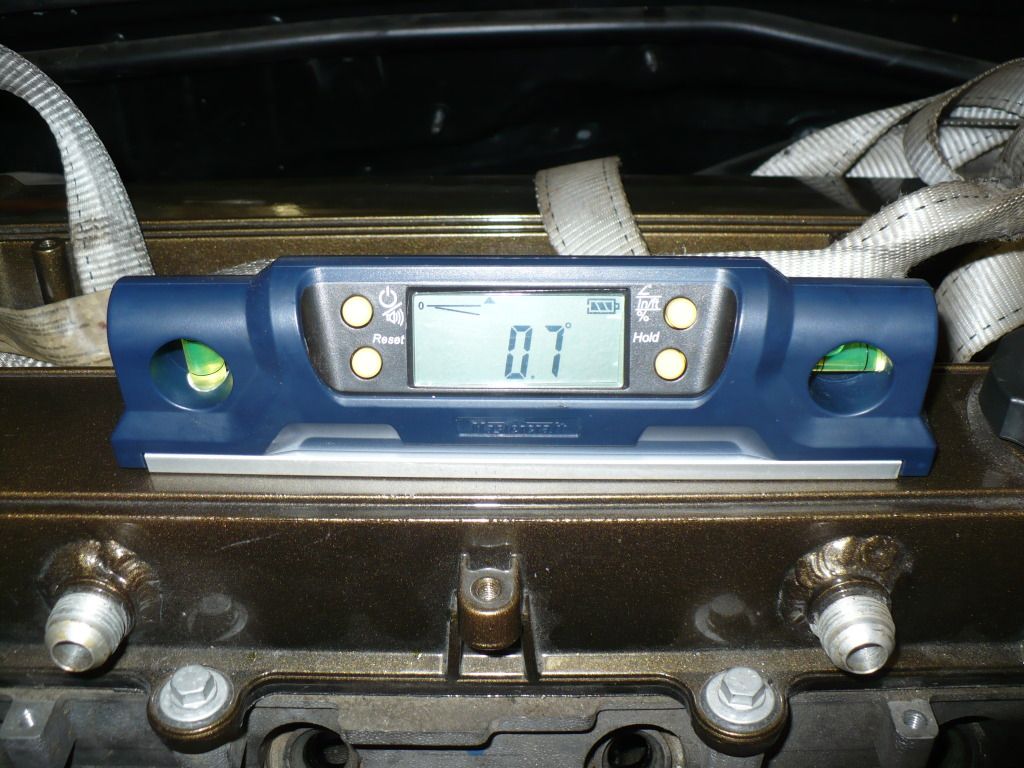
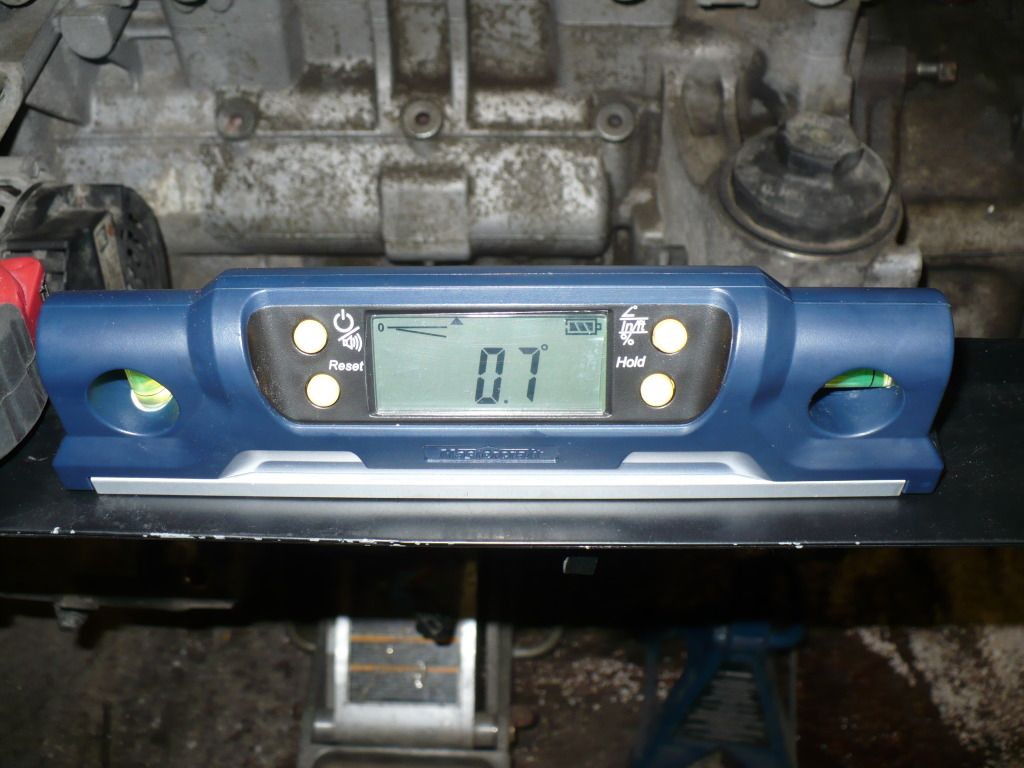
This means the engine is finally 100% level and supported to the car.
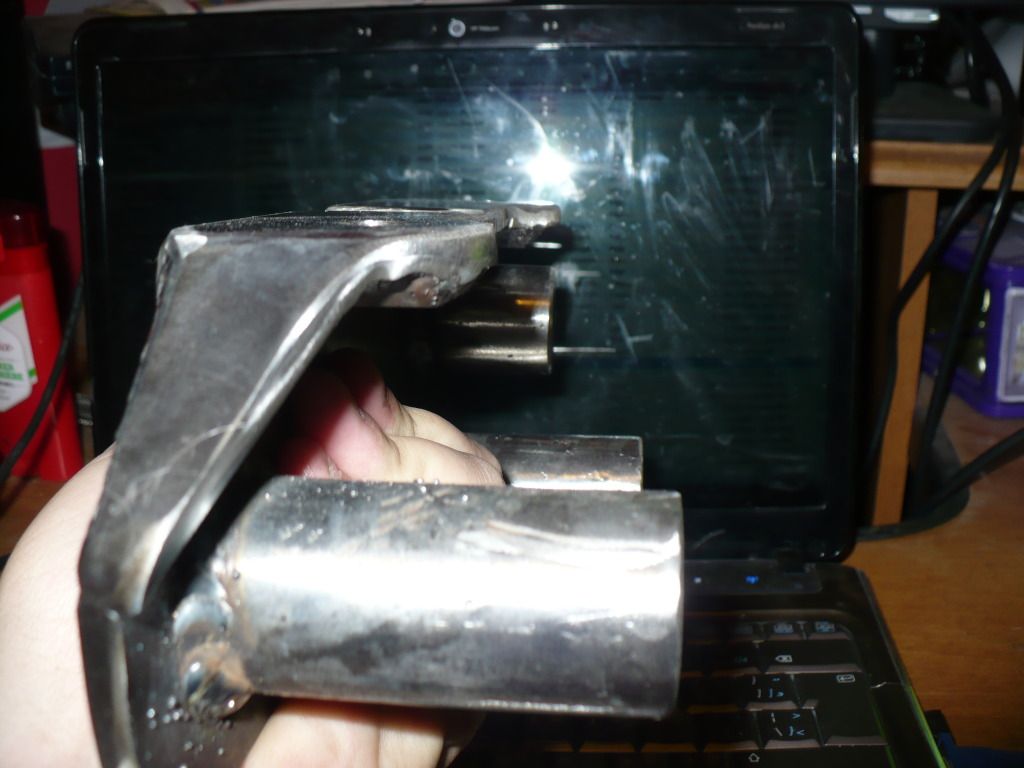
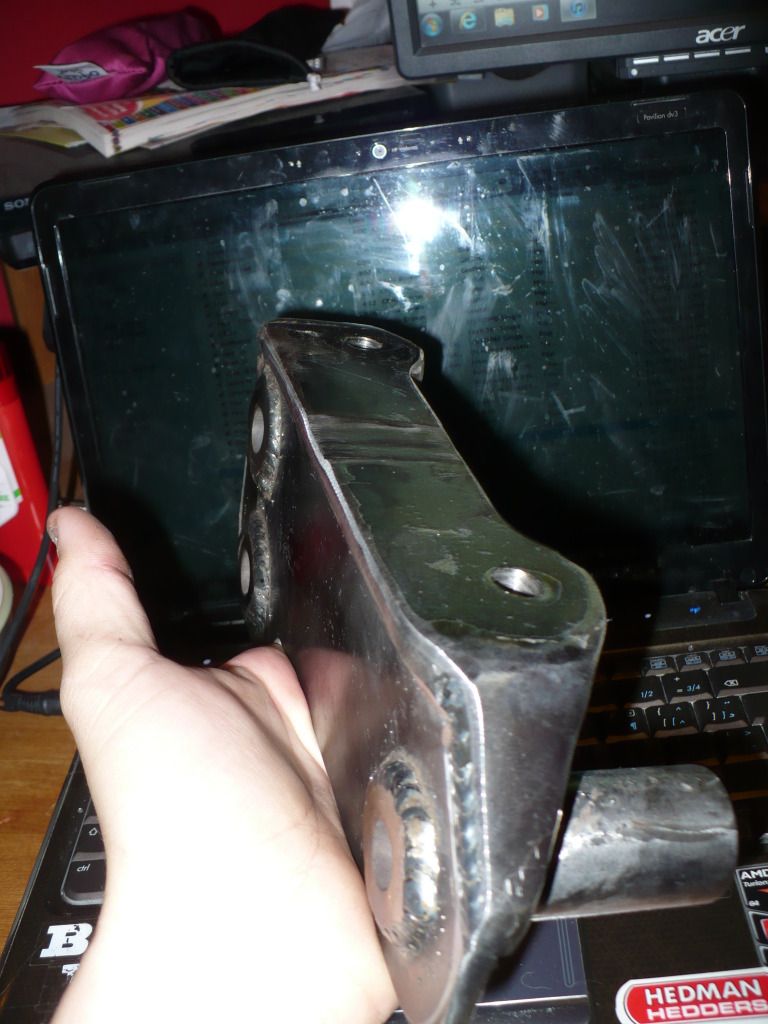
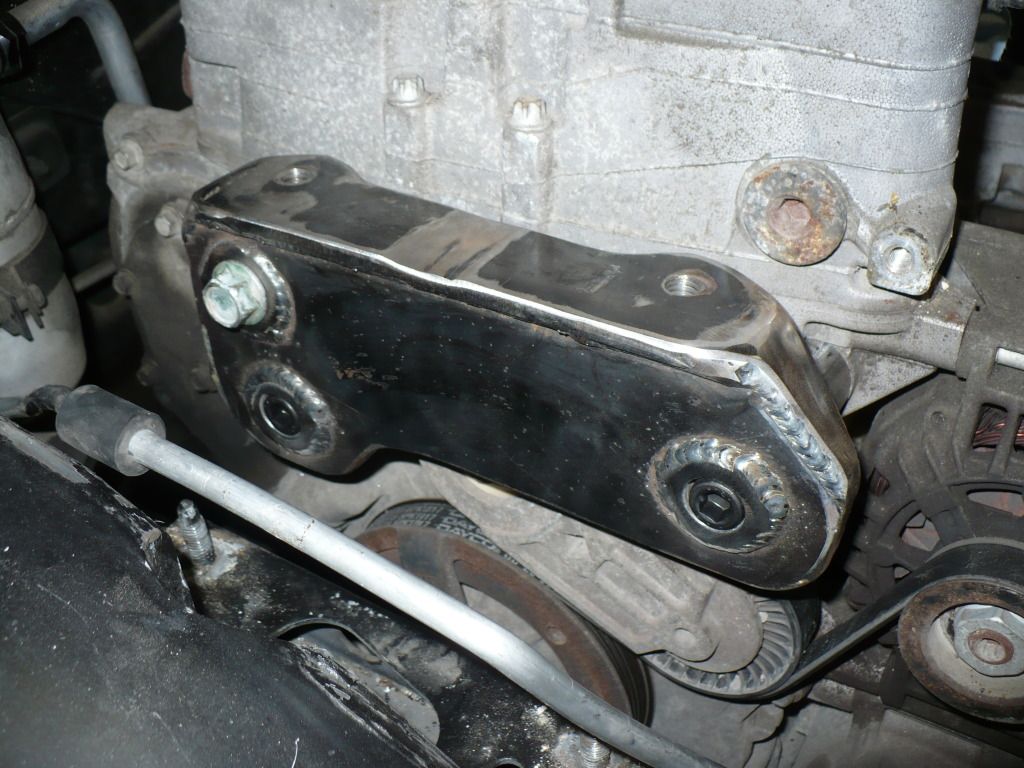
Got the mount bored out for the allen head bolts to sit in. Ordered the bolts, the ones that showed up were not the ones I ordered, they're too short. Great. They'll work for now but will need to be changed before the car is driveable.
The mount is a total success, I may clean it up a little, and will definitely be painting it, but for now I couldn't be happier.
Onto the bad news.
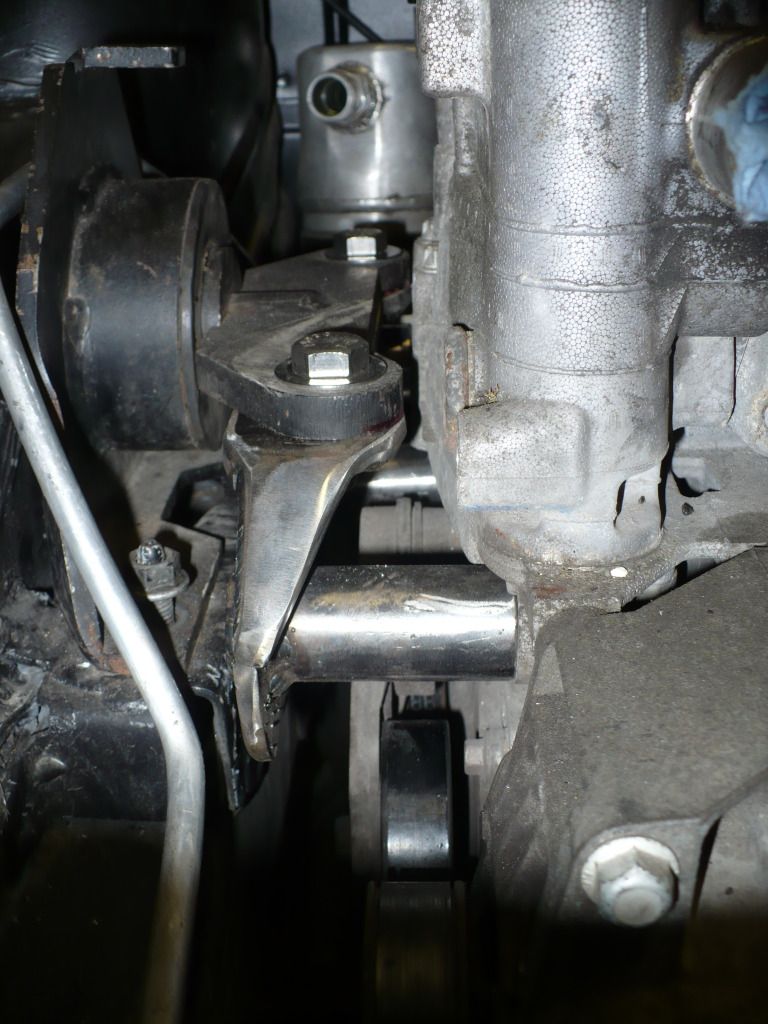
With the engine now fully seated where it will be permanently, I decided I'd put the suspension back toghether and check clearances of axles and things.
Clearance, there is none.
The axles are resting against the frame rail on either side, and the left side axle is playing kissy-kissy with the brake lines.
Fucking awesome.
Yep... probably not gonna touch the car for a few days, seeing as I currently loathe it.
 Tweet
Tweet


Comment