-
the vibration is back.
the good news is that I know what it is, and I think it's happening because i have no angle at my pinion U joint (I've read that the needle bearings don't move like that and thus fail), and I have some angle (probably too much) at the trans output. Solution? hopefully raising the trans a little bit, thus reducing the difference in angle at the two ends, and also giving the rear U joint just enough angle to rotate the needle bearings. I guess they are supposed to be within 3 degrees of each other or something, and they probably aren't now.
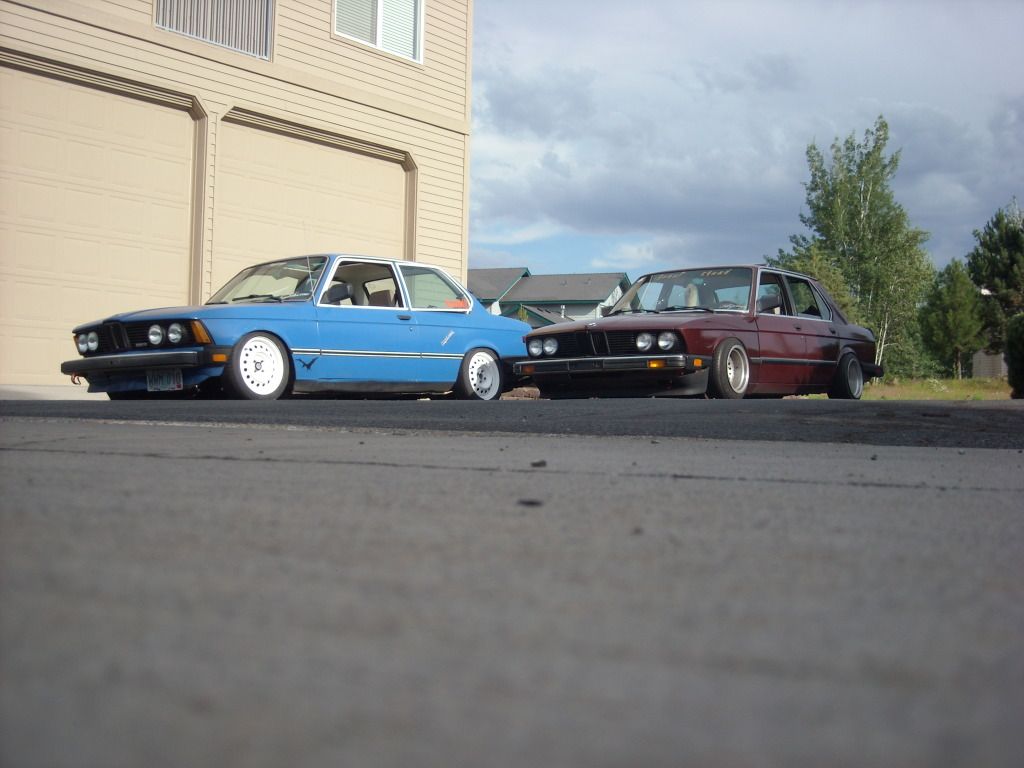
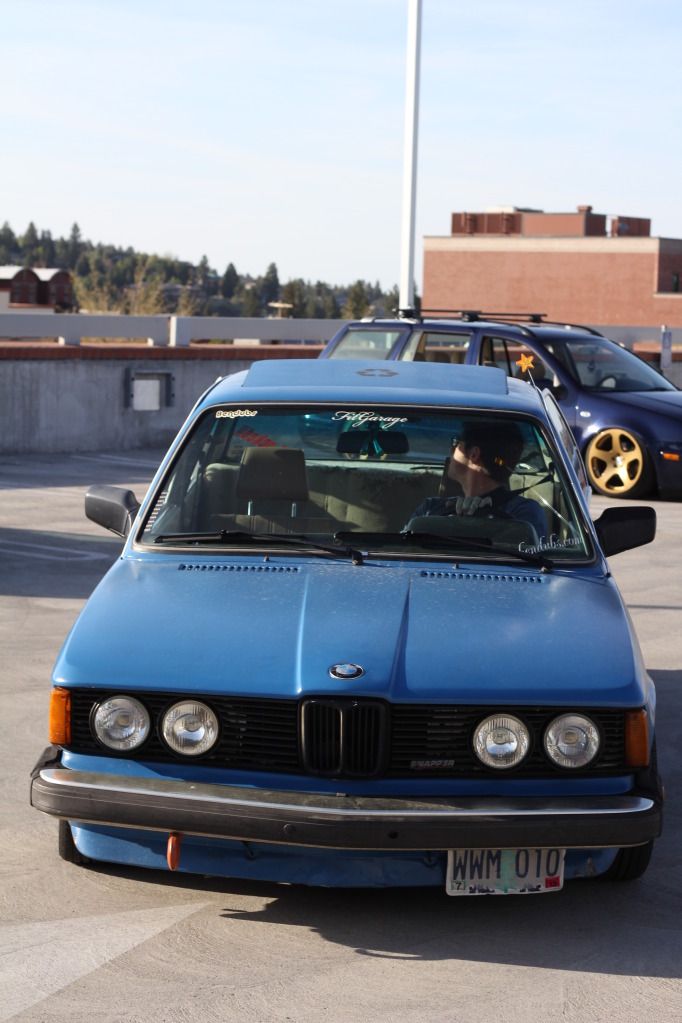
In other news, I've given the car a little bit of TLC with my small amounts of free time, and I managed to go to the Bendubs Show N Shine 2012!
Leave a comment:
-
It's alive!
My horrible vibration issue is gone! (long story)
the rear U joint on the driveline was bad. It was fine when the driveline was put in, but it took me a while of trouble shooting to finally replace the bad tail shaft bushing on the other end. Between that, the period of time where the sub frame bushings were shot (making the car behave in a scary way on the road), and the fact that the U joint was re-used from the driveline that almost killed me (it was nice and tight when it was put in the new driveline), I guess it just went bad around the time I resolved the other issues. The car is tight like a tiger now though!
The bad news is that the diff that was inspected, which only had slight heat marks on the pinion bearings, still makes more noise than I'd like it to. I tried Lucas oil stabilizer in the diff along with some high quality fully synthetic gear oil, and it's not nearly as bad as before the inspection, but still, it makes me nervous. Since it's significantly quieter than before, I'm not going to worry about it for now unless it gets worse. I'm pretty happy that I can finally drive my car over 50 and feel great. Upgrading the brakes will soon be in order.
Leave a comment:
-
I'm on board with those paint ideas, but I don't think red accents are for this car. I was kind of thinking of an earthy brown or retro gold actually. or maybe a greyish blue, sort of like the stock color of the car. that way my door jams and stuff would still match kind of.
In other news, just two not so amazing burnouts made my freshly rebuilt diff whine. I'm pretty upset with that after having gone through all the trouble putting diffs in and out of the car and spending all that money. I just had 3 hernias on my stomach repaired, so I'm not supposed to lift more than 10 pounds for 8 weeks. ........ but anyways, when I get a chance I'll get under the car and make sure the crush sleeve didn't come loose or something and maybe pop the cover off. I'm pretty sure I'm either just going to get rid of the car, or more likely, upgrade the diff. I'm pretty sure things like E28's and E30's have the same bolt pattern for the CV's and stuff, so if I could find something like that, I can change my sub frame and stuff to make it fit... if the width is correct that is. Another option if I can make it fit without interfering with my fuel cell setup is to simply put a linked live axle under the back of the car. If my fuel cell isn't in the way of that, (haven't checked that out), it might be a realy good option I think, of perhaps I can try to retro fit an S13 or FC rear subframe, supsension, diff under the back of the car. Lots of options perhaps.
The guy who rebuilt my diff has an extremely good reputation, so I trust he did everything right. My friend who owns G Fab Motorsports only trusts him to set up gears, so I've seen the guy's gear setups holding up to some seriously gnarly rock crawling. if he sets stuff up that withstands rock crawling, there is no way something he did wouldn't handle 2 burnouts in a 2500 pound car, unless E21 diffs are just flat out crap.
Anyways, that's where I'm at with the car.Leave a comment:
-
I think anything earthy, gold, tan, brown with a satined finish and some red accents would be so cool. my $.02
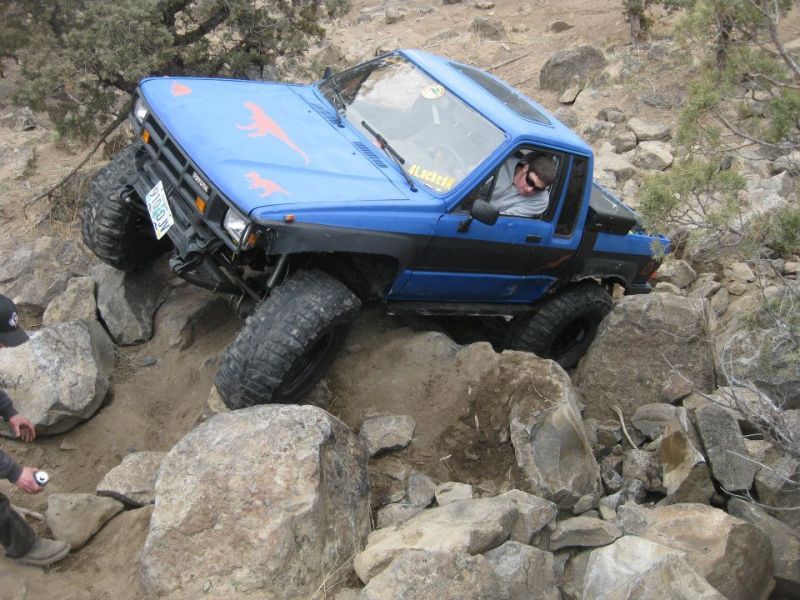
check this, should be the first pictures
Leave a comment:
-
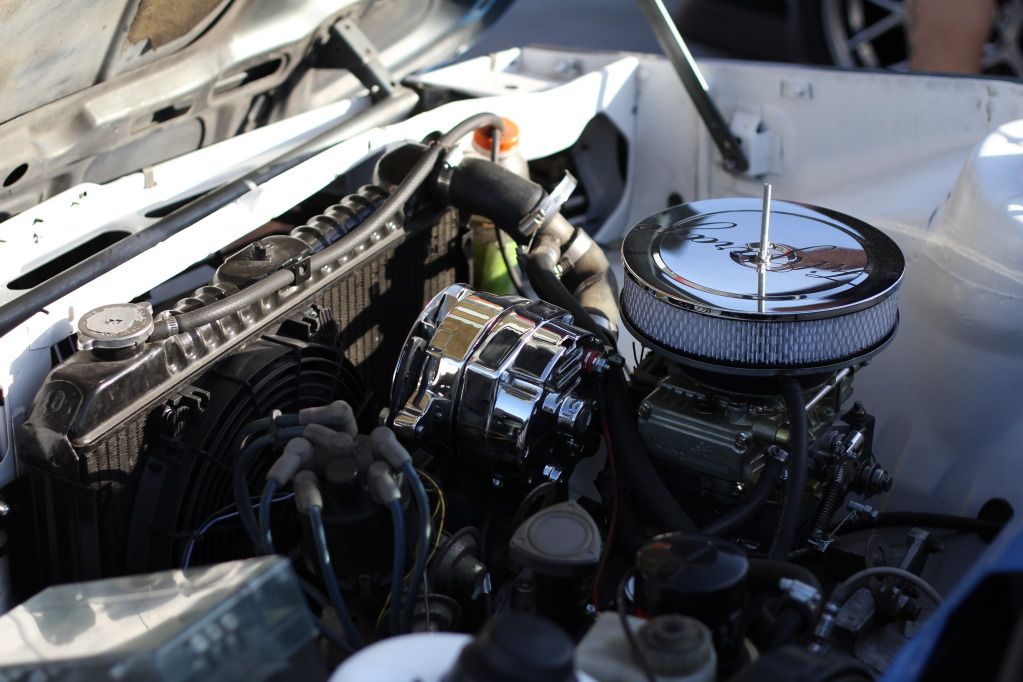
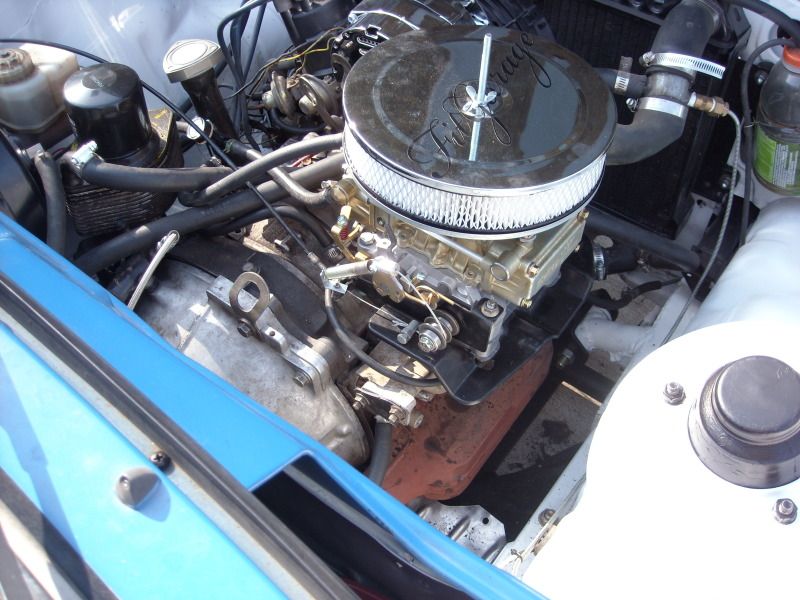
I've removed the stock carb spacer, which helped the idle, now I need to check for more vacuum leaks soon and see if that's why my idle is at about 1200 RPM. Anyways, the carb is working great, probably the best upgrade I've ever done to this car. Now if only I could finish eradicating my bad vibration that upset me enough to have it for sale a while back.
[/quote]
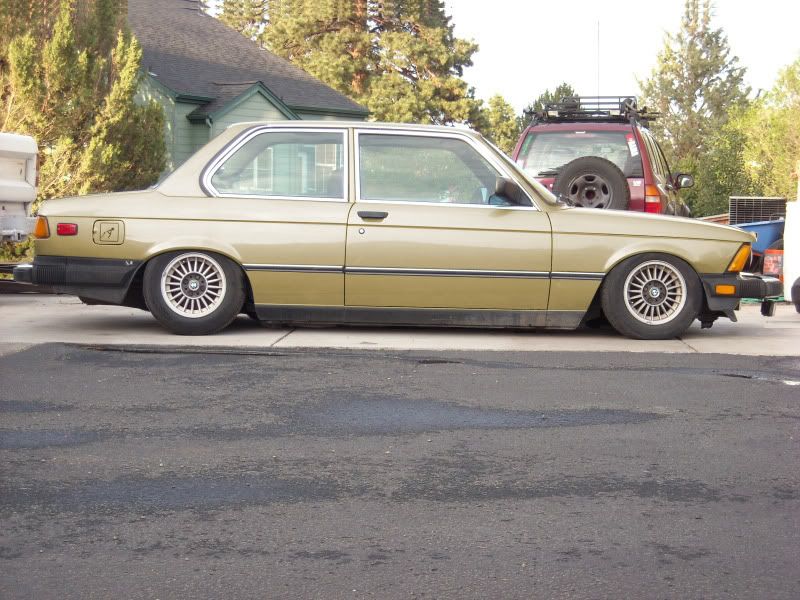
Also, I want to change up the color. I think I'm going to paint the white trim black (kind of got tired of the white), and I was thinking of either a different shade of blue, or maybe a gold. the passenger side rear quarter panel has a ton of bondo on it that is rusting from underneath, so it's been chipping away and reminding me that I need to do a little body work. I guess that's the trouble with a totaled car.
Here's a photoshop from a long time ago of my car to give you a feel of gold. My friend Alex isn't down with the idea, but I'm thinking it would look good, and my opinion is the most important on this issue.
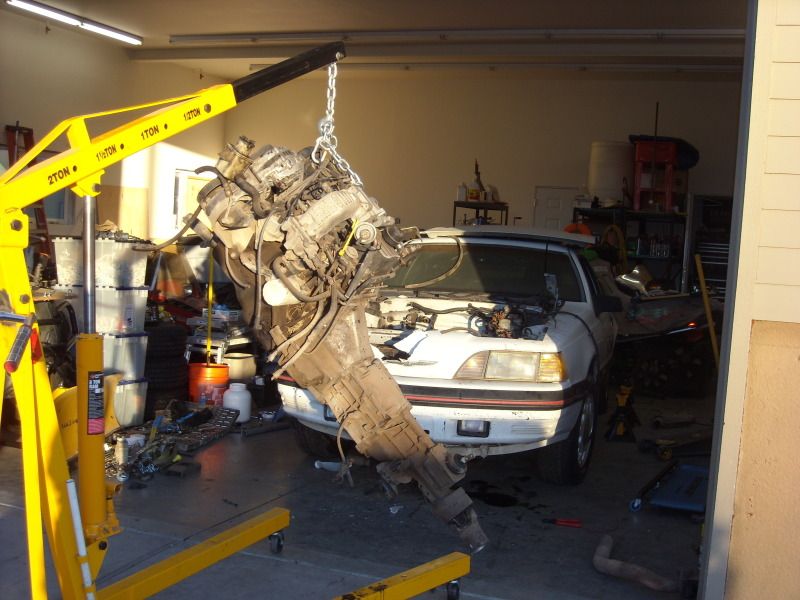
Also, I believe I broke my front ring and pinion in my crawler. So now I have even more stuff to add to my huge mental list of things to do with my projects.
The good news is, I just sold my ford 2.3 turbo motor, which was bought to maybe start a replacement for the BMW... while I didn't want to sell it too badly, I wasn't going to get around to it for a while, and it paid for my holley.
Leave a comment:
-
sitting in class at sac state, looked up after reading this build and it's about 30 minutes later. thank you for teaching me valuable info
Leave a comment:
-
I've always seen your sig but never read your actual build thread. I just did, and I gotta say your fabricate-whatever-I-want, jump right in attitude is awesome. And it's cool that you have a rotary in this thing!Leave a comment:
-
It lives!
I need to figure out why it idles kind of high. the idle screw is adjusted all the way out. I know I have a vacuum leak at my bottom factory carb spacer, but I don't think that's causing the high idle. Perhaps I just need to jet down? I don't know.
Leave a comment:
-
Thank you sir.
I knew about the vacuum deal for the secondaries, and I just checked it out, and it appears I have a heat choke. that threaded fitting leads to a small opening inside the choke mechanism and there is a coil type deal that holds the choke in place. I imagine it wouldn't be difficult to just put an electric choke unit on it.
For the hot air choke, I believe I need to buy this: http://shop.advanceautoparts.com/web...content=value4
kind of hokey, but it almost seems even simpler than an electric choke. probably cheaper too.
Another thing that concerns me is that there isn't a vacuum port for the PCV hose on this carb, so I need to figure out what to do with that. This should reduce clutter and be a good thing, but they way the emissions were removed on my 12A was kind of particular. apparently the vacuum stuff on my engine can mess some things up if it's not hooked up quite right. I need to look into that.
Anyways, here's a diagram of the carb, apparently mine's a bit different. LOL.
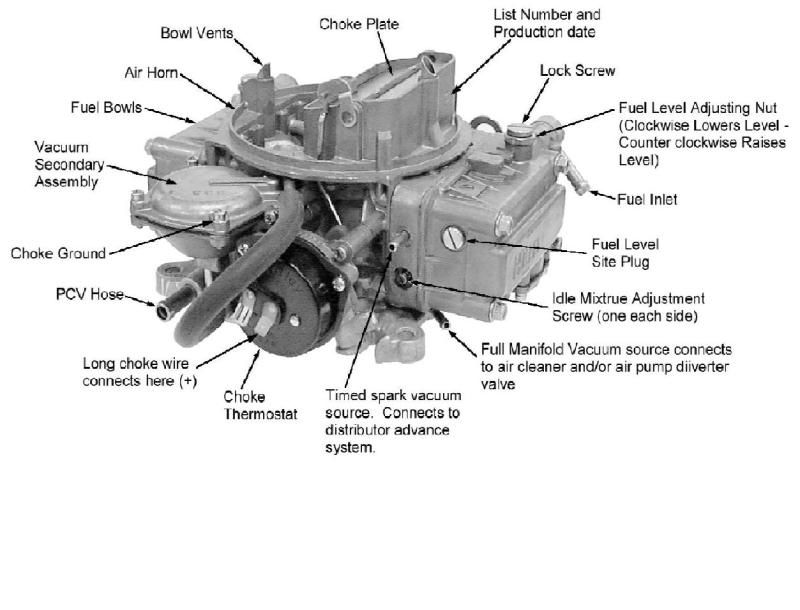
I'm kind of dumb when it comes to carburetors, but I'm trying.
oh, and just realized that I also don't have the vacuum port for the "full manifold vacuum source"
PS, I also just checked here and this is what I told The FitGarage to get me. it does say "hot air choke" on it. Looks like TFG definitely got me the right thing, only I'm seeing 2 different model 4160 carbs online. some have electric chokes it looks like, those ones probably have the extra vacuum ports too. I didn't know this at the time.
sorry if this post is kind of odd to read, I was doing some research as I was writing it, and I wouldn't be surprised it it's not laid out in an eloquent manner.Leave a comment:
-
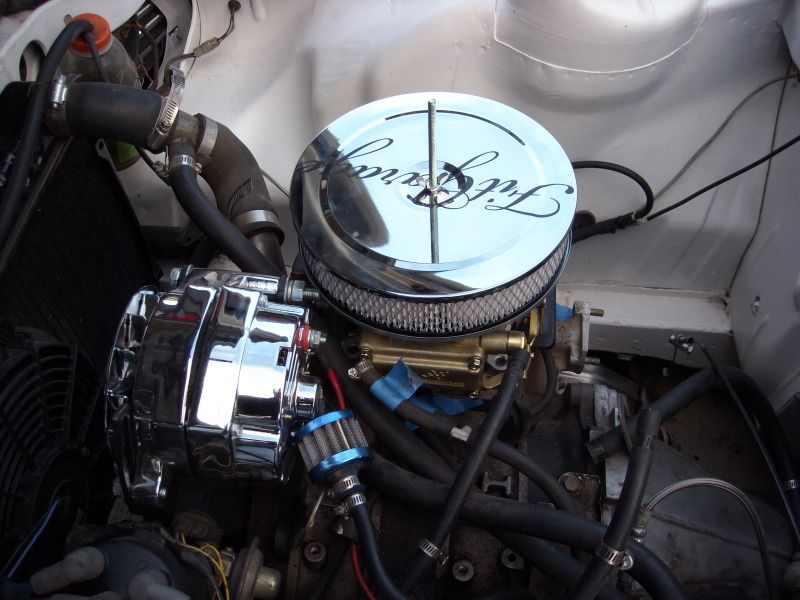
Love this car! the vacuum pot on the left is the secondary and the black circle thing is where the choke should be but isn't. someone forgot to put it in there!Leave a comment:
-
I'm injured and making slow progress.
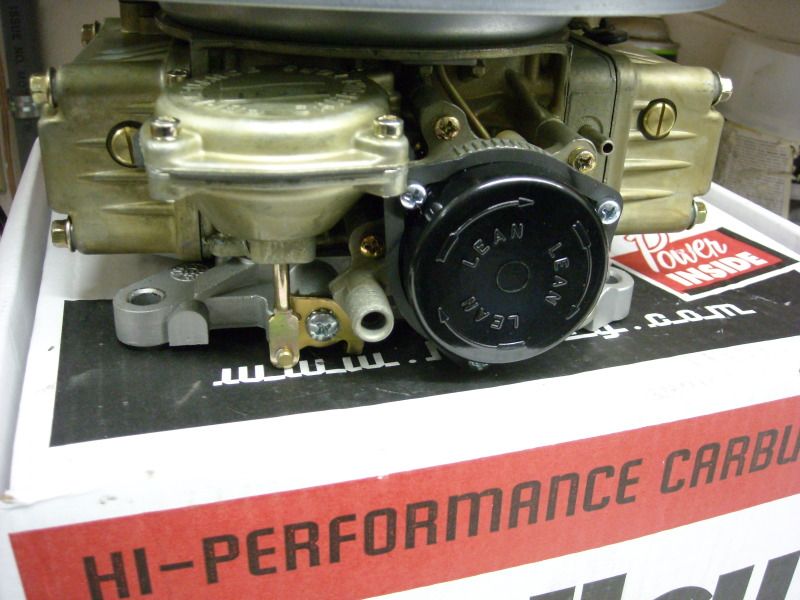
here's a shot of my choke mechanism that's confusing me. the "dvd footage" online for holley carbs says they only come with electric or manual chokes... this appears to me neither. This almost looks like a hookup for a hot choke to me, or maybe a fancy thread on vacuum thing? I'll figure it out soon enough with the power of google if all else fails.
and here's some mock up!
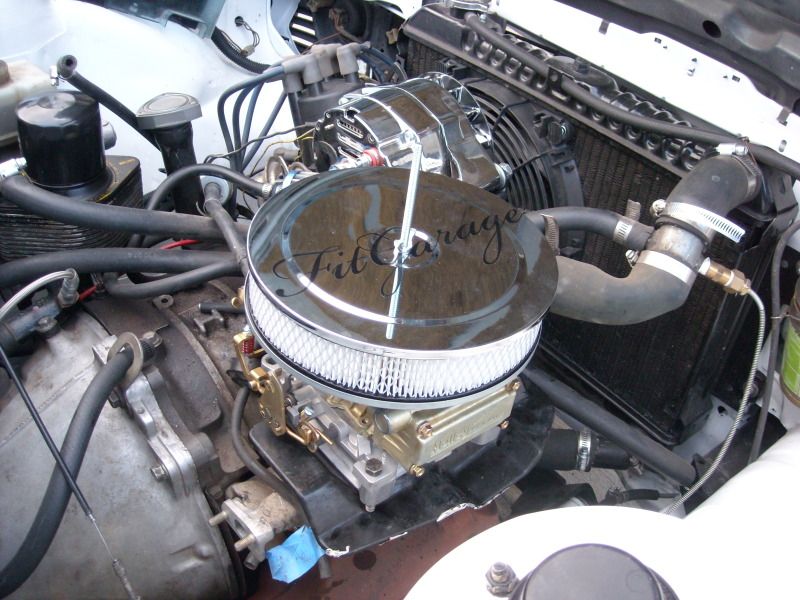
the air cleaner is too close to the alternator adapter bracket, but because I have heaps of hood clearance that I didn't expect, I'm just going to add another carb spacer to fix that. Seems like a better idea than an air cleaner spacer to me, plus the carb is closer to my dumb water cooled oil cooler lines and other stuff than I'd like anyways. the stock carb spacer is upside down in this pic, which was an accident, but I think it will work out really well that way actually.
oh yea, I'm also going to get a taller air filter for my air cleaner. I'm pretty happy with the 9" air cleaner, it seems like it will fit real nice.
lastly, a shot of the intake manifold I will be using next to the one I was using. you can see that the one I will be using has a lot of useless crap taken off of it, and even ghetto enlarged ports. I have to grind out my stock carb spacer to match real soon.
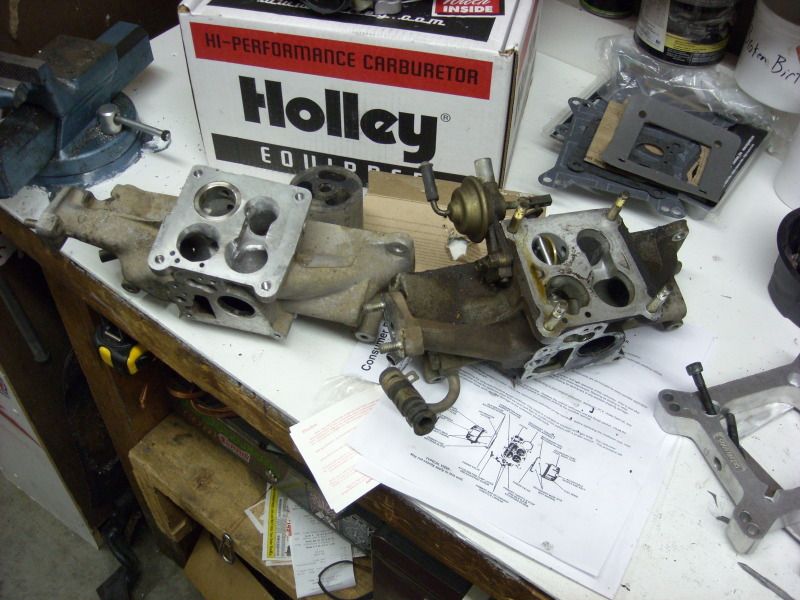
Thanks for tuning in!Leave a comment:


Leave a comment: