 Tweet
Tweet
a long time ago in a driveway far far away. . .
I found an e30 that needed to be adopted, so I signed the paperwork and passed the background check and it was all mine.
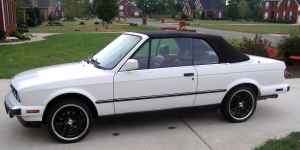
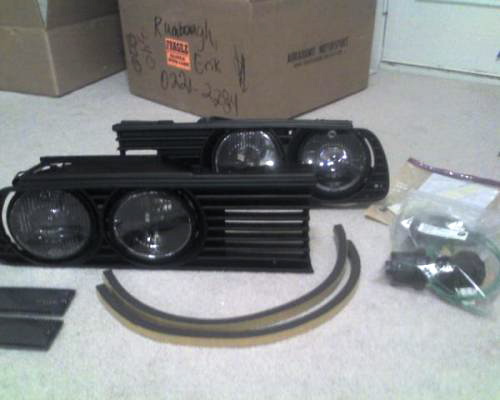
The headlamps were as if elves were sitting on the front bumper with candles so I found some suitable replacements. (I also got rid of the getto wheels with a quickness!)


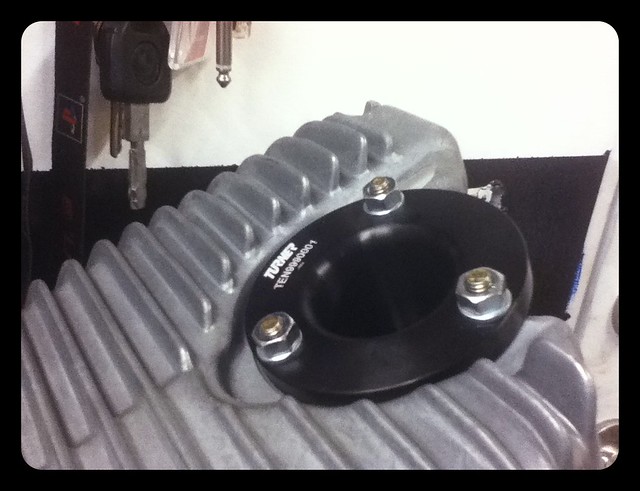
She wasn't looking to shabby for a daily at this point, but I desired an altitude adjustment and it was kinda time for some front brakes, which led to some wheels, which needed some tires, ect.
Altitude-Check

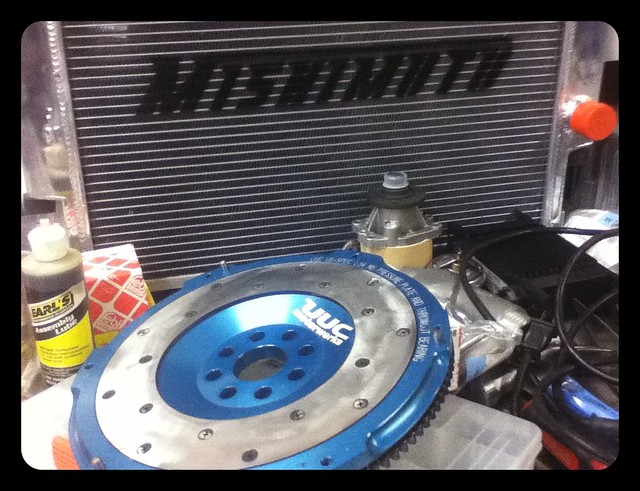
Brakes-Check

Wheels-Check (they even fit over the brakes!)

Tires- also Check

Add them all together and. . .


I found an e30 that needed to be adopted, so I signed the paperwork and passed the background check and it was all mine.
The headlamps were as if elves were sitting on the front bumper with candles so I found some suitable replacements. (I also got rid of the getto wheels with a quickness!)
She wasn't looking to shabby for a daily at this point, but I desired an altitude adjustment and it was kinda time for some front brakes, which led to some wheels, which needed some tires, ect.
Altitude-Check
Brakes-Check
Wheels-Check (they even fit over the brakes!)
Tires- also Check
Add them all together and. . .


Comment