Looking great so far - don't stop now!
I picked up an MK3 in similar (not as bad) shape. Thanks for the link for new metal!
-
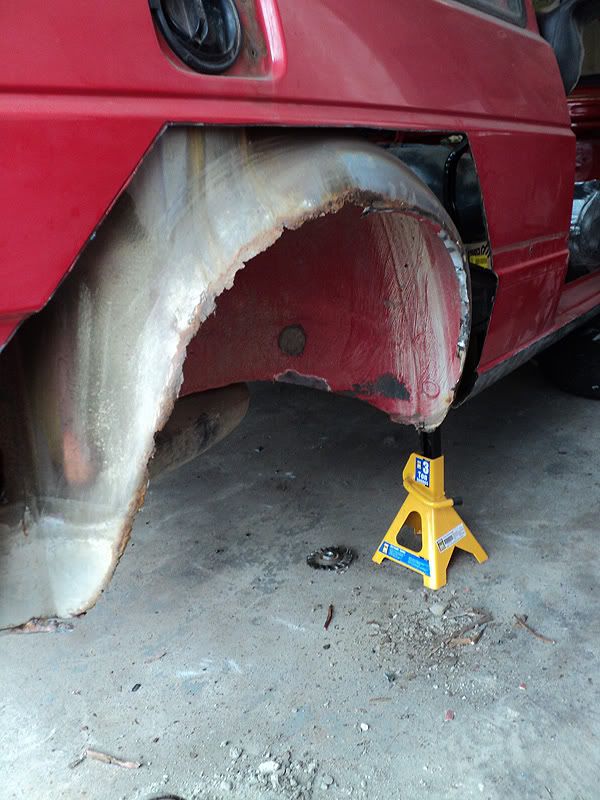
Thanks all. I was going to wait it out until I got a bit more work done on the rear but decided to update the thread as I progress though it be it big or small. I started on the passenger side today, tomorrow I should have the other side cut out.
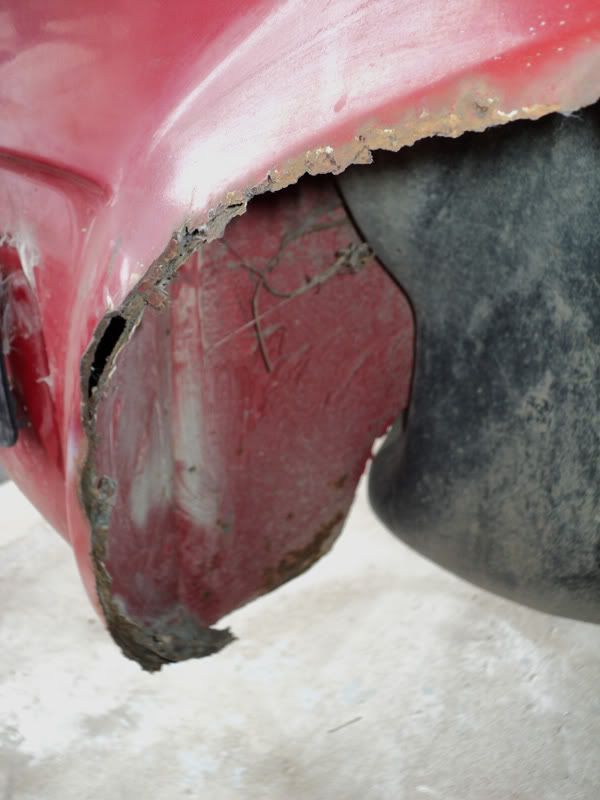
The wheel wells are not bad except for a few areas but regardless they will be getting cleaned up entirely and be re-coated with rust bullet and some kind of top coating.
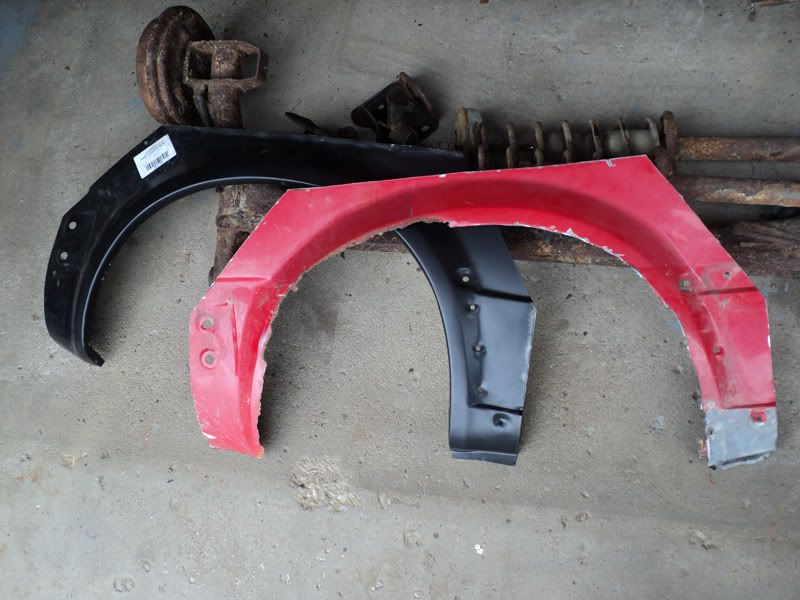
Sections of the inner housing will need to get cut out and replaced.
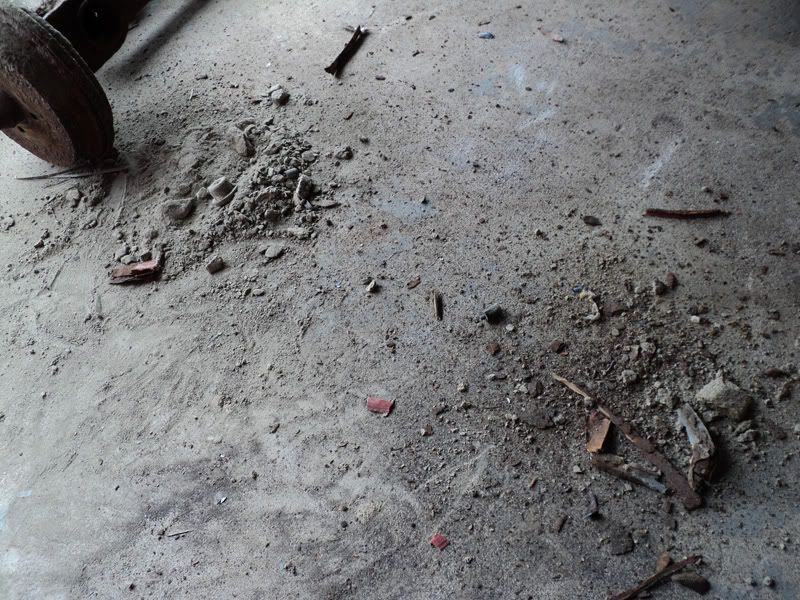
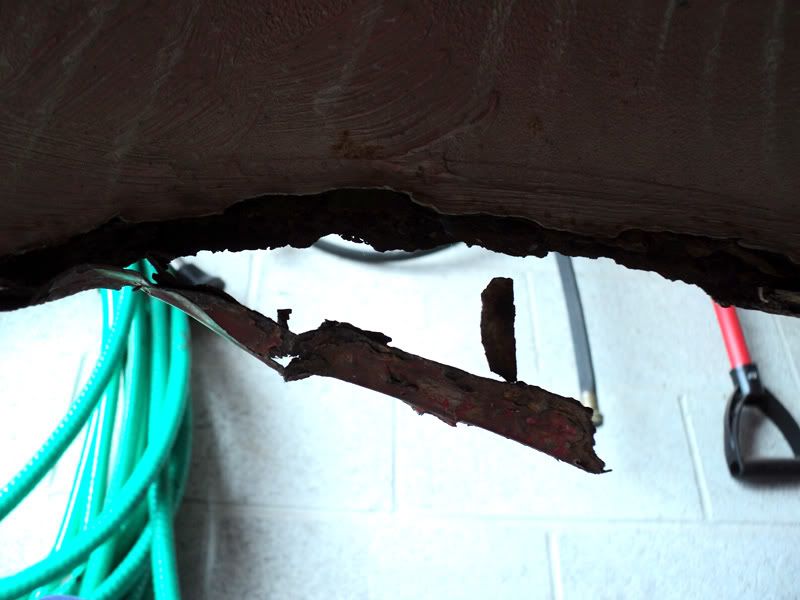
This is all the crap that was in the lower rear corner.
Theres a flap there that opens up into the rebar rail housing in the back.. don't know how so much crap got in there.
Leave a comment:
-
I love how this wasn't supposed to be a restore project at first. lol. Oh well, it's coming along great. Looking forward to seeing/reading more.
*subscribedLeave a comment:
-
wow. i love mk2 and glad to see u saved it from the bone yard. I would never undertake a project like this just from the shear lack of know how i commend u for itLeave a comment:
-
Small update since it was nice out.
Instead of backtracking now I can better document the progress and be able to snap some more pics.
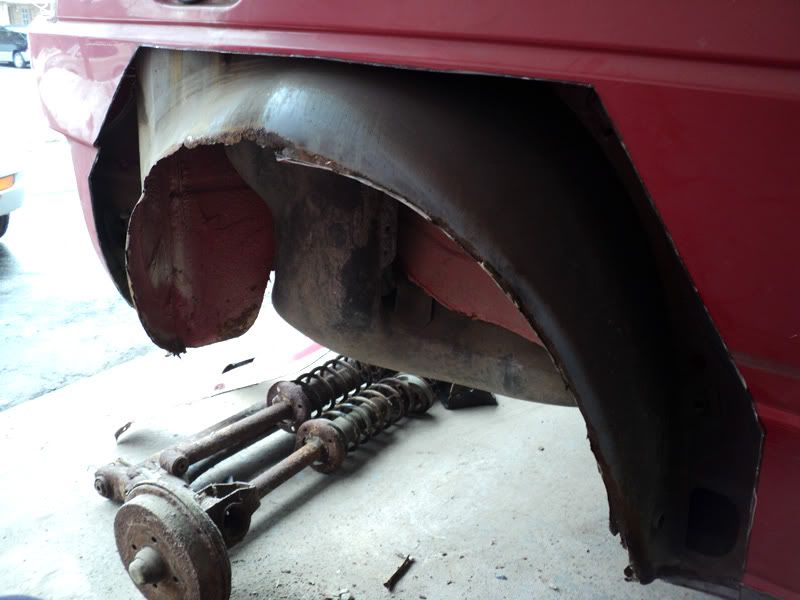
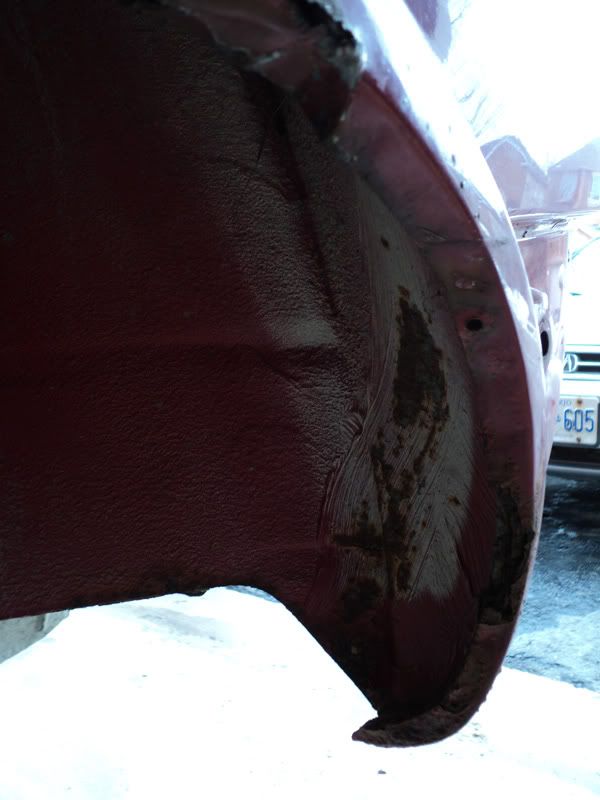
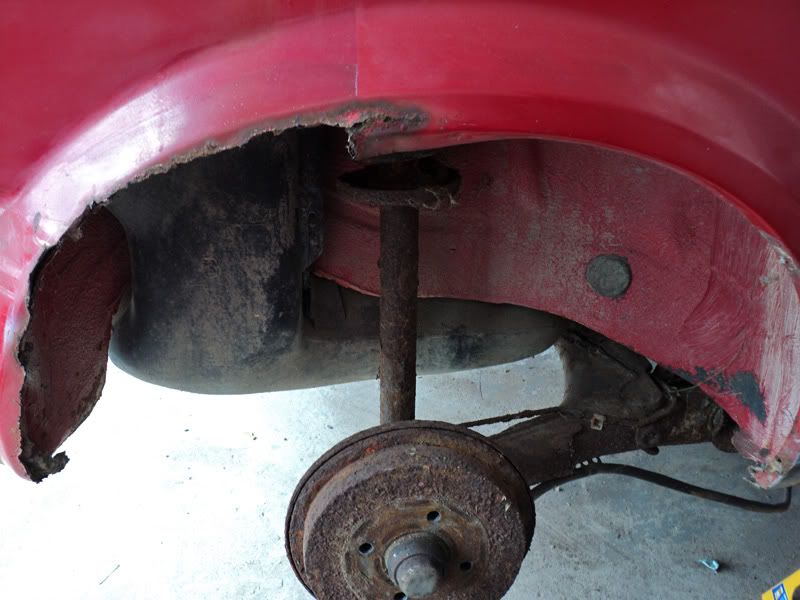
You can get an idea of the rear arches and how shitty they are.
Driver side
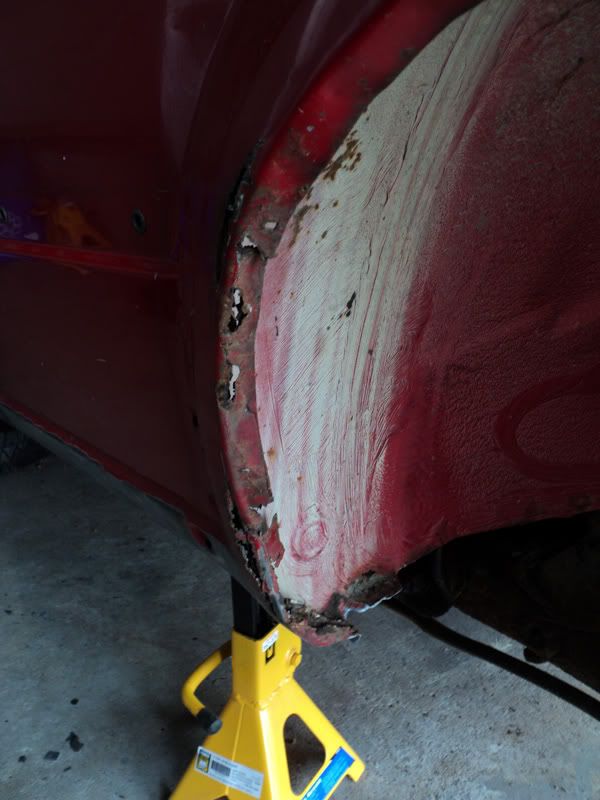
Passanger Side
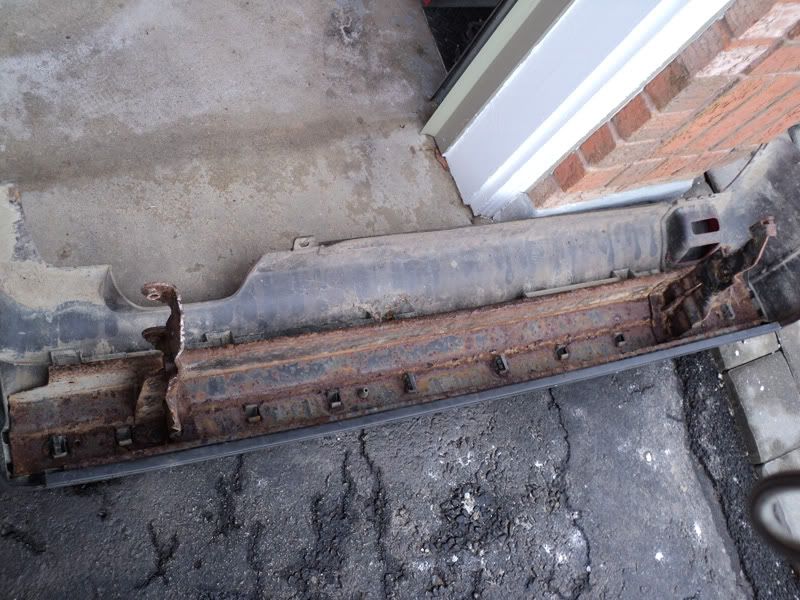
The rear bumper cover and rebar I took off previously. Its still salvageable and still has two broken bolts stuck in it but I haven't decided yet if I am sticking with the big bumpers or getting small euro's.
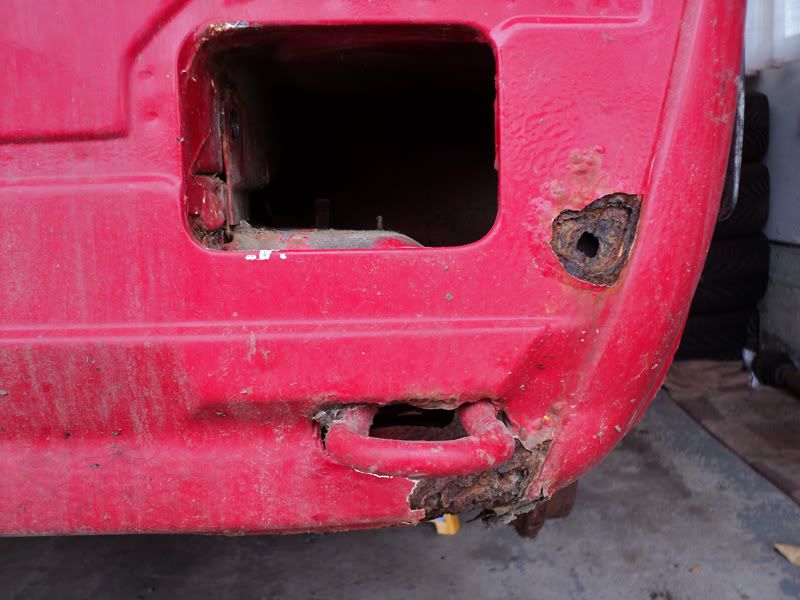
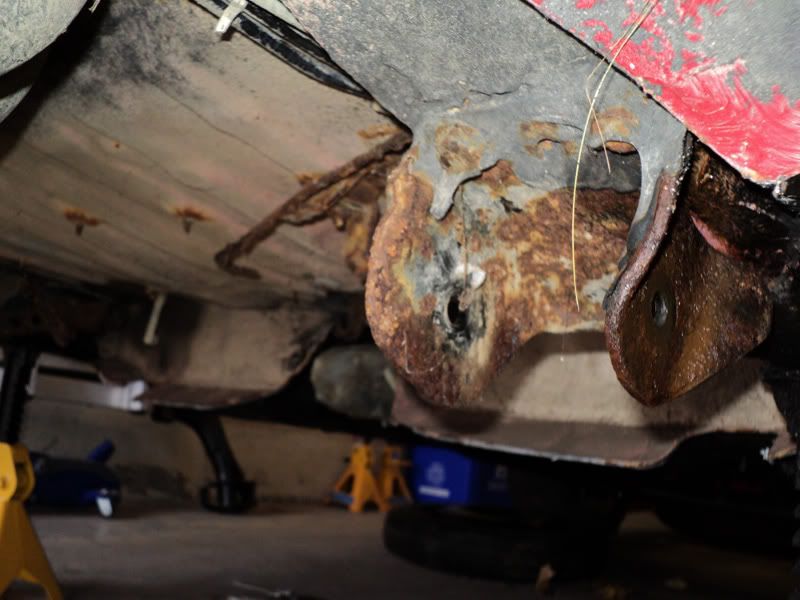
The rear apron is mostly ok except for the towhook area.
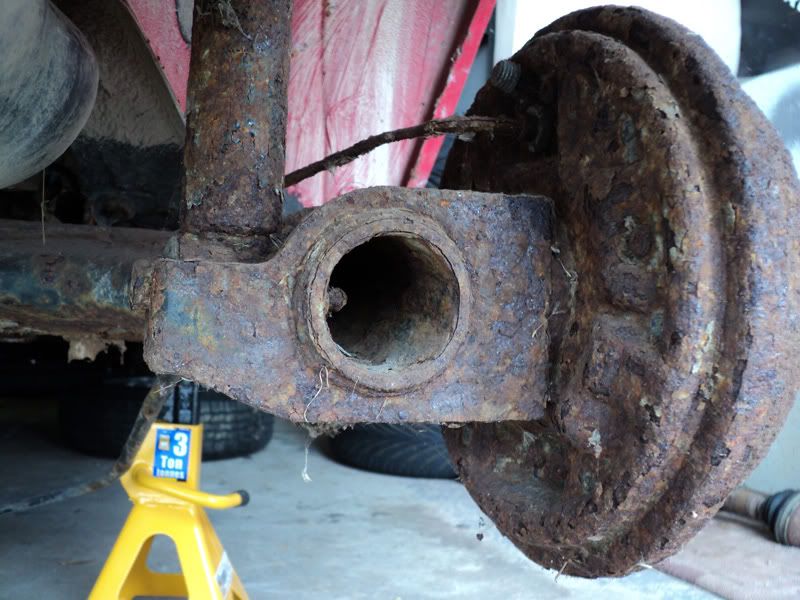
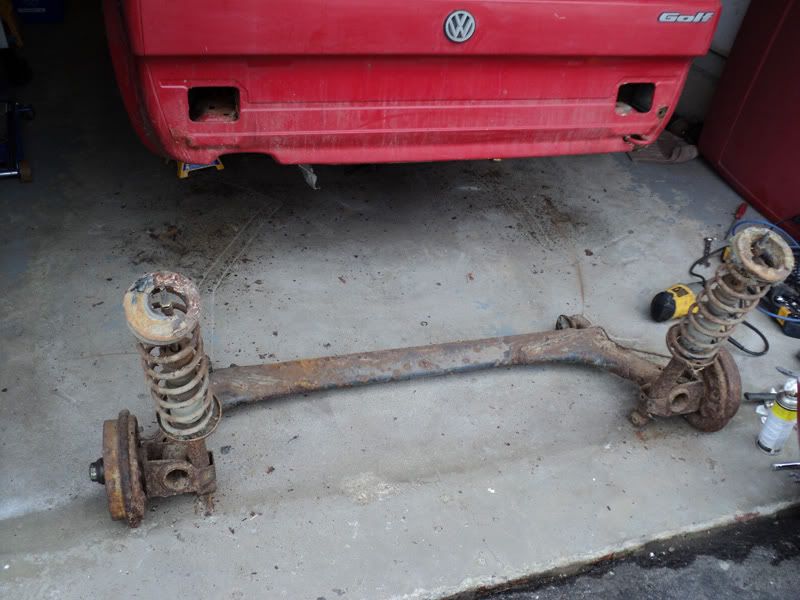
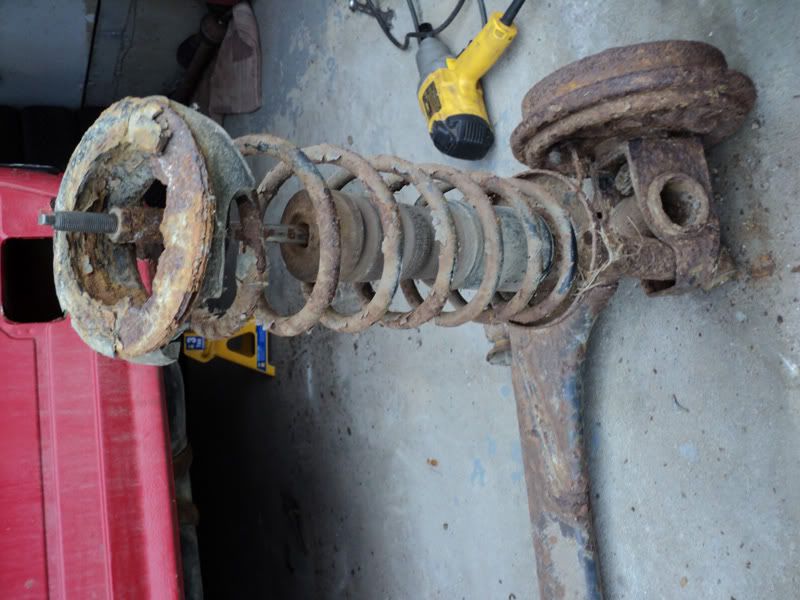
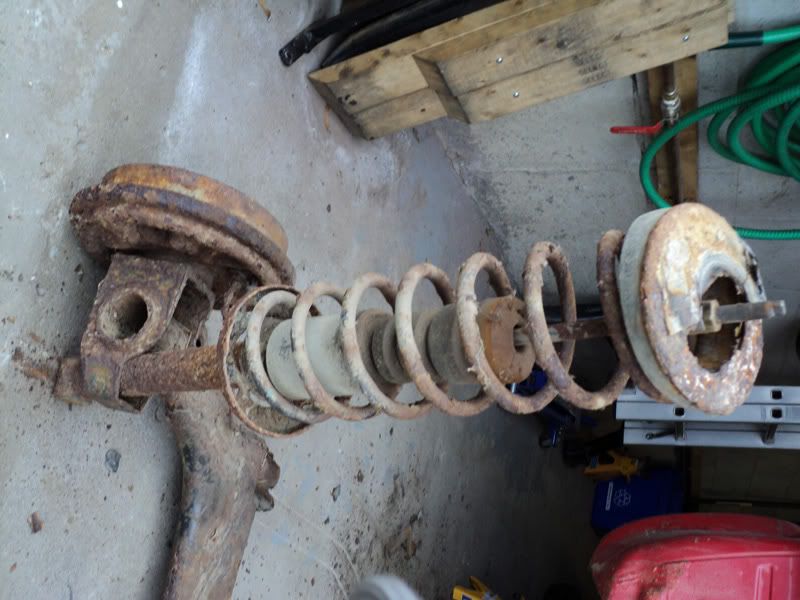
The rear beam, drums seized, lower strut bolts seized.
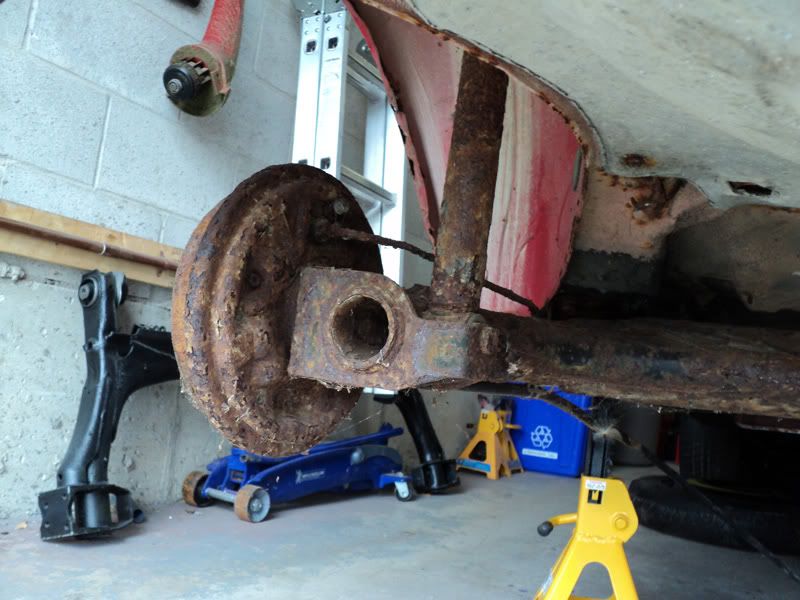
The front beam bolts weren't as bad as I thought they would be but you still had to clean them off with a wirewheel and soak them in penetrating fluid. With some persuasion they finally came off. Rear strut tower bolts were no problem.
I had a good laugh at the springhats.
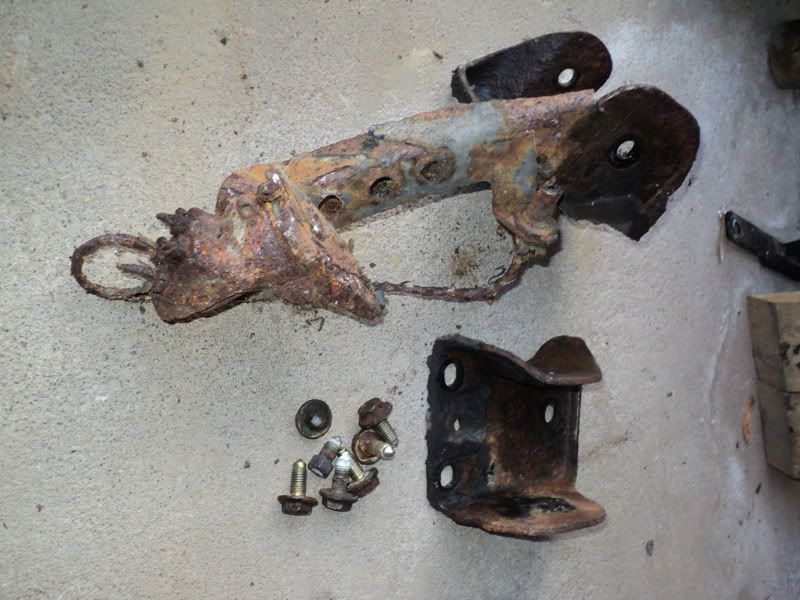
Here you can see the two shitty beam brackets that are held onto the body by 3 flanged 10mm bolts. Obviously they dont resemble a hex anymore so these also had to get wirewheeled and soaked. Some heat would really be nice to have at this point.
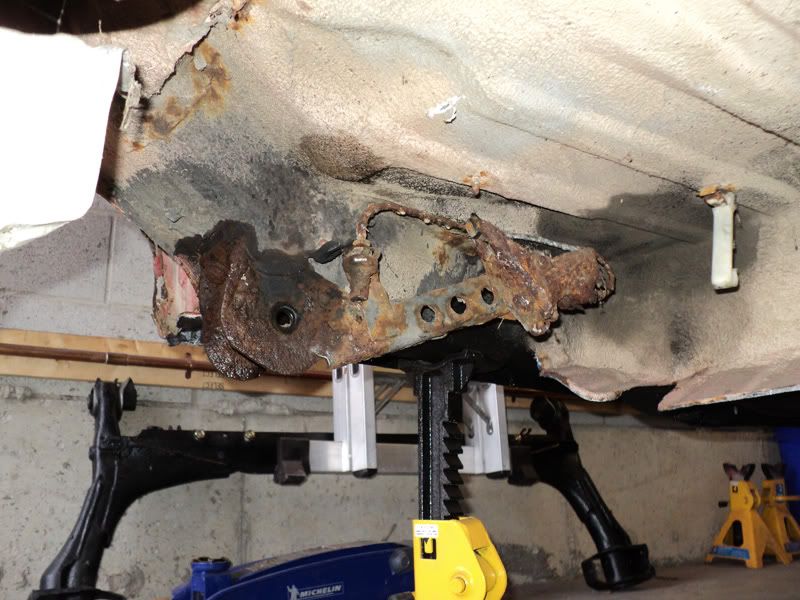
The last fucking bolt snapped clean. Its a nightmare when these break off because usually you have cut open the floor in the rear bench area and cut away the welded on threaded cap thats holding the broken bolt and weld in another one. I was able to add some weld to the snapped bolt. put a hex nut over it and fill the open nut with weld while it was still red hot I grabbed a wrench and twisted the pos out. thank god.


That thing at the end of the bracket used to be a proportioning valve.
Thats it for now, thanks for looking.Leave a comment:
-
Awesome build in progress man! I can't wait to see the final results.Leave a comment:
-
Wonderful build, great progress, looks wicked clean already.Leave a comment:
-
Great build!!! I plan on getting a start on my 99 this week too with the warm weather. Where abouts in Canada are you? I'm Barrie, Ontario.
Anyways, keep up the good work!Leave a comment:
-
Thanks guys.
This week seems like the weather will be around 10c. I might get out into the garage and start taking out the rear suspension and beam. Also might pick up some material for redoing the headliner.Leave a comment:
Leave a comment: