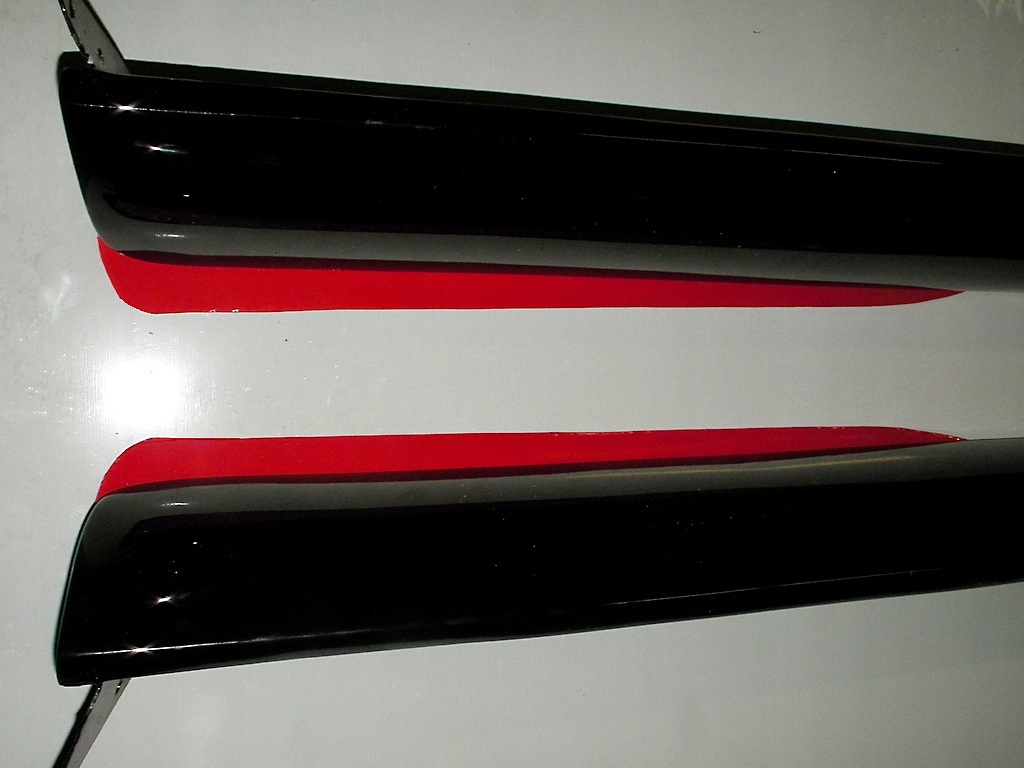
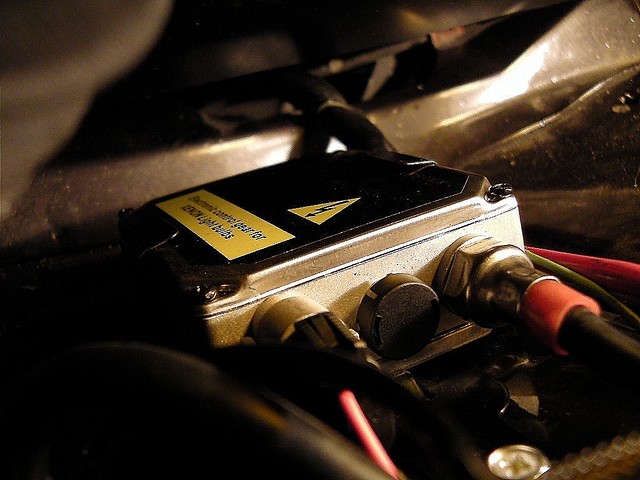
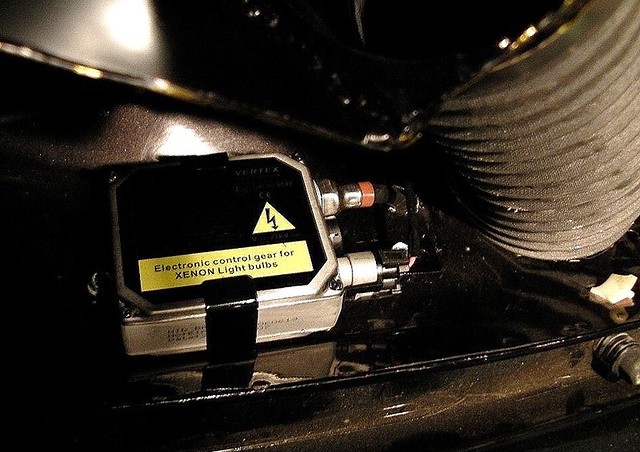
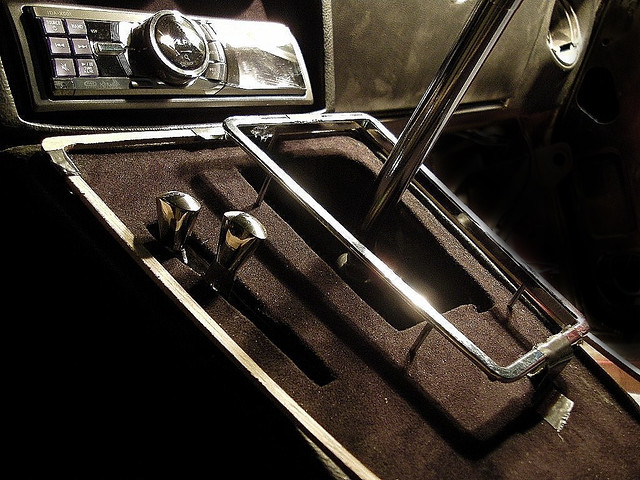
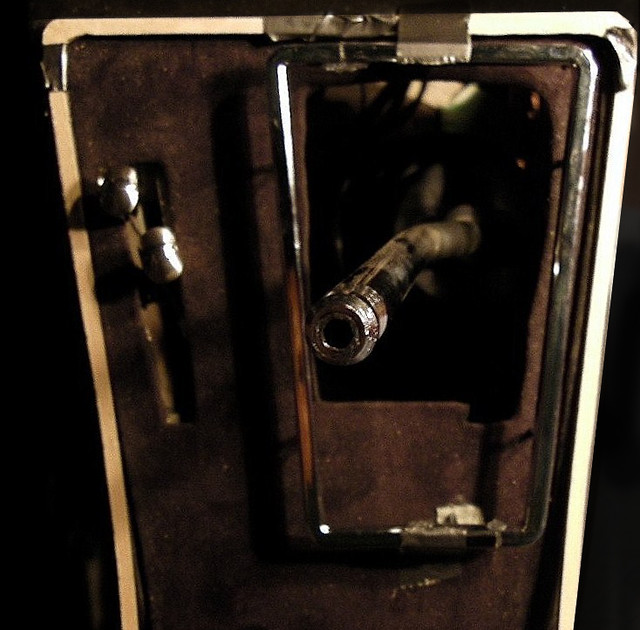
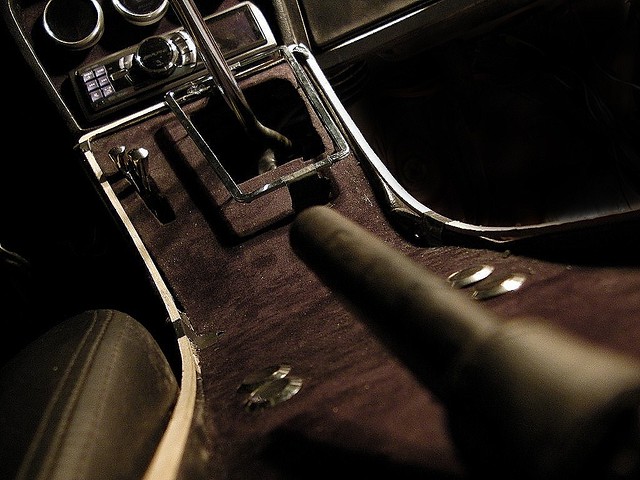
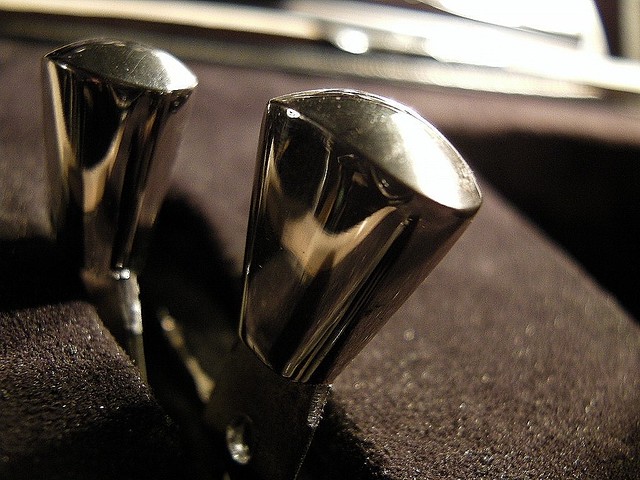
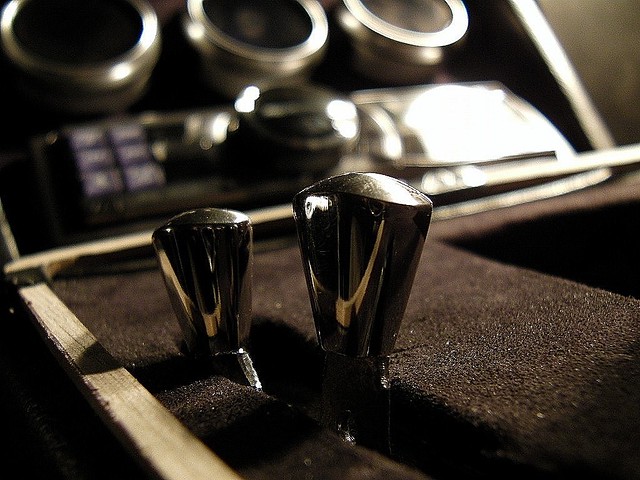
If this is your first visit, be sure to
check out the FAQ by clicking the
link above. You may have to register
before you can post: click the register link above to proceed. To start viewing messages,
select the forum that you want to visit from the selection below.
Thanks Ginge! I was trying so hard not to crack up!! 
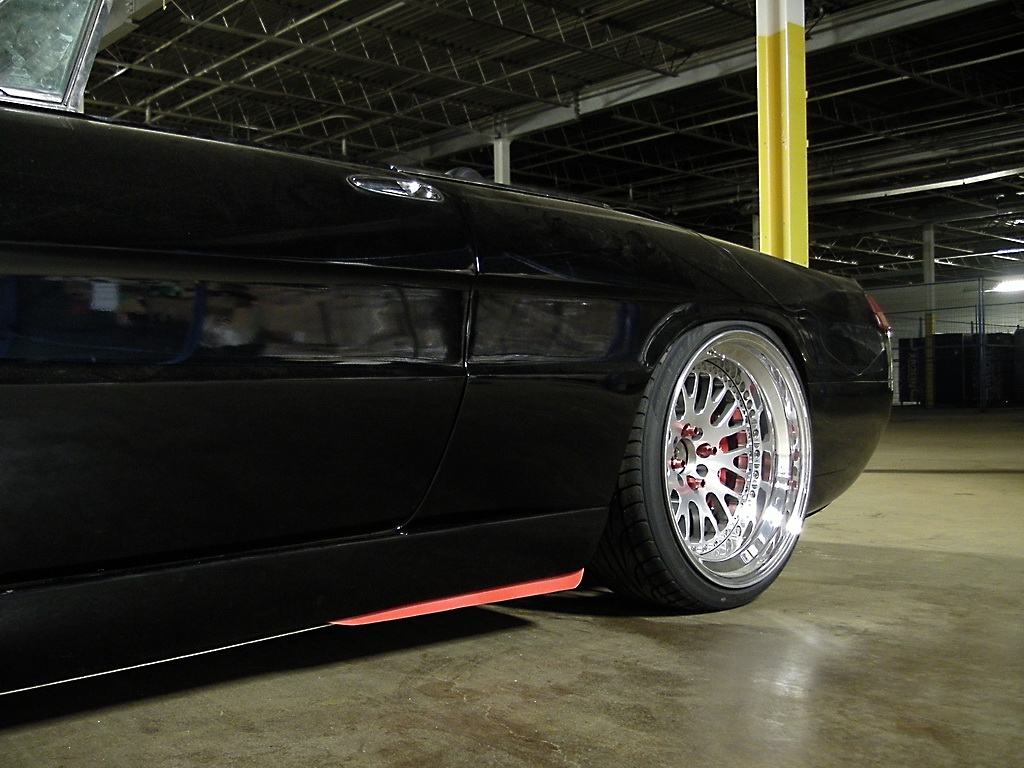
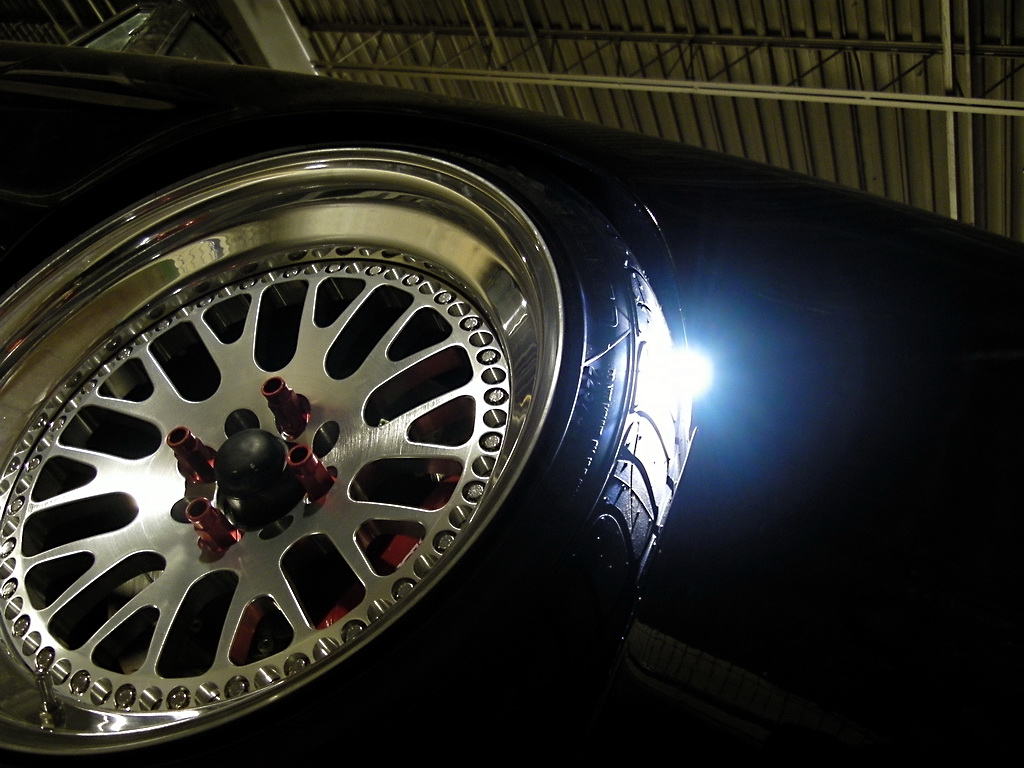
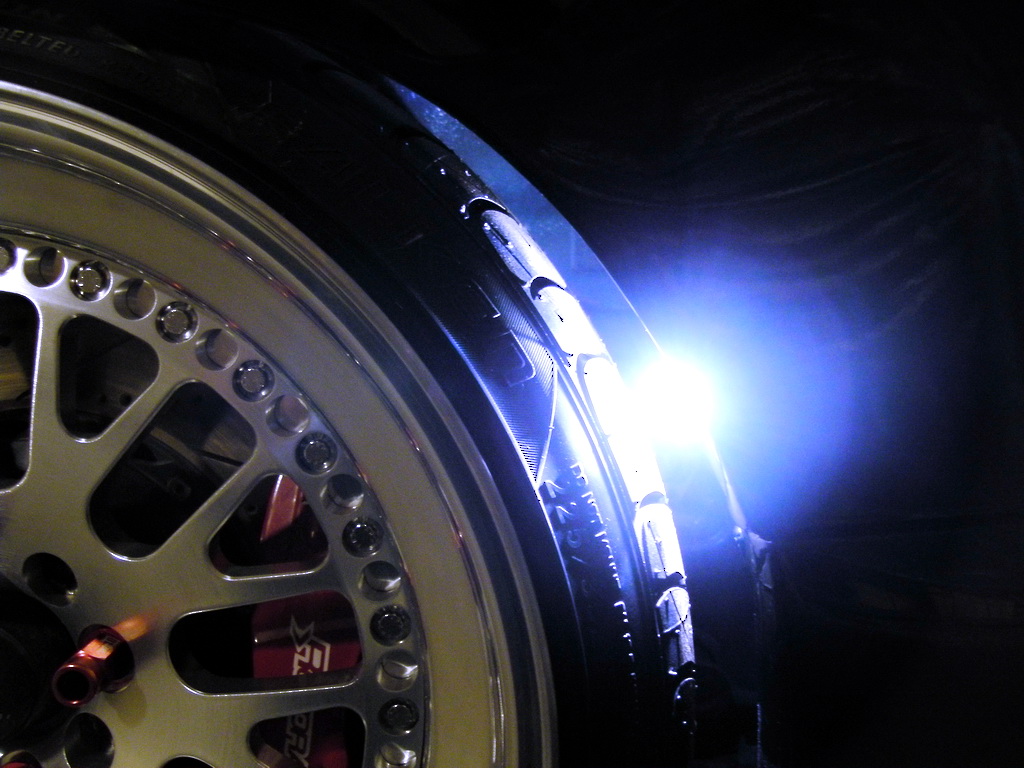
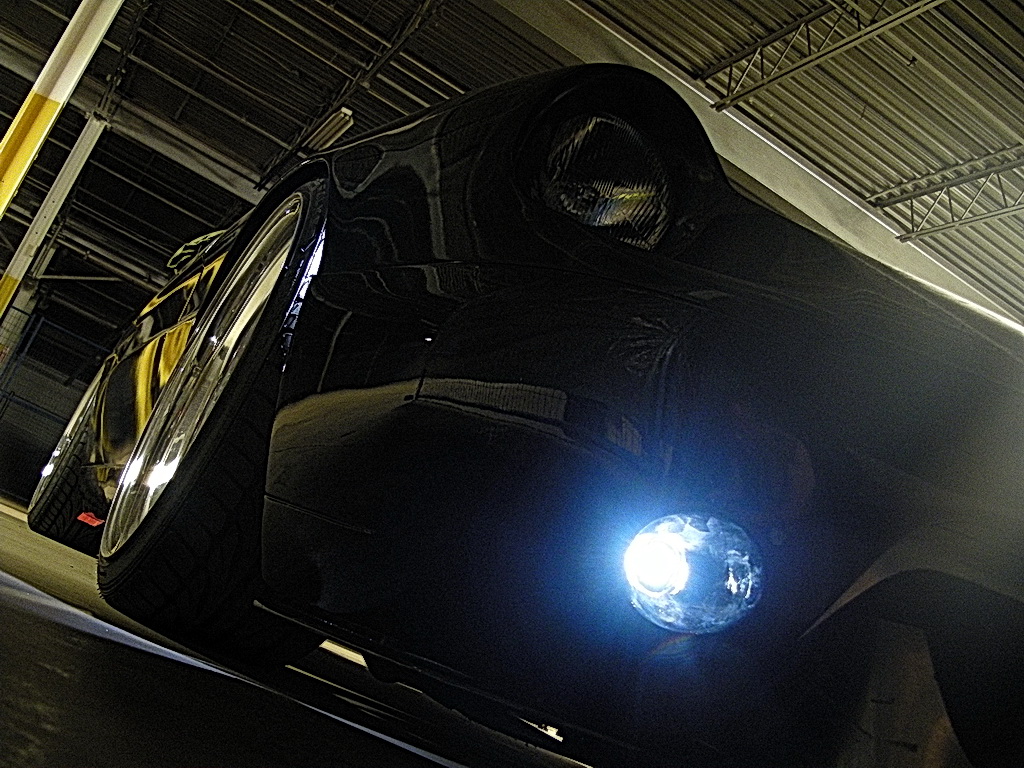
To me, this is how I blow off steam from building this car. It all looks so simple. But it's many, many, many hours behind a computer and around the car to get concepts to "work" as well as they look.
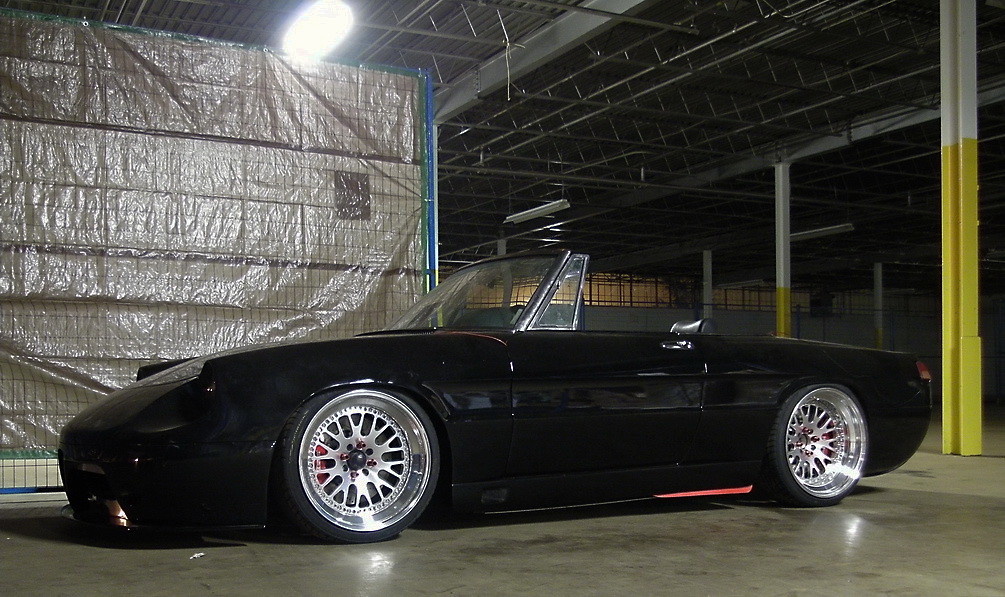
The vid was a joke to shoot. But that diverter panel, is a dead serious form and functional piece.
I've been working mostly on the wiring over the past while and managed to sort out all the lights and gauges. It was a bit of a mess, so the process took a bit longer than I antisipated. At any rate, I slotted in these little LED's to function as the side markers within the front fenders. Super bright from every angle and very clean.
I used the same LED's for the indicators and slotted them into the front ports. Here they are off so you can see the lamp.
Small world! THe garage were i work did a 3.2 24v conversion on a '85 GTV a few years back and Dawie came over to help finish the install and do the ECU steup an some tuning, nice guy.
Thanks dubtruk36! As you probably already know, I bought my 3.7 from your neck of the woods - from Dawie DeVilliers at Glenwood Motors in Pretoria!
street
Small world! THe garage were i work did a 3.2 24v conversion on a '85 GTV a few years back and Dawie came over to help finish the install and do the ECU steup an some tuning, nice guy.
I also sectioned a stock shifter trim ring to a better shape and mocked it into place. It was crucial for this new piece to extend lower than the climate control unit to promote a better flow and mimic the console sweep wall - much thinner and longer. I also kept the shift area tight and will have the shifter bag housed at the trim ring's inner edge to compliment it's new shape.
This new trim ring shape will now get re-fabricated as a single unit and sit flush to the panel.
For those having trouble "seeing" what the new lines of the console will be, here's a mock. I used some MDF and outlined the new border height sweep.
Originally when this console was fabricated by another shop, it was designed as a two piece. Therefore, this new line (as shown) is the correct altered line for this new single unit.
Fine-tuned the climate control knobs by grinding down the levers and gutting a different set of tabs that flow a bit better. Just have to drill and tap for grub screws. To finish them off, I'll be wrapping the levers in suede and positioning a piece of vinyl between them to cover the travel space.
Those heater switches don't fit with the rest of the interior, they look "out of line", if you get what I mean. What kind of switches are you thinking of going with? Customizing those (sounds like a difficult task given the shape and size of them)? Or getting other ones?
Also, (don't call me captain obvious lol) your shifter is missing it's knob. What I have in mind, is this
without the shiny plastic part on the top, and wrapped in swede or another material of your choice. Another suggestion would be that since your steering wheel is from MOMO, and this shifter is from MOMO, (let's assume that you're going with this knob or a similar one from MOMO), you could work some magic and keep the logo on the knob but yet, style it up to match the rest of the interior.
Eagerly waiting for more updates
Thanks Noi5eB0mb! I have another set of tabs and a better install in today's update. Not sure on the shifter yet. Have not seen anything I like.
Leave a comment: