 Tweet
Tweet
So sexy
-
W I L D M A N 'S R O D S H O P

R.I.P P.WALKER 2013/11/30 -
So after a week of running with no viscous and just one slimline electric fan not being man enough, i got to my unit, timmed the viscous up neatly, gave it a paint with satin black and re installed it. I never had any problems with cooling before with the viscous, but it felt a shame to pull of the electric fan, so i took it out, mounted it to the front of the rad and changed the polarity so the fan blows instead of sucks.
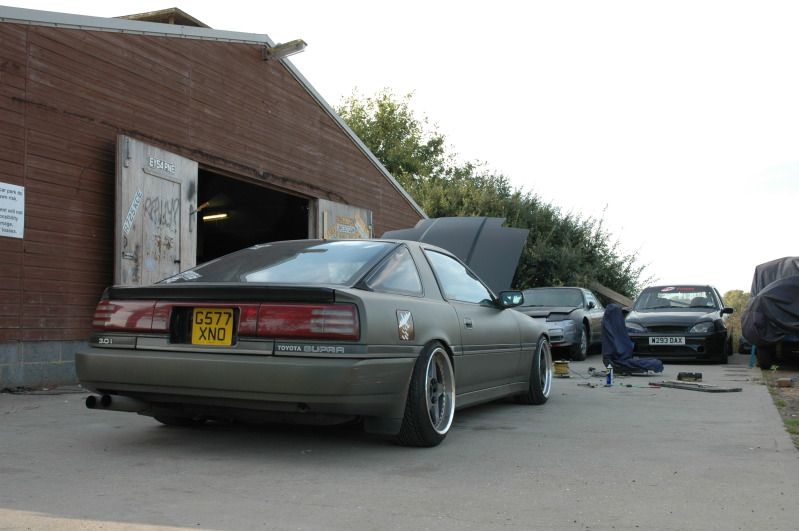
I then thought id get the front suspension evened out some more while fitting the 10mm slip on spacers.
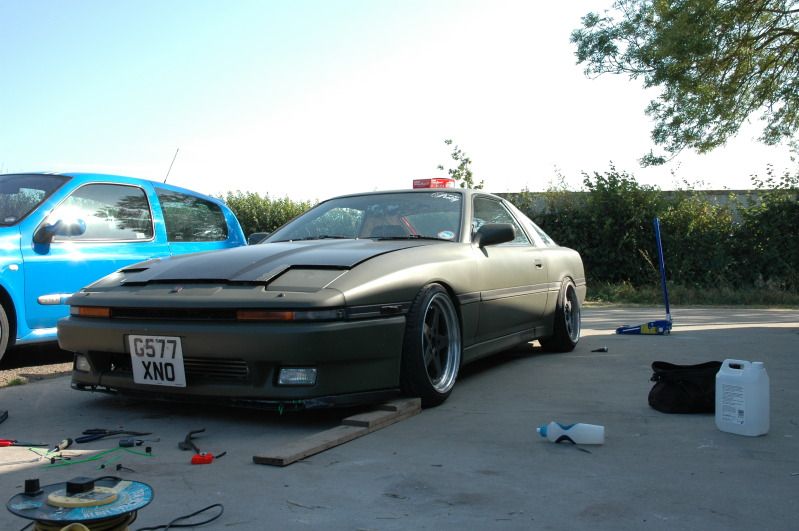
I then lowered the rear 10 - 15mm to have all arches even.
While doing this though i realised how disastrous my downpipe is, it has at best 3/4" clearance from the floor, so at work this week ill be fabricating up a new one to tuck away.
I then did various bits and pieces of maintenance and tidying up like re installing the timing belt and spark plug covers.
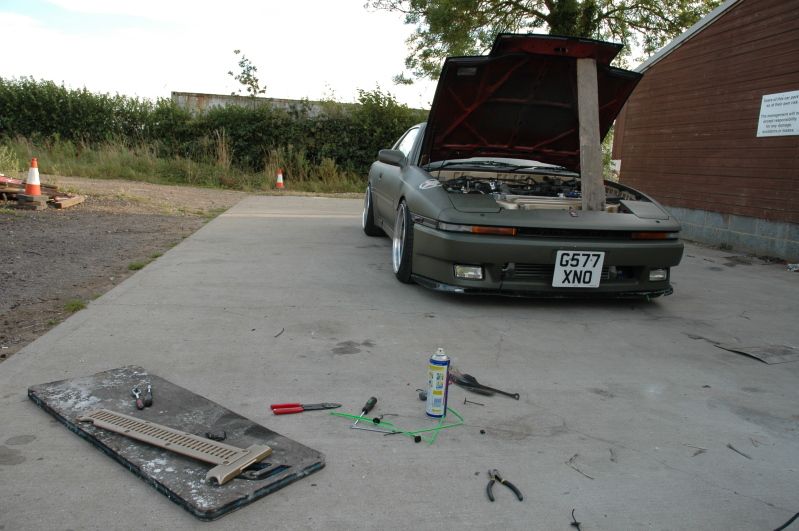
That's it for today guys, i still have to wire in the boost controller i bought as i just plain couldn't be bothered on Sunday so its still on the to-do list.Comment
-
I'm so happy I found this thread today. This car is so awesome!!!Comment
-
Originally posted by willis View Post
Much appreciated dude!
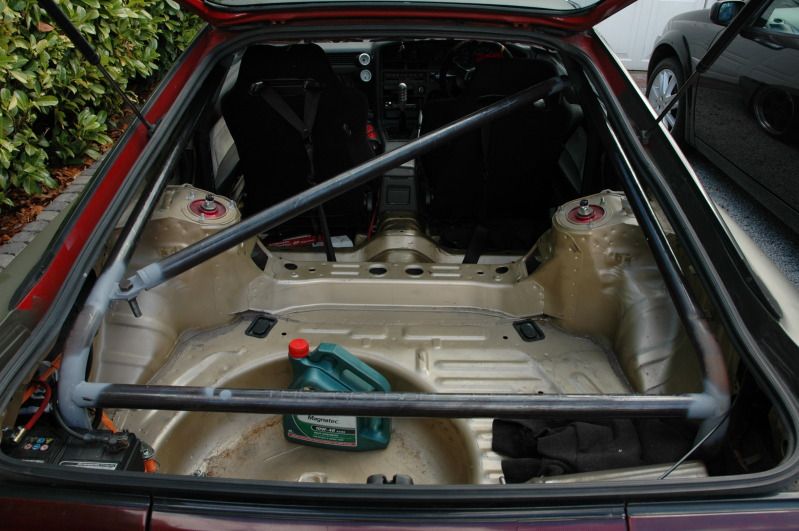
So started on the cage today, basically just wanted to see if i could do it, as a apprentice mechanical engineer i had all the tools, formulas and materials for the job, also im c and g qualified in welding so i thought id go for it.
Only wanted to do the rear half of the cage to start with so i messaged a mate who gave me the BDC regulations for cages, i might not be competing but i just figured if im gonna do it i may as well do it right.
So i measured the rear half of the car and calculated how much pipe i would need plus some extra and ordered that in, i got 1 1/2" OD with a 5mm wall thickeness for the central hoop and 1 1/4" OD with a 5mm wall thickness for the support bars.
I then made a cardboard template of the cage by measuring the height and angles on the bends required following the contours of the car, once i got one half made i mirrored it and cut it out and took it to the car to see how it fitted.
Once i was happy with that i started to bend the pipe.
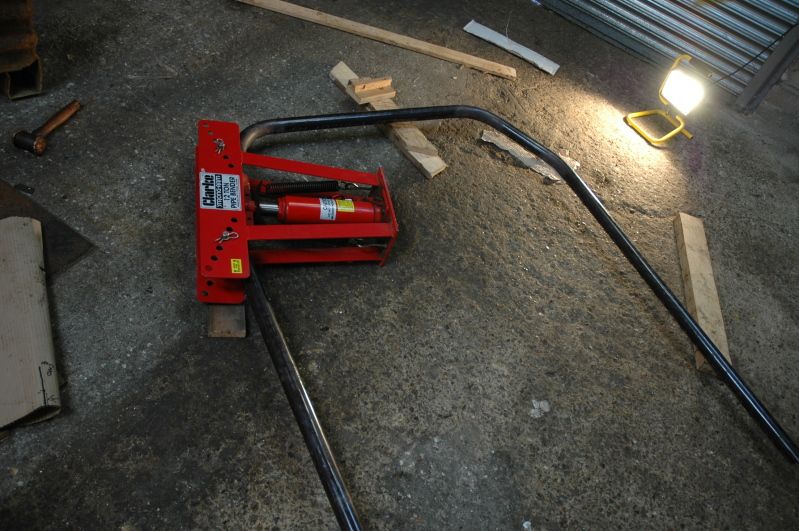
I basically took every measurement from the template and placed it on the straight bit of pipe, i then put a center line on the pipe bender sleeve and once they were in line started to bend.
I also put a center line on the full length of the pipe (4m) so that if any mistakes happened this one end then i could plus or minus on the other end so they were even.
Anyway after getting the bends all even and square i was left with this.
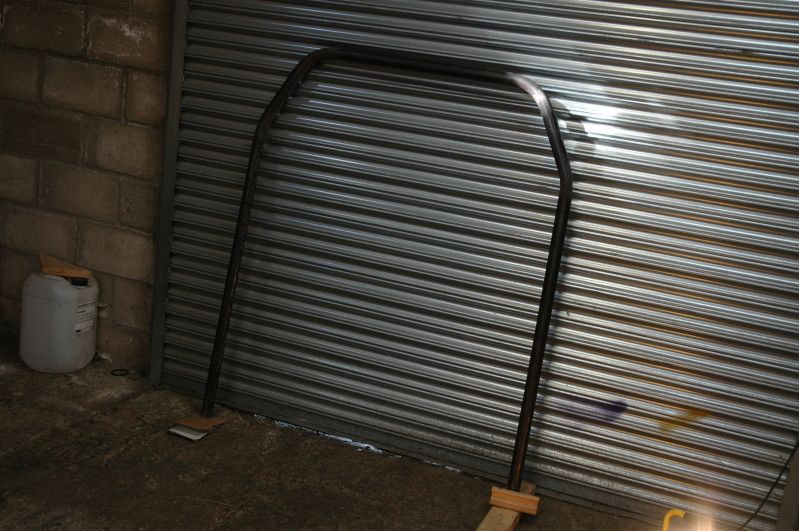
Maesured it all again to make sure everything was fine and compared it to the template and everything was within the tolerance i set so i was happy!
I then marked it out for cutting and took it to the saw shop.
Came back trimmed down like this.
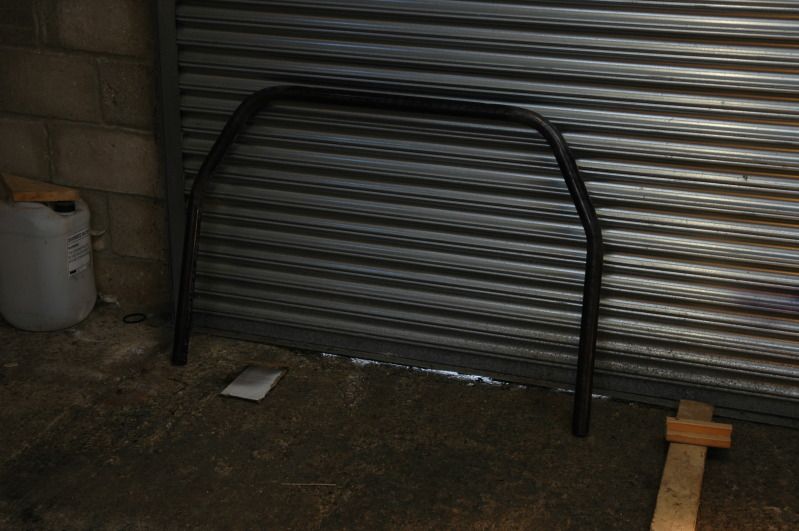
We then put it in the car to see how it fitted, like a glove, same distances on both sides and its nice and straight!
After that we took it out again so it could be painted and i worked on the support plates but iv got no photos of this!
Ill have more next week guys as ill be welding it in over the week as well as making the support bars!
Cheers guys!Comment
-
Well i kinda got caught up in the moment and made the thing without taking pictures during the process
But basically after i made the initial hoop i cut some 5mm thick 5 square inch plates and welded them into position behind the drivers and passengers seat, i then welded the hoop into position.
After that i took measurements for the support bars that lead into the boot and the degrees to bend them too, then when those were in i made a bracing bar to support them.
After that and the plates were welded in and to the main hoop i decided i on what type of diagonal bar i wanted bracing the sides, i did want a cross but with wanting to get things into the boot it would be to impractical so i decided to make a removable bar.
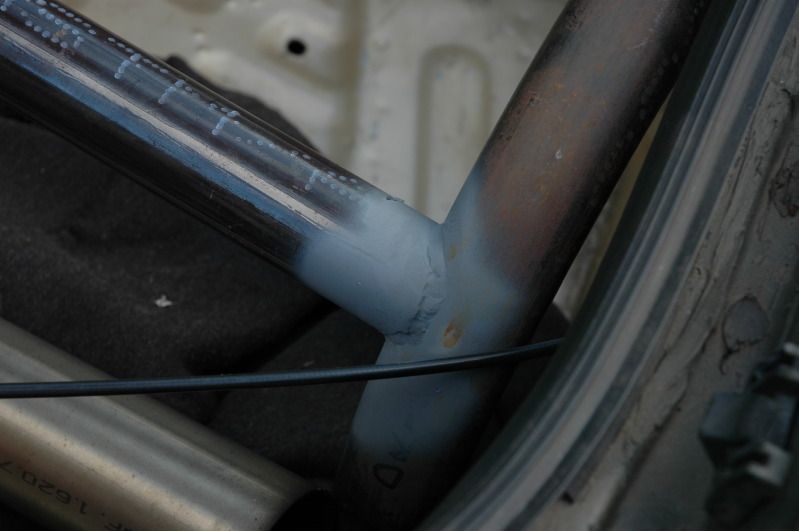
I started by making the taps and 2 bungs to place into the end of the pipe to weld up, after one side was done i put the bar in place inside the cage to see where the tabs could be placed, once i had it in a rough position i tacked it into place and made final alterations before welding it.
This is where im at now.
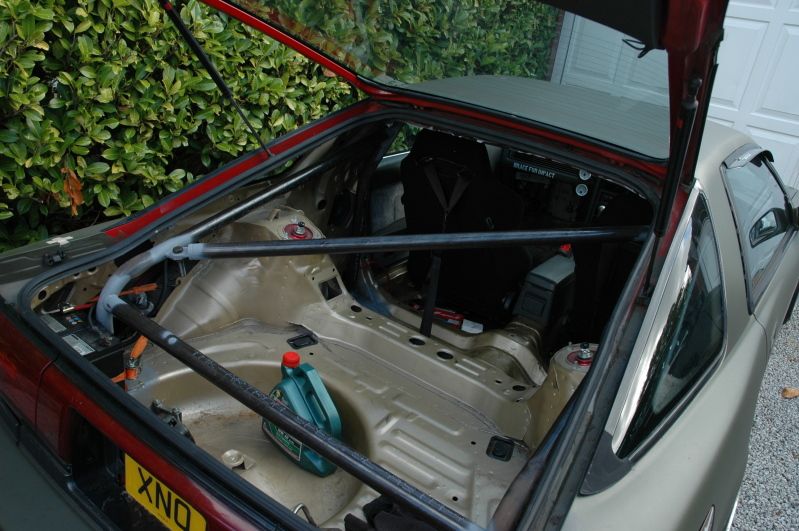

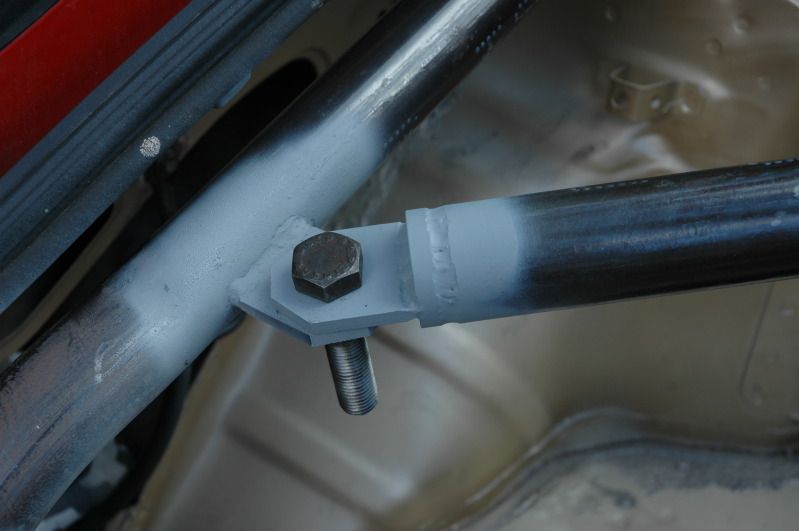
It still needs painting and a couple of touch up welds but im fairly proud of it.
I need to make a bracing bar to support both sides of the main hoop and a bar between both suspension turrets but thats for when i have some more free time as work has gotten extremely busy yet again.
Ill be at the snetterton test day next week so hopefully i WONT get to test this out, but who knows.
Cheers guys.Comment
-
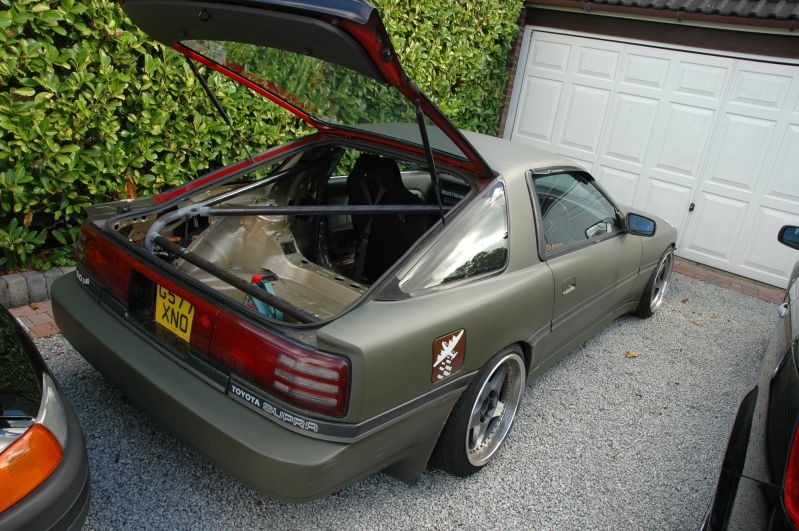
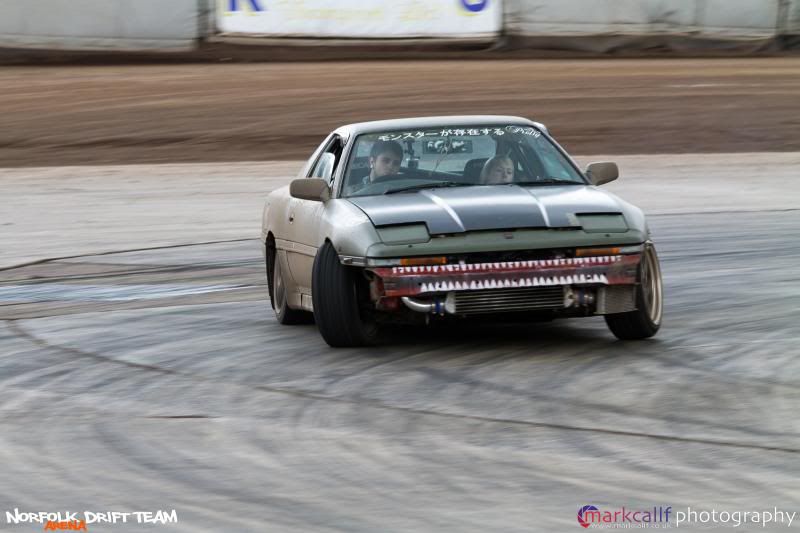
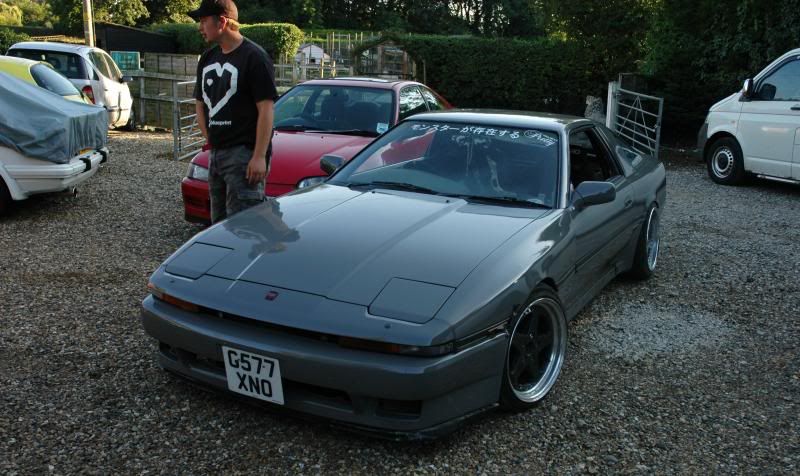
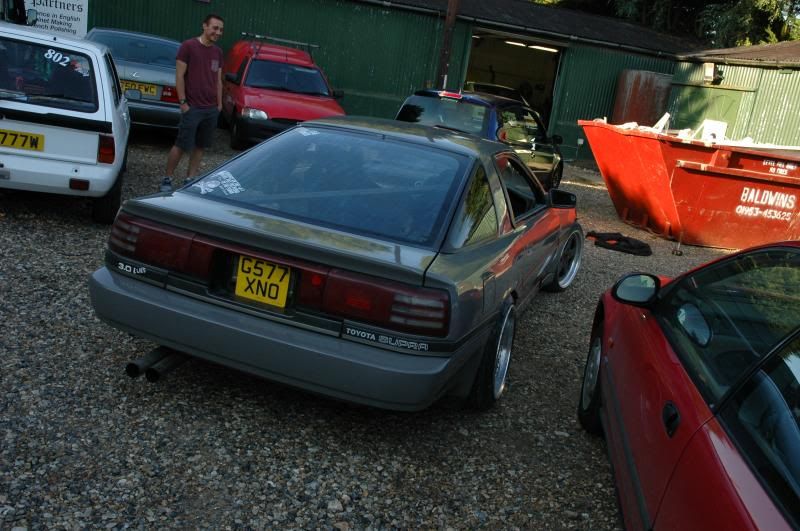
So, its been a while since I updated this so I'll show you where I'm at right now.
I had my first track day at the Snetterton drift practise day back in October while i loved every minute of it i realised i was way out of my depth and so was the car. The steering lock was standard and on a MA70 its poor at best so that went on the list of things to do.
Power wise it seemed good, it had enough power to maintain a slide but every time i tried a little bit more of an angle it spun out, some of this was also down to the drivers lack of experience.
I also needed to get a oil cooler badly as the oil turned to the same density as water after a few times around the track.
That day really motivated me and lit a fire under my arse to get better and bring my car up to a much better spec.
So i started on the engine mounts.
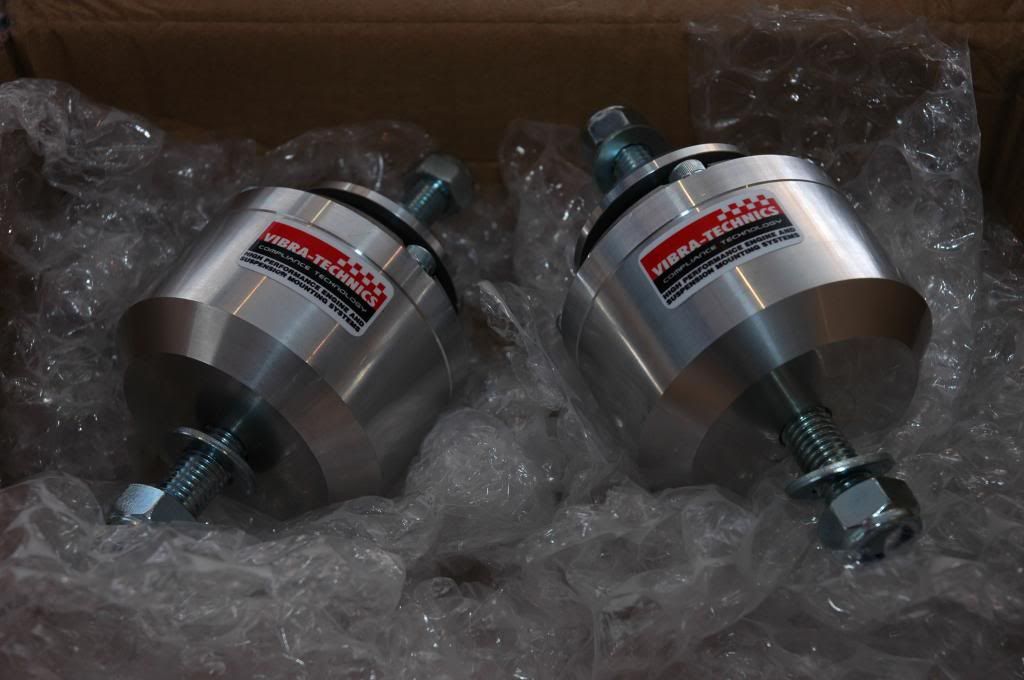
During the track day the engine sagged fairly badly, so when i put it away a for the winter a few weeks later i checked them out, i discovered 2 destroyed OEM rubber mounts so these needed to be replaced.
I ordered a pair of Vibra-technics drift/road engine mounts as i heard very good things about them.
I started by unbolting the usual rubbish from the engine them gently raising it up enough to slot the new mounts in.

It all went extremely smoothly and the engine settled down on the new mounts nicely.
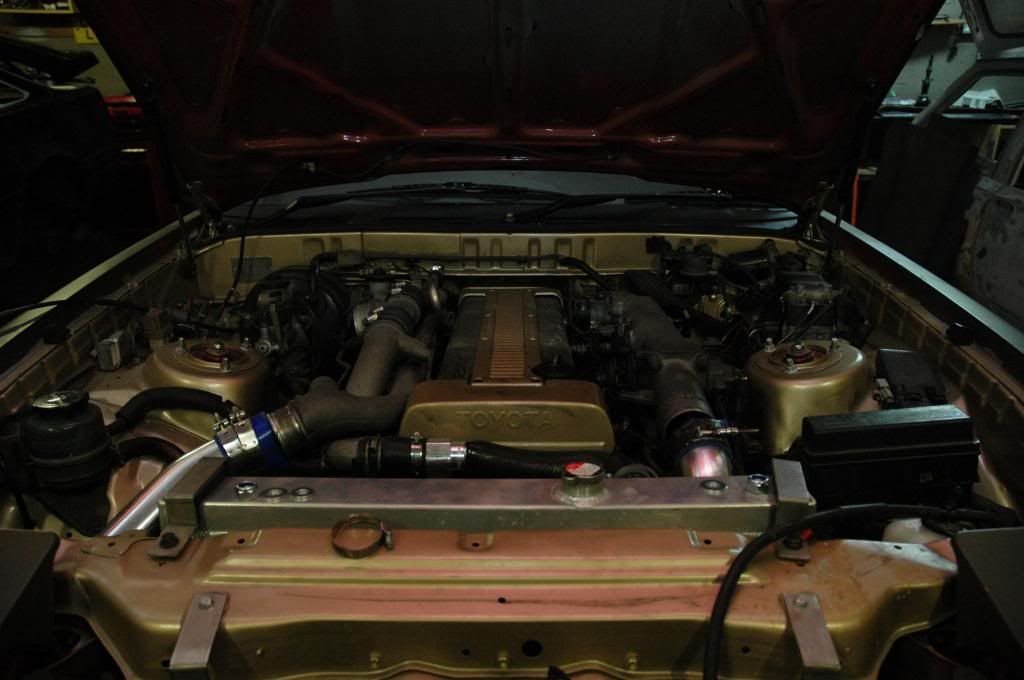
Its nice to see a even 1jz again.
The next thing on the list was the oil cooler kit, i ordered one with a thermostatic sandwich plate from driftworks and set about fitting it.
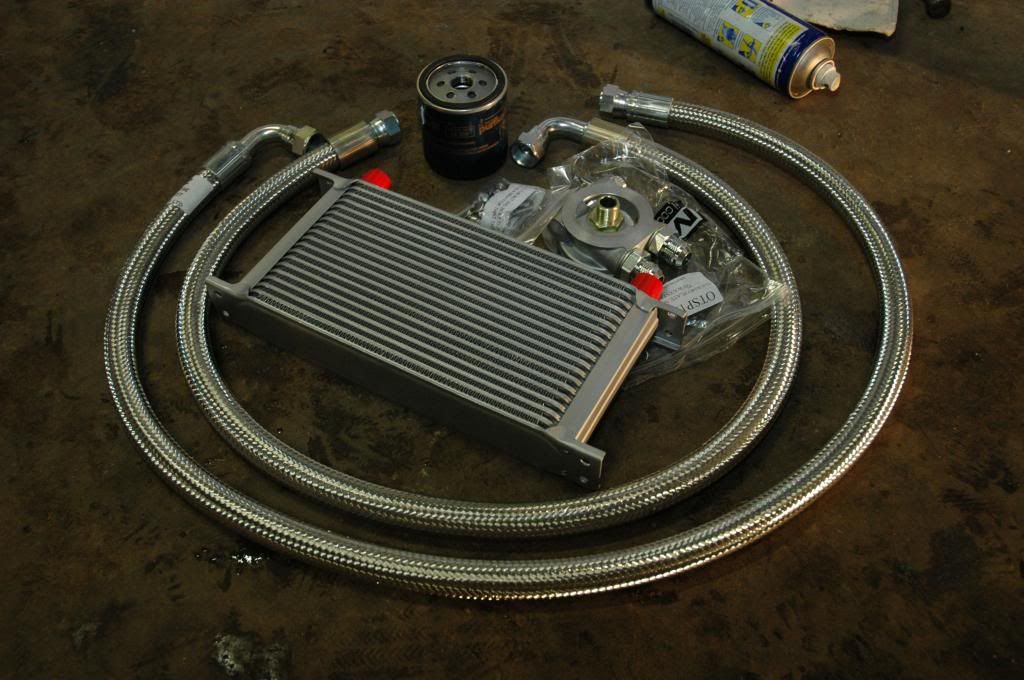
This also went fairly smoothly even though access to the fittings on the plate we're fairly restricted but that was due to the tight area near the turrets.
All fitted and plumbed in.
The next main thing on the list is the steering lock, first i machined up some 7mm steering rack spacers but that did'nt seem to be enough so i started to do some research into other ways, the main way i found was the re drill the track rod end receivers on the hubs.
So i ordered a spare pair of hubs and set about re drilling them.
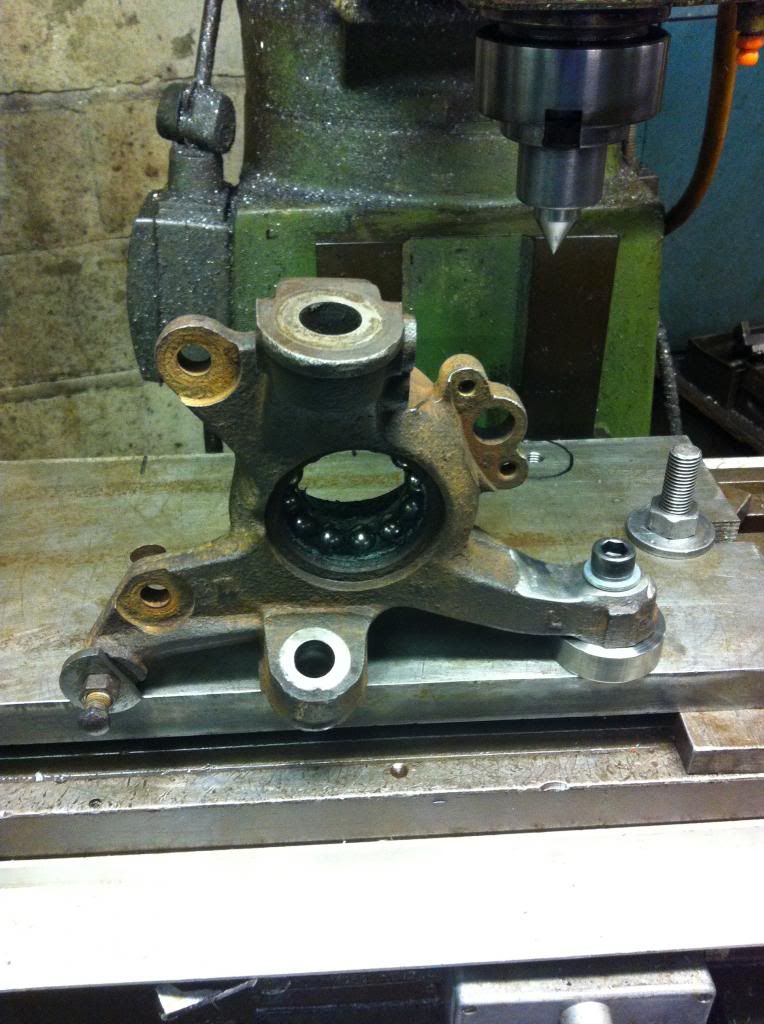
I made the fixture so that i could be sure to get both holes on each hubs even within a couple of thousandths.
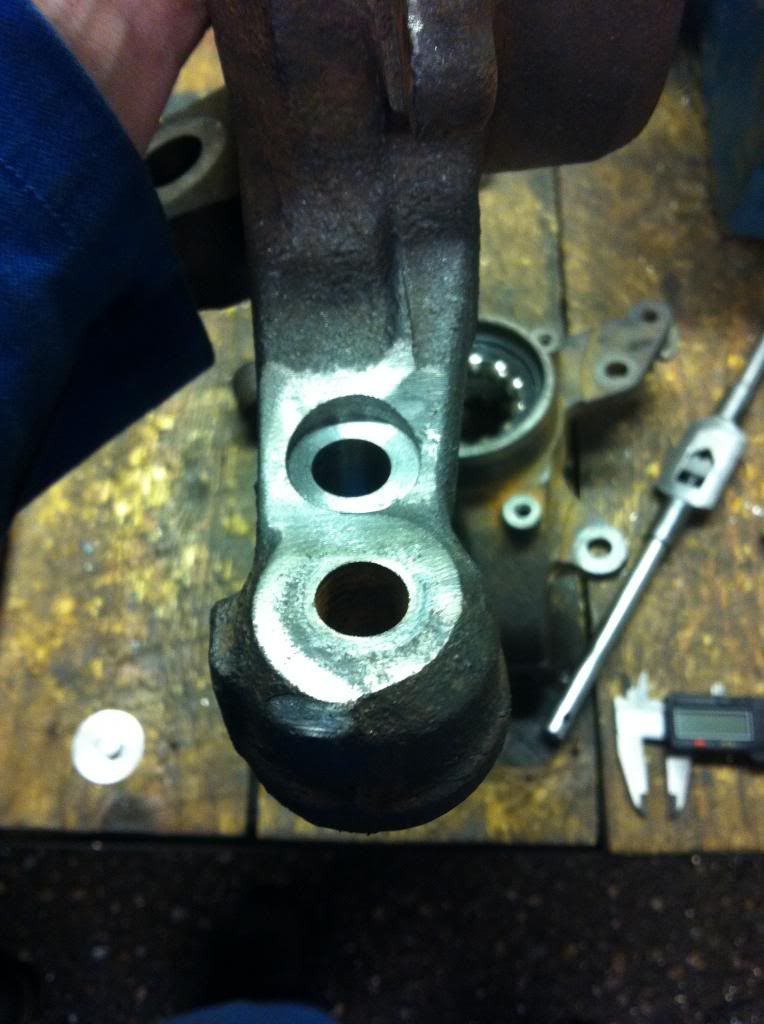
Job done, now i'v just got to replace the bearings and get everything put back into place and painted and then i can test them out this weekend.Comment
-
Nice work on the swap! the car would look clean all gold like the bay. And find another pair of 9j sterns, they look better than the veilsides yeah i said it haha
Comment
-
You Sir, you've earned my 300th post, with lots of AWESOMENESS!!
Ow btw: Has anyone ever told you you look a bit like Angus T. Jones, the little guy from Two-and-a-half men? Lol
Keep it up mate!Lucas

Former daily: 2002 CLK 500 AMG - (sold) . . . . . . . . .
Project: 1986 W124 260E rebuild - (3.0 swap) . . . . . . . . . Follow me on IG : @loekaazDaily: 2004 Pontiac GTO. . . . . . . . . Daily Econobox: 2009 Mini Clubman CooperOriginally posted by LCGComment
-
Been a hell of a while since i updated this so i thought id fill you in on whats been happening.
So after the practice day at Norfolk arena in may i went away with a nice list of things to sort out for the next practice.
The main problem was the wallowing, boat like suspension and the wheels fouling on the lower wishbone, I planned to buy some HSD's but i thought id play with the spring rates on my current coilovers first to see if it might solve the problem.
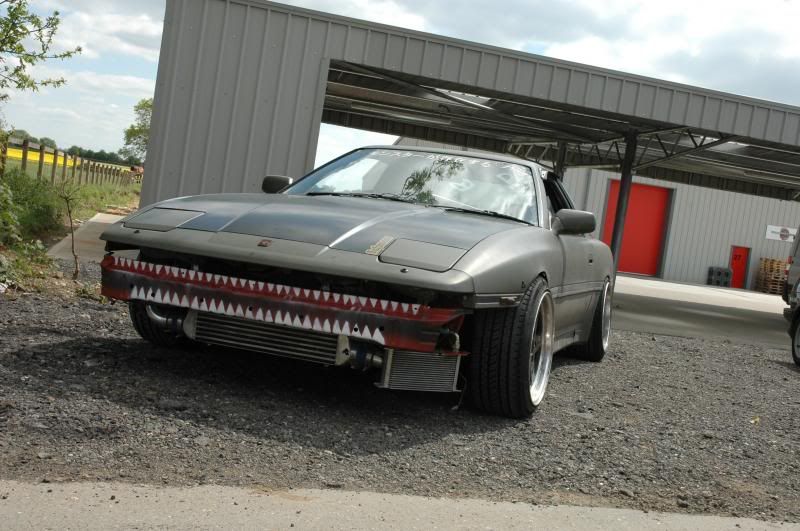
So cranked up the front spring rates a fair way and it seemed to solve the problem, might need some more adjustments but it'll do for now. I also ordered another pair of 25mm spacers for the front to space the wheels away from the wishbone, it resulted in some pretty awesome fitment up front.
I didn't have time to tuck the wiring loom inside the wing as i simply forgot about it") : so i done a quick fix using the chopped and wrapped coke can technique.
: so i done a quick fix using the chopped and wrapped coke can technique.
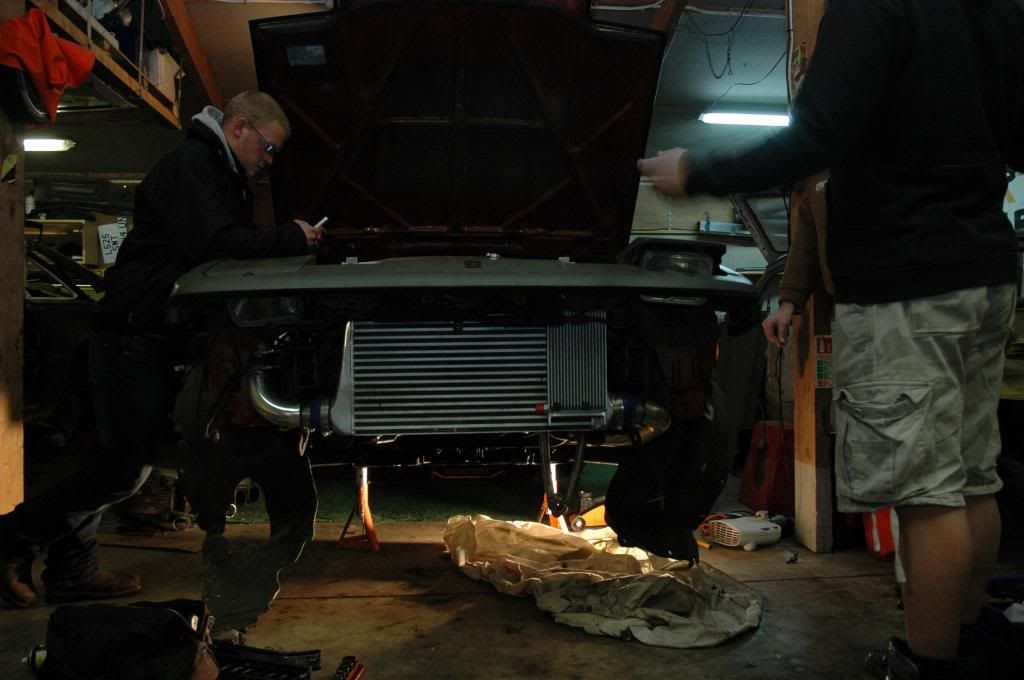
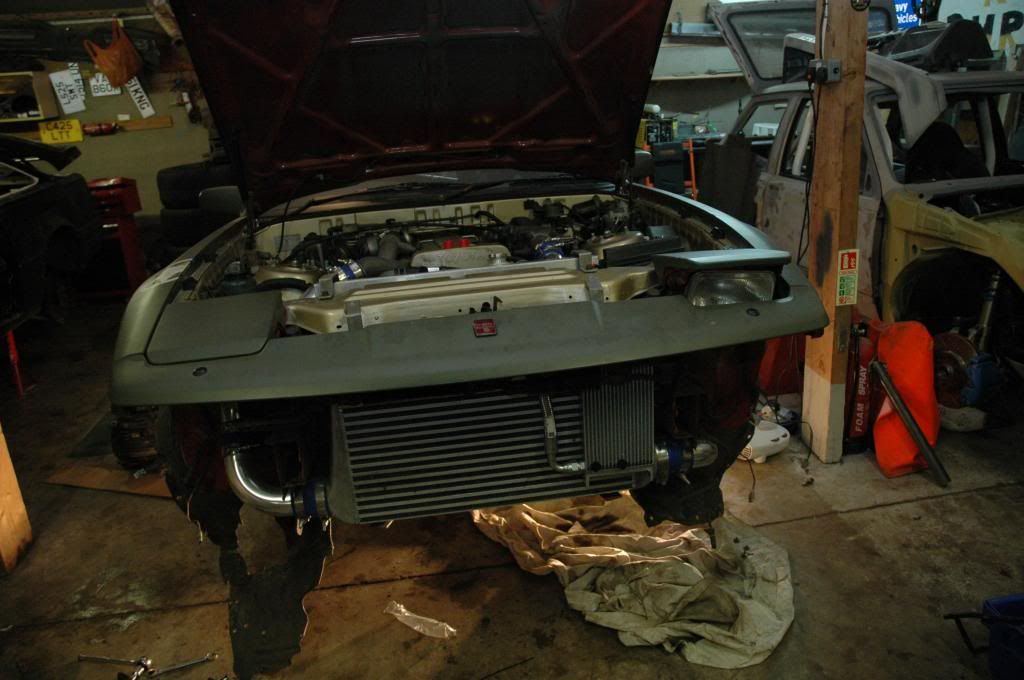
I didn't like my placing and mounting of the oil cooler so i made a bracket to fit it on the crash bar behind a empty fog light hole. It also made the hoses less constricted.
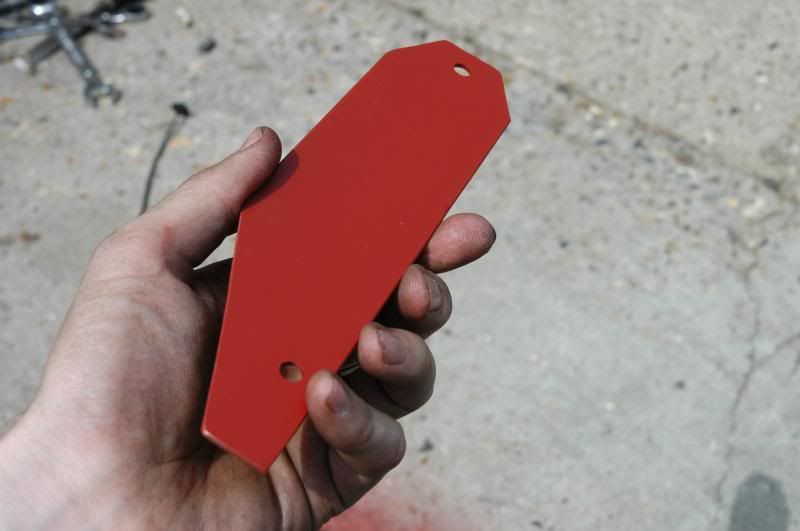
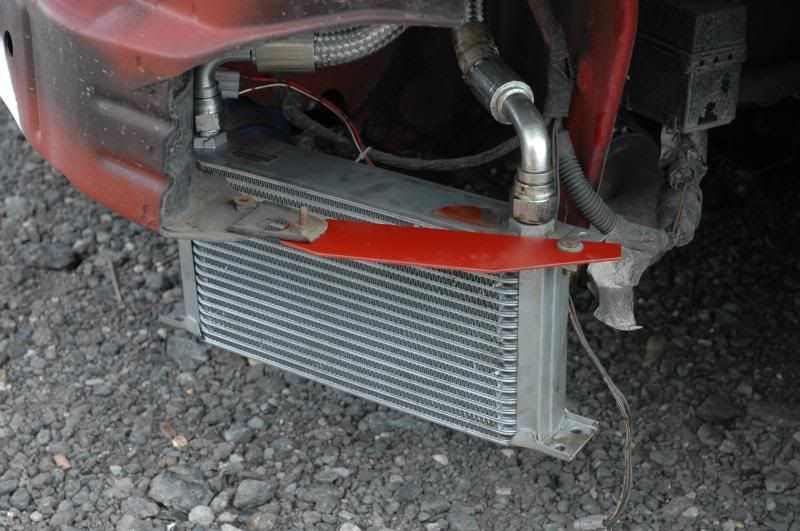
While the crash bar was off i also gave it a little touch of paint just to rid me of the dull black.
Then after all the preparation it was off to Norfolk!
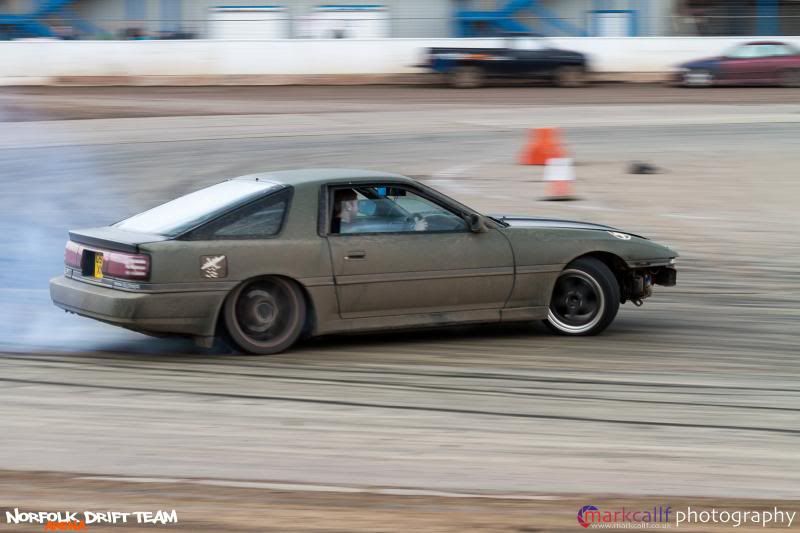
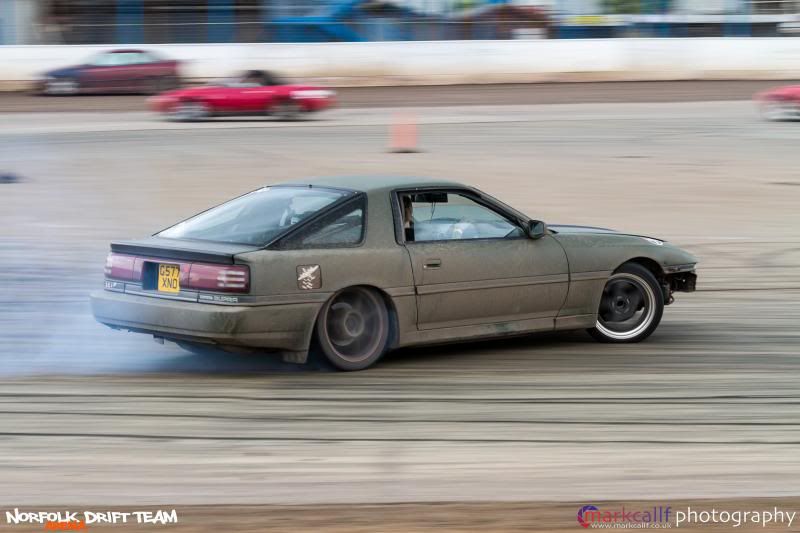
It was fantastic, had a absolutely awesome day! Cheers Mark for the pictures and cheers Minnie and Malx and everyone who organized it.
I was told my driving got better throughout the day so it kept me happy for a while.
The car never missed a beat again, the only problem was the lack of electric fans as they packed up before the day and i had no time to source the problem.
Im booked in for the 13th of july practise day and quite frankly i cannot wait.
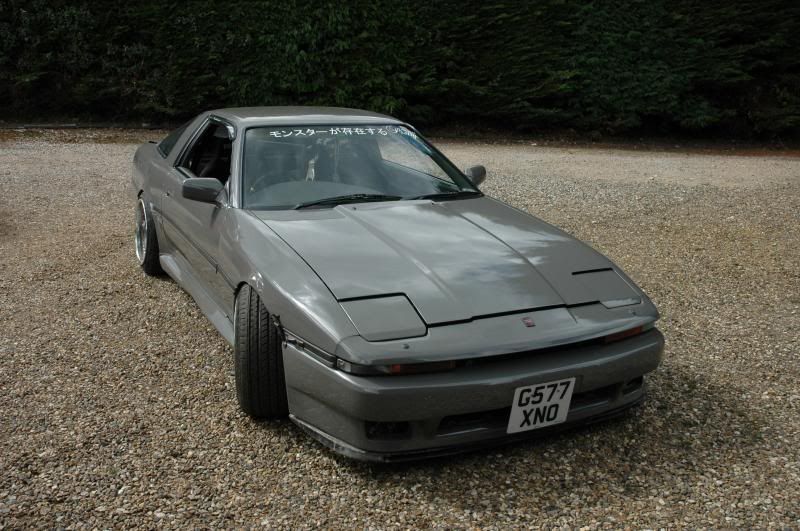
The next big thing is a gloss respray and tidying up the bodywork, im going to try to get this done for the 13th but im not counting on it!Comment
-
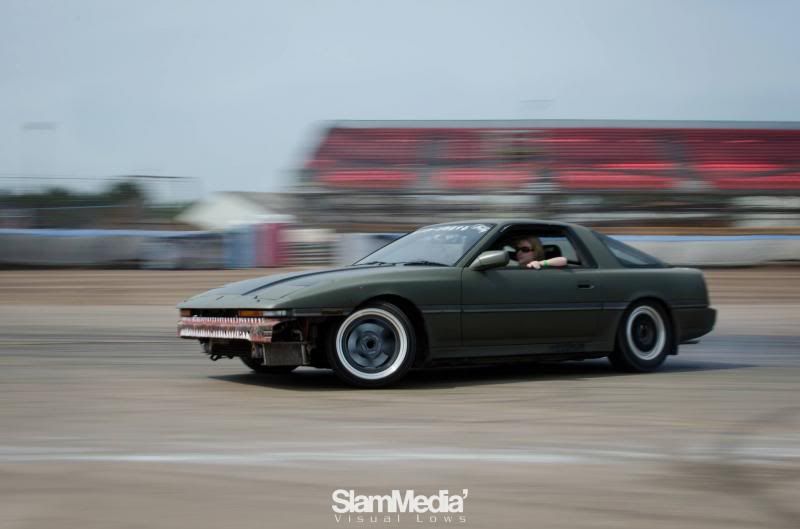
Right so its been a while since my last update.
I went along to the Norfolk drift day on the 13th of July and once again it was a awesome day. The start of the day consisted of dealing with a dusty track so a quite a few spins but over a few hours the dust died down and fun was had by all.

The only thing to go wrong throughout the day was the exhaust rubber snapping while coming off the track but 5 minutes later and we were back in the que.
The day was hot, very very hot and numerous people were having to remove panels/install squirters/ or run with the heaters all day, but even with no electric fans the 1JZ stayed at a moderate temperature all day.
Anyway a few weeks later the next drift day was released so i put my name on the list, it was over a month away so i thought id have enough time to get the car ready for its respray.
I spent a good few days DA'ing the paintwork down as it was covered in little 'flecks' from my previous poor job.
Then my mate said he'd paint it in his workshop, so work began.
After a night of masking i got a call saying the cars in primer ready to be flattened down, so i shot off to his shop and helped rub it down nice to a nice finish. Unless you couldn't tell by my previous paintwork I don't have much body shop knowledge so this was all new to me.
A few nights of this and he finally decided it was ready for paint. I stayed late with him on that night to watch how it was applied and we didnt finish until roughly 1am. The paint came out fantastically i loved the color even though it was lighter then i expected, but i thought it was awesome. All that being said my mate kept making little hints like 'there's some shit in the roof and tailgate' and 'i made a small run in the door'.
I should have taken this as sign of trouble as the next day i get a phone call saying hes sanded it all down as he wasn't happy with it, bloody perfectionists.
Long story short, i missed the drift day by a close margin and lack of money, but the result was awesome. I think its justified, well done mate.
I cant wait to get back out at Norfolk, but looks like i might have to wait a few weeks.Comment
-
Cheers guys.
I went and done some more work on this at the weekend, mainly fitting the skirts I got over a year ago from Shine Auto, unfortunately the distributor i used in the UK was shocking, the goods were 2 months late and when they arrived were damaged and not the materials they were quoted to be. Once I complained I didn't hear anything from them.
Anyway while we were spraying the car my mate fixed one of the broken skirts and painted them along with the other trims.
I was unsure about putting them on, but after a fair amount of peer pressure I gave in.
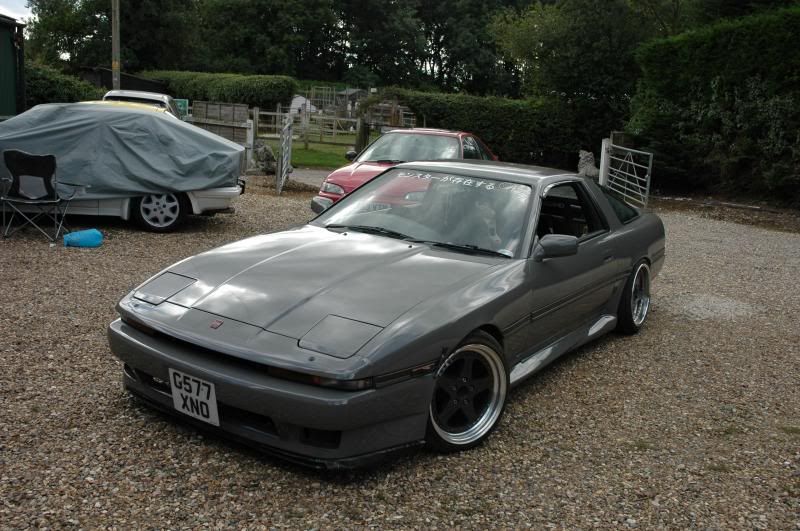

Glad I did, I think they look sweet.
The next stage is to tidy up the interior as my previous rush to fit the gauges and my friends mistaking my glove box as rubbish and throwing it away has resulted in a, well, unsightly condition.
So i started by hiding the wires to my external gauges, then securing the ECU to the floor pan as it was just hanging behind a mock glove box front.
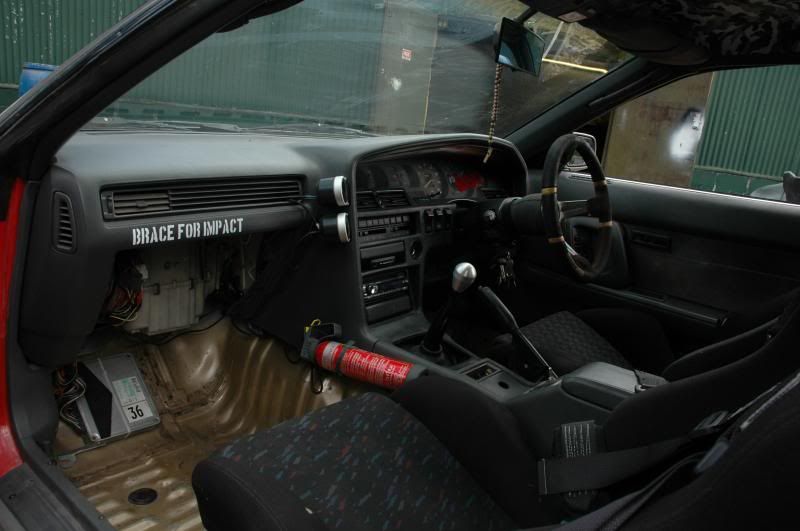
Then my mate made me a kick plate to keep it safe.
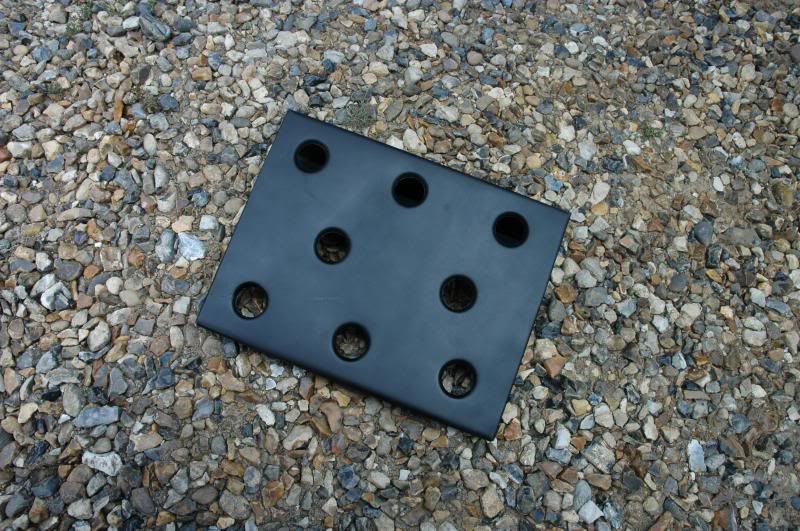
Iv got to fit it next week along with the carpet, then it should be sweet and homely once again.Comment
-
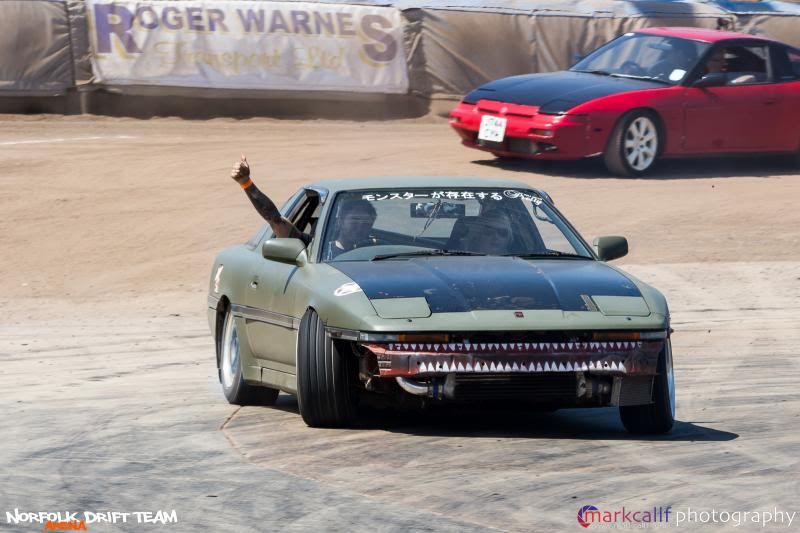
Not much been happening with this recently, basically just been driving it and enjoying it. Took it to Norfolk arena a few times since the respray and loved every minute of it.
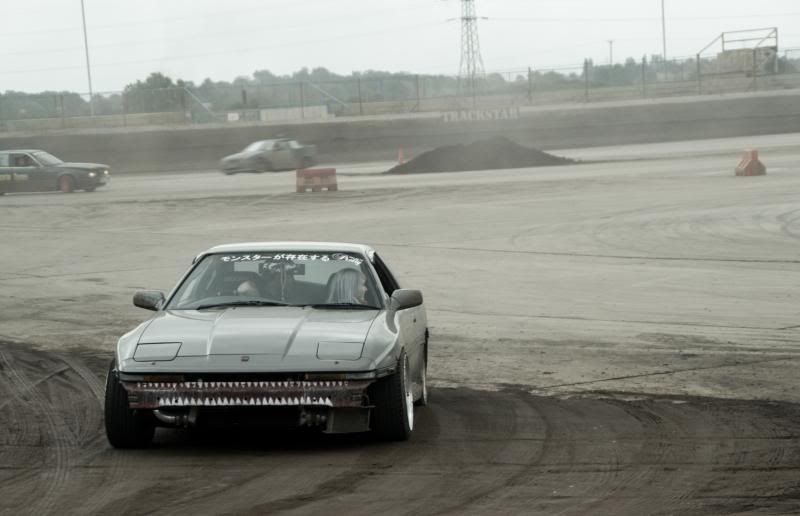


Got through some tyres and everything ran perfectly.
But now, winter is coming. So its time to put it away once again, during this time ill be re welding the wishbones to work well with the modified hubs (as far as i can see those are the only obstructions). As well as giving the car a good service of all fluids and filters.Comment
-
Work got a little slow over the past couple of weeks leading up to Christmas and with this being off the road i decided to try and solve a problem iv has ever since i re drilled the hubs for more lock last winter.
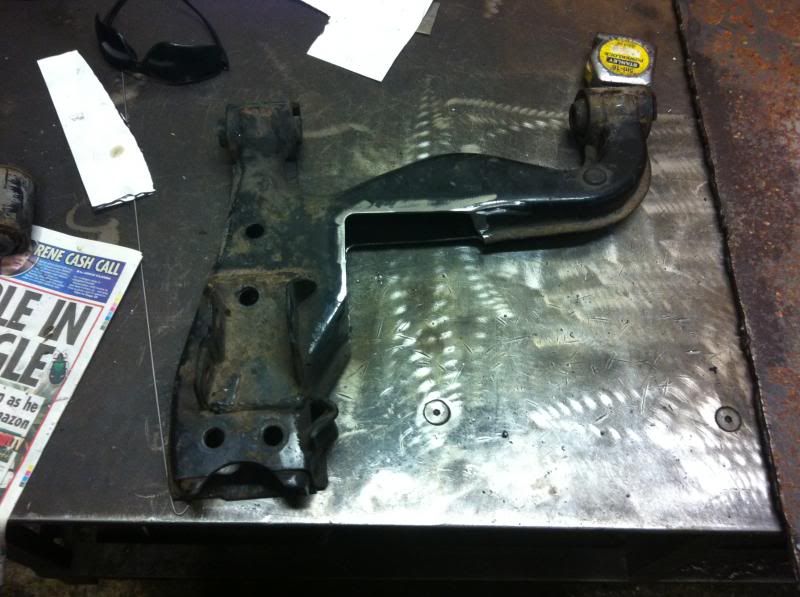
The re drilling of the hubs worked fine, but the lock was limited by the lower wishbone so i got a couple of cheap wishbones and got to work.
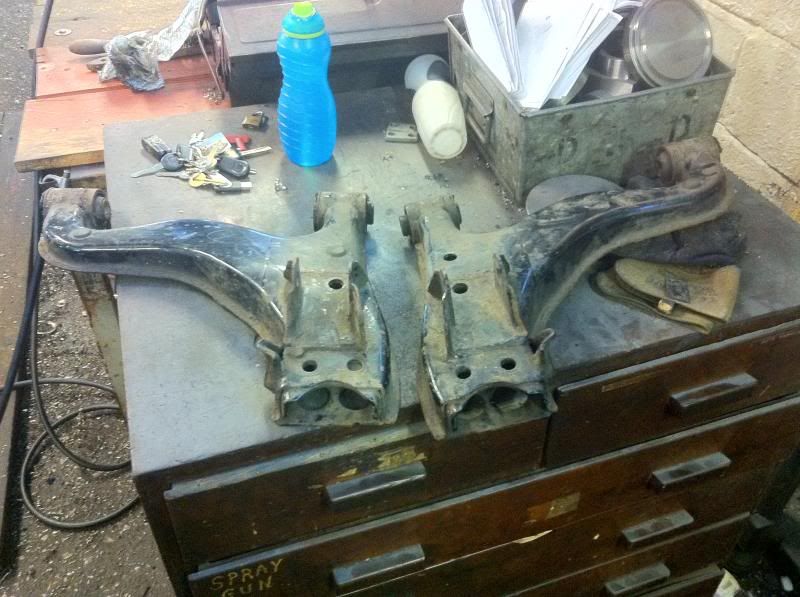
Standard wishbones.
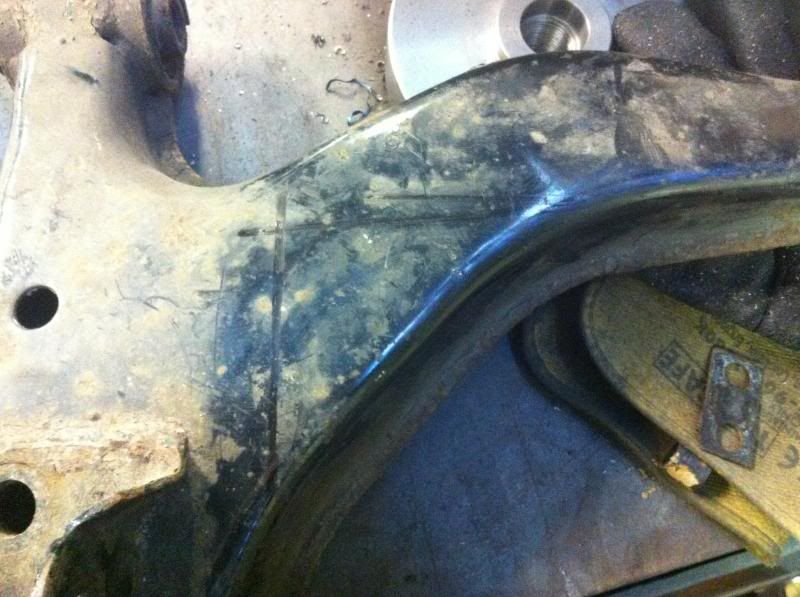
I took measurements and marked out how much i wanted to come out of each side.
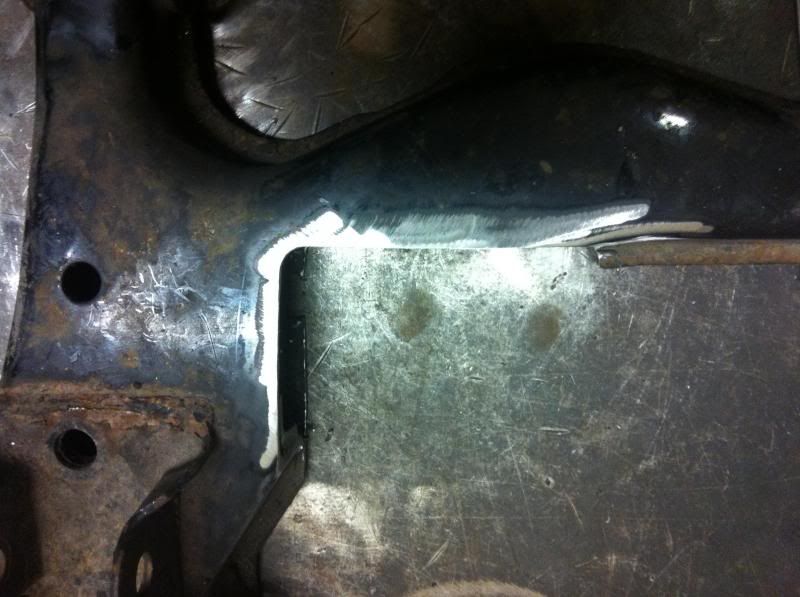
Then using the mill, a ripper and a fixture to keep it all square i removed the waste.
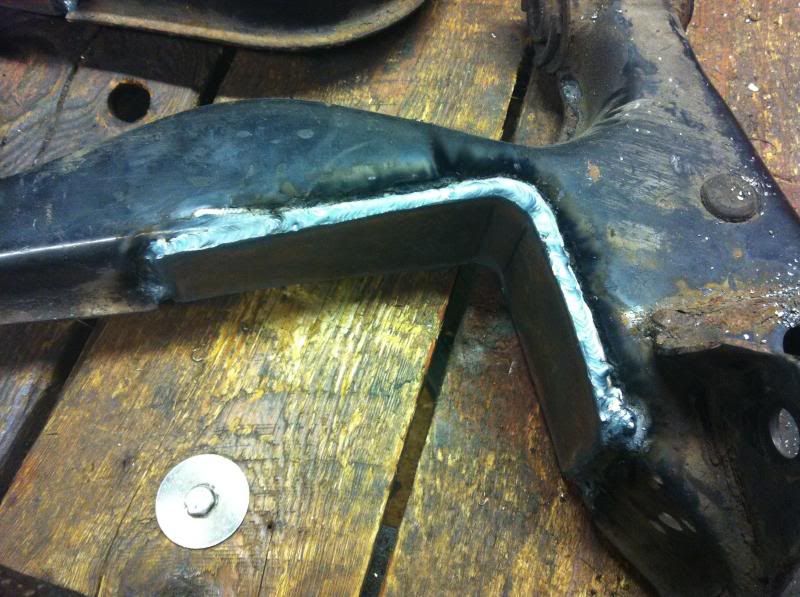
Then i took measurements again, cut out some braces with the oxy torch and welded it all back together.
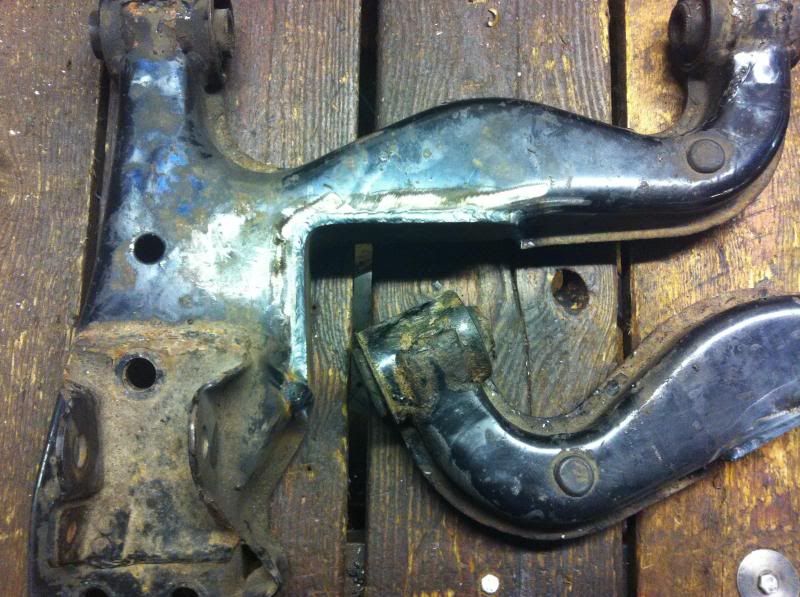
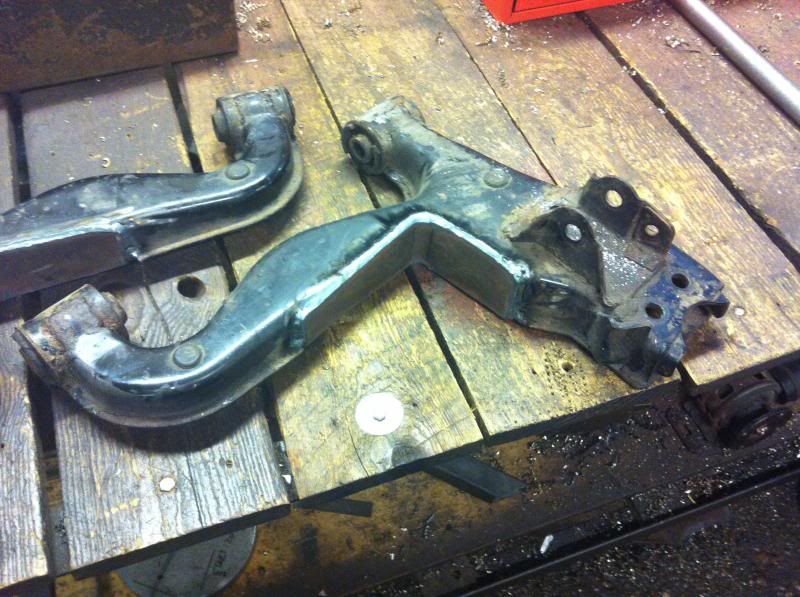
I will be putting some ribbing in to brace that curve before i fit them but i need to check the clearance when its in place.
In other news i might not be able to fit these for a while due to my unit mate deciding and stating his ford is more important than my car and monopolizing the single bay we have spare. So i found another unit, and ill be moving everything there yet again so ill update you all when things have settled.
CheersComment


Comment