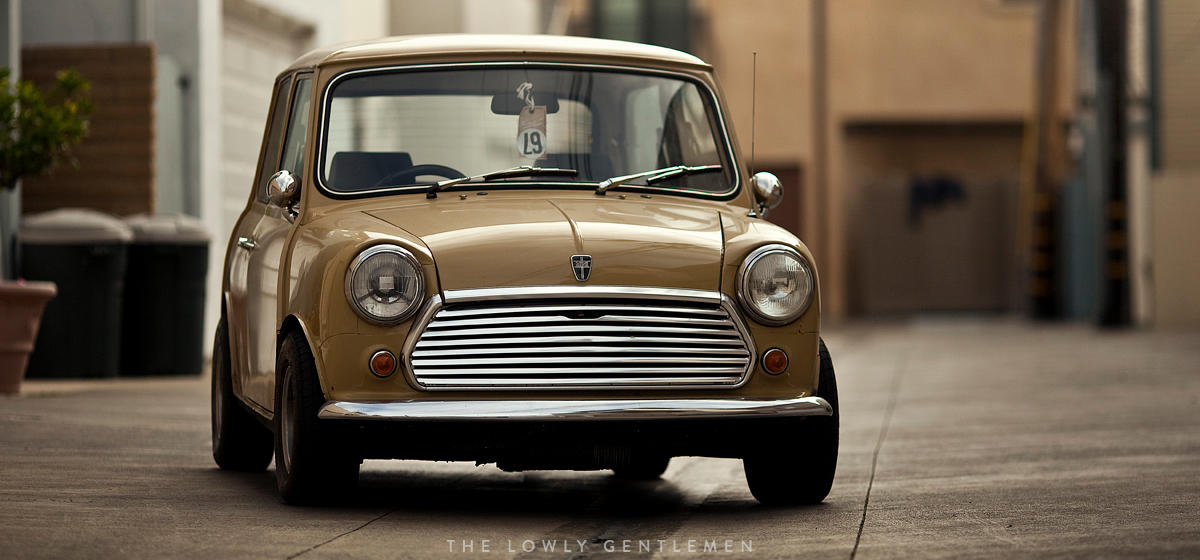
It’s been almost a year since I first found the little car in a classified ad, sitting somewhere in the middle of Kentucky just waiting for me. The Classic Mini I had always wanted was finally mine and it was time to enjoy it. As the months ticked by, I took it out on the weekends to get a feel for it, and I’d browse through magazines, forging plans for the inevitable build that would ensue. Slowly but surely I have collected parts here and there in anticipation, and the time has finally come to take the plunge and begin the build.
With plans in mind to convert the car to disc brakes while maintaining the archless body, I knew higher offsets would need to accompany the wider track width that would result. It was time to return to the enjoyable hunt for wheels that often consumes our time. The excitment of browsing through wheel classifieds is one of great anticipation as you scroll through the options and search for the perfect set, or stumble on a hidden deal. Faced with the task of finding 10-inch wheels, I found myself on the Yahoo Auctions of Japan, a source filled with a plethora of unique and odd-ball wheel options. Often times, the language barrier, bidding difficulties, and overseas shipping ventures are enough to scare enthusiasts away from the Yahoo finds, but I reached out to Mastermind USA to help in my search. With their connections in Japan and their years of experience with overseas imports, the only difficult step of the process is the anxious wait as your new wheels make their journey across the Pacific. One night, a perfect set of 10×4 Impul Pro Mesh wheels came into sight, and it looked like their offsets fit the bill. Before I knew it, the bid was placed and I had ended my search.
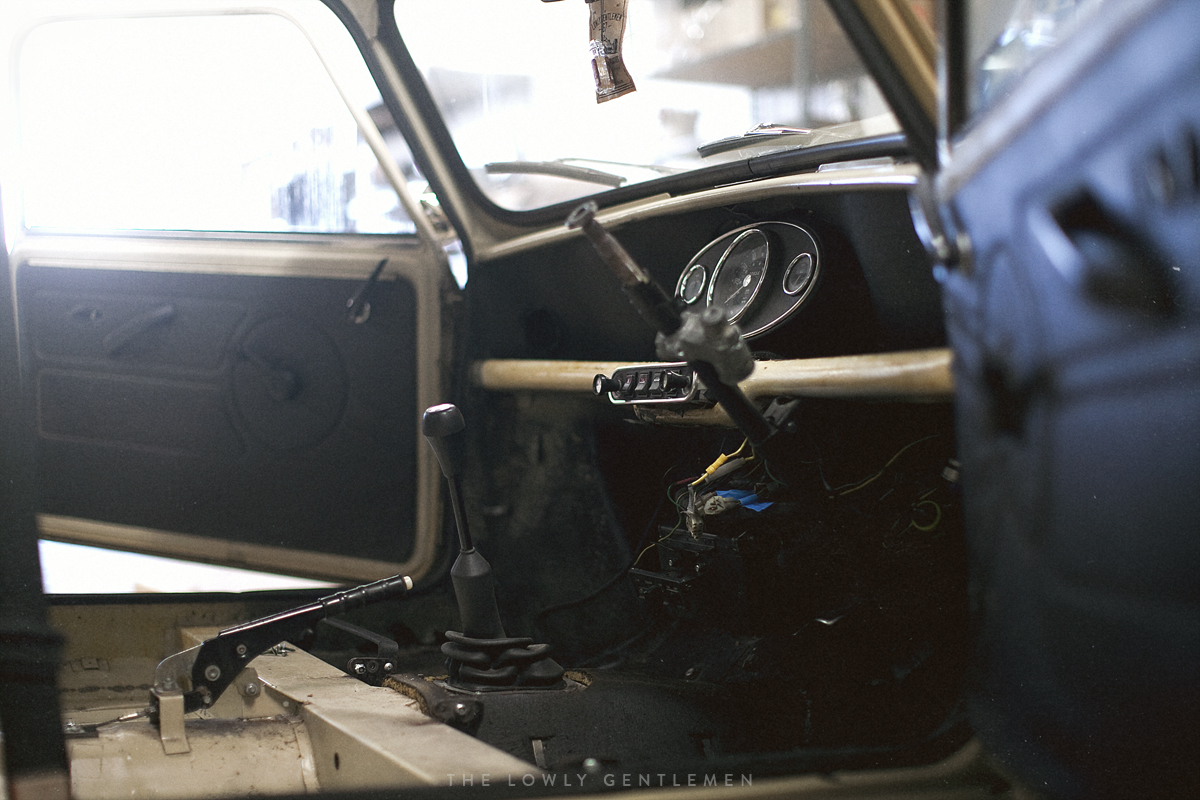
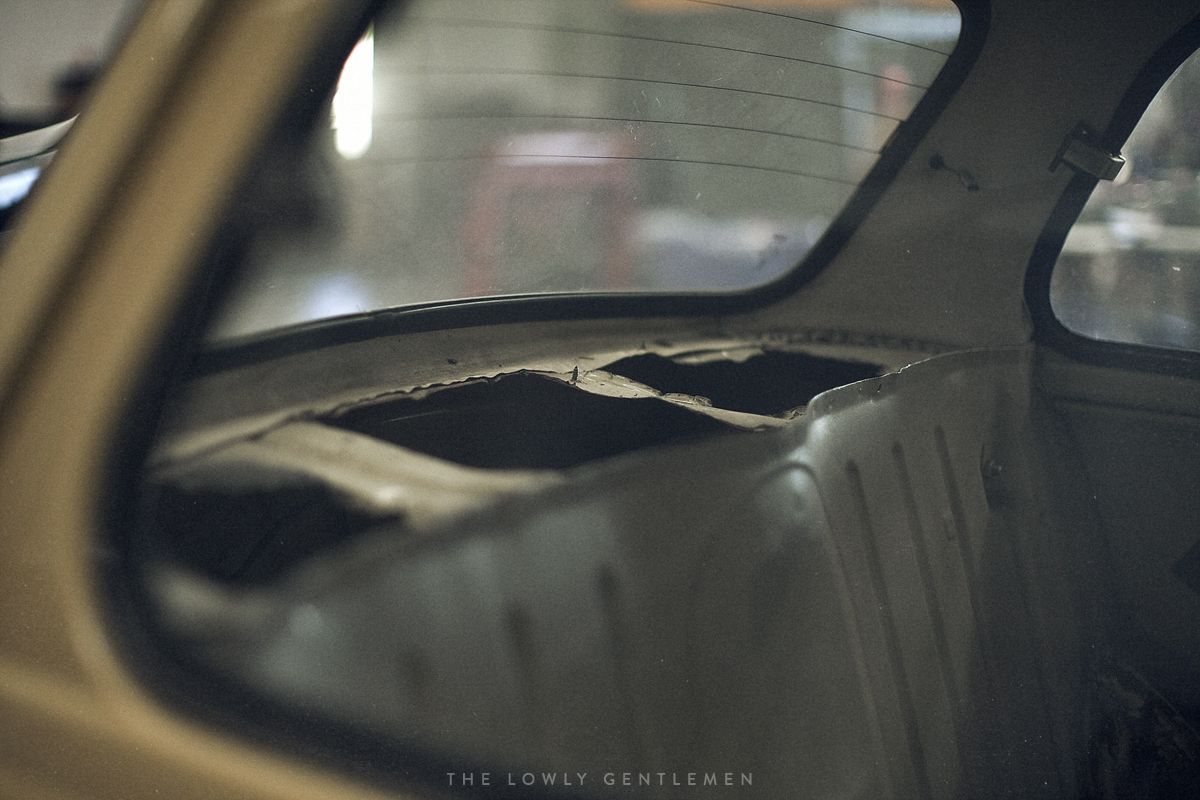
As wheels and suspension parts began to accrue, it was time to address the bodywork on the car. As I knew the car would be a ‘driver’, the exterior panels were in a suitable condition, but there was some rust in the sills and front floor panels that would need to be addressed before the build really got under way. The little british car is just over 40 years old, so it has its own imperfections. Rust is a common problem for Mini enthusiasts, but it’s a bit of a double-edged sword, as that also means that rust repair panels are plentiful. I approached Restoration Mini and collected the panels I needed to make the repairs. Some front floor pans, sills, a valence, and a door jamb all arrived at the StanceWorks shop as the interior was being stripped. With a little digging, it appeared that the rust problem was focused on the front corners and along the sills where water is often known to collect. The rear was solid under the carpet, but the remnants of a complete hack job lay under the rear parcel shelf speakers; another panel that would need attention. This will be my first attempt at bodywork, but the simple construction of the Austin Mini shell ought to make for a great introduction.
At the heart of each Mini lies the iconic BMC A-Series engine. The little 4 cylinder started life at 803cc under the bonnets of Austin A30s and Morris Minors, and found its way behind the drivers of the open wheel Formula Junior racers of the late 50s. It wasn’t until 1959 that it would be placed in the capable chassis of the Mini and its true potential began to show. The lighter weight of the Mini and its nimble handling allowed the A-series to truly shine, and tuners began to take notice. In the following decades, the engine went through a series of stroke and bore changes to keep up with competition in the marketplace and on the track. The engine grew from the small 803cc and 848cc sizes through a range of displacements, finally peaking at 1275cc which lasted until 2000 when the Mini came to an end.
Beneath the beige bonnet of my little racer is a trusty 998, which spits out a respectable 38hp at 5250 rpm. While the 998cc engine has been an absolute blast to driving, popping and burbling down the road, I knew it wouldn’t be enough for me as the build progressed. Fortunately enough, I stumbled upon a 1275 that once powered an Austin 1300, but had been relegated to the shop shelves of an avid Mini racer who was looking to make room for new projects. After a short drive down to San Diego with Mike and Jeremy, we managed to cram the tiny transverse four cylinder in the hatch of my daily and return to shop with my new powerplant. Interested in sticking to the classic nature of the car, and in reverence of its strong history, I wanted to stick with the A-series engine rather than explore the other popular engine swap options. While they have their own benefits, the Vtec swaps and R1 Bike engines felt like too much of a dispersal from the original for the direction I was headed, so it seemed right that my Mini’s heart remain A-series at the core.
With that said, an enthusiast can never quite leave “well enough” alone. The original 5 port design was always a restriction when tuners and racers tried to squeeze extra power from the british engine. With its two siamese intake ports, it didn’t flow well enough for those looking to push the limits, so 7 and 8 port heads became an option, moving the intake ports to the front and opening up its breathing. In a similar desperation, attempting to beat the Imps and Fords that the Mini would compete with out on the track, racers began to experiment with twin cam heads to replace the push rod setup of the original. Bill Needham of Coldwell Engineering is famous for affixing a Ford/Lotus twin overhead cam cylinder head onto the block of his Mini racecar in the 60s, and the twin cam setup has been a solid option for race teams ever since with KAD and Jack Knight offering their own heads as well.
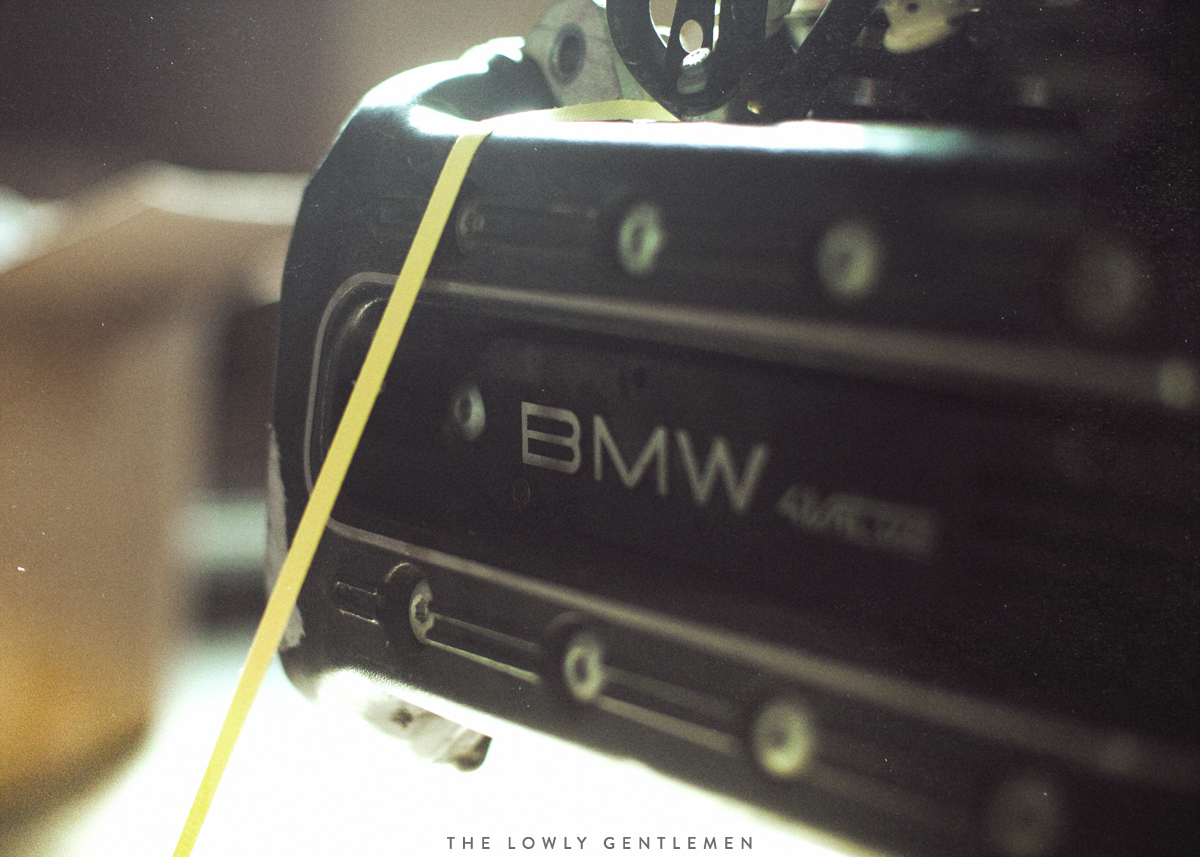
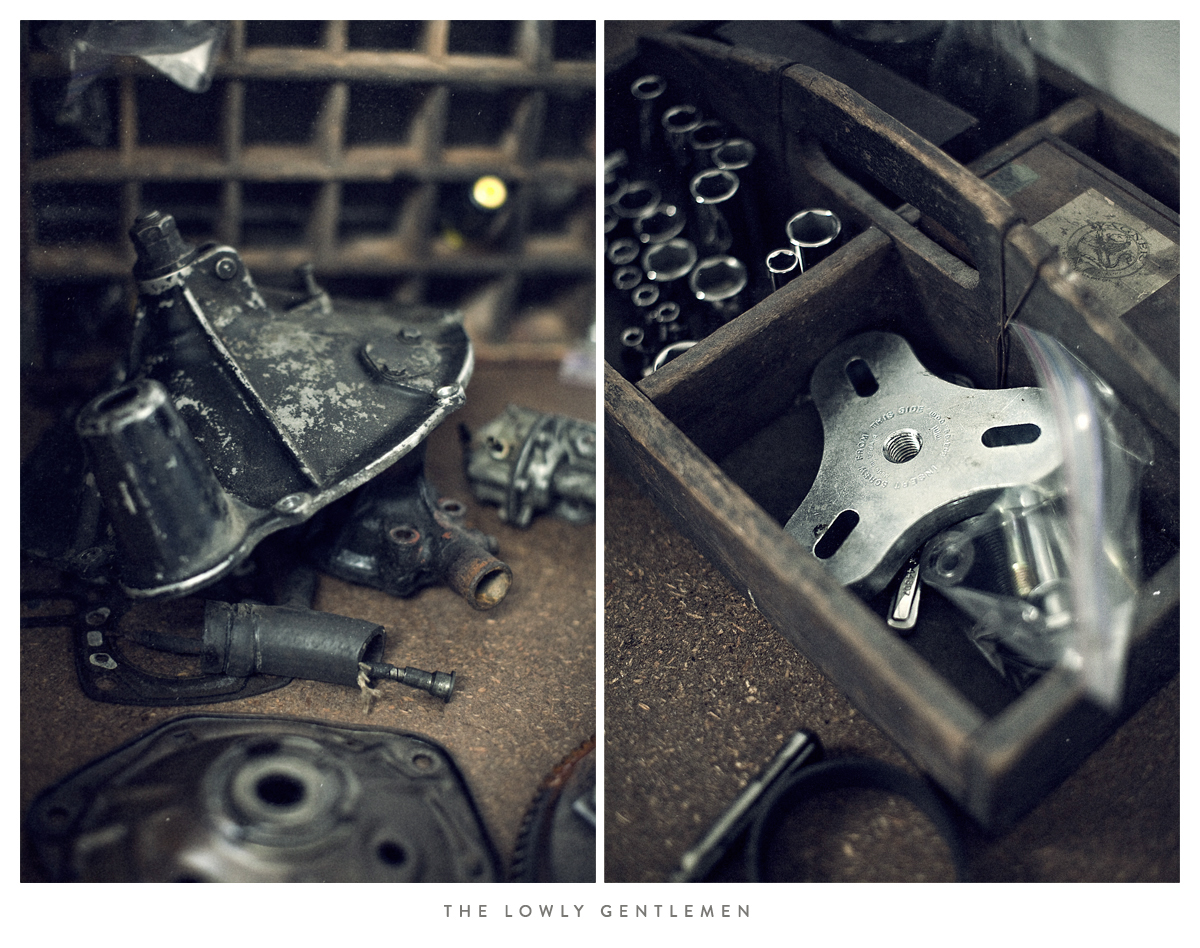
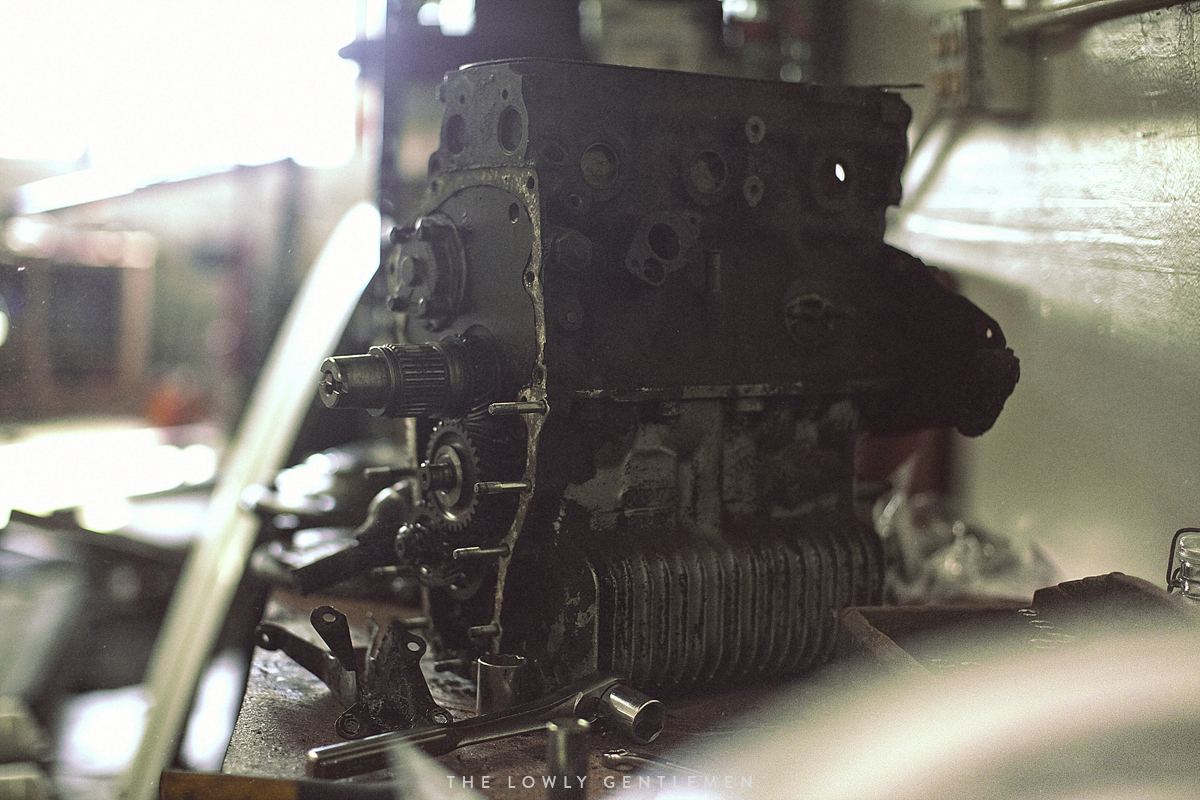
Following in these foot steps, I sourced the inline four engine out of a BMW K1100LT motorcycle to strip it of its small twin cam head. Whether its down to luck or the rumored BMC influences in BMW’s design, the cylinders of the BMW K engines fall in line with the cylinders of the A-series. While both the head and block with have to endure machine work to properly match up, the BMW head offers a great option for converting to a twin cam setup and utilizing ITBs and fuel management to unleash power. Unable to resist, I was quickly unbolting the BMW head from the side of the K1100LT and test fitting it on the 1275 that I had already purchased. With all the parts on my workbench, it was time to begin the tear down in anticipation of the conversion work. This build is one that I’ve been dreaming of for years, so I’m excited to be moving forward on it. I have gathered all of the initial parts for the build and each stage is under way, but for now, it’s back to work as I push through to the end of the week when I can return to the shop and continue the 1275’s dis-assembly.

