 Tweet
Tweet
Now, as we mentioned in a previous post, the way to replace the Murci�lago�s clutch involves removing the motor.
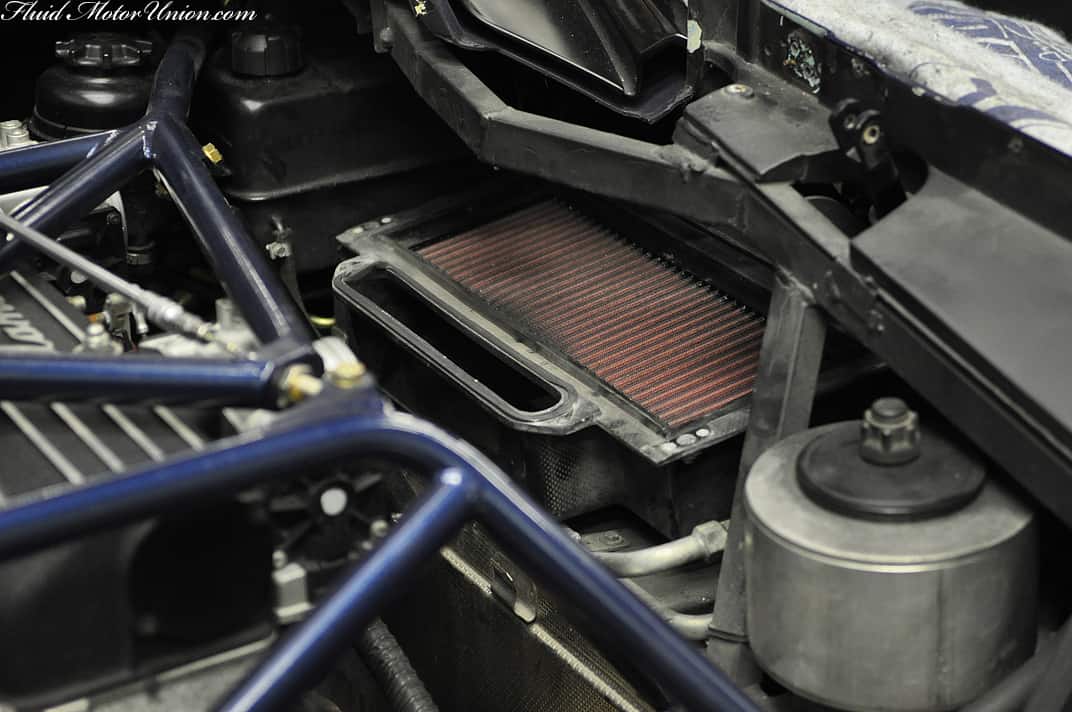
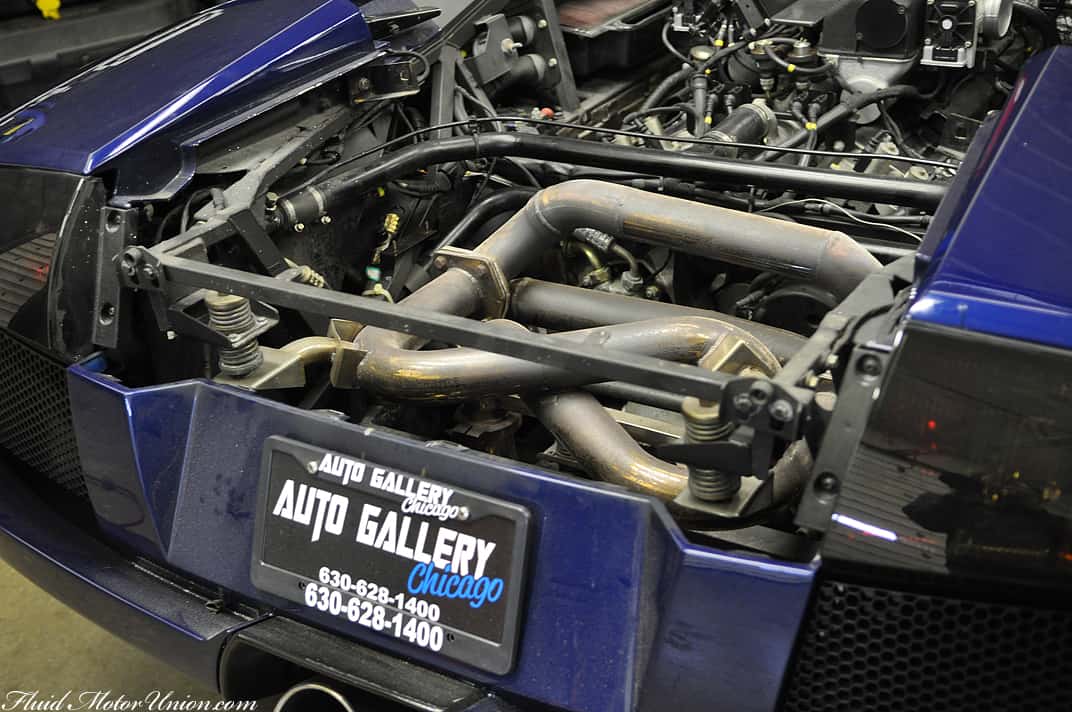
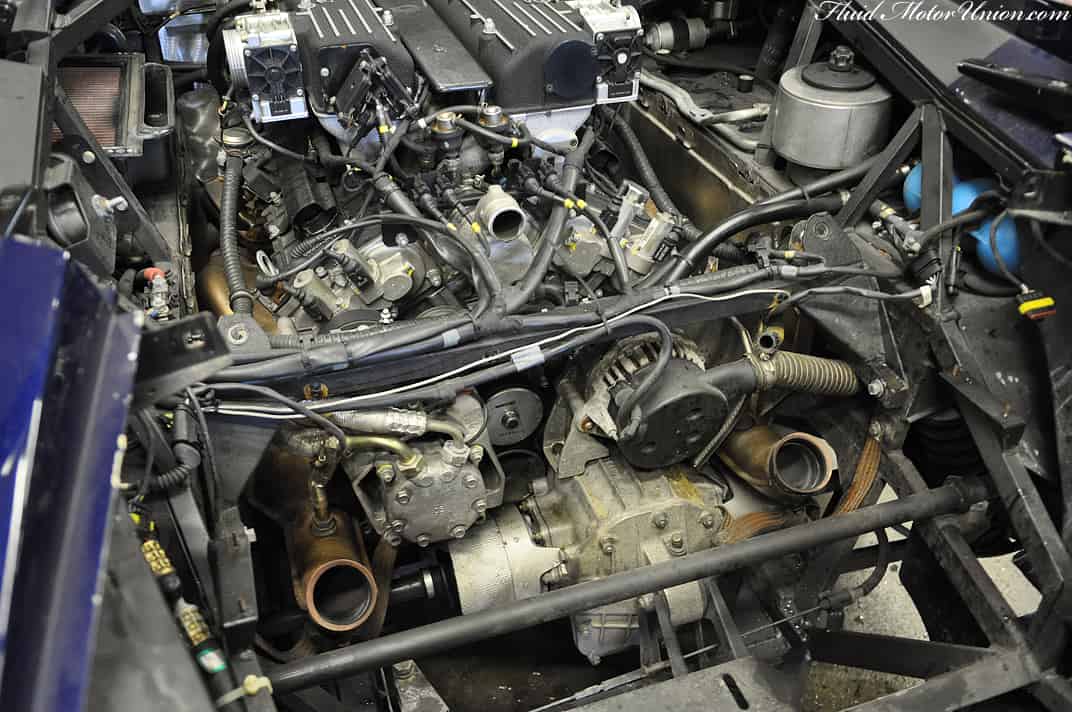
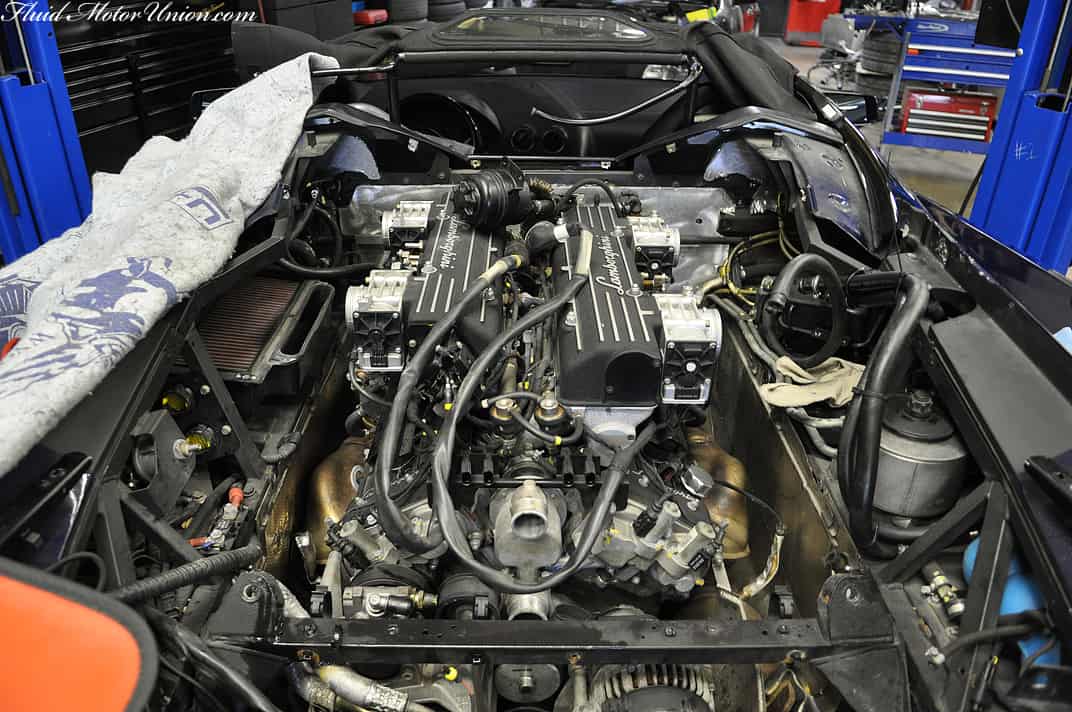
Easier said than done, seeing as how the book time on this job is about 40 hours. That said, we�re up to the task, so we started by moving the soft top away from the motor. The engine is removed from the top of the car, which means the Roadster-specific engine bay bracing will have to be removed, as well. Our first step was to disconnect everything in the way of the bracing, which gave us access to the bracing�s bolts at the firewall. For those of you who are wondering why the Roadster needs extra bracing, bear in mind that a solid, non-convertible rooftop provides a great deal of structural rigidity, so when you chop the top off for the sake of sunlight, you lose a large portion of that chassis rigidity, necessitating the need to add bracing somewhere else. In the interest of keeping panels and other engine bay parts from becoming scratched or scuffed, we removed some parts like the airboxes, as well. From there, much of the job involves disconnecting and moving aside various hose clamps, tubing and other components that run from the side of the car to the motor.
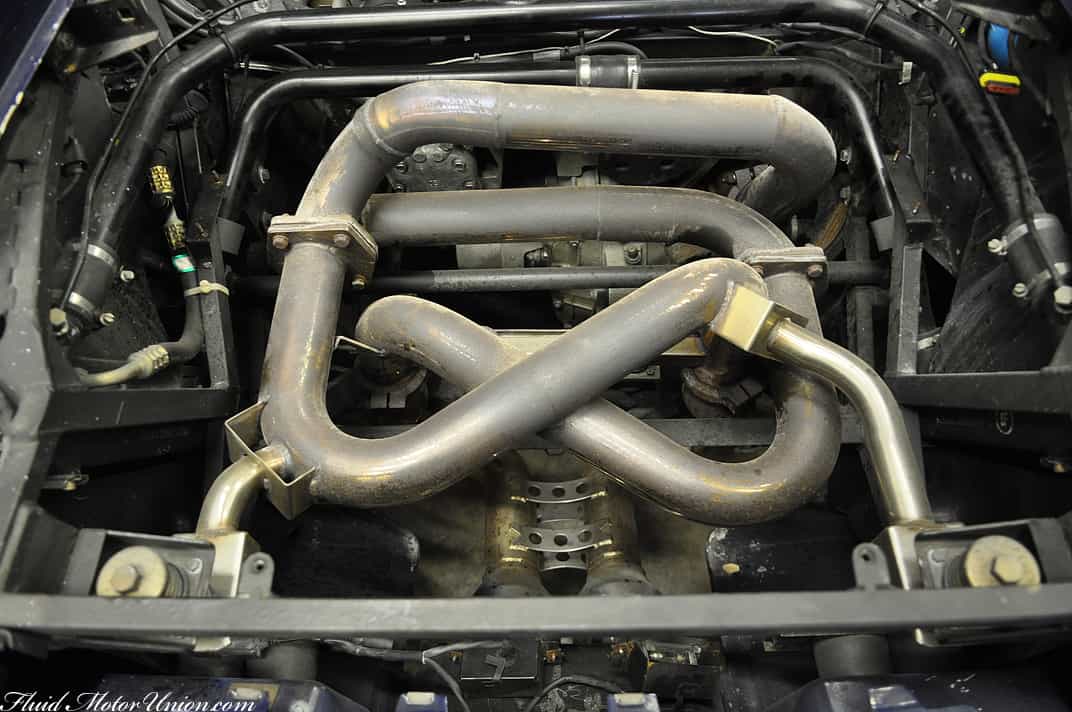
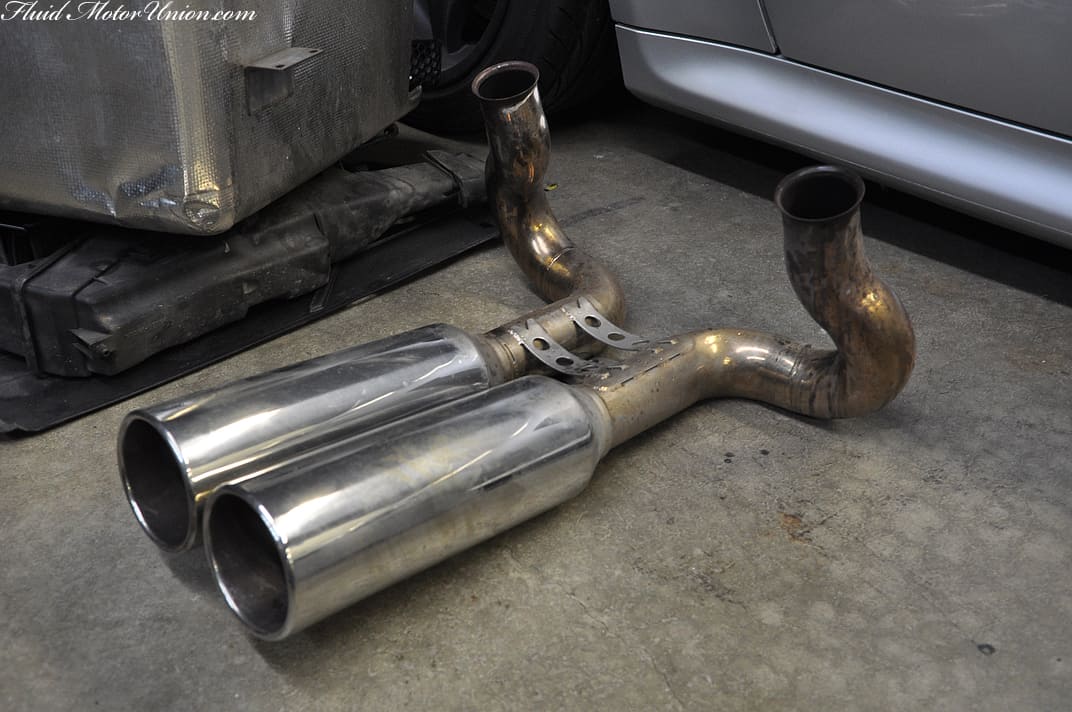
With the bracing out of the way, we removed the body panel just above the exhaust piping, and with a few bolts we had the exhaust out of the way, as well. This gives us access to the rear transaxle mount, as well as more components that require removal/moving aside.
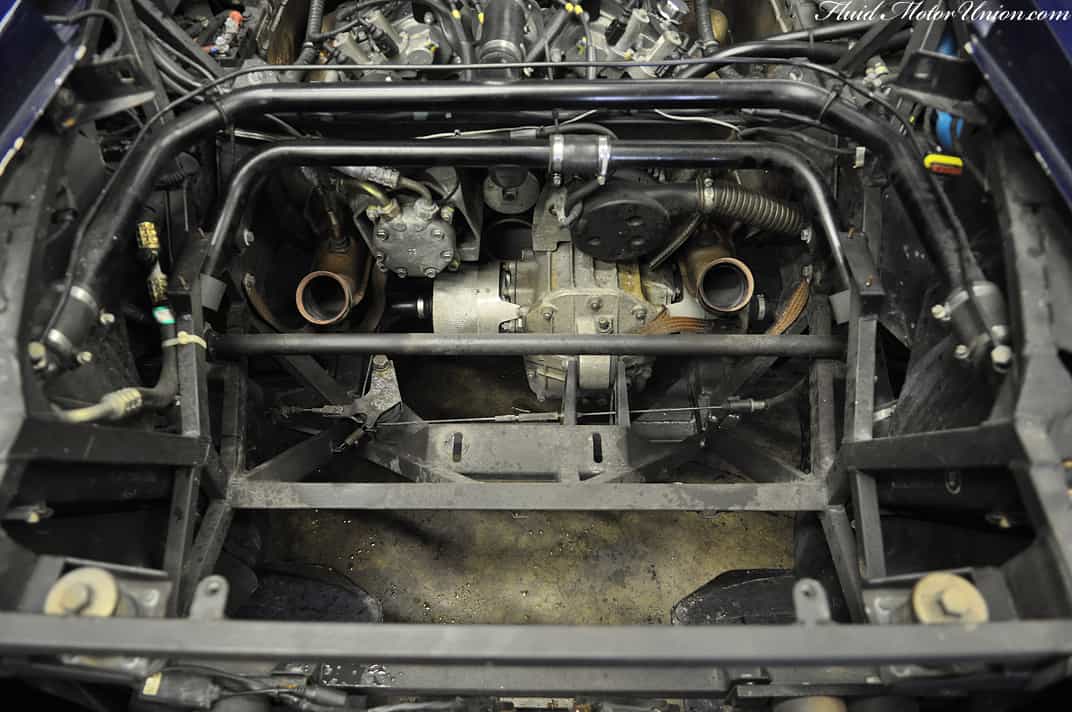
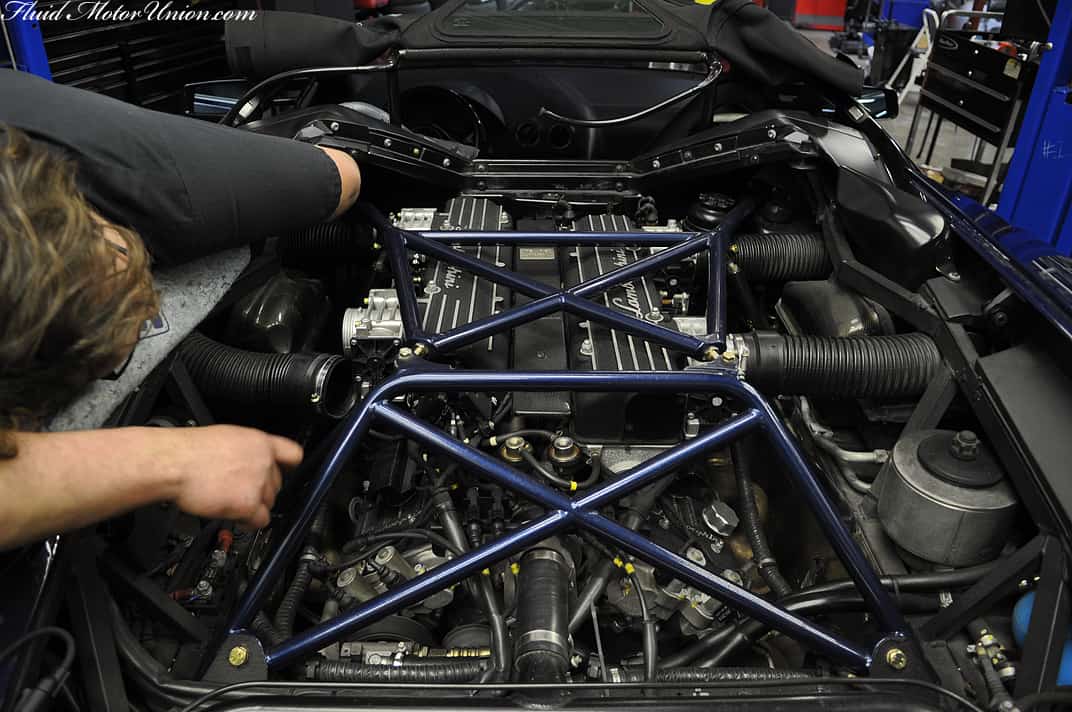
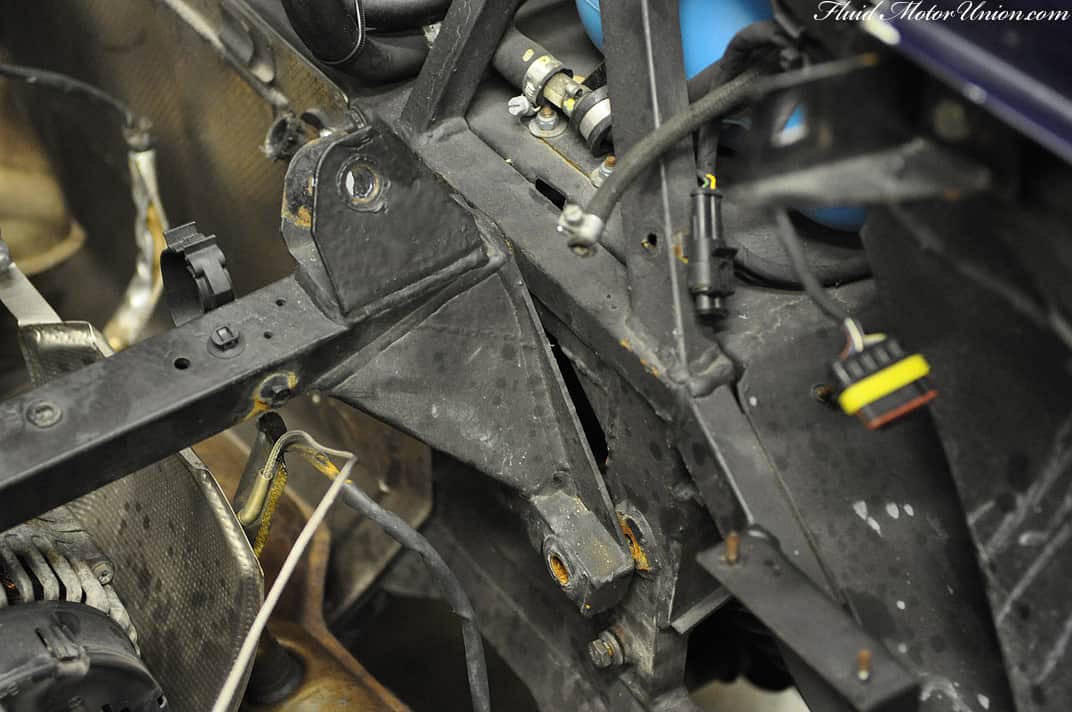
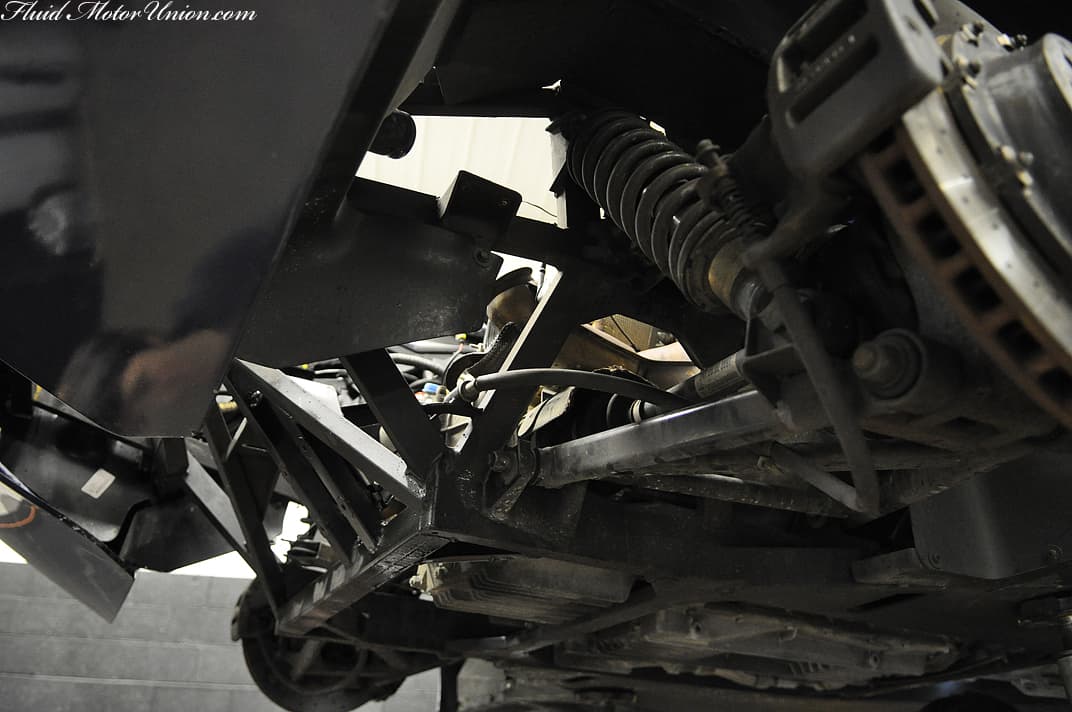
From there, we also removed some vacuum and coolant tubing that sits between our hands and the massive cross-brace above the alternator and transaxle. As you can see, there are also a good number of wires zip-tied to the brace, so obviously those will need relocation as well.
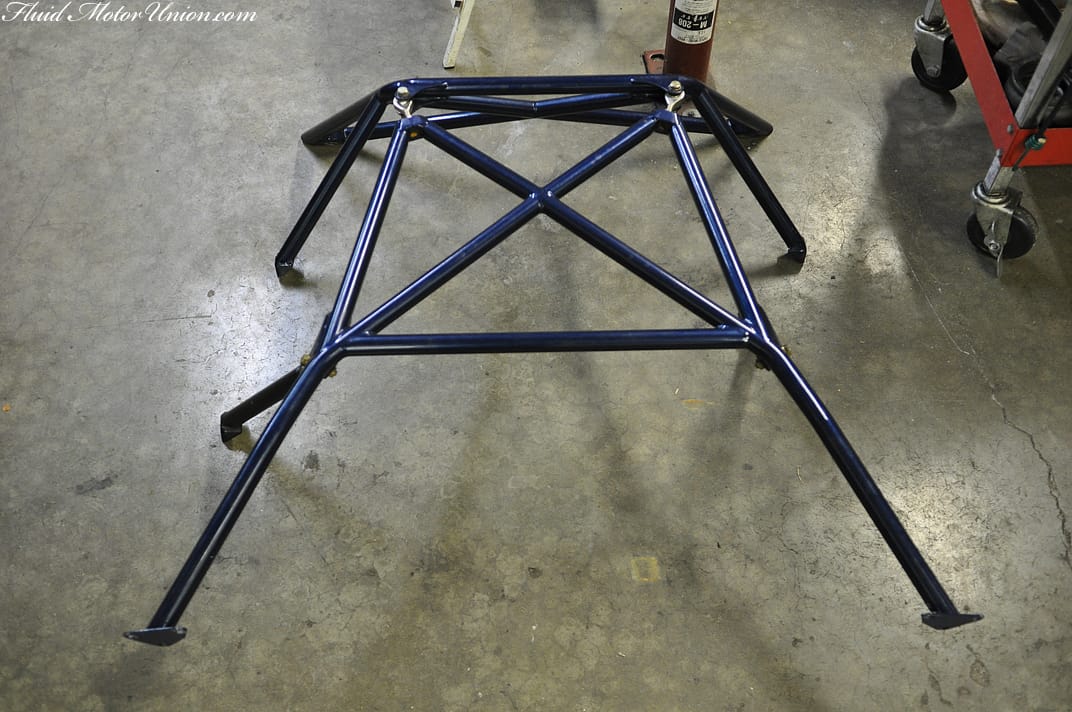
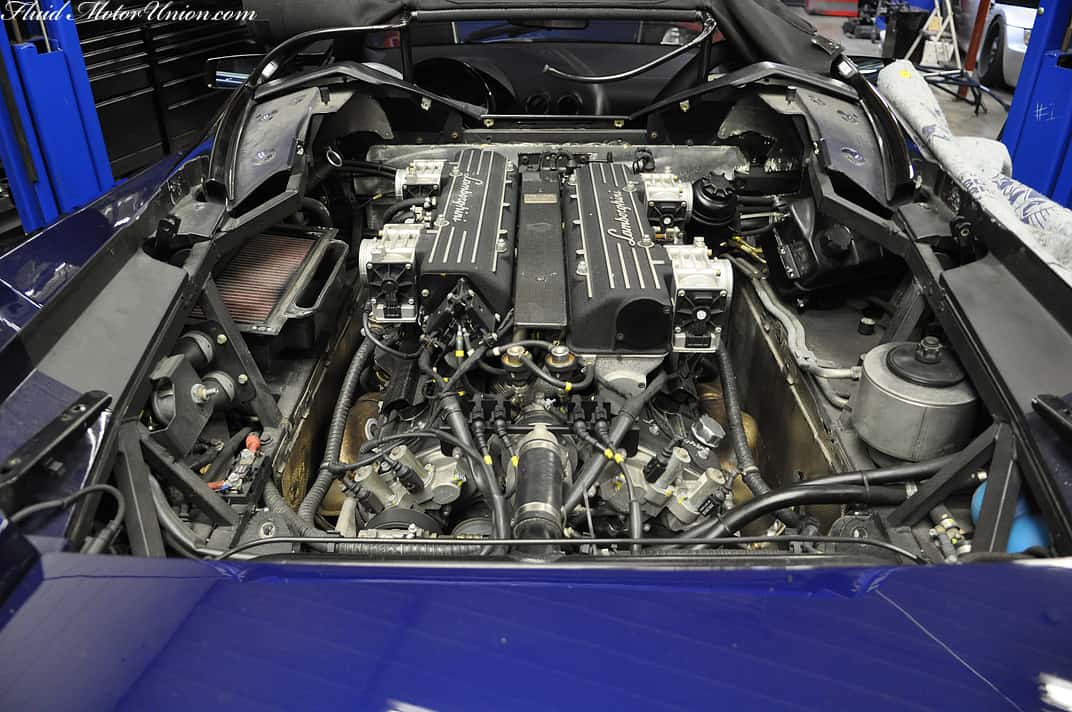
With everything out of the way, we apply a bit of elbow grease to the center brace�s bolts, and it comes right out! The motor is getting closer and closer to removal!
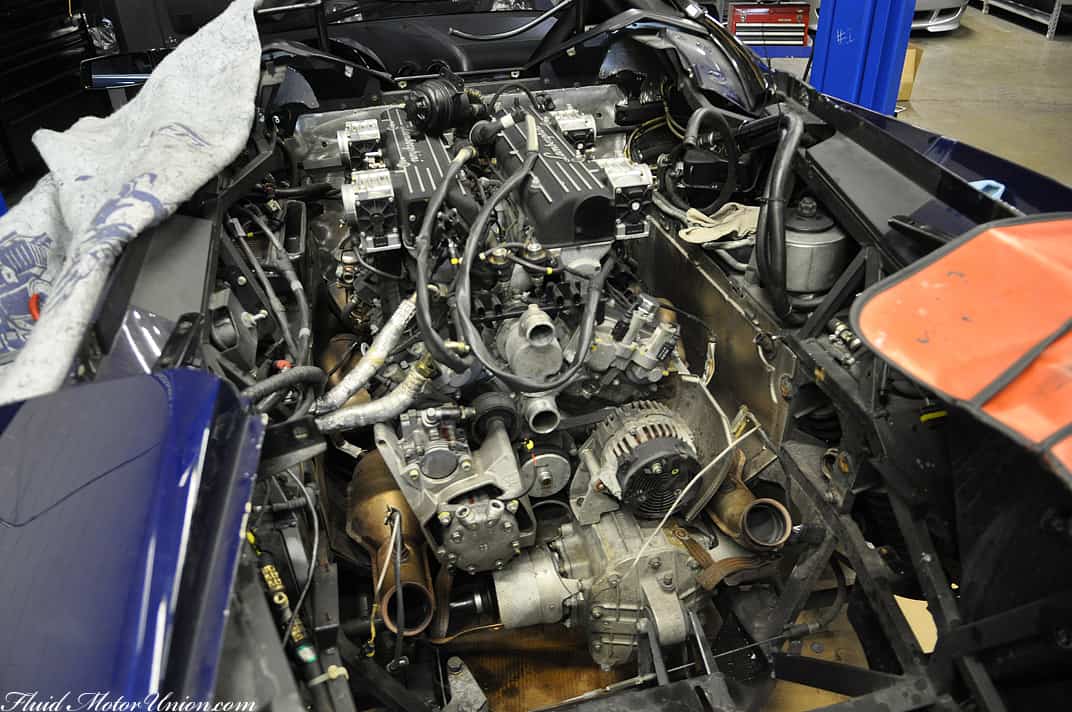
There are quite a few spots to hit still � namely, the axles and motor/transaxle mounts. And that�s exactly what we�ll be covering the next time we return with pictures! Thanks for reading thus far, and we�ll be back tomorrow with more FMU content on our daily blog! Have a great start to your week and a happy Martin Luther King, Jr. Day!
Easier said than done, seeing as how the book time on this job is about 40 hours. That said, we�re up to the task, so we started by moving the soft top away from the motor. The engine is removed from the top of the car, which means the Roadster-specific engine bay bracing will have to be removed, as well. Our first step was to disconnect everything in the way of the bracing, which gave us access to the bracing�s bolts at the firewall. For those of you who are wondering why the Roadster needs extra bracing, bear in mind that a solid, non-convertible rooftop provides a great deal of structural rigidity, so when you chop the top off for the sake of sunlight, you lose a large portion of that chassis rigidity, necessitating the need to add bracing somewhere else. In the interest of keeping panels and other engine bay parts from becoming scratched or scuffed, we removed some parts like the airboxes, as well. From there, much of the job involves disconnecting and moving aside various hose clamps, tubing and other components that run from the side of the car to the motor.
With the bracing out of the way, we removed the body panel just above the exhaust piping, and with a few bolts we had the exhaust out of the way, as well. This gives us access to the rear transaxle mount, as well as more components that require removal/moving aside.
From there, we also removed some vacuum and coolant tubing that sits between our hands and the massive cross-brace above the alternator and transaxle. As you can see, there are also a good number of wires zip-tied to the brace, so obviously those will need relocation as well.
With everything out of the way, we apply a bit of elbow grease to the center brace�s bolts, and it comes right out! The motor is getting closer and closer to removal!
There are quite a few spots to hit still � namely, the axles and motor/transaxle mounts. And that�s exactly what we�ll be covering the next time we return with pictures! Thanks for reading thus far, and we�ll be back tomorrow with more FMU content on our daily blog! Have a great start to your week and a happy Martin Luther King, Jr. Day!


Comment