 Tweet
Tweet
Sometimes, when we�re working, we�ll something nearly complete that�s missing one or two small things. Naturally, we try to fill those gaps.
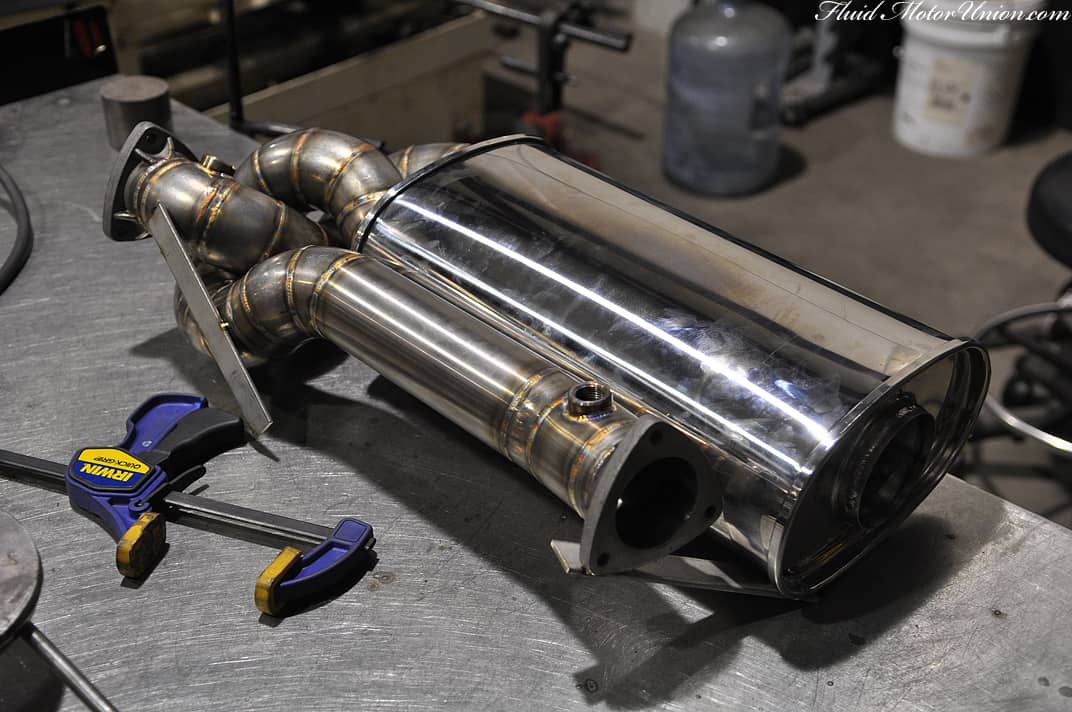
First, we had a few gaps left in the welding for Tim�s 993-swapped 911. We had welded the majority of the pretzel-like piping together, and welded that to the muffler itself. However, the oxygen sensors still needed something more than just two holes in the exhaust to be able to function correctly. Enter some bungs!
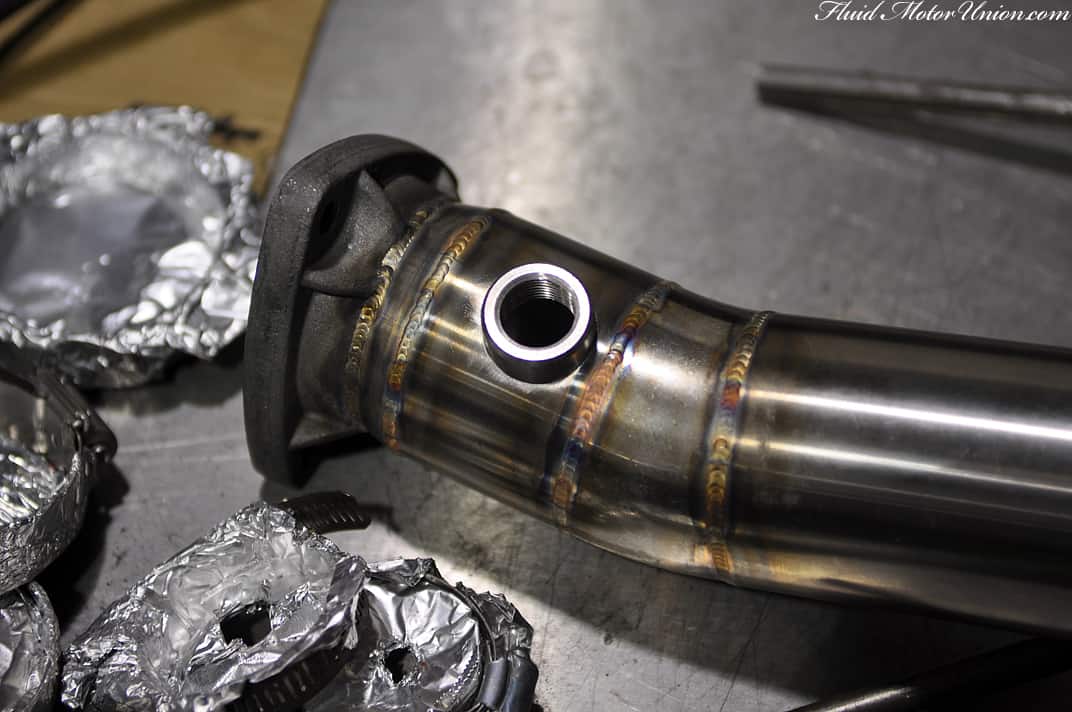
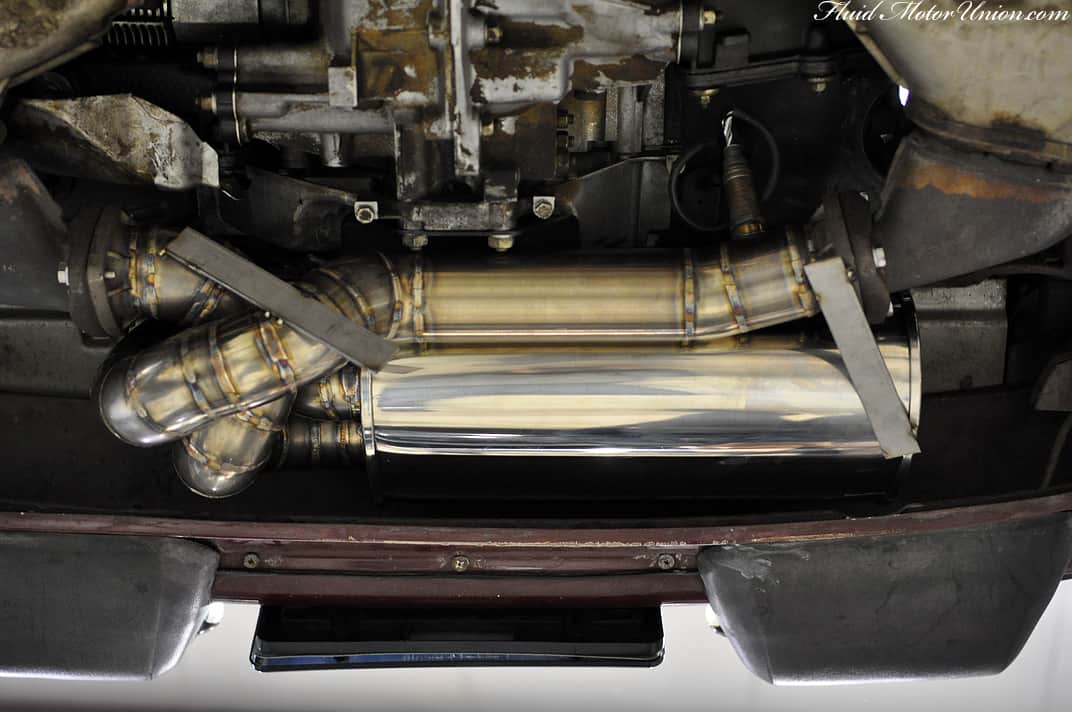
With the O2 bungs in place, we finalized the rest of the exhaust welding, which consisted mainly of the areas between the pipes and the flanges that connect to the exhaust manifolds. Afterwards, we tossed it back into place and started it up for the first time. According to your man on the street, the sound could be identified as deep and slightly aggressive with a solid bark to it. Oh, and don�t mind the thin pieces of metal stretching across the exhaust in the last picture � they were only in place to ensure that the metal didn�t move much during the final welds. Now it�s time to make some tips and finish up the HVAC piping.
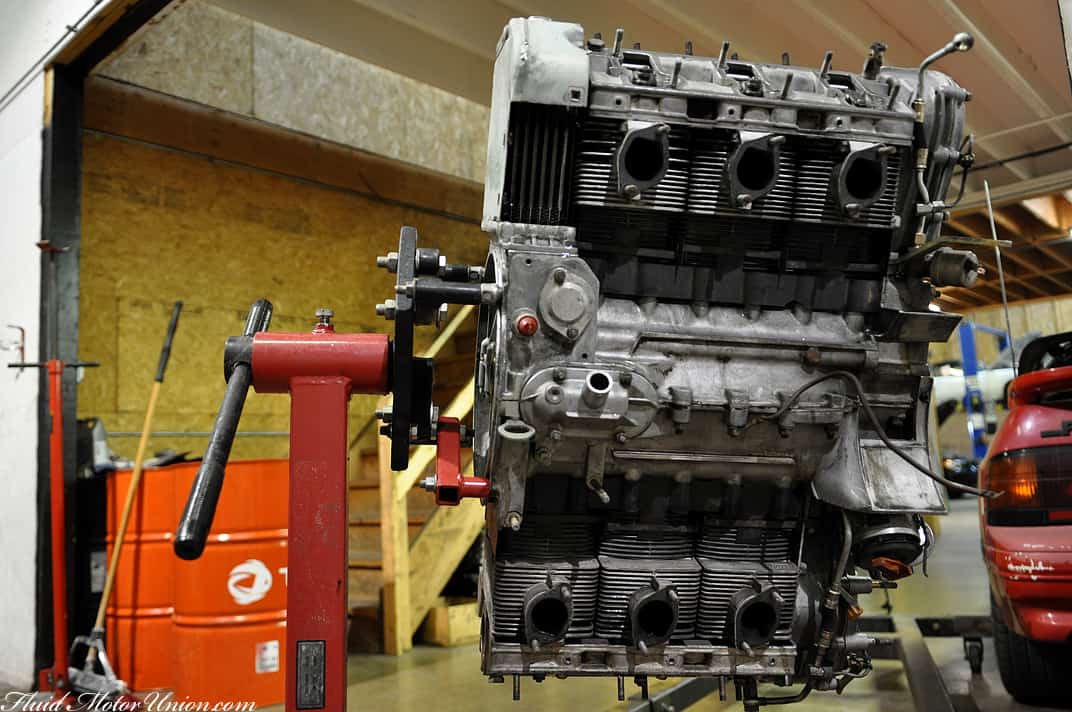
Next, this one isn�t technically a gap-filler, unless you count a total stranger�s lack of an engine as a gap, which we totally do. The old motor on Tim�s 911 is currently being broken down to its most bare form and has been given a thorough cleaning to get rid of the 30-some-odd-years worth of gunk and residue buildup.
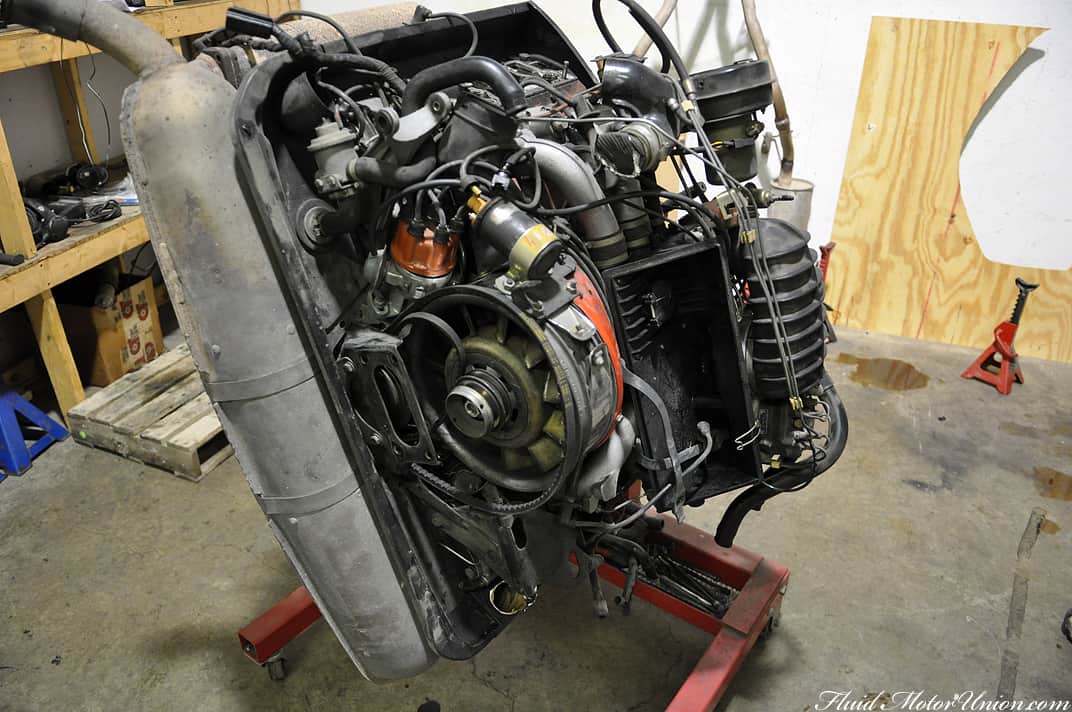
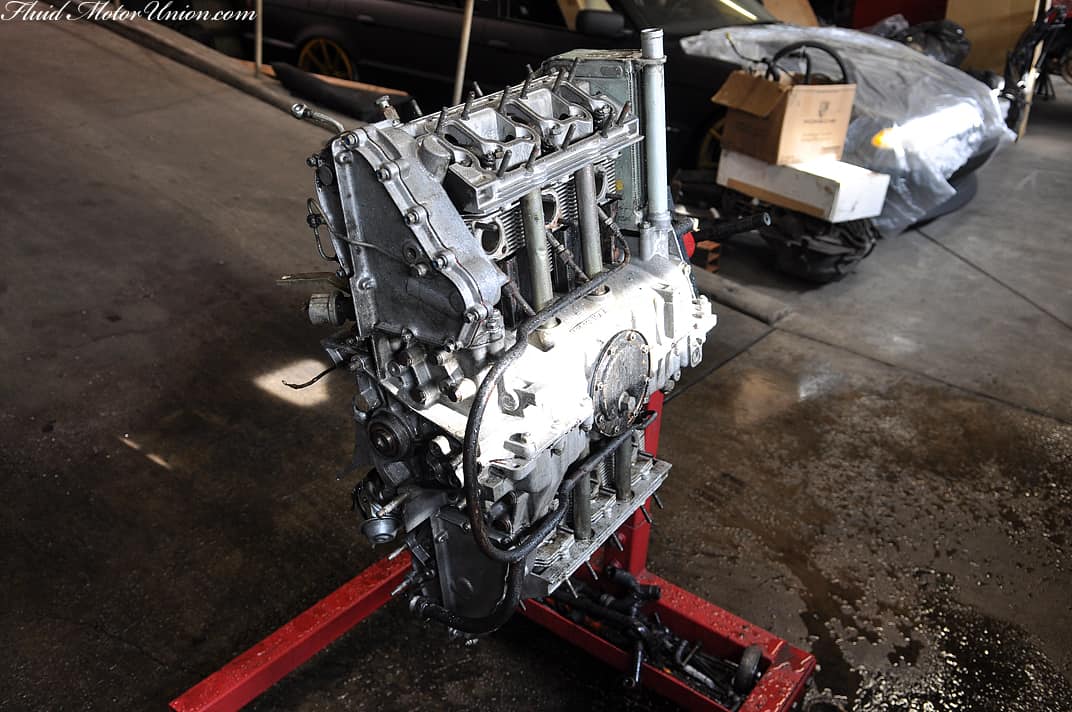
Having been hit with enough solvents to clean ten motors, it�s time to start rebuilding the motor as much as we can before we decide what to do with it. Not sure whose home it will end up in, but hopefully it will fill a much-lamented gap in some other 911�s engine bay.
Finally, we�re nearing completion of Erik�s motor-swapped Mazda3. We�ve addressed just about every system in the vehicle except for one � the PCV system. We�ve decided to go with a custom catch can for ensuring the crankcase is properly ventilated, which we�re assembling right now in the fabrication shop. We found a nice gap (get it?) on the driver�s side of the motor, so we started fashioning a mount to hold the catch can in place. Seeing that one mount probably wouldn�t be enough to keep the catch can sturdy, we decided to add a second.
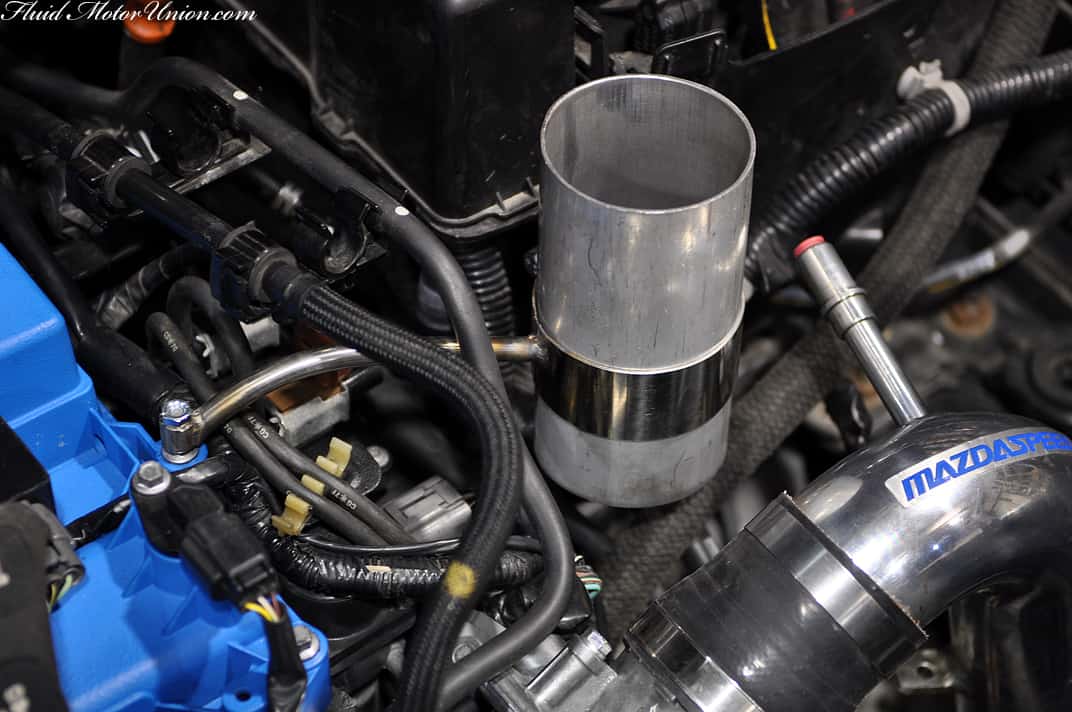
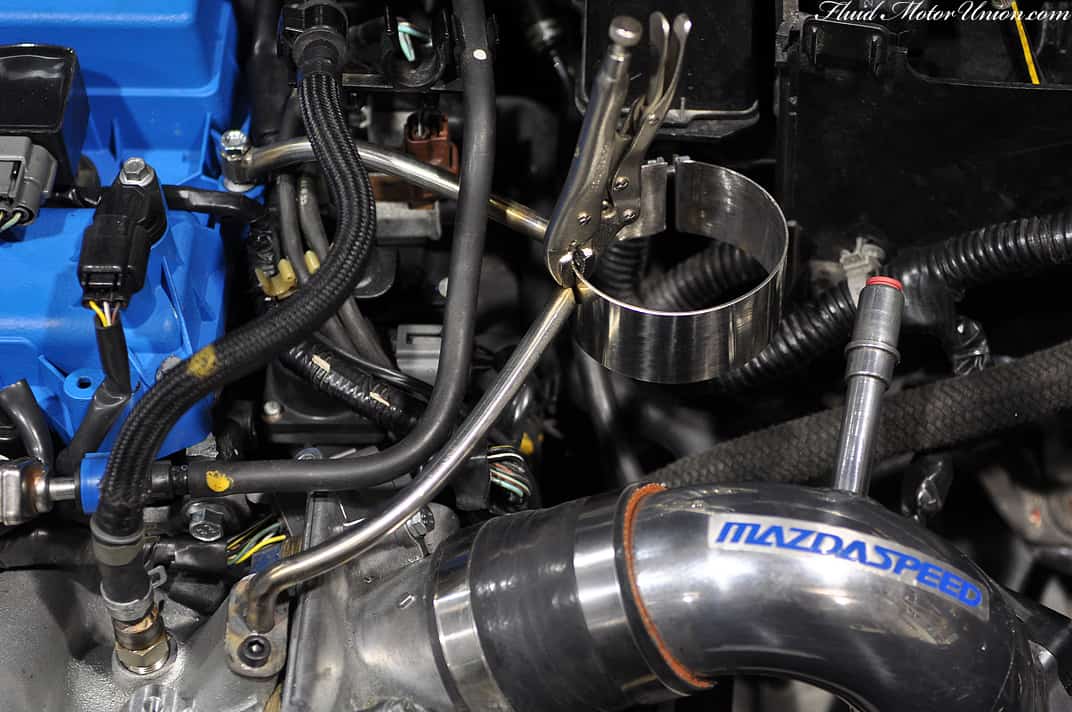
Realizing that there was still a bit lacking in aesthetics, we fashioned an extra bracing plate to bridge the gap between the two mounting arms, which we then trimmed to fit around one of the myriad lines worming its way through the engine bay. A few TIG welds later, and there we have it, one complete and unpainted mount.
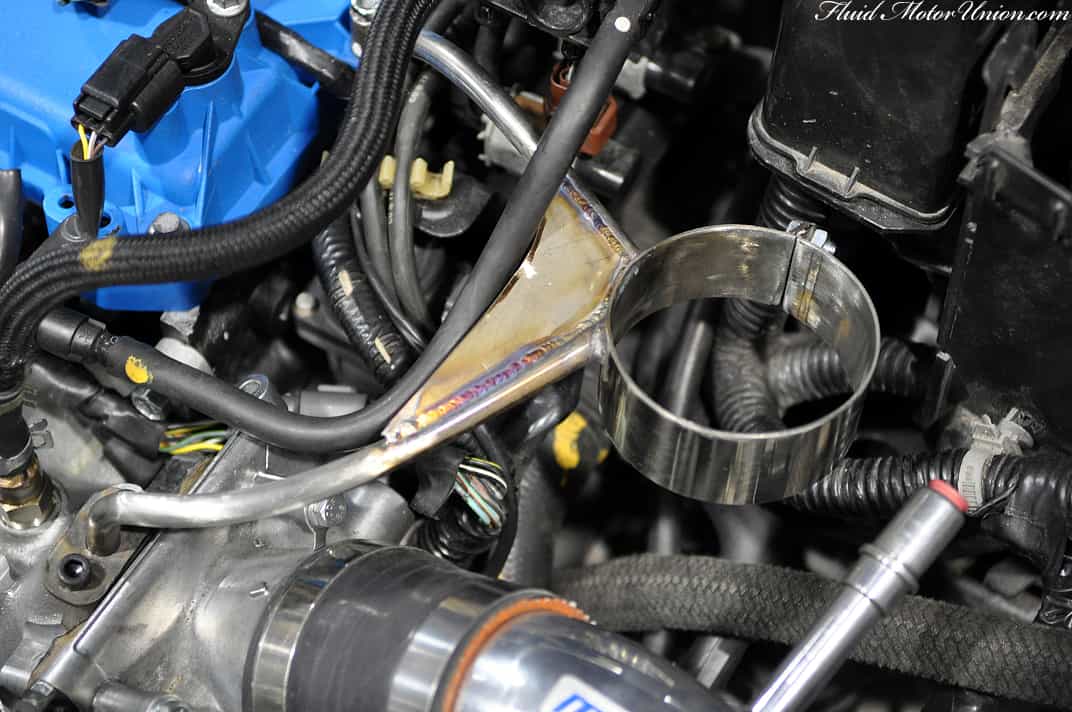
Now, we still have one big gap left to fill on the mount � the catch can itself. We�re working our way through it right now, and it should be done soon, so we�ll shoot you another updated once all the hoses have been routed and all the welds laid down.

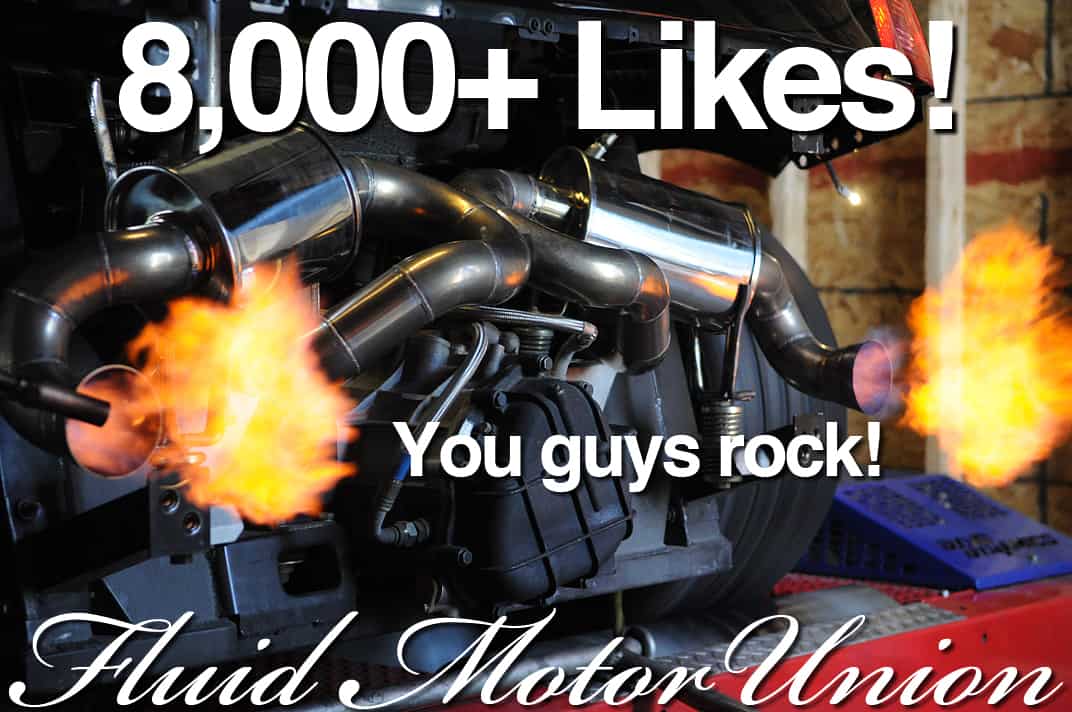
Finally, we�re going to fill one last gap � the gap between social media and our blog here. Not all of our readers may follow us on Facebook (if you don�t, click here and Like us!), but for those that don�t, we recently surpassed eight thousand likes. As a show of appreciation, we put up a picture of a Lamborghini Gallardo throwing flames through our FMU custom exhaust, which we�ll now share with everybody here, as well. Hey, everybody likes fireballs, right?
Have a great weekend and we�ll see you Monday!
First, we had a few gaps left in the welding for Tim�s 993-swapped 911. We had welded the majority of the pretzel-like piping together, and welded that to the muffler itself. However, the oxygen sensors still needed something more than just two holes in the exhaust to be able to function correctly. Enter some bungs!
With the O2 bungs in place, we finalized the rest of the exhaust welding, which consisted mainly of the areas between the pipes and the flanges that connect to the exhaust manifolds. Afterwards, we tossed it back into place and started it up for the first time. According to your man on the street, the sound could be identified as deep and slightly aggressive with a solid bark to it. Oh, and don�t mind the thin pieces of metal stretching across the exhaust in the last picture � they were only in place to ensure that the metal didn�t move much during the final welds. Now it�s time to make some tips and finish up the HVAC piping.
Next, this one isn�t technically a gap-filler, unless you count a total stranger�s lack of an engine as a gap, which we totally do. The old motor on Tim�s 911 is currently being broken down to its most bare form and has been given a thorough cleaning to get rid of the 30-some-odd-years worth of gunk and residue buildup.
Having been hit with enough solvents to clean ten motors, it�s time to start rebuilding the motor as much as we can before we decide what to do with it. Not sure whose home it will end up in, but hopefully it will fill a much-lamented gap in some other 911�s engine bay.
Finally, we�re nearing completion of Erik�s motor-swapped Mazda3. We�ve addressed just about every system in the vehicle except for one � the PCV system. We�ve decided to go with a custom catch can for ensuring the crankcase is properly ventilated, which we�re assembling right now in the fabrication shop. We found a nice gap (get it?) on the driver�s side of the motor, so we started fashioning a mount to hold the catch can in place. Seeing that one mount probably wouldn�t be enough to keep the catch can sturdy, we decided to add a second.
Realizing that there was still a bit lacking in aesthetics, we fashioned an extra bracing plate to bridge the gap between the two mounting arms, which we then trimmed to fit around one of the myriad lines worming its way through the engine bay. A few TIG welds later, and there we have it, one complete and unpainted mount.
Now, we still have one big gap left to fill on the mount � the catch can itself. We�re working our way through it right now, and it should be done soon, so we�ll shoot you another updated once all the hoses have been routed and all the welds laid down.
Finally, we�re going to fill one last gap � the gap between social media and our blog here. Not all of our readers may follow us on Facebook (if you don�t, click here and Like us!), but for those that don�t, we recently surpassed eight thousand likes. As a show of appreciation, we put up a picture of a Lamborghini Gallardo throwing flames through our FMU custom exhaust, which we�ll now share with everybody here, as well. Hey, everybody likes fireballs, right?
Have a great weekend and we�ll see you Monday!


