So having no car, whats the most reasonable ting to do. buy some wheels
Okey here goes my progress thread, doing this so i have something to look back on.
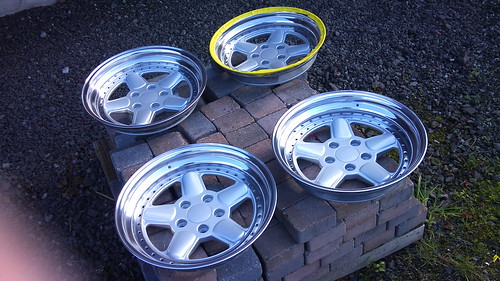
This was done all by me, these are by no means perfect. but they are way better then when i started on them. Im planing on changing the lips anyways, since someone has already taken the wheels apart at least once, and has not done a very good job.
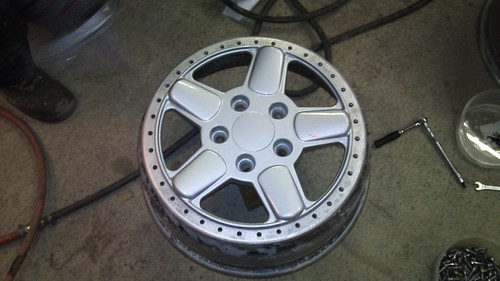
Some of you may know that the three piece acs wheels were made by OZ, and the OZ wheel nuts and bolts are not 12point like BBS, but 10point. So you can not go into a normal hardware store and pickup a socket. You need to order a 10point socket set, and they cost around 100-150$. but someone that took my wheels apart, in the past obviously did not have the tool available, so they have used a angel grinder and cut them all off, when they put the wheels back together, they have used unoriginal 6mm (huge no no) bolts and nuts. The hols are 7mm, and the bolts being 6mm they have bin wiggling around, and leaving a mark in the lips. So if i buy the original bolts, they will not cover up the marks.
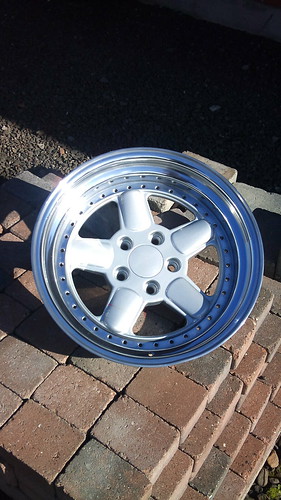
so my plan was to make the lips shine again, and reseal them correct. And sometime down the line, i will buy new lips, bolts and nuts.
i will keep a price list of everything ive bought so far. prices are in danish kroner.
wheels 4700
shipping 1200
taxes 2100
sand paper 96
autosol 40
so far 8036kr equals to around 1500usd.
the wheels are sized 17x8.5et13 and 17x10et19, they came with tires in sizes of 215/40's sunny's and 245/35 falken's.
so i wanted to test the stretch of the sunny's, and pirelli's 195/40.
I mounted the tires myself, and those that are having a hard time getting tires to stretch. i know a method that works every time for me, and normally on the first try.
i have no pictures of this, or video since i was by my self. but you want the tire to sit on a angle. kinda hard to explain but were the valve is, you want the top of the tire sitting op against the rim, and the other side want the tire to lay down the bottom of the rim so the tire sits at an angle. if its done this way, it leaves a gap on the other side were the valve is.
now its time for spraying some starter gas into the wheel, Do Notover do it, it takes a very little amount of gas to make it pop up. i normally do it this way, were the gap opens on one side, i start spraying and start moving quickly to the other side were the gap closes spraying all the time, then i move back to the middle of the gap, and start spraying up on the tire down to the tread of the tire, this is were i set fire to the starter gas, you will see the fire going up the threads towards the gap, and the tire will pop up, when the tire pops up you will need to start putting air in the tire so it seats against the rim. its critical to time it correct and voila the tire is on.
by the way, if you read all of this jibber jabber. i hope it makes sense. since im hungover from last night. and having a hard time putting words down.
anyhow enough talk, time for some pictures. hope they work, first time using flickr. oh and sorry for the camera phone.

DSC00649 by Djurhuus zic, on Flickr
8.5's and 10's side by side.
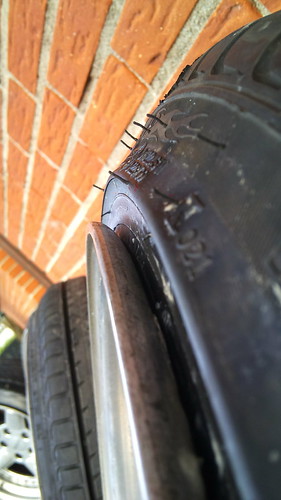
DSC00653 by Djurhuus zic, on Flickr
215/40 on 10"
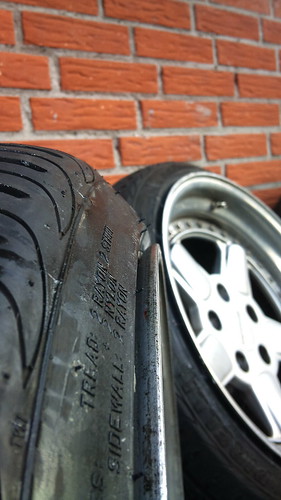
DSC00654 by Djurhuus zic, on Flickr
195/40 on 8.5"

DSC00655 by Djurhuus zic, on Flickr
wheels and coils, pre-refinishing.

DSC00652 by Djurhuus zic, on Flickr
wheels pre-refinishing.

DSC00659 by Djurhuus zic, on Flickr
test fitted on a friends car. It needs a bunch more low.

DSC00660 by Djurhuus zic, on Flickr
fronts.
Oh well, i got a bit side tracked. refinishing time.

DSC00662 by Djurhuus zic, on Flickr
start dismounting them, here you can see how the bolts have left a mark.

DSC00663 by Djurhuus zic, on Flickr
all the bolts out.

DSC00665 by Djurhuus zic, on Flickr
bolts, nuts and centercap.

DSC00664 by Djurhuus zic, on Flickr
here you can see the marks on the face, left by the grinder.

DSC00666 by Djurhuus zic, on Flickr
laid the wheel flat, and stomped on the face. felt right out.

DSC00669 by Djurhuus zic, on Flickr
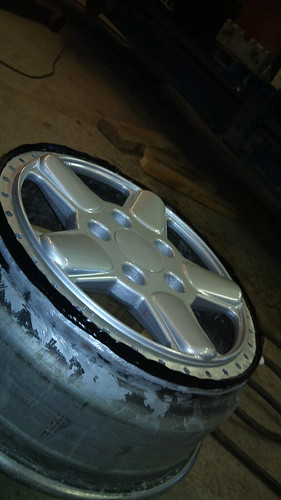
condition of the lip.

DSC00668 by Djurhuus zic, on Flickr
condition of the lip.

DSC00667 by Djurhuus zic, on Flickr

DSC00670 by Djurhuus zic, on Flickr
started with 400wet. its very important to keep plenty of water, its because you want a smooth surface. when sanding normally you want a rough surface so the paint has something to stick to. but when you want to polish the lips, you want it smooth.
you wet sand because the water will run down taking away the small (insert proper word, think its called particals) that might scratch the surface.

DSC00677 by Djurhuus zic, on Flickr
started 400wet.

DSC00672 by Djurhuus zic, on Flickr
then my mom came with this, its called rens-let. translated to clean-easy.
its steel wool, its supermotherf*ckingchainsawawesome for leaning the wheel pre-sanding.

DSC00671 by Djurhuus zic, on Flickr
Rens-let. in action.

DSC00673 by Djurhuus zic, on Flickr
this is after rens-let only. and a little of polishing.
i use this stuff called autosol, its awesome.

DSC00674 by Djurhuus zic, on Flickr
got a sponge on a drill for polishing, its nice. tho i would like this cloth ball. since the foam is so fragile.

DSC00675 by Djurhuus zic, on Flickr
had to test a little bit, this is rens-let, 400wet and autosol.
ill post more, going to eat. currently im done with one wheel, except the center. because it will be professional painted.

Okey here goes my progress thread, doing this so i have something to look back on.
This was done all by me, these are by no means perfect. but they are way better then when i started on them. Im planing on changing the lips anyways, since someone has already taken the wheels apart at least once, and has not done a very good job.
Some of you may know that the three piece acs wheels were made by OZ, and the OZ wheel nuts and bolts are not 12point like BBS, but 10point. So you can not go into a normal hardware store and pickup a socket. You need to order a 10point socket set, and they cost around 100-150$. but someone that took my wheels apart, in the past obviously did not have the tool available, so they have used a angel grinder and cut them all off, when they put the wheels back together, they have used unoriginal 6mm (huge no no) bolts and nuts. The hols are 7mm, and the bolts being 6mm they have bin wiggling around, and leaving a mark in the lips. So if i buy the original bolts, they will not cover up the marks.
so my plan was to make the lips shine again, and reseal them correct. And sometime down the line, i will buy new lips, bolts and nuts.
i will keep a price list of everything ive bought so far. prices are in danish kroner.
wheels 4700
shipping 1200
taxes 2100

sand paper 96
autosol 40
so far 8036kr equals to around 1500usd.
the wheels are sized 17x8.5et13 and 17x10et19, they came with tires in sizes of 215/40's sunny's and 245/35 falken's.
so i wanted to test the stretch of the sunny's, and pirelli's 195/40.
I mounted the tires myself, and those that are having a hard time getting tires to stretch. i know a method that works every time for me, and normally on the first try.
i have no pictures of this, or video since i was by my self. but you want the tire to sit on a angle. kinda hard to explain but were the valve is, you want the top of the tire sitting op against the rim, and the other side want the tire to lay down the bottom of the rim so the tire sits at an angle. if its done this way, it leaves a gap on the other side were the valve is.
now its time for spraying some starter gas into the wheel, Do Notover do it, it takes a very little amount of gas to make it pop up. i normally do it this way, were the gap opens on one side, i start spraying and start moving quickly to the other side were the gap closes spraying all the time, then i move back to the middle of the gap, and start spraying up on the tire down to the tread of the tire, this is were i set fire to the starter gas, you will see the fire going up the threads towards the gap, and the tire will pop up, when the tire pops up you will need to start putting air in the tire so it seats against the rim. its critical to time it correct and voila the tire is on.
by the way, if you read all of this jibber jabber. i hope it makes sense. since im hungover from last night. and having a hard time putting words down.
anyhow enough talk, time for some pictures. hope they work, first time using flickr. oh and sorry for the camera phone.

DSC00649 by Djurhuus zic, on Flickr
8.5's and 10's side by side.

DSC00653 by Djurhuus zic, on Flickr
215/40 on 10"

DSC00654 by Djurhuus zic, on Flickr
195/40 on 8.5"

DSC00655 by Djurhuus zic, on Flickr
wheels and coils, pre-refinishing.

DSC00652 by Djurhuus zic, on Flickr
wheels pre-refinishing.

DSC00659 by Djurhuus zic, on Flickr
test fitted on a friends car. It needs a bunch more low.

DSC00660 by Djurhuus zic, on Flickr
fronts.
Oh well, i got a bit side tracked.
 refinishing time.
DSC00662 by Djurhuus zic, on Flickr
start dismounting them, here you can see how the bolts have left a mark.

DSC00663 by Djurhuus zic, on Flickr
all the bolts out.

DSC00665 by Djurhuus zic, on Flickr
bolts, nuts and centercap.

DSC00664 by Djurhuus zic, on Flickr
here you can see the marks on the face, left by the grinder.

DSC00666 by Djurhuus zic, on Flickr
laid the wheel flat, and stomped on the face. felt right out.

DSC00669 by Djurhuus zic, on Flickr
condition of the lip.

DSC00668 by Djurhuus zic, on Flickr
condition of the lip.

DSC00667 by Djurhuus zic, on Flickr

DSC00670 by Djurhuus zic, on Flickr
started with 400wet. its very important to keep plenty of water, its because you want a smooth surface. when sanding normally you want a rough surface so the paint has something to stick to. but when you want to polish the lips, you want it smooth.
you wet sand because the water will run down taking away the small (insert proper word, think its called particals) that might scratch the surface.

DSC00677 by Djurhuus zic, on Flickr
started 400wet.

DSC00672 by Djurhuus zic, on Flickr
then my mom came with this, its called rens-let. translated to clean-easy.
its steel wool, its supermotherf*ckingchainsawawesome for leaning the wheel pre-sanding.

DSC00671 by Djurhuus zic, on Flickr
Rens-let. in action.

DSC00673 by Djurhuus zic, on Flickr
this is after rens-let only. and a little of polishing.
i use this stuff called autosol, its awesome.

DSC00674 by Djurhuus zic, on Flickr
got a sponge on a drill for polishing, its nice. tho i would like this cloth ball. since the foam is so fragile.

DSC00675 by Djurhuus zic, on Flickr
had to test a little bit, this is rens-let, 400wet and autosol.
ill post more, going to eat. currently im done with one wheel, except the center. because it will be professional painted.

 Instagram@jdjurhuus


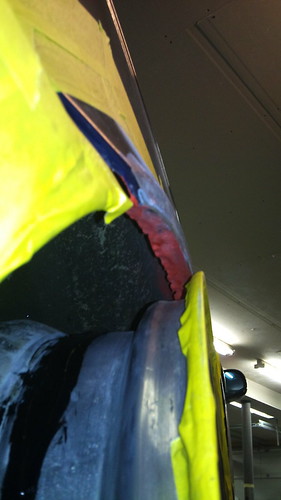
 and huge ass scratches. and pitying of the lips.


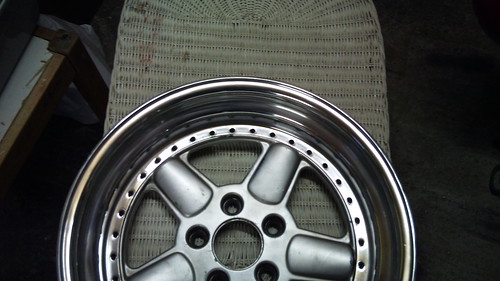


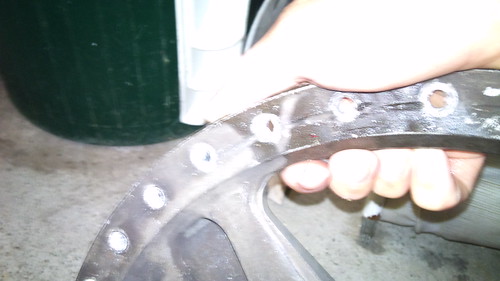


 have to fix some curb rash, and sand them were they are gonna be sealed.




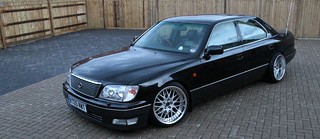
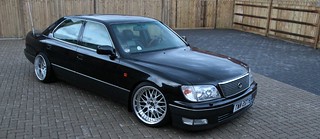

 maybe both for real quick moneys

Comment