 Tweet
Tweet
These will be going in a black mk3 vw cabrio that currently has tan leather interior. We will be replacing the front seats with a pair of Recaro LS's and re-wrapping everything in a high quality red synthetic leather. We plan to cover both front seats, rear, panels, pillars, and wrap the dash in black suede. I will post more pics as the build progresses
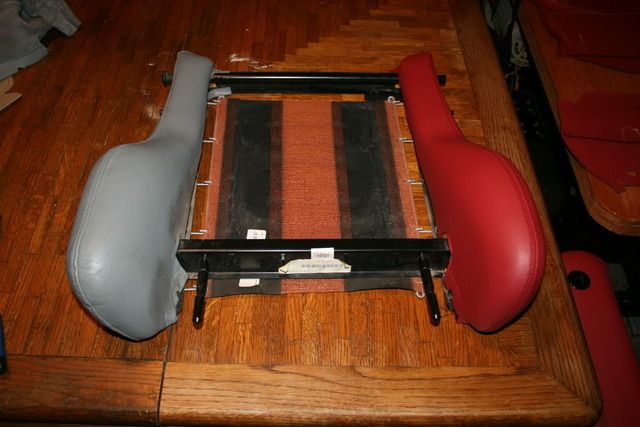
Recaro LS's originally in grey leather

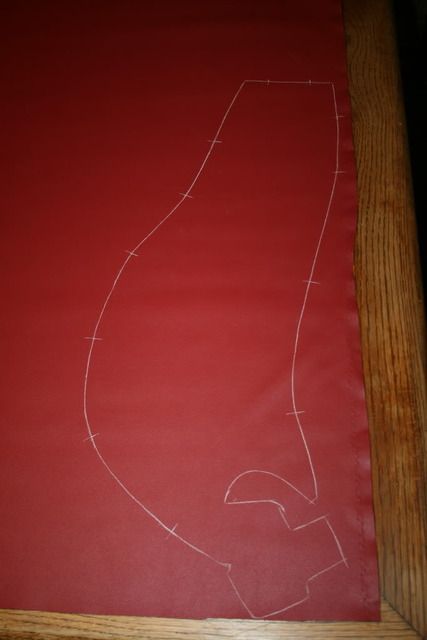
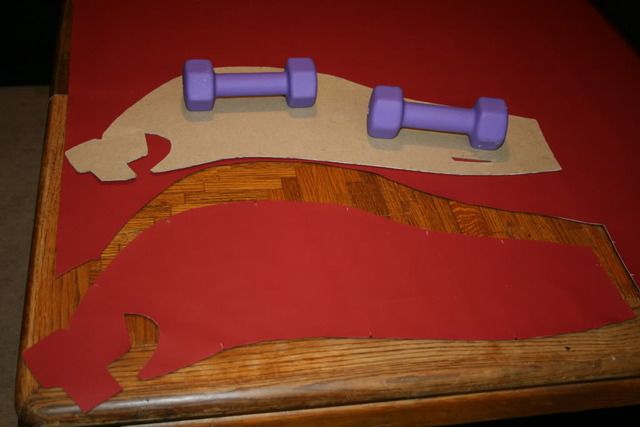
Starting on the pattern
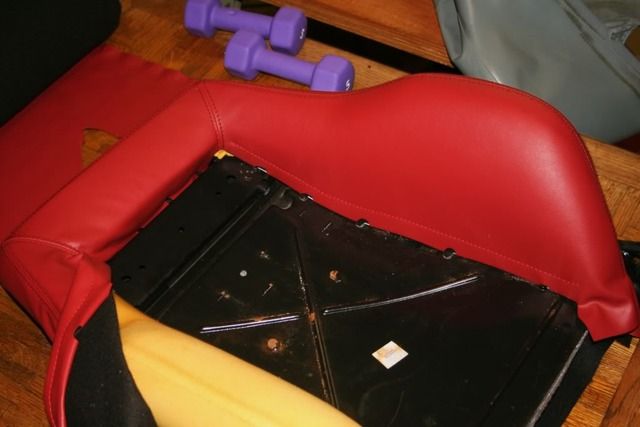
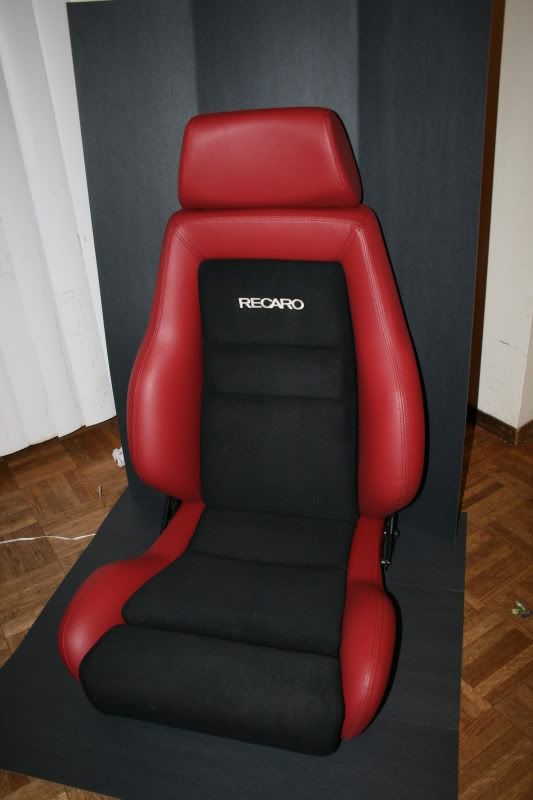
Black french seam. The material is much closer to a blood red then the pics show, the lighting just sucks where i have been taking the pics.

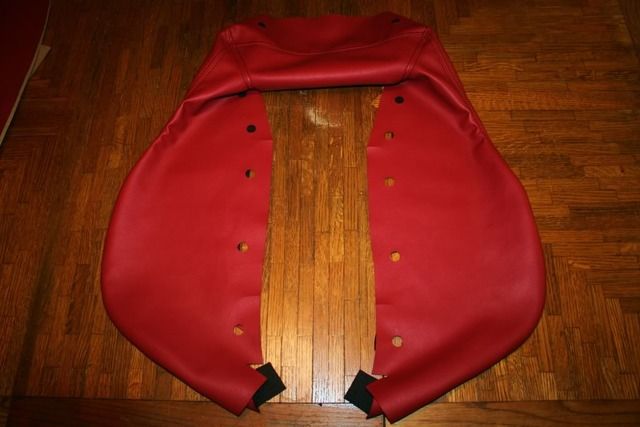
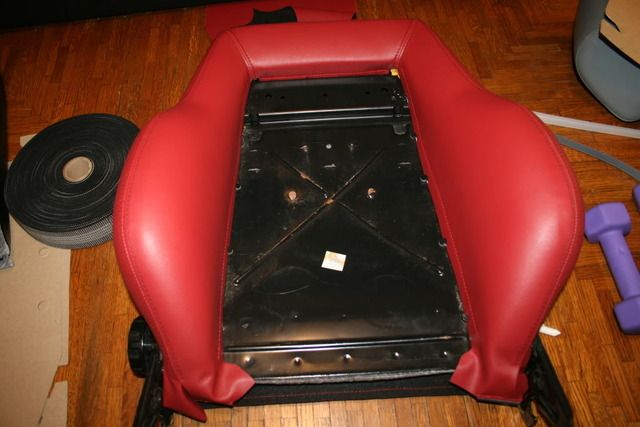
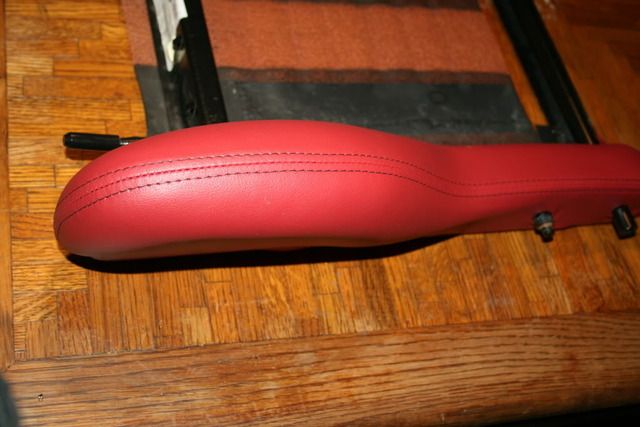
Here is a picture of the jacket 90% complete prior to install
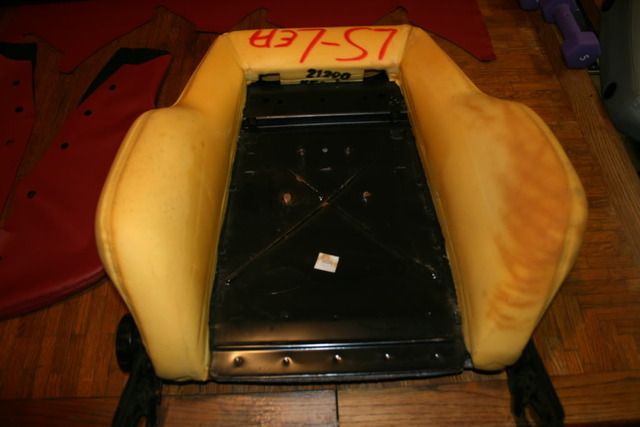
This is the old jacket that we removed from the back of the seat. Recaro actually used good leather for these but you can see where they are starting to wear on the bolster.
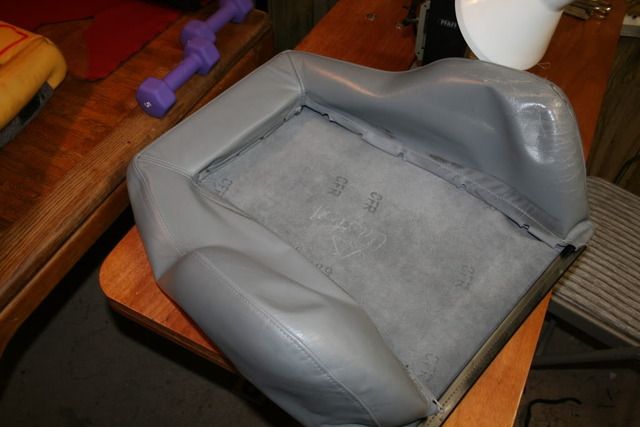
The back with good foam, it looks like the leather actually did a very good job of preserving the foam.
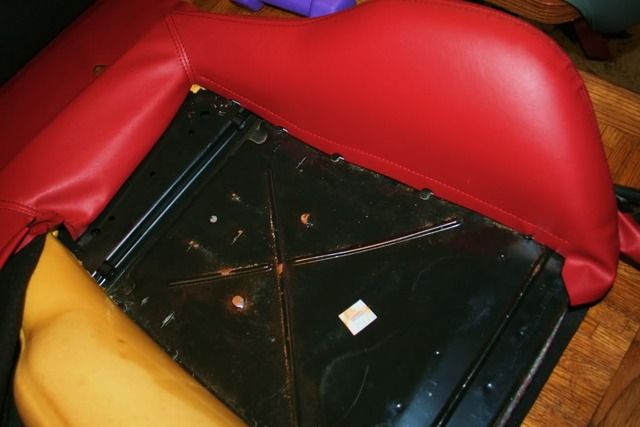
Applying the new jacket..
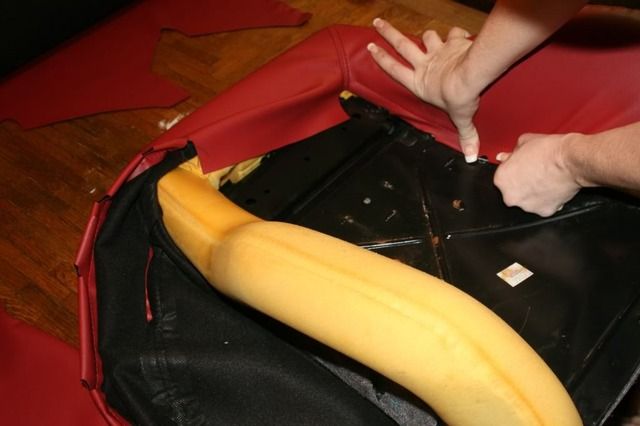
Im going to put this in bold so i know people read it...This is a good example of why we recommend professional installation on our jackets. At this point the average joe would be left with some wrinkles and bunches like you see here in the pics.
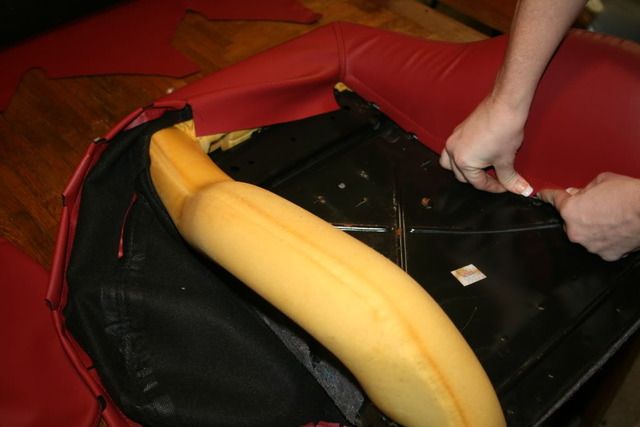
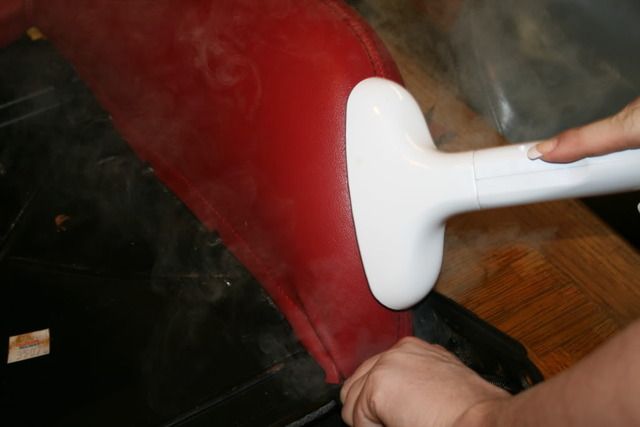
These next steps seem simple but you could damage the material fairly easily if you didnt know what you were doing. Its a mix of massaging the material into place and steaming it to obtain the perfect fit. (also an example of how perfect our patterns are which you wont find with most shops)
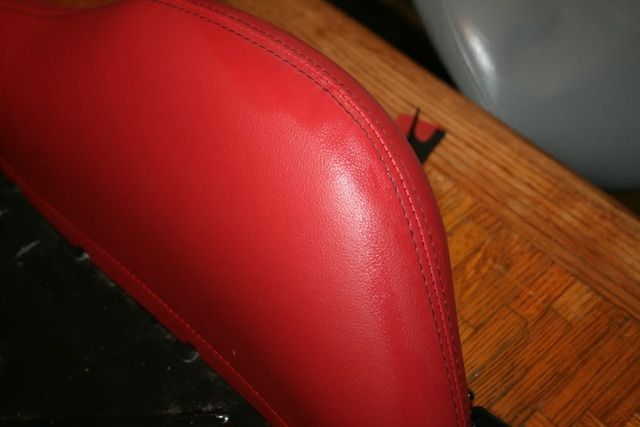
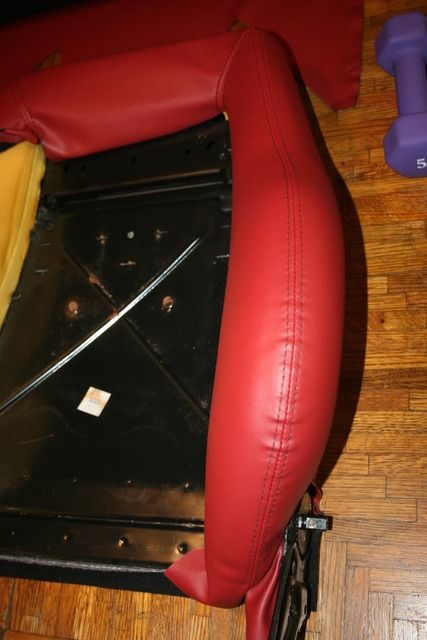
And here is the final product (for this bolster).. with this green death in my chest tomorrow and can have some more updates soon.
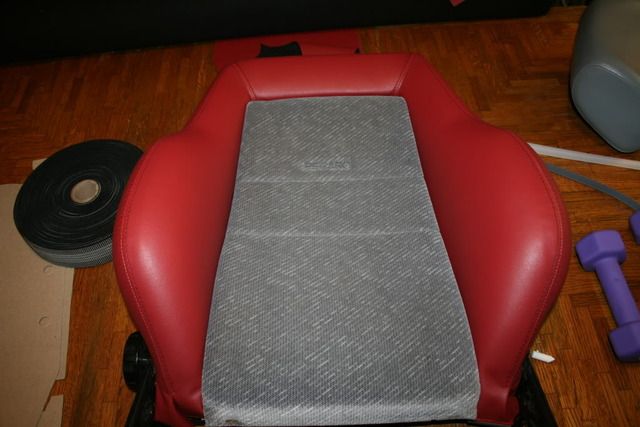
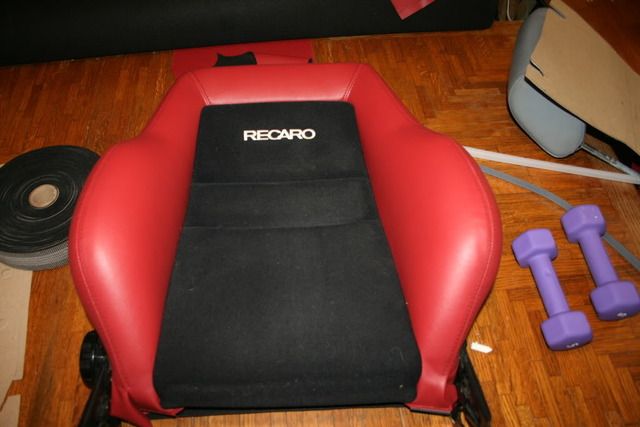
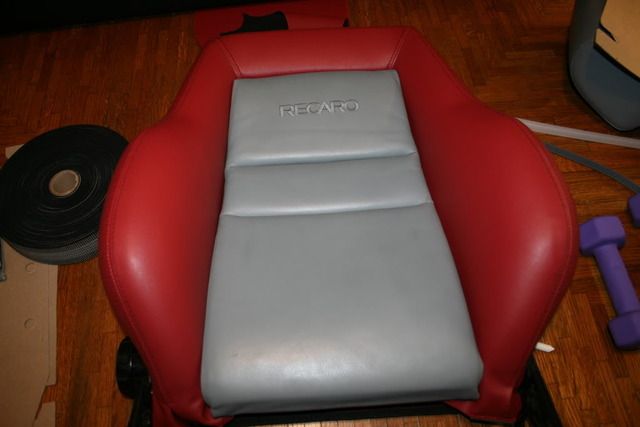
Throwing in a few inserts in to see if anything really caught my eye.
Putting the lower covers on..
Complete seat with temporary insert no headrest
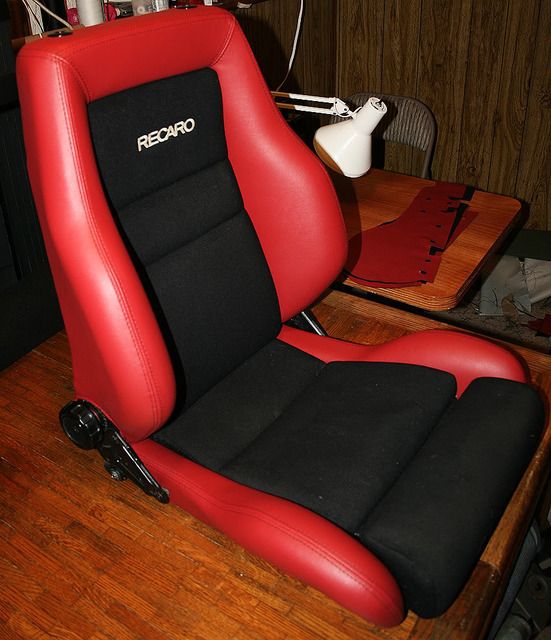
Might actually end up using these headrest but they would be rewrapped first. Just think the netted headrest might be kind of cool in a convertable.
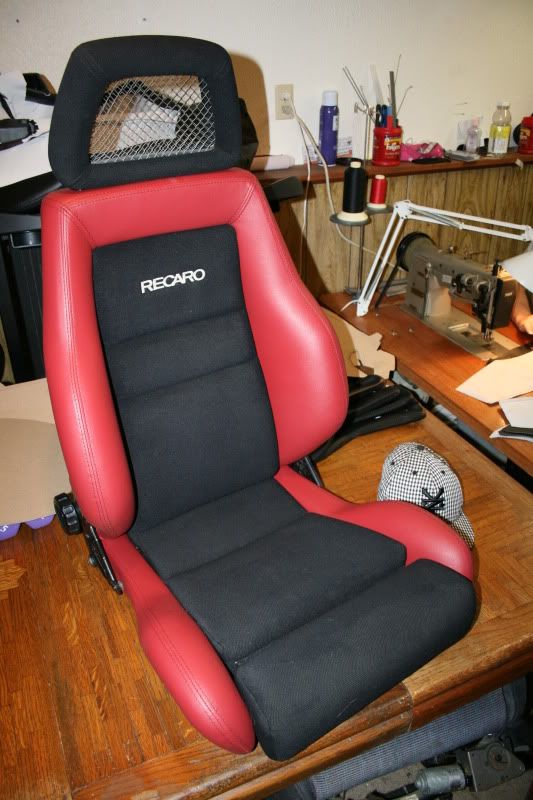
Here is where we are at now. We did a regular headrest for now that way we can have both to compare.
Recaro LS's originally in grey leather
Starting on the pattern
Black french seam. The material is much closer to a blood red then the pics show, the lighting just sucks where i have been taking the pics.
Here is a picture of the jacket 90% complete prior to install
This is the old jacket that we removed from the back of the seat. Recaro actually used good leather for these but you can see where they are starting to wear on the bolster.
The back with good foam, it looks like the leather actually did a very good job of preserving the foam.
Applying the new jacket..
Im going to put this in bold so i know people read it...This is a good example of why we recommend professional installation on our jackets. At this point the average joe would be left with some wrinkles and bunches like you see here in the pics.
These next steps seem simple but you could damage the material fairly easily if you didnt know what you were doing. Its a mix of massaging the material into place and steaming it to obtain the perfect fit. (also an example of how perfect our patterns are which you wont find with most shops)
And here is the final product (for this bolster).. with this green death in my chest tomorrow and can have some more updates soon.
Throwing in a few inserts in to see if anything really caught my eye.
Putting the lower covers on..
Complete seat with temporary insert no headrest
Might actually end up using these headrest but they would be rewrapped first. Just think the netted headrest might be kind of cool in a convertable.
Here is where we are at now. We did a regular headrest for now that way we can have both to compare.


Comment