To attach the new BMW R9t headlight I was required to buy a different triple clamp that will be expensive and that has no guarantee of working even with modification. So to not further delay getting this thing back on the road I opted on buying a smaller headlight and tackle that project later.
I'll have to work on better headlight bracket spacers but these white ones will work for the time being.

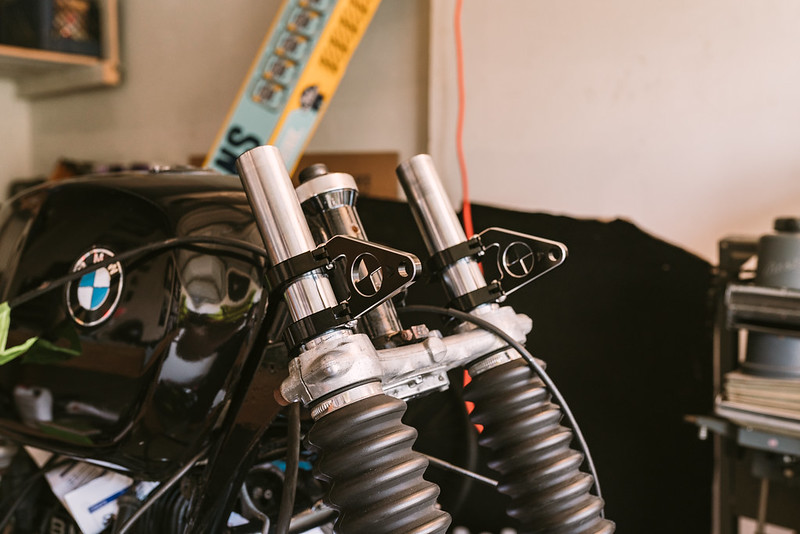
Since I decided to delete a lot of the electronics on this bike I was able to clean up the bars significantly. No turn signal switches, horn buttons, wiring, or choke cable. Just clutch, front brake, and throttle. I also grabbed new fork stem hardware just to clean it up a little bit. As far as the levers, master cylinder, and throttle I went with Magura parts since they also made the OEM parts that were on the bike


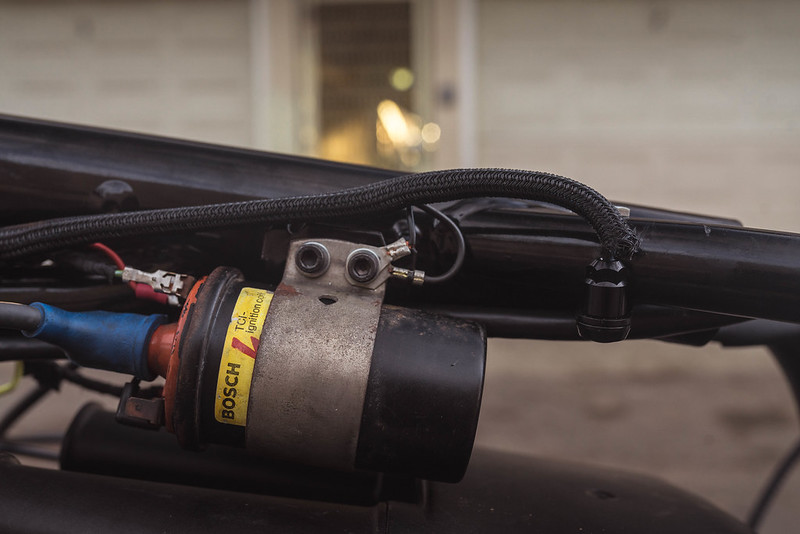
I don't have a photo of them but I also grabbed two individual choke cables that sit an inch above each carb.
Looking into the two or three different options when it comes to rewiring an older bike, I decided to go with the MotoGadget M Unit Blue. This little device is basically a mini computer and can all be programmed via blue tooth with my phone. Part of the reason I went this route is due to not having any controls so it was nice to be able to set up certain things to be on with just the power of the ignition. The other part is I can use my phone as the key. The bike won't start unless I'm next to it.
Using a combination of the OEM diagram, a M Unit diagram that Revival Cycles created, and a bunch of YouTube videos to finally got the wiring all squared away. I won't bore you with the 200+ iPhone photos of that whole process due to them being confusing without any context of what you're looking at.
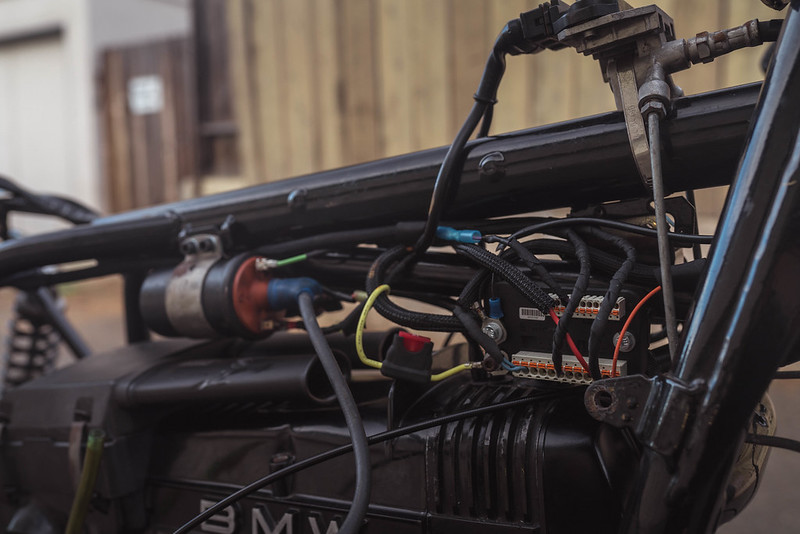

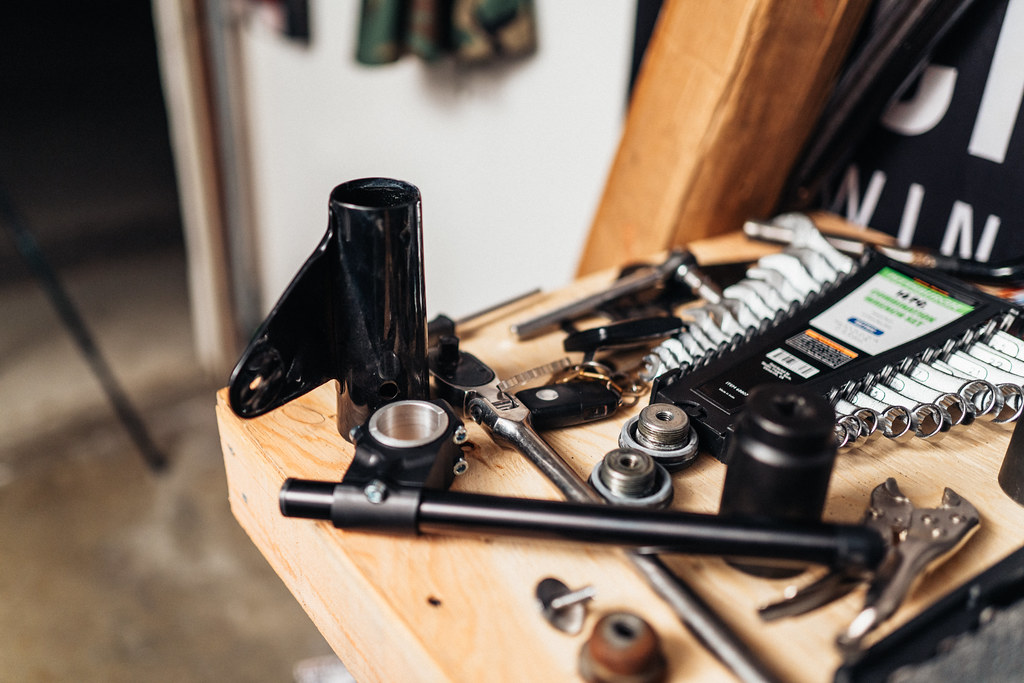
If anybody reading this ever builds a cafe'd BMW airhead, the charge light delete from Boxer Metal is a must. Due to not having an instrument cluster or a "charge" light that needs to remain illuminated at all times, the bikes charging system as a whole can fail due to the lack of resistance. Boxer Metal sells a handy little posi tip connector to keep everything still clean and simple.
Annyyy who.
I grabbed a bunch of wiring loom material to group multiple wires together and almost give it a newer OEM look.
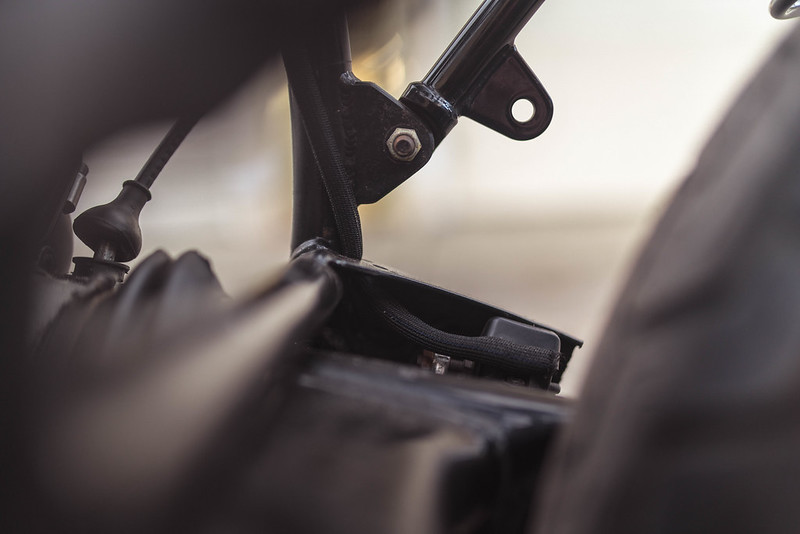


Last but not least, the starter button. I routed it right next to one of the holes a stud from the gas tank is secured through. Once the tank is on, the button to start the bike will be completely hidden.


Leave a comment: