 Tweet
Tweet
Originally posted by I_Haz.:R32
View Post
-
We get it through our paint supplier at the shop. Dont think its publicly availableIG @gt3_brz
My Mustang Build
http://www.stanceworks.com/forums/sh...=1#post1552949
My BRZ Build
http://www.stanceworks.com/forums/sh...ad.php?t=86482
My F100 Build
http://www.stanceworks.com/forums/sh...ad.php?t=97329 -
Very interested to see where this goes.Comment
-
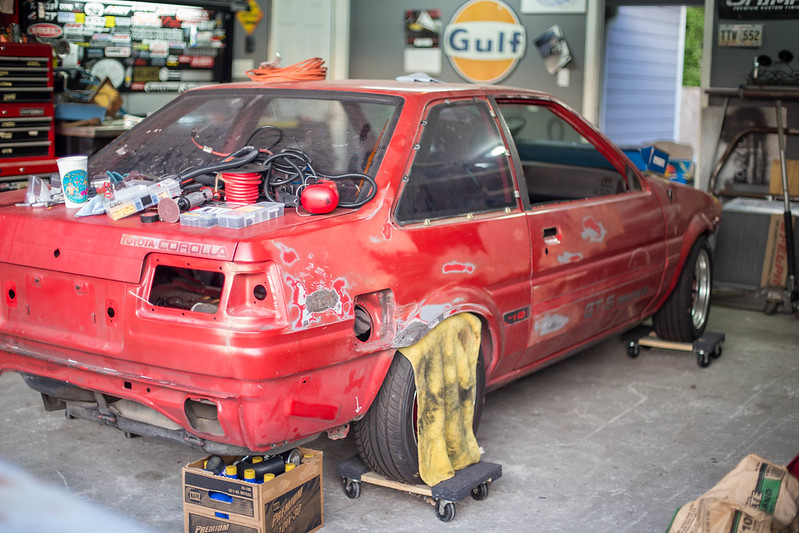
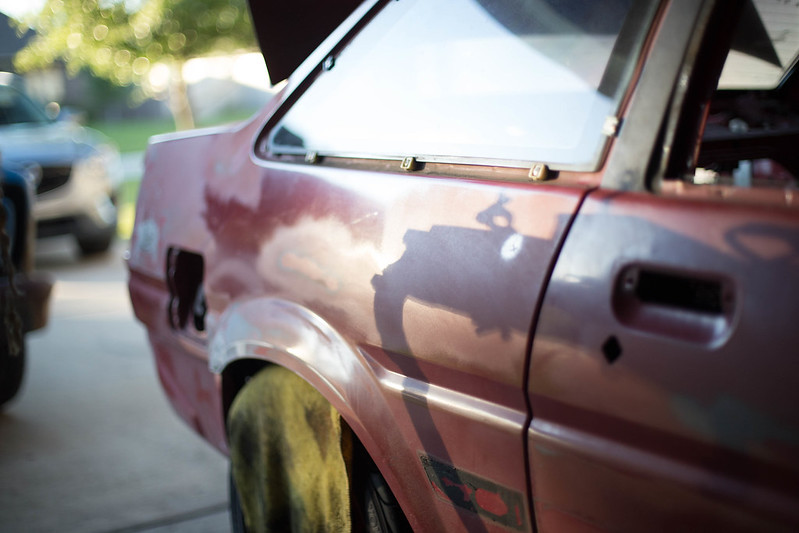
Alright, back at it. Had a week and a half off for vacation and then a few days to get back into the work grove.
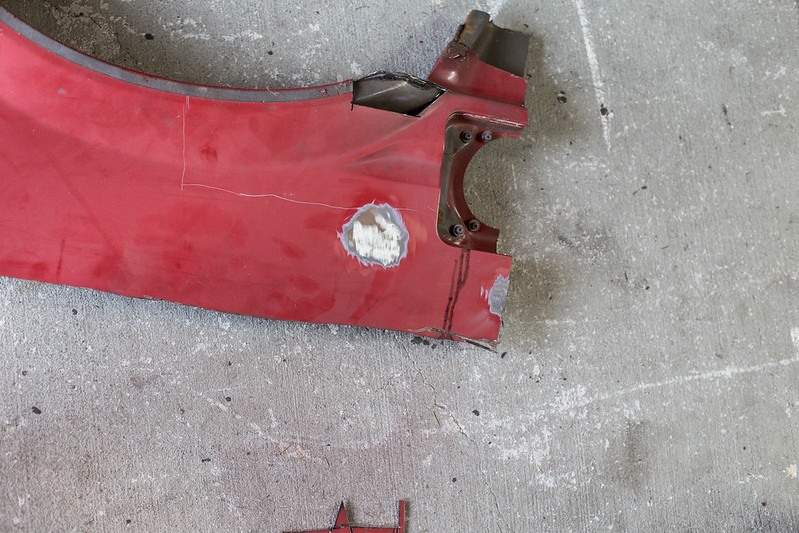
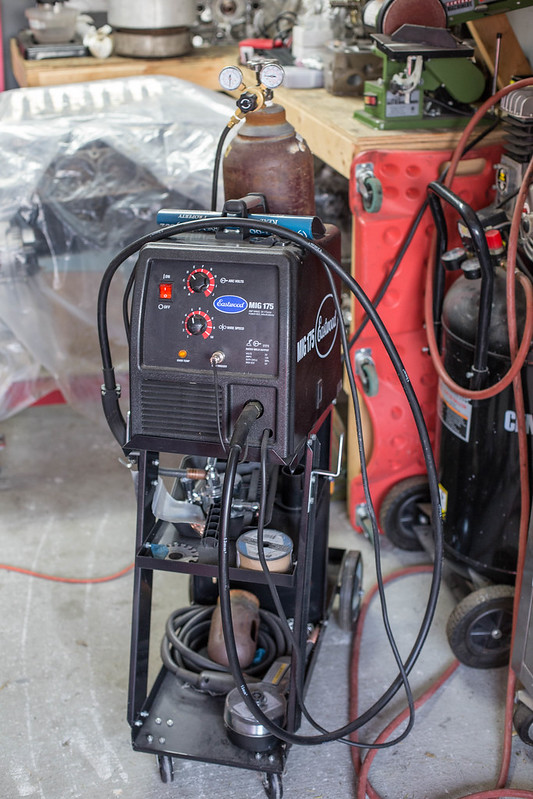
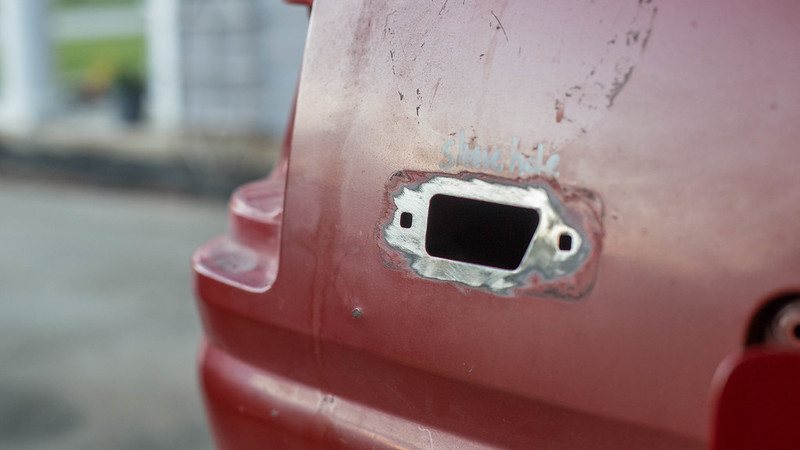
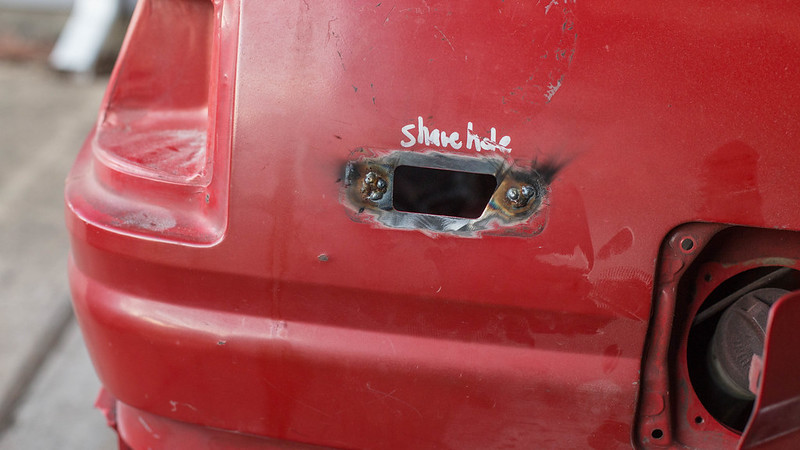
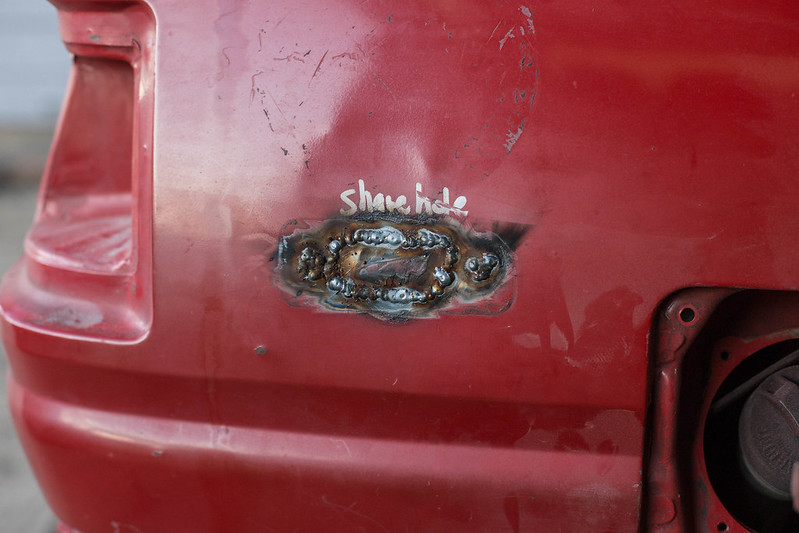
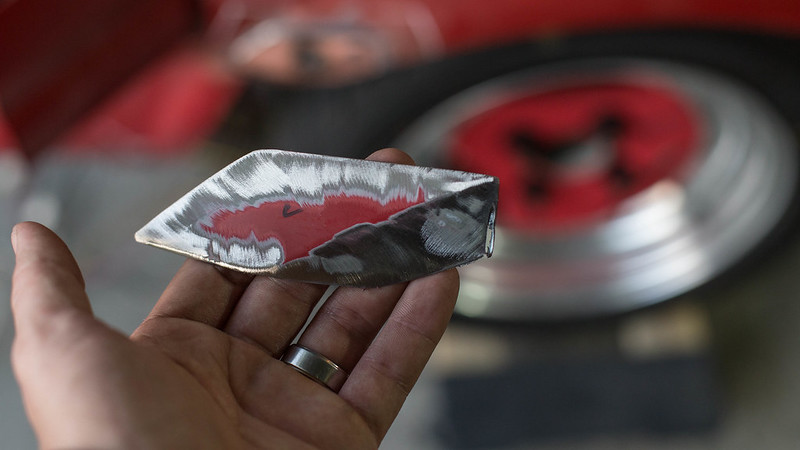
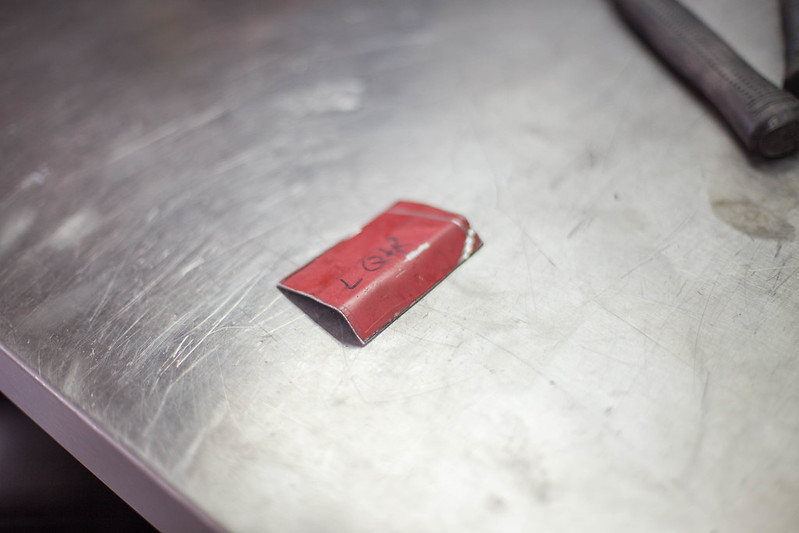
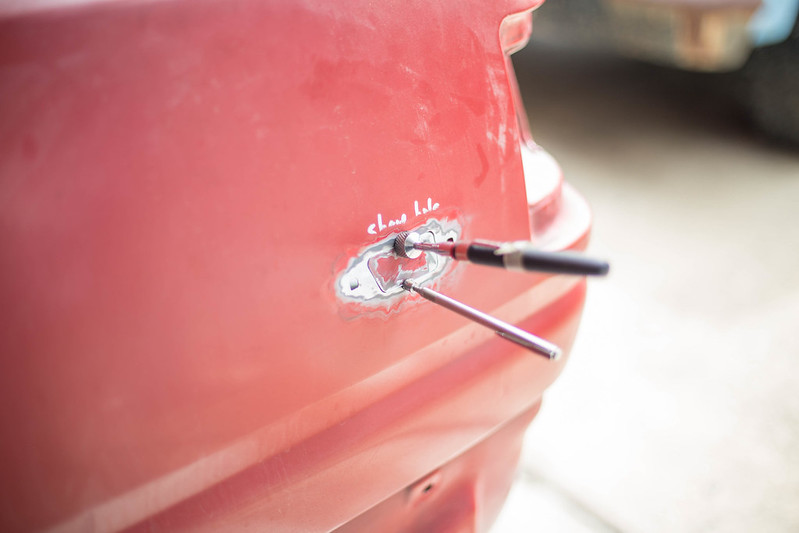
SO, we left off with me making some patch panels for the rear signal light holes. Once those had been made, it was time to prep the metal, do a few test runs on a spare piece to dial in the machine.
 untitled (1 of 15) by lawrx, on Flickr
 untitled (2 of 15) by lawrx, on Flickr
 untitled (3 of 15) by lawrx, on Flickr
 untitled (4 of 15) by lawrx, on Flickr
 untitled (5 of 15) by lawrx, on Flickr
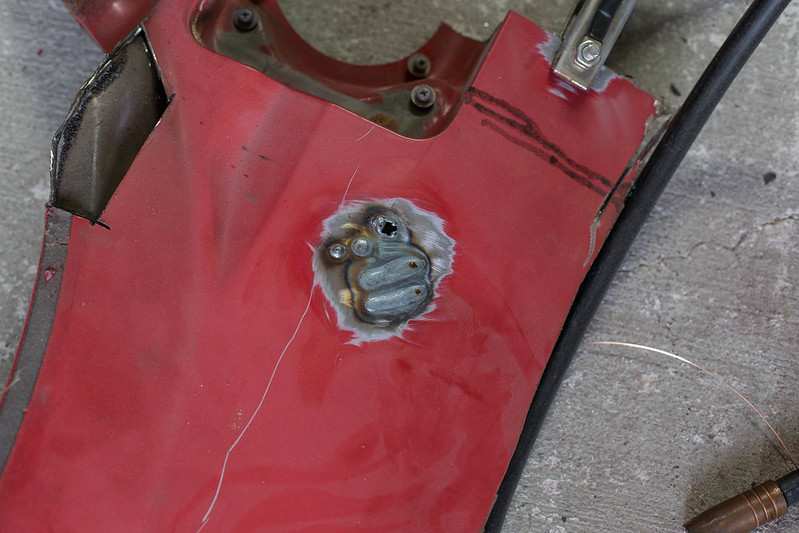
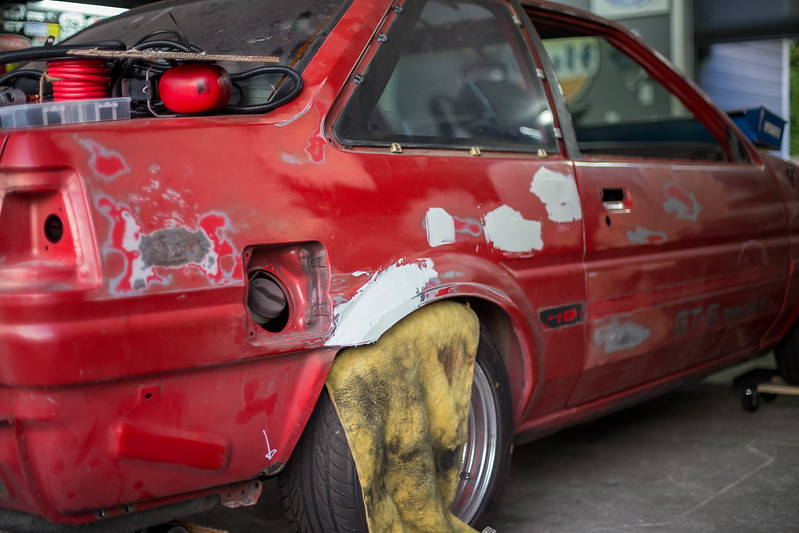
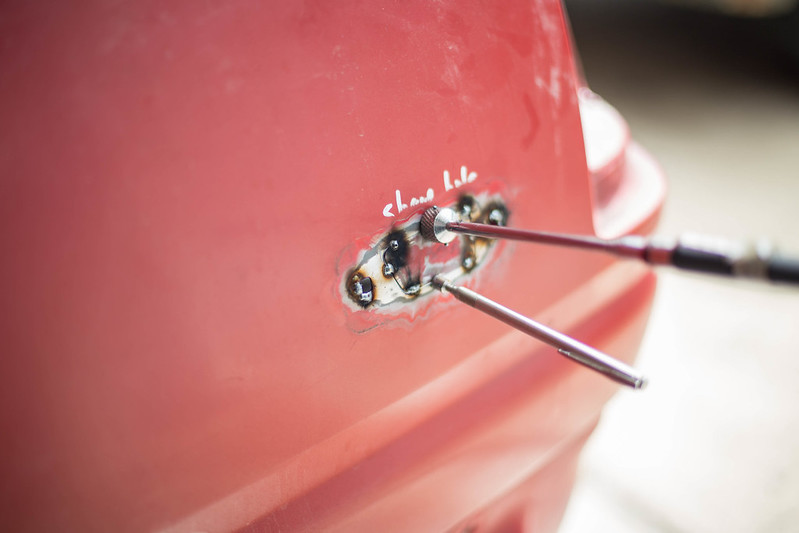
Even with the doing the test passes my theory on it being a major pain to weld this thin metal is holding true. the heat just spreads so fast and it made it real difficult to make a decent weld repeatedly. Anyway, im by no means a pro welder. Wish these had turned out a bit better, but they arent structural and are getting groudn down and smoother out regardless.
 untitled (6 of 15) by lawrx, on Flickr
 untitled (7 of 15) by lawrx, on Flickr
 untitled (8 of 15) by lawrx, on Flickr
 untitled (9 of 15) by lawrx, on Flickr
 untitled (10 of 15) by lawrx, on Flickr
 untitled (11 of 15) by lawrx, on Flickr
 untitled (12 of 15) by lawrx, on Flickr
 untitled (13 of 15) by lawrx, on Flickr
 untitled (14 of 15) by lawrx, on Flickr
 untitled (15 of 15) by lawrx, on Flickr
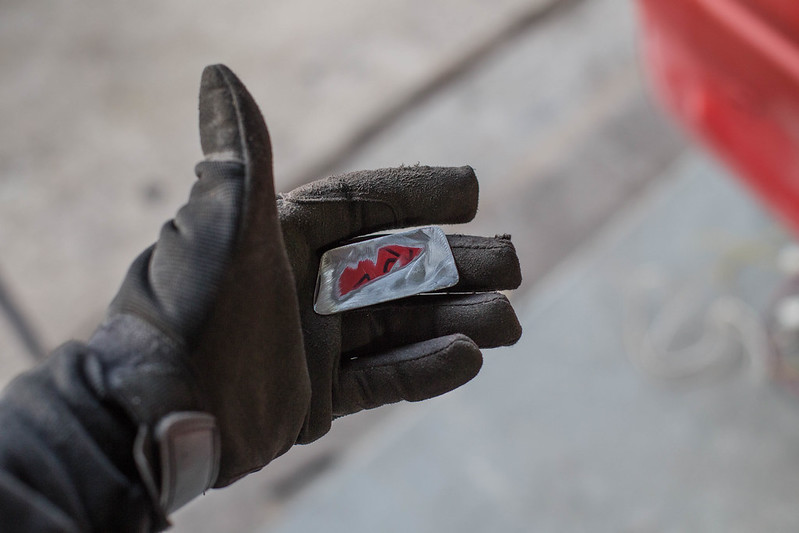
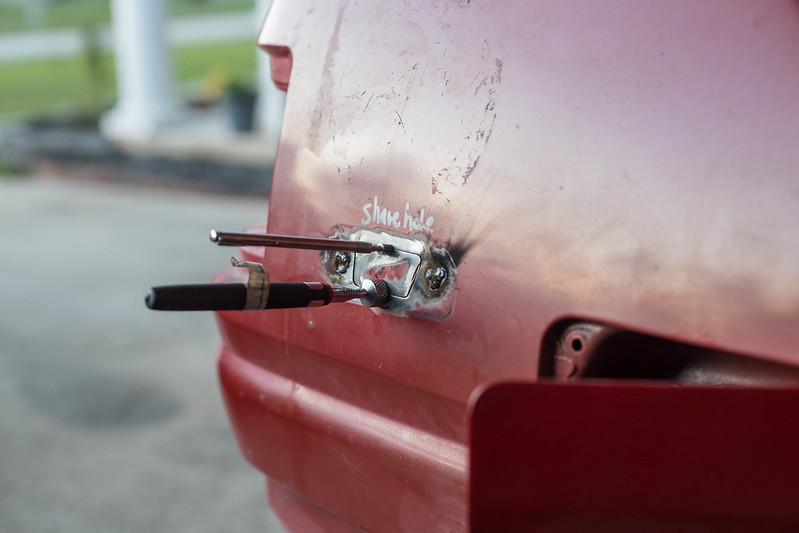
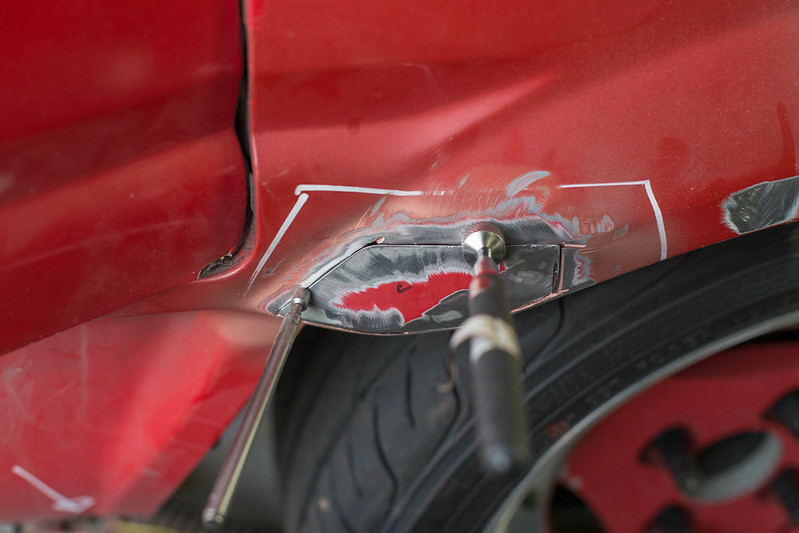
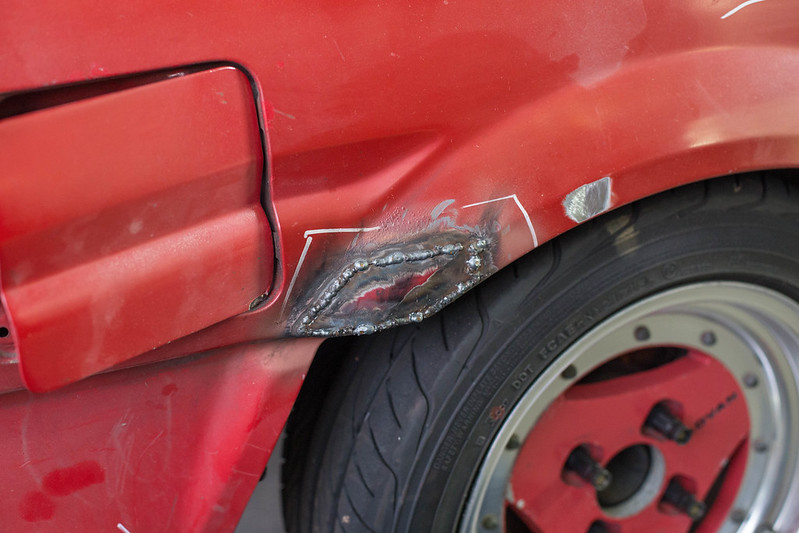
As you can tell by the picutres, it warped pretty bad. I did small sections at a time to prevent this. But the last few spots i guess did it in and it just popped in all at once. Kinda sucks, but i expected it to happen. On the other side im going to take extra precaution, as this does add a bit more work.IG @gt3_brz
My Mustang Build
http://www.stanceworks.com/forums/sh...=1#post1552949
My BRZ Build
http://www.stanceworks.com/forums/sh...ad.php?t=86482
My F100 Build
http://www.stanceworks.com/forums/sh...ad.php?t=97329Comment
-
I'm liking the detailed write up on this build. Nice job on the rust repair.
1990 Honda Civic Wagon - SOLD
1997 BMW 318i Vert
1992 Mercedes Benz 300e - SOLD
1970 Mercedes Benz 250
1976 Volvo 242DLComment
-
Another cool, detailed, photo-heavy build thread from you
A few potential hints with regards to welding thin/ rusty sheetmetal:
- if you have access to the backside of the panel, you have access to use a piece of copper to bridge the weld seam (which will act as a heat sink, and of course won't accept weld to its surface)
- another method if you have access to the backside of the panel is hammer (outer surface) & dolly (inner surface) after each weld spot to stretch the weld-heat shrunken sheetmetal.
- heat is the cause for the warping, so minimising the heat is paramount... but not by rapid cooling via water quenching or pressurised air (this will negatively affect the physical properties of the sheetmetal & weld). One option to reduce heat is using a heat sink - for example, a block of aluminium or copper. Another (possibly too obvious) solution if you *must* use MIG is using the coldest settings on your welding equipment, thinnest MIG wire possible, and preheating the sheetmetal. It's probably not reasonable to suggest using gas welding, or brazing, as alternatives.
Hope these help in some way
Comment
-
Alright, mother update since stance works finally got rid of the ridiculous spam.
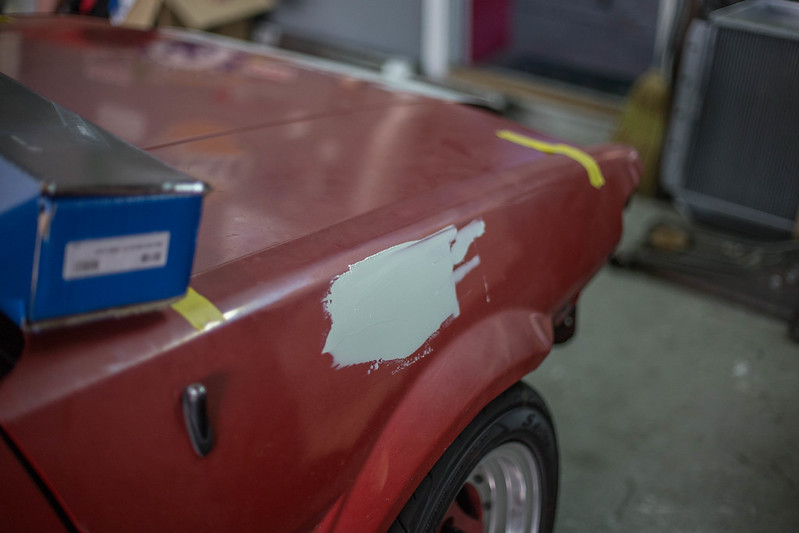
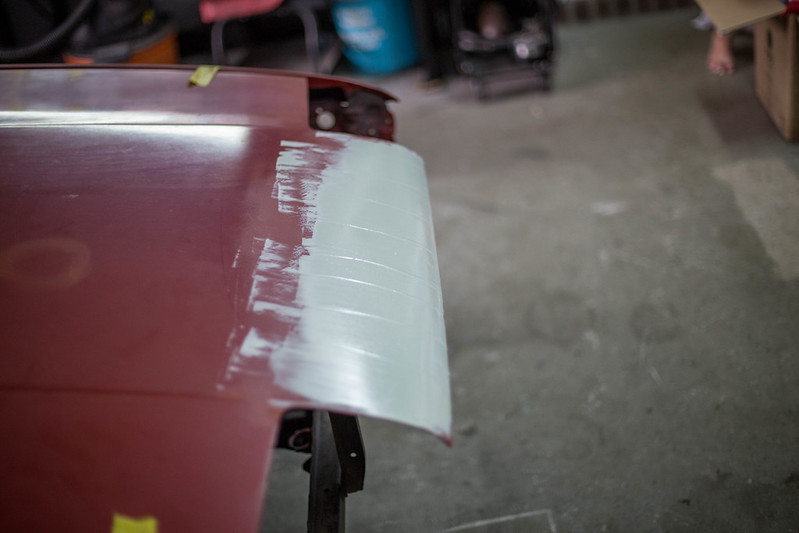
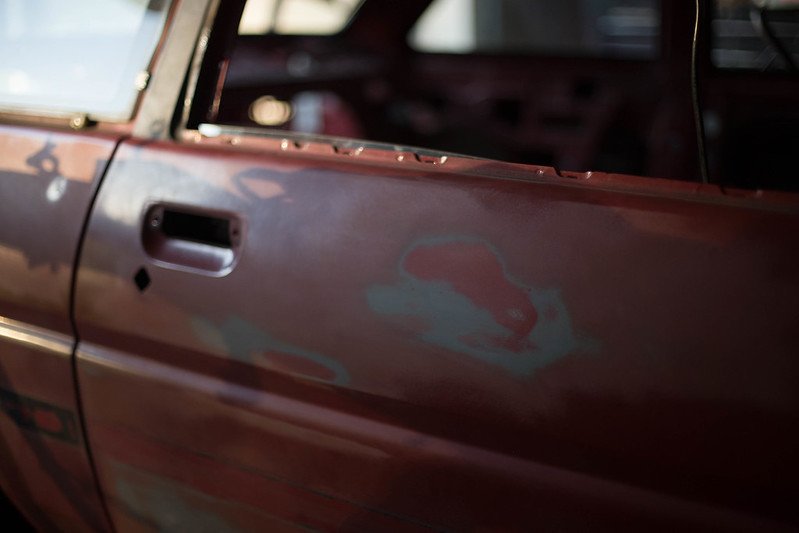
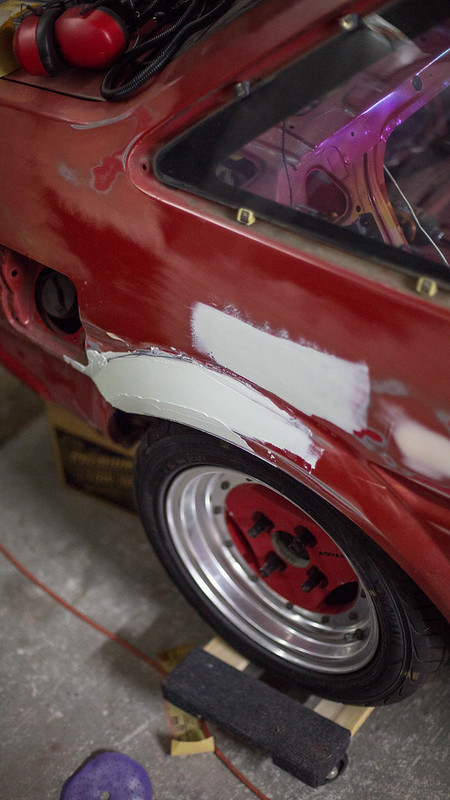
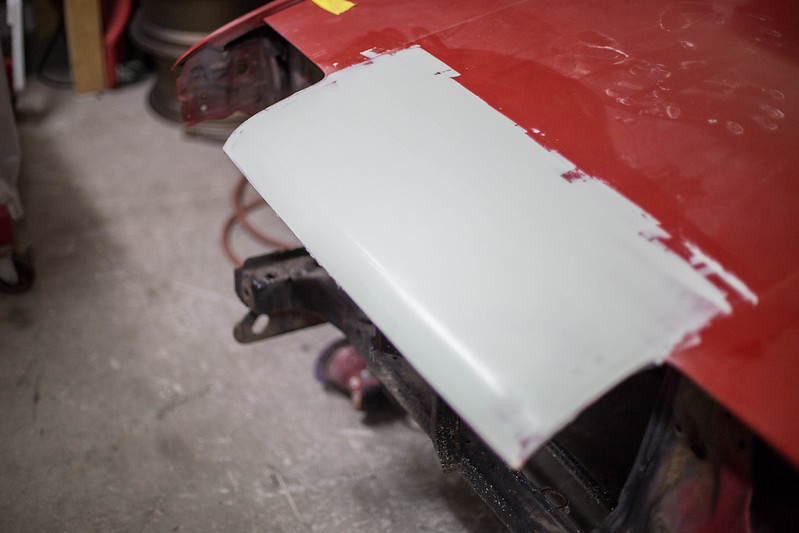
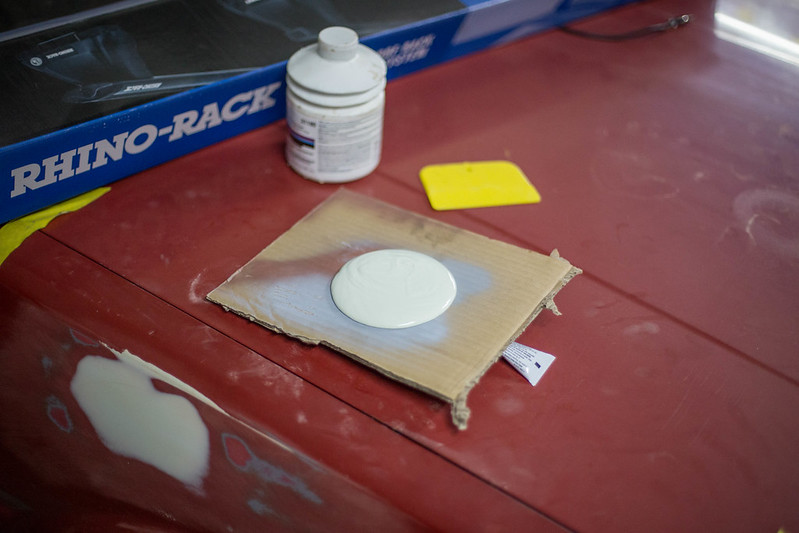
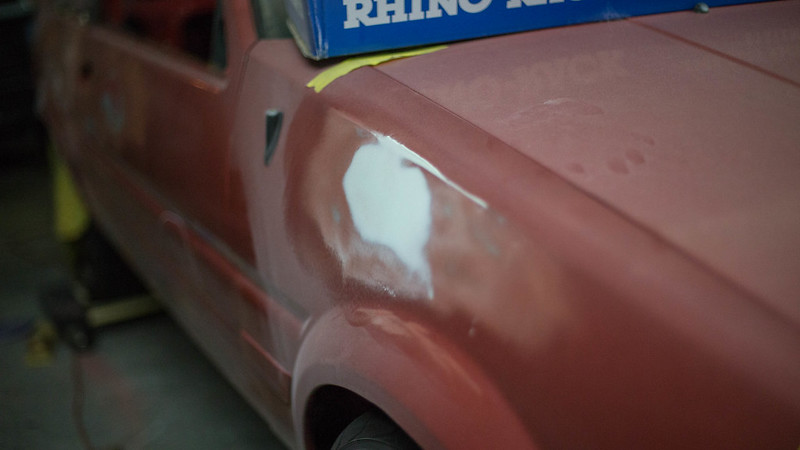
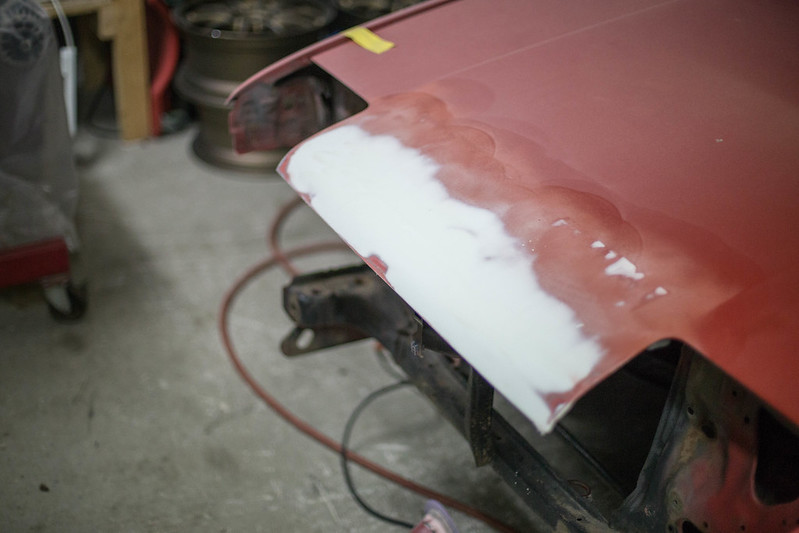
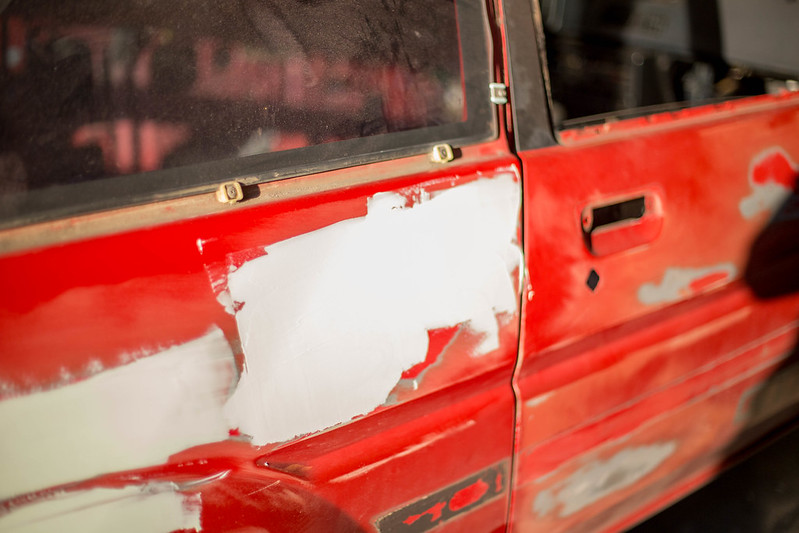
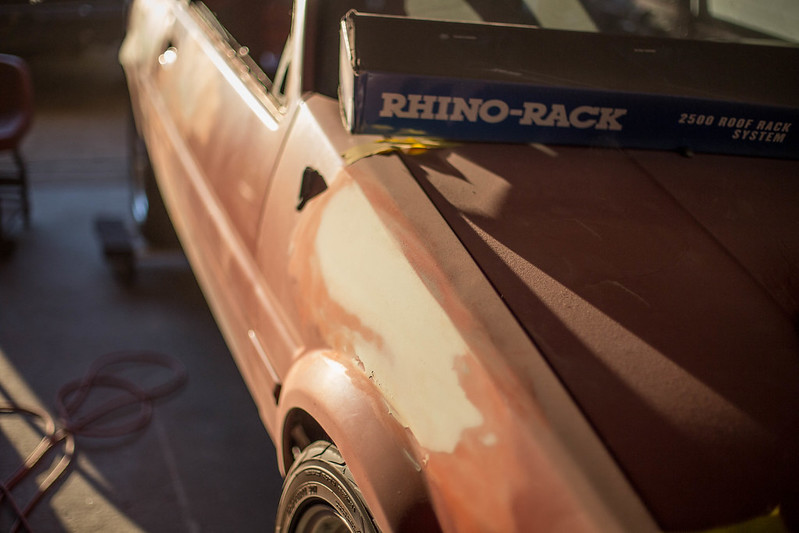
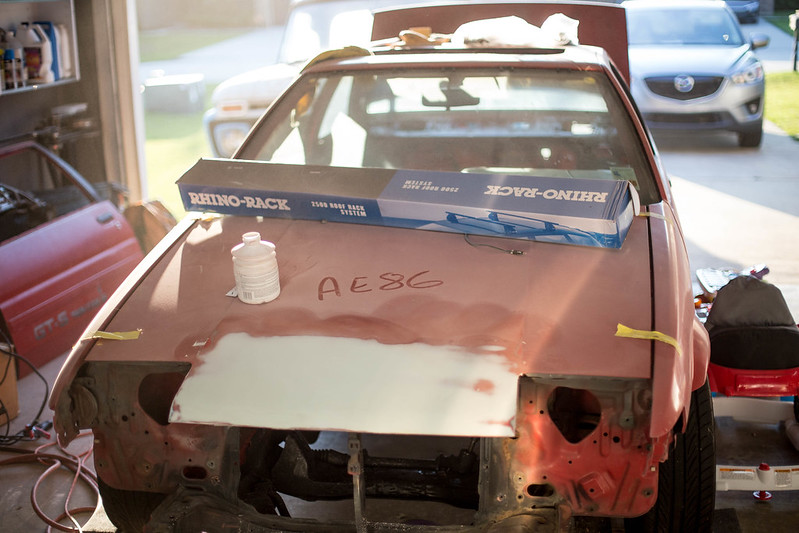
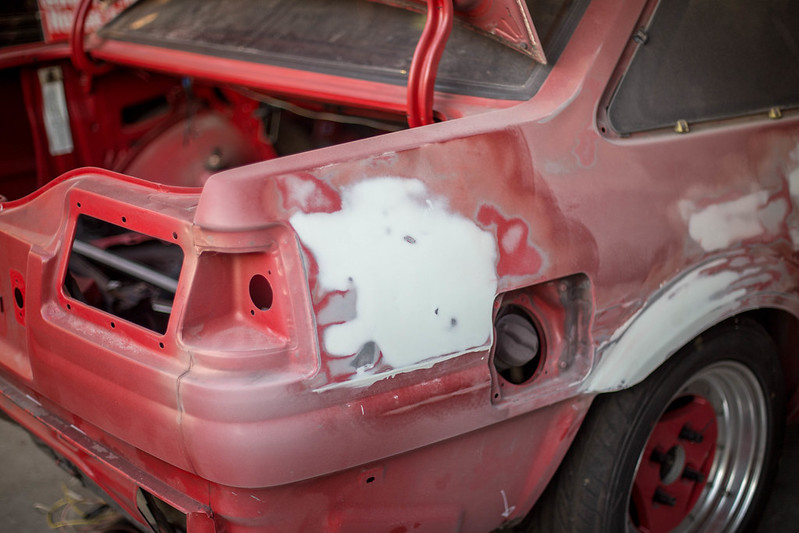
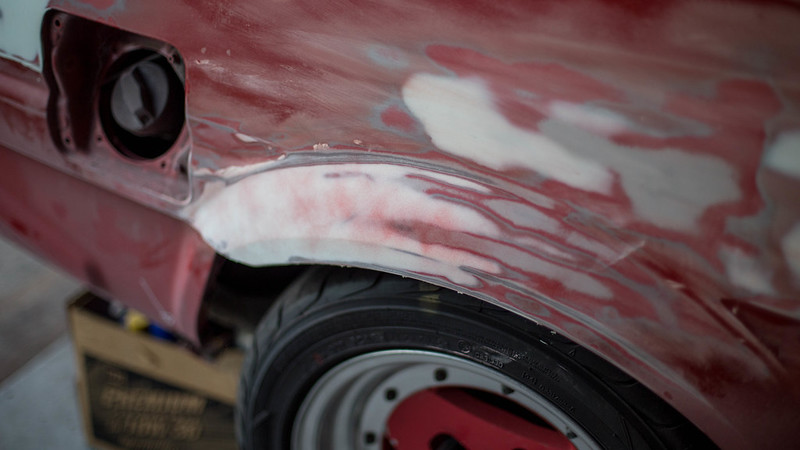
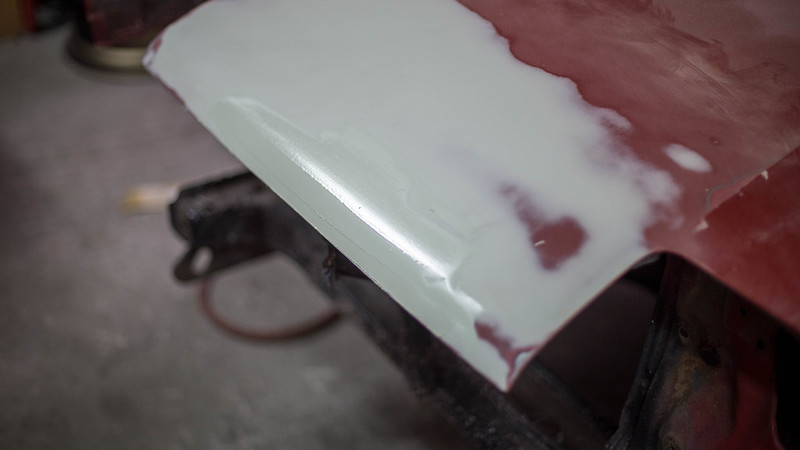
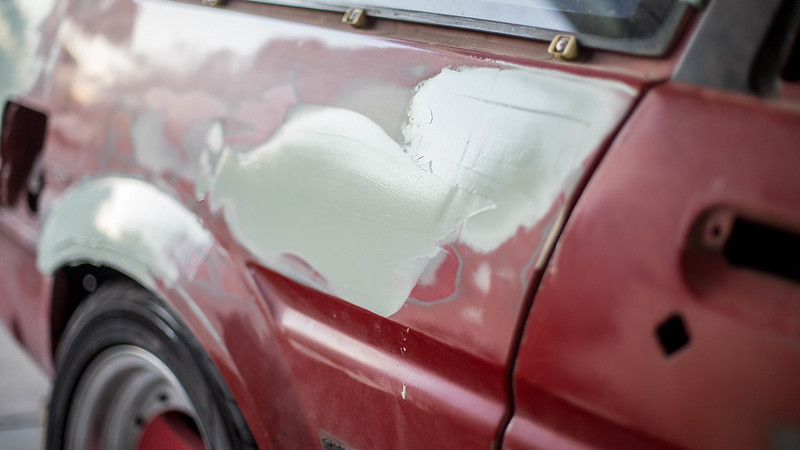
Started with doing a bit of sanding to get some light scratches out, along with providing something for the body filler to grab to to fill the dents along the side of the car. After that it was on to laying the first layer of filler.
 new computer (1 of 5) by lawrx, on Flickr
 new computer (3 of 5) by lawrx, on Flickr
 new computer (4 of 5) by lawrx, on Flickr
 new computer (5 of 5) by lawrx, on Flickr
 new computer (2 of 5) by lawrx, on Flickr
 untitled (1 of 8) by lawrx, on Flickr
The key with laying filler is you want to lay it as smooth as possible, so as you spend less time removing the ridges you put in with the spreader which is less chance if you making the area wavy and just making more work for yourself. It goes a long way in reducing the time it takes to repair a dent. Ill usually wipe the dents, and then pass over each trying to get it as smooth as possible before it sets up for this very reason.
 untitled (2 of 8) by lawrx, on Flickr
 untitled (3 of 8) by lawrx, on Flickr
 untitled (4 of 8) by lawrx, on Flickr
 untitled (5 of 8) by lawrx, on Flickr
 untitled (6 of 8) by lawrx, on Flickr
 untitled (7 of 8) by lawrx, on Flickr
 untitled (8 of 8) by lawrx, on Flickr
Pictures are a bit backwards as they kinda got mixed up in my flickr account, but you get the idea. Ill have some more updates coming soon.IG @gt3_brz
My Mustang Build
http://www.stanceworks.com/forums/sh...=1#post1552949
My BRZ Build
http://www.stanceworks.com/forums/sh...ad.php?t=86482
My F100 Build
http://www.stanceworks.com/forums/sh...ad.php?t=97329Comment
-
finally someone who repairs rust properly!
great read so far
Comment
-
Rust is one of the few things if your going to repair you better do it right.Originally posted by hkz286 View PostIG @gt3_brz
My Mustang Build
http://www.stanceworks.com/forums/sh...=1#post1552949
My BRZ Build
http://www.stanceworks.com/forums/sh...ad.php?t=86482
My F100 Build
http://www.stanceworks.com/forums/sh...ad.php?t=97329Comment
-
Top notch info hereComment
-
Awesome work!
Comment
-
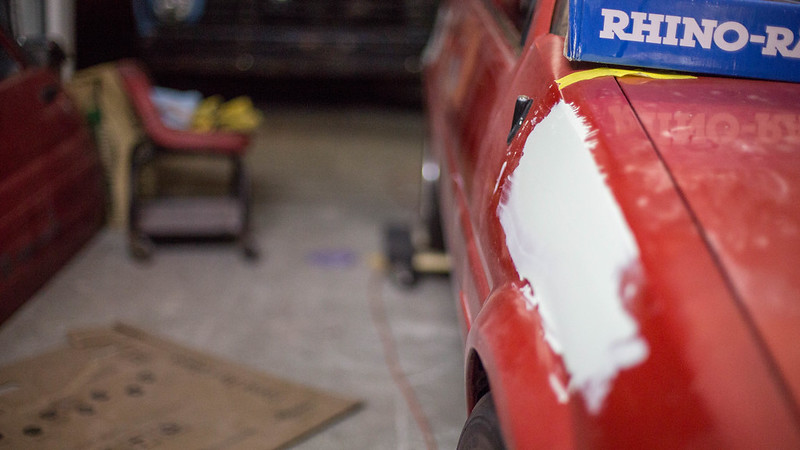
Back at it again. wipe. Sand. Repeat.
 new computer (9 of 10) by lawrx, on Flickr
 new computer (10 of 10) by lawrx, on Flickr
 new computer (8 of 10) by lawrx, on Flickr
 new computer (7 of 10) by lawrx, on Flickr
 new computer (6 of 10) by lawrx, on Flickr
 new computer (5 of 10) by lawrx, on Flickr
 new computer (4 of 10) by lawrx, on Flickr
 new computer (3 of 10) by lawrx, on Flickr
 new computer (1 of 10) by lawrx, on Flickr
 new computer (2 of 10) by lawrx, on Flickr
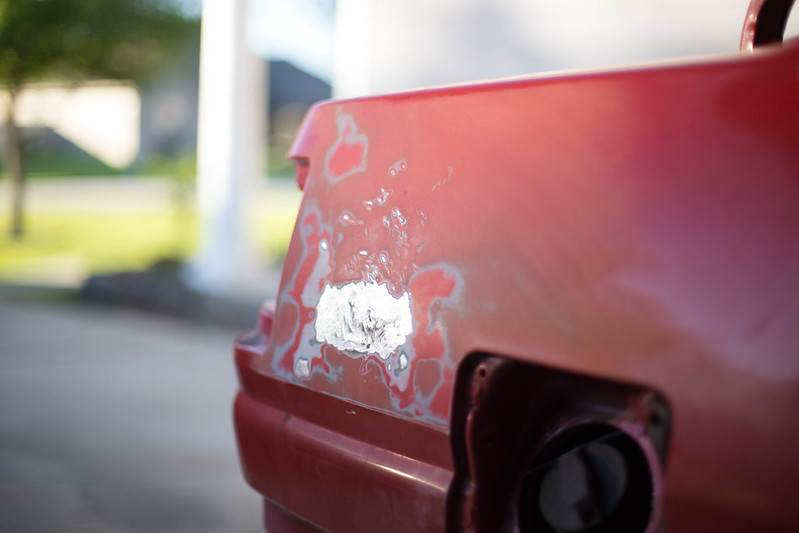
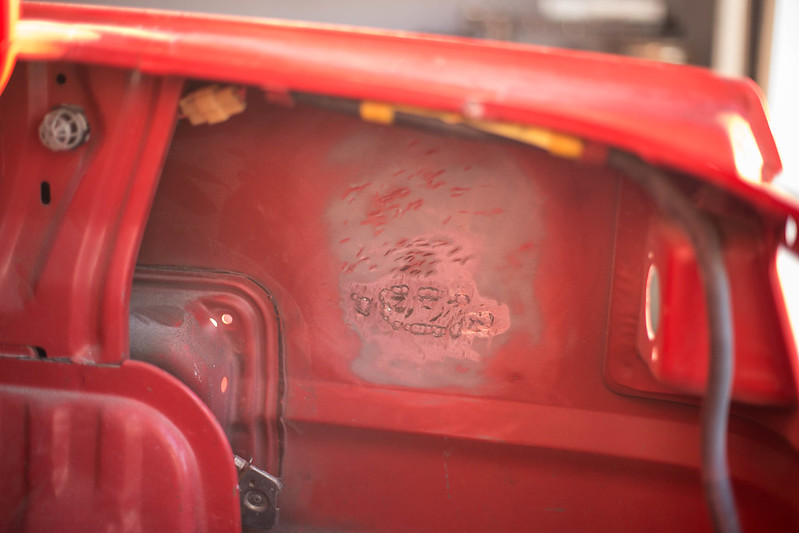
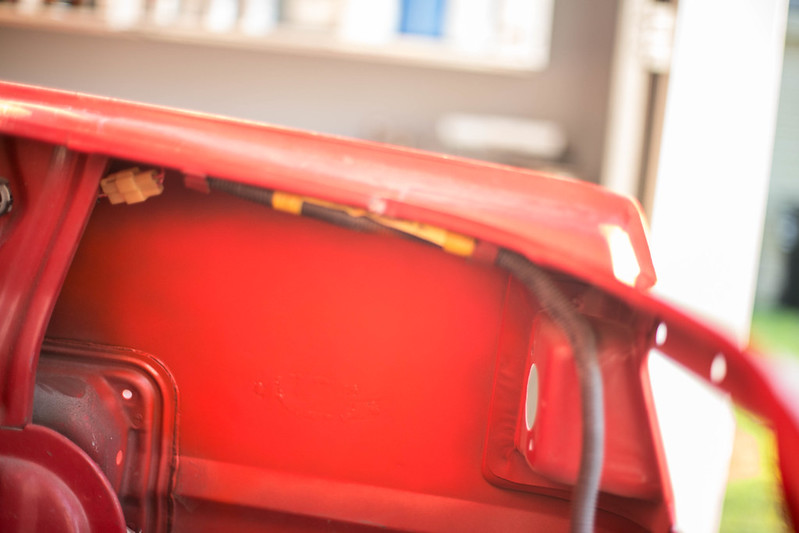
Took a small break to prep and prime the back side of the welded area. Then back to wipe. sand. repeat.
 IMG_0683 by lawrx, on Flickr
 IMG_0685 by lawrx, on Flickr
 IMG_0686 by lawrx, on Flickr
 IMG_0689 by lawrx, on Flickr
 IMG_0693 by lawrx, on Flickr
 IMG_0694 by lawrx, on Flickr
 IMG_0695 by lawrx, on Flickr
 IMG_0696 by lawrx, on Flickr
 IMG_0697 by lawrx, on Flickr
 IMG_0698 by lawrx, on Flickr
 IMG_0699 by lawrx, on Flickr
 IMG_0700 by lawrx, on Flickr
 IMG_0701 by lawrx, on Flickr
 IMG_0702 by lawrx, on Flickr
 IMG_0703 by lawrx, on Flickr
 IMG_0705 by lawrx, on Flickr
IG @gt3_brz
IMG_0705 by lawrx, on Flickr
IG @gt3_brz
My Mustang Build
http://www.stanceworks.com/forums/sh...=1#post1552949
My BRZ Build
http://www.stanceworks.com/forums/sh...ad.php?t=86482
My F100 Build
http://www.stanceworks.com/forums/sh...ad.php?t=97329Comment
-
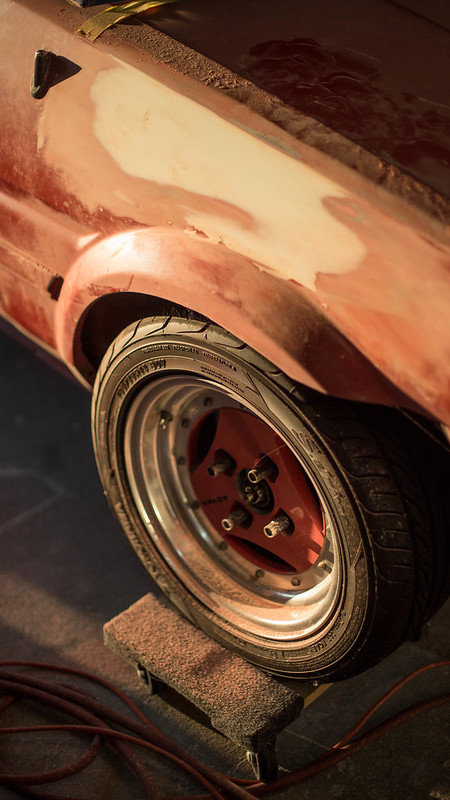
It's kinda cool that 2 different 86 resto threads on this forum, on 2 different continents, are rocking the exact same wheel setup lolComment
-
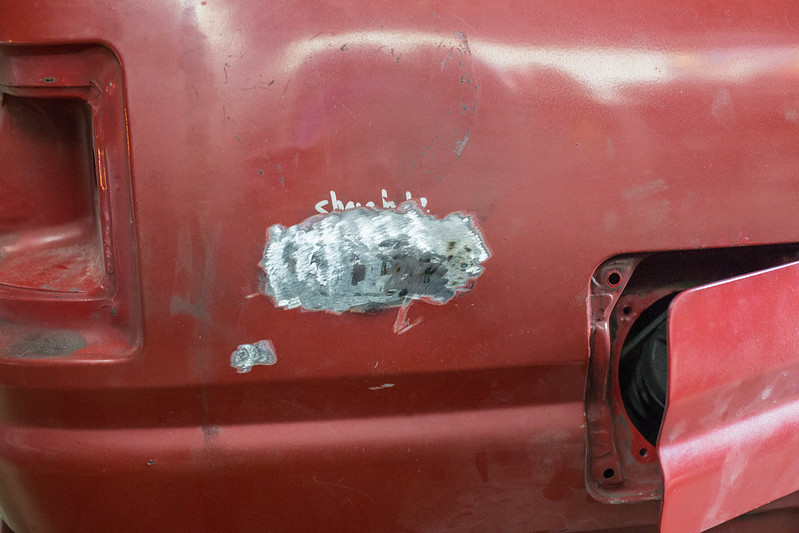
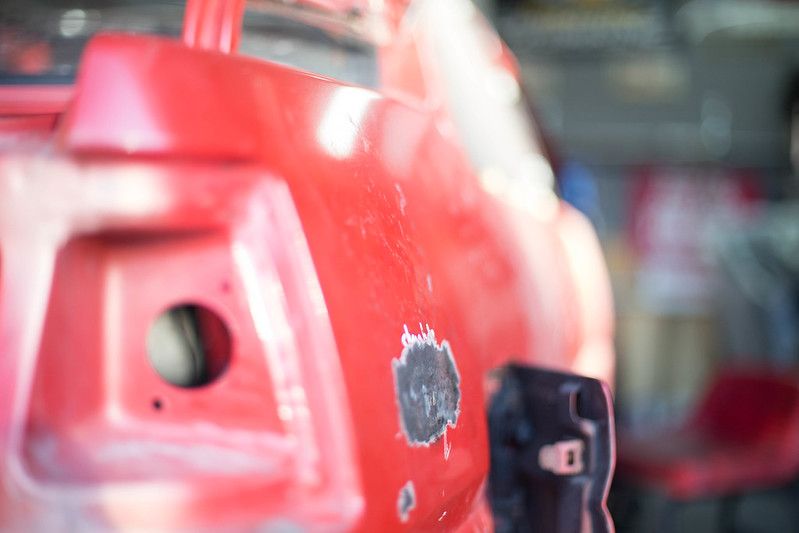
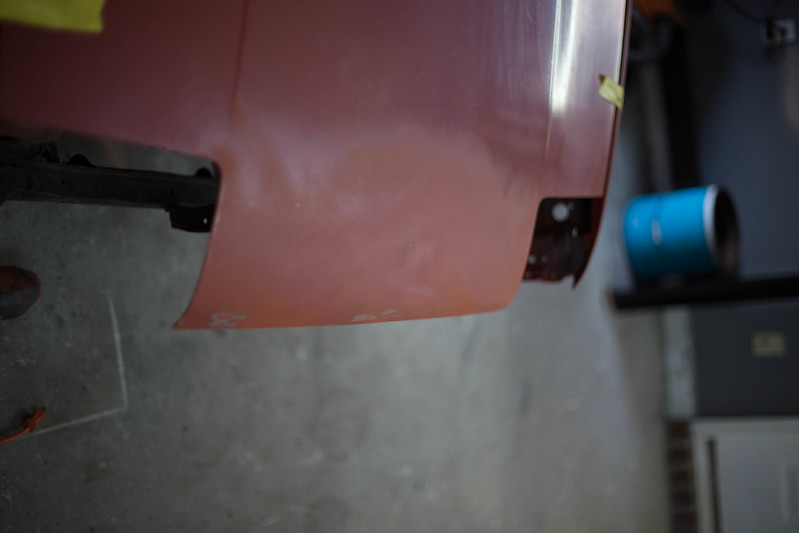
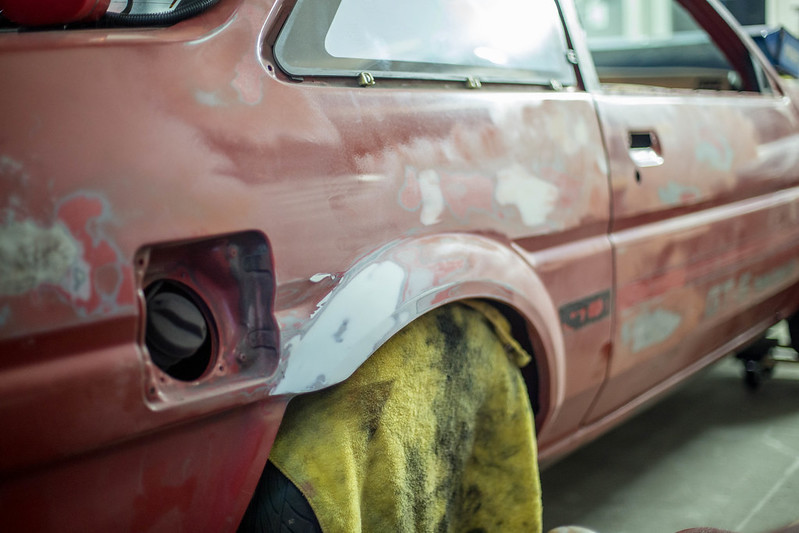
Smallish update. Only a few pictures but I got more work done then they show. Been super busy with planning my sons first birthday, work, and apparently its fucking monsoon season here in Louisiana. we've had some crazy rain the lats 2 weeks.
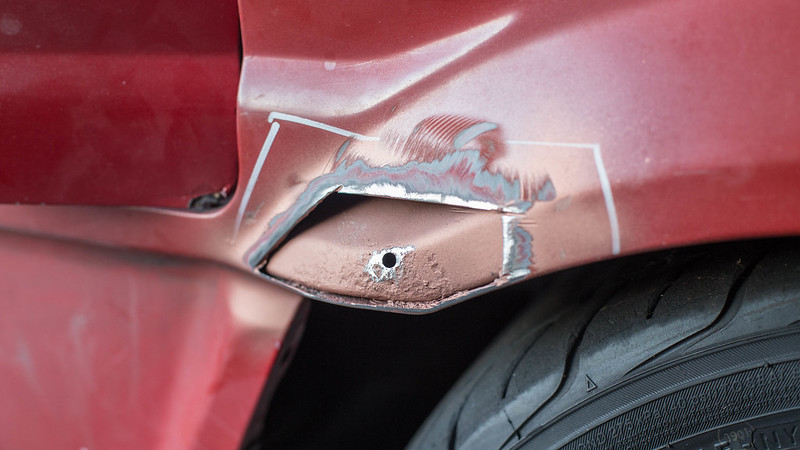
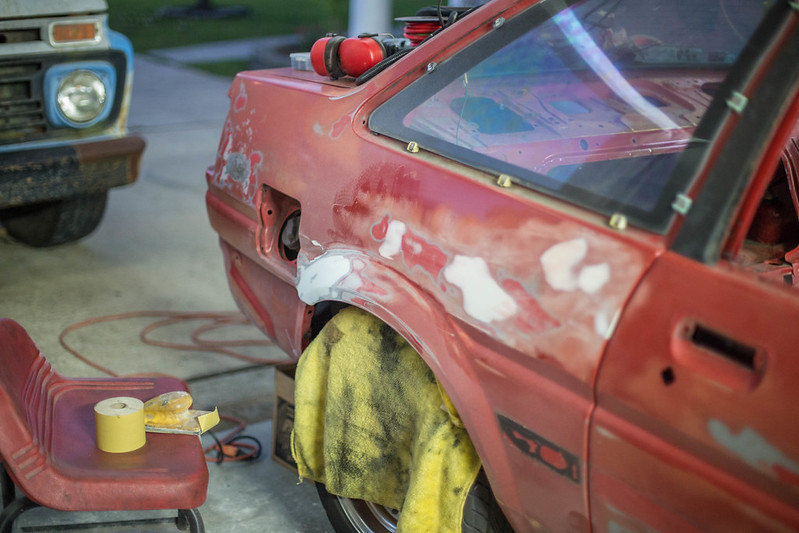
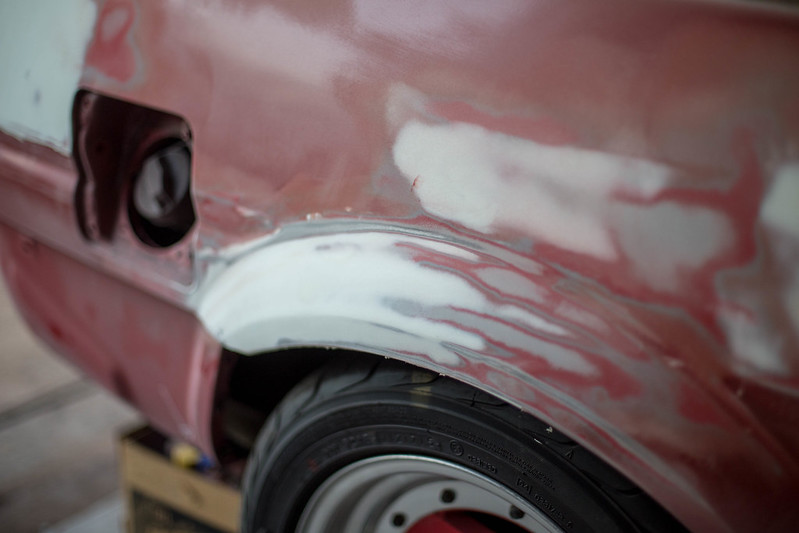
Anyway. Started patching the holes on the other side. Borrowed the 220v extension cord so my welder could reach the other side of the car. I really need to pick one up to keep at the house. I finished up the welding of the rear blinker hole and the patch hole from the rust with minimal warping. With them all welded up I started to knock down the welds.
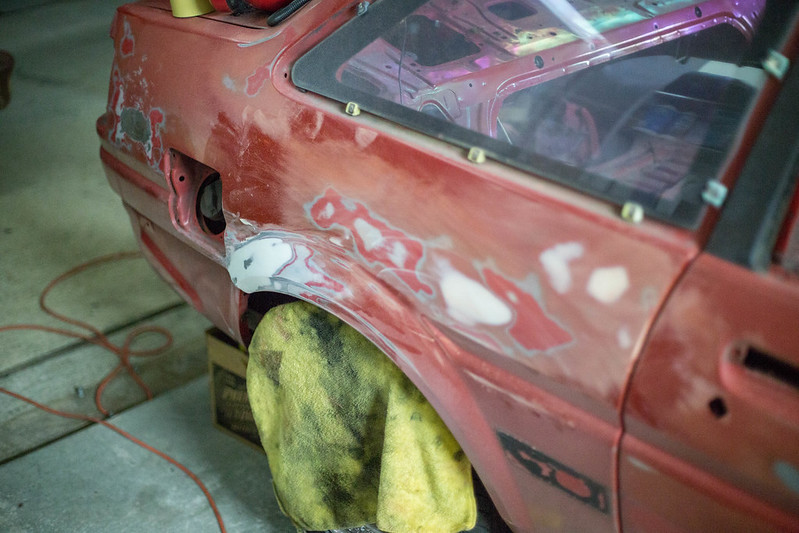
This past Saturday we had our sons first birthday party at the house, and let me tell you it has never rained so god damn hard at my house. Being that I live in Louisiana, im used to heavy rain, but this was ridiculous. I had to go out in the rain and unclog my gutters on my metal awning as water was getting backed up and it was going to collapse. Upon doing so I of course got soaked and had to dry off before I went inside. Im not sure if I did or someone else, but a soaking wet tool ended up getting set on the car, right over the fresh metal I just ground down the day before. So needless to say being that I was busy the last few days, a wet towel on bare metal caused it to start rusting. Obviously its only minor surface rust, but it prevented me from doing the first wipe of bondo last night when I had a spare minute. Reason being as the metal still has several levels to it so I need to hit it with the sandblaster before I wipe it with bondo, just to make sure all the rust is %100 gone.
 new computer (1 of 5)-2 by lawrx, on Flickr
 new computer (2 of 5)-2 by lawrx, on Flickr
 new computer (3 of 5)-2 by lawrx, on Flickr
 new computer (4 of 5)-2 by lawrx, on Flickr
 new computer (5 of 5)-2 by lawrx, on Flickr
IG @gt3_brz
new computer (5 of 5)-2 by lawrx, on Flickr
IG @gt3_brz
My Mustang Build
http://www.stanceworks.com/forums/sh...=1#post1552949
My BRZ Build
http://www.stanceworks.com/forums/sh...ad.php?t=86482
My F100 Build
http://www.stanceworks.com/forums/sh...ad.php?t=97329Comment
-
gorgeous! Updates?Some people will never understand it, why we do what we do.
The busted knuckles and the late nights in the garage;
it's more than a hobby or pastime, it's a lifestyle. We live it."
Instagram: @Stance_God
My 93' EG Sedan Build ( Daily )
My FC3S RX-7 BuildComment
-
Always happy to see chassis being saved instead of thrown away, especially the JDM oldies of course. Good job so far dude. What color will it be?Comment

Comment