 Tweet
Tweet
at fist i was thinking oh great another ls pwrd drift car, then i saw the author. i am so excite
-
-
good writeup so far! keep it coming sigpic
Midmounted Mazda Minitruck video build thread - www.youtube.com/pimppalacecustoms
Build pics and randomness - www.facebook.com/pimppalacecustoms
Long term project 340i (Lexus V8 powered e21) http://www.stanceworks.com/forums/sh...highlight=340iComment
-
Been waiting for this build to happen, I'll be checking in on this often.
And holy hell, for 38,000 miles those heads sure are dirty. Did he never change the oil?Comment
-
That's what I was thinking, I would expect that at 80,000+ but bot 38,000.Originally posted by Byron View Post
Already looking forward to next weeks update an I like the fact you're listing the costs as well some people don't like to mention the cost of stuff unless they're asked.Originally posted by MommysLittleMonsterComment
-
awesomeworld!! i'm planning an LS e36 myself and absolutely loving the detail of the first post! keep it up! 025garage


Comment
-
-
in for subscription. should prove to be an awesome thread. love the detail you go into. and beer.Comment
-
-
Thanks everyone for the kind words... This is why I do it.. thanks most likely update this thread on Sunday night.. So stay tune
Contact me if you are interested in DPE Wheels edafe@dpe-wheels.comComment
-
Okay folks here I am with week 2 update.. I plan on updating every Sunday...
STAGE 1: Phase 2 'Cam/Pulley Install'

Lets start this off with the Beer of the week.. We have here folks 'Mississippi Mud' Its a Black & Tan beer which has a little kick to it.. I also love the bottle it comes in, makes me feel like I should be sitting on a porch throwing meat to alligators..lol

Okay what I am installing today is a MS4 Cam from Texas Speed Shop and a ASP Harmonic Balancer. Now I bought the the Texas Speed Shop Camshaft package that comes with a Texas Speed Hardened Chromoly Pushrods and Dual Valve Sprigs.. I will install those later..
MS4 CamShaft Package = $699.99
ASP Harmonic Balancer = $214.99

Okay lets get started on removing the old stuff. First on the list is the balancer. You will need a 1" socket to remove the bolt that holds it in place..

A braker bar is a must when it comes to taking off this damn bolt..

Again Advance Auto Parts come in handing when I needed to rent a tool.. I went there to pick up a Pulley puller. This tool is a must and really the only way you can actually get this dang pulley off the engine.

Tool set up...

The claw hooks grab the pulley and pulls it away from the engine.. As you begin to tightening the bolt it starts to get harder and harder to do.

That is when a pole comes in handy...lol

You know you are doing it right when you start to see silver from behind the pulley.

Just to give you an idea of the size difference between the ASP pulley and OEM pulley.. ASP gives you around a 15% more power, every bet counts..

Next we can remove the timing chain cover.. This requires you to use a 10mm,, really easy..

Bam!!, look at the LS6 oil pump and LS2 timing chain... Good stuff..

Now we can remove the timing chain sprocket, Unbolt the 3 cam gear bolts and remove the gear, letting the chain droop down into the oil pan for now

Next is the retainer plate

Next you'll see a black/brown cam retainer plate behind the gear, held on by 4 10mm bolts. Unbolt and remove this too.

remove, the bolts..

Out with the old cam....

And in with the new.. The MS4 cam is a 239/242 .649"/.609" Camshaft.... Oh yeah...

Now it is time to prep the new cam for install. Coat the whole thing with fresh motor oil, and transfer your 3 camgear bolts (or waterpump bolts if you were using those) to the end of the new cam so again you have a handle to grip onto.

Now take your time installing the new cam, and keep on coating the cam with fresh oil as you go..

Almost done,, the 3 camgear bolts come in handy towards the end when you don't have nothing to grab onto,, so def do this..

Once in, re-install the cam retainer plate and its 4 10mm bolts. I usually put some locktite on the 4 bolts and the GM torque spec on them is 18lbft.

Then install the timing gear, and torque spec on these is 18lbft as well.

Now since the timing chain cover was off, I decided to spice it up some.. So I painted it a black crinkle. I think it turned out great.

Now for the time being I used the OEM balancer bolt to install the new ASP balancer. Now the Crankshaft Balancer Bolt (Installation Pass-to Ensure the Balancer is Completely Installed) needs to be torqued to 240lbft. And then remove bolt and replace with an ARP balancer bolt and torque to 37lbft. I will do this later once tranny is installed.
Well hope you enjoyed this weeks post...
Total spent: $2,464.98
STAGE 1: Phase 3 'rocker arms/valve springs/ head Install'
Contact me if you are interested in DPE Wheels edafe@dpe-wheels.comComment
-
subscribing to this shit. Love it so far also the bottle that mud comes in is sweet
Comment
-
Thanks bro,,
Contact me if you are interested in DPE Wheels edafe@dpe-wheels.comComment
-
Thanks everyone for the kind words...they are a huge motivation to me and this is the main reason why I love building cars..
Anyways,, since it is about to be hump day (Wednesday for people that don't know). I had to get a workbench cause working on fold out tables is not cutting it for me...lol
I also cleaned up the garage just a little..
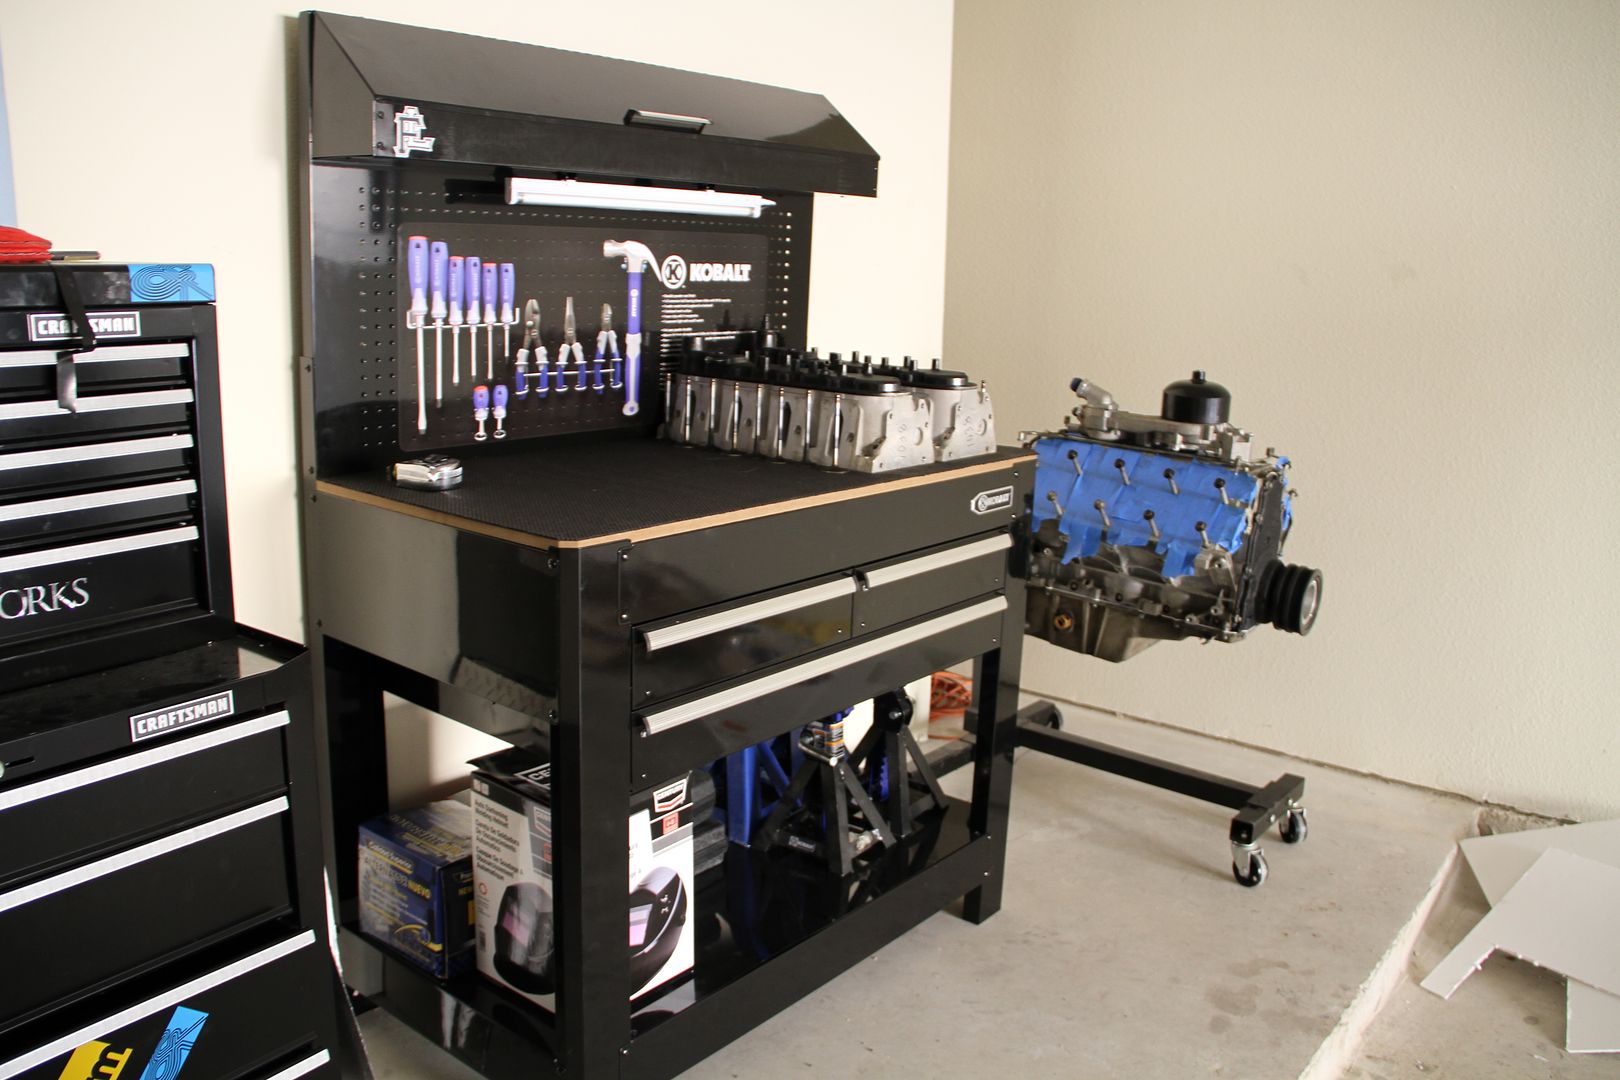
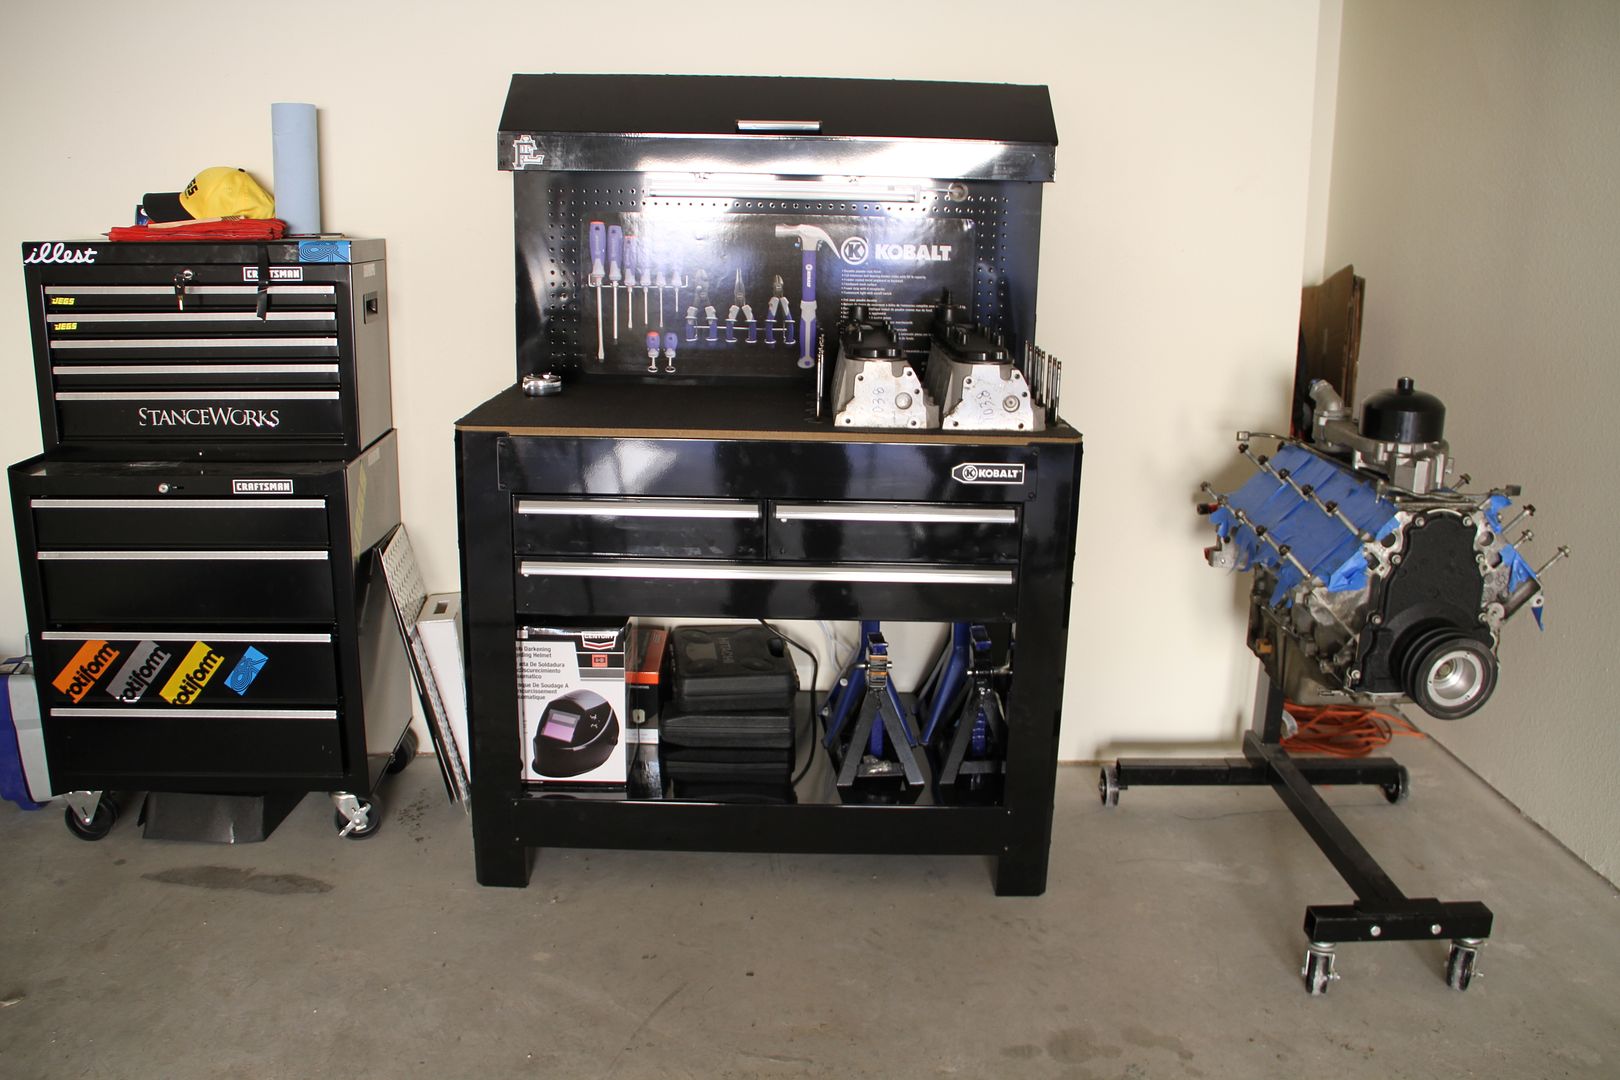
I might update little pics from time to time, during the week if something comes up that need to be posted.. Like little treats for you guys.. lol
Tell next week enjoy.
Contact me if you are interested in DPE Wheels edafe@dpe-wheels.comComment
-
love the update, gotta find me some mississippi mudComment

Comment