-
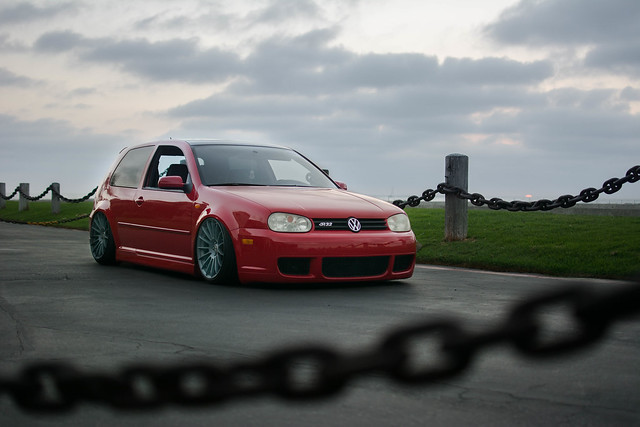
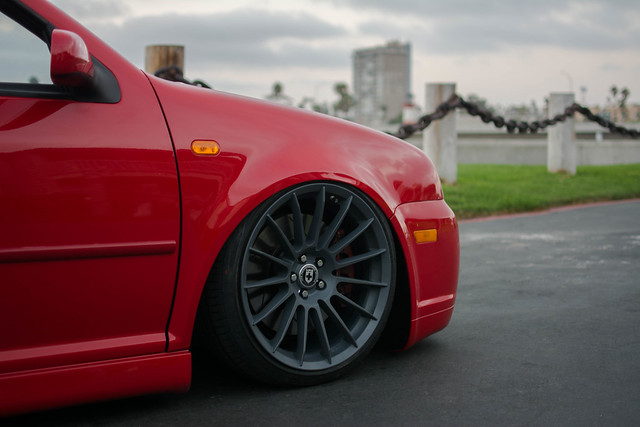
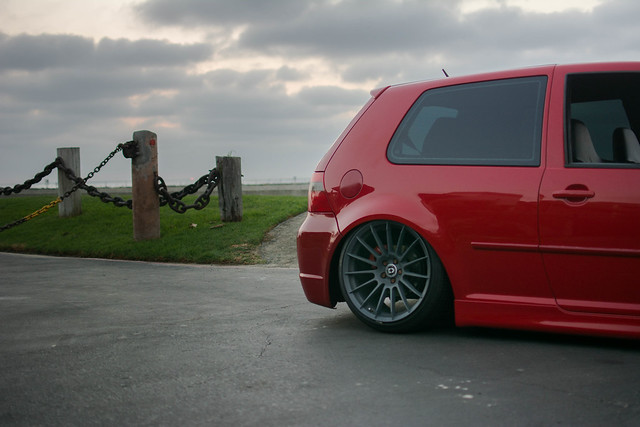
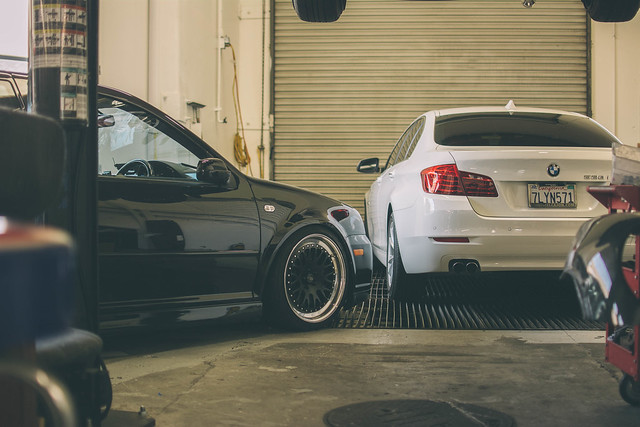
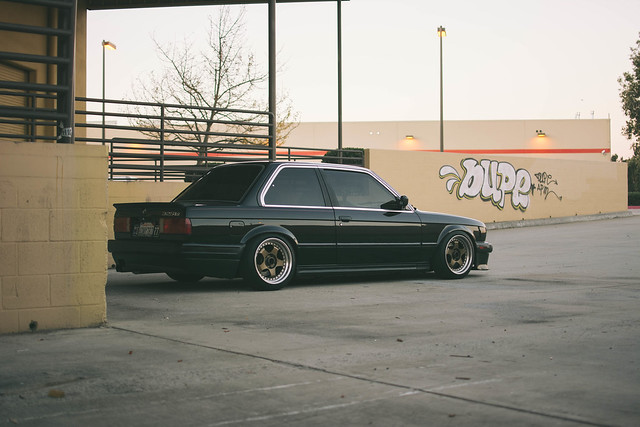
Well I wasn't planning on getting any wheels soon but I came across good deal on some HRE's so I had to pull the trigger!
Not the best fitment, but I'm pretty stoked on how they look seeing that it is my first wheel set up!
Leave a comment:
-
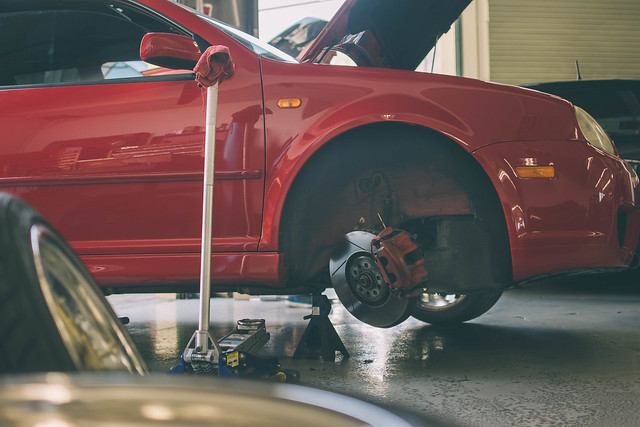
Due to the passenger axle being longer, I needed my passenger side frame notched to fully air out.
Since I didn't do to much here... This is more or less just photos. Haha not too much dialogue.
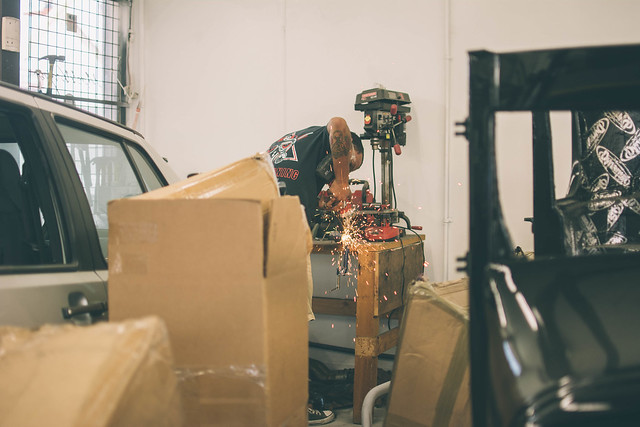
Seeing that I have no welding experience what so ever and cutting into the frame is something you shouldn't really guess at, I took it down to my buddy Blayne's shop down in San Diego.
Seeing that he had a helping hand in the black right hand drive swapped R32 and has done this multiple times, he is definitely over qualified.
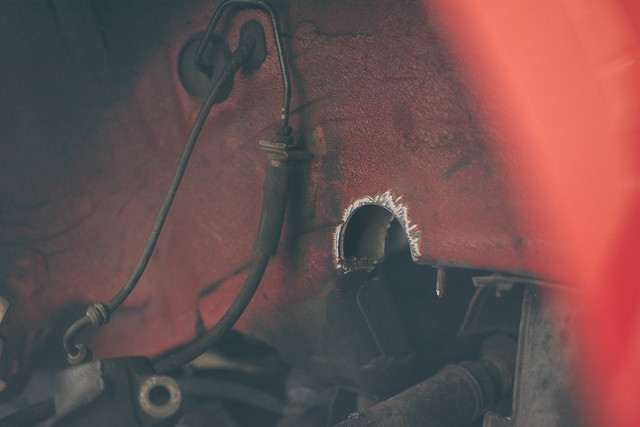
after cutting the hole, he welded in some reinforcement.
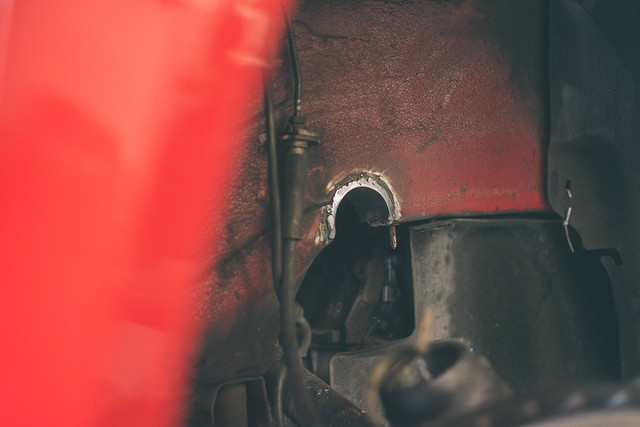
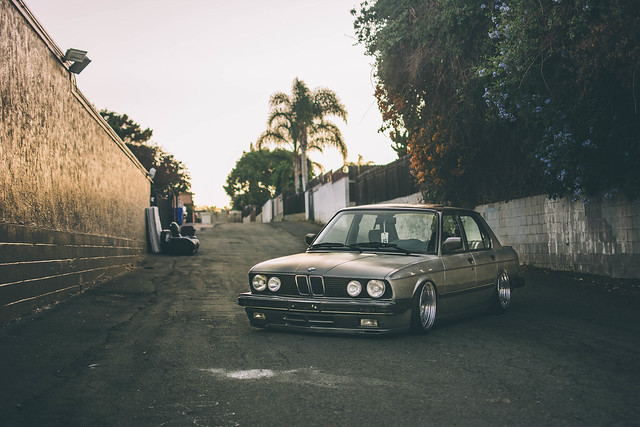
and here is how I sit now!
Leave a comment:
-
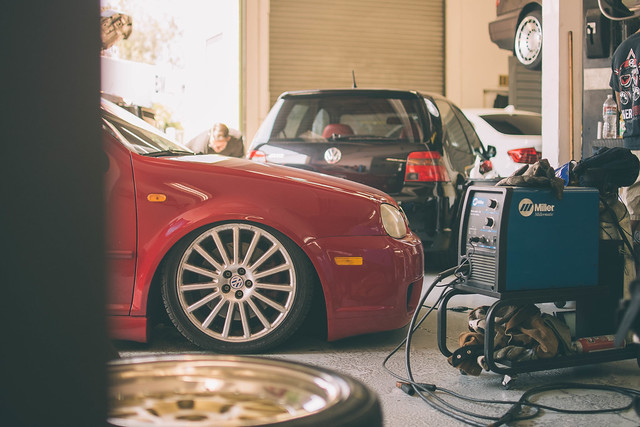
You make bagging a car look so easy. Thats a super clean install tho.Leave a comment:
-
Thanks man!Originally posted by PassionGarage View Post
It wasn't my first choice but it definitely grew on me over the years!
Yeah I have my eyes on a set of wheels right now, just trying to figure out what else I'll have to do to the car to make it work!
Thanks!! I really appreciate it!Originally posted by DawsonLiri View Post
Thank you so much!Originally posted by valimihairo View Post
And I definitely will. I already have more hahaLeave a comment:
-
wow,just wow!
that colour looks awesome,your photos are great,this is good.
please continue
Leave a comment:
-
Loving that Tank Setup !!!
simple and it works !!
Love this colour dude ( used to have a VR6 4Motion Bora in tornado )
Any other plans for this gorgeous car !!Leave a comment:
-
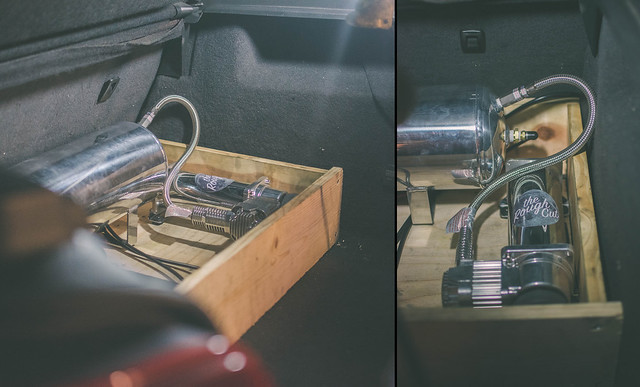
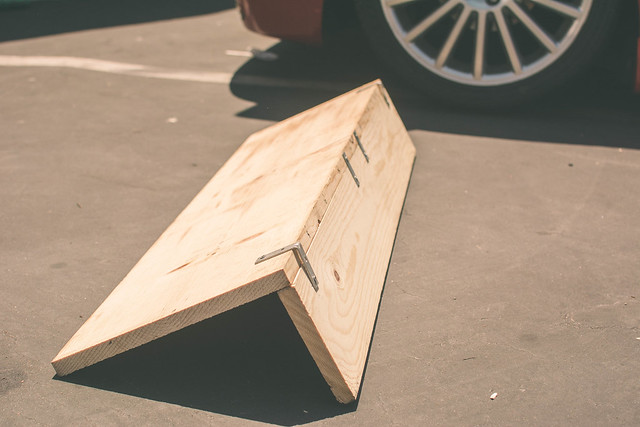
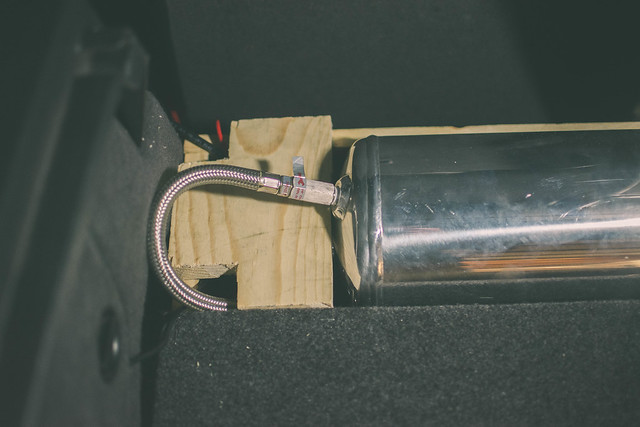
After getting getting the bags installed, I figured I'd make a trunk set up that still let my trunk be usable. I'm constantly traveling or camping. Having bags is cool and all but not being able to take my car places depending on if I needed my hatch would leave it useless!
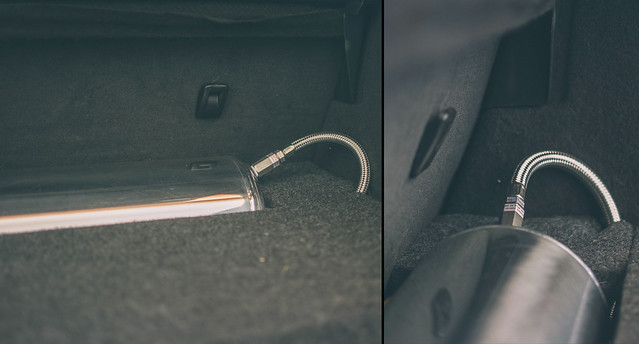
Not wanting anything crazy, seeing that this isn't a show car, I went with just a basic box. I bought 9 feet of 1"x6" wood slats and made a basic box. The reason behind the 1"x6" is because technically it's only 5.5" and right in between the two ports on each end of the tank measured 5.5" perfectly! Letting me still show off my steel braided lines coming from the compressors.
After making the basic box to hold everything in place, I figured I might as well make a top to it. The hard part was figuring out how to design it. Do I want two pieces held on by hinges I could open up? Or how something maybe transparent to show everything off? Reminding myself it was no show car, I figured I'd go with an easy shelf I can just slide back and fourth giving me access to everything.
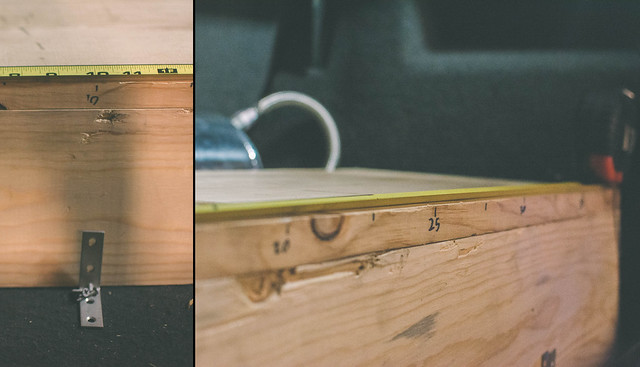
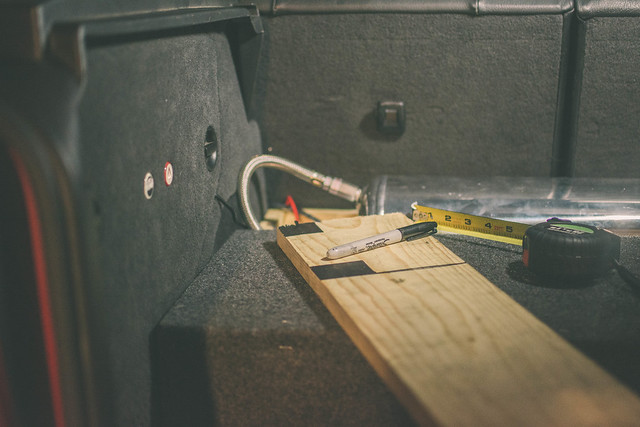
I bought a 1"x10" and cut it down to 40" to perfectly lay across the skeleton of a box in my trunk.
Making all the measurements just to find out I didn't bring the right tools home... and that it'd have to wait until I took a lunch the following day.
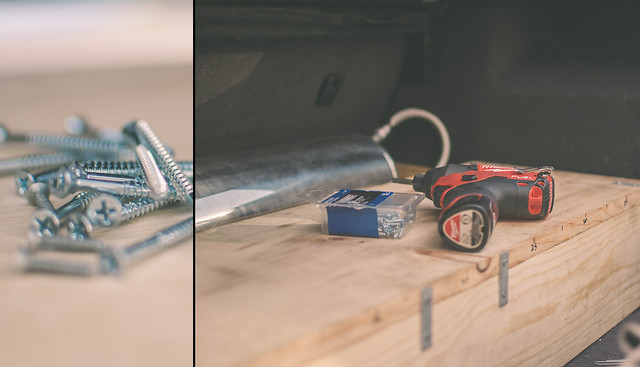
Securing it with 6 brackets total, it felt sturdy. Two "L" brackets on the outside, two regular ones in the middle, and two more "L"brackets on the inside.
Next was to make it look like it belonged in there.
I carpeted it with a fabric I found at Jo Anne's for about $5 a yard. Almost matching perfect!
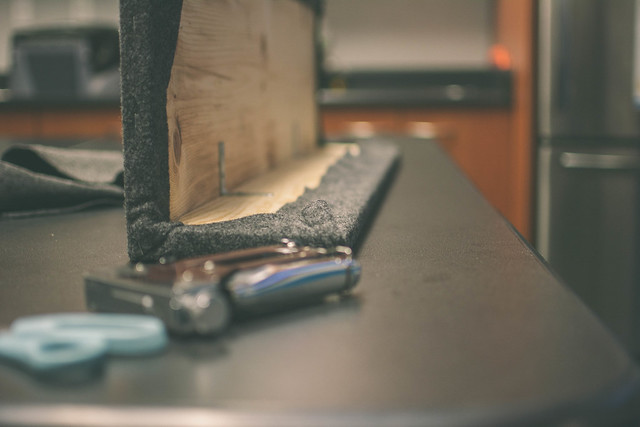
After making the shelf, I still needed to cut two smaller pieces of wood to cover the corners next to the tank where the air lines show.
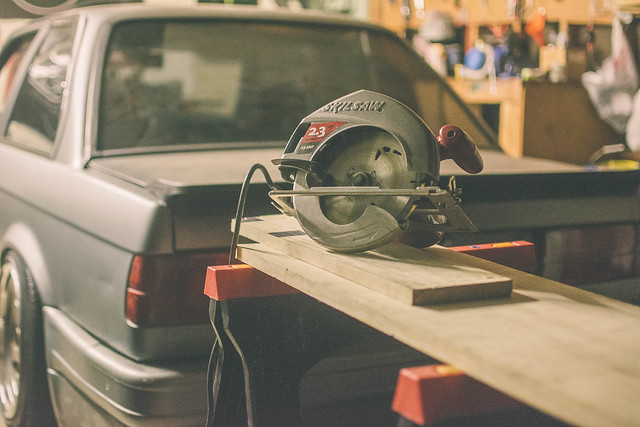
I worked a little smarter this time, borrowing somebodies skilsaw from work! Definitely made these cuts a little easier.
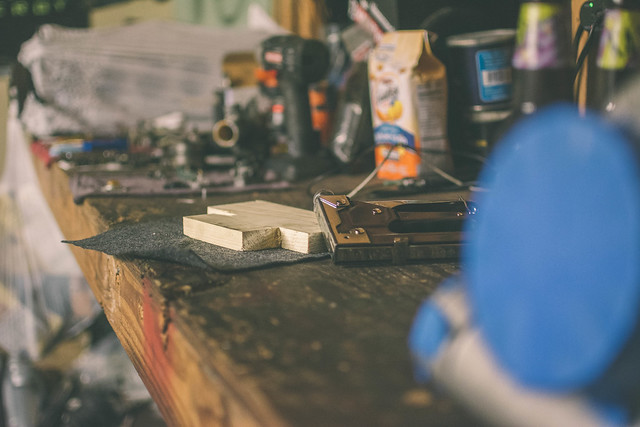
After making them, I wrapped them also to complete the box!
Leave a comment:


Leave a comment: