-
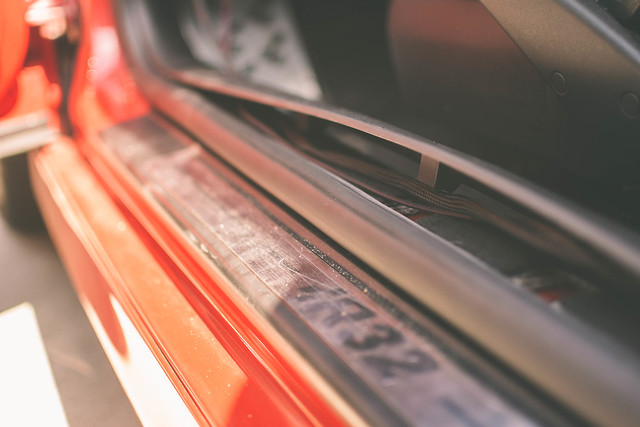
ha yeah surprisingly enough it is! I ended up wrapping my roof black because that was getting kind of bad. but other than that, it looks decent!Originally posted by I_Haz.:R32 View Post
wheels and interior next. my driver seat looks like its about to tear soon so I'm thinking of addressing that before it actually becomes an issue. but we'll see!Originally posted by Mehowski View PostLeave a comment:
-
The grind is real man! Happy for you to get the air done, and finger crossed you won't find yourself having to fix anything
Any other plans, or are you keeping it all secretive for now?Leave a comment:
-
Haha I feel you there, Aristos look pretty great, no matter what tho! Is your paint original? It's rare to see Tornado Red in such good condition.Leave a comment:
-
Congrats man! Looks great. Any plans for wheels to complete the "build" lol jkLeave a comment:
-
Congrats man! Cool that all went well! Hope to see more soonLeave a comment:
-
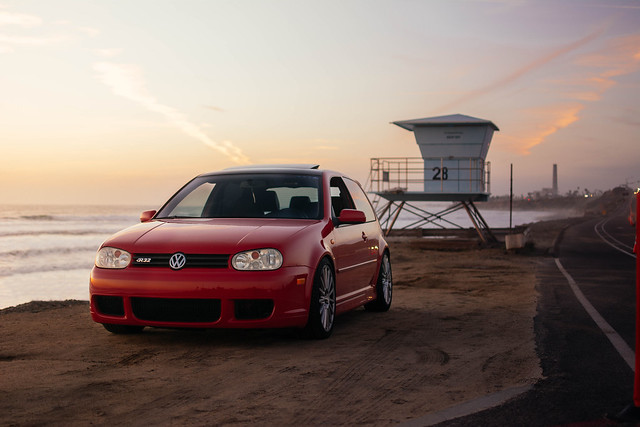
One Rough R32 build
Hey y'all! So I bought this R32 a little over three years ago. Coming from a 1972 beetle with whooping 40 horsepower, it was night and day to say the least.
After every single raise and promotion I got, I swore I'd bag it. Long story short, I still could never afford it. So this is a long time coming for me.
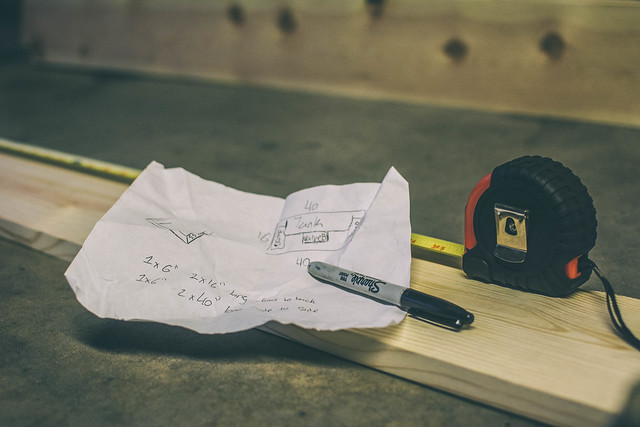
Now, I know most people don't consider a bagged vehicle a "build" but lemme say, it wasn't as easy as most would think. Making sure every little detail was as close to perfect first try. Making multiple measurements, I knew I'd have to redo things after the install, I wanted to keep that number to a minimal.
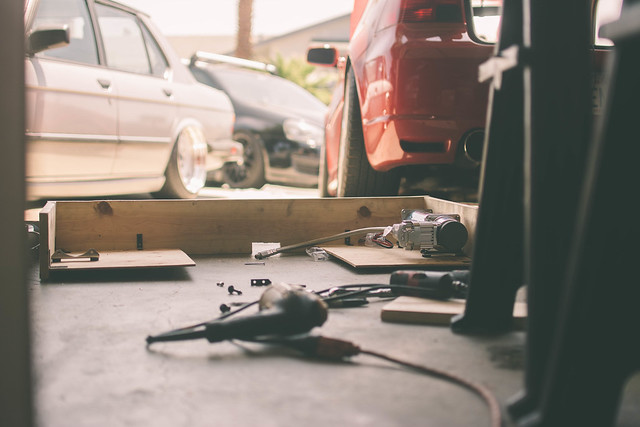
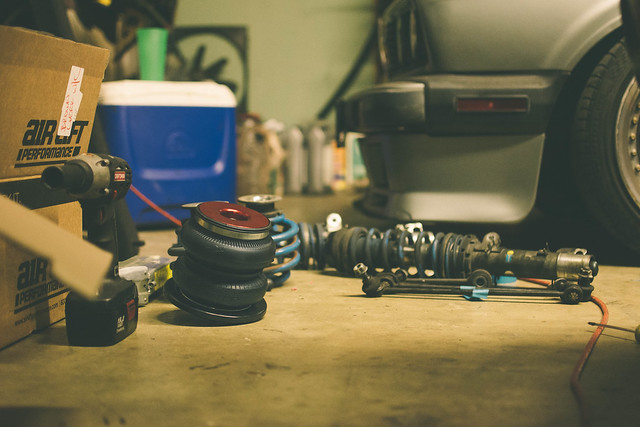
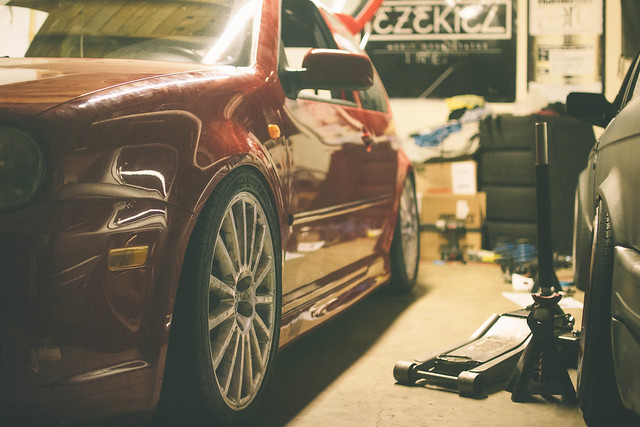
First I had to decide on how to hide the compressors, tank, and valve block. Going back and forth between a false floor or just a box in the hatch

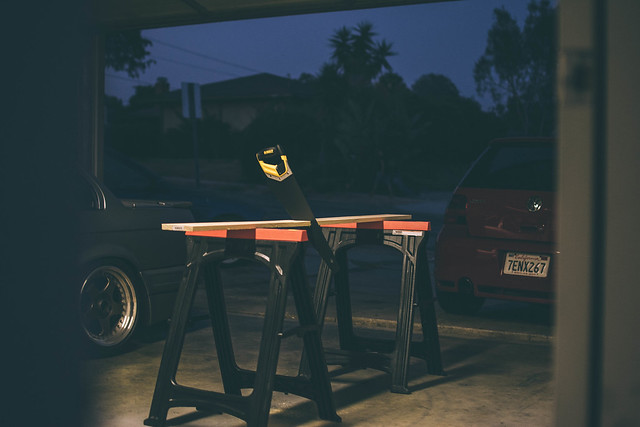
I decided on just doing half a box in the rear. 5.5" tall so I could show the top part of the tank and the top ports where the steel braided lines from the compressors connect.
Next was running the lines. It's no show car but I still wanted something simple and clean. I ran the lines through the trim pieces next to the door
After that the air bag instillation began. First, we tackled the front. Taking my coilovers out and drillingthe top three holes in the strut tower to hold the air bag. We used a shoe lace to make sure the left and right lines up
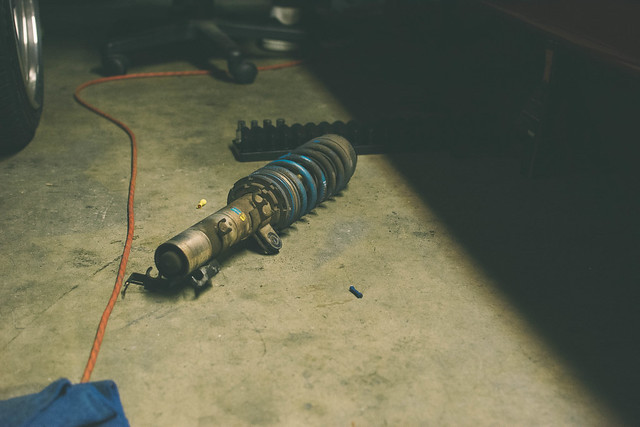
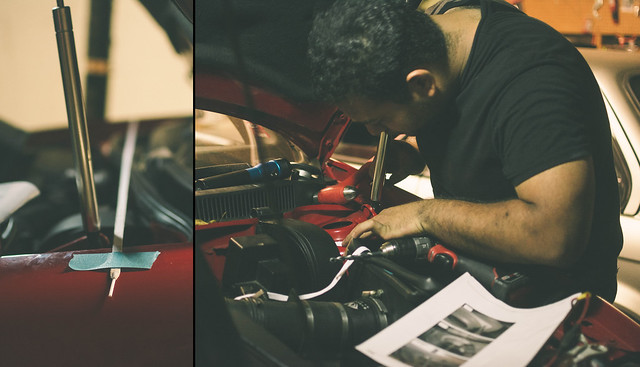
It took us a little bit to get the three holes drilled out perfectly for it to sit in it, but around 12:30am we got it! We bolted everything back up in the front and decided to call it a night.
Next day after work, came the rear.
We unbolted the 4 bolts holding the rear trailing arm and lowering it with the floor jack so we could fit the grinder and drill underneath the rear perch.
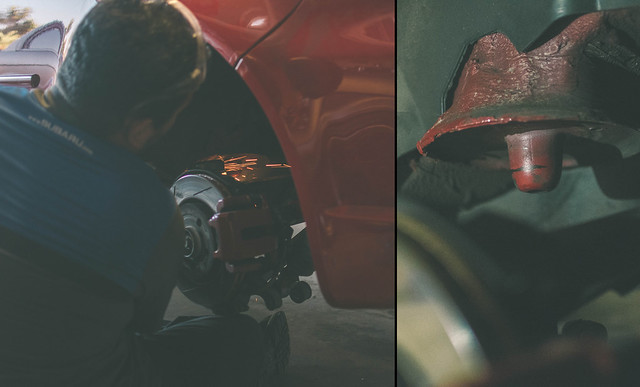
The rear bags just fell in after doing that. We bolted everything back up and crossed our fingers!
So after putting the wheels back on, I forgot I was running 10mm and 20mm spacers... Since I only had the extended lugs that went with them, I had to run them. I couldn't air out all the way, but knowing that all the work was completed was satisfactional enough.
After taking them off, I was able to go a little lower. Now I still have to notch my frame, get smaller tires, and roll my fenders. Until then though, I am completely stoked on how it turned out!
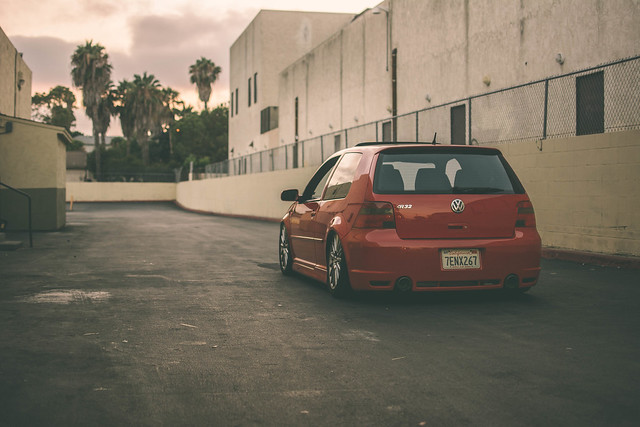
More to come eventually!
Leave a comment: