-
-
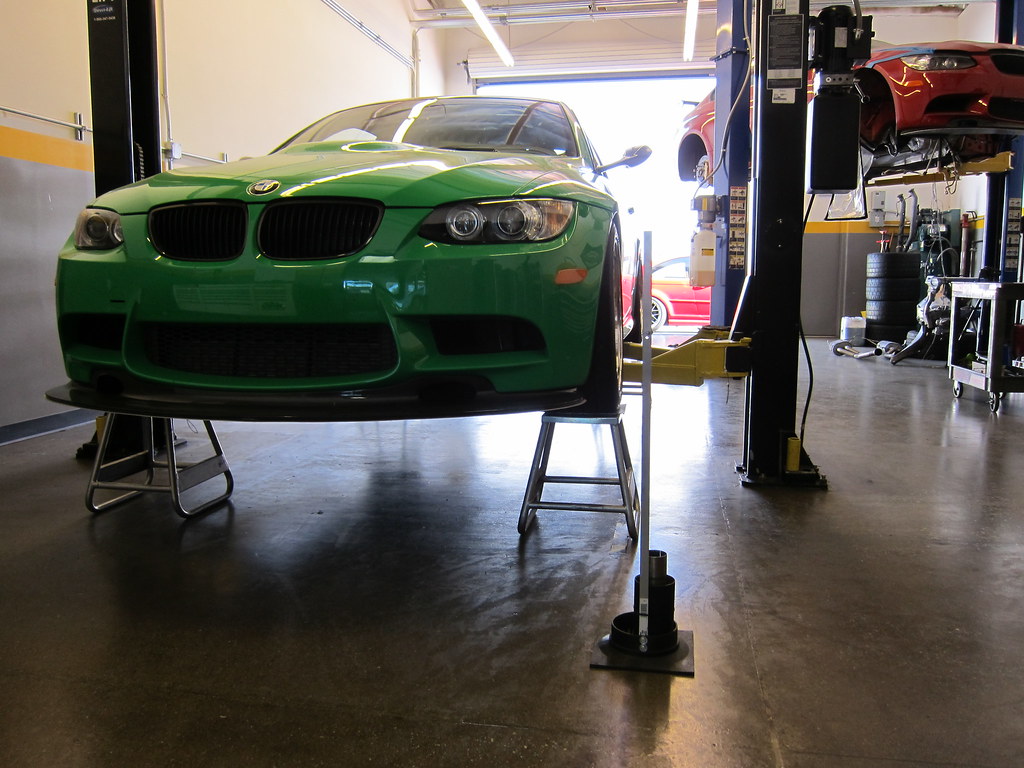
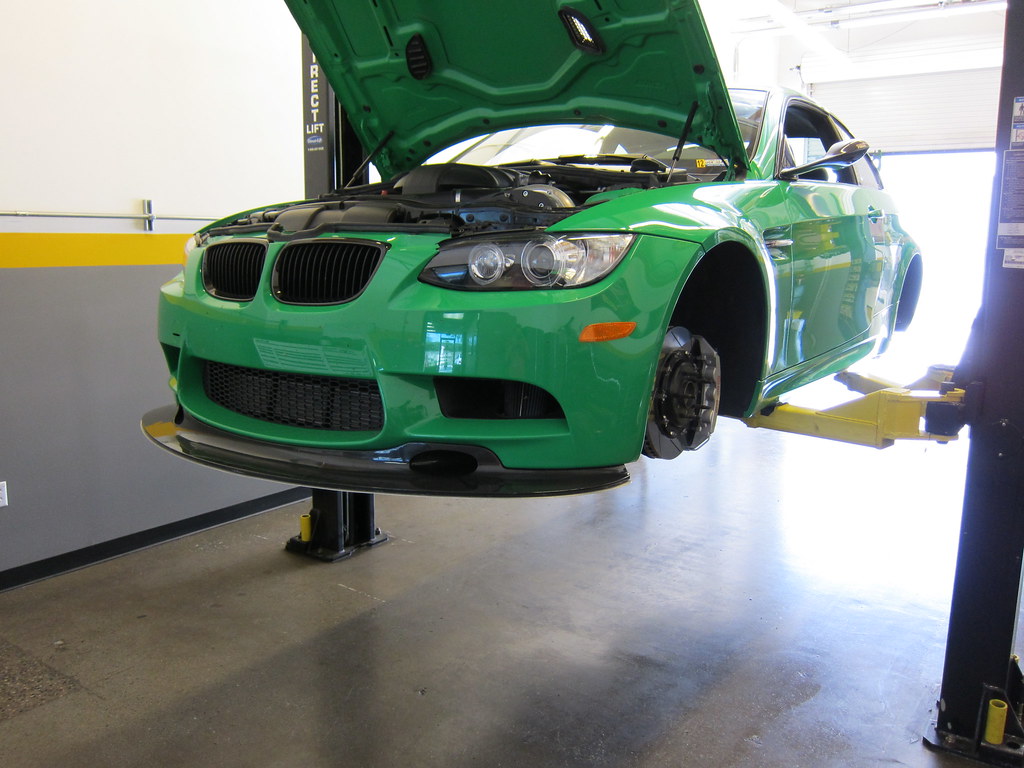
So I have the Monster back in the air to take care of what started out as a simple issue.
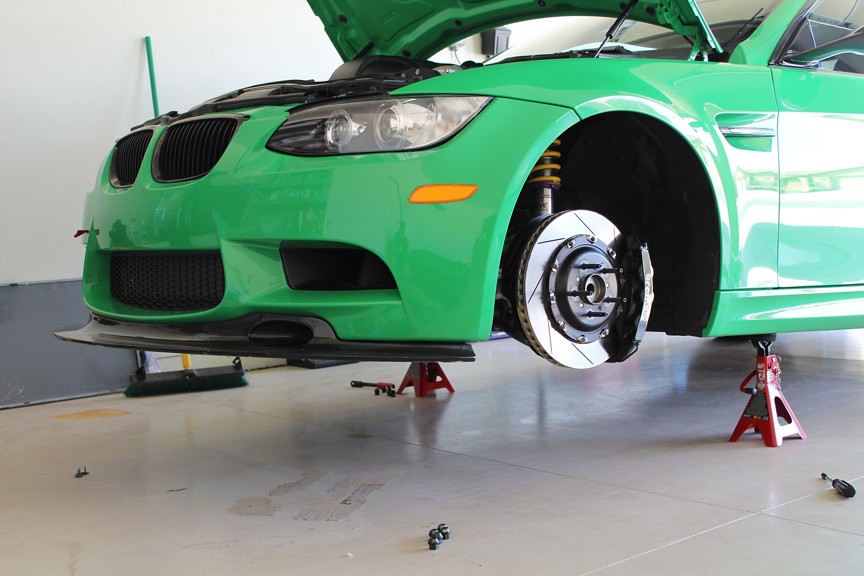
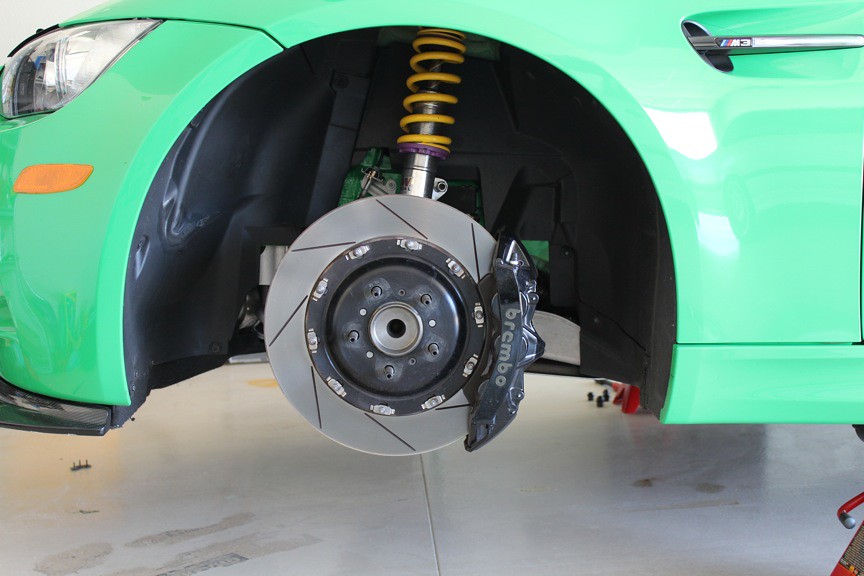
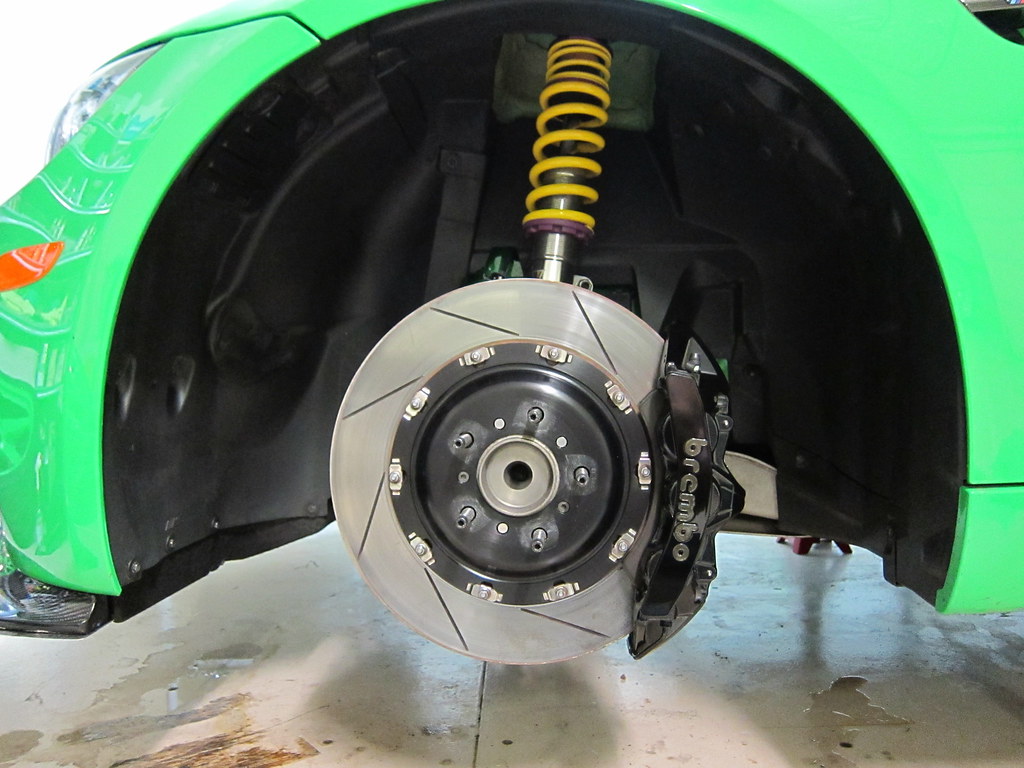
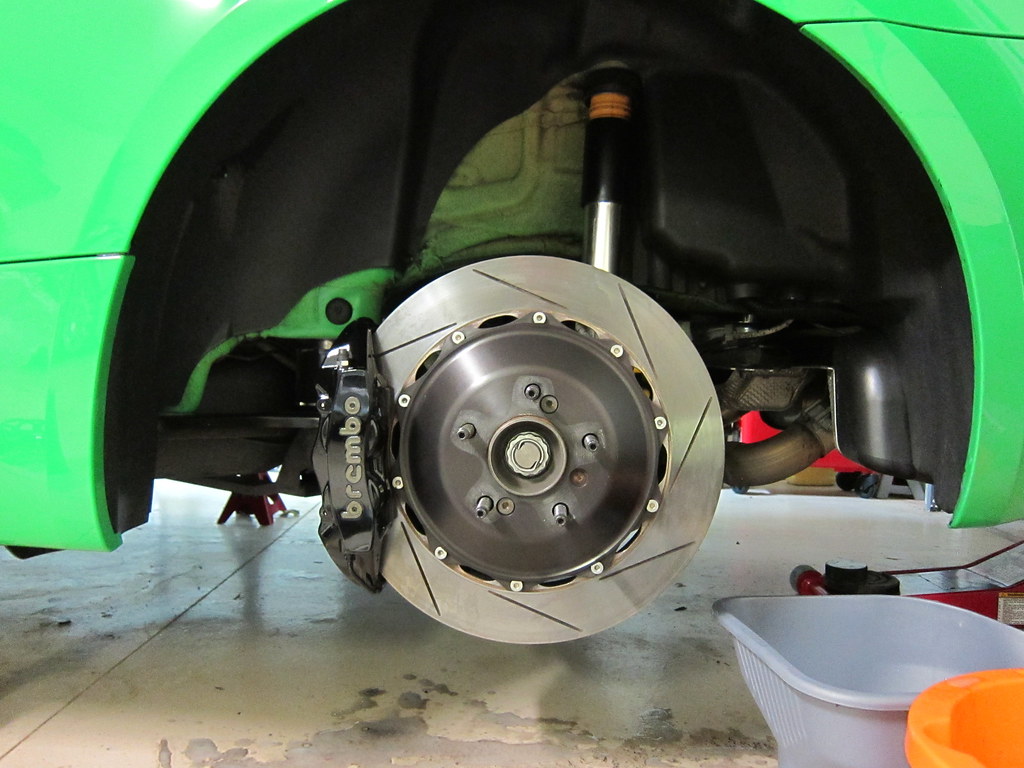
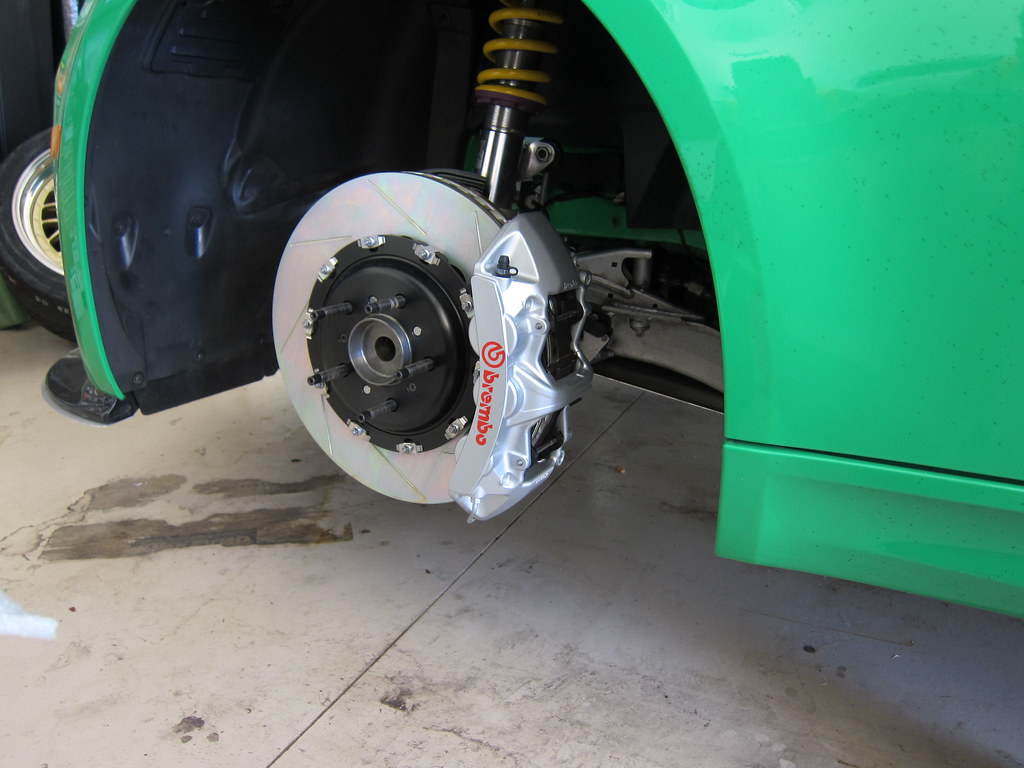
A nice shot of the KW suspension and 380mm Brembos. Notice I am still experiencing a tiny bit of rubbing on the front fender liner. The cause of this I will get into later but it should be a simple fix.
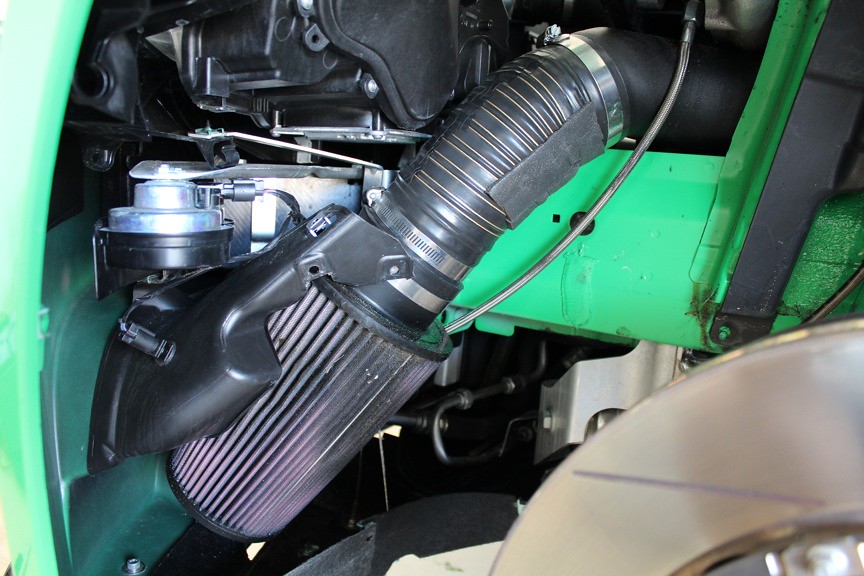
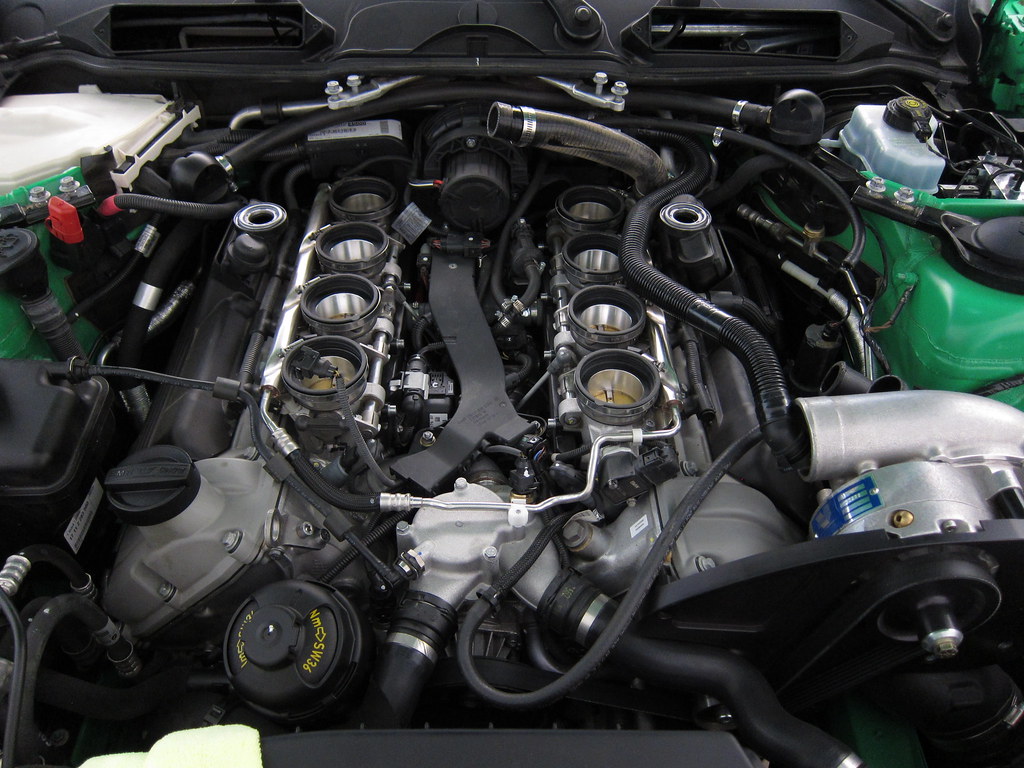
Here you can see the ESS cold air intake for my ESS SC setup. The kit uses a steel band reinforced flex hose that is extremely durable. But I am super anal and to avoid any excess rubbing, I put some electrical tape on the top of the tube as well as some rubbing strips at the bottom. Like I said, I am anal.
Another interesting thing you are seeing here is that the GT4 brake duct, which I have open to the under panel and thus the intake, is providing extra air to the filter as can be seen by the dirt residue seen in this pic.
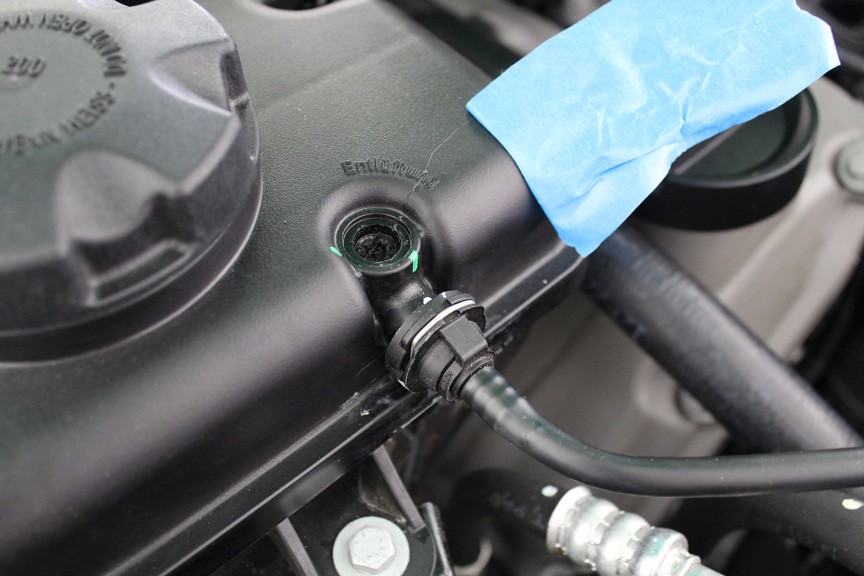
As mentioned in my previous posts, I have a larger capacity Motorsport 24 radiator. Its a great piece of kit but I had it in my head that I did not properly bleed the system when I installed it. So, I decided to bleed it again (my 3rd time..told you I am anal). Although I had two reference points for tightening, I managed to over torque the bleed screw and the head popped off. Now if I had done my due diligence and conducted a google search on bleeding BMW coolant systems, I would have learned that these bleeder screws are extremely prone to breaking and a lot of care needs to be taken when tightening.
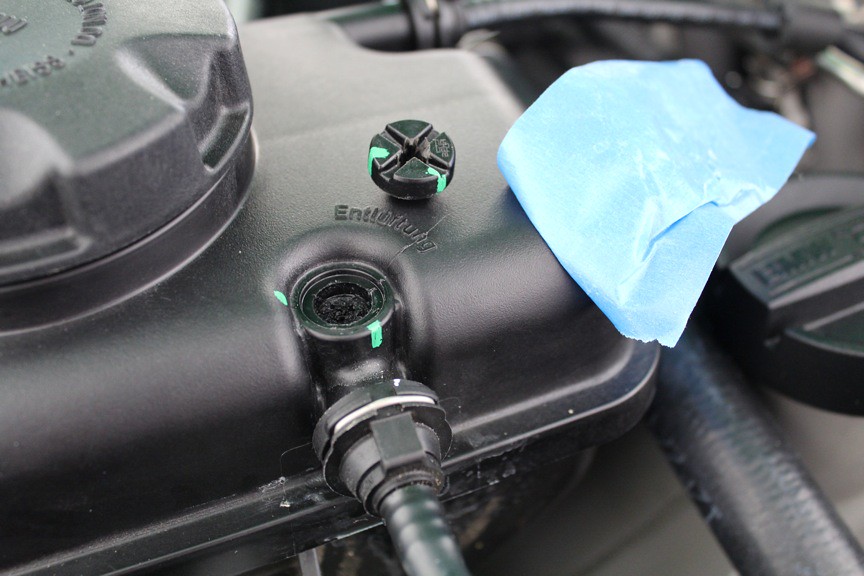
I did some research and tried a bunch of tricks to get the broken part of the bleeder screw out of the expansion tank but none of them worked. I either would have to take an extreme chance of busting the expansion tank or just start with a new one. Since they are not super expensive I decided on the latter.
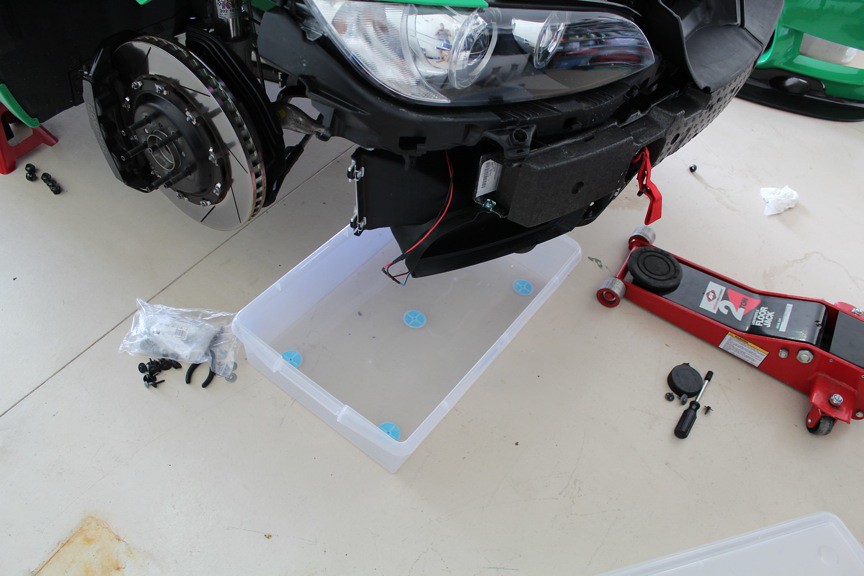
Time to get ready for a mess. I have done coolant work on my car a few times. Both on the engine coolant system and the SC heat exchanger system. It is always a messy job!
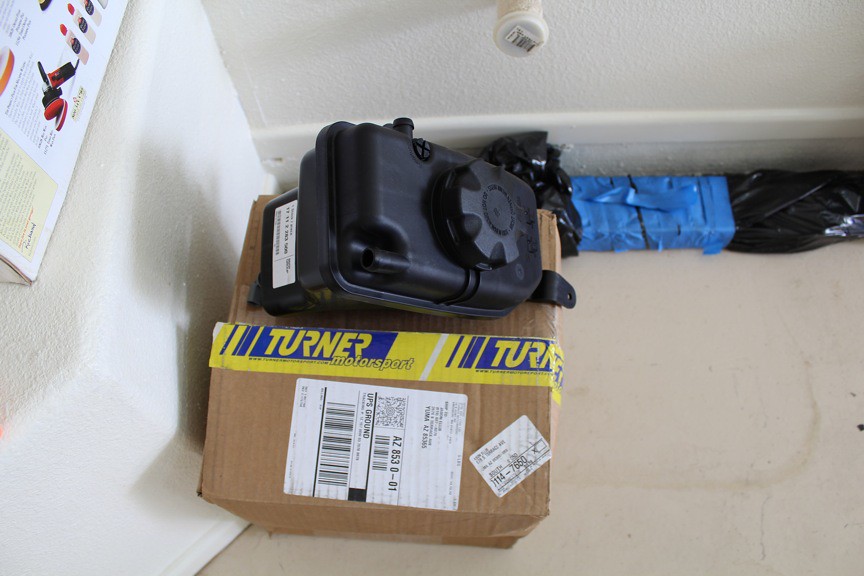
Here is the new tank ready to go. I bought it through Turner and the tank arrived ready for install.
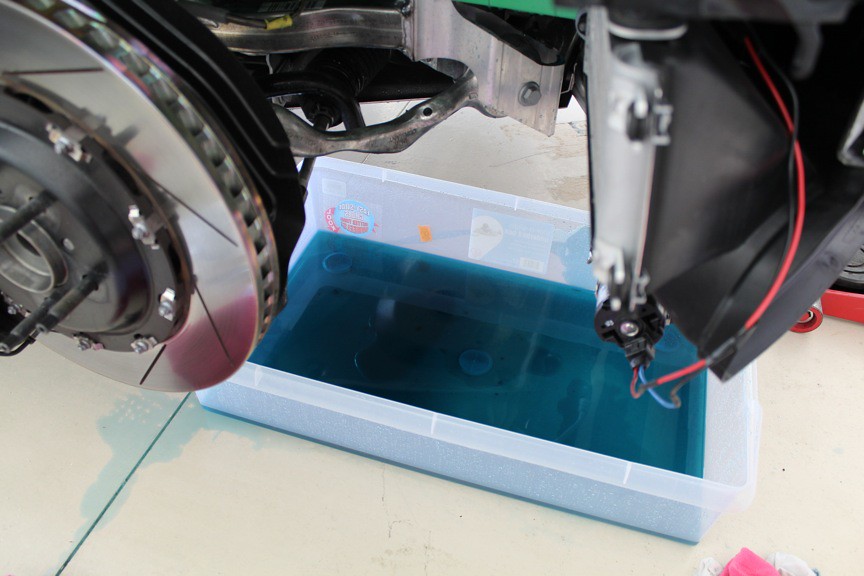
One of my less messy attempts!

The tank is attached via two bolts. Remove them, three coolant lines and the tank will pop out with little effort.
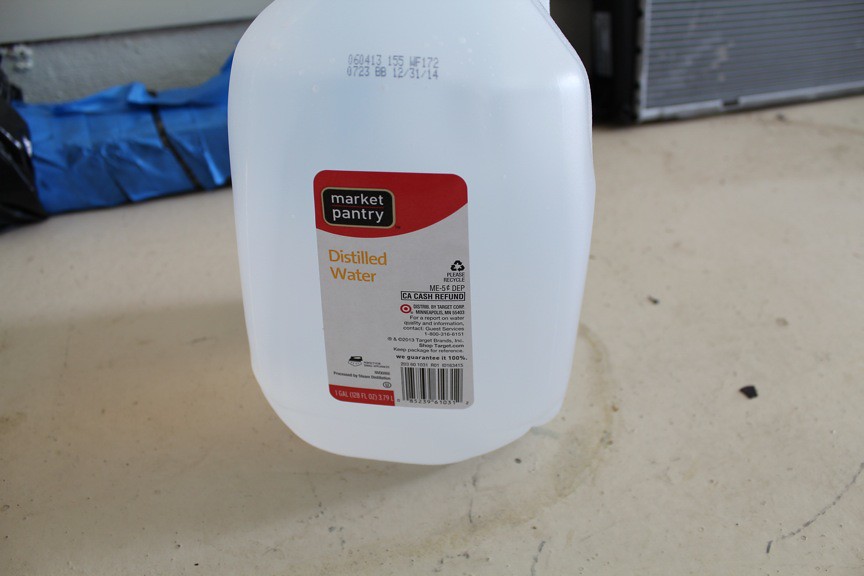
Always use distilled water in your coolant systems! The minerals and stuff in non-distilled water can cause problems for your coolant systems and metal surfaces.
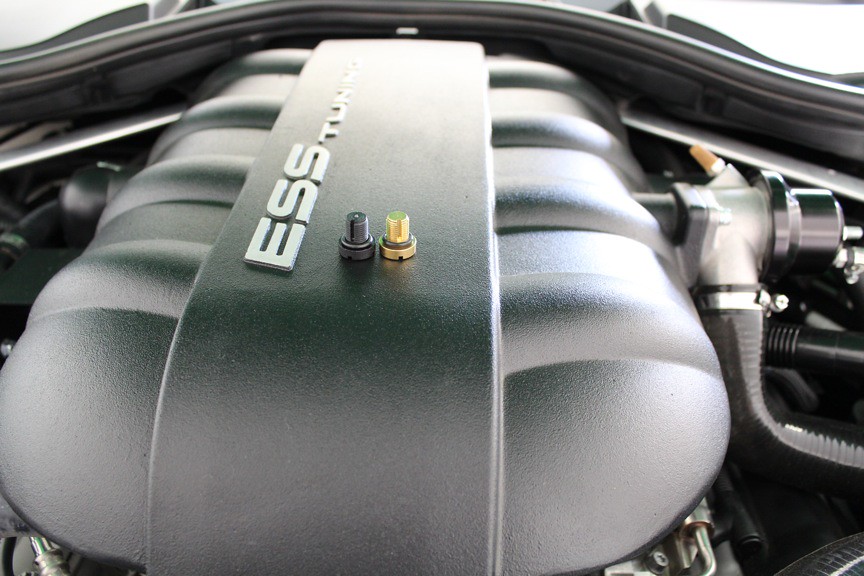
I cannot help improving things. When I was doing my BMW coolant system research I discovered that quite a few people switched to a brass fitting. No more heads popping off and it will last the life of the vehicle. I purchased the brass bleeder screw through Turner and it is identical to its plastic counterpart.

Everything re-installed and looking good.
Okay so this is where things get interesting. I have just about 4000 miles on my car and its been in its current modified state for about the last 3000 miles. So, I now I have an idea of what things are working well, need tweaking or are a little beyond my needs.
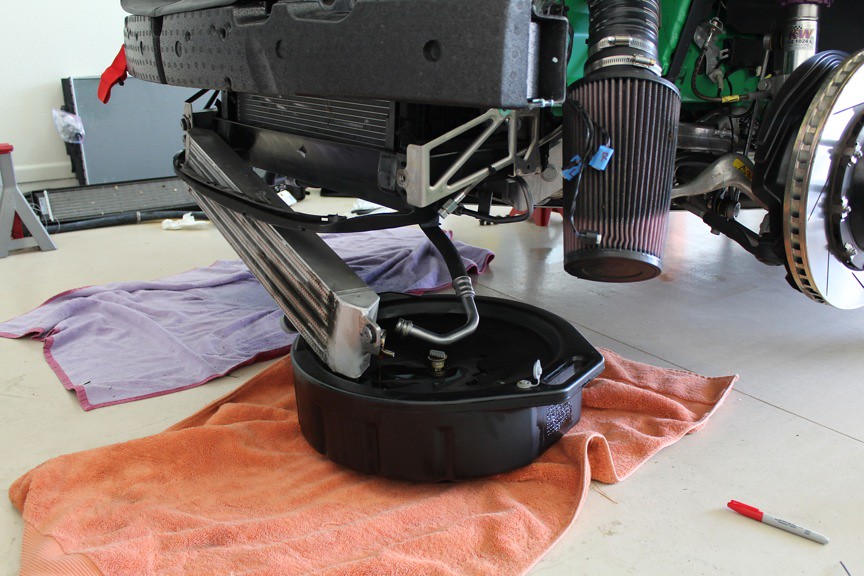
First up is the Motorsport 24 oil cooler. This is a fantastic product and is super easy to install. Literally 3 bolts to remove the cooler and a bolt on each side to attach the lines. However, it belongs on a car that sees far more track time than mine does. The larger cooler is also a tight fit, which bothers me but wont bother someone that is more worried about lap times. If your interested in a M24 oil cooler, let me know.
Next, I have said for a long time that the ESS VT1-550 kit is probably the best kit offered by ESS. I personally think it offers the perfect boost in power. The VT1 kits are also completely non invasive which I will get into later. As some of you know, I have a VT2-535. At some point I realized the intercooling I added to the VT1 kit is not necessary on a car that mostly sees street time and these kits have been proven to be resistant to heat soak even on the track. So, that being said, the added complexity of the heat exchanger feels unnecessary.
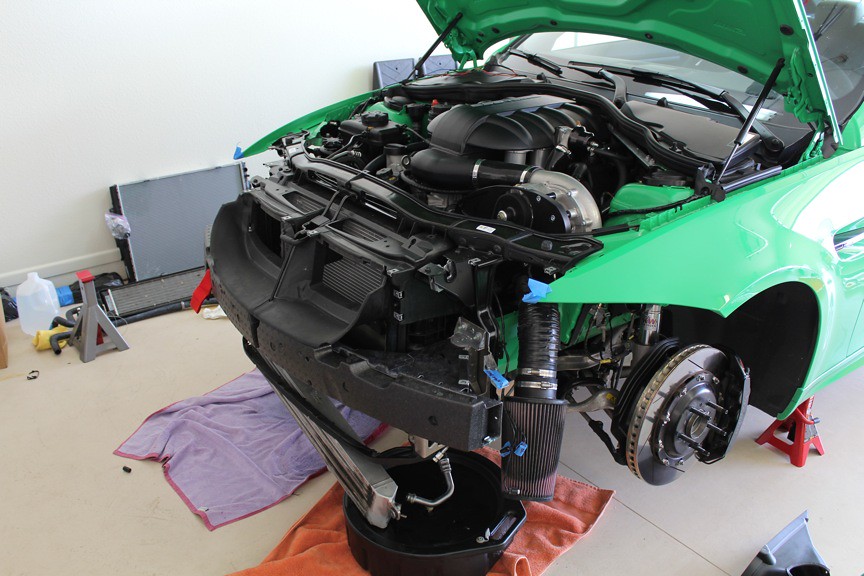
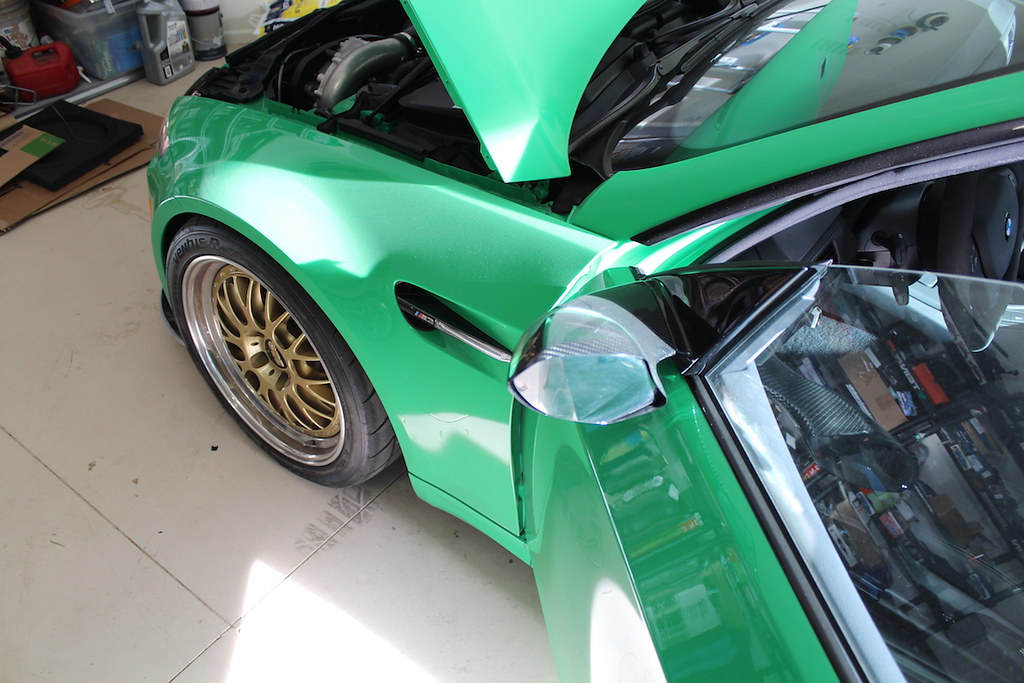
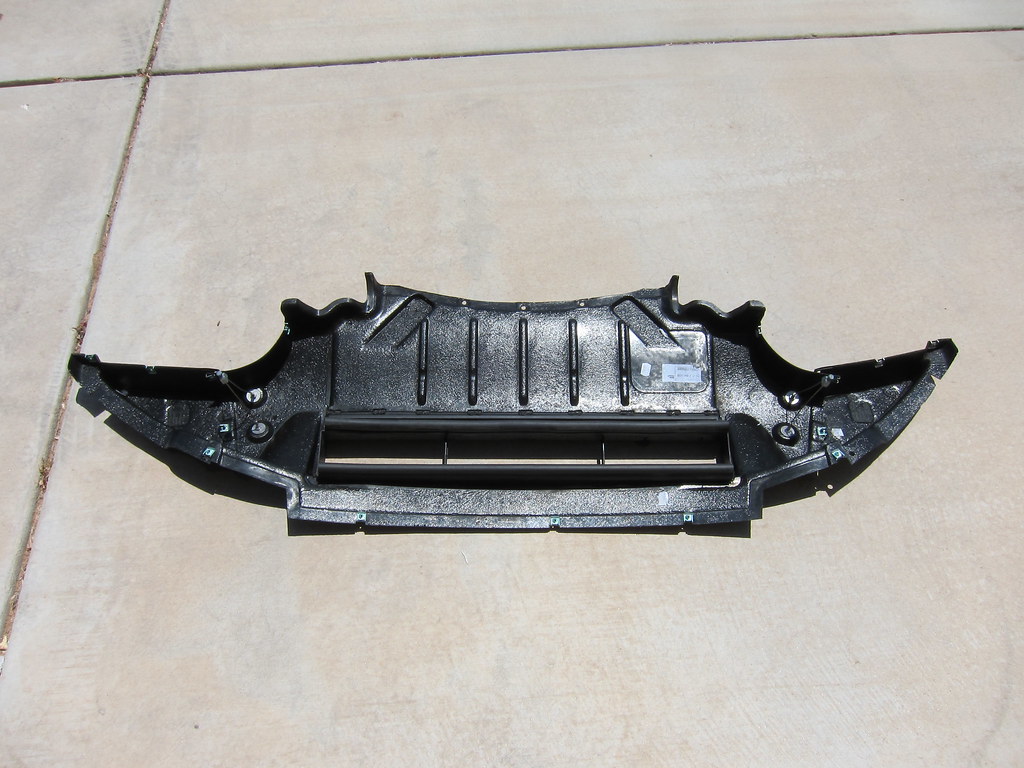
But, I had obviously cut my front clip in order to install the heat exchanger. As I said before I am anal, so with the removal of the VT2 portions of my kit, I also decided to swap in a new front clip.
In the above pic you can see the headlights are removed in preparation.

Here you can see the oil cooler and heat exchanger are removed. This is a good shot of the cutting required to fit the heat exchanger.

Fast forward and the front clip is removed. I wish I could say this is easy but it requires about two dozen bolts to be removed as well as four blind rivets. You also have to disconnect the hood latches which were a giant pain. I am not looking forward to the re-installation.

Here is my front clip next to a new OEM front clip.
Thats it for now.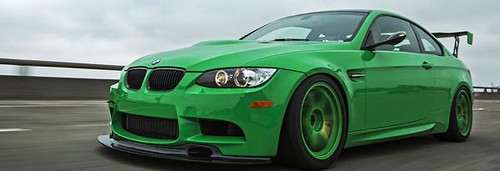
Instagram: jellismotorsComment
-
My RKP GT4 lip has been surprisingly robust. The first time I drove the car with the lip I figured it would be a matter a months before I destroyed it. However, its been nearly 1.5 yrs now and the lip is still going strong. That being said, the lip is slowly wearing away in a few spots on the bottom. I filled in what I could a few months ago with epoxy and then used Helicopter blade tape on top of that.
Then I went to Willow Springs raceway with a few buddies including Malek from MRF. They were using a MRF made aluminum skid plate on the bottom of their GT4 lips. I thought it was a great idea! It also showed the versatility of blind rivets (pop rivets) which I now had knowledge of after my front clip replacement.
So this weekend I finally got to work and here is the result.
 IMG_0488 by JMEllis, on Flickr
Don't mind the permanent marker on the bottom... that will be worn away soon!
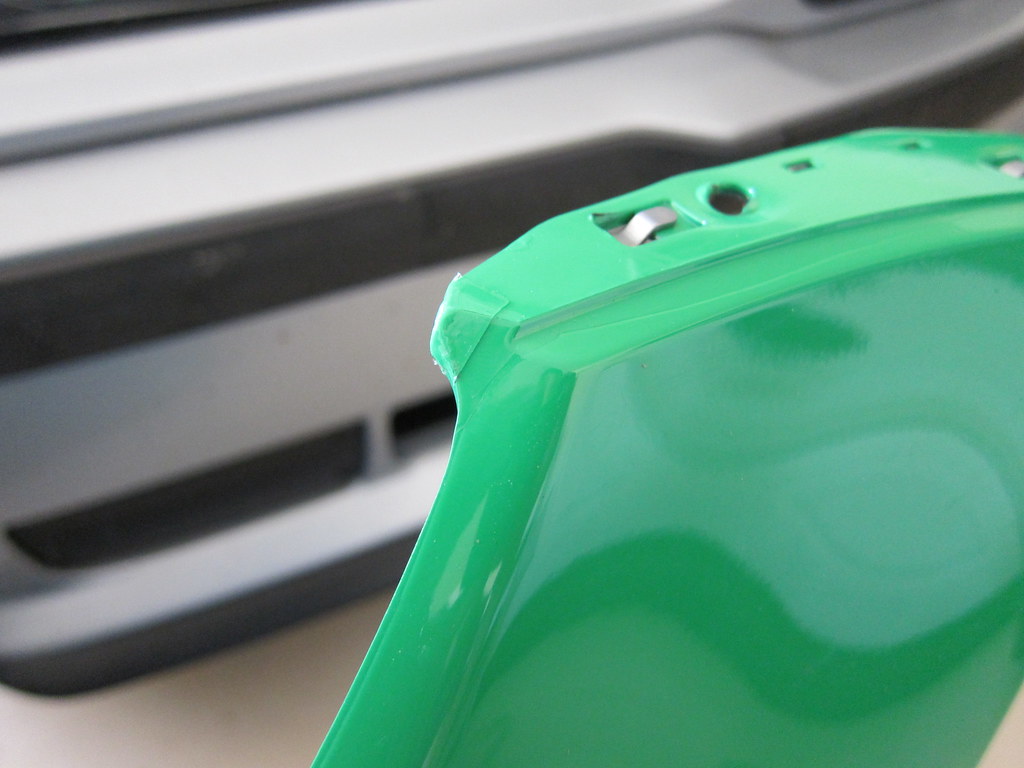
From the top I left about 1/4" exposed ahead of the CF.
 IMG_0489 by JMEllis, on Flickr
The final product turned out great. That being said, I have OCD and there are some things I will adjust on the next skid plate. I have no idea how long this one will last but when it goes I have some things I will do differently.
Next up is cleaning. I only managed two track days in the last year but they still managed to get tire balls and dirt all over the place. Time to clean up the places that usually don't get much attention.
 IMG_0490 by JMEllis, on Flickr
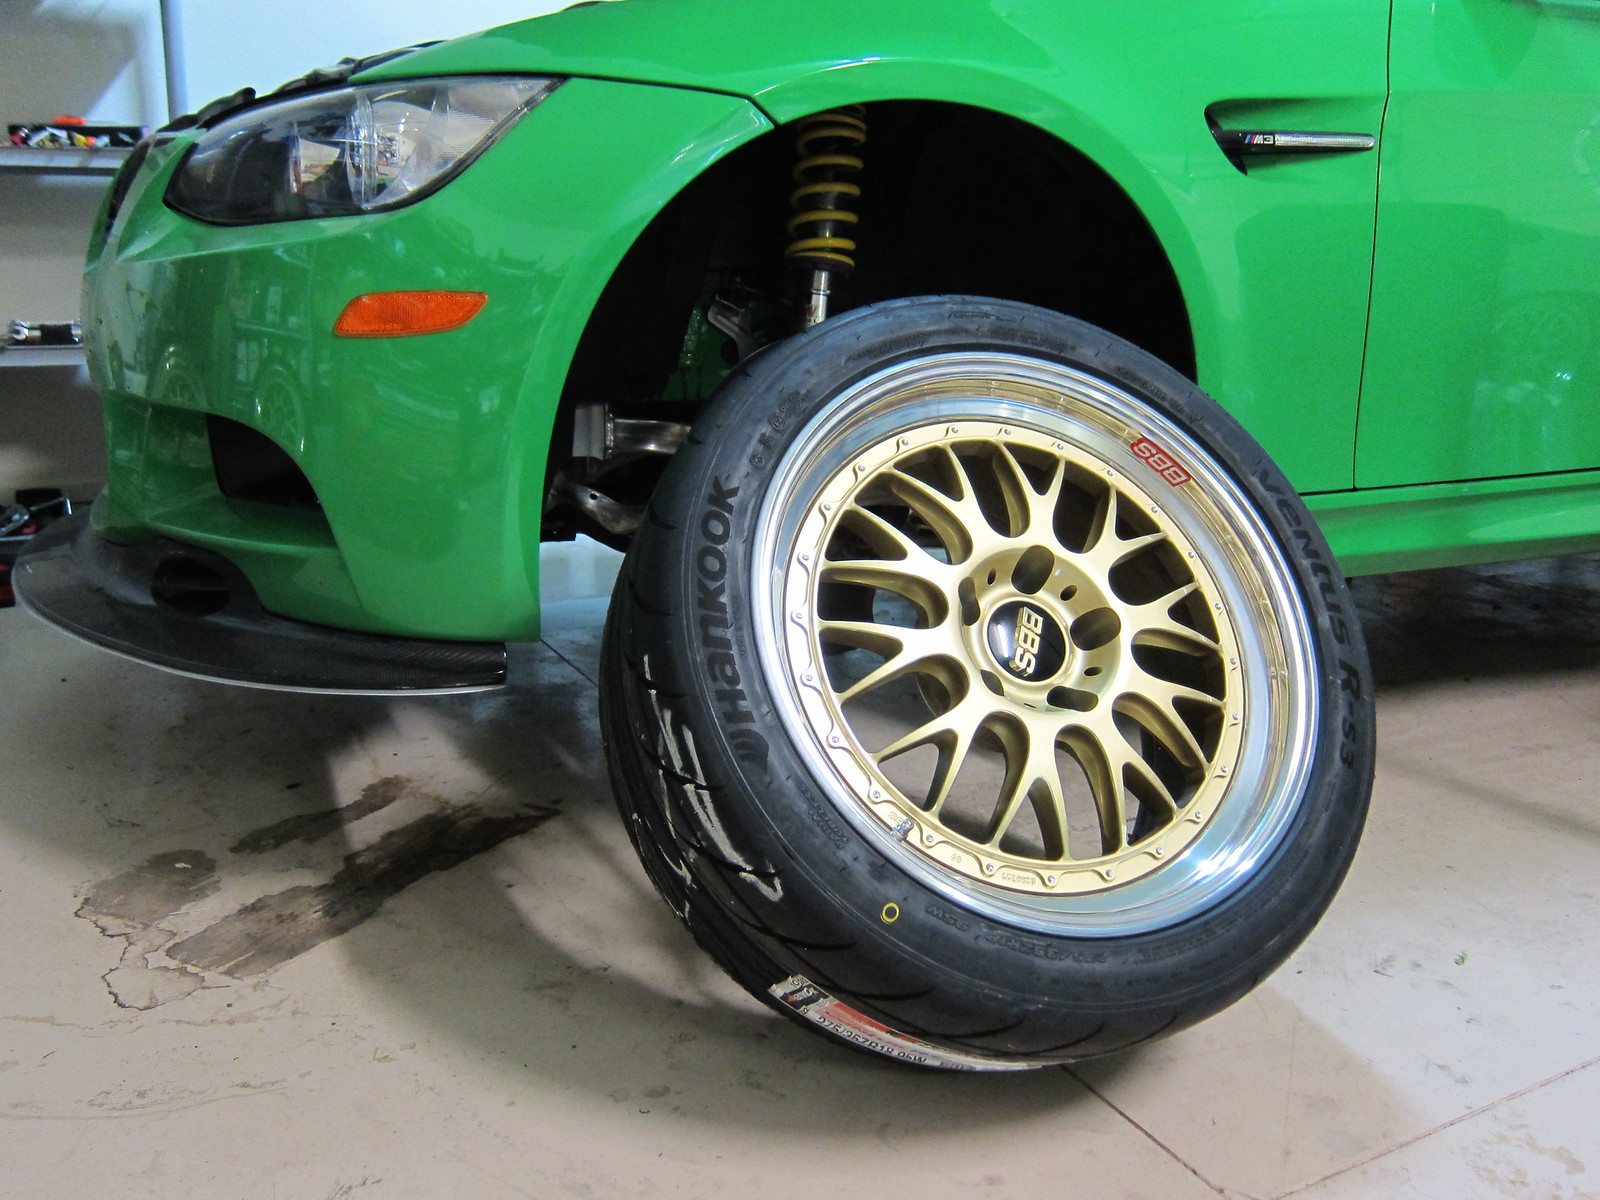
The brakes will coming off soon in favor of a smaller/lighter set. If you are interested in some lightly used 380/380 Brembos shoot me a text.
Just look at those squeaky clean wheel wells. My OCD can rest for the night.
 IMG_0491 by JMEllis, on Flickr
 IMG_0492 by JMEllis, on Flickr
 IMG_0577 by JMEllis, on Flickr
Instagram: jellismotorsComment
-
Specs:
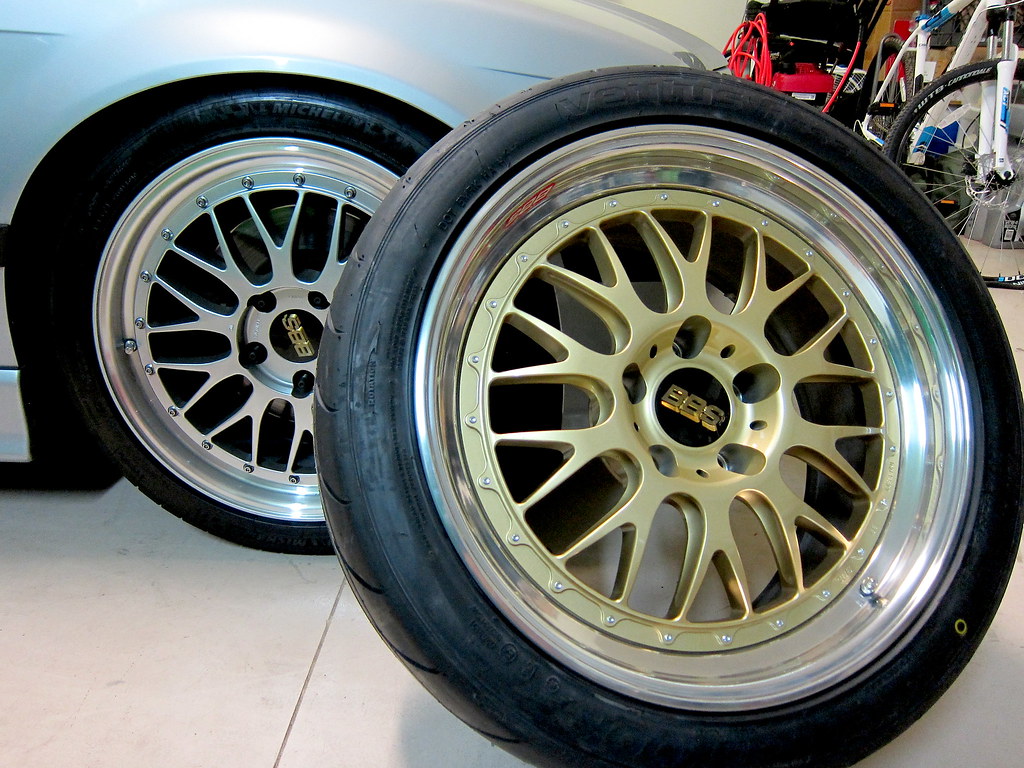
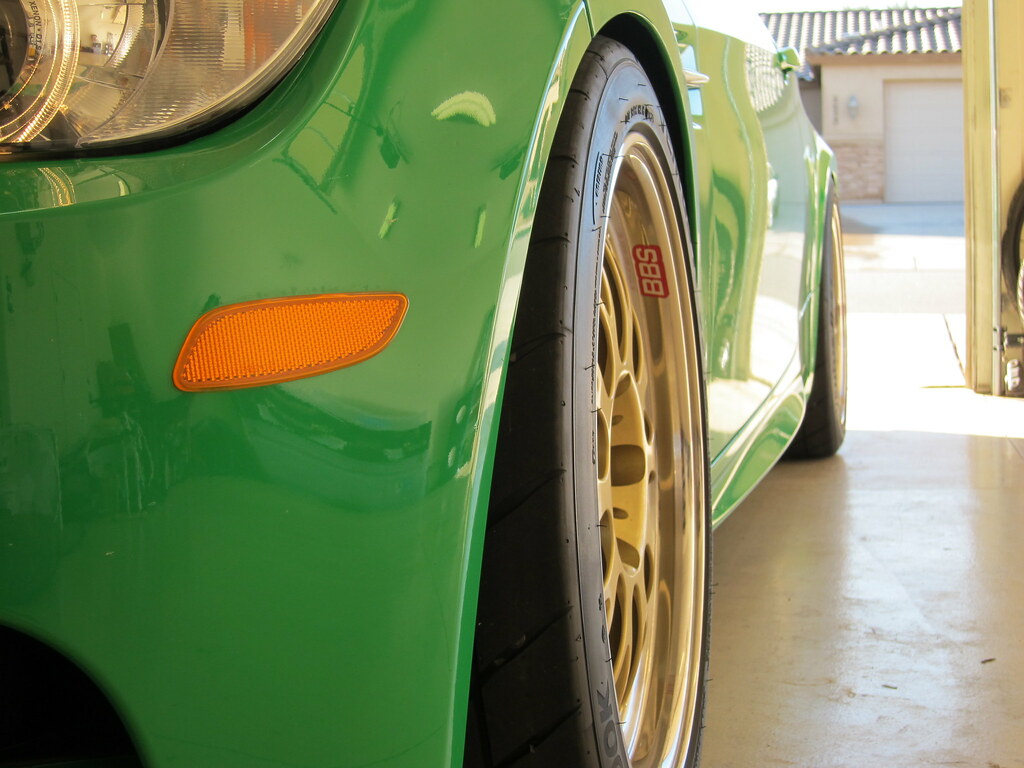
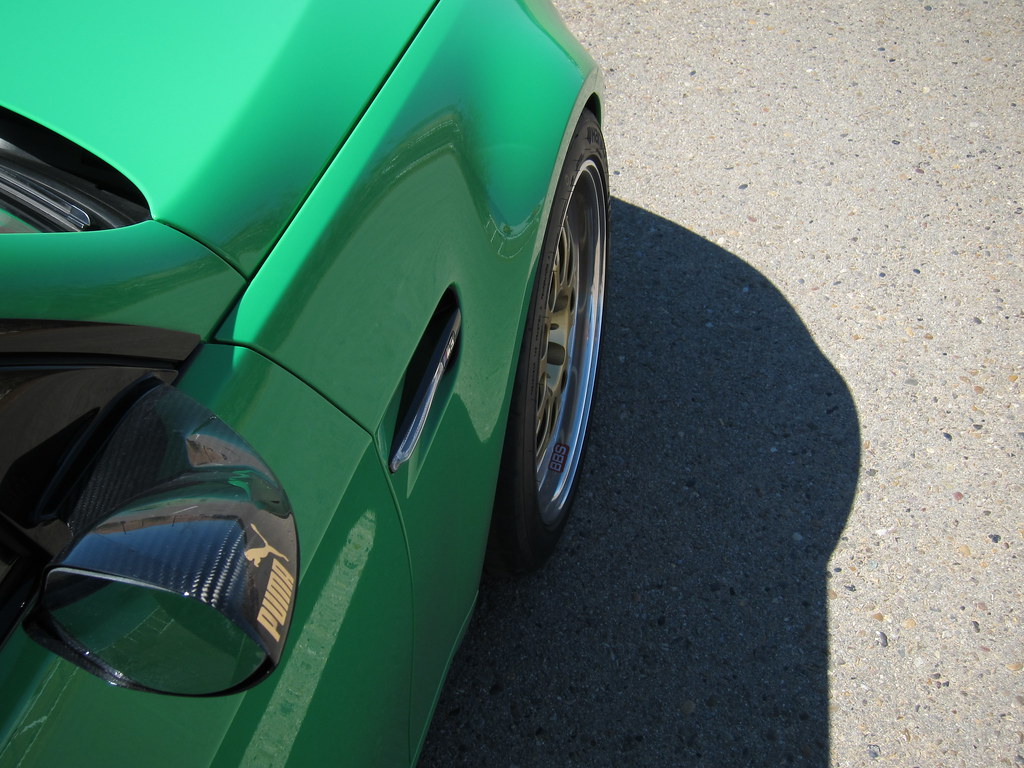
BBS Motorsport 3pc E88s 5x120
18 x 9.5 ET19 front with 275/35/18 RS3s
18 x 10.5 ET19 rear with 285/35/18 RS3s
 IMG_0632 by JMEllis, on Flickr
The ET19 wheels give a nice flush fit with no spacers
 IMG_0657 by JMEllis, on Flickr
 IMG_0668 by JMEllis, on Flickr
 IMG_0677 by JMEllis, on Flickr
 IMG_0682 by JMEllis, on Flickr
 IMG_0683 by JMEllis, on Flickr
 IMG_0684 by JMEllis, on Flickr
Jason
Instagram: jellismotorsComment
-
Love the E88s, I want a set so badly! But, sadly, my car doesn't allow for any decent fitment, lol.Comment
-
-
C63 AMG.Originally posted by JEllis1 View Post
I need to run a 19x9 +40 / 19x10 +50 to be able to run the largest tires possible, lol. With offsets like that, and needing BBK clearance because of the AMG Calipers, I'd be left with like 1" and 1.5" Lips.
Comment
-
Still a great looking wheel even with small lips. I don't have much bigger than 1.5" in the front on mine. Big brakes always spoil big lips on 18"/19" wheels.Originally posted by becausephilchow View Post
Instagram: jellismotorsComment
-
Just read it all. Great maintenance! I would do it too if I had such a new car.
The work space is also fantastic, you've got room, light and tools.
Loving those gold BBS wheels and fitment!Comment
-
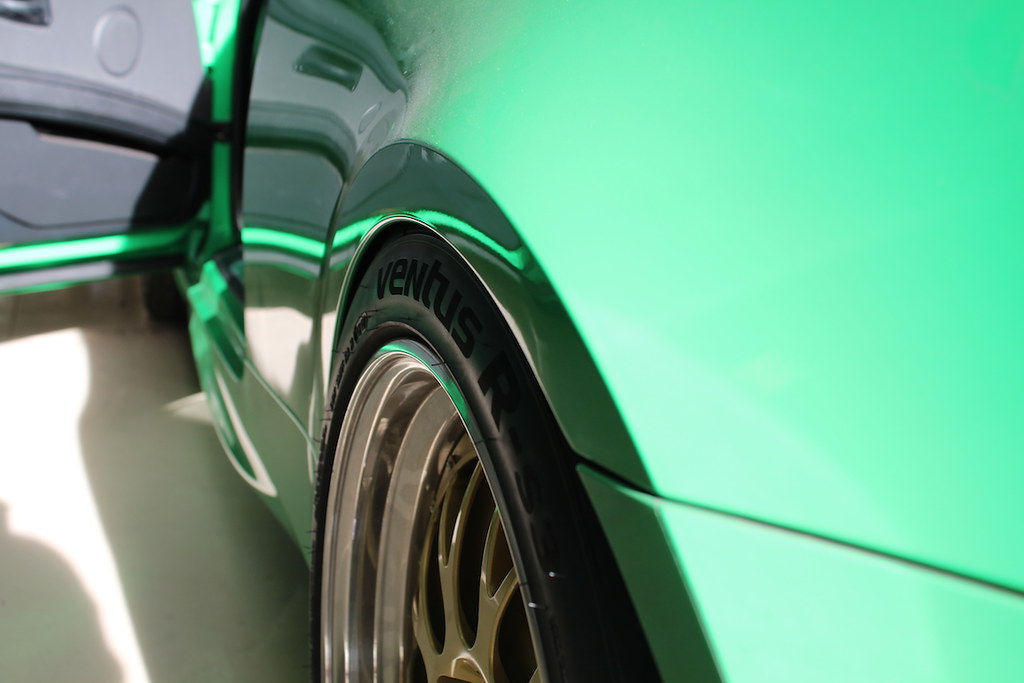
Time for some tweaking. I was getting a tiny bit of rubbing on the rear with my 285/35/18 RS3s.
 IMG_0764 by JMEllis, on Flickr
Clearance is actually okay but the toe setting from left to right had gotten a little out of whack causing just a tiny bit of rub on the left side.
 IMG_0767 by JMEllis, on Flickr
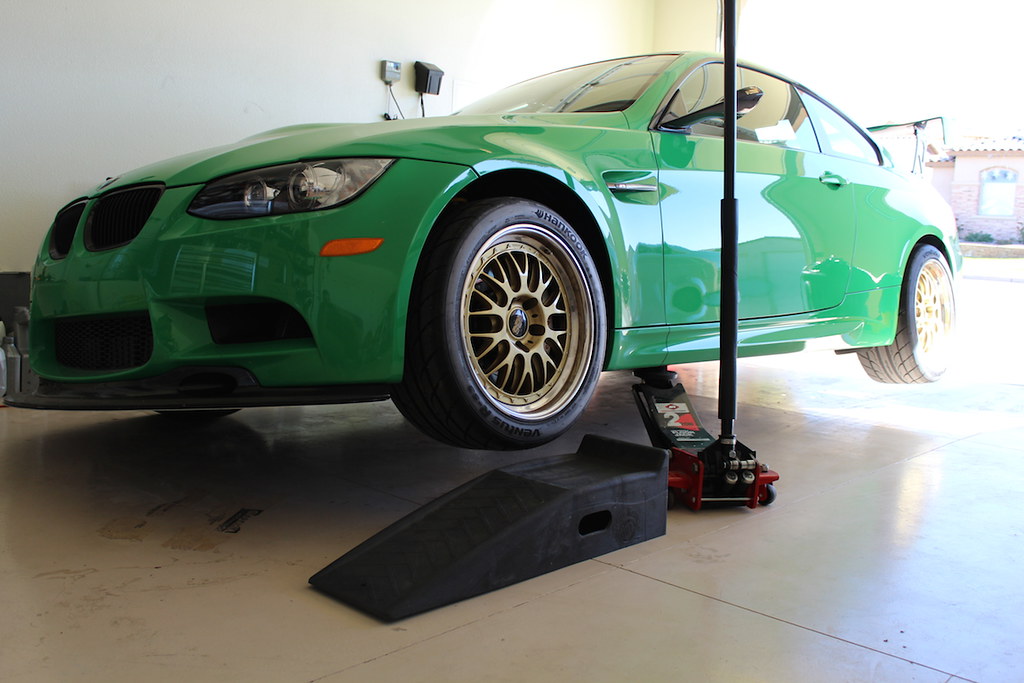
Time to get the car in the air.
 IMG_0768 by JMEllis, on Flickr
While on jacks I noticed that the rear spring perches had become a little worn from the various adjustments over the last two years.
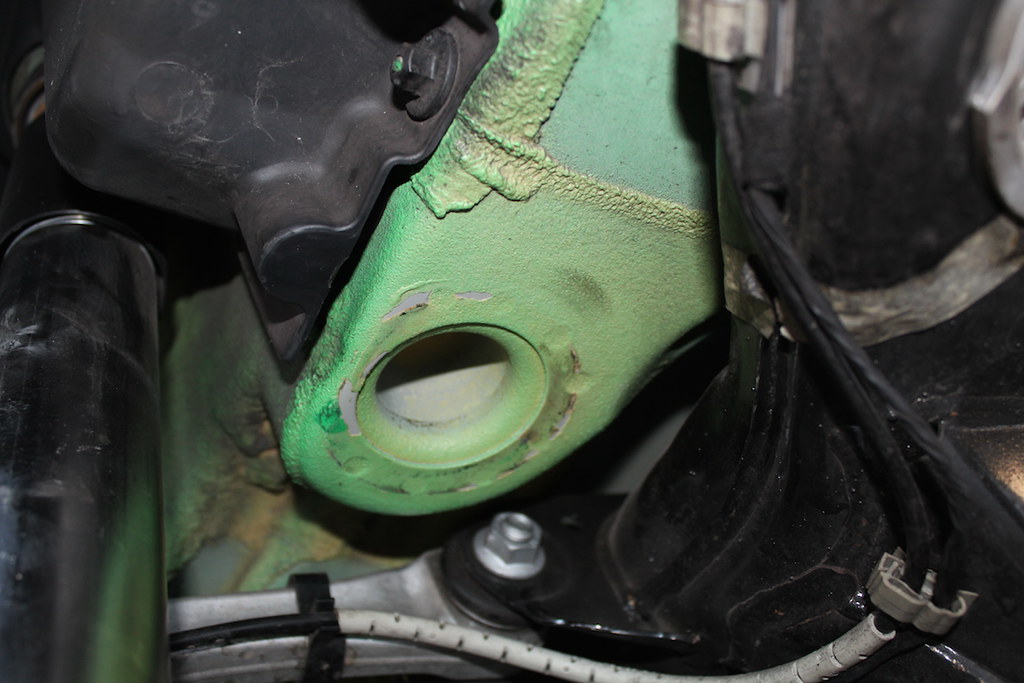 IMG_0770 by JMEllis, on Flickr
I saw no exposed metal but I had some 3M filler laying around and figured I would feed my OCD.
EDIT: So be advised this stuff will form a bond with the height adjuster. I let the stuff dry overnight before putting the height adjuster back in but it formed a bond nonetheless so if you want to avoid this go another route. Thinking about it now painting over the exposed areas and using a large rubber isolator would have worked well. I am okay with it and I doubt the bond is very strong.
 IMG_0772 by JMEllis, on Flickr
 IMG_0773 by JMEllis, on Flickr
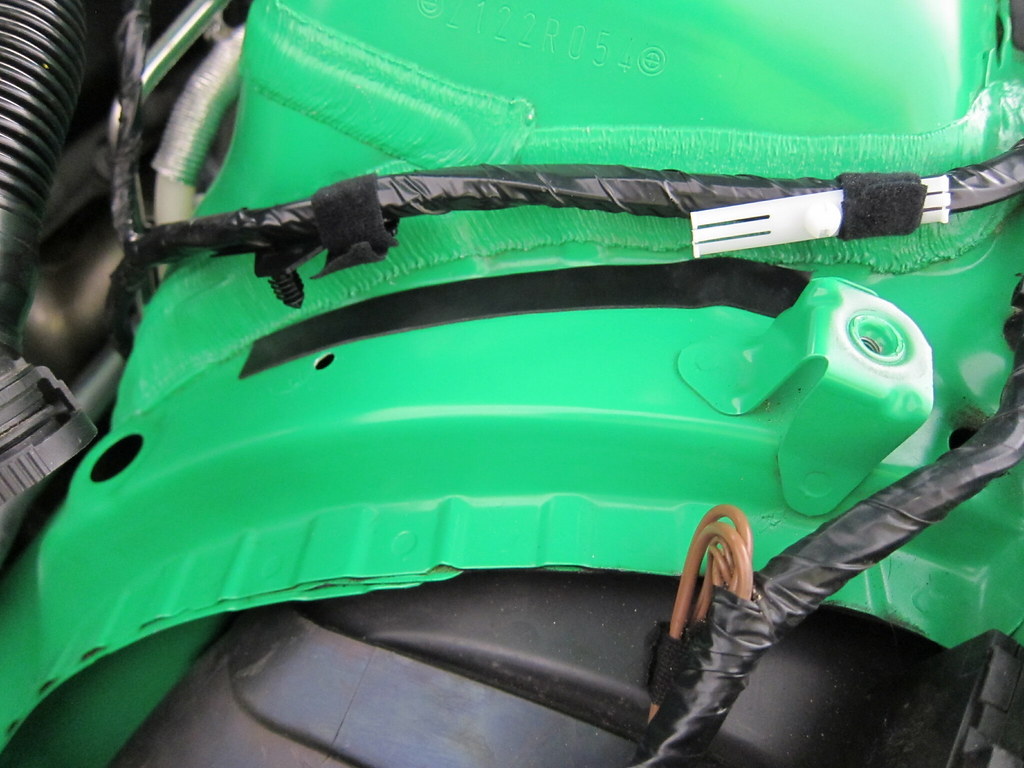
Heres another thing I have been working on. When installing my ESS SC I needed to slightly re-route a wire to avoid it getting crushed between the intake and the wheel well. With its normal wire clip removed, I didn't want it vibrating through my paint. So I added some stick on foam.
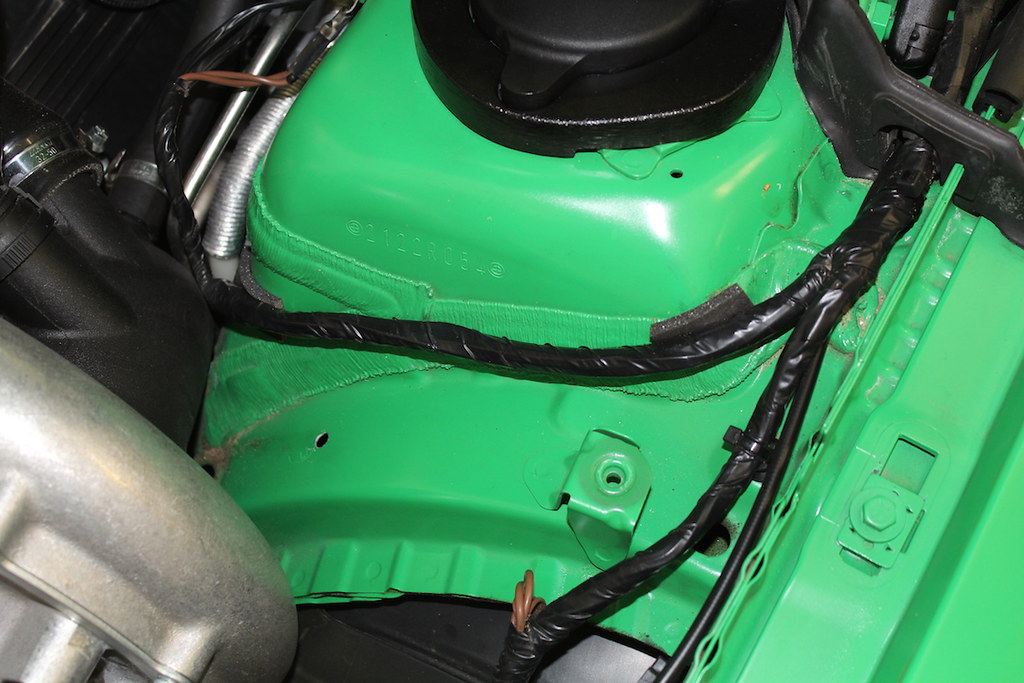 IMG_0762 by JMEllis, on Flickr
This is what years of vibrating wire did to my silver E36 M3.
 IMG_0777 by JMEllis, on Flickr
Instagram: jellismotorsComment
-
Instagram: jellismotorsComment
-
 IMG_0830 by JEllis, on Flickr
As you can see the RKP reinforcements are welded to the structure of the trunk lid. Very sturdy!
MRFs paint guy did a great job matching both the exterior color but also the matte under coat.
 IMG_0828 by JEllis, on Flickr
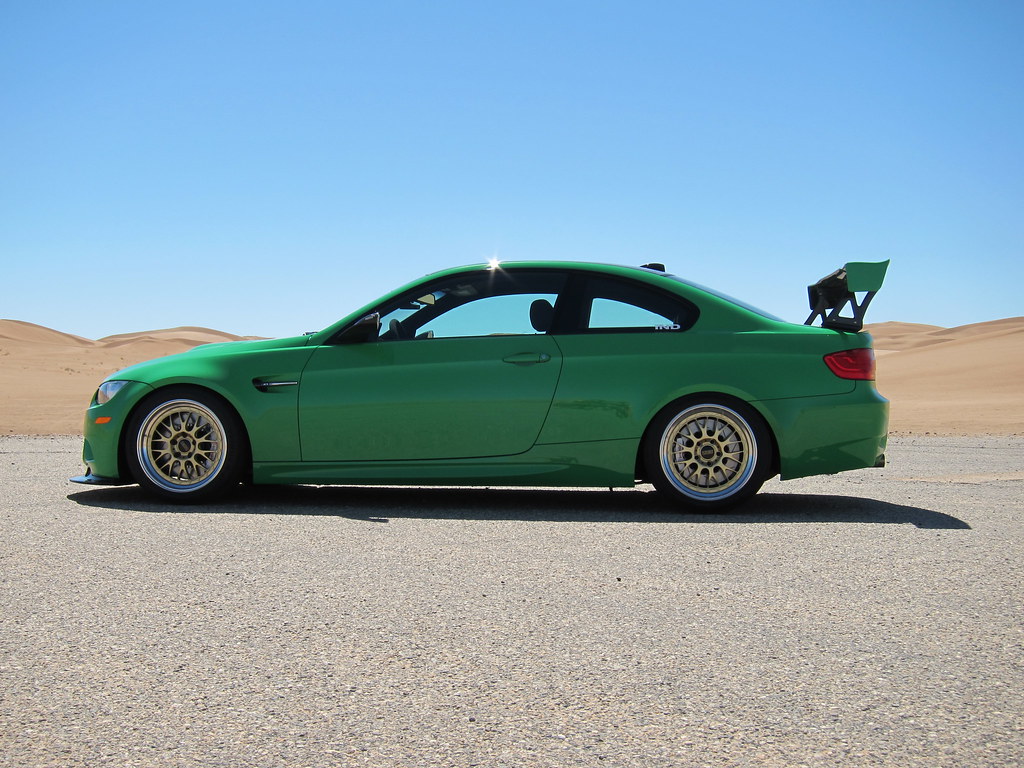
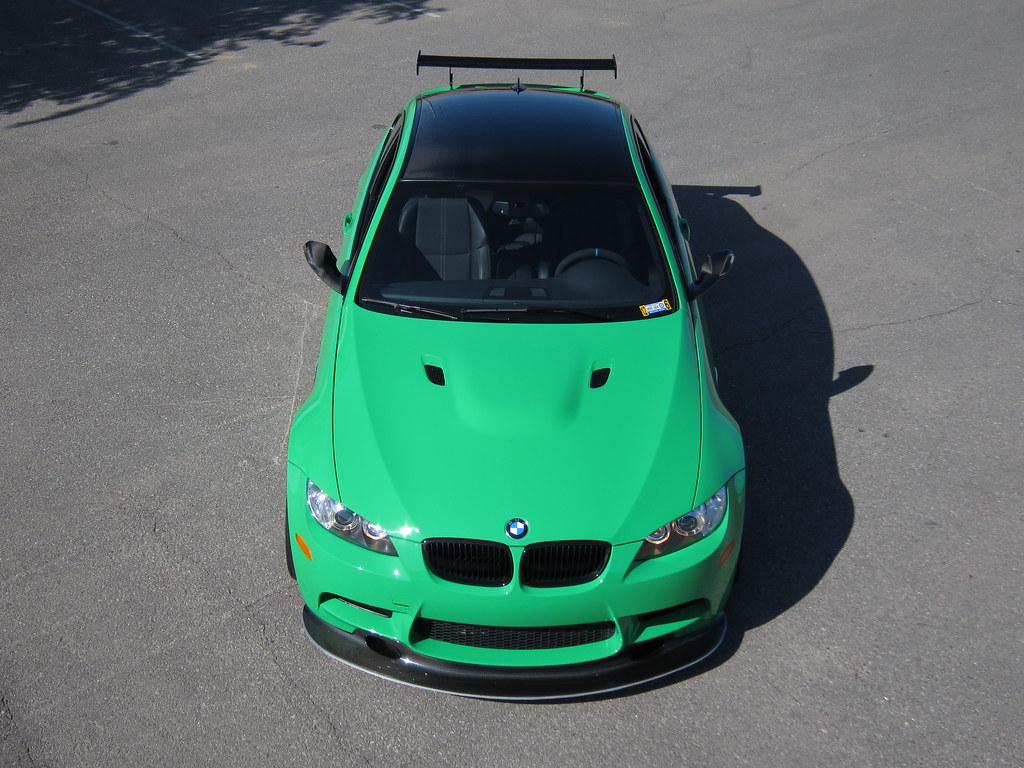
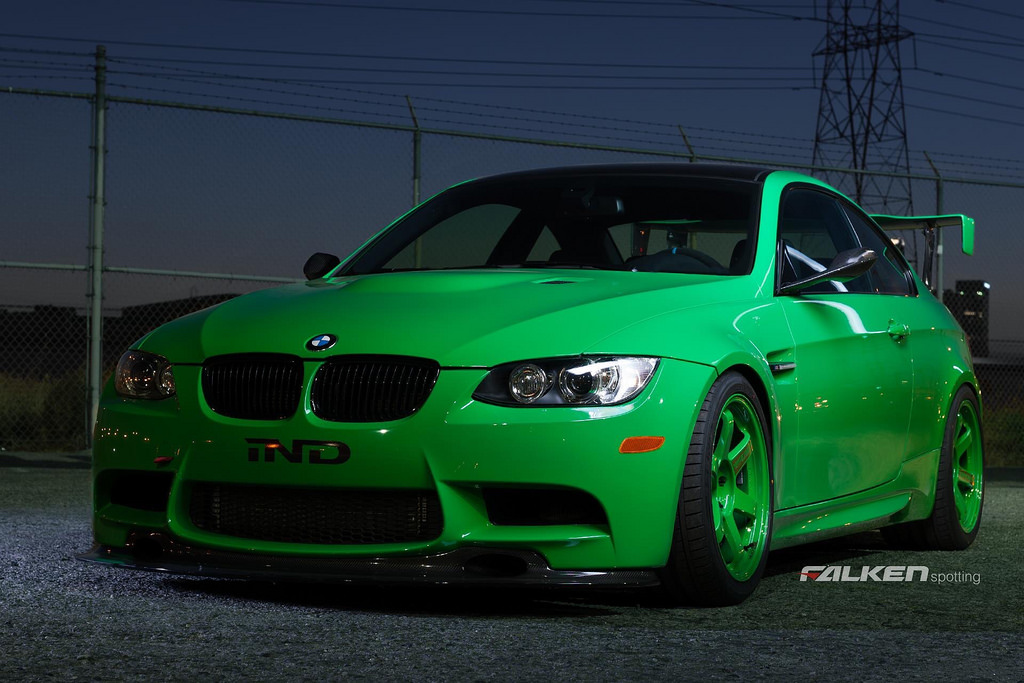
I chose the flat black version of the wing as it best represented an authentic GT4/GTS wing. And, I think it flows nicely with the signal green paint.
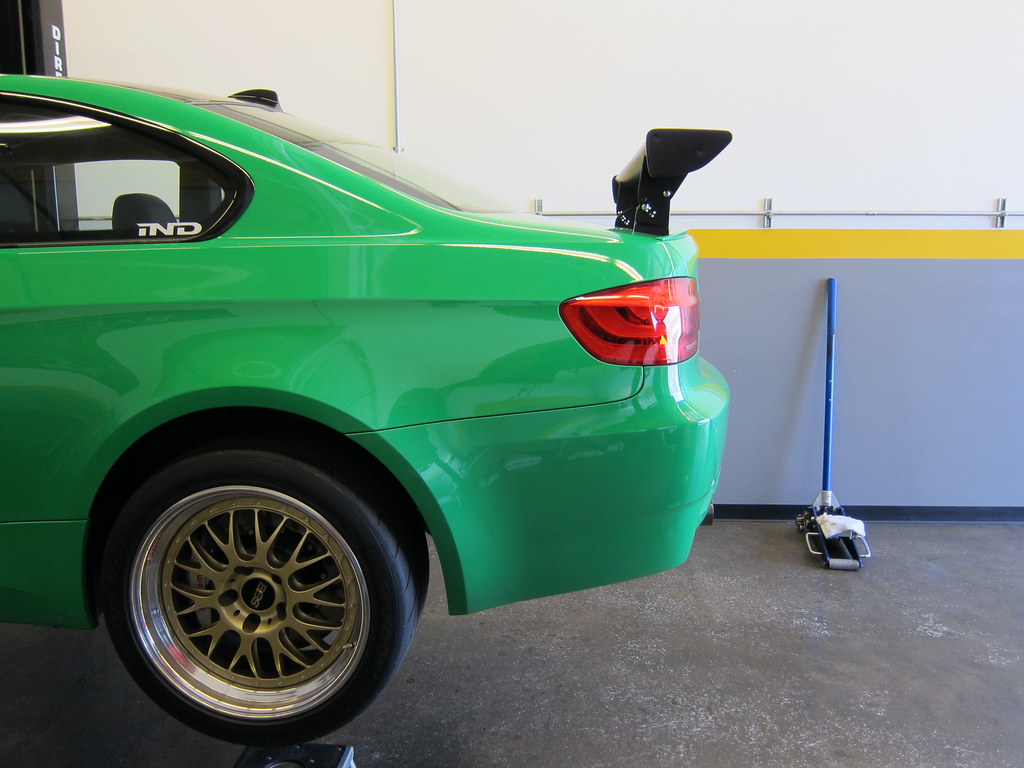 IMG_0831 by JEllis, on Flickr
This is the first time the car has been at MRF since the new wheels and RS3s. Time for an alignment check. As expected, I had fallen out of spec due to some changes I had made in ride height and camber.
 IMG_0832 by JEllis, on Flickr
Having the car on the lift and a good tire shop down the street gave me an opportunity to have the wheels re-balanced with a road force machine. No more pesky vibration.
 IMG_0826 by JEllis, on Flickr
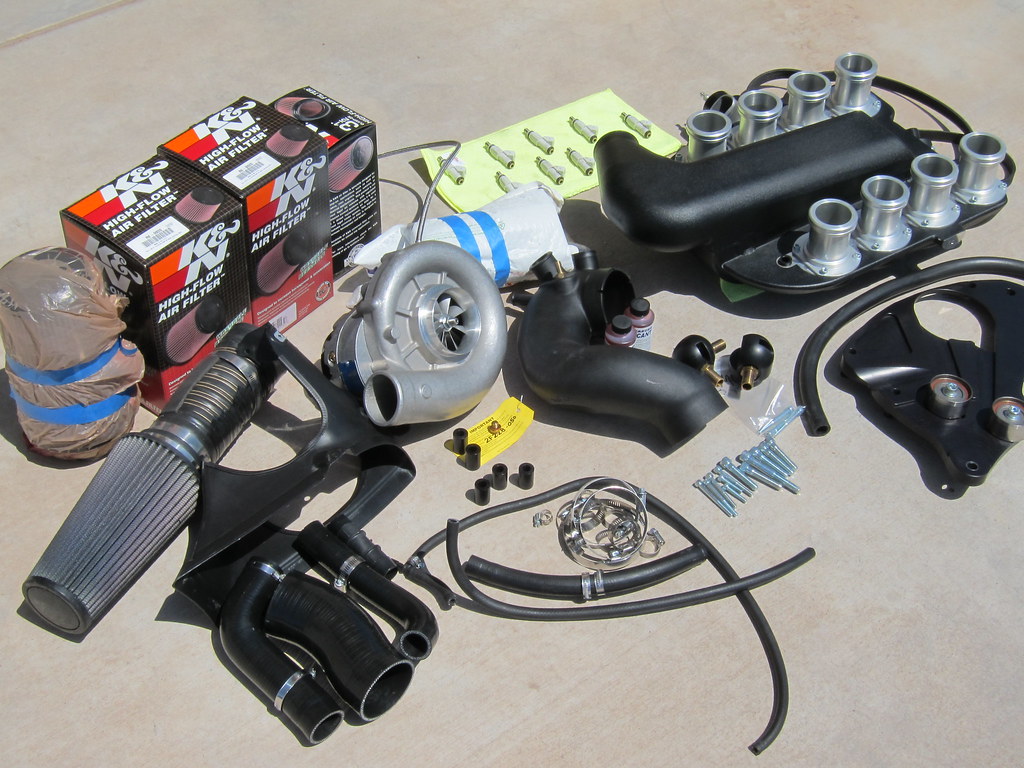
Now I loved the SC and I still believe the ESS 550 is one of the best kits on the market. But, I had always intended for this car to be NA over the long haul.
 IMG_0836 by JEllis, on Flickr
I had saved just about every tiny part when I installed the SC. Even this connector housing that had to be removed for integration with the ESS manifold. Its all about the details.
 IMG_0838 by JEllis, on Flickr
I normally try to go with OE parts but this Clampco clamp is far superior to the OE one.
 IMG_0849 by JEllis, on Flickr
The kit sold in two days after removal and went to a good home!
 IMG_0844 by JEllis, on Flickr
Cleaned up some pieces I removed during the SC un-install.
 IMG_0850 by JEllis, on Flickr
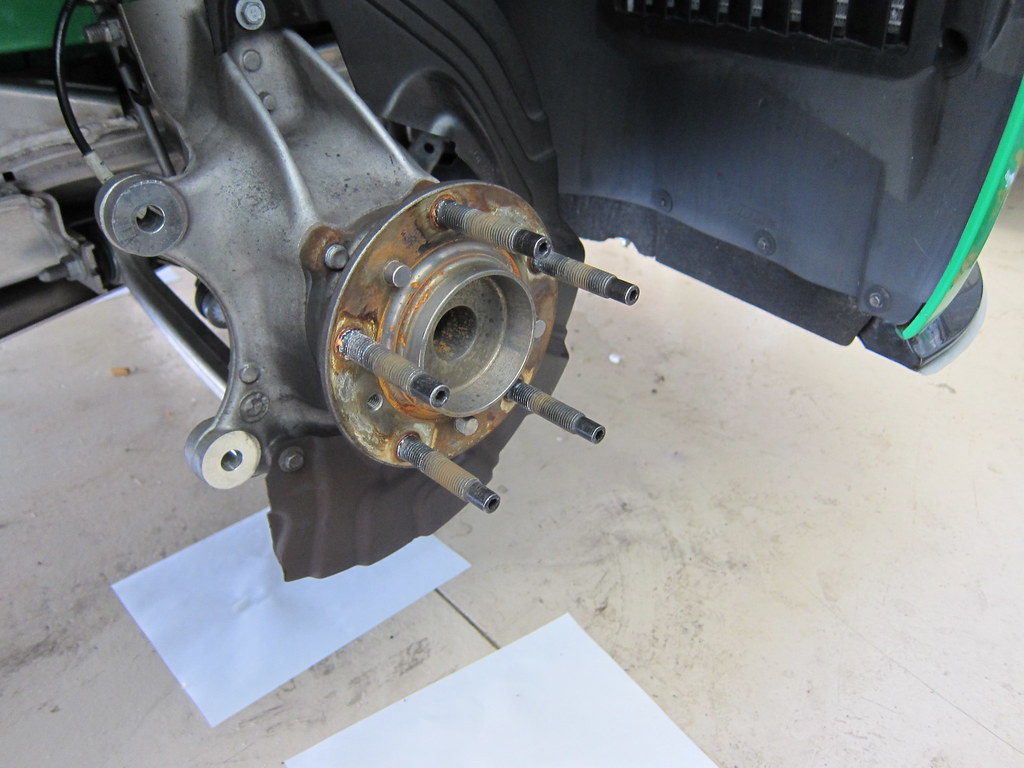
Cleaned and protected my wheel hubs!
 IMG_0851 by JEllis, on Flickr
Touched up and then sealed the corners of the bumper with helicopter rotor tape. These little corners are not normally seen but they sometimes rub on the headlight.
 IMG_0852 by JEllis, on Flickr
I ordered a bunch of replacement clips and OE fabric tape to put all the wires I had moved during the SC install back into OE position.
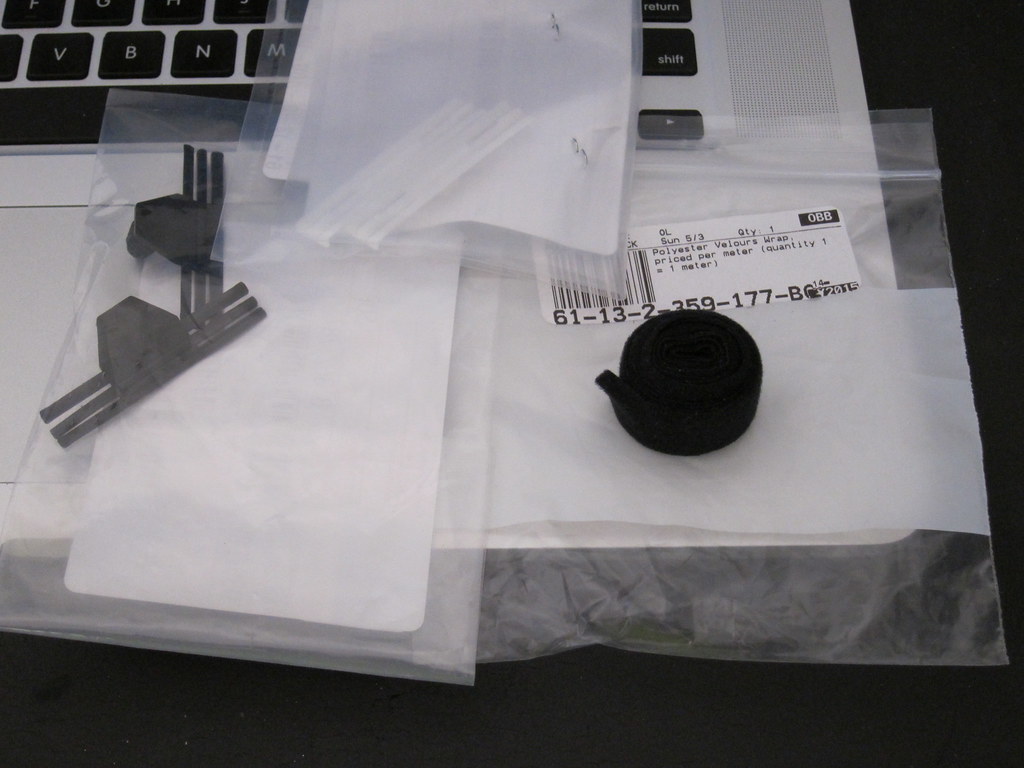 IMG_0853 by JEllis, on Flickr
I am a little OCD when it comes to my cars and after 14 years of E36 ownership I know how these wire looms can rub through paint. I decided to prevent it here with some stick on rubber sheeting.
 IMG_0854 by JEllis, on Flickr
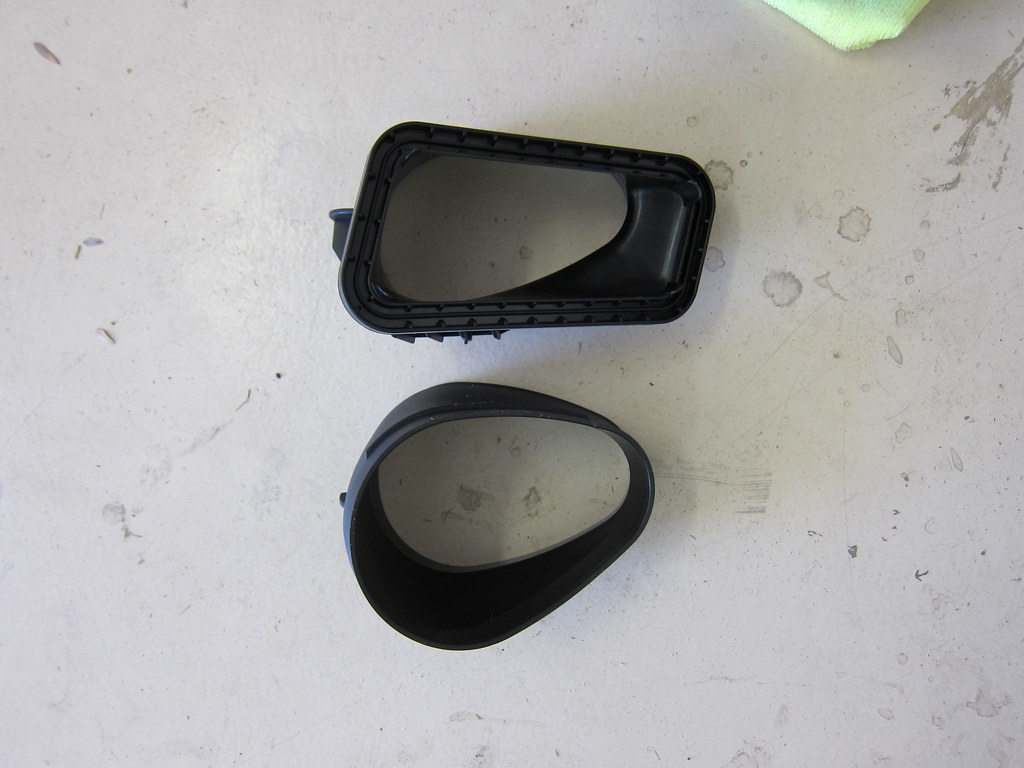
Well I am not going all the way back to stock with the motor. Here is the Dinan intake side by side with the OE intake.
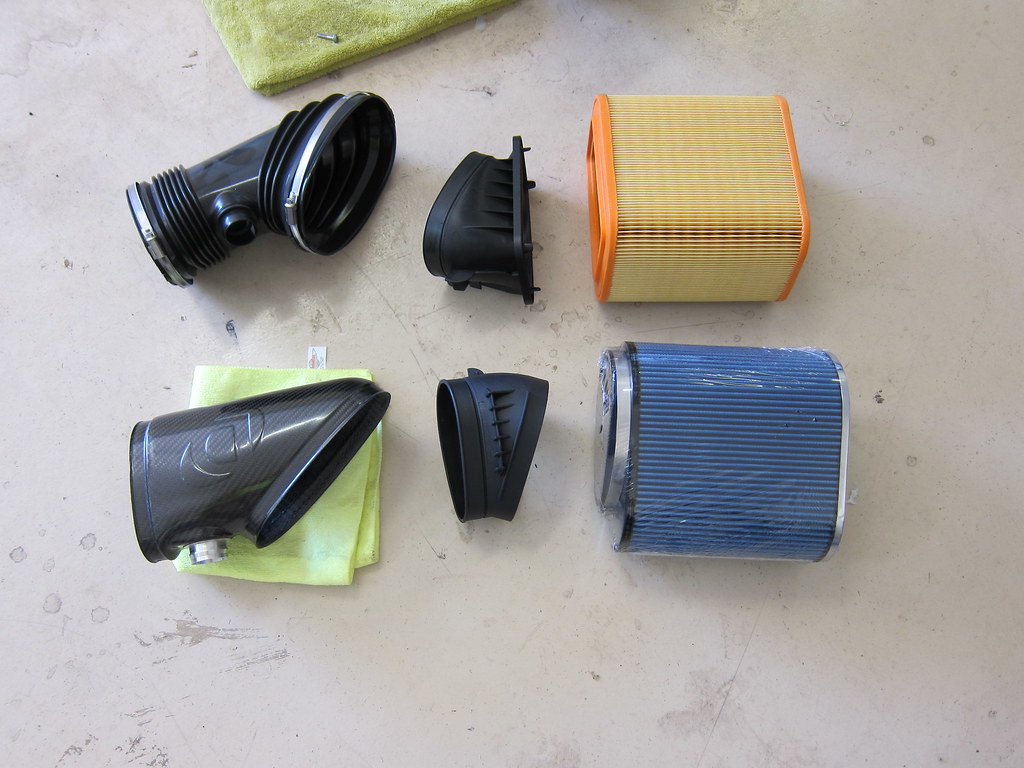 IMG_0855 by JEllis, on Flickr
A lot of people have questioned any advantage a Dinan intake has over a drop in filter. Here you can see the size difference in the collars that attach to the filter. Dinan claims theirs is 30% larger. It certainly looks less restrictive.
 IMG_0857 by JEllis, on Flickr
Its a beautiful piece installed.
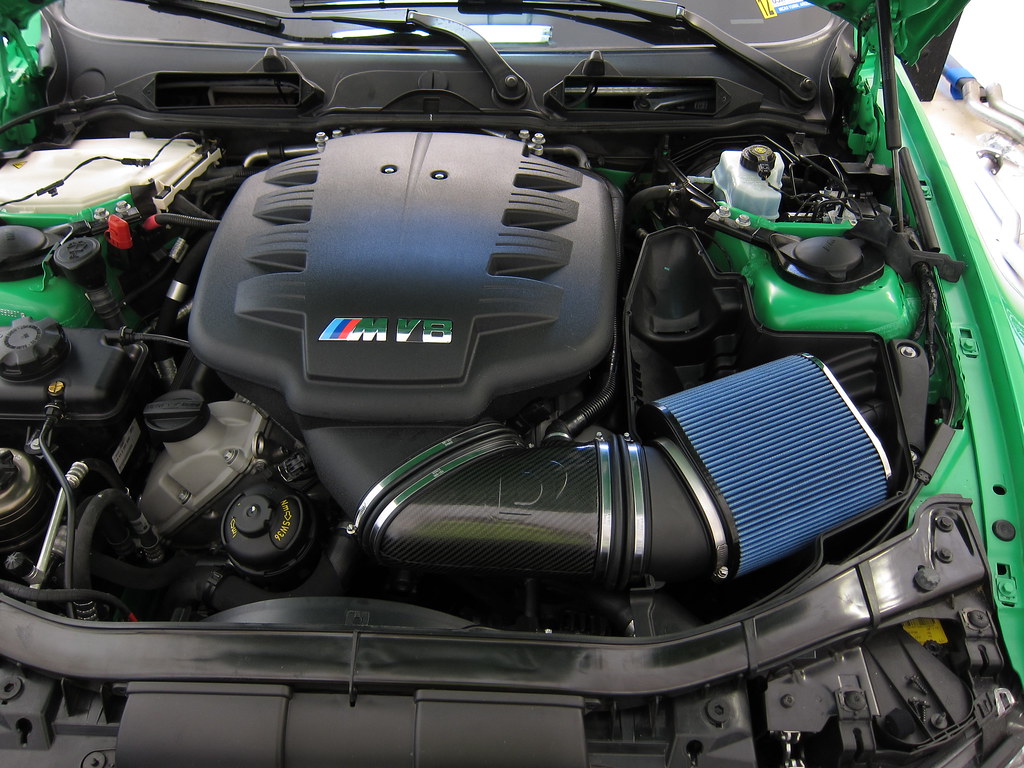 IMG_0858 by JEllis, on Flickr
The noise the Dinan intake helps the motor make is bliss.
 IMG_0859 by JEllis, on Flickr
 IMG_0863 by JEllis, on Flickr
 IMG_0872 by JEllis, on Flickr
 IMG_0871 by JEllis, on Flickr
Messing with my camera to try convey the true color of my car.
 IMG_0869 by JEllis, on Flickr
Instagram: jellismotorsComment
-
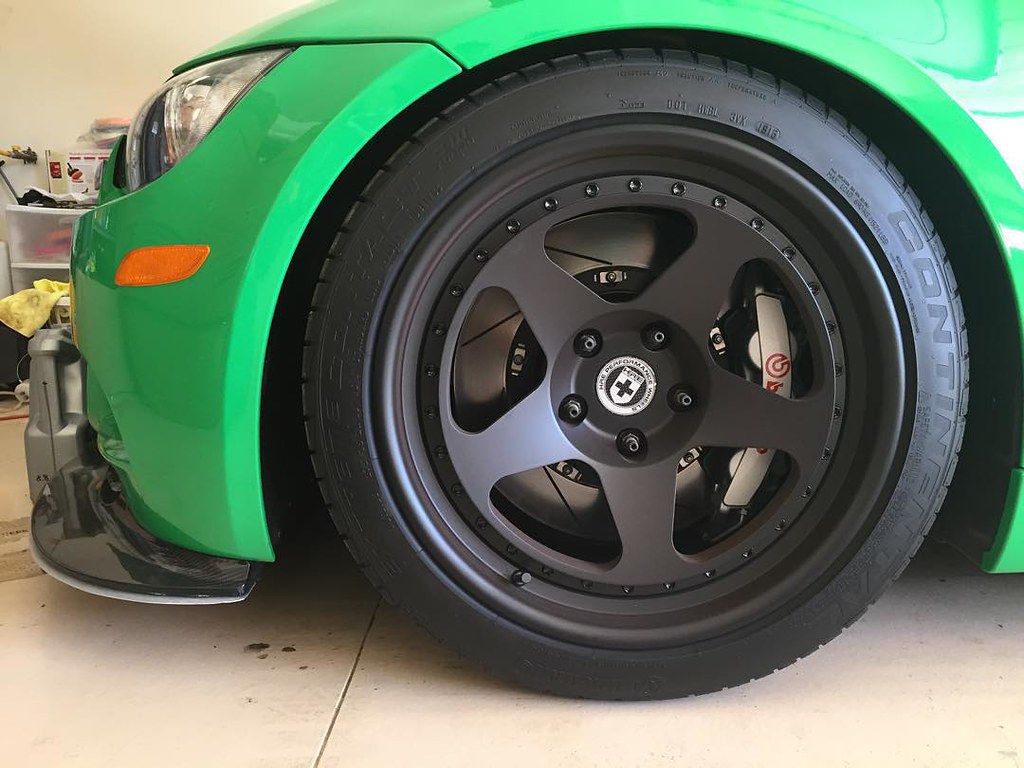
I purchased some HRE classics not long ago. The HRE craftsmanship is some of the best I have ever seen in a while. The attention to detail is insane.
 Unknown by JEllis, on Flickr
Nice thing about HRE is being able to spec my own wheels the way I wanted them.
18 x 10 and 18 x 11 ET25 front and rear. Fat rubber 275/295 filling out the arches.
 IMG_1093 by JEllis, on Flickr
 IMG_1089 by JEllis, on Flickr
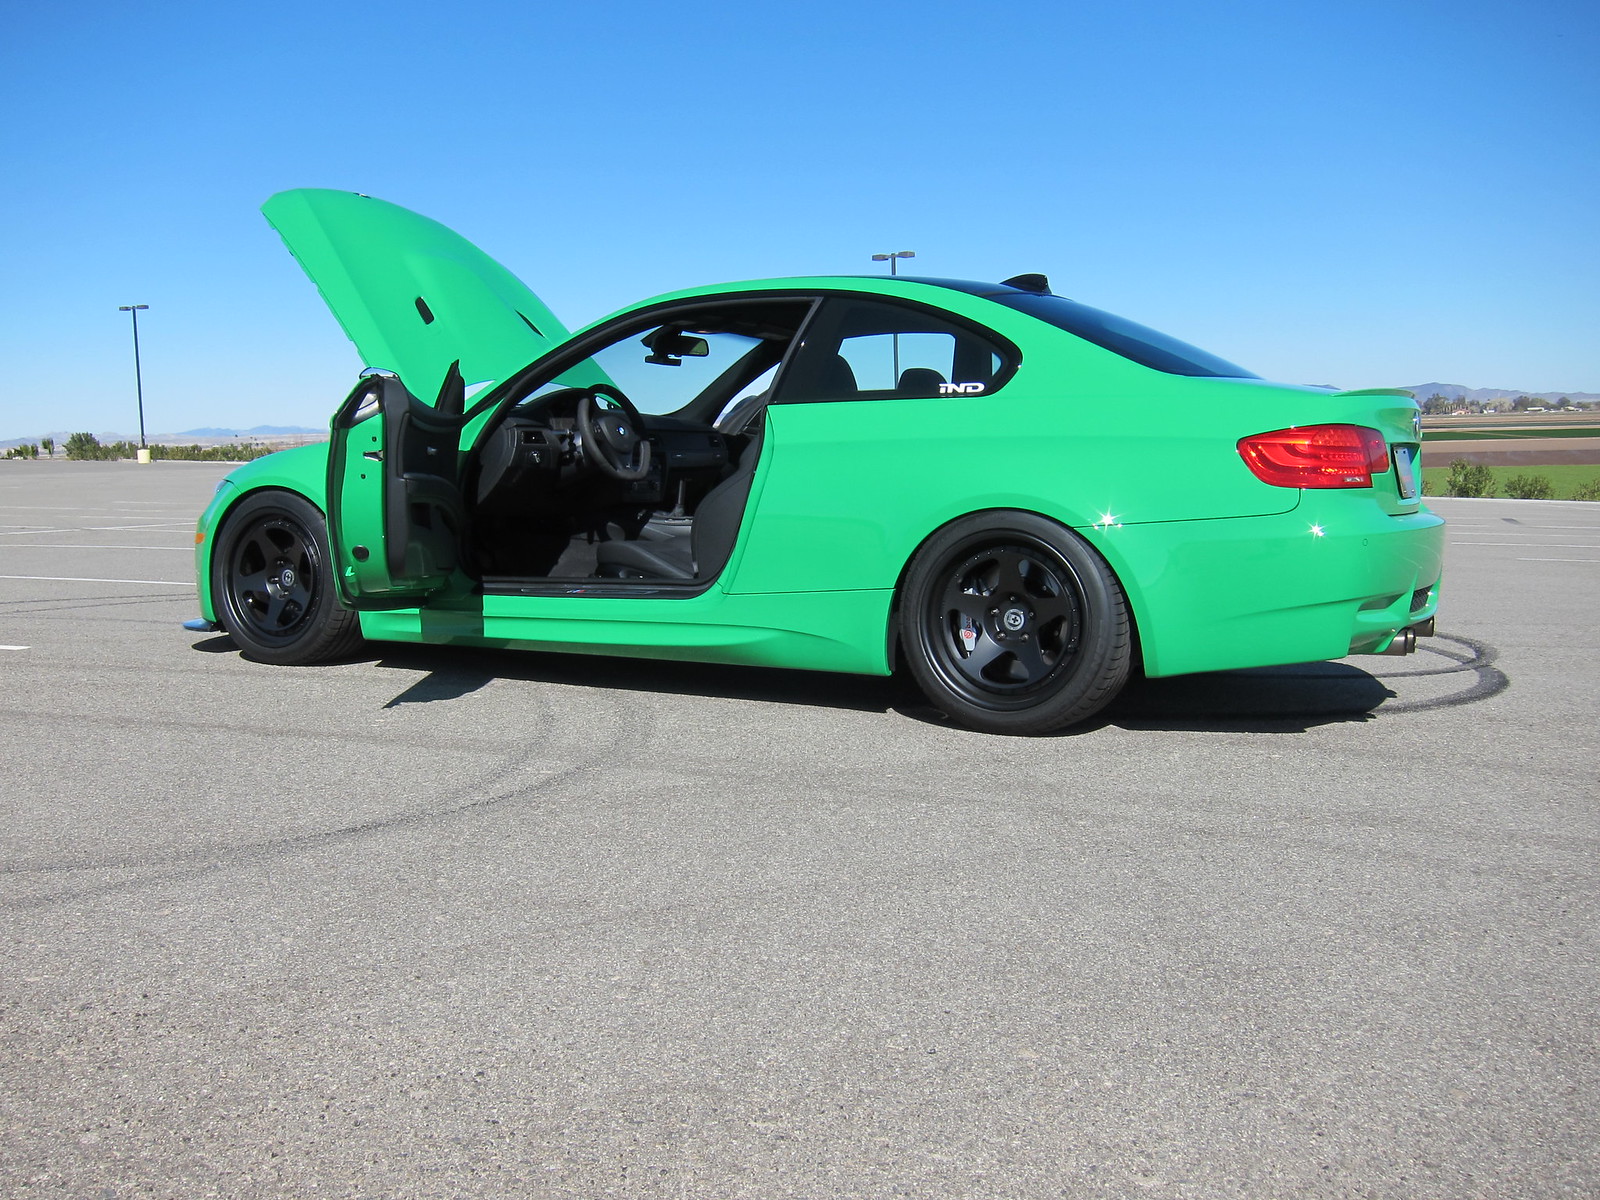
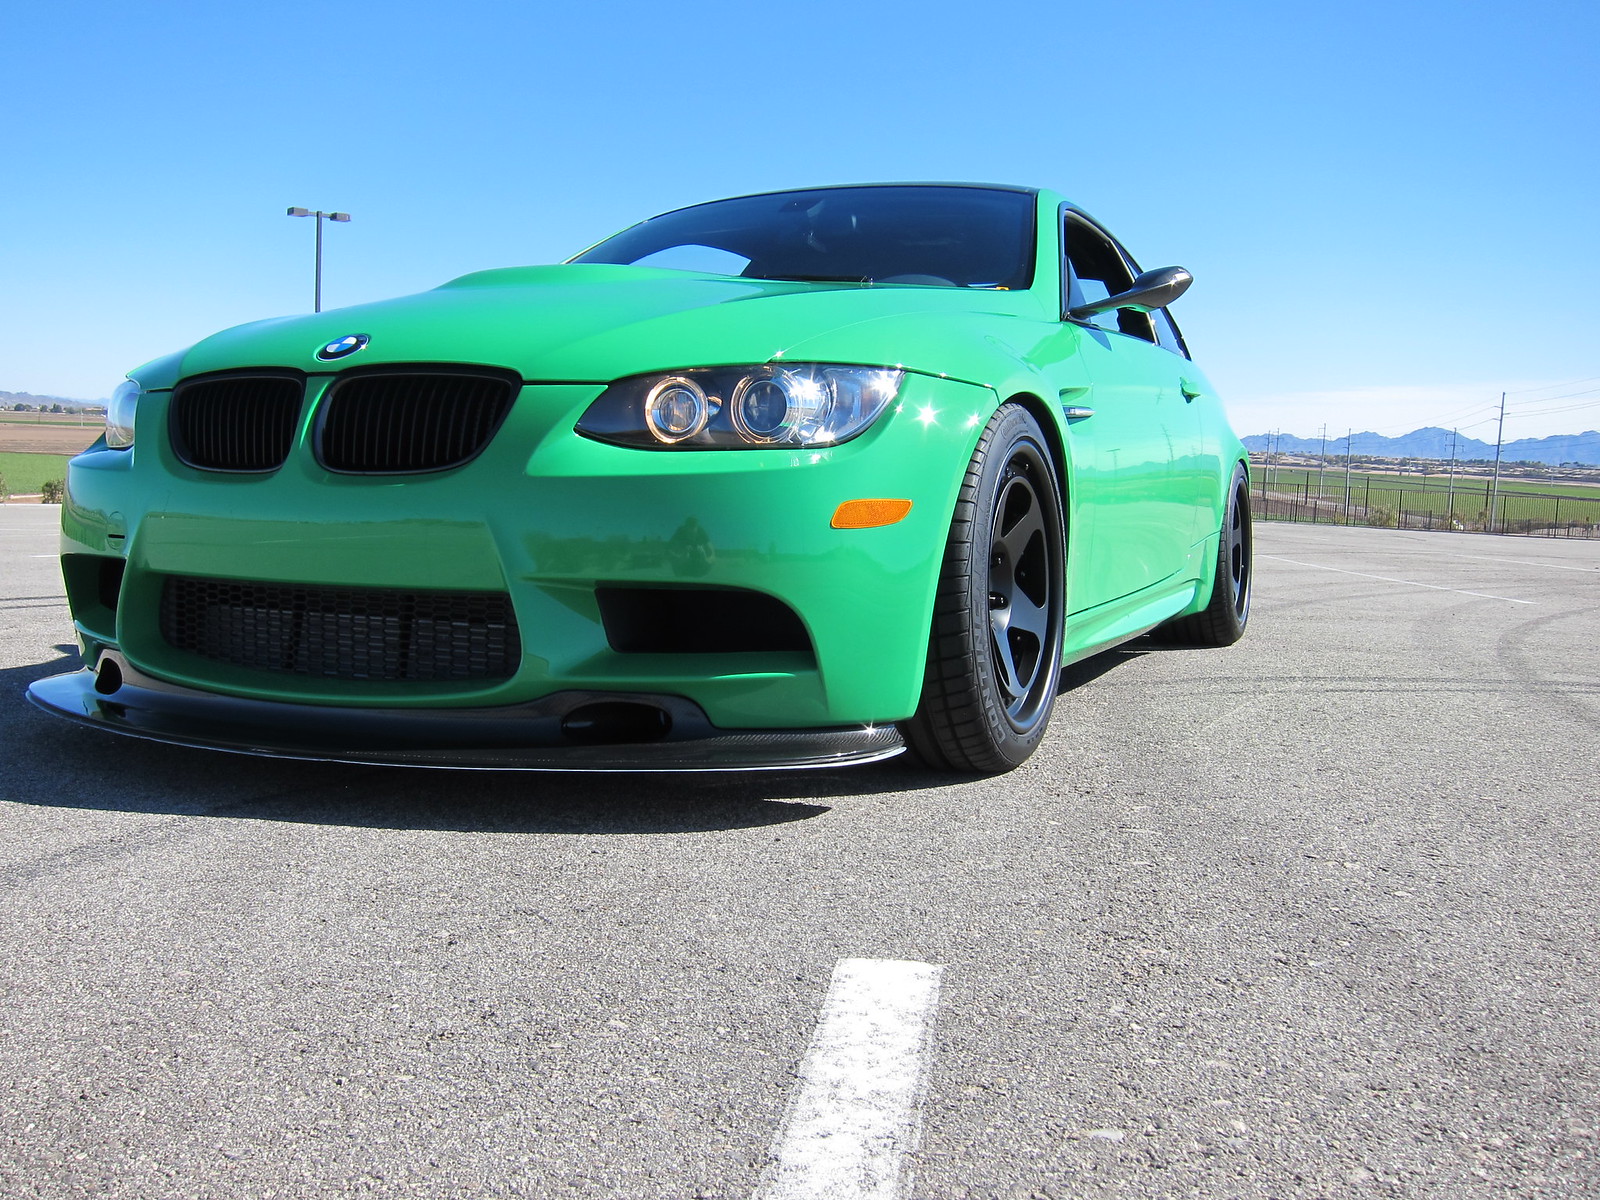
As much as I love the HREs they are for sale and I am going back to the original look.
 Unknown by JEllis, on Flickr
Thats it for now.
Instagram: jellismotorsComment
 Tweet
Tweet


Comment