 Tweet
Tweet
Laextreme manual trans's are pieces of cake. Tearing apart an auto trans can be confusing and intimidating your first time but as long as you remove the clutches in correct order and everything they are pretty straight forward. If you can build and LS you can easily tear apart one of these for basic inspection. Nsogiba what difficulty was that torsion spring giving you or are you just upgrading it?
-
Evan the spring is not centering the shift rail properly. The shifter "sticks" in the 5-6 position.
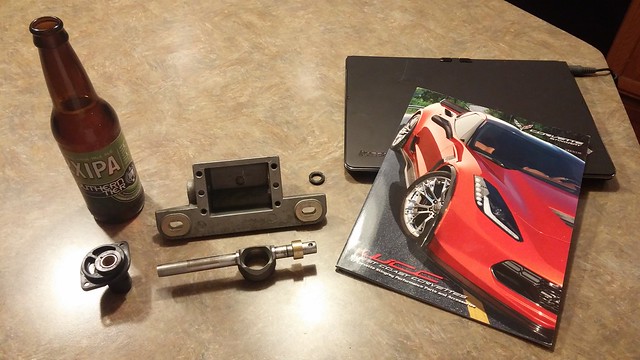
So while I wait for the diff to come back and other parts to come in, I had a friend make me some brass bushings for the C6 lower shift box.
After a long Monday at work followed by some snowmobiling, it was nice to come home to this and relax.
 0206172108 by Norbert Ogiba, on Flickr
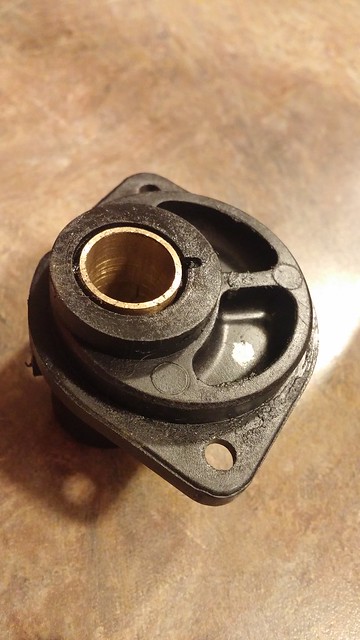
Pressed into retaining plastic
 0206172109a by Norbert Ogiba, on Flickr
Great fitment on the larger (rear) bushing, only minor hand sanding needed.
 0206172108a by Norbert Ogiba, on Flickr
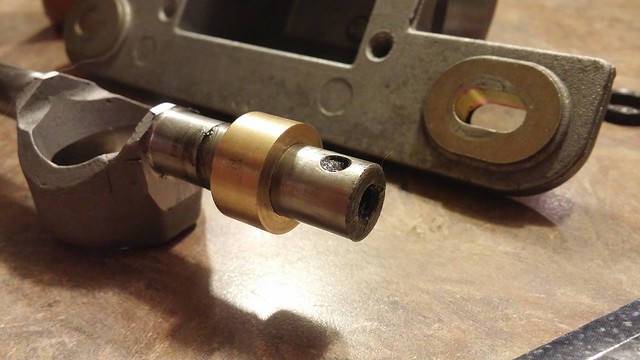
The rear bushing needed more work to to fit correctly as it was too tight. It was taking forever to hand sand this stuff so I chucked up the shift rod in the 5 axis CNC lathe and got to it.
Comment
-
Ah I see, cool stuff it's gotta be nice having a CNC in your life haha! I had access to one back in California and it was an amazing machine to have access to.Comment
-
See my last post, I was being sarcastic about the CNC, just a drill press. I wish I had CNC.Originally posted by 190Evan View Post
Comment
-
The transmission is back together, 4.10 diff came back from RKT56, torque tube is reassembled with new couplers, LS7 clutch and flywheel installed, drill mod done on new LS6 clutch slave...it was a busy weekend.
Comment
-
Very nice video, always nice to see complex stuff being not that complex when a mortal explains it in mortal language.
Comment
-
Ah I see now, I didn't even notice the link at first lol.Comment
-
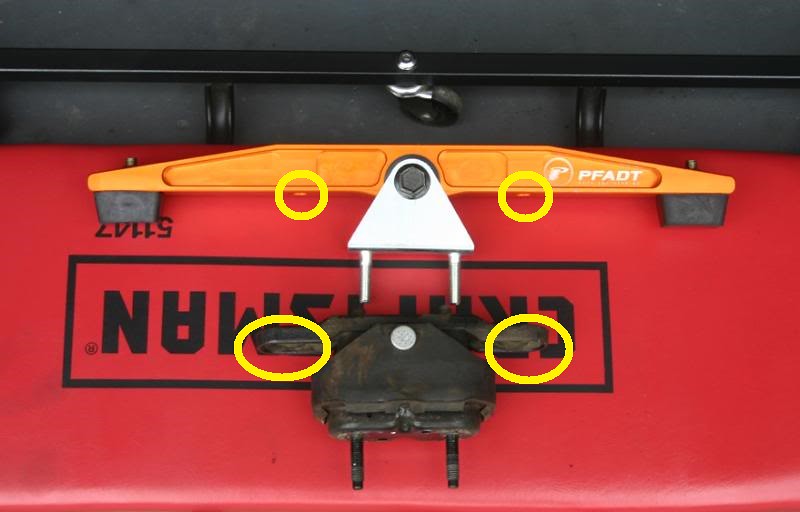
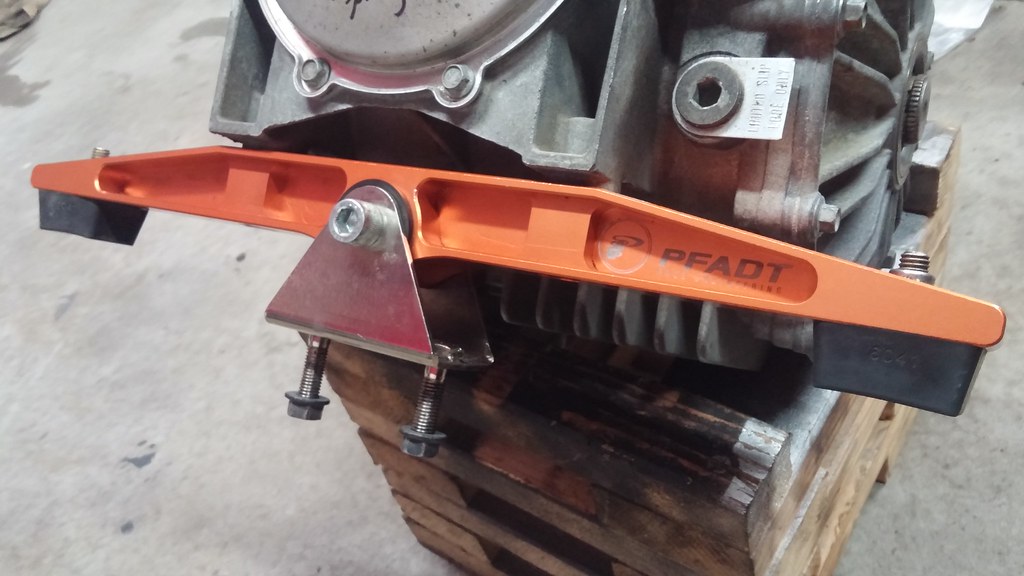
Stock photo of Pfadt Trans mount vs stocker to hopefully knock down some of the wheel hop
 2 mount by Norbert Ogiba, on Flickr
LS7 Flywheel all degreased and ready to slam in
2 mount by Norbert Ogiba, on Flickr
While reassembling the T56 I had some trouble lining up the shift rails on the guide pins, as the rails want to walk down when the trans is sitting vertically. Made some Sharpie marks on the rail blocks to be able to peek through the guide pin holes and get an idea of where they were. Worked like a charm.
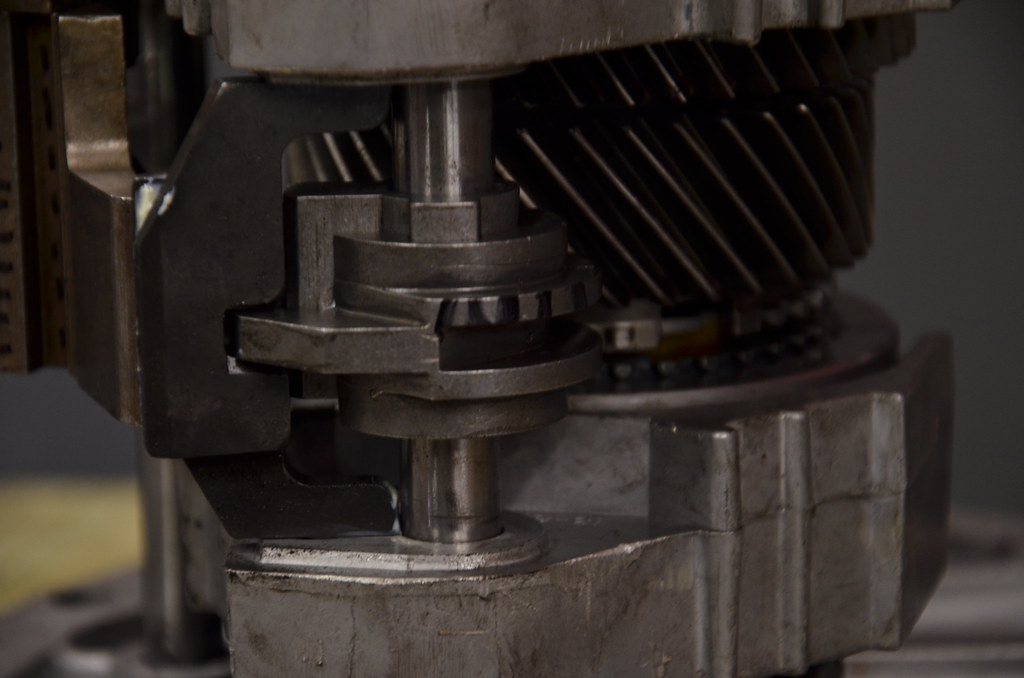 _DSC7696 by Norbert Ogiba, on Flickr
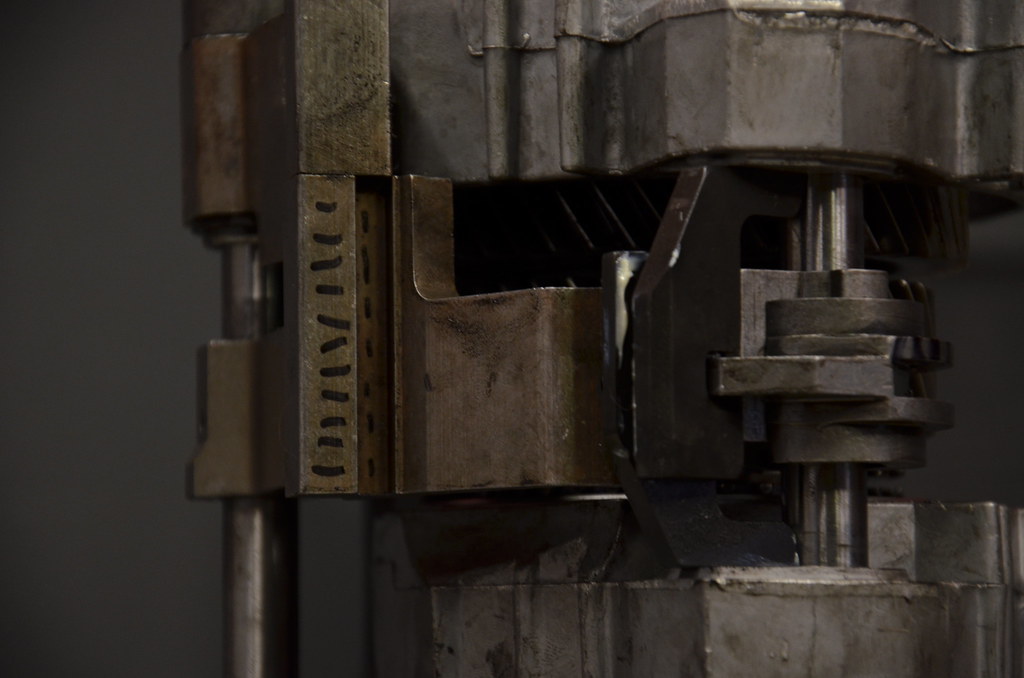 _DSC7697 by Norbert Ogiba, on Flickr
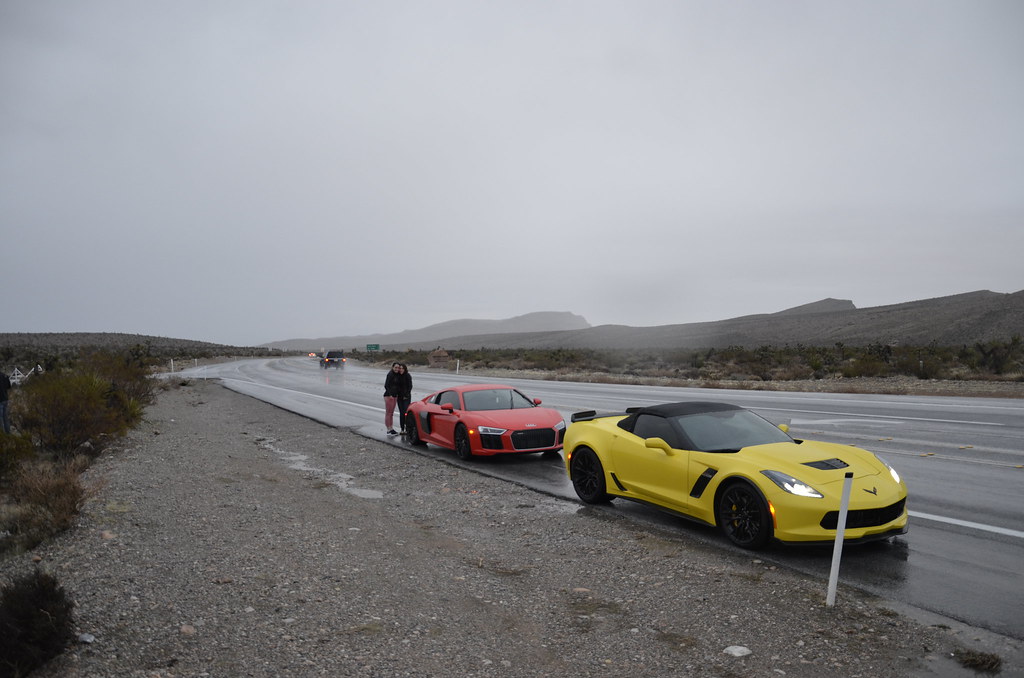
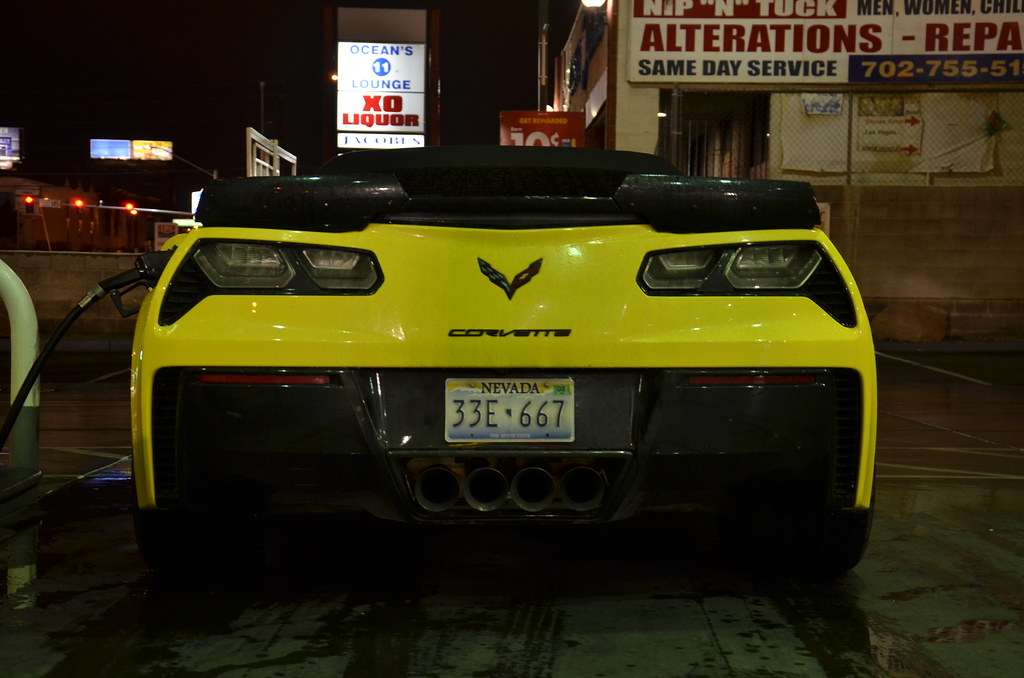
Took a break from the monotony to go to Vegas and kick the shit out of some cars. Somehow it rained that day...in Vegas...in the desert...
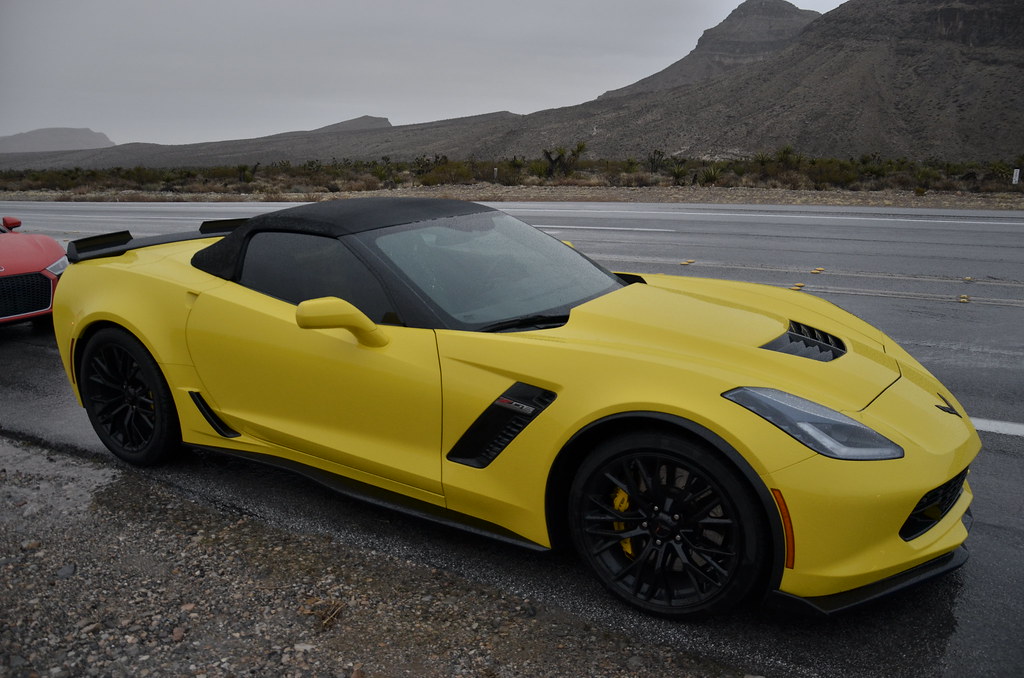 _DSC7647 by Norbert Ogiba, on Flickr
 _DSC7654 by Norbert Ogiba, on Flickr
 _DSC7644 by Norbert Ogiba, on Flickr
 _DSC7667 by Norbert Ogiba, on Flickr
 _DSC7661 by Norbert Ogiba, on Flickr
Last edited by nsogiba; 03-20-2017, 07:01 PM.
_DSC7661 by Norbert Ogiba, on Flickr
Last edited by nsogiba; 03-20-2017, 07:01 PM.Comment
-
Bunch of small updates, I have been working on this thing a couple days a week getting little things done.
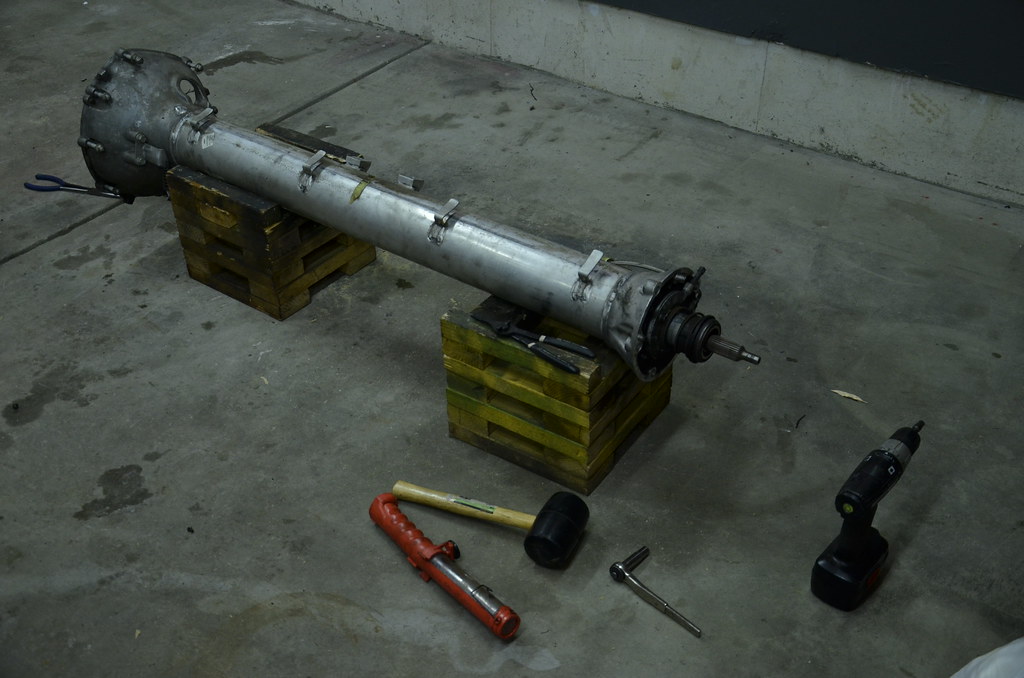
Torque tube out
 _DSC7628 by Norbert Ogiba, on Flickr
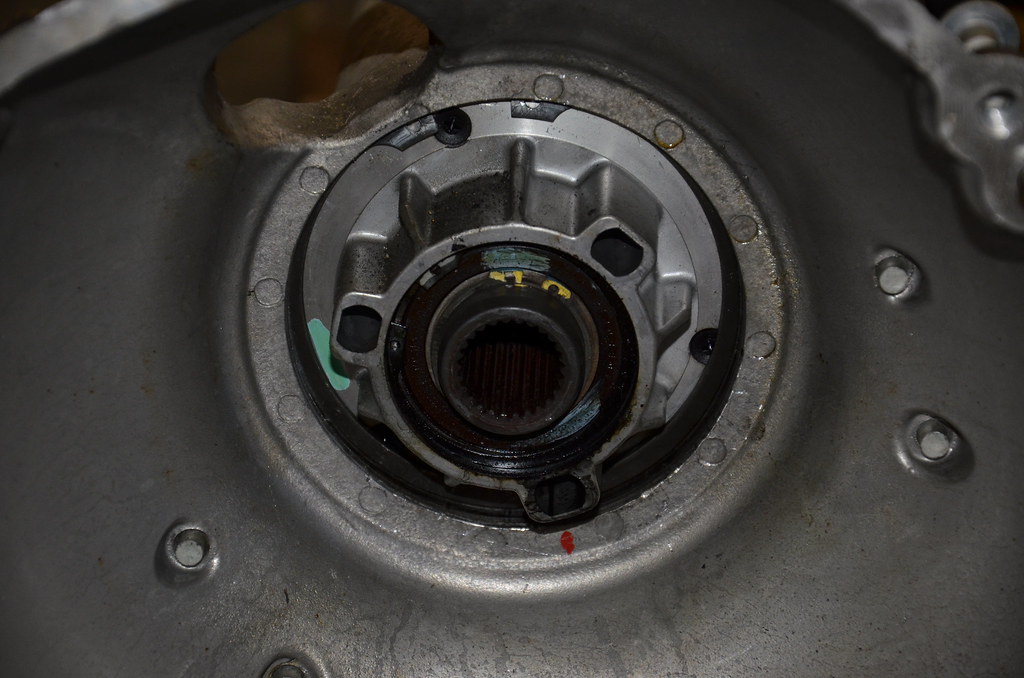
Removed the World's Largest Snap Ring using a pair of needlenose
 _DSC7631 by Norbert Ogiba, on Flickr
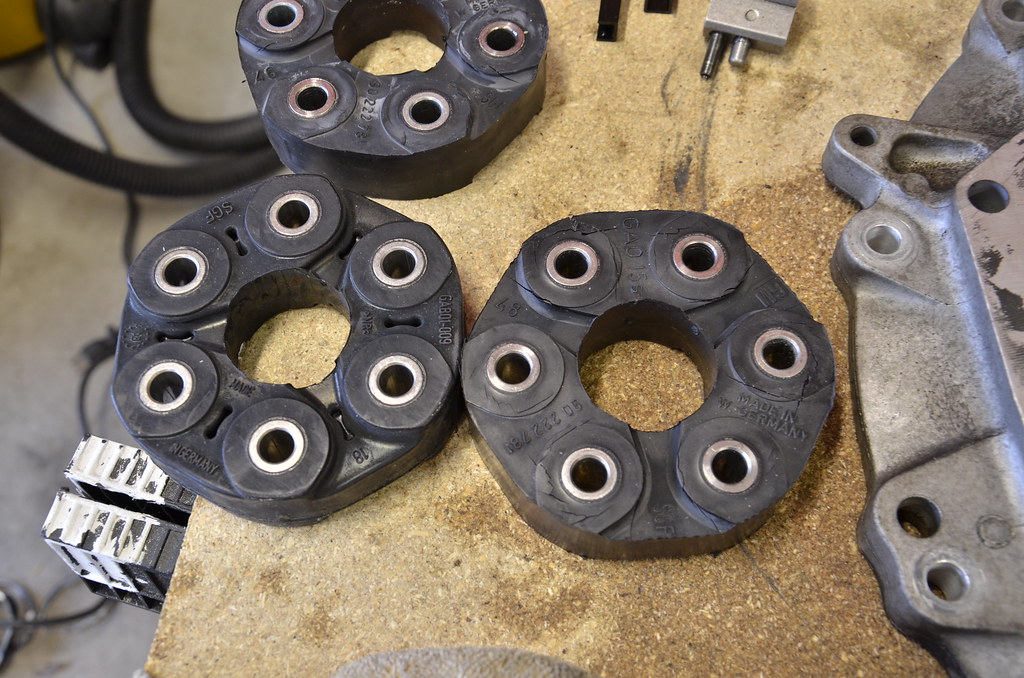
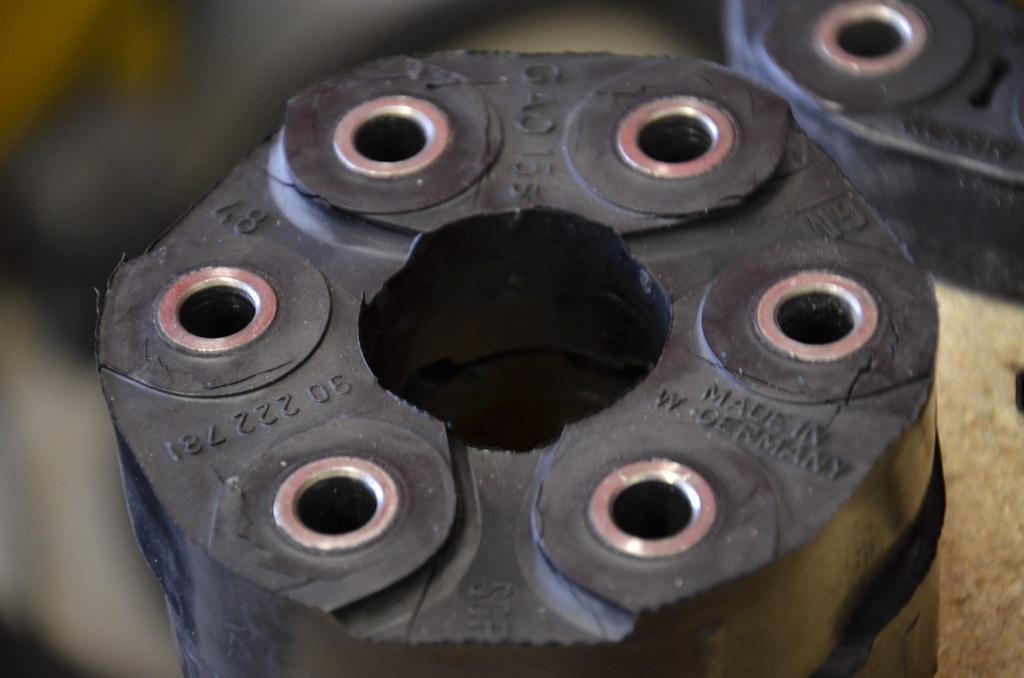
Driveshaft out, inspecting the 2 rubber couplers:
 _DSC7687 by Norbert Ogiba, on Flickr
How cool is that! Made in West Germany! makes you wonder how old the tooling/mold is, and if it's still in use today...has to be from the 80s, at the latest...
 _DSC7686 by Norbert Ogiba, on Flickr
The originals had 115K on them and were in ok shape, but were starting to crack. The GM replacements were $180 EACH. Turns out there is a BMW application made by Febi/Bilstein that is a functionally identical but much less expensive.
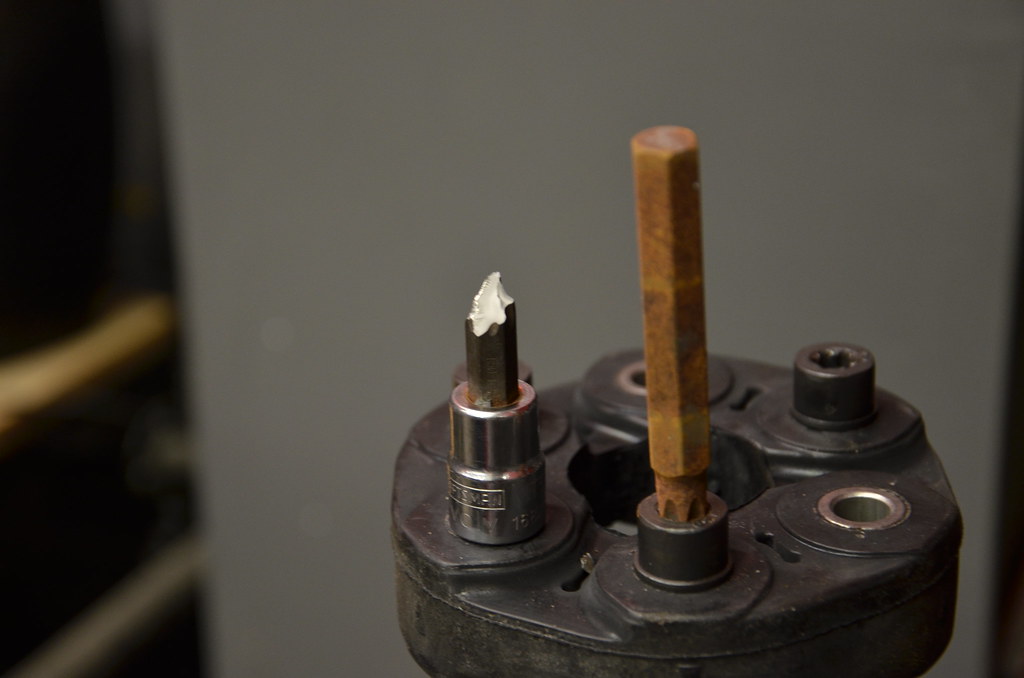
Factory torque spec is fairly high on these, apparently I have shitty tools.
 _DSC7692 by Norbert Ogiba, on Flickr
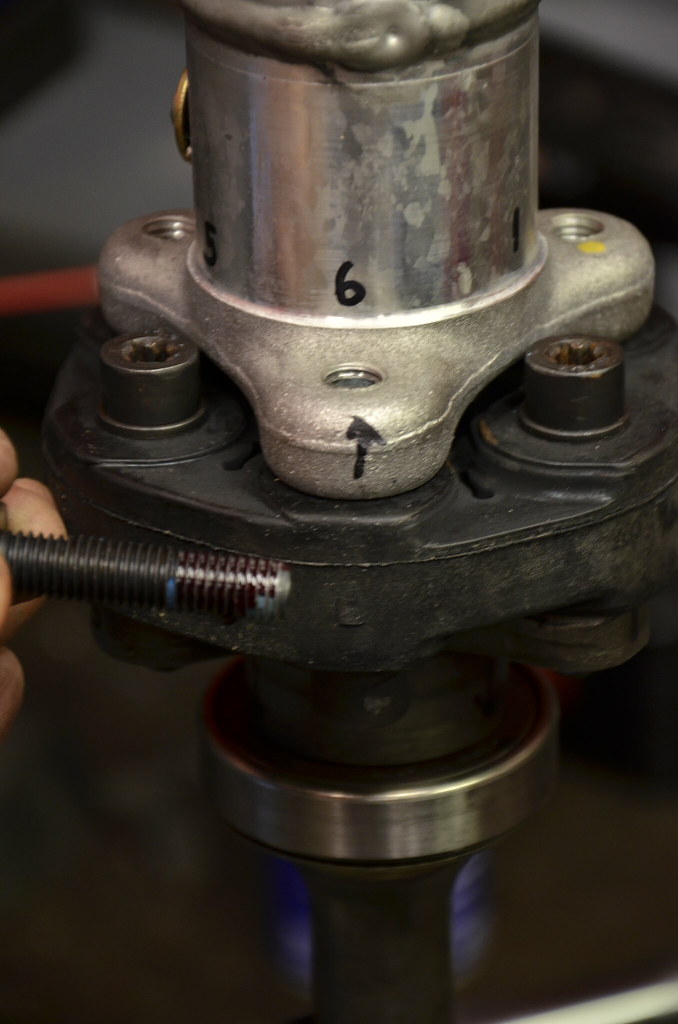
Ah, the good old BMW days, proper giubo orientation and loctite on fasteners
 _DSC7693 by Norbert Ogiba, on Flickr
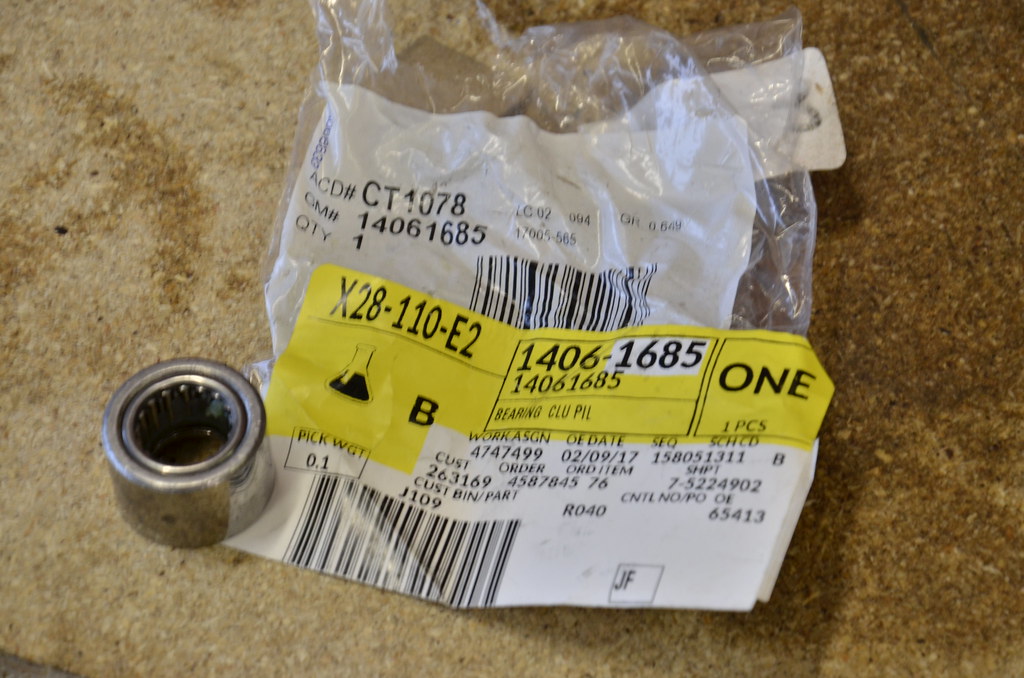
New pilot bearing
 _DSC7689 by Norbert Ogiba, on Flickr
Drilled out the line on the new LS6 slave, before and after. The "after" is still a baby .125", LOL.
 _DSC7677 by Norbert Ogiba, on Flickr
Took a break from mechanical work to refinish the original period correct N73 Magnesium wheels. These were a $3000 option back in the day and were fairly rare. I picked up another pair of rears to have a square 18x9.5" setup all the way around. I'll probably end up using these as track wheels only.
 _DSC7680 by Norbert Ogiba, on Flickr
Comment
-
Those magnesium wheels, weren't those always that brown/goldish color?Lucas

Former daily: 2002 CLK 500 AMG - (sold) . . . . . . . . .
Project: 1986 W124 260E rebuild - (3.0 swap) . . . . . . . . . Follow me on IG : @loekaazDaily: 2004 Pontiac GTO. . . . . . . . . Daily Econobox: 2009 Mini Clubman CooperOriginally posted by LCGComment
-
Yes. That's the factory finish and it sucks. It takes on almost a Salmon Pink hue in some light. I'm not that much of a purist that I want to keep the original color, especially for track only wheels.
In daylight they were more of a silvery gold
 _DSC4790 by Norbert Ogiba, on Flickr
But in darker artificial light, not as metallic. More brown.
 _DSC4993 by Norbert Ogiba, on Flickr
Comment
-
been a while since any updates, but I've been busy on this thing.
With the majority of the small stuff assembled, it was time to get the drivetrain back in the car. The Pfadt trans mount is easily the most "bling" piece on the car, shame it's hidden underneath the rear end. I installed it with the hopes that it would cure some of my wheel hop from a dig.
 0228172115 by Norbert Ogiba, on Flickr
Filled the trans up - this stuff isn't cheap but gets good reviews.
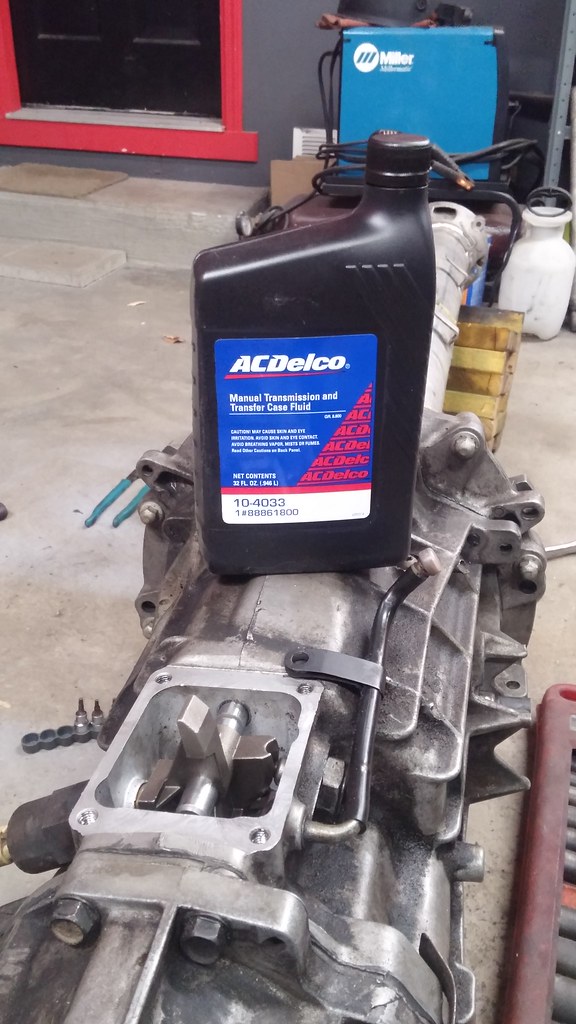 0301171848 by Norbert Ogiba, on Flickr
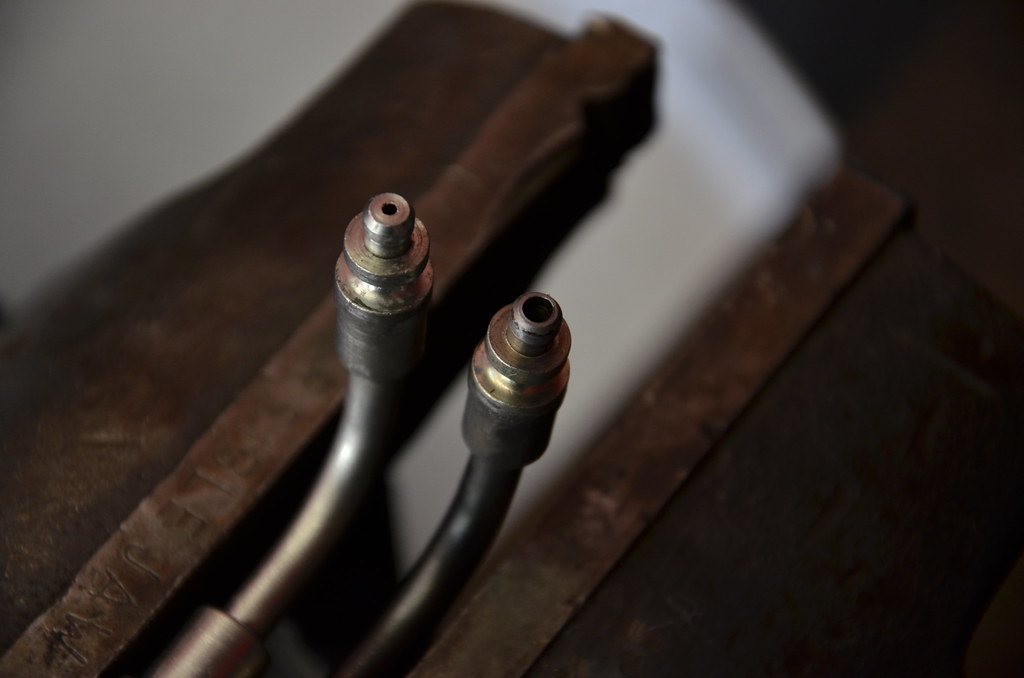
So the whole reason for all this drivetrain work was to improve shift feel and eliminate some of the "slop" in the gear lever, most of which was in the factory shift linkage that runs from the lever back to the trans. The small factory u-joint consists of a small pin held in a brass bushing, which had worn out.
Measuring for the new setup:
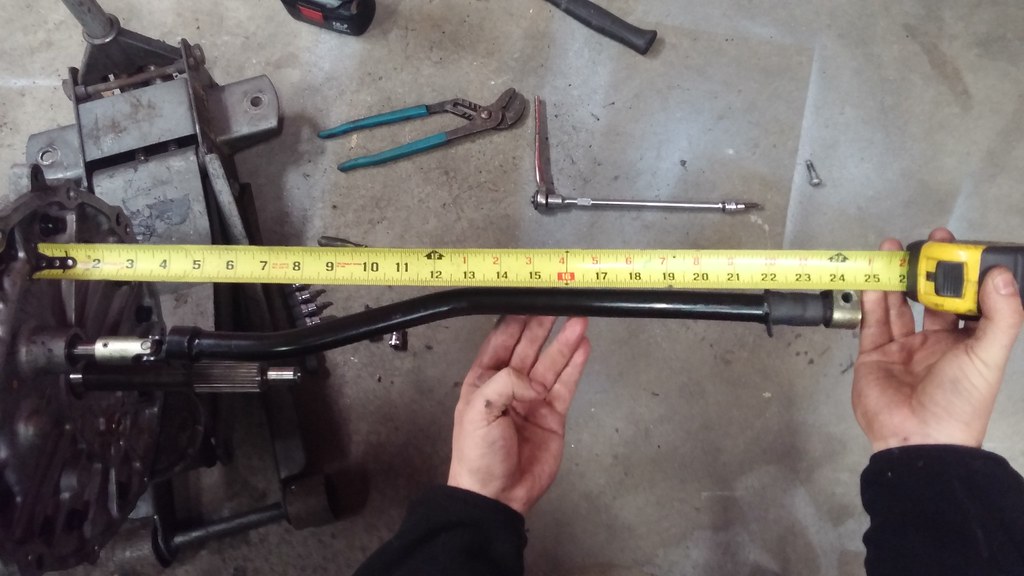 0301171931a by Norbert Ogiba, on Flickr
A factory replacement shift linkage u-joint doesn't exist, and I think the linkage arm is discontinued. The other option was a custom machined replacement brass bushing, but that would have worn the same way as the old unit. So I found a universal steering shaft u-joint on Amazon, chopped the ends off it, and welded it to the linkage. ZERO slop achieved!
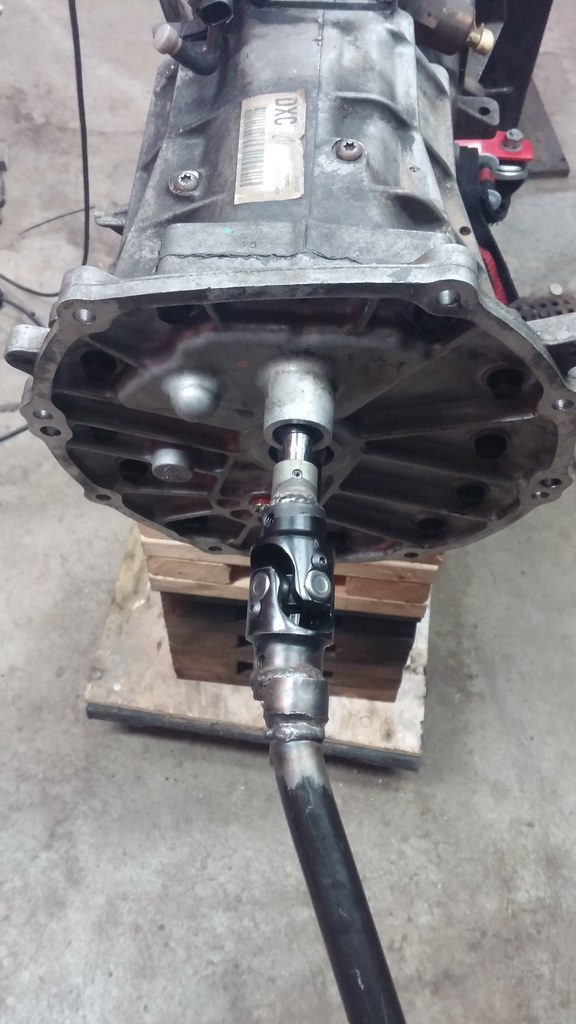 0306172111 by Norbert Ogiba, on Flickr
While the rear subframe was out I also tossed in new sway bar bushings. In retrospect, I should have installed all new poly bushings in the control arms while the cradle was out, but I was confident that the Pfadt trans brace would cure the wheel hop. (This did not end up being the case).
 0305171548 by Norbert Ogiba, on Flickr
How to get the ultimate lows - remove wheels and put the lift all the way down.
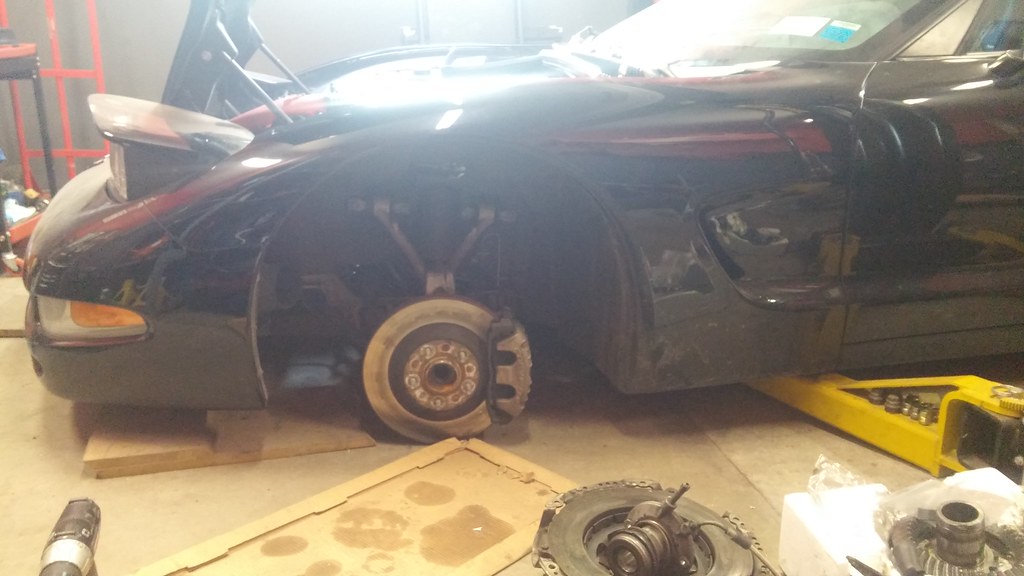 0305171613 by Norbert Ogiba, on Flickr
Comment
-
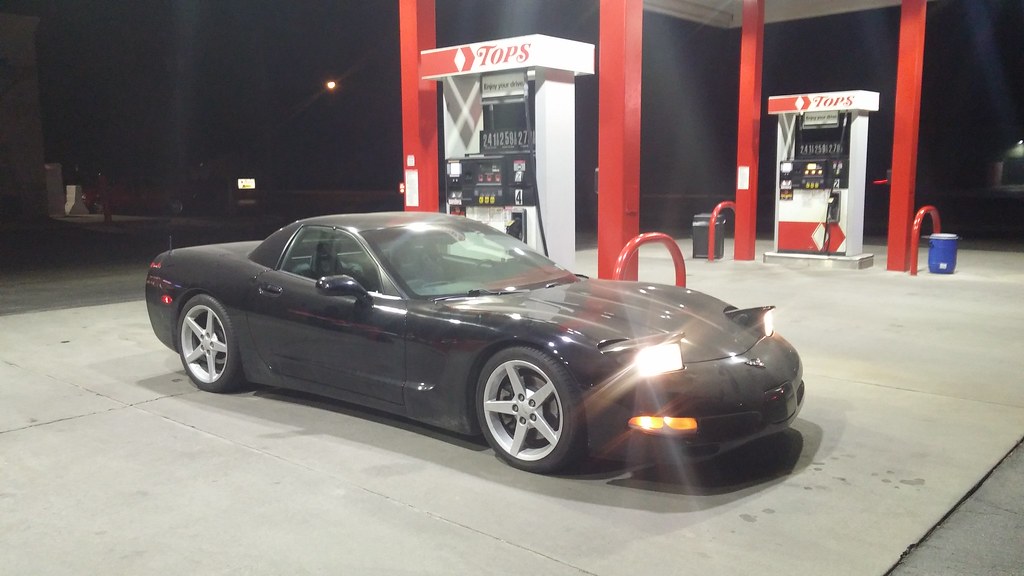
The rest of the work was boring reassembly, I tend to get a little OCD with torquing everything to factory spec, but the first start/drive went flawlessly (despite being 20F outside).
 0309172153a by Norbert Ogiba, on Flickr
 0309172141 by Norbert Ogiba, on Flickr
 0311171840 by Norbert Ogiba, on Flickr
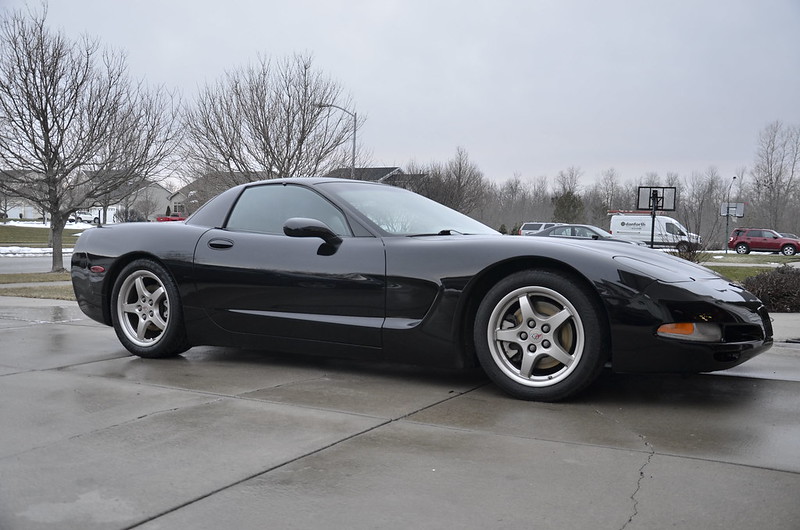
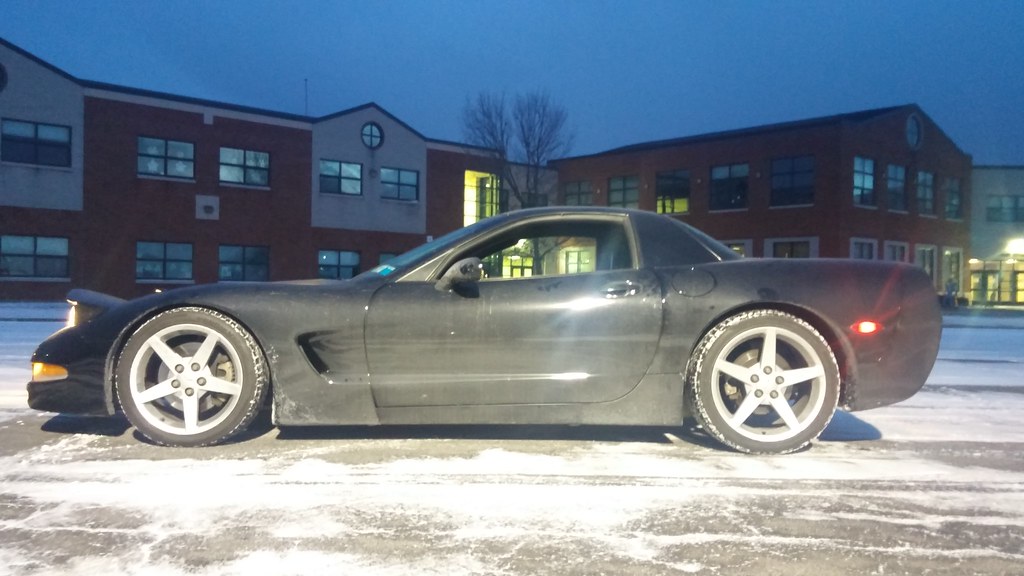
So after a long and agonizing 500 mile break in for the clutch, trans, and new rear gears (of which all was spend <50mph), it was time to put it to the test.
 0312171530 by Norbert Ogiba, on Flickr
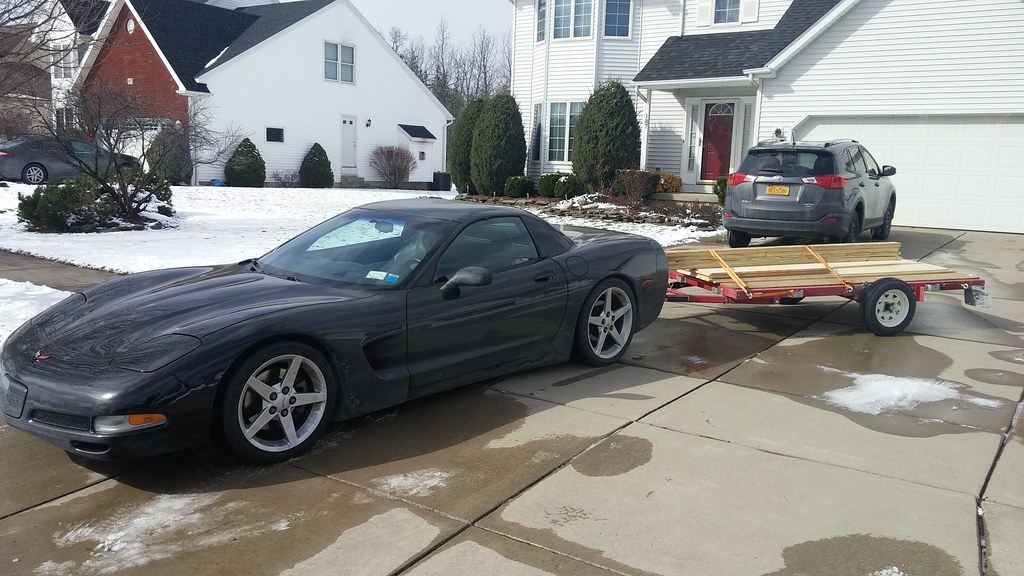
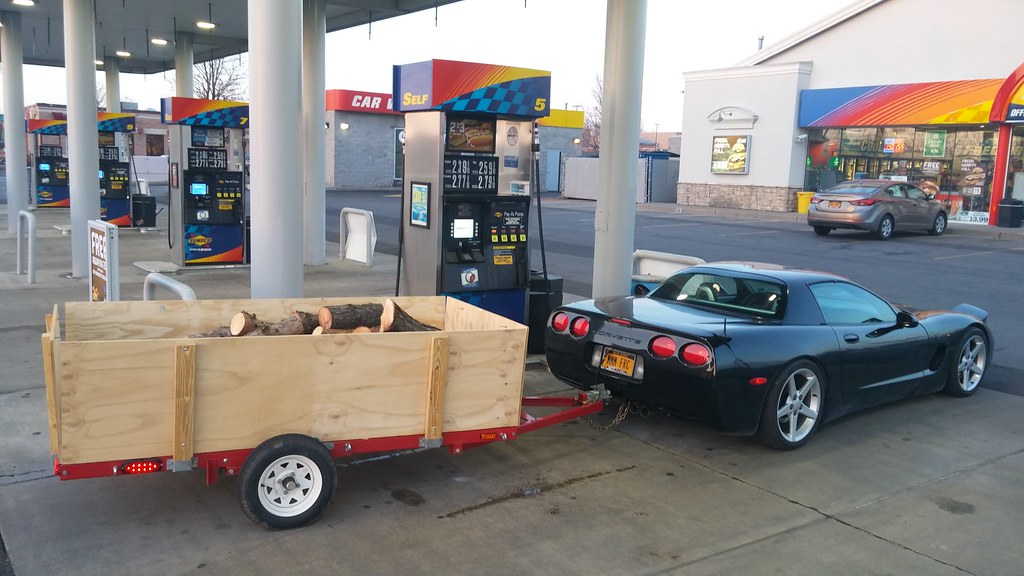 0321171919 by Norbert Ogiba, on Flickr
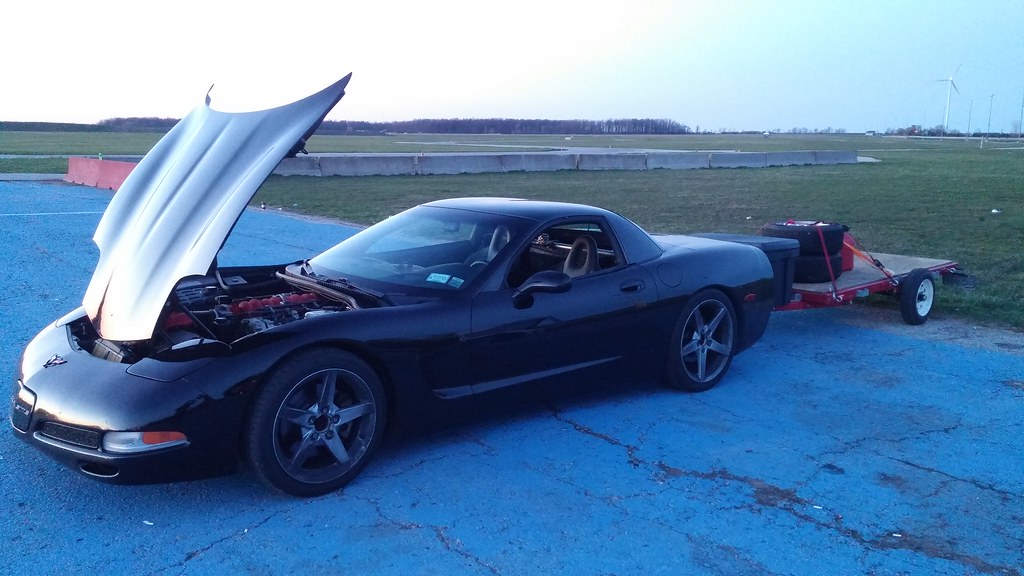
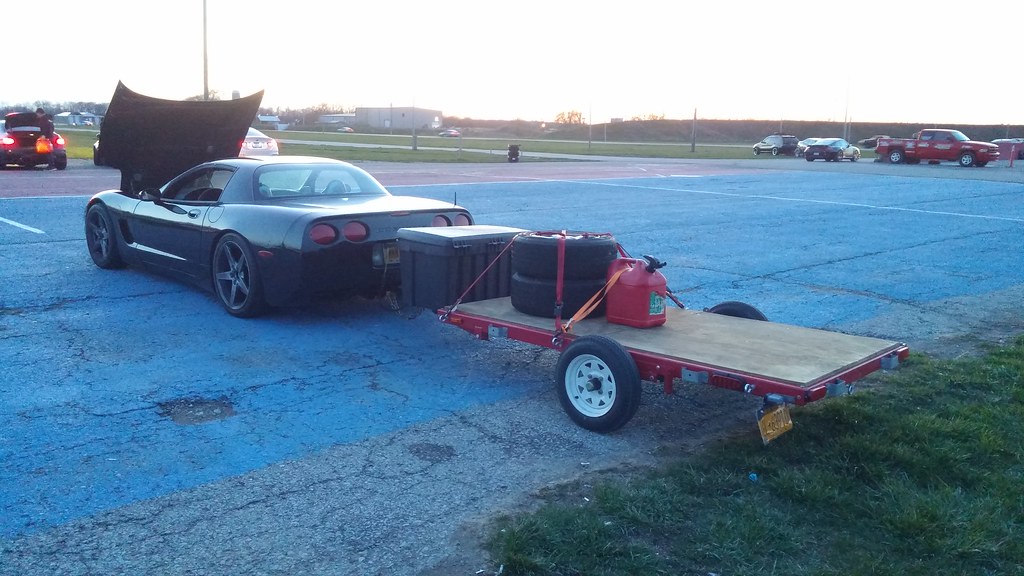
Hauls stuff like a beast.
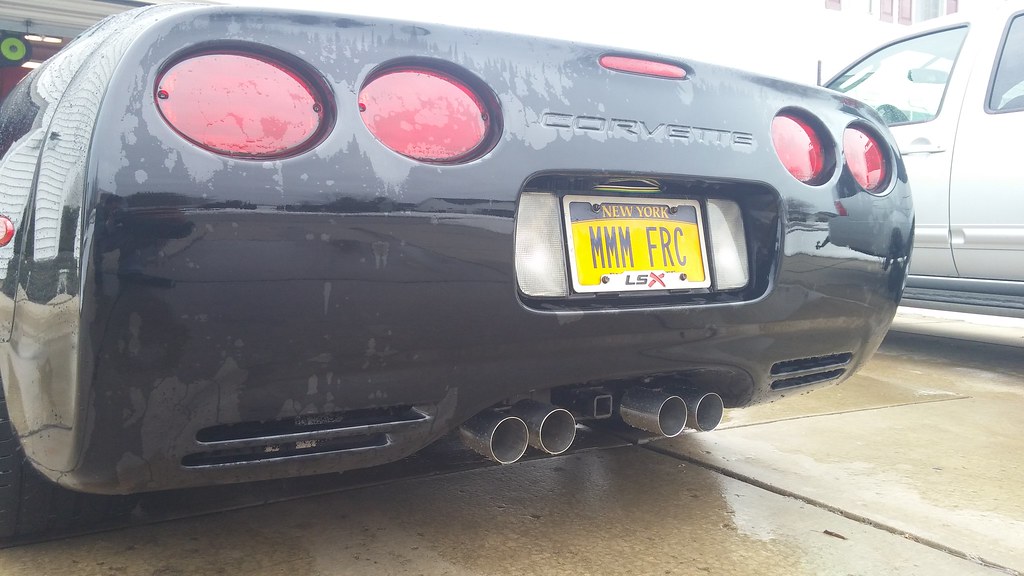
I had a titanium Z06 exhaust on the car but sold it to a local with an automatic C5 ragtop - I installed it for him, and he was kind enough to leave me his old stockers (stainless steel). So now I had that stainless set, in addition to the stainless stockers on the car that I bought last year. More on that later...
The factory tips are awfully ugly, so I chopped up some spare 3" polished stainless laying around and chucked it up in the drill press to spend time polishing it. The final effect is a brushed finish. I used a 3" hole saw to cut a slug out of a 2x4, then jammed the wood inside the pipe, put a nut and bolt through the wood, and got it all in the drill press.
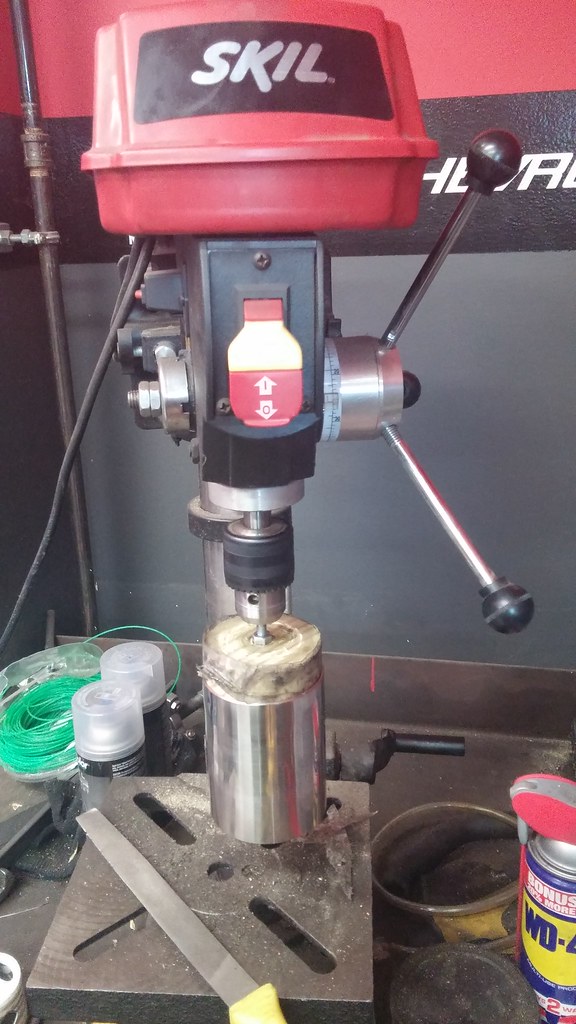 0319171330 by Norbert Ogiba, on Flickr
Welded over the existing oval (trimmed) tips:
 0320171704 by Norbert Ogiba, on Flickr
I used a small steel rod welded to each pair of tips to keep them perfectly square and level.
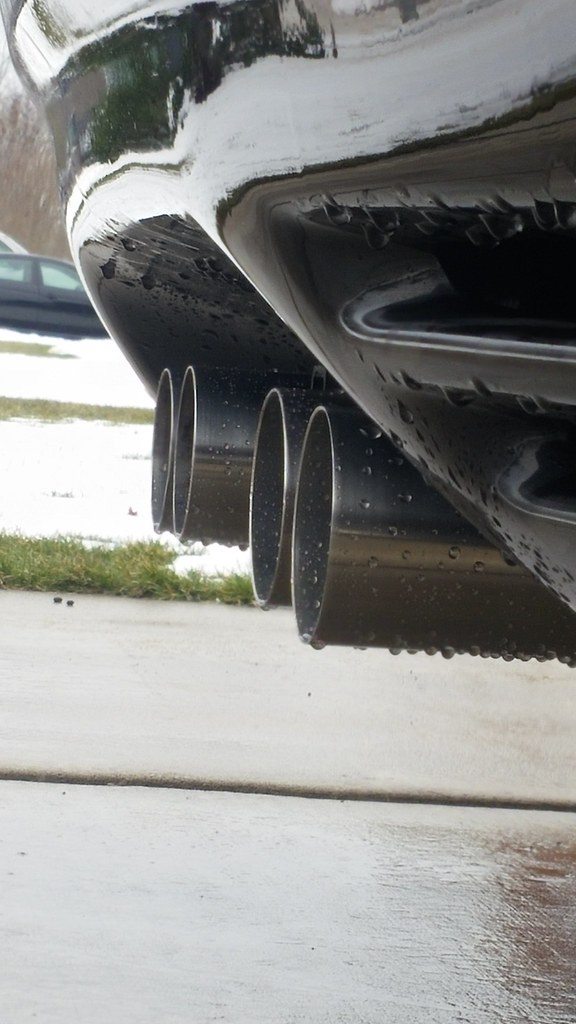 0320171704a by Norbert Ogiba, on Flickr
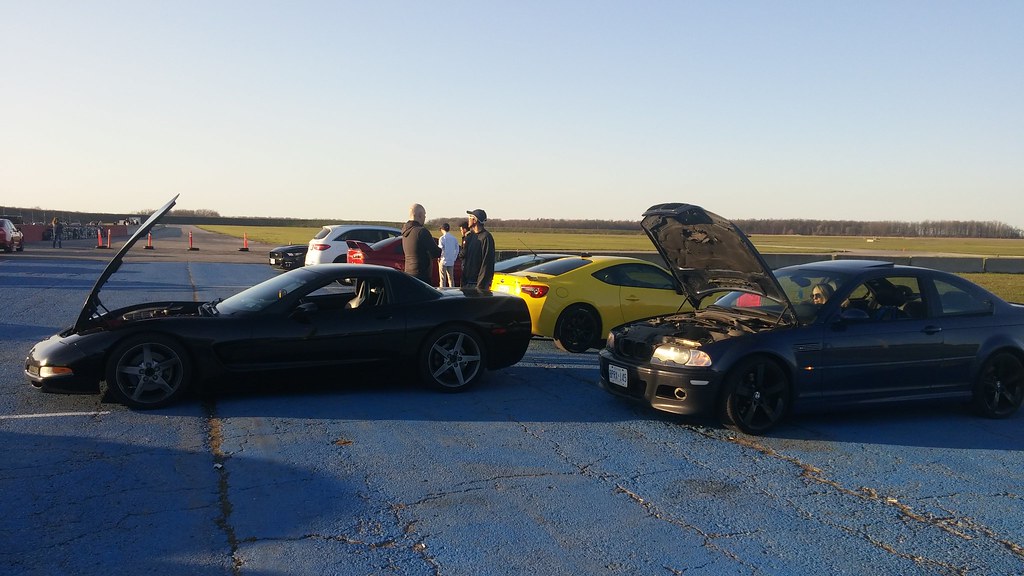
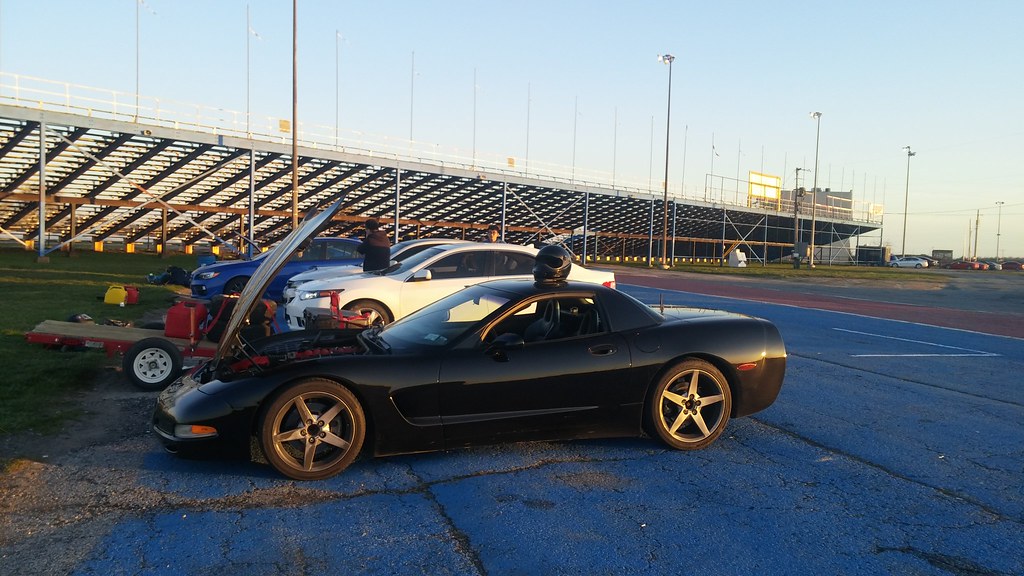
Finally installed my race pads in prep for an open lapping session at Toronto Motorsports Park. Great stopping power (finally activates the ABS) but dust extremely hard.
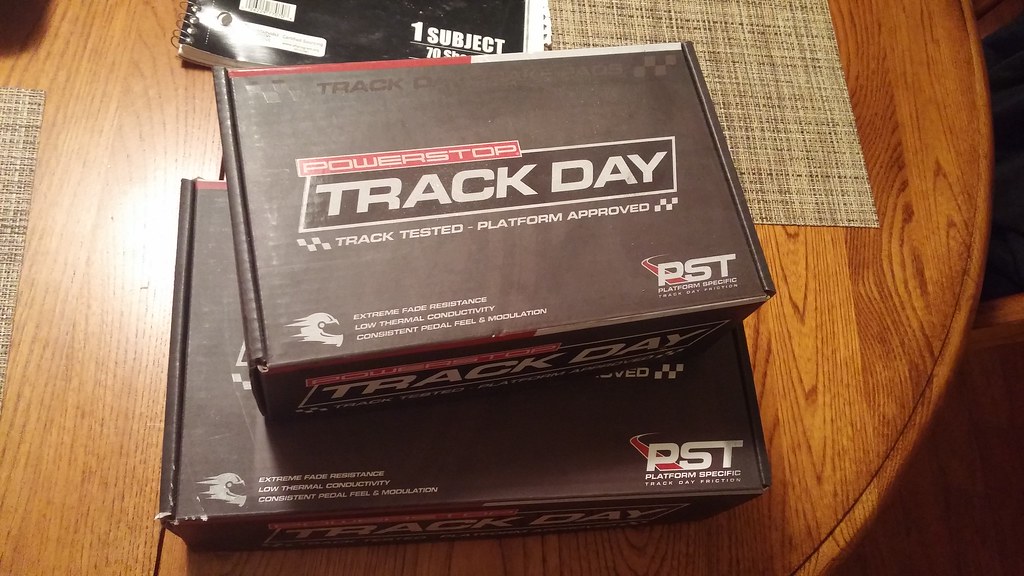 0412172045 by Norbert Ogiba, on Flickr
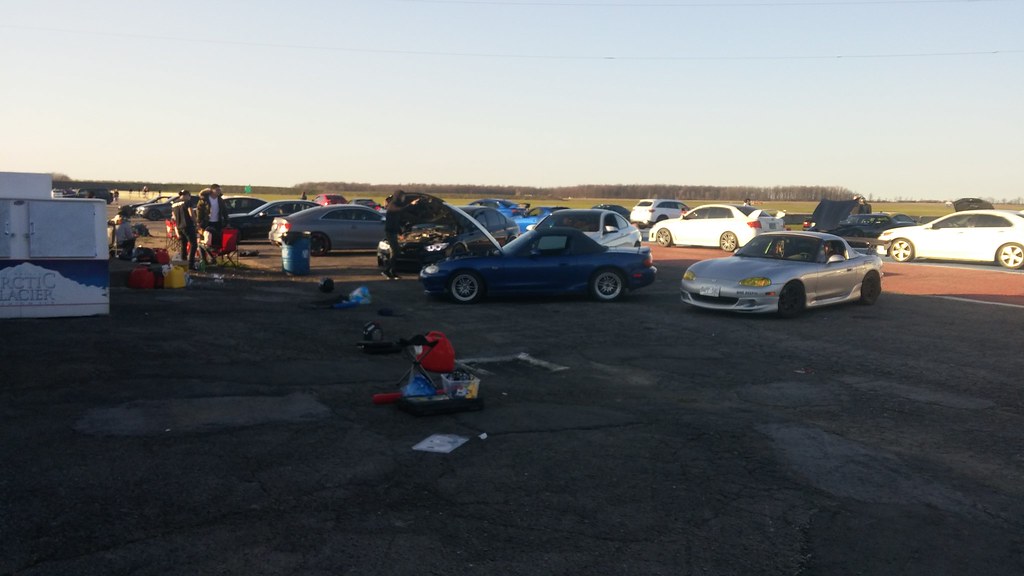
Track day bro
 0414171855a by Norbert Ogiba, on Flickr
 0414171856 by Norbert Ogiba, on Flickr
 0414171938 by Norbert Ogiba, on Flickr
 0414172015 by Norbert Ogiba, on Flickr
 0414172015a by Norbert Ogiba, on Flickr
Great evening lapping - but it exposed a few flaws in the car. Still need to address the minor oil consumption issue that only occurs on track, so an LS6 valley cover/PCV is waiting in a box in the garage. I also found myself wishing for more grip in corners. More on that later in a future update...
Finally, I got fed up with the wheel hop that occurs when aggressively leaving a light, so I ordered up a full set of Energy Suspension Control Arm bushings - in the process of installing that now. Like I said earlier, I should have done that while the cradle was out, but such is life.
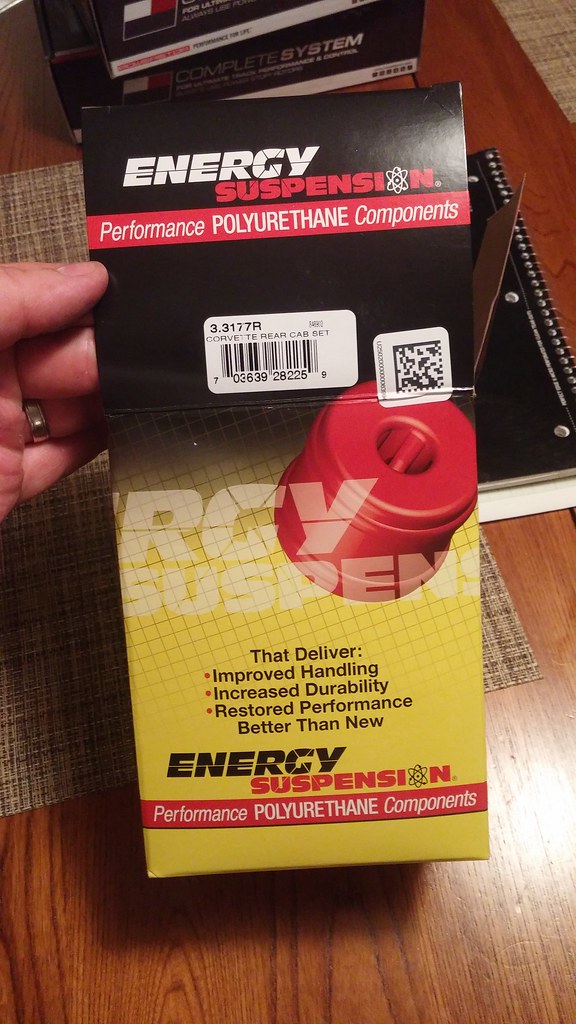 0412172046 by Norbert Ogiba, on Flickr
I'm working on this thing quite often now, so hopefully I'll be posting more updates soon.Last edited by nsogiba; 05-14-2017, 08:10 PM.Comment
-
badass as usual. I've never really liked the c5 but you have me second guessing myself
out of interest, why did you sell the titanium exhaust?Comment
-
Glad to see it back together.My super boring build http://www.stanceworks.com/forums/sh...other-M3-buildInsta MintyhinrichsComment


Comment