just google ls1 mini starter, they're all over the place from various brands. I found this one:
Is this a stock LS7 pan? how does the factory solve the problem of starter interfering with external oil lines? more often than not it's best to follow how they did it, no need to reinvent the wheel.
-
Huh, wasn't aware they existed, care to elaborate? I could pretty confidently make this one work, but if here is a smaller option that will still turn the motor over fine and fit my needs odd consider it as well.Originally posted by nsogiba View PostLeave a comment:
-
have you looked at mini starters to solve your clearance issue with the oil line?Leave a comment:
-
Been doing a little thinking lately where i could put a pair of auxillary coolers. Used my awesome paint skills to depict my idea thus far. Ive always been a big fan of the ferrari f40, and ive been wanting to incorpate a few design features from it into the 240. A while back i decided i wanted to do the triple exhuast tip look from it. I also thought of today doing a naca duct on the quarter panel to feed air to a pair of coolers mounted vertical within the rear body below the tailights.
A plus side to this is bringing more air behind the car to lessen the low pressure area that causes drag on cars. So not only will i be drawing air from a fairly high pressure area, i will be disposing of it in the most effective area against the fight for less drag for more efficiency.
The red squares are the coolers, the three black circles exhaust tips, the blue square rear diffuser, and the yellow and orange depicts various tempertures of the air exting the various parts
 qtr naca duct flow by lawrx, on Flickr
 rear coolers flow by lawrx, on Flickr
Leave a comment:
-
Well ended up having some time today to get some work done, had a few alignment cancellations so i was able to head home early and get some shit done.
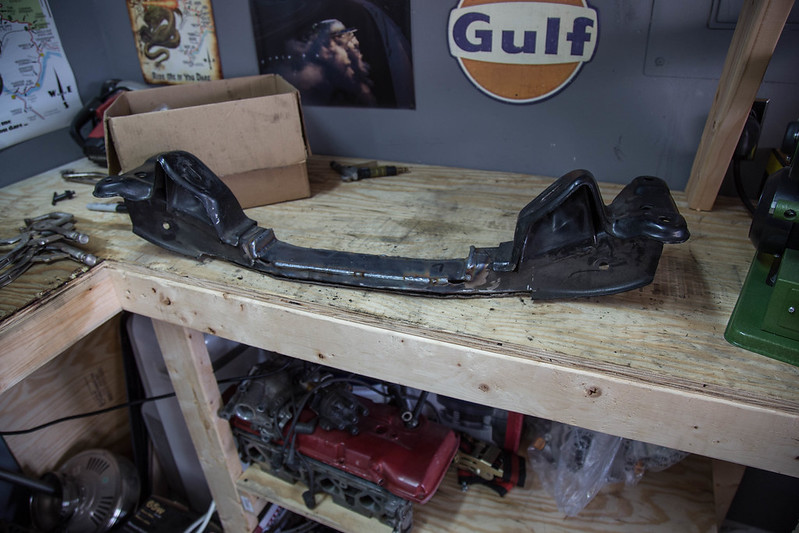
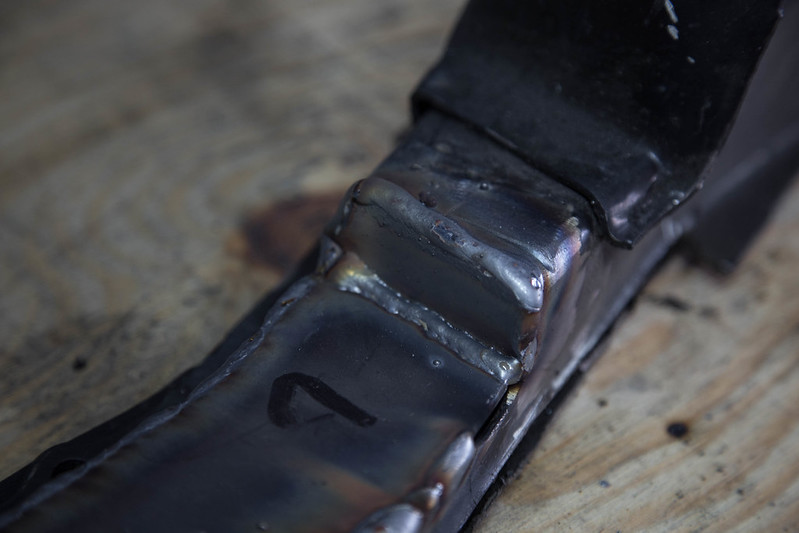
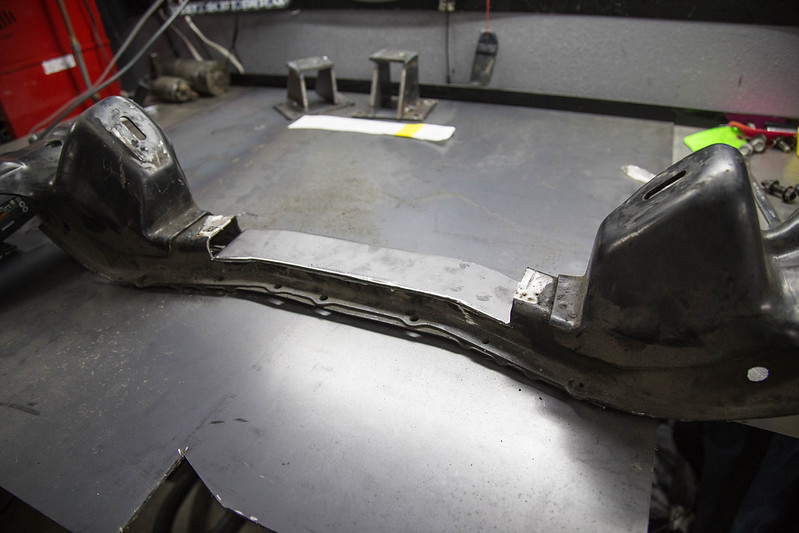
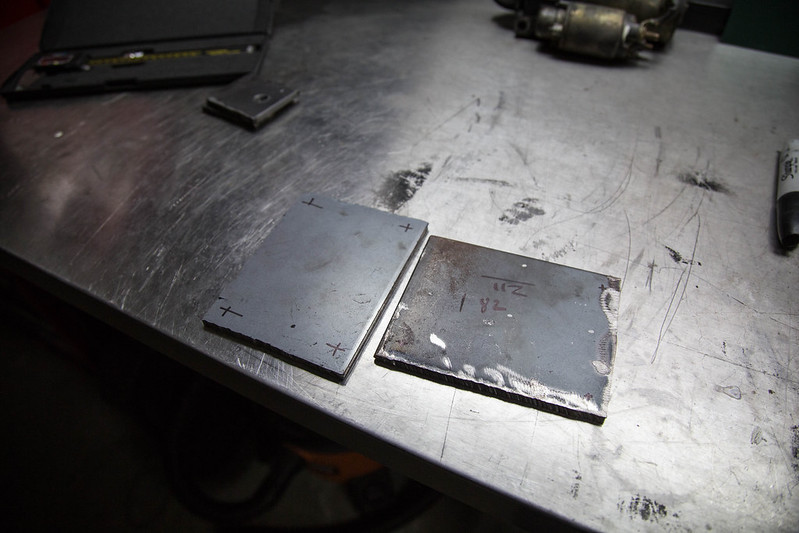
Welded up the indention i cut into front subframe, still need to work on my welding once there is heat in the metal. I, not compensating in my speed for it so I'm ether too fast or too slow. So I'm either almost burning through or not quite getting enough penetration.
 IMG_1399 by lawrx, on Flickr
 IMG_1400 by lawrx, on Flickr
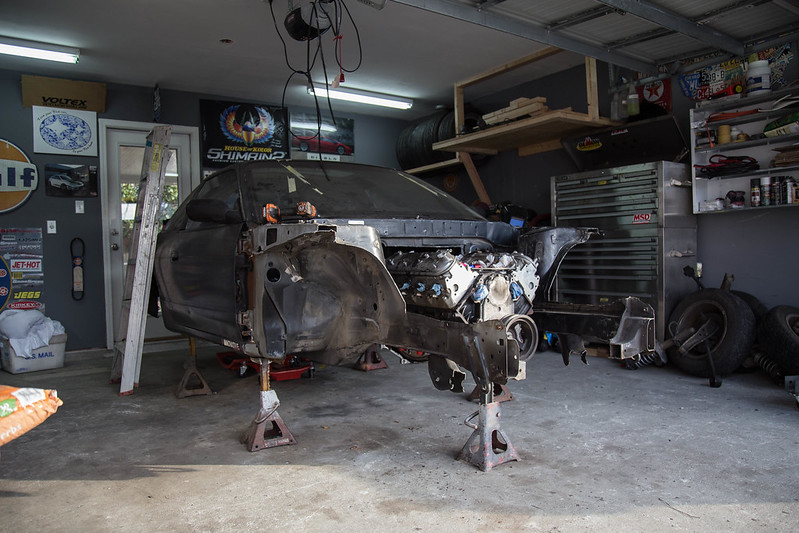
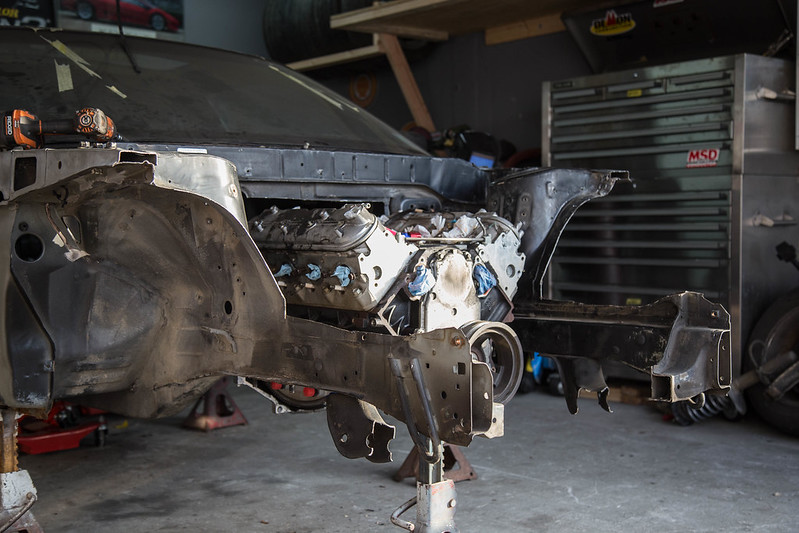
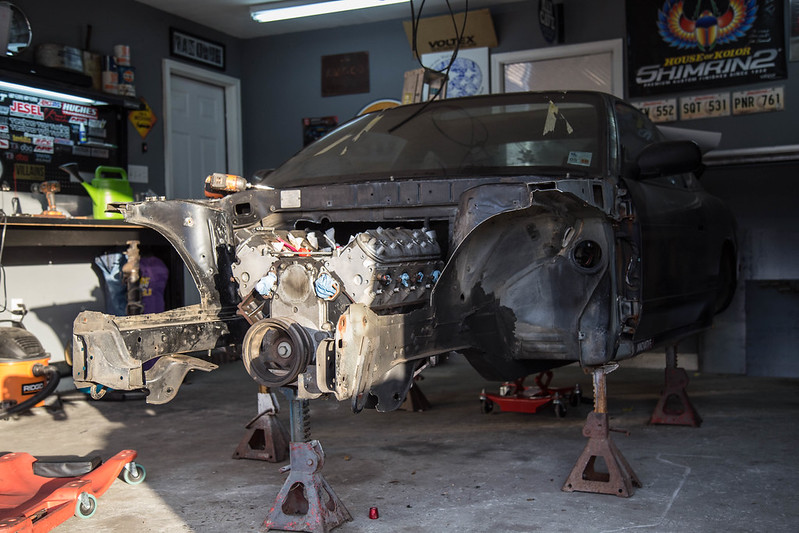
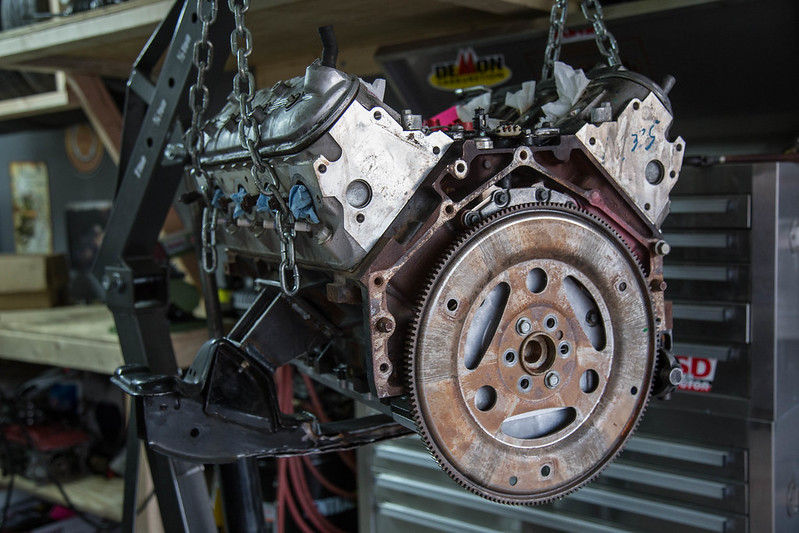
I had gotten home with some daylight left so i took some shots with actual sunlight on the car with where the motors final resting place is in respect to the engine bay.
 IMG_1401 by lawrx, on Flickr
 IMG_1403 by lawrx, on Flickr
 IMG_1416 by lawrx, on Flickr
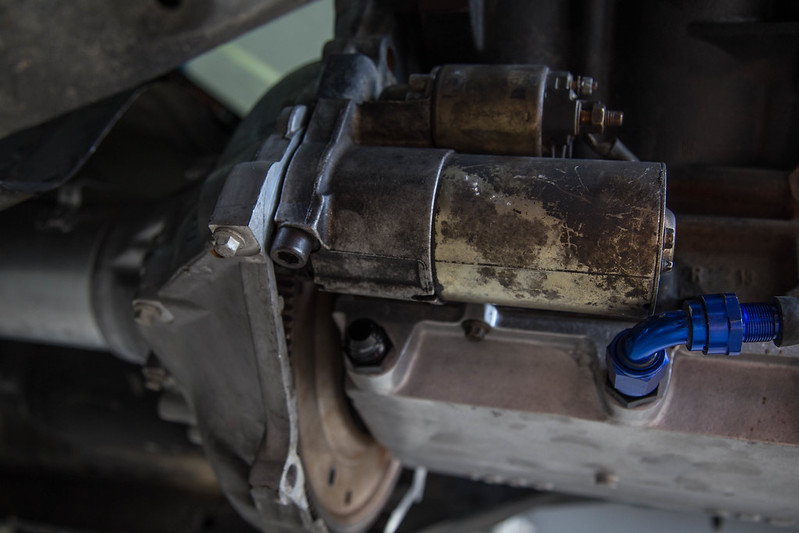
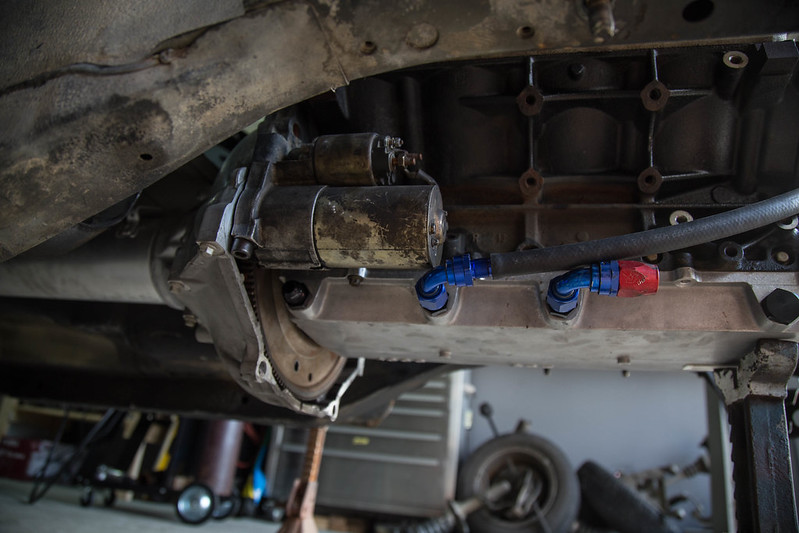
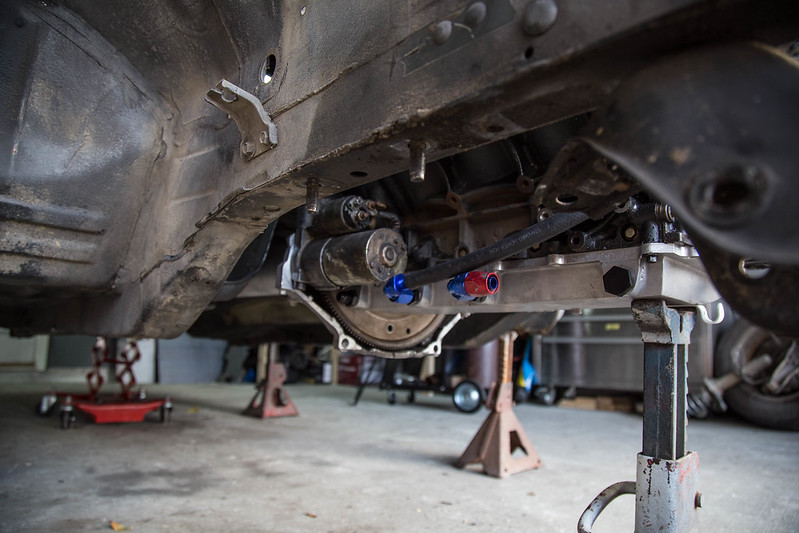
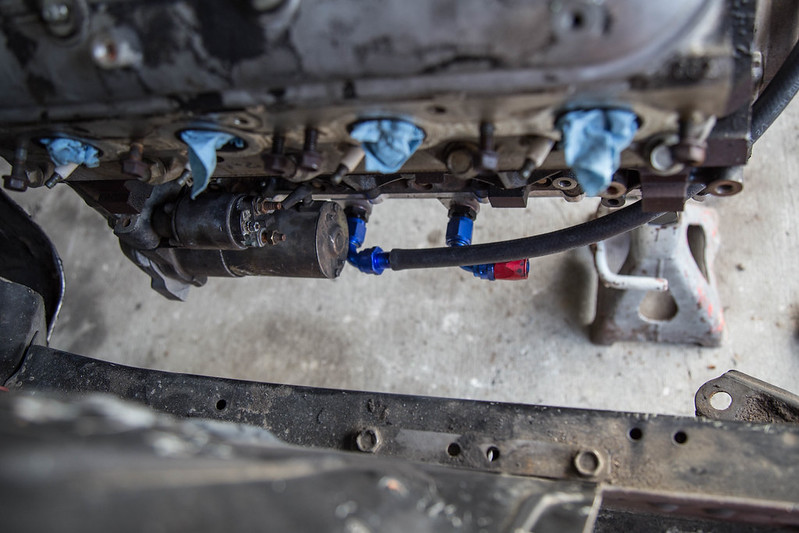
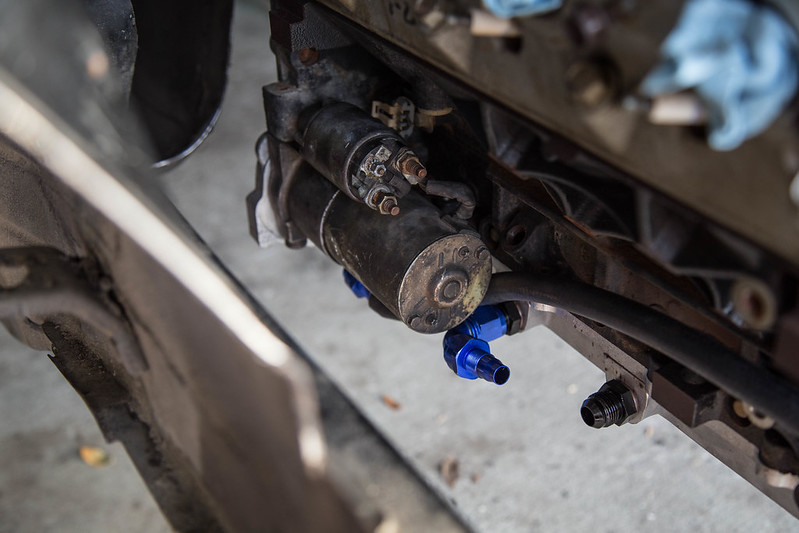
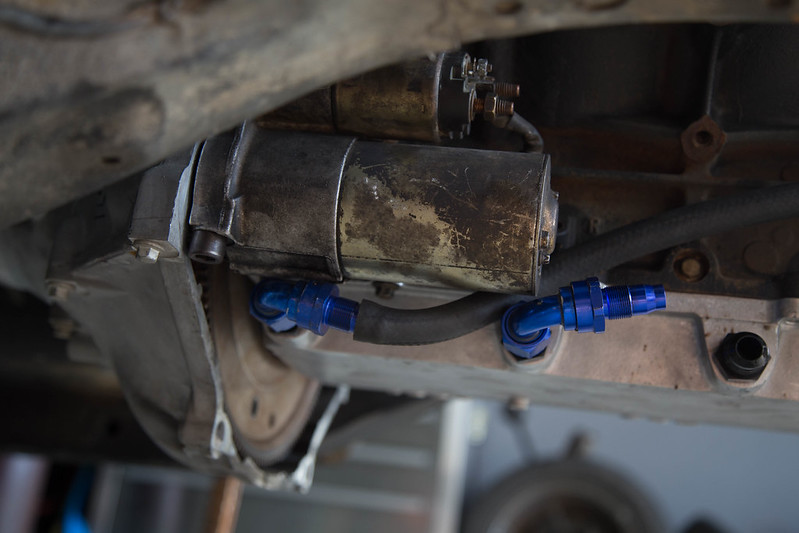
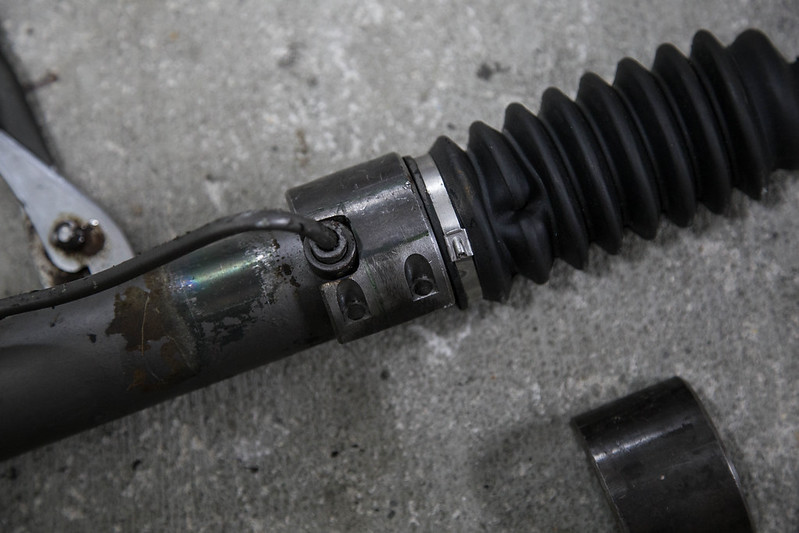
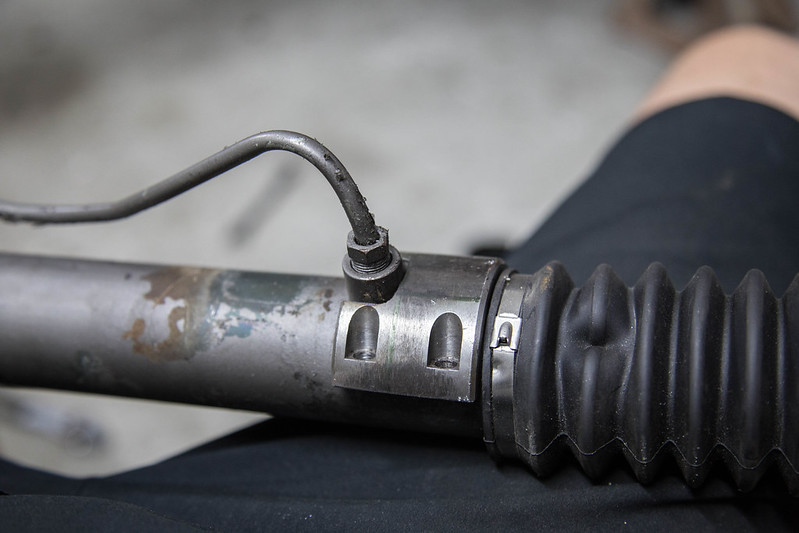
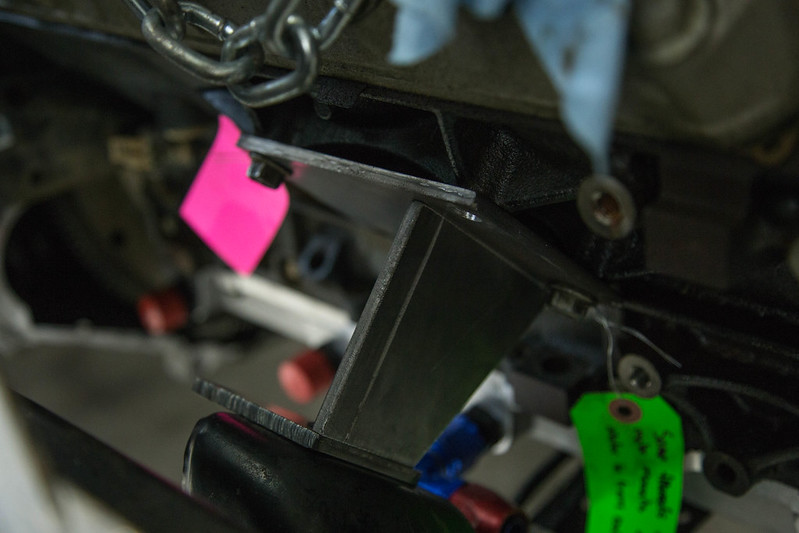
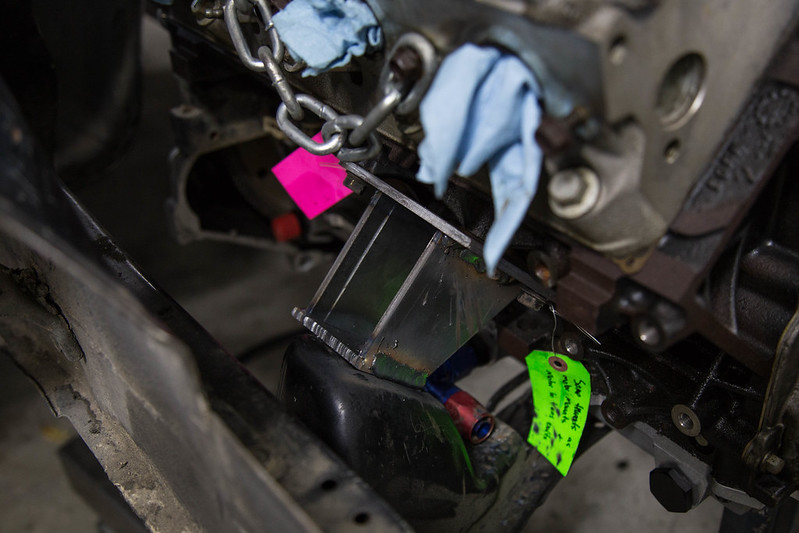
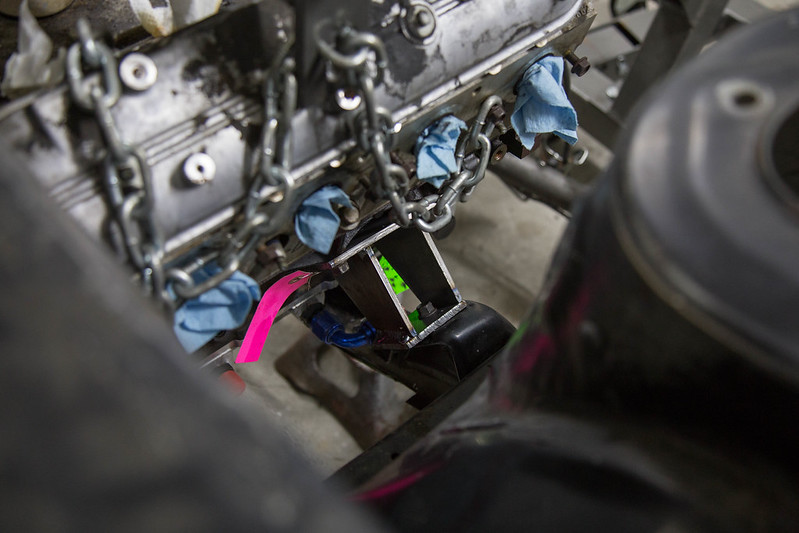
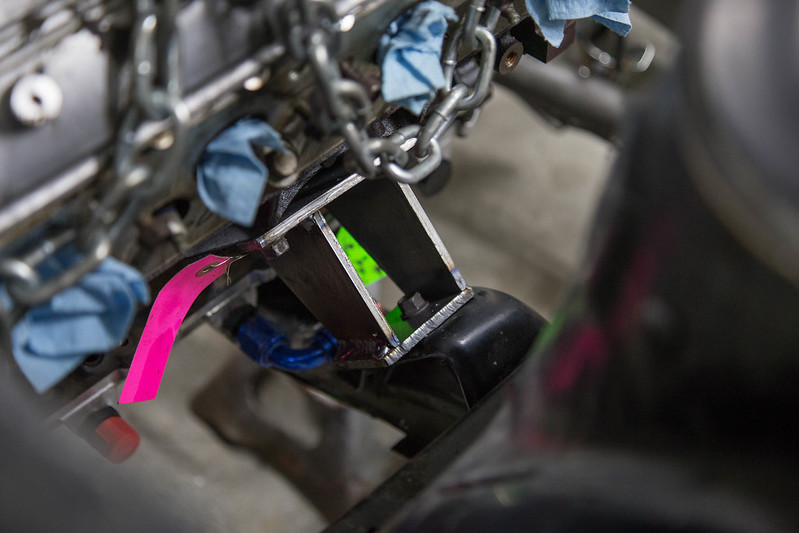
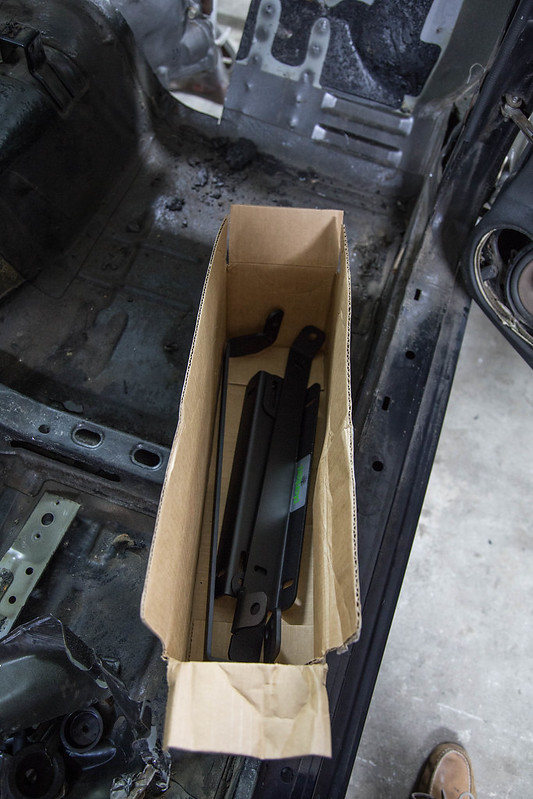
Picked up a used truck starter to use for mock up to check oil line clearances and header room as well. Header wise i should have plenty of room to make what i want. Regarding dry sump oil lines, I'm not able to run the center port as it will hit the motor mount/ subframe. When i first put the starter on i wasn't thinking i could run the rear most port. But once i put the 90* fitting on i think i can just manage to get it to run and be out of the way by massaging the motor and starter a bit. By massaging i mean grinding on the motor and a hammer on the starter for a slight indentation haha Also dont worry about the rubber line, i will be using braided stainless line on the actual install.
 IMG_1405 by lawrx, on Flickr
 IMG_1406 by lawrx, on Flickr
 IMG_1407 by lawrx, on Flickr
 IMG_1408 by lawrx, on Flickr
 IMG_1409 by lawrx, on Flickr
 IMG_1410 by lawrx, on Flickr
 IMG_1413 by lawrx, on Flickr
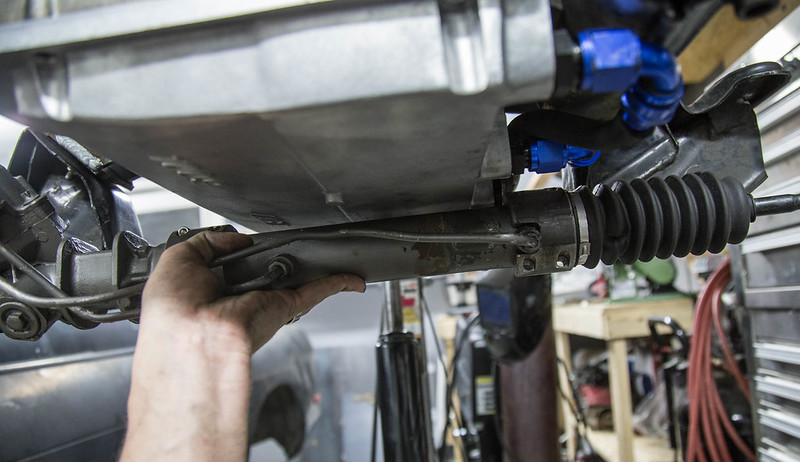
Once the subframe was welded up, i pulled the motor out and bolted the subframe up to start measuring and mock up for the new mounts for the steering rack. I ended up having to notch the passenger side mount to go around the nipple for where there hardline connects to the rack
 IMG_1420 by lawrx, on Flickr
 IMG_1423 by lawrx, on Flickr
 IMG_1424 by lawrx, on Flickr
 IMG_1426 by lawrx, on Flickr
Leave a comment:
-
Its going to be the stroy of my life with this build. Just dont quote have the income to spend 1k every week when i need new parts lolOriginally posted by cruuz View Post
Nope, none. This build is all about the experience and drover interaction, pure unfiltered driving bliss.Originally posted by royalife View Post
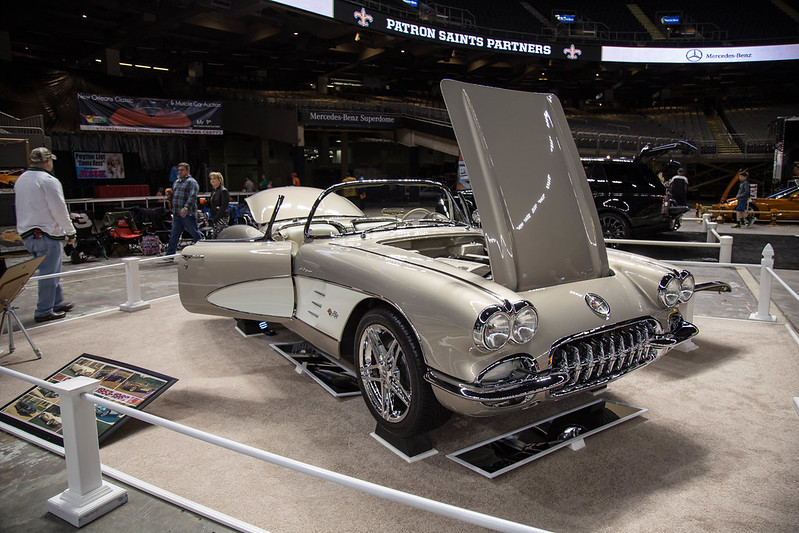
That corvette was nearly the death of my hands from all the body work we did. Sat up for 40 years before it was brought to my dad and i for bodywork and paint. Lets just say it needed ALOT of work. Nearly 2 years of working after hours from our days jobs to get it done.Originally posted by DER E30 View PostLeave a comment:
-
That's a cool Willys and Corvette! Congrats on the baby too!
Engine mounts look good too!Leave a comment:
-
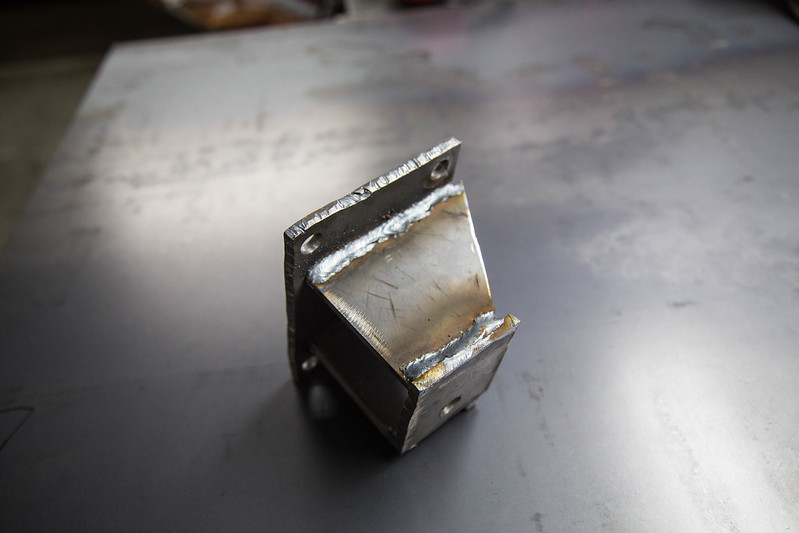
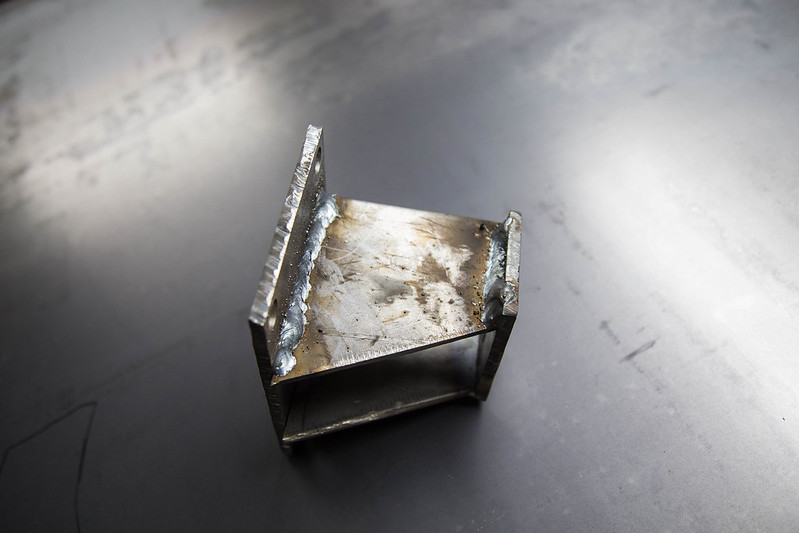
Was able to knock ou the other side motor mount today. They still need some cleaning up of the edges from the plasma cutter and a bit of splatter from welding but they came out decent. Also started on making the metal to shut in the drop out section of the front subframe. Good ole loose leaf paper makes for great template making. Once subframe is welded shut i can start on making the jig to locate the front lca front mount position and the front strut tower placement as well in prep of the front tubular setup.
 IMG_1386 by lawrx, on Flickr
 IMG_1387 by lawrx, on Flickr
 IMG_1389 by lawrx, on Flickr
 IMG_1390 by lawrx, on Flickr
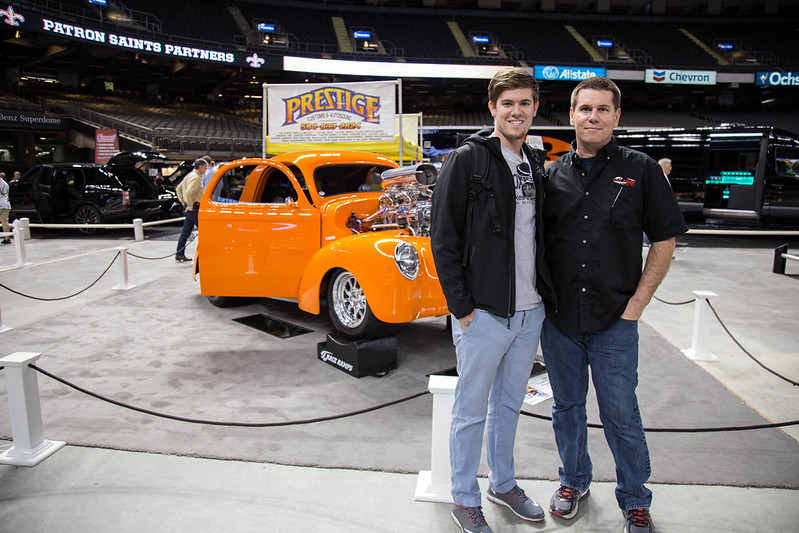
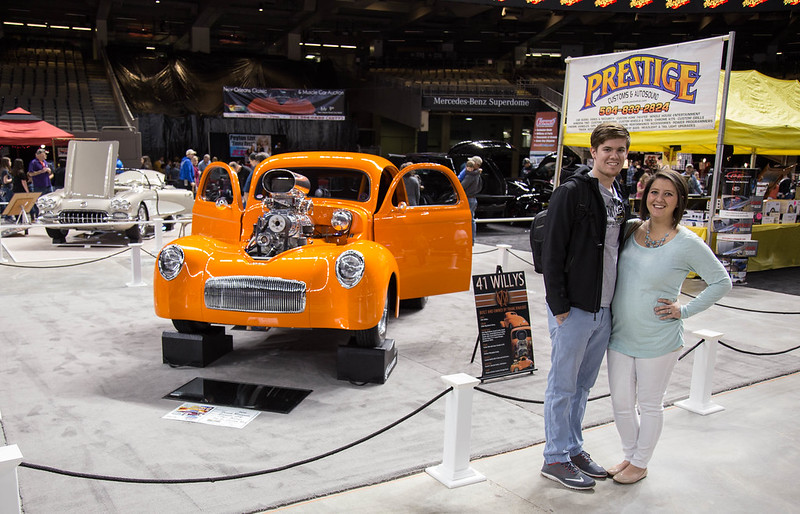
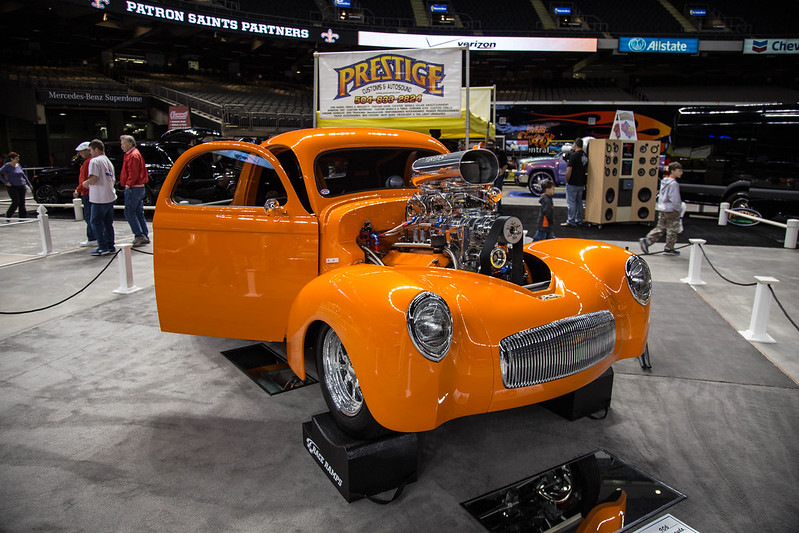
Also went out this morning to support my dad and a friend of ours who we did the bodywork and paint on at World of Wheels car show in the Superdome down in New Orleans. Both ended up winning 1st in class, so pretty awesome to have had a hand in each build and them place so well, there were some decent cars there as well. Dont mind the wife, she's not fat she is just prego haha
 IMG_1367 by lawrx, on Flickr
 IMG_1374 by lawrx, on Flickr
 IMG_1352 by lawrx, on Flickr
 IMG_1351 by lawrx, on Flickr
Also have parts and tools on the way, should have few more parts on way once my contact gets back with me. Ready to start on the roll cage to get the front end moving!Leave a comment:
-
Your not gonna run any sort of rubber in-between the motor and subframe? Good progress so far man, keep it up.Leave a comment:
-
Waiting on money to buy the next part for connect-the-dots is the wooooorst, in the middle of that myself Lolz. Keep building bud, it's extra motivation for meLeave a comment:
-
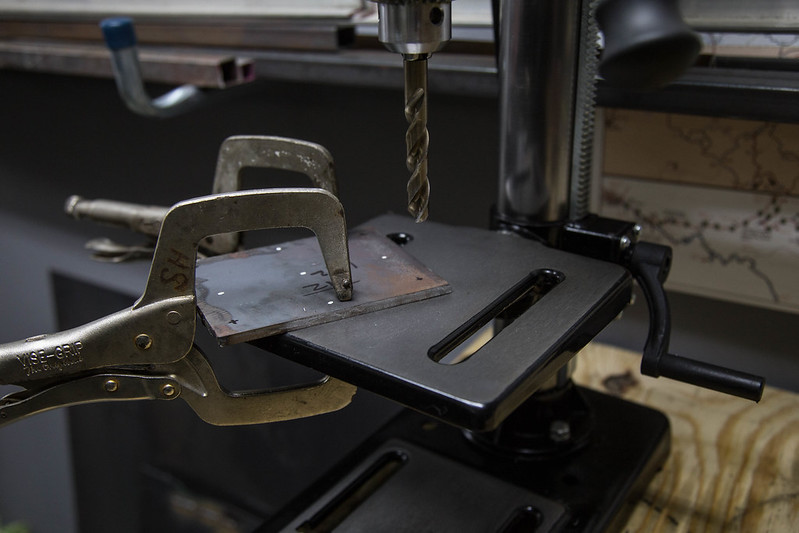
Finally able to get some sorta work done after the last two weeks sucking. Finished drilling the mount holes for one side of motor mounts, cut out the connecting pieces and welded them in. So one motor mount is complete, hopefully knock the next one out this weekend,
 untitled (1 of 9)-2 by lawrx, on Flickr
 untitled (2 of 9)-2 by lawrx, on Flickr
 untitled (3 of 9)-2 by lawrx, on Flickr
 untitled (4 of 9)-2 by lawrx, on Flickr
 untitled (5 of 9)-2 by lawrx, on Flickr
 untitled (6 of 9)-2 by lawrx, on Flickr
 untitled (7 of 9)-2 by lawrx, on Flickr
 untitled (8 of 9)-2 by lawrx, on Flickr
 untitled (9 of 9)-2 by lawrx, on Flickr
Leave a comment:
-
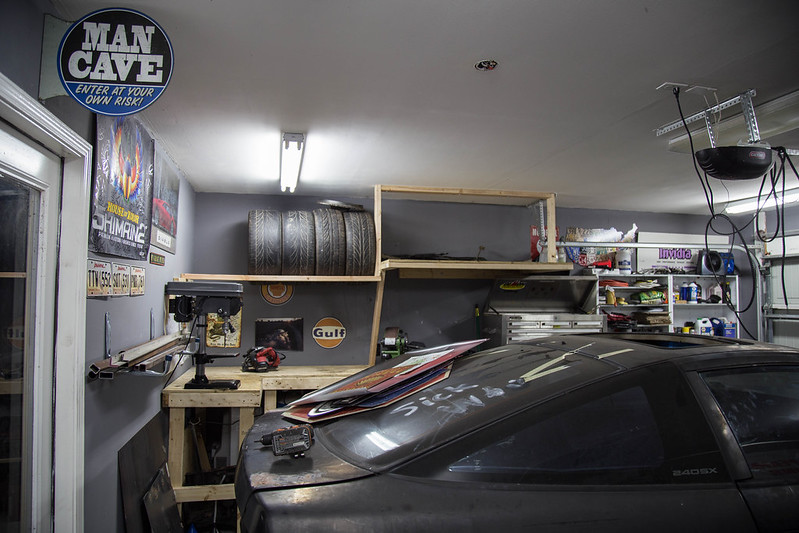
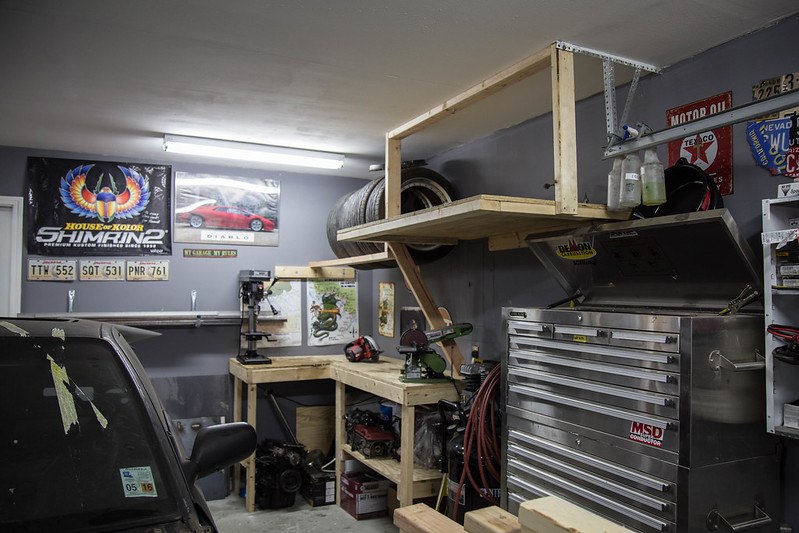
Well, this past week has been a bust. Last weekend i was hoping to get the motor mounts finished and drivetrain all mounted up but ran out of time. This week has also sucked, I've been sick all week and had zero energy to touch the car. Today had a friend come by and help me build a storage shelf and wheel shelf. super excited how it came out, easily fit 2 9'' wheels and 2 10'' wheels with room for probably 2 more. Also got some planted seat mounts in, but can't do much of anything with them until my contact gets back with me on pricing for a seat. Need the seat to set main roll cage hoop location so i can set front down bar location which is needed to connect to the dash bar and front strut tower tubes. Its all a connect to dot game, and I'm patiently waiting my turn.
 untitled (1 of 3) by lawrx, on Flickr
 untitled (2 of 3) by lawrx, on Flickr
 untitled (3 of 3) by lawrx, on Flickr
Leave a comment:
-
Lol its cool, my buddy zac rags on me all the time.Originally posted by anti.engineered View Post
And yes the wheels caughtme off guard when i saw a picture online as well, but they function fine so, eh, dont really care lolLeave a comment:

Leave a comment: