 Tweet
Tweet
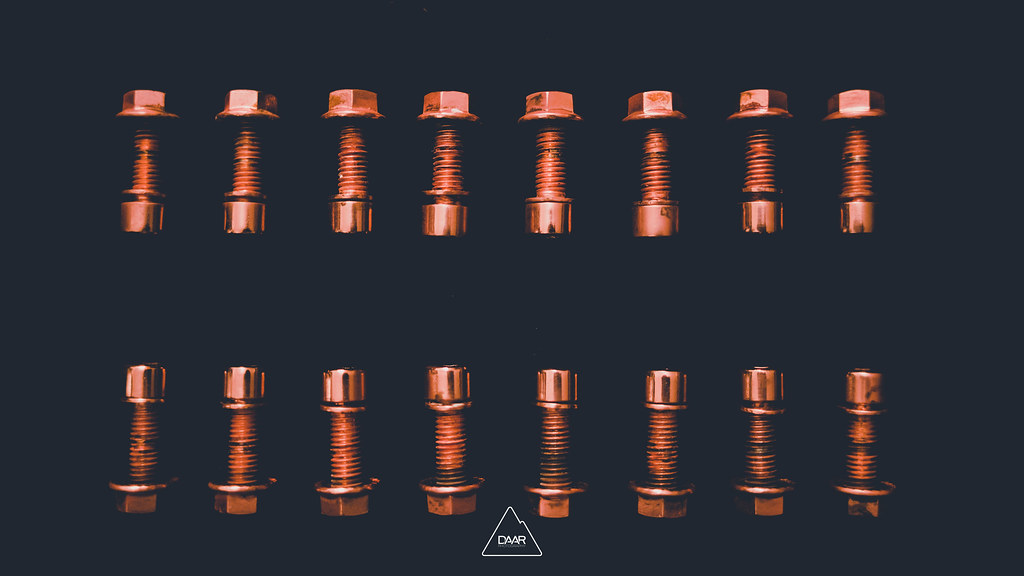
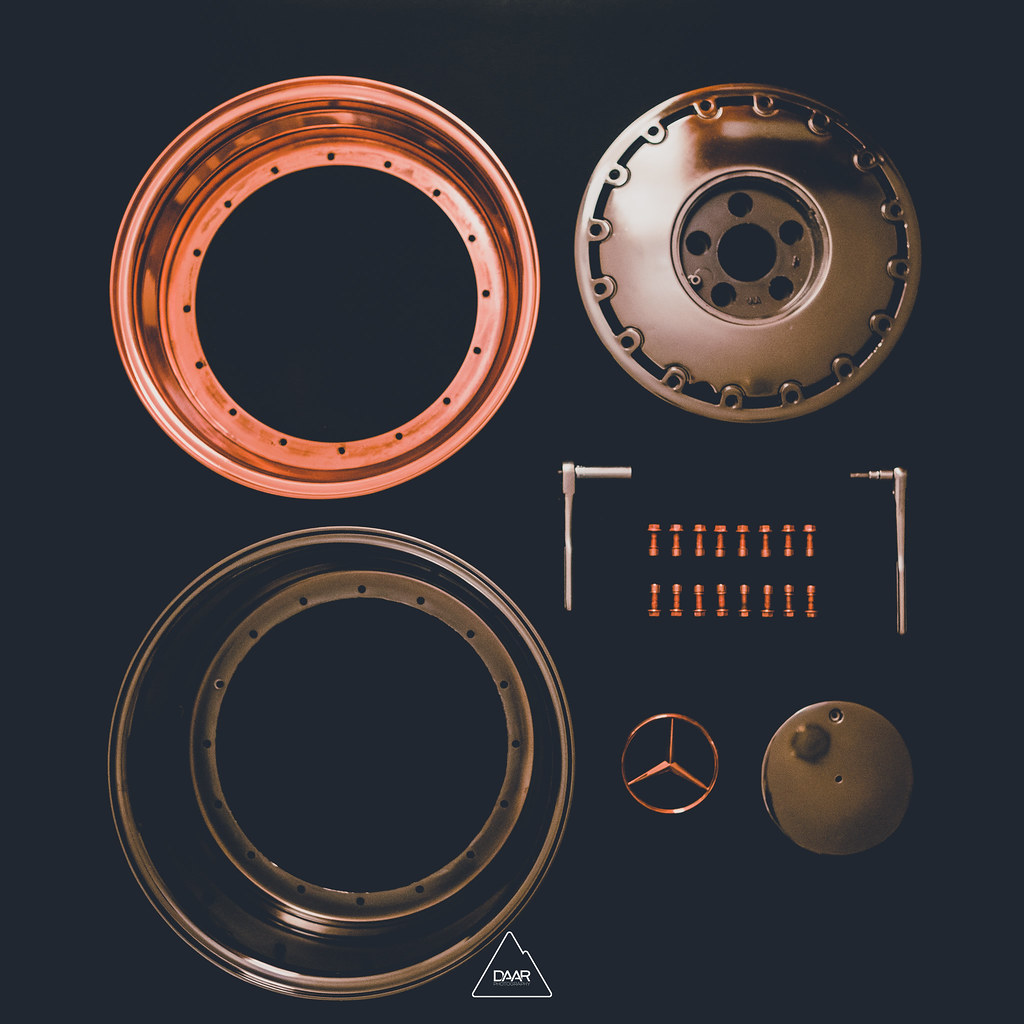
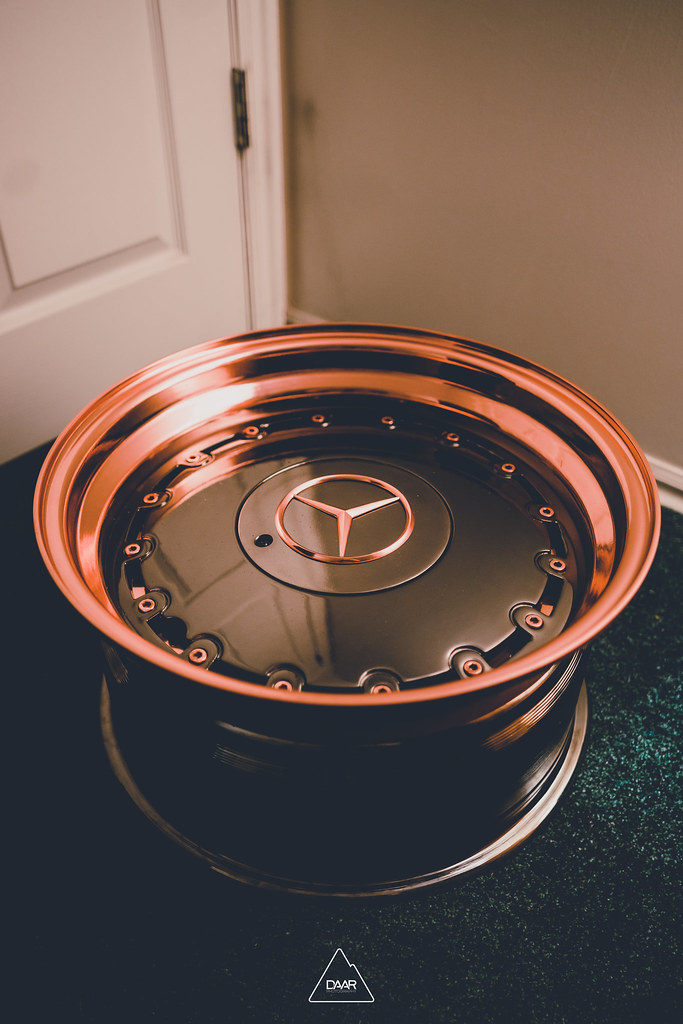
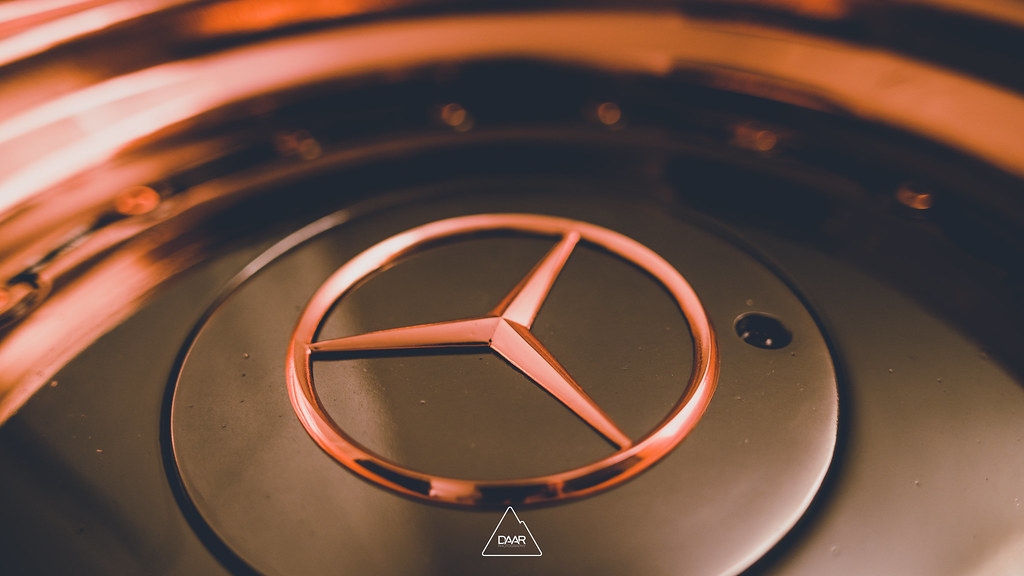
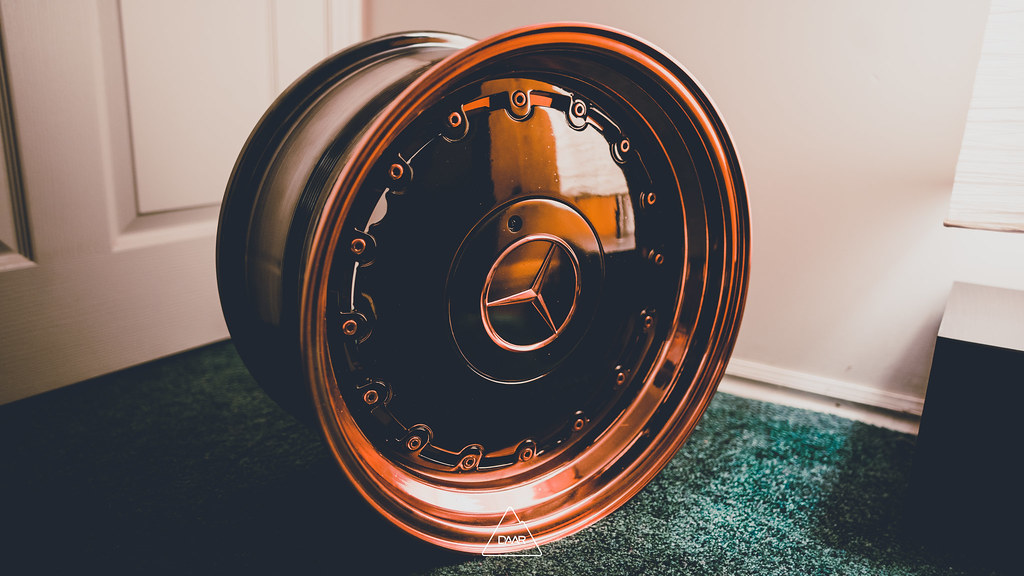
More things!
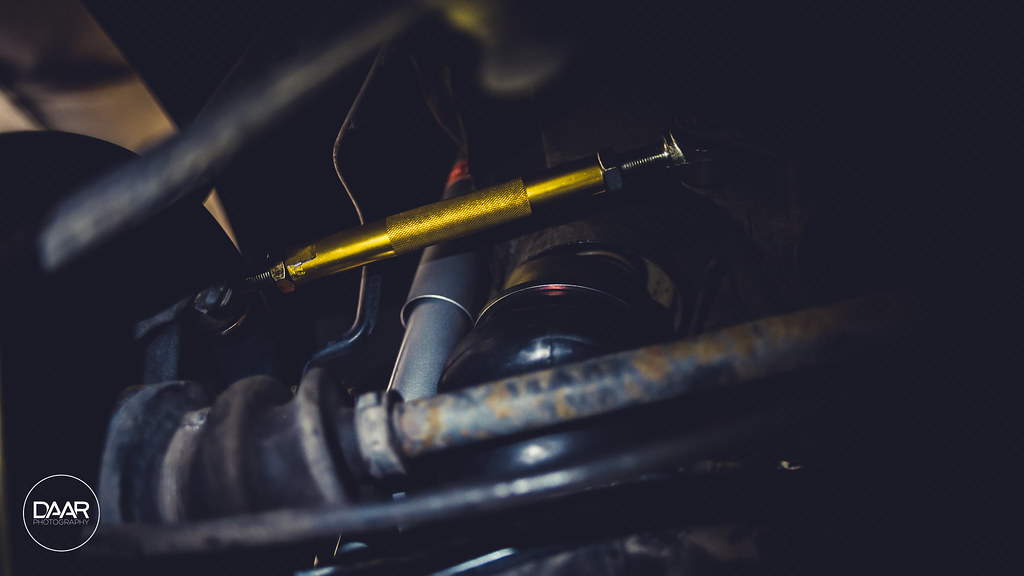
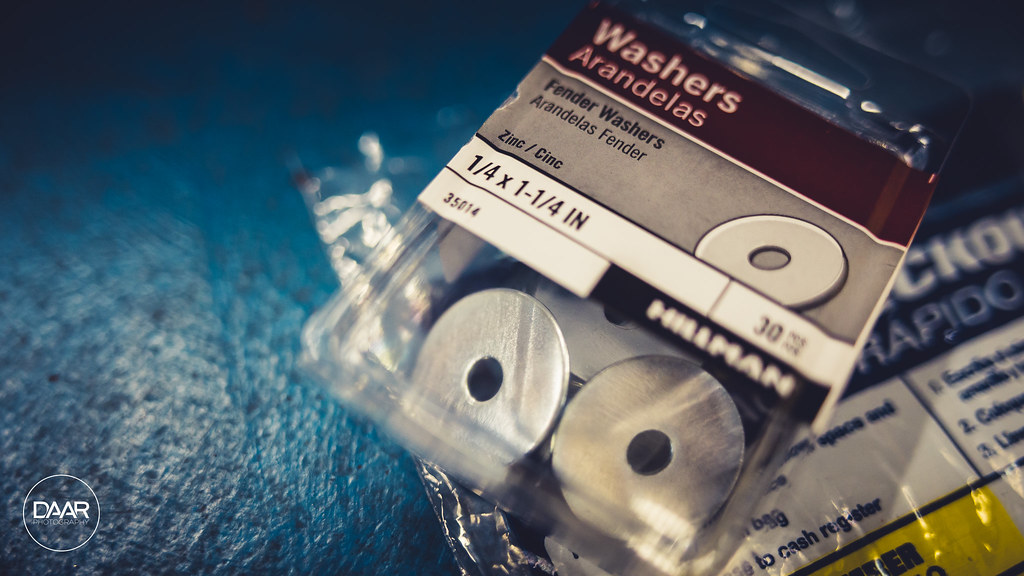
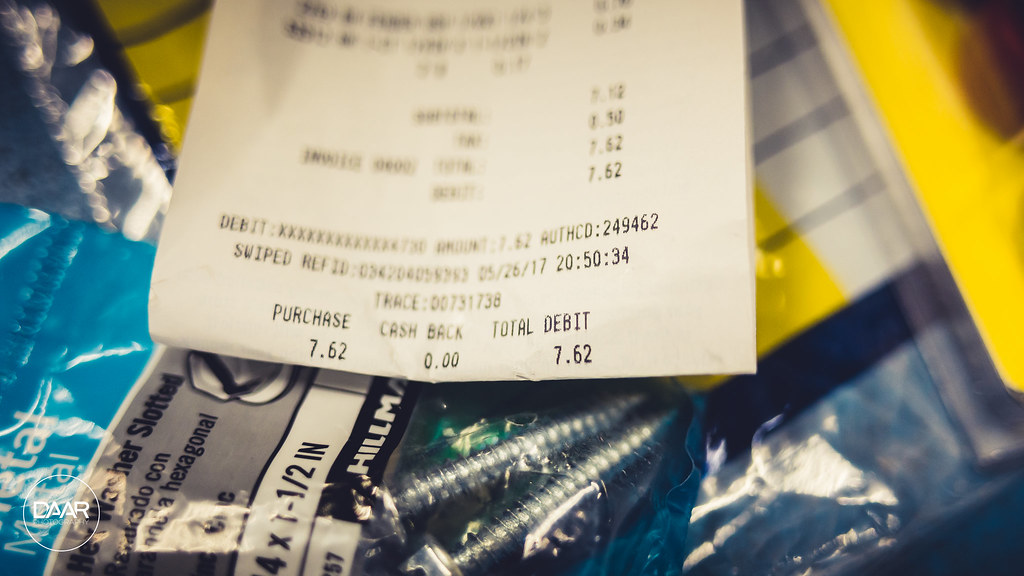
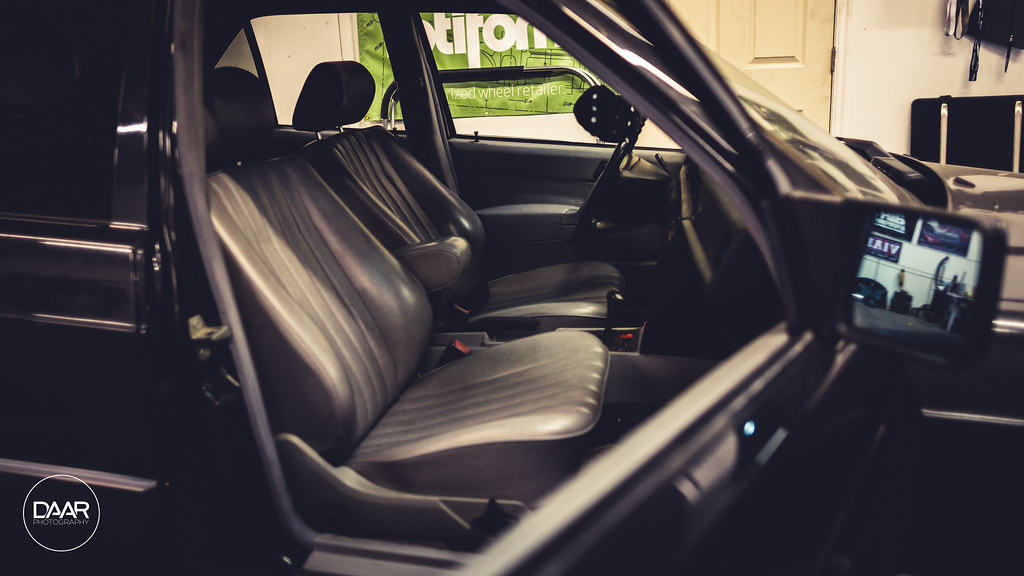
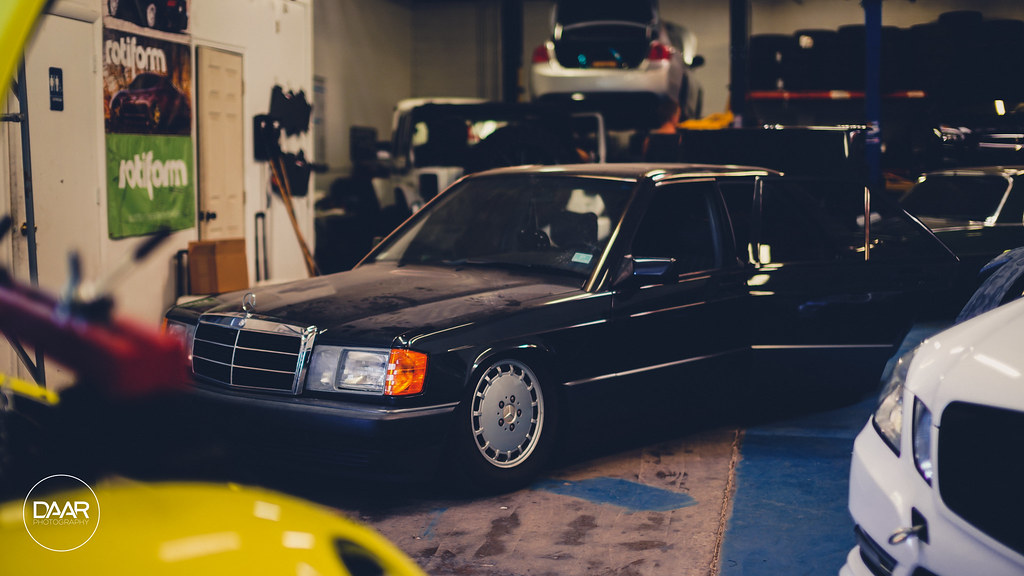
Came back the next night to the shop to start cranking away on pulling the current suspension bits. Started off with a tiny job to get me warmed up.
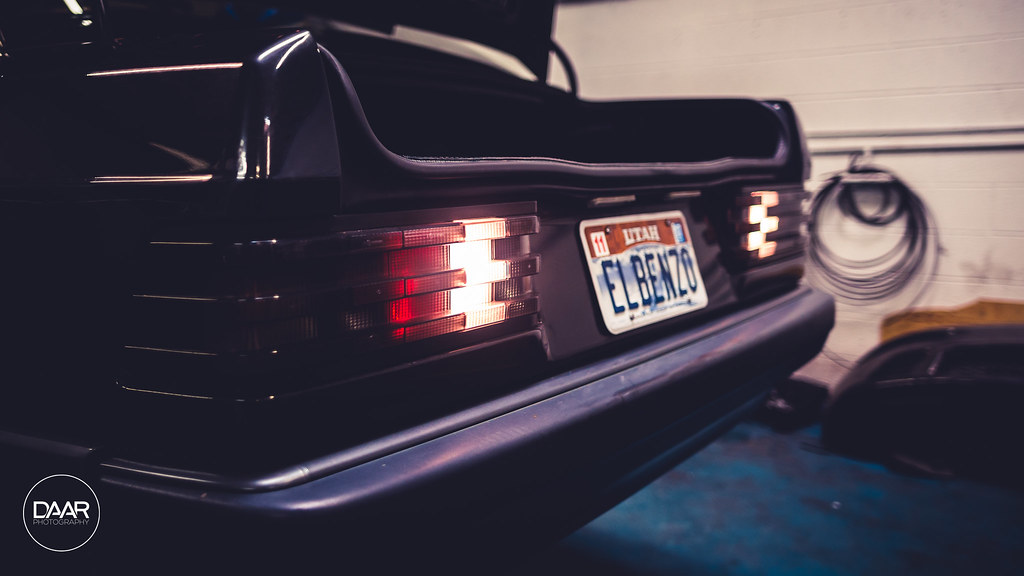
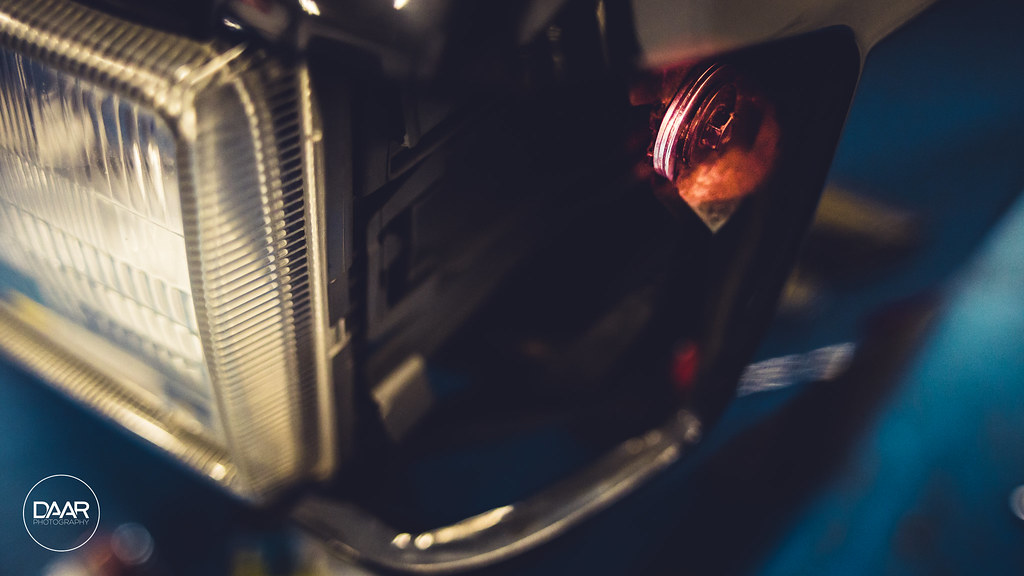
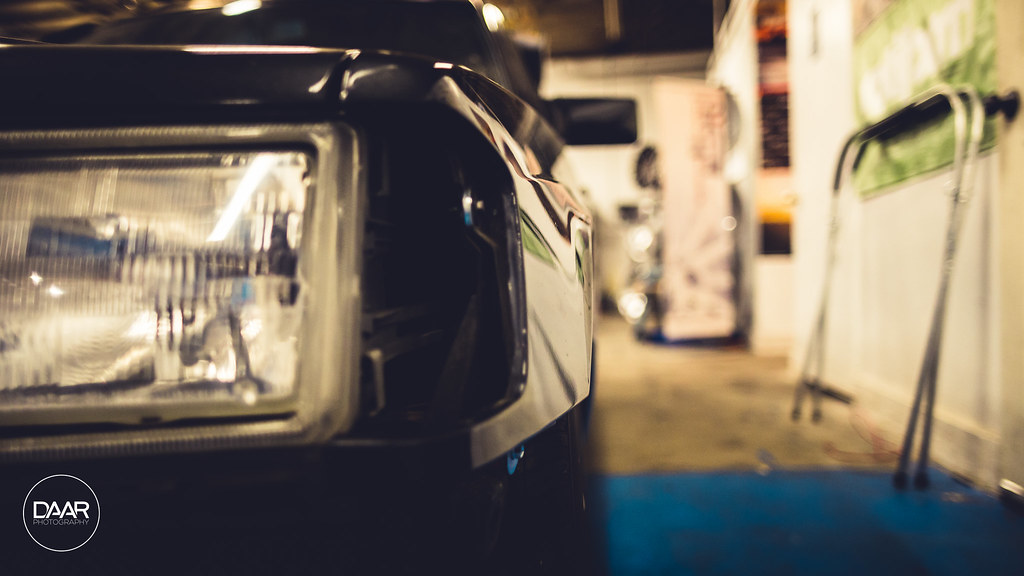
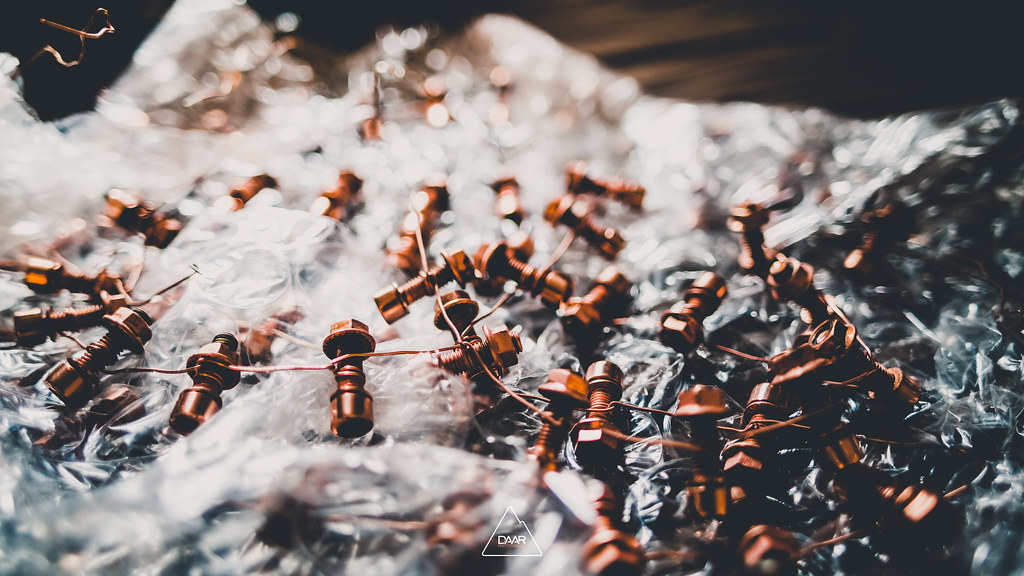
Swapped out the standard bulbs for LED bulbs, didn't really do shit except make it a little brighter. Oh whale
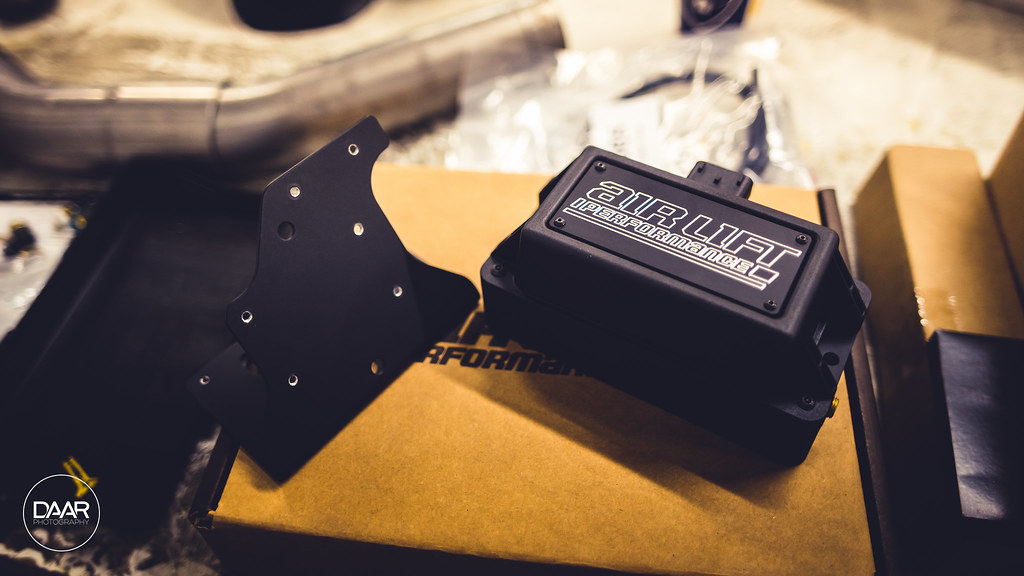
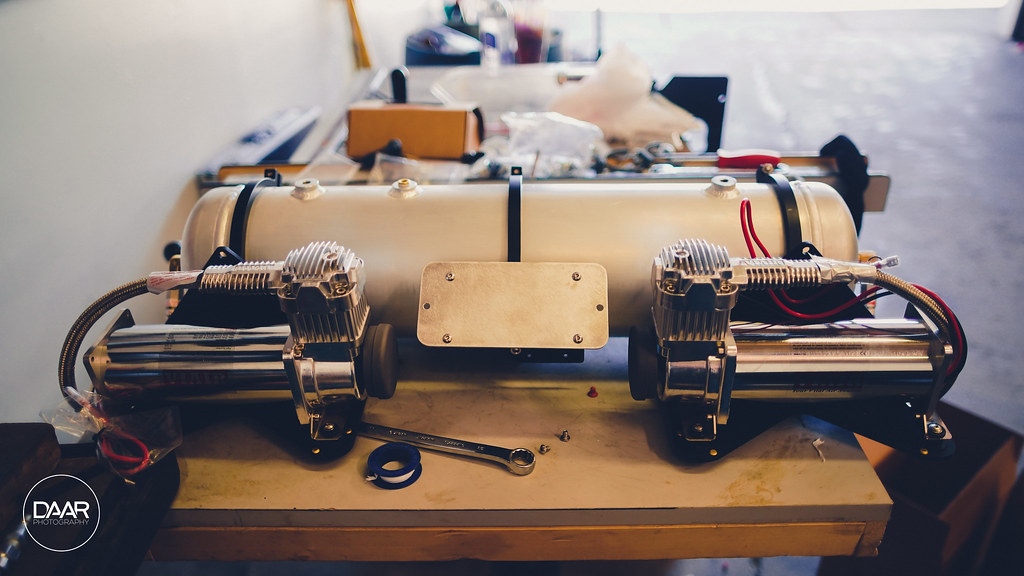
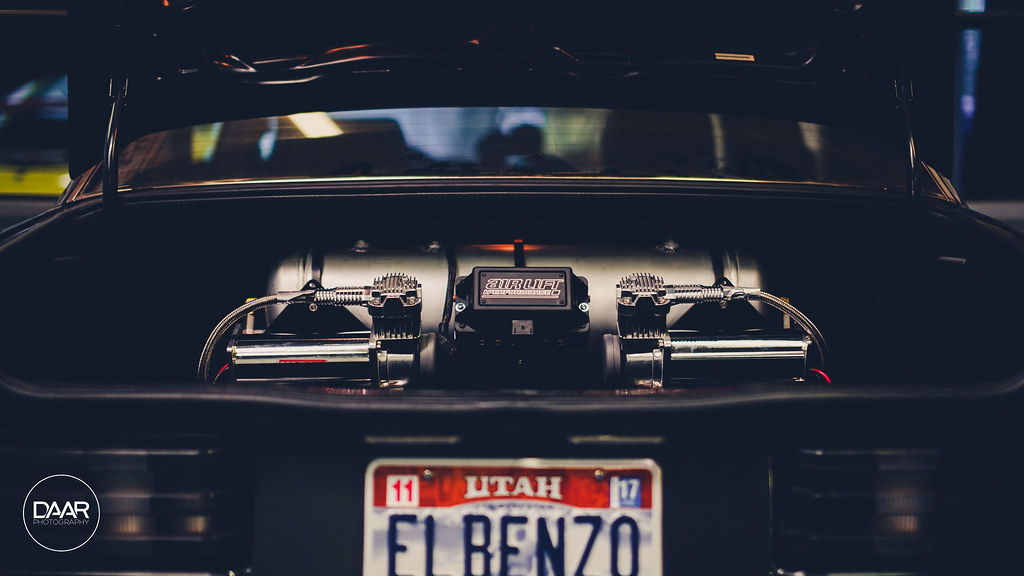
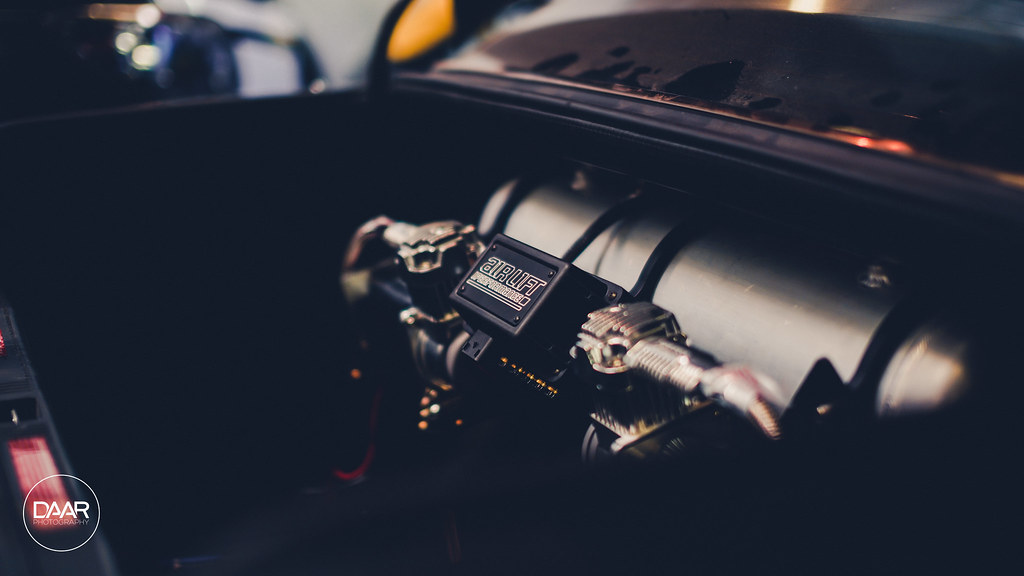
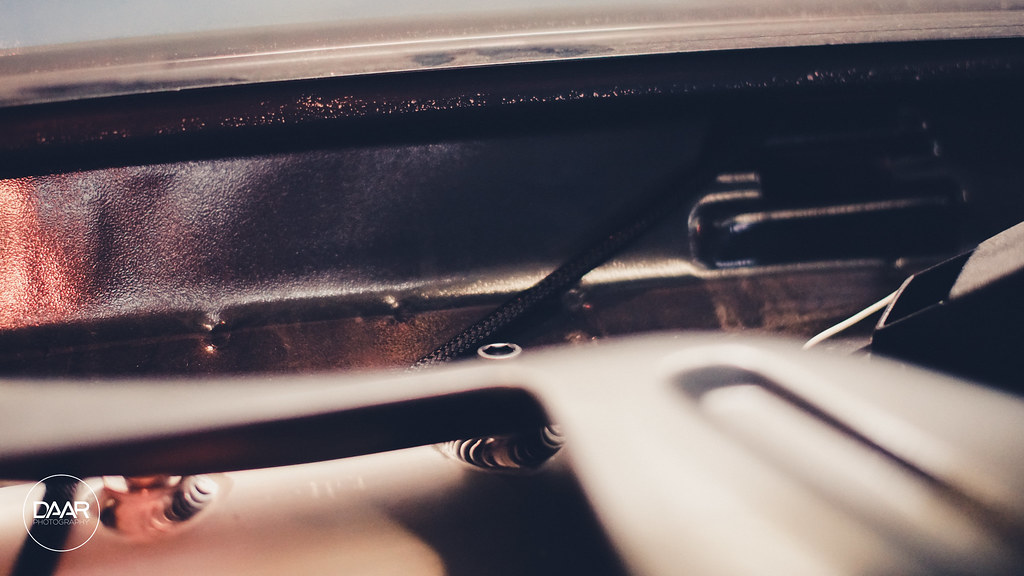
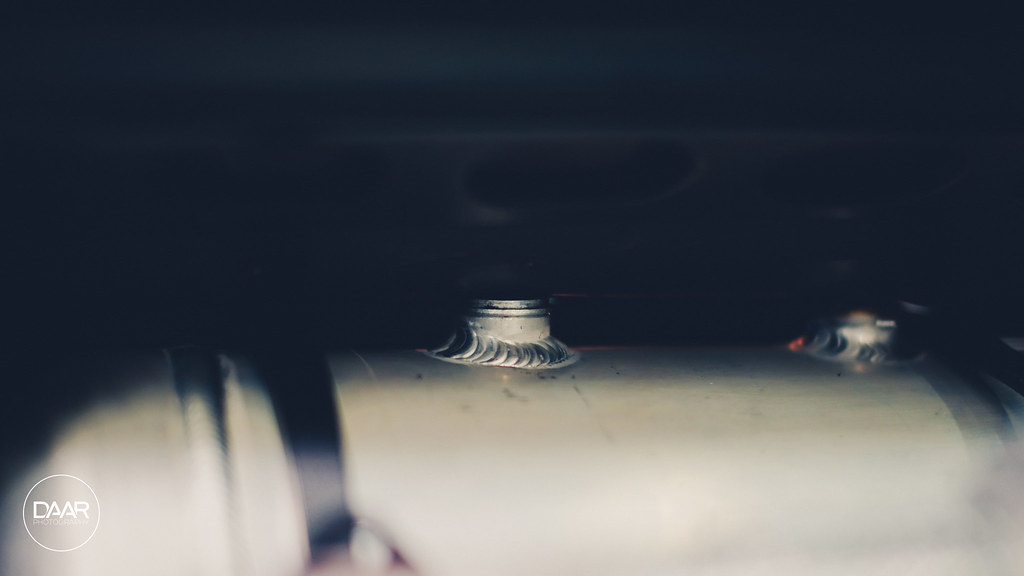
 Air Ride Install @ Salt City Auto Styling by David Arellano, on Flickr
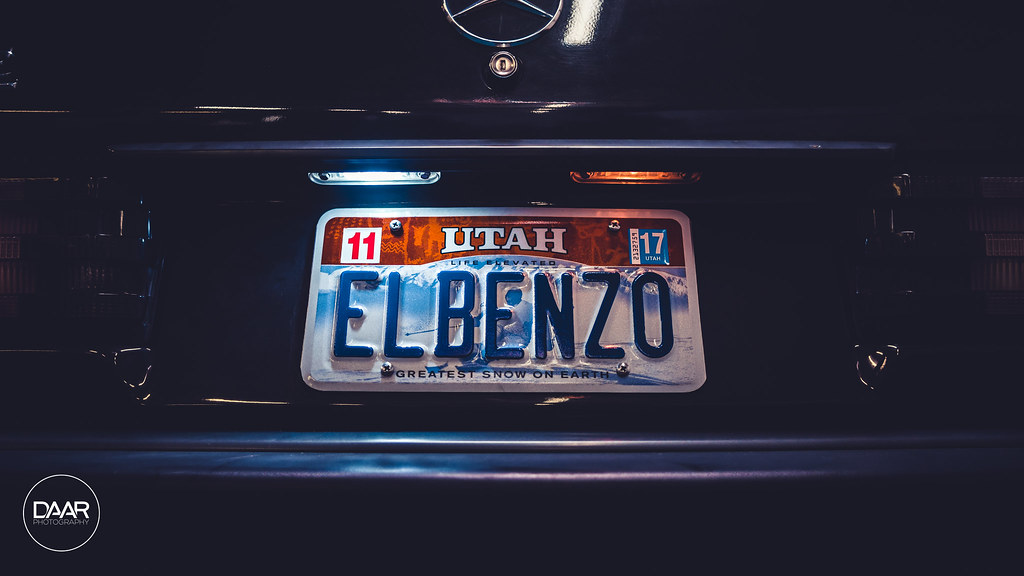
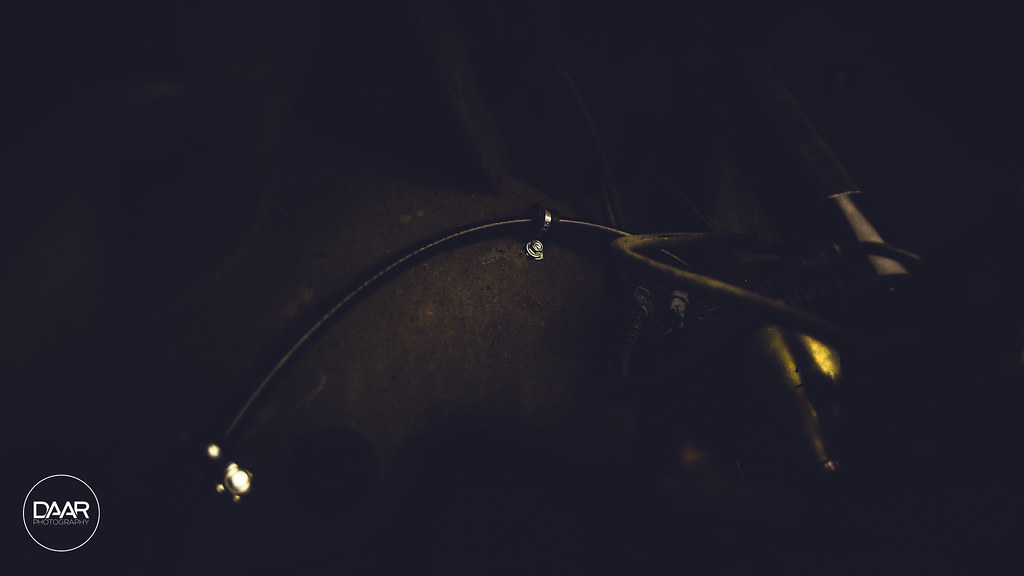
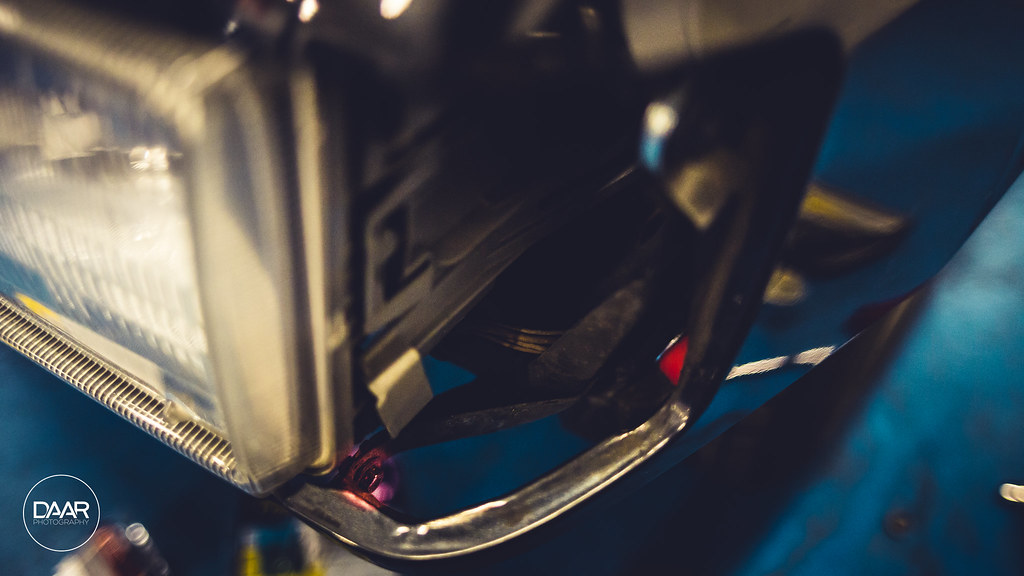
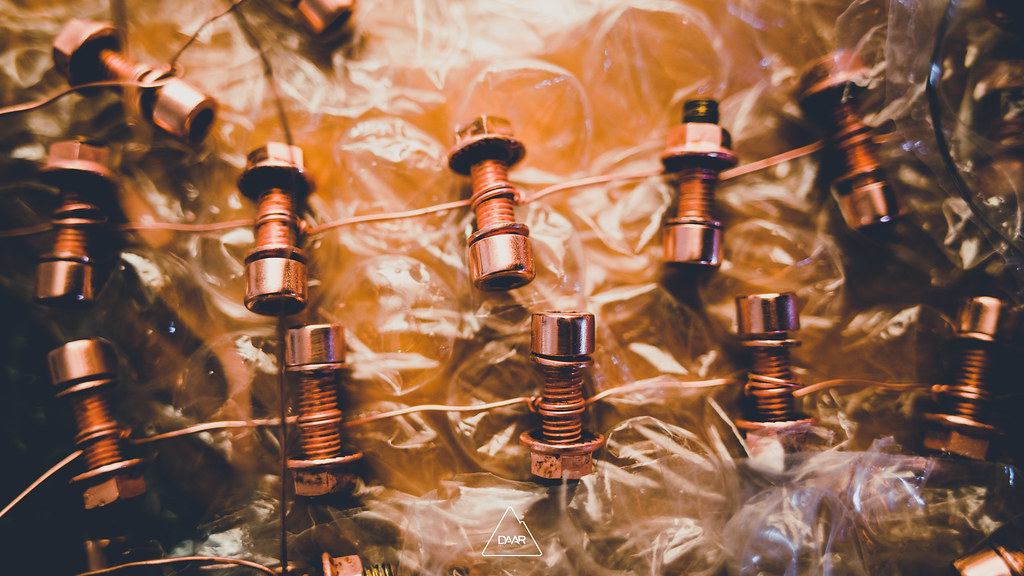
THEN I swapped out my license plate bulbs for some MUCH brighter LED's and holy crap did it make a difference!
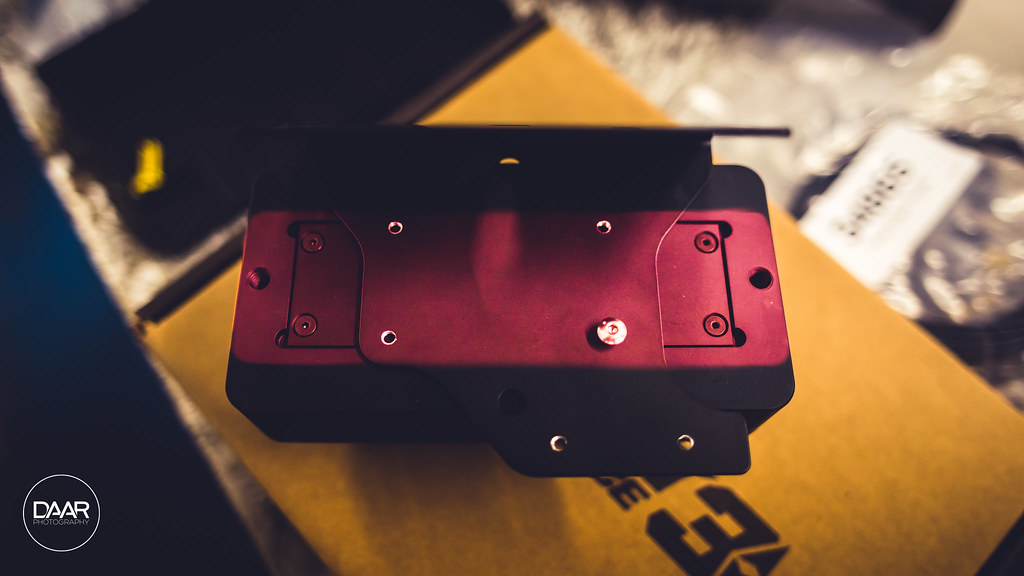
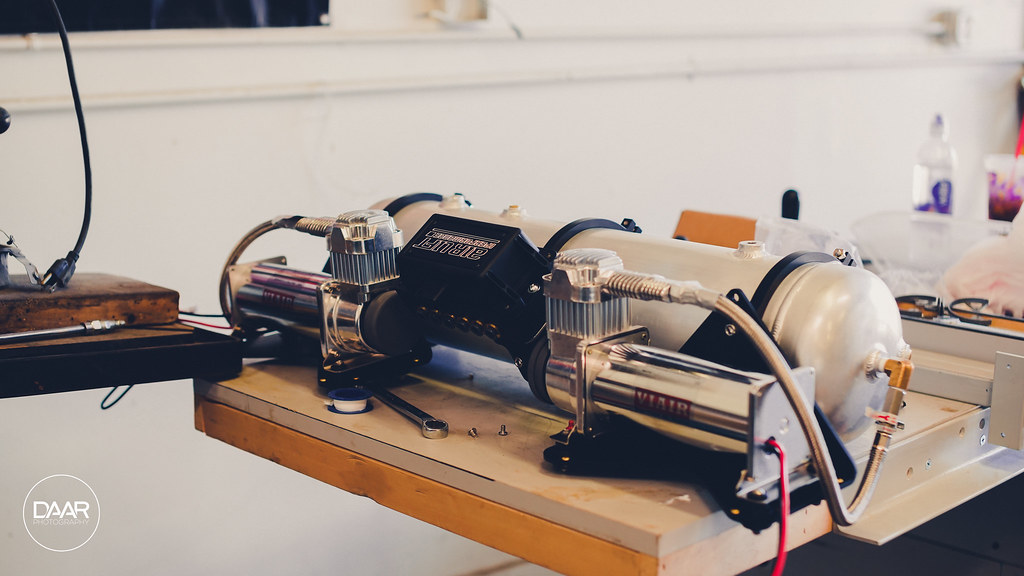
 Air Ride Install @ Salt City Auto Styling by David Arellano, on Flickr
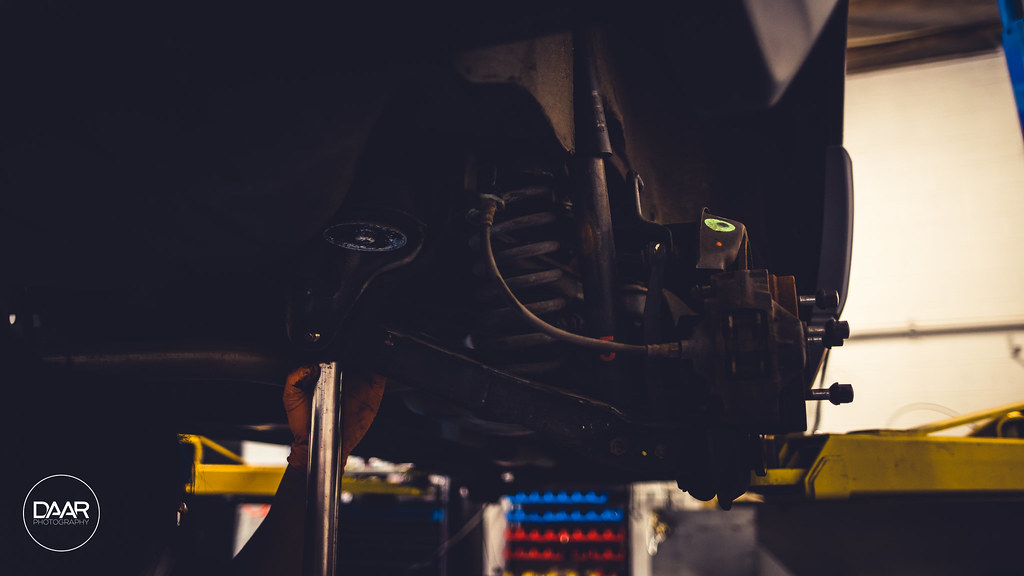
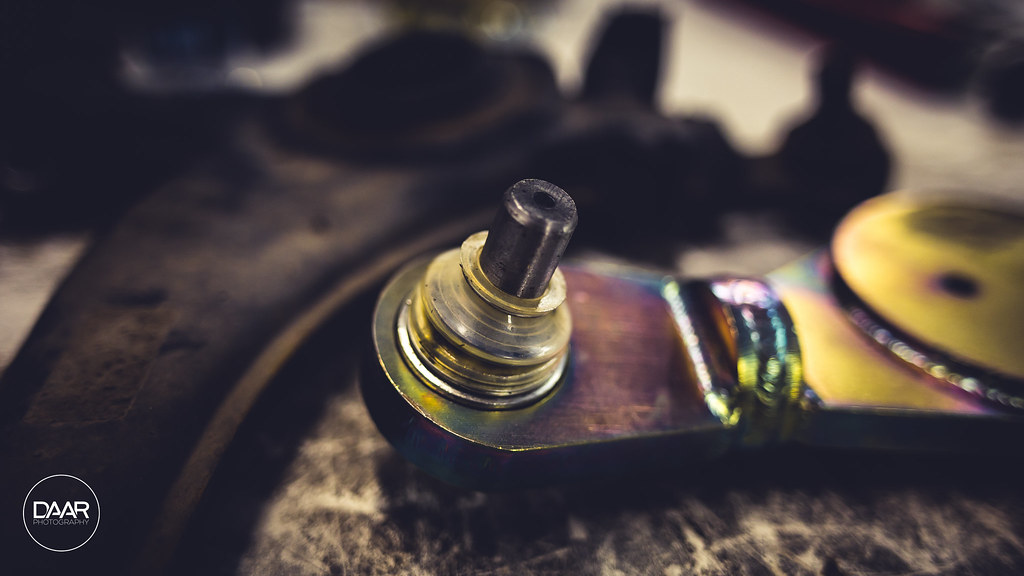
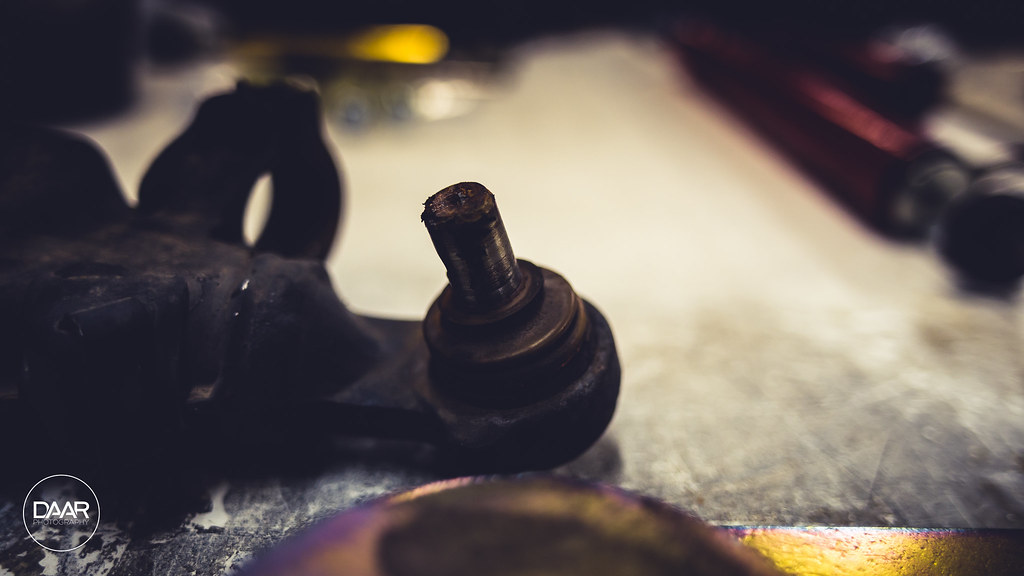
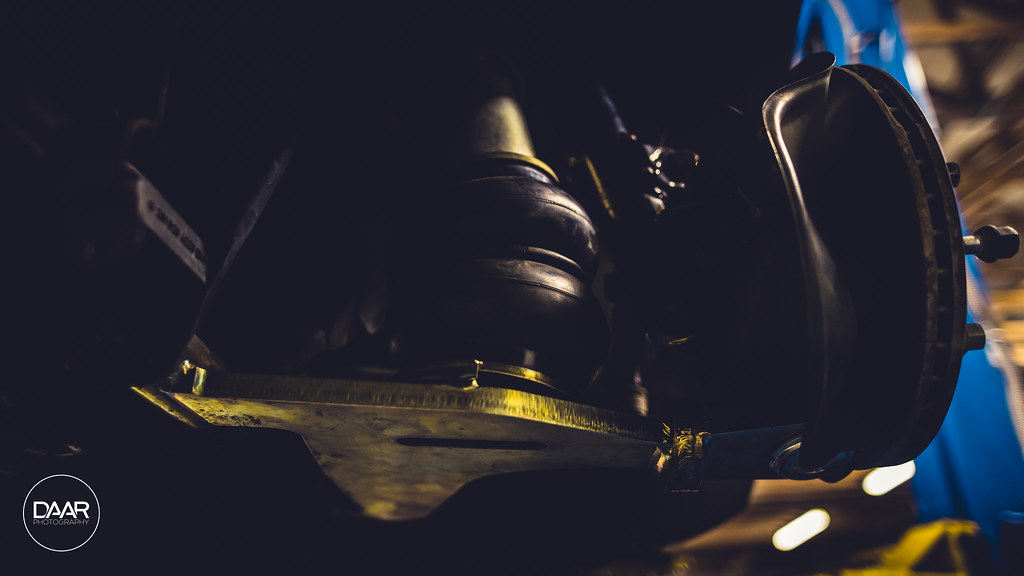
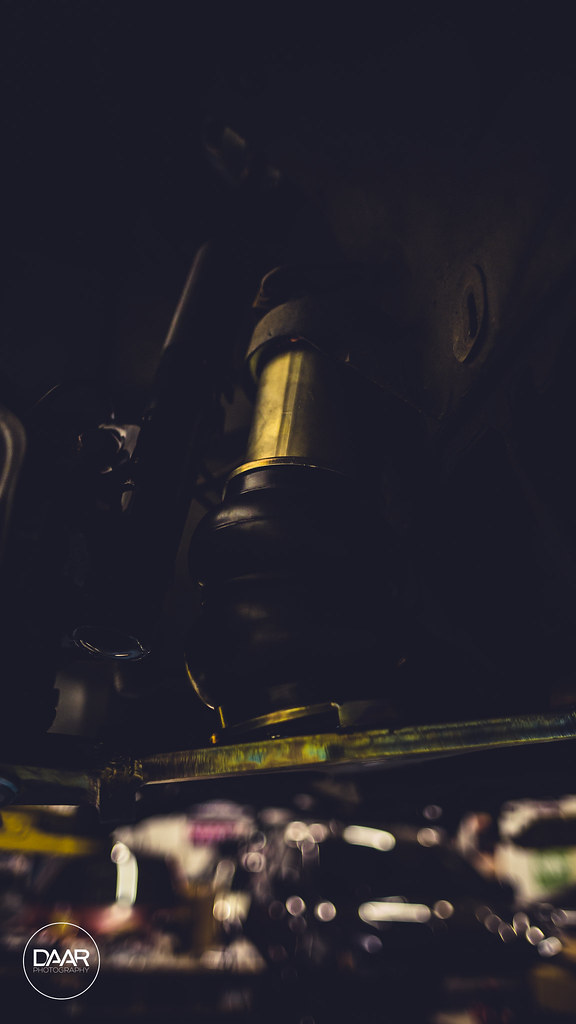
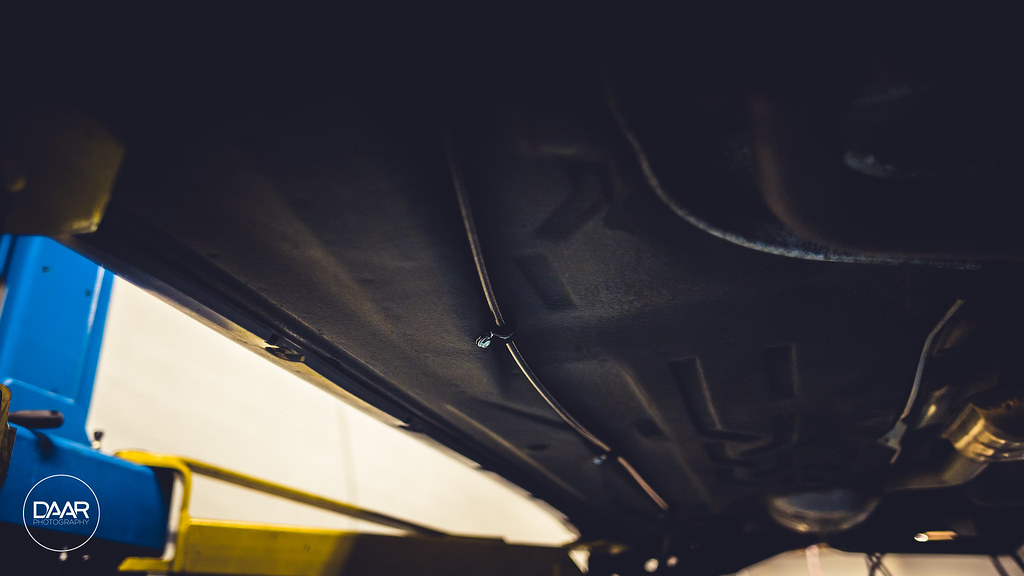
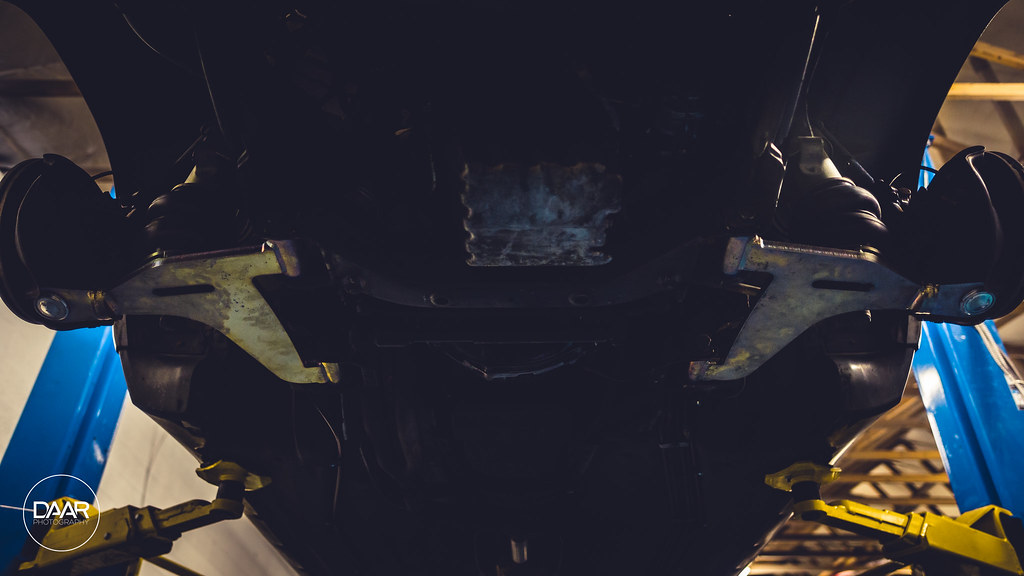
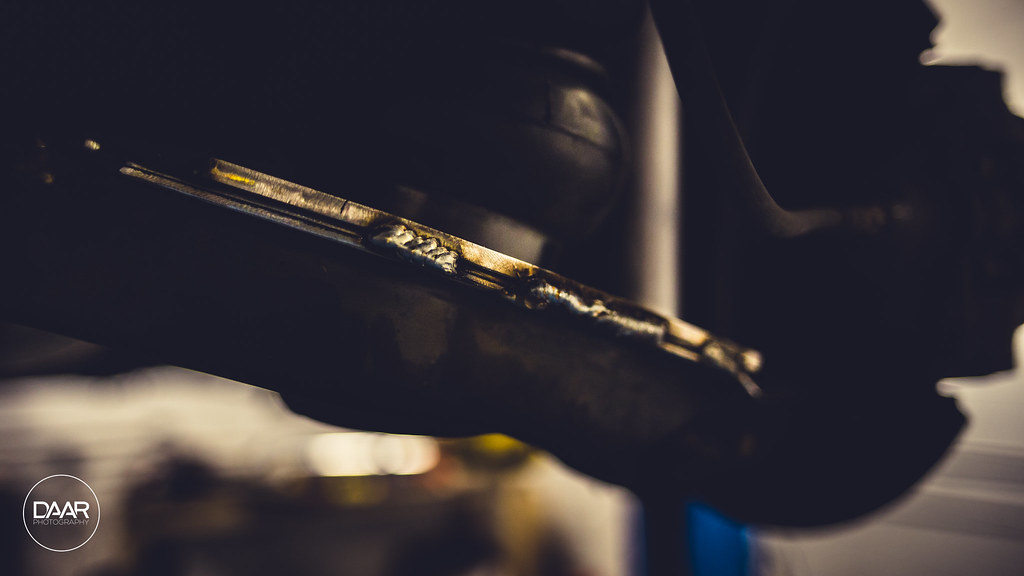
THEN it was time to really get started. Started off in the rear pulling the LCA's off. I was amazed to find virtually no rust whatsoever under the car. Every bolt came out just as it should from factory.
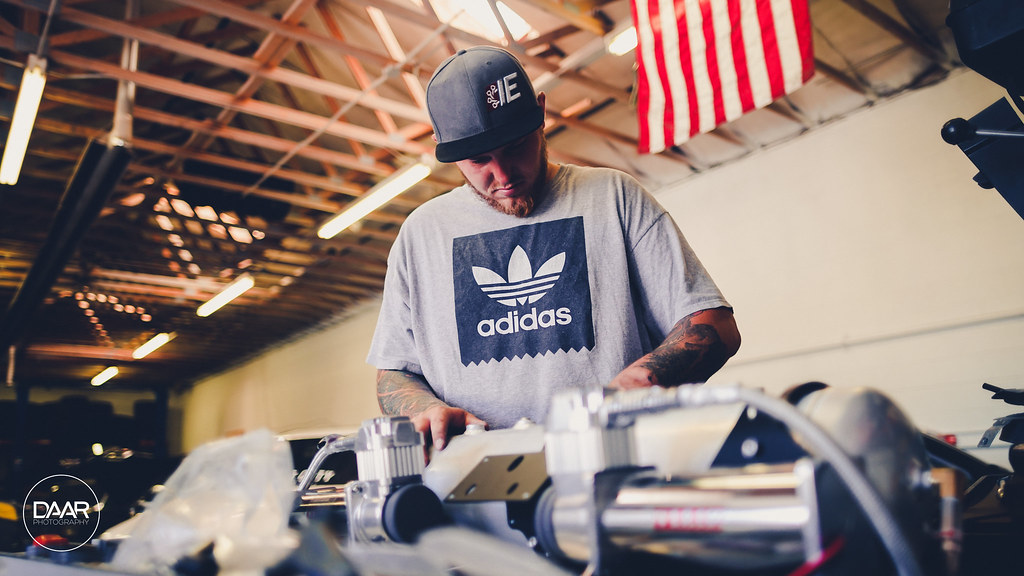
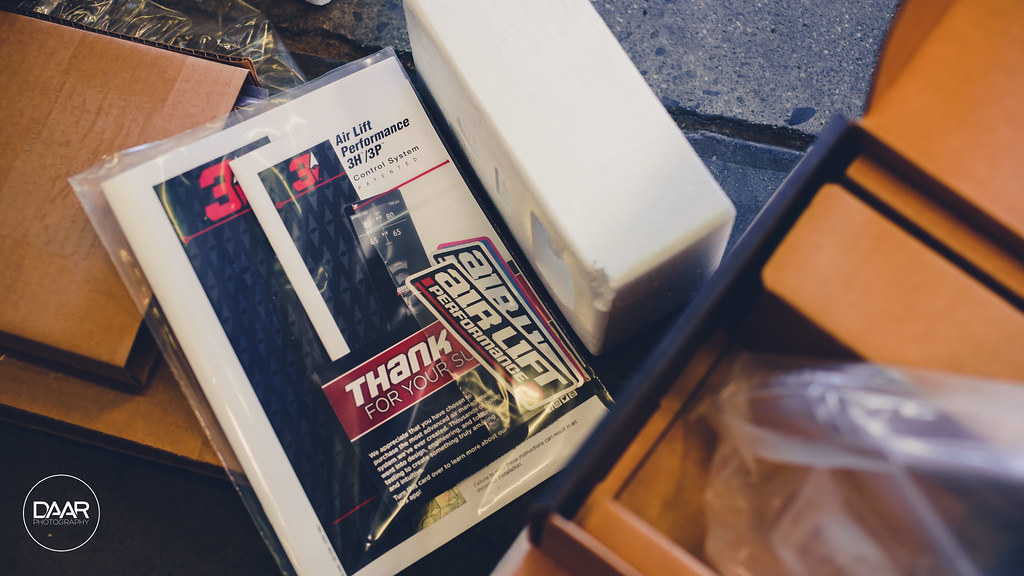
 Air Ride Install @ Salt City Auto Styling by David Arellano, on Flickr
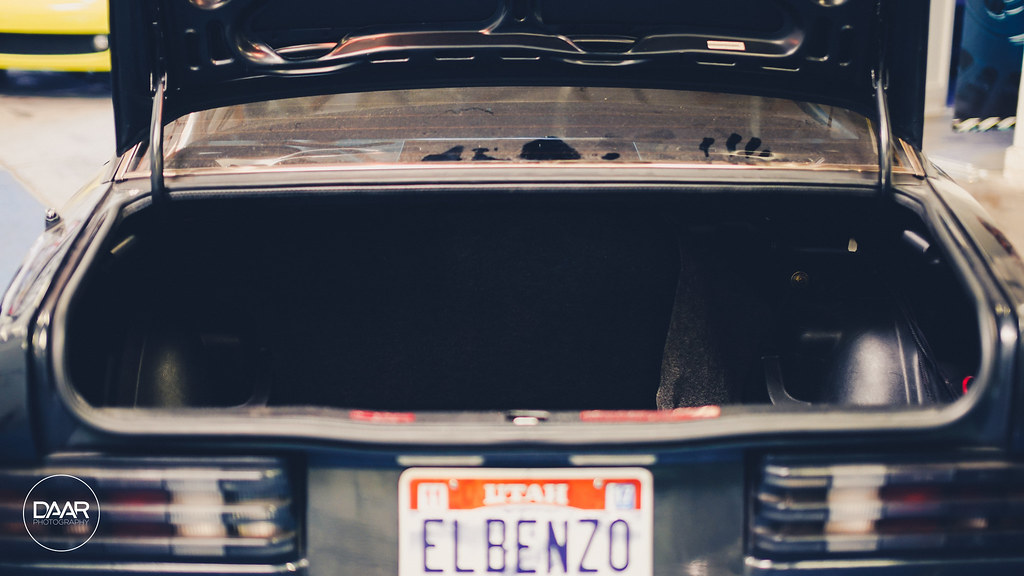
 Air Ride Install @ Salt City Auto Styling by David Arellano, on Flickr
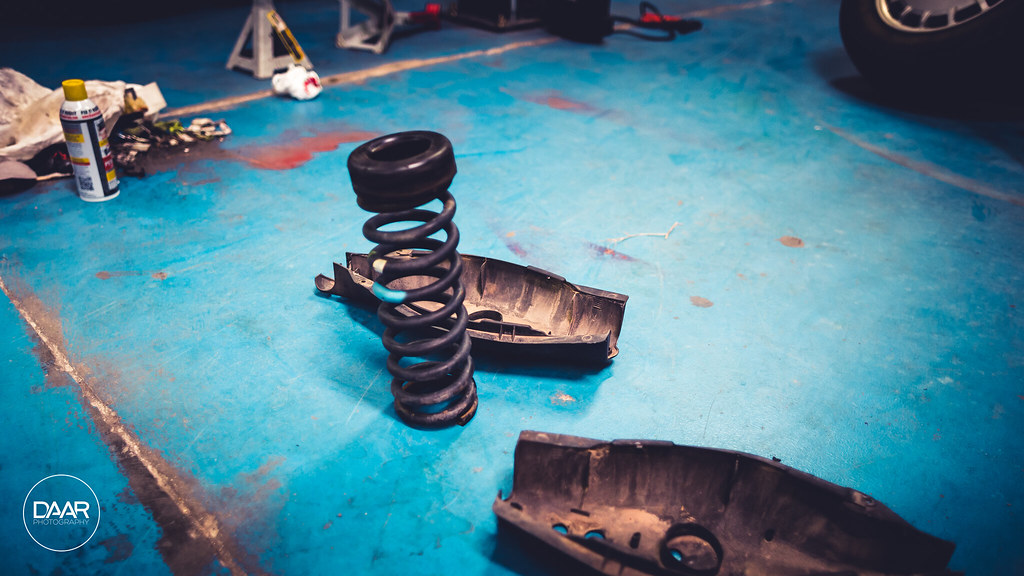
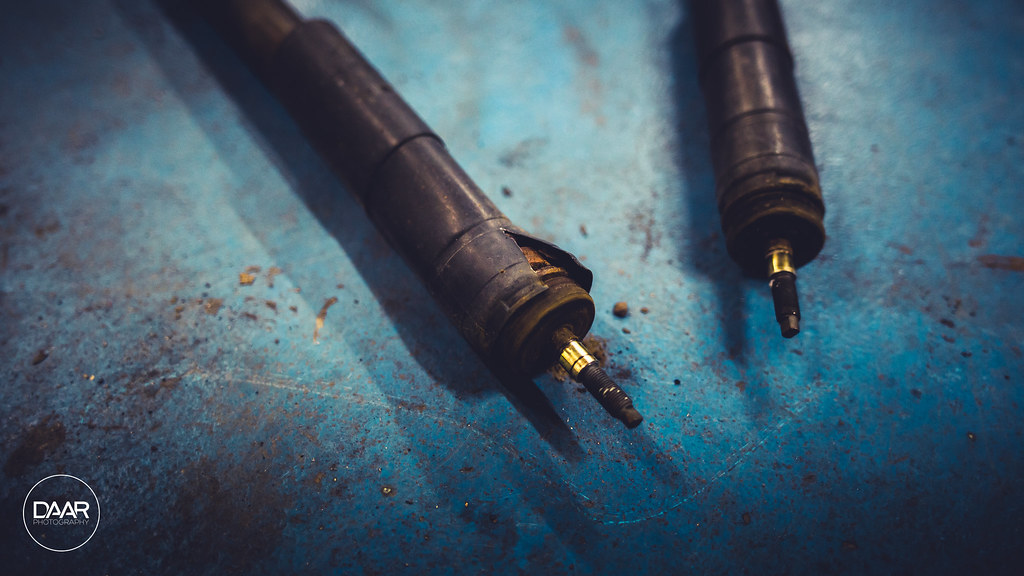
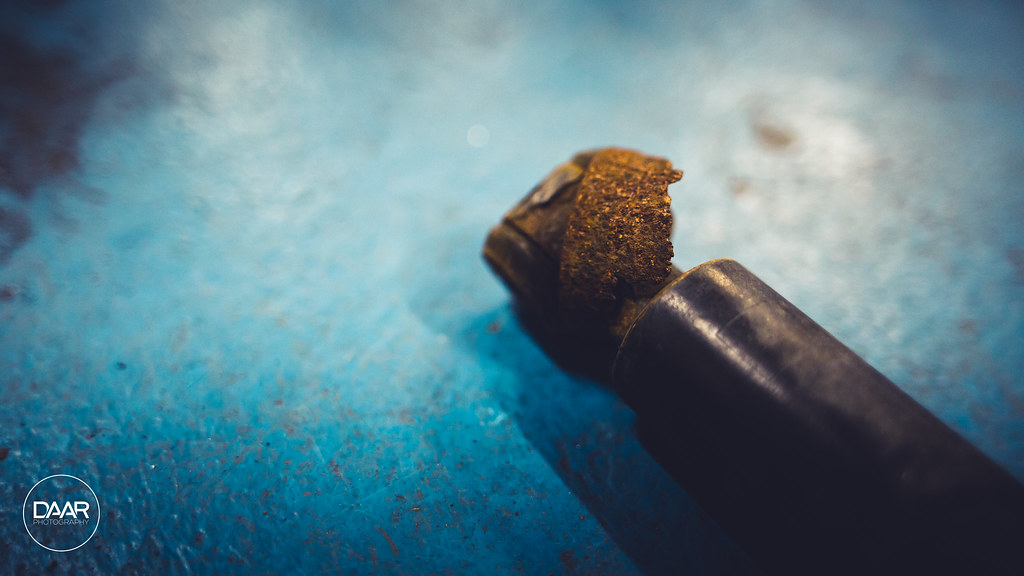
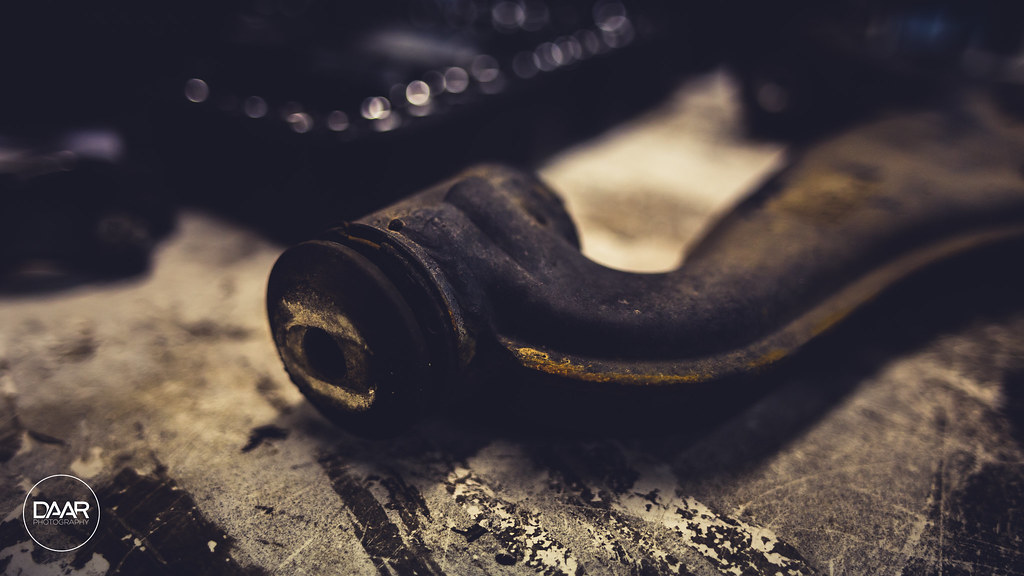
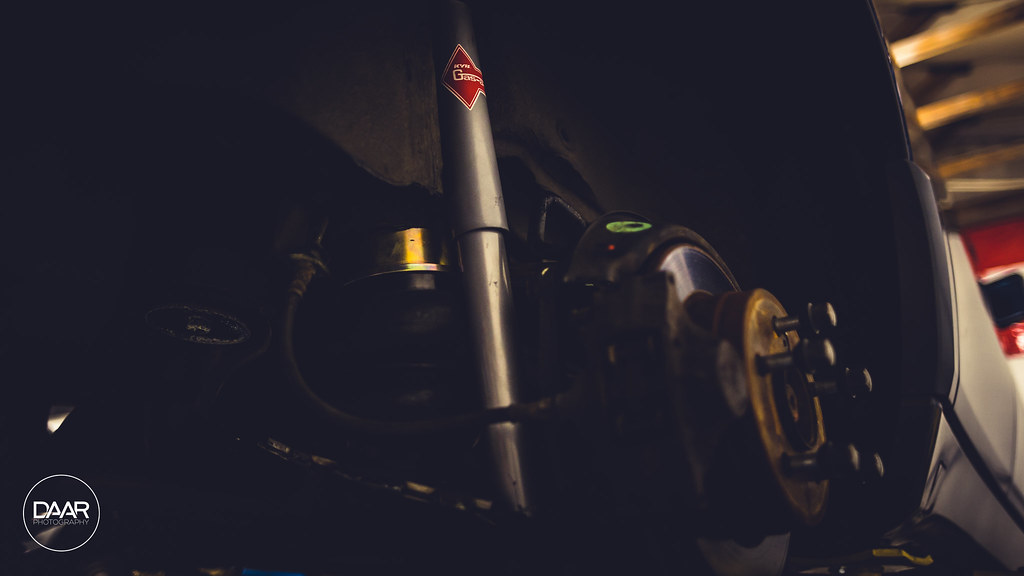
The rear shocks were completely toast!
 Air Ride Install @ Salt City Auto Styling by David Arellano, on Flickr
 Air Ride Install @ Salt City Auto Styling by David Arellano, on Flickr
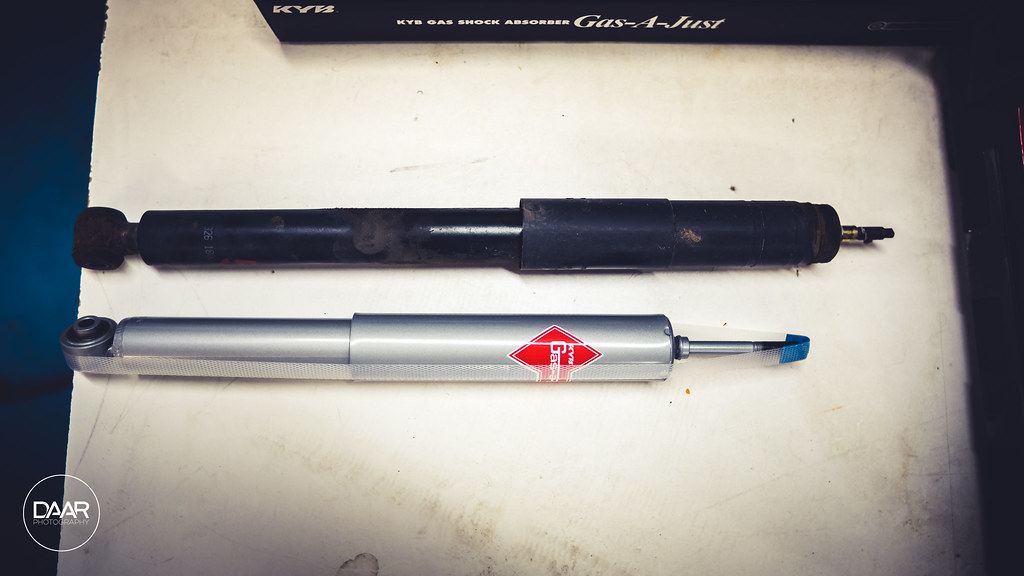
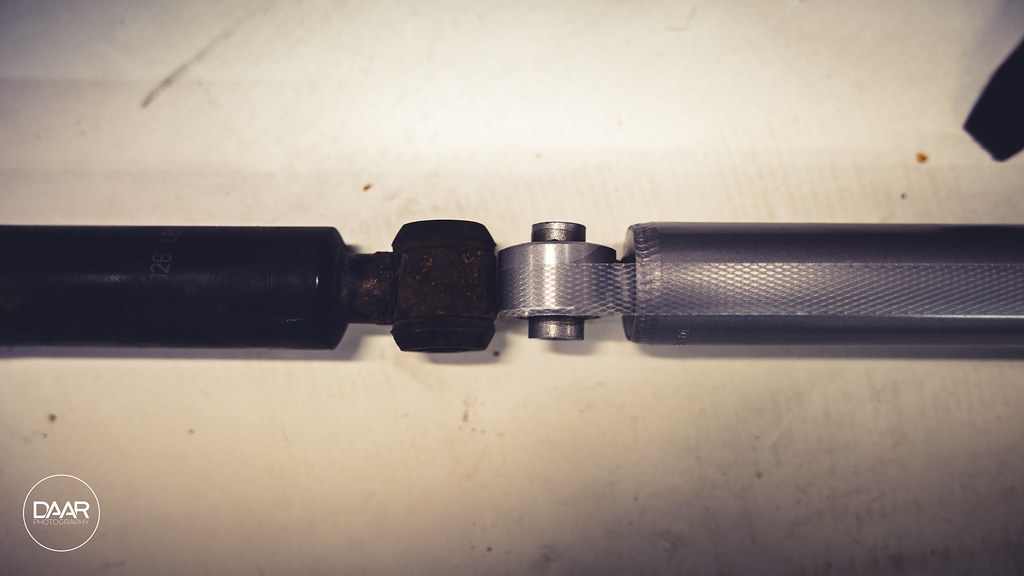
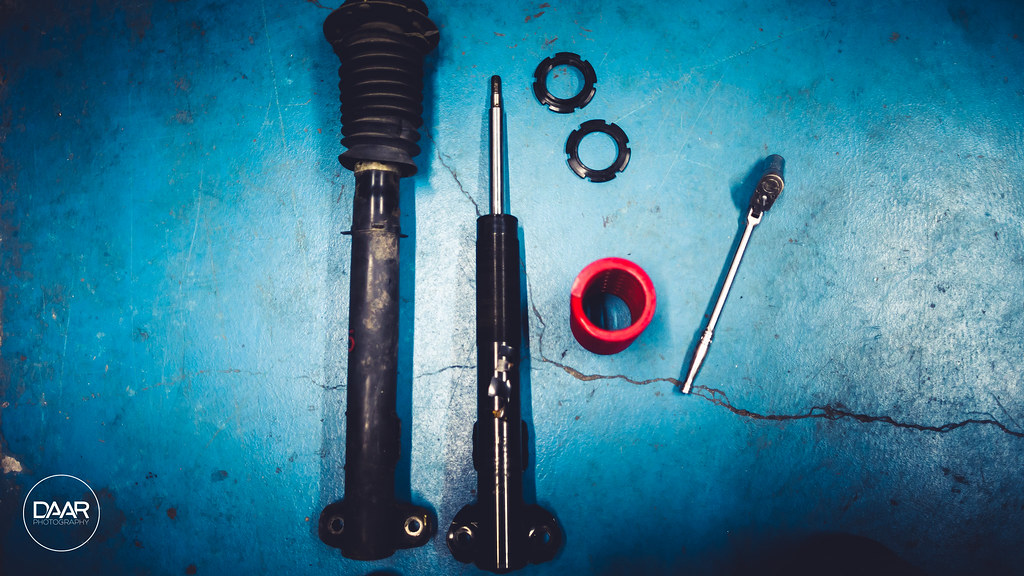
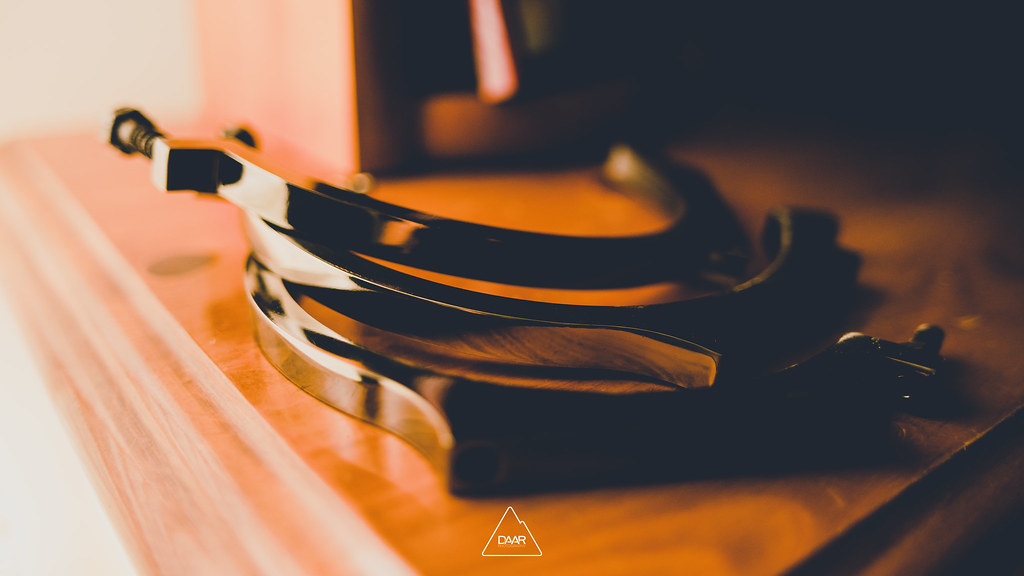
Old vs. New - These are the Saab KYB's purchased from Rock Auto, still not sure if they're short enough so I may end up going with the Ford Ranger front shocks eventually. These bolt right up!
 Air Ride Install @ Salt City Auto Styling by David Arellano, on Flickr
 Air Ride Install @ Salt City Auto Styling by David Arellano, on Flickr
 Air Ride Install @ Salt City Auto Styling by David Arellano, on Flickr
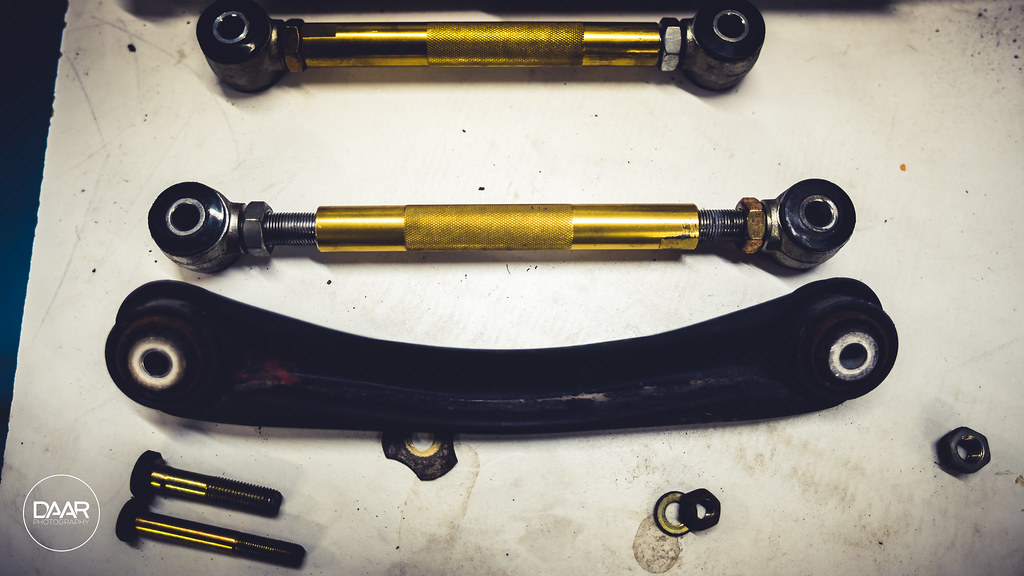
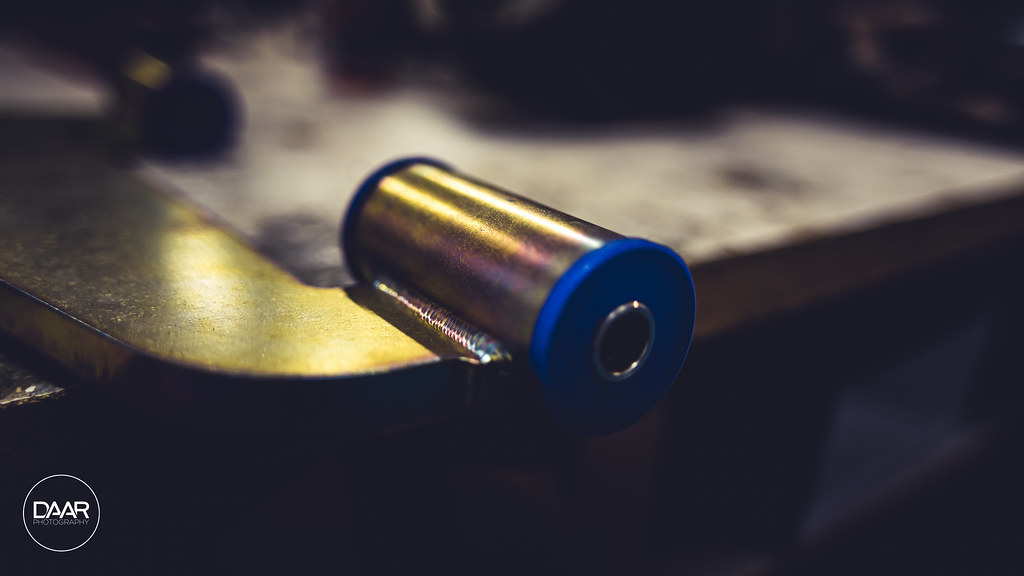
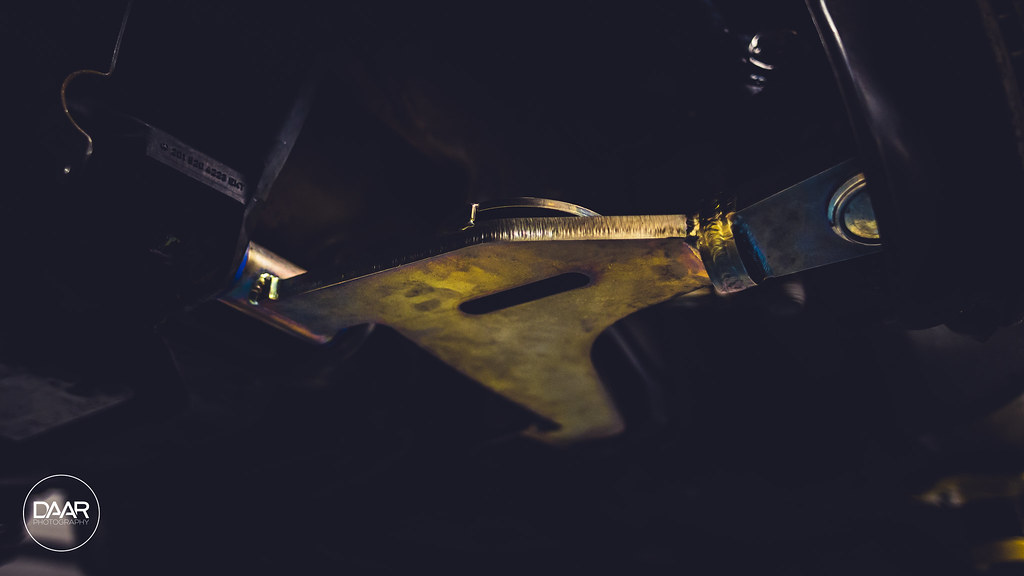
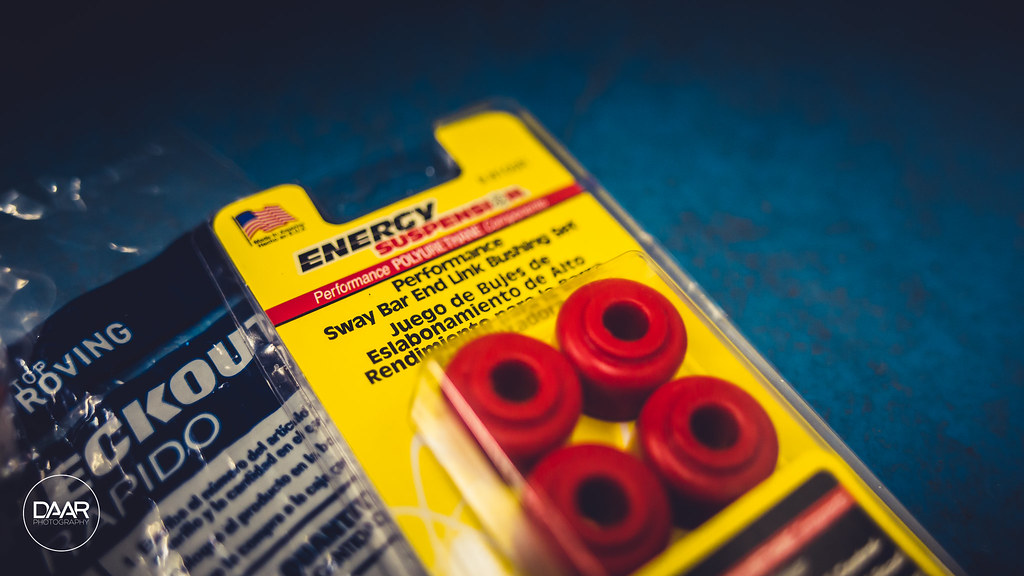
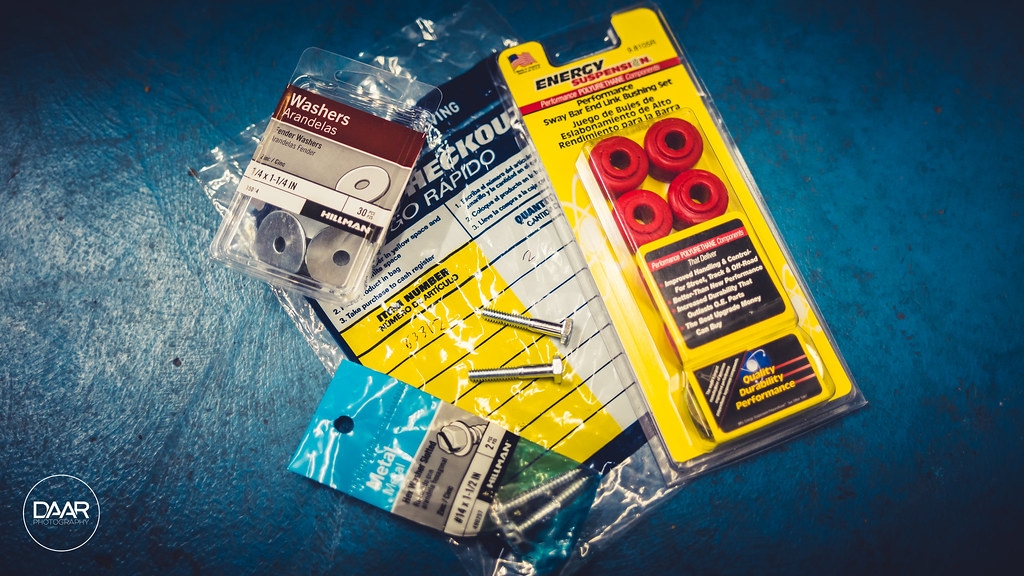
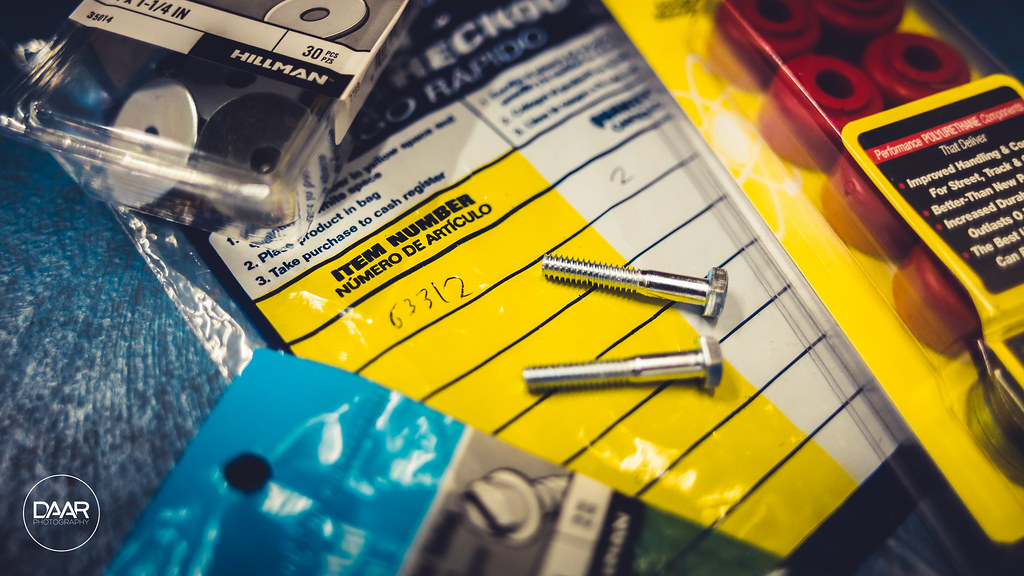
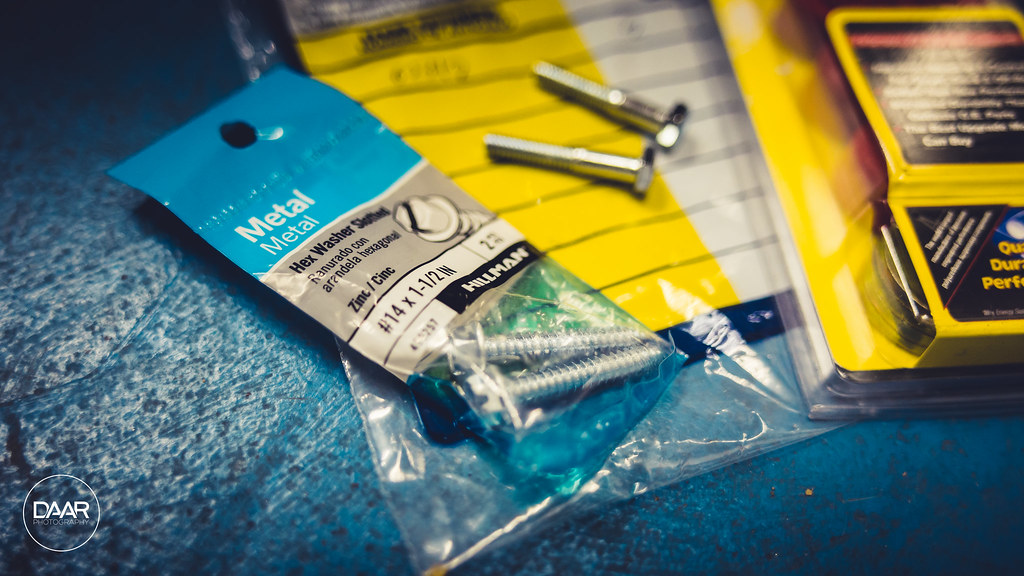
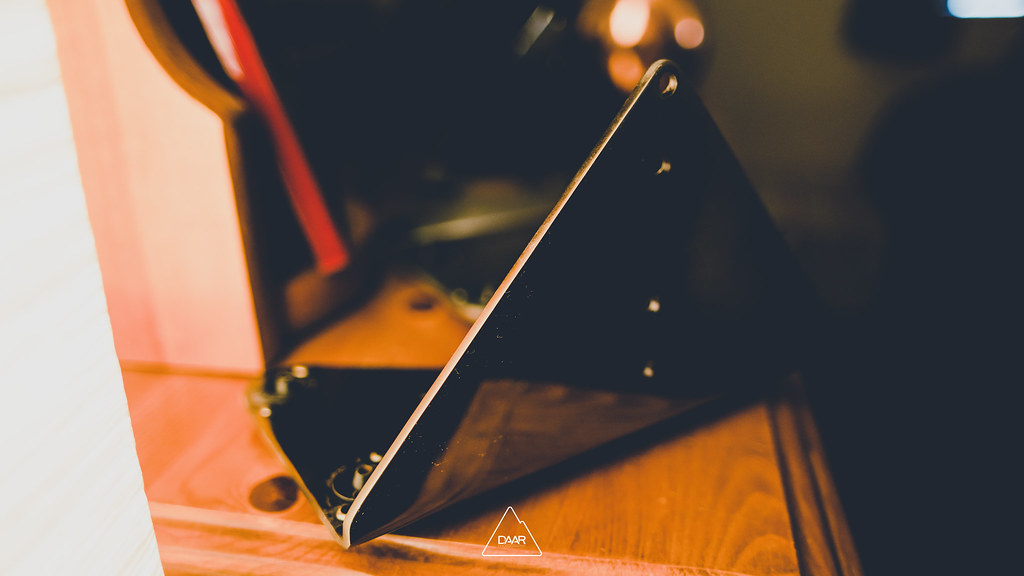
Old camber arm vs. new adjustable DIY unit! You will have to run a larger diameter bolt with new washers and nuts. Unless you want to pound out the sleeve that sits in the OEM arm and hammer in to the new one. (which isn't worth it in my opinion.
 Air Ride Install @ Salt City Auto Styling by David Arellano, on Flickr
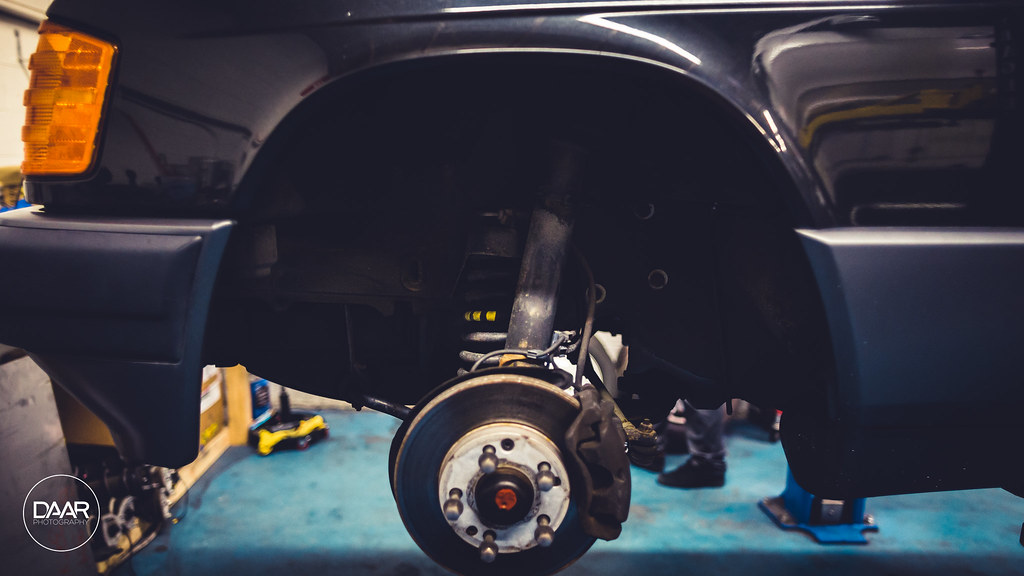
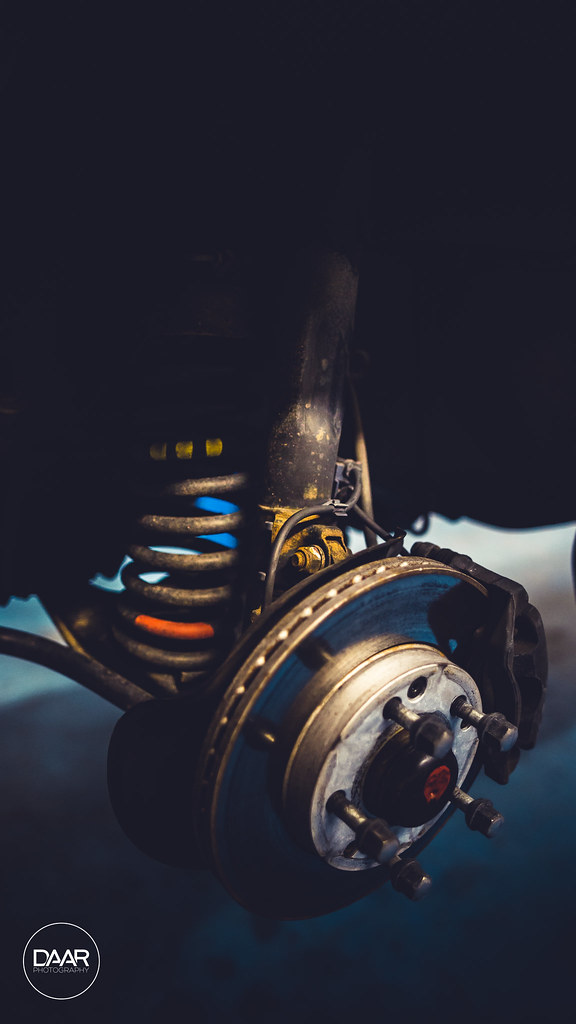
Front suspension before
 Air Ride Install @ Salt City Auto Styling by David Arellano, on Flickr
 Air Ride Install @ Salt City Auto Styling by David Arellano, on Flickr
Little bit of a difference here - OEM vs. Only Charged Dubs kit
 Air Ride Install @ Salt City Auto Styling by David Arellano, on Flickr
 Air Ride Install @ Salt City Auto Styling by David Arellano, on Flickr
 Air Ride Install @ Salt City Auto Styling by David Arellano, on Flickr
 Air Ride Install @ Salt City Auto Styling by David Arellano, on Flickr
 Air Ride Install @ Salt City Auto Styling by David Arellano, on Flickr
 Air Ride Install @ Salt City Auto Styling by David Arellano, on Flickr
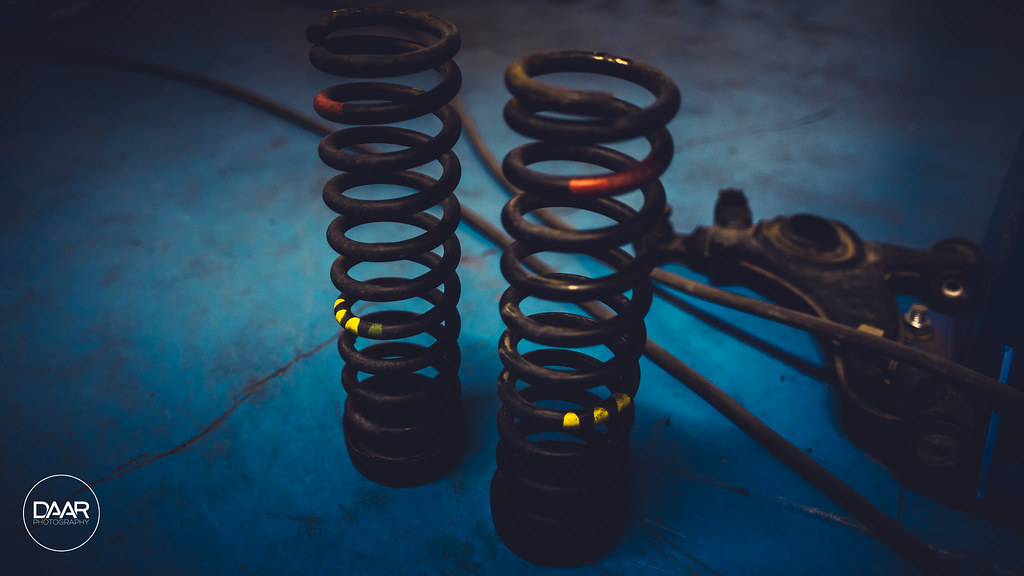
Old massive springs!
 Air Ride Install @ Salt City Auto Styling by David Arellano, on Flickr
Old shocks vs. new coilovers! Reminder: These are E36 coilovers (Raceland in my case (only because I got a package deal with these, camber plates and camber arms))
 Air Ride Install @ Salt City Auto Styling by David Arellano, on Flickr
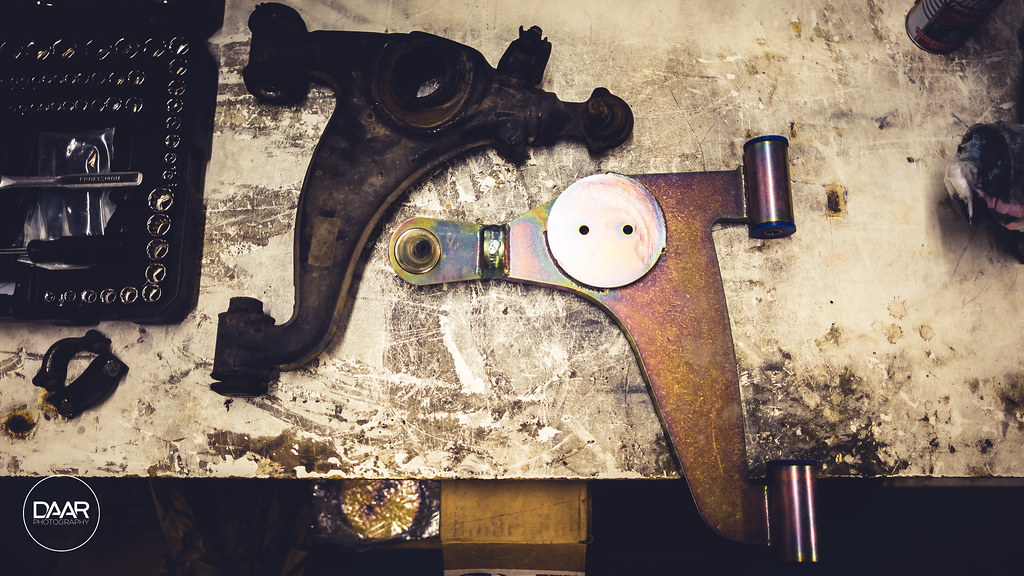
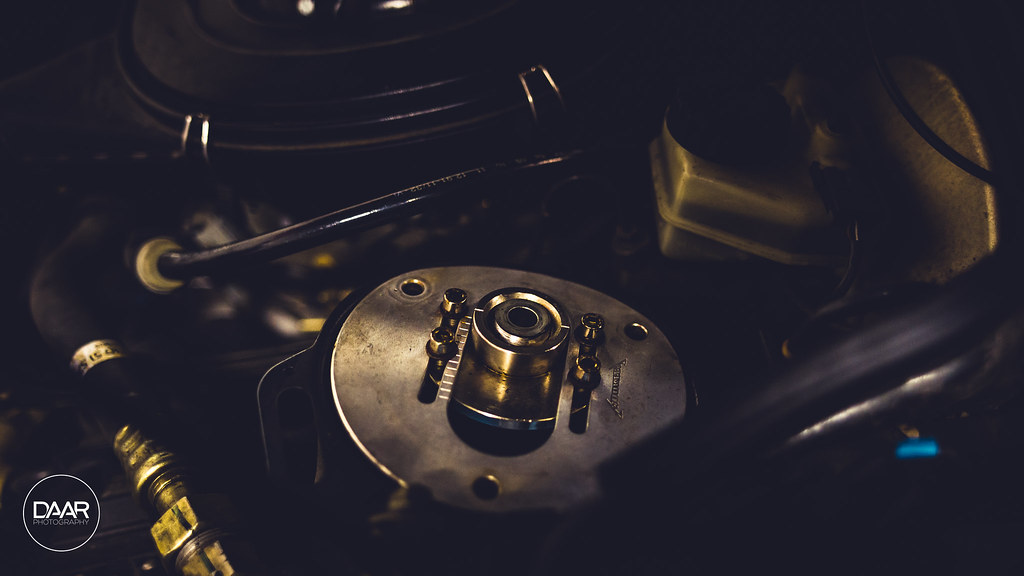
Mookeh camber plates which were custom drilled for the 190E platform. They fit perfectly!
 Air Ride Install @ Salt City Auto Styling by David Arellano, on Flickr
New LCA installed!
 Air Ride Install @ Salt City Auto Styling by David Arellano, on Flickr
So that was a checkpoint over two nights. Have to give a huge shoutout to a few friends that came by to lend a hand and help me get this taken care of. Without their help it would've been quite a bit more difficult to get it all done.
Came back the next night to the shop to start cranking away on pulling the current suspension bits. Started off with a tiny job to get me warmed up.
Swapped out the standard bulbs for LED bulbs, didn't really do shit except make it a little brighter. Oh whale
Air Ride Install @ Salt City Auto Styling by David Arellano, on FlickrTHEN I swapped out my license plate bulbs for some MUCH brighter LED's and holy crap did it make a difference!
Air Ride Install @ Salt City Auto Styling by David Arellano, on FlickrTHEN it was time to really get started. Started off in the rear pulling the LCA's off. I was amazed to find virtually no rust whatsoever under the car. Every bolt came out just as it should from factory.
Air Ride Install @ Salt City Auto Styling by David Arellano, on FlickrAir Ride Install @ Salt City Auto Styling by David Arellano, on FlickrThe rear shocks were completely toast!
Air Ride Install @ Salt City Auto Styling by David Arellano, on FlickrAir Ride Install @ Salt City Auto Styling by David Arellano, on FlickrOld vs. New - These are the Saab KYB's purchased from Rock Auto, still not sure if they're short enough so I may end up going with the Ford Ranger front shocks eventually. These bolt right up!
Air Ride Install @ Salt City Auto Styling by David Arellano, on FlickrAir Ride Install @ Salt City Auto Styling by David Arellano, on FlickrAir Ride Install @ Salt City Auto Styling by David Arellano, on FlickrOld camber arm vs. new adjustable DIY unit! You will have to run a larger diameter bolt with new washers and nuts. Unless you want to pound out the sleeve that sits in the OEM arm and hammer in to the new one. (which isn't worth it in my opinion.
Air Ride Install @ Salt City Auto Styling by David Arellano, on FlickrFront suspension before
Air Ride Install @ Salt City Auto Styling by David Arellano, on FlickrAir Ride Install @ Salt City Auto Styling by David Arellano, on FlickrLittle bit of a difference here - OEM vs. Only Charged Dubs kit
Air Ride Install @ Salt City Auto Styling by David Arellano, on FlickrAir Ride Install @ Salt City Auto Styling by David Arellano, on FlickrAir Ride Install @ Salt City Auto Styling by David Arellano, on FlickrAir Ride Install @ Salt City Auto Styling by David Arellano, on FlickrAir Ride Install @ Salt City Auto Styling by David Arellano, on FlickrAir Ride Install @ Salt City Auto Styling by David Arellano, on FlickrOld massive springs!
Air Ride Install @ Salt City Auto Styling by David Arellano, on FlickrOld shocks vs. new coilovers! Reminder: These are E36 coilovers (Raceland in my case (only because I got a package deal with these, camber plates and camber arms))
Air Ride Install @ Salt City Auto Styling by David Arellano, on FlickrMookeh camber plates which were custom drilled for the 190E platform. They fit perfectly!
Air Ride Install @ Salt City Auto Styling by David Arellano, on FlickrNew LCA installed!
Air Ride Install @ Salt City Auto Styling by David Arellano, on FlickrSo that was a checkpoint over two nights. Have to give a huge shoutout to a few friends that came by to lend a hand and help me get this taken care of. Without their help it would've been quite a bit more difficult to get it all done.


Comment