If this is your first visit, be sure to
check out the FAQ by clicking the
link above. You may have to register
before you can post: click the register link above to proceed. To start viewing messages,
select the forum that you want to visit from the selection below.
Announcement
Collapse
No announcement yet.
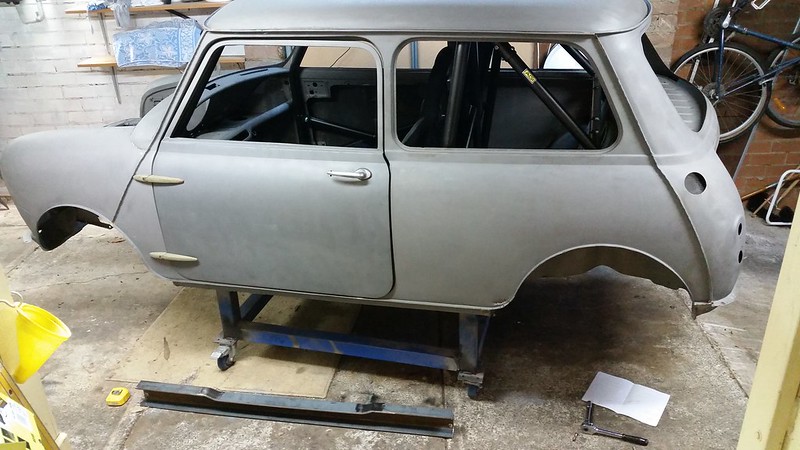
brads 1963 mk1 850 - roll cage complete, got a weber & ideas
So I have finally updated my original post with everything up to now. All my pictures disappeared from Imageshack, so I have fixed it all up.
The post is gigantic, way too big for a mid-thread post, so I will post the following as it's the most recent and leave it up to people to check out my original post (it's long with tonnes of pictures)
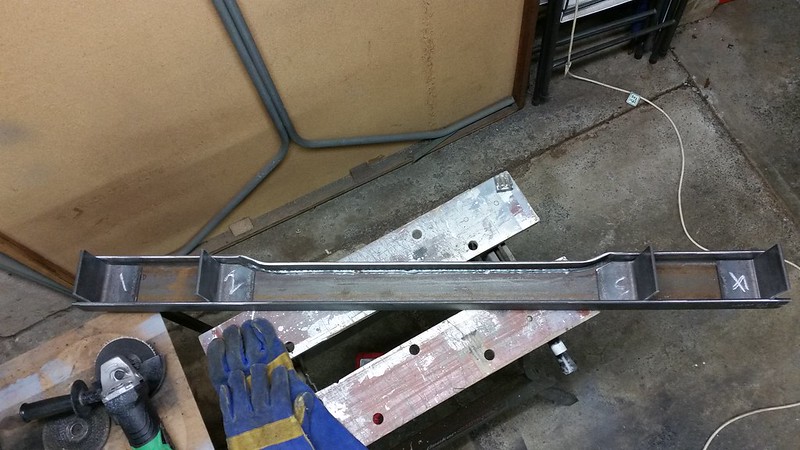
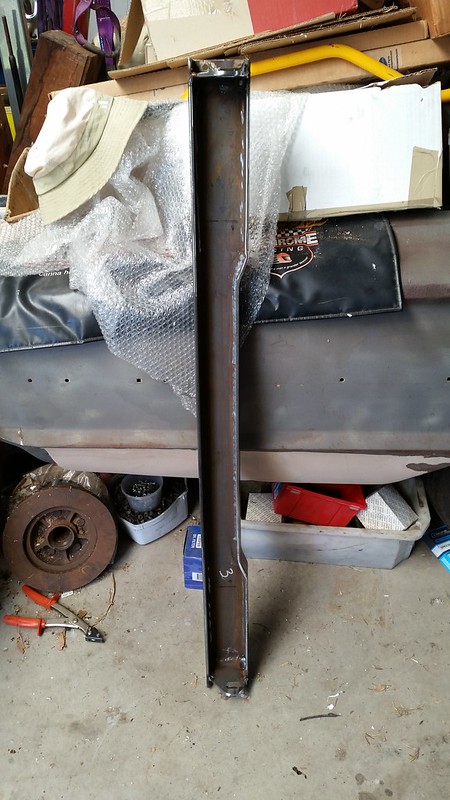
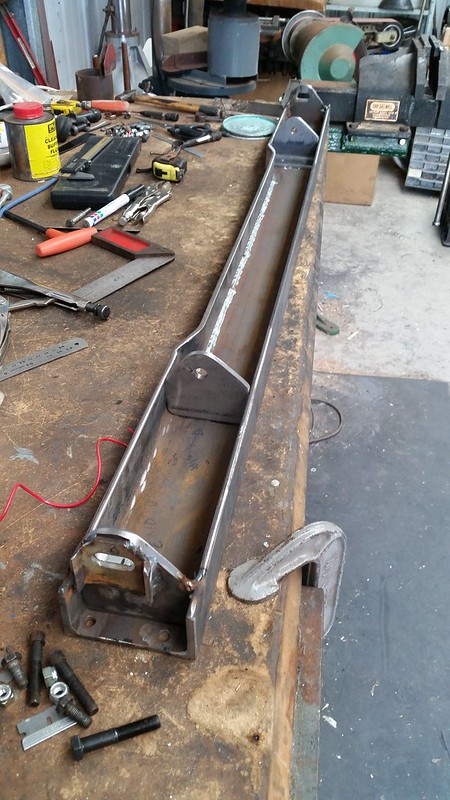
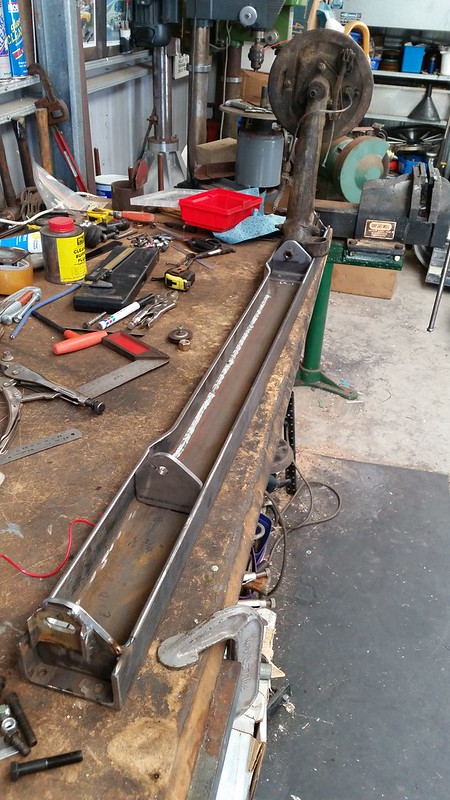
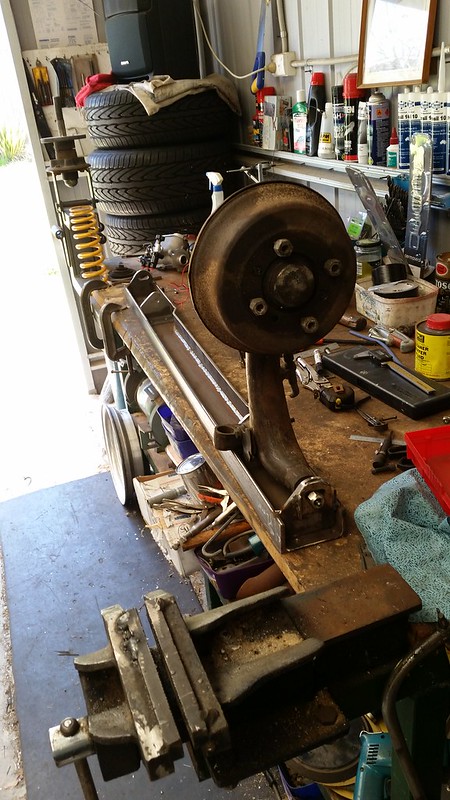
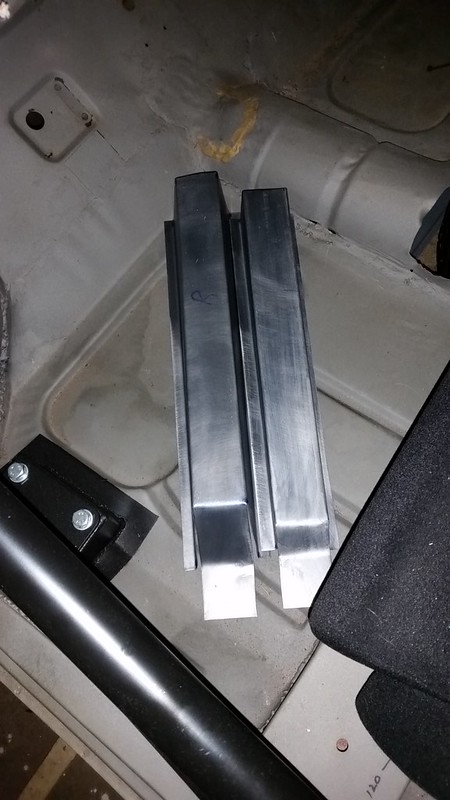
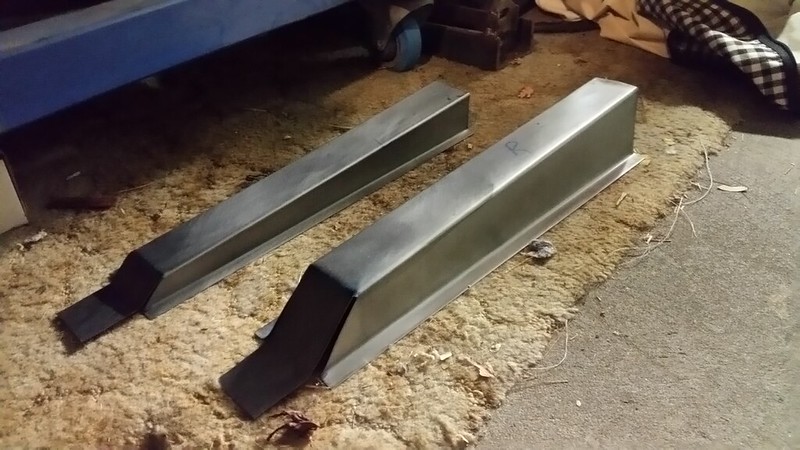
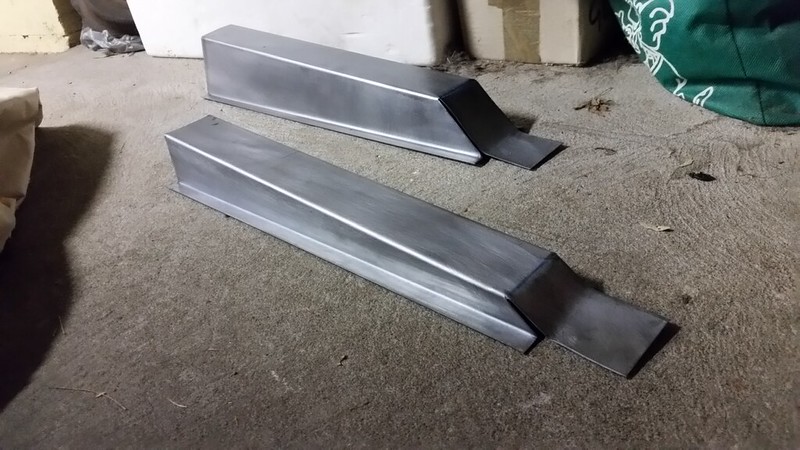
The plan is to run coilovers and remove the rear subframe and run a rear beam with trailing arms. I had a steel works place make up a thick beam using the dimensions I had taken when I was cleaning the crap off the underside of the body just before blasting. I also got them to make up some L-brackets to hold the trailing arms on. One weekend in Sept 2015 I ventured to Richards and we worked on the beam and the brackets. It currently sort of resembles something of use! I need to get someone to do some structural work to the beam (IIRC it's 5mm thick, too thick for me to cut with a grinder precisely), but hopefully by the end of these pics you'll see where we are headed with it. It will have a fair bit of camber and toe adjustment, and despite the necessary bar work (which now resembles a subframe), it's lighter than the original, and will suit the flat boot floor.
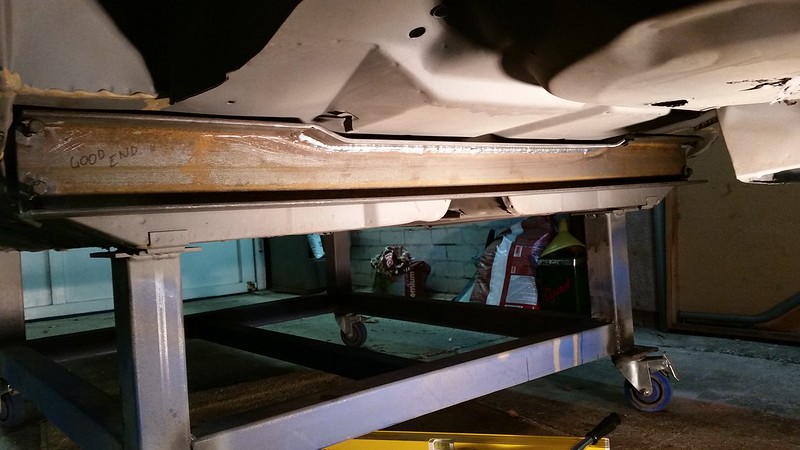
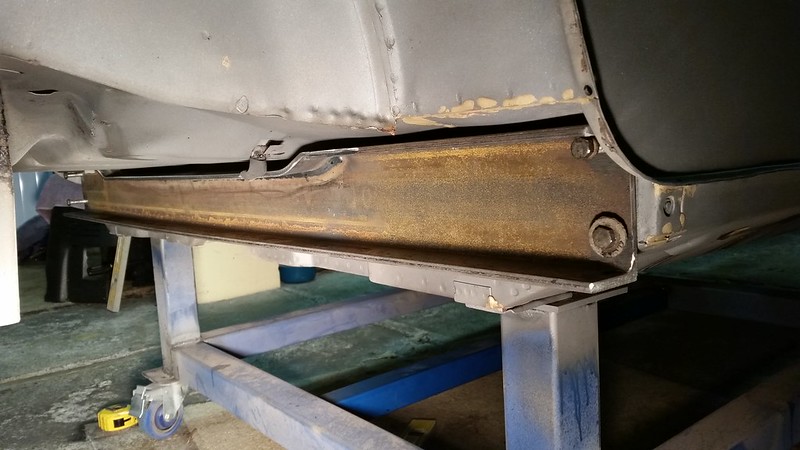
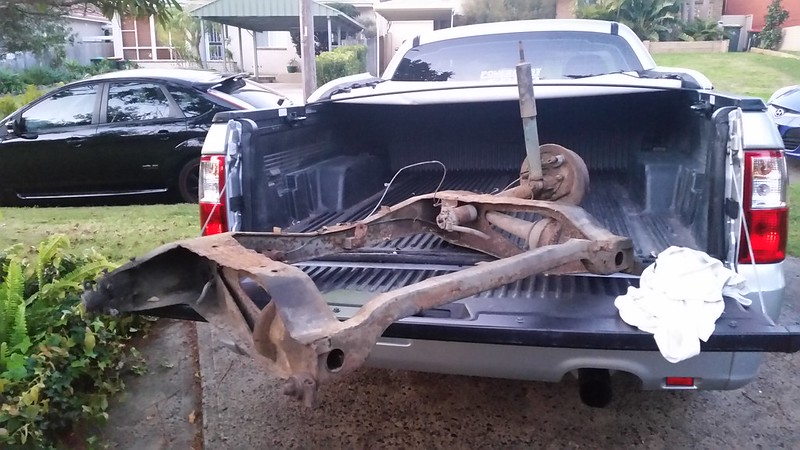
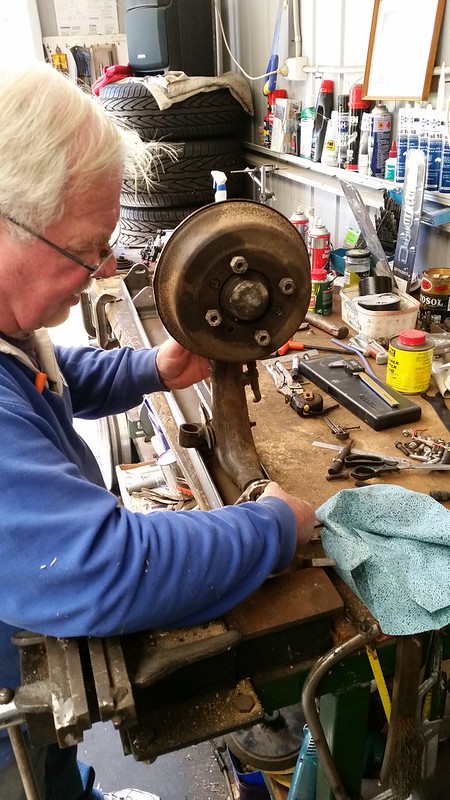
Took the old rear subframe for any reference measurements we'd need
Yes, I tried to get Richard to wear more safety stuff. No, he didn't listen to me
This beam will run across the back end, tying into the existing rear subframe bolt holes in the floor
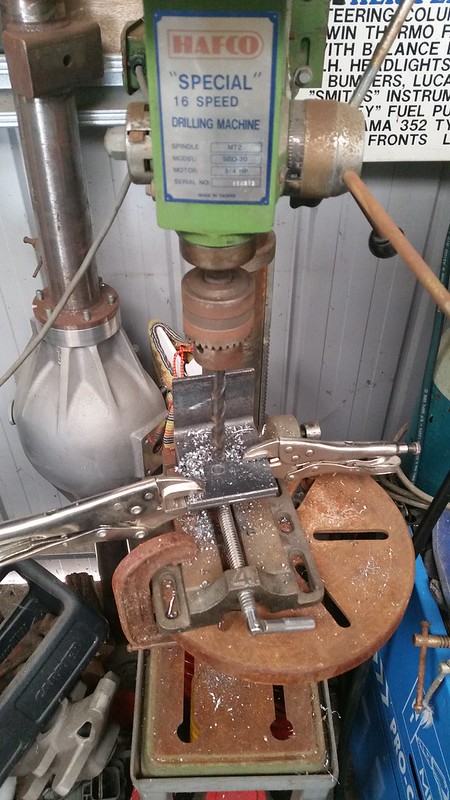
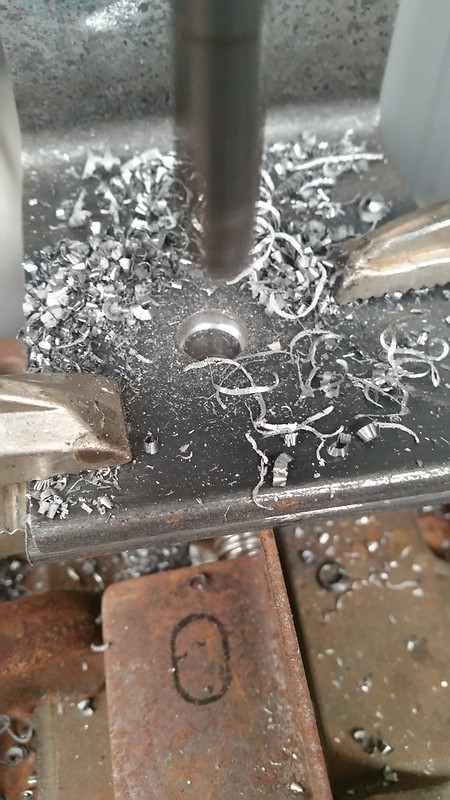
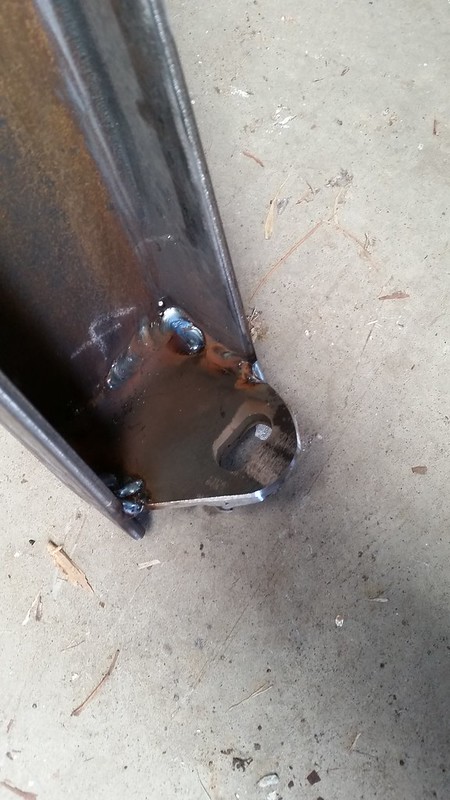
The beam with the rear plates welded in. The camber slots are welded on the end plates with the end plates then being drilled and filed to match the camber slot holes
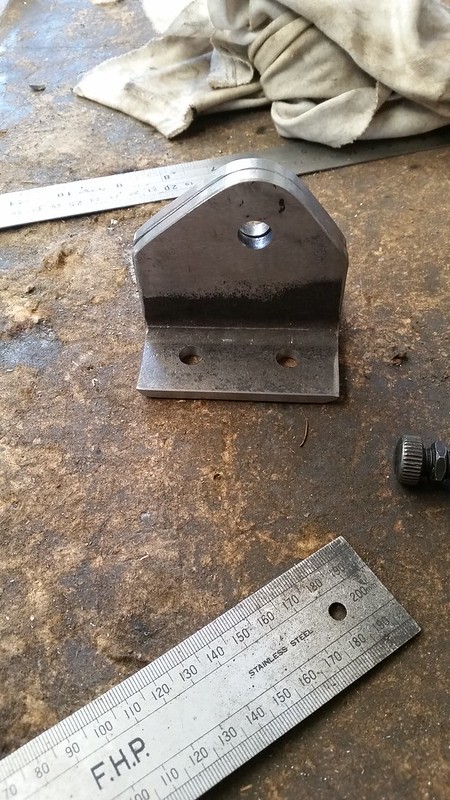
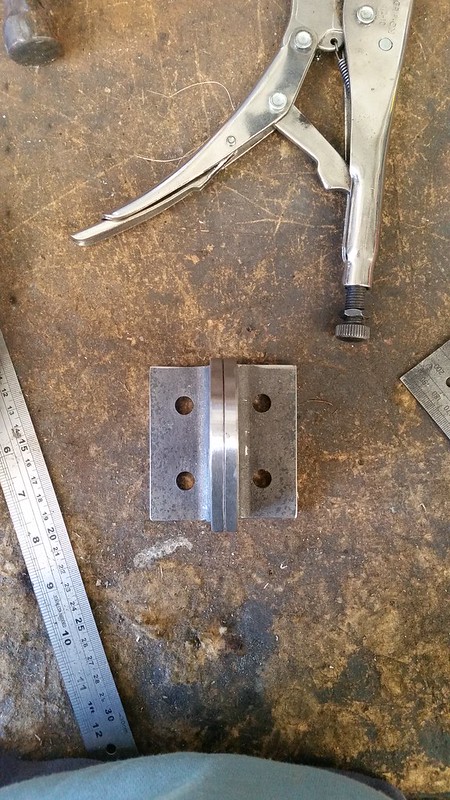
The inner brackets which will be able to be adjusted for toe with shims
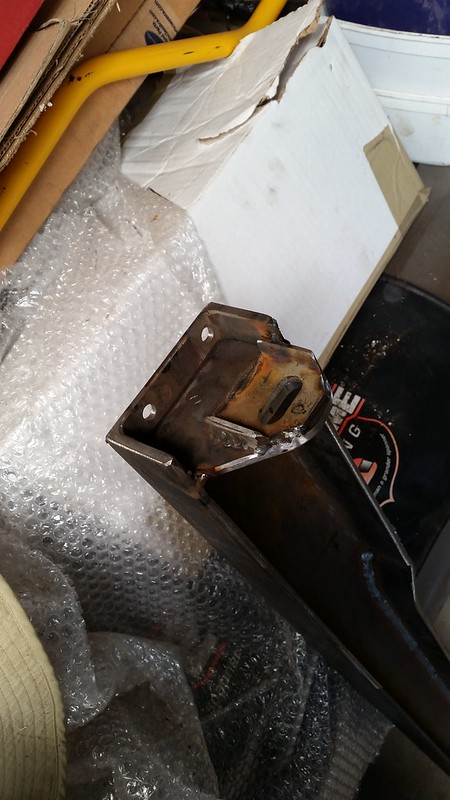
Richard fitting up the driver’s side trailing arm. The knob bit with receives the trumpet in a standard mini need to make way for proper rotation
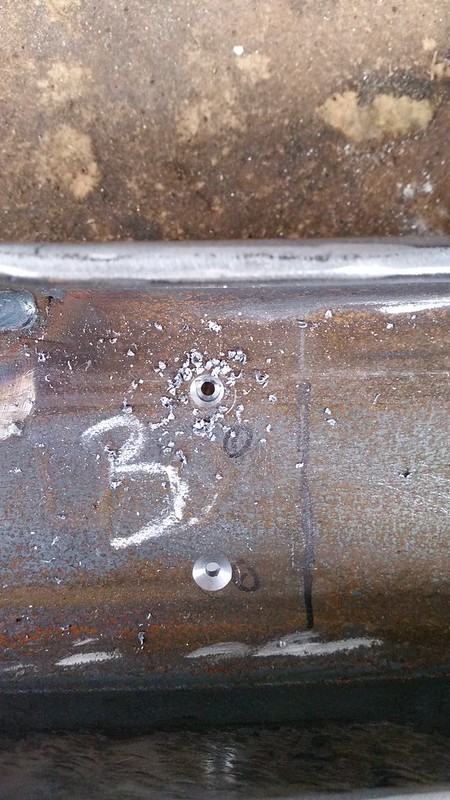
These holes are for the inner brackets. I will drill through the heel board of the shell and have captive bolts in the interior so the beam can mount up to, and we can adjust toe with shims from the outside
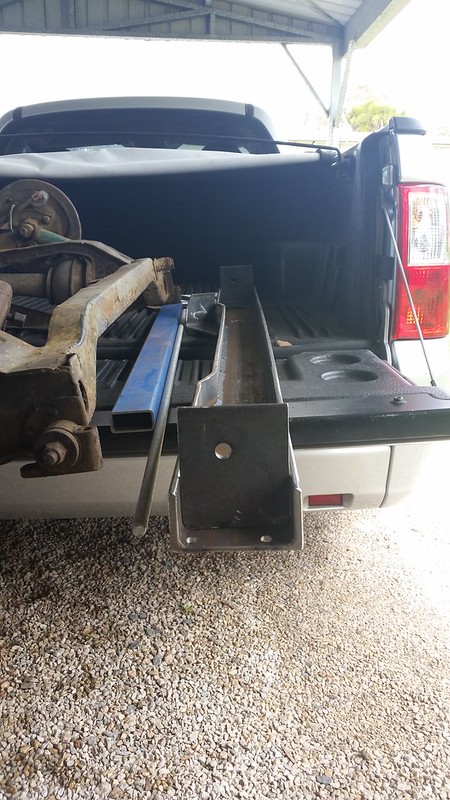
The next step with the beam is to modify it to match the profile of the exhaust tunnel and handbrake cable. I have some nice little aeronautical rollers that will route the cable through the beam and up the tunnel. Then trim it all up to make it fit nicely (more so for aesthetics). To mount it to the shell I will need to get some dome or cap head bolts, assumingly high-tensile, for the outer bolts, and then some bigger bolts for the internal trailing arm brackets (IIRC we drilled for either 3/8" or 5/8" but will check when needed).
Once the beam is done, then it will be a case of connecting some lengths of tube between the beam and the length of rectangular tube shown earlier. Sounds easy as hey!
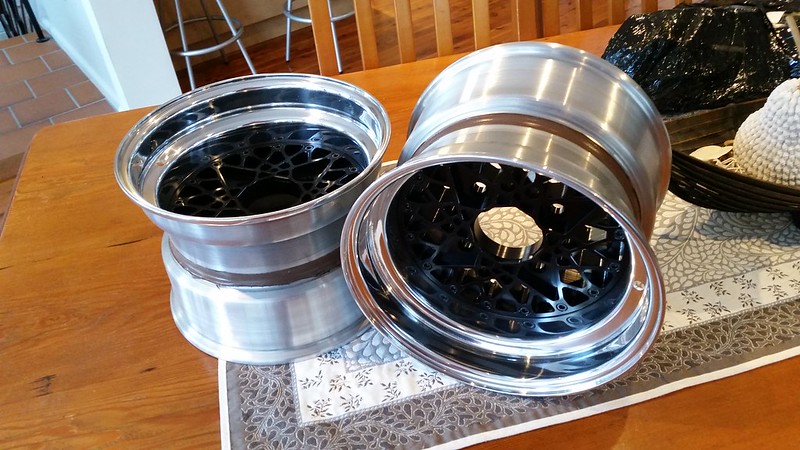
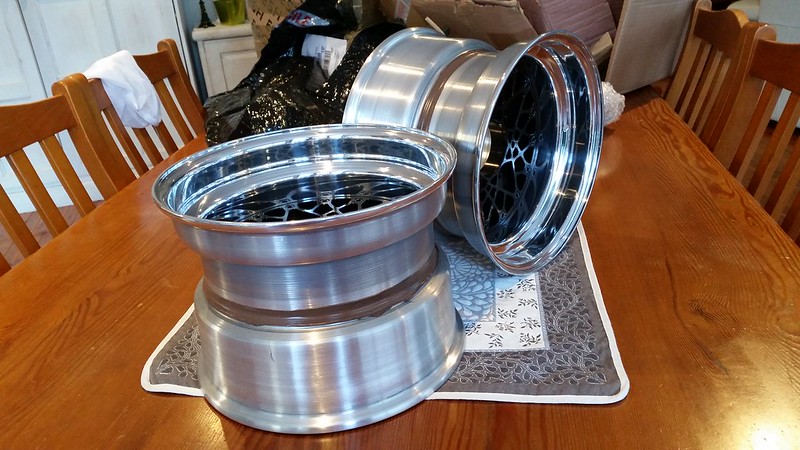
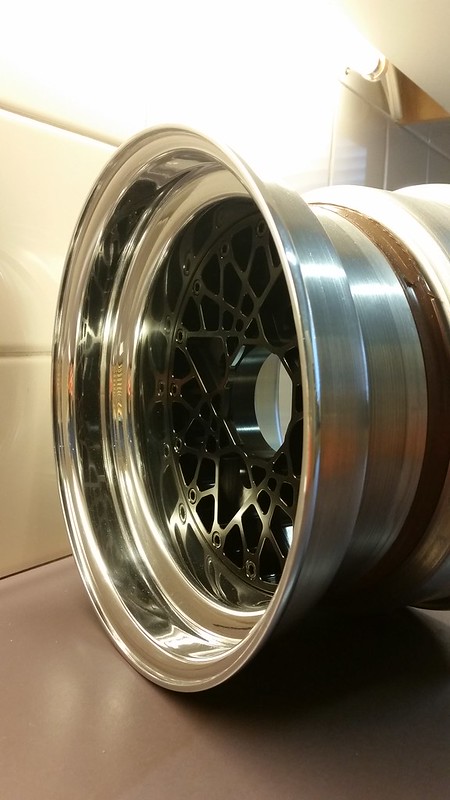
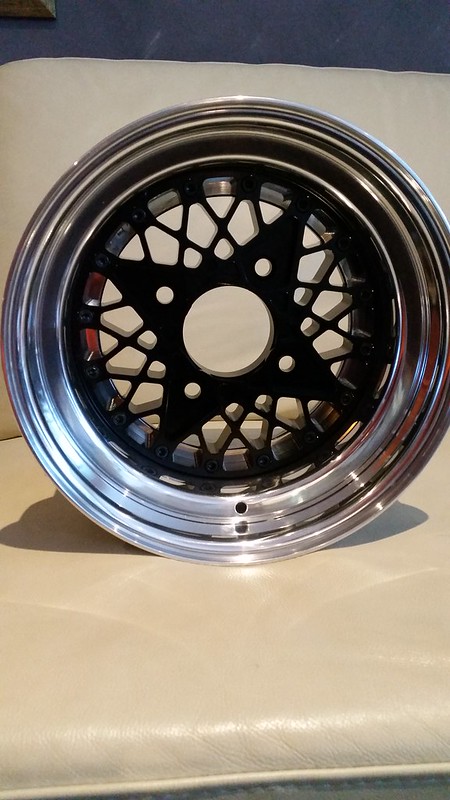
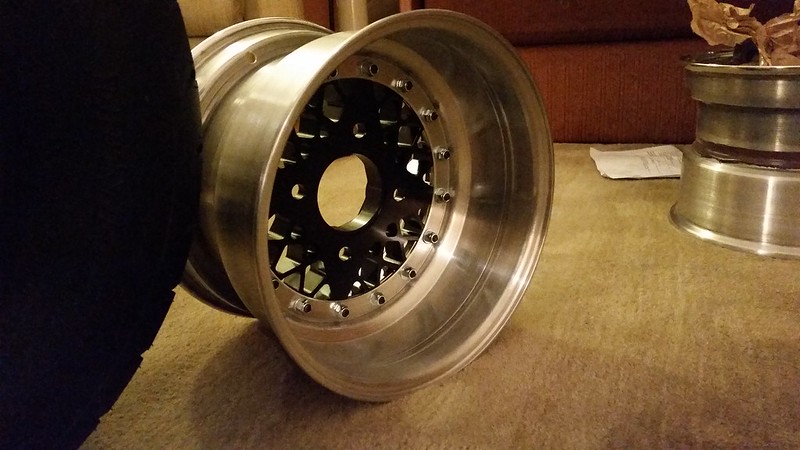
Onto the next few items, first I sold the mambas a while back without them ever touching the car (two of them weren't removed from their packaging from England). In their place, I went (imo) all-out. I contacted the lovely chap Carl from Force Racing in the UK about some wheels. Originally planning on buying their 3-piece mamba-style 10x7, I was swayed when Carl mentioned he was making a new mesh style design. So, I ummed and ahhed a bit and decided to throw caution to the wind, buy the wheels without seeing a proper one and go for it. I ordered some 10x7 with black centres and polished inner/outers with equal dimensions (both 3.5"). I enjoyed the fact they were the first set to head out of Europe and only the 3rd set at all, however they haven't been used yet, so the surprise is sort of ruined.
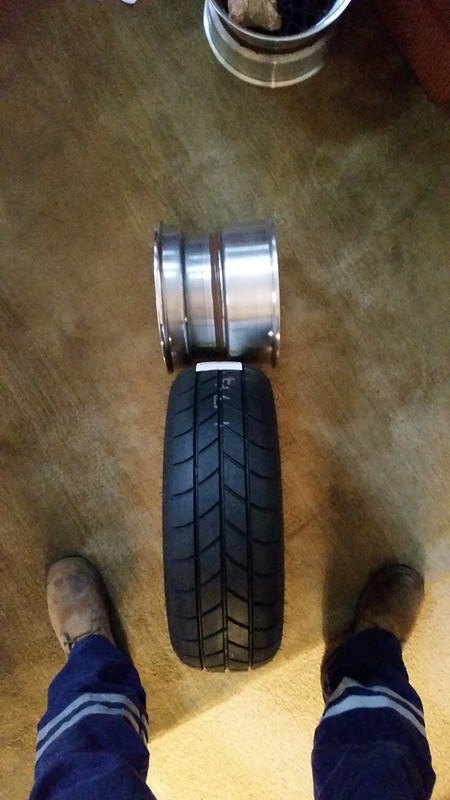
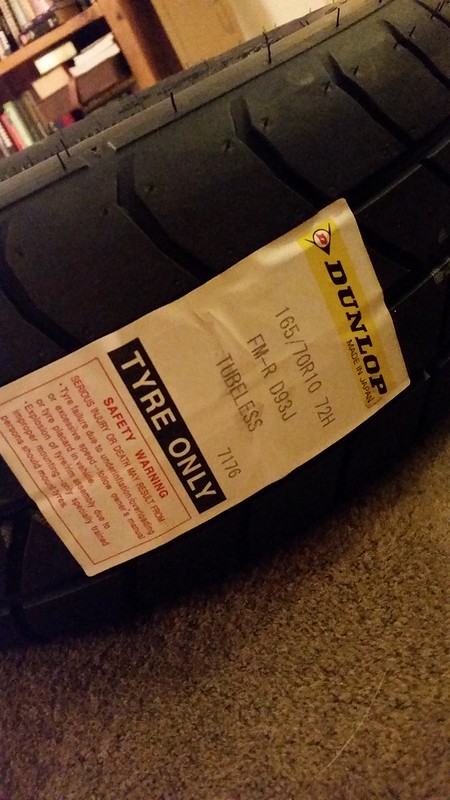
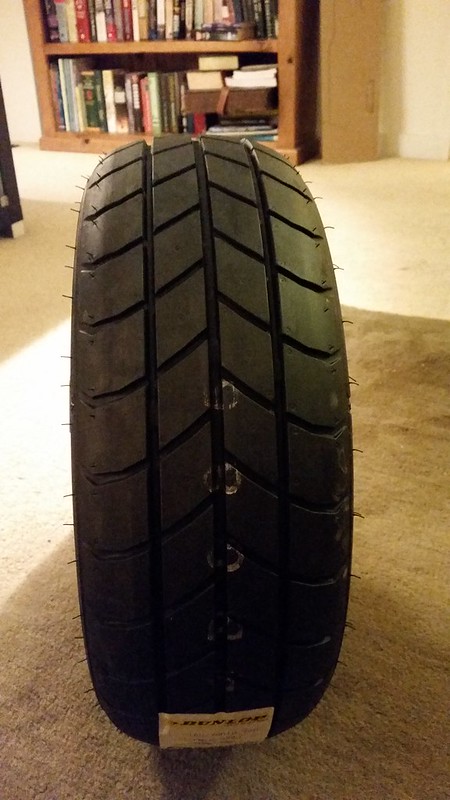
To compliment the wheels, I was looking at getting some Yokohama AO32R's, but another nice bloke from Sydney minis hooked me up with some lovely Dunlop Formula R's. Getting them mounted will be an interesting exercise.
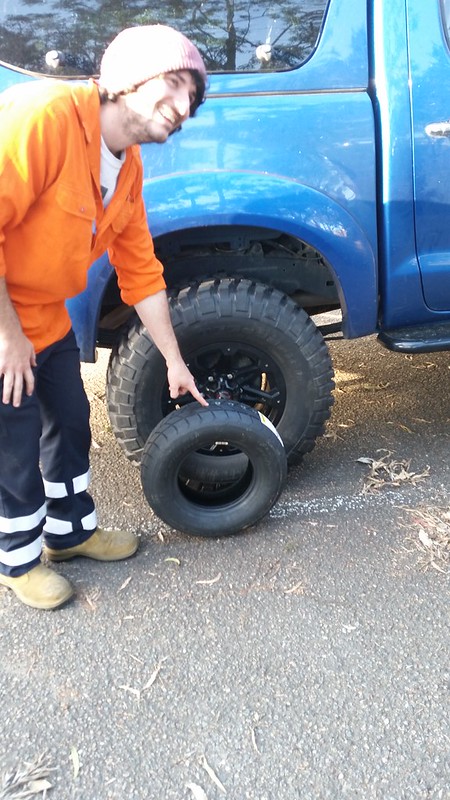
My mate thought it'd be funny to see them up next to his 33" muddies. He was correct, they look ridiculous
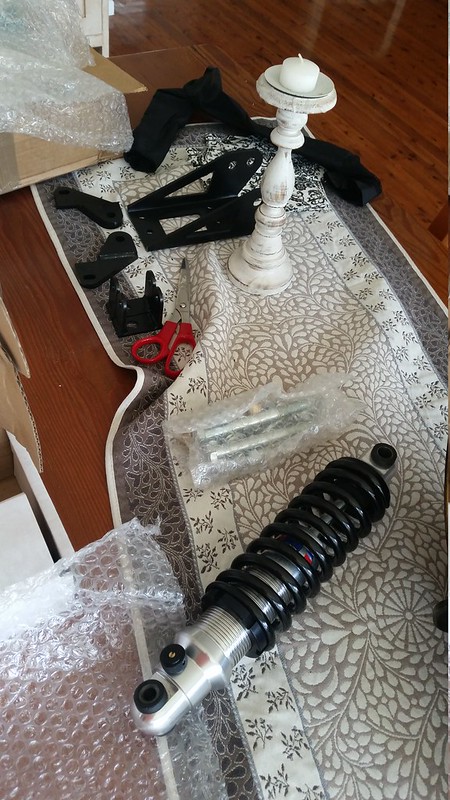
With the plan having evolved a while back to go a little nuts, I contacted Protech UK and had a good chat with Kevin (I think) and discussed my plans. He was a lovely bloke who was quite knowledgeable, with the discussion done, they ended up making me a slightly custom set which had a longer body for the rear to enable a bit more droop for road handling. Like the wheels, these were ordered and delivered then put into storage until they are needed.
Front coilover and mounting kit
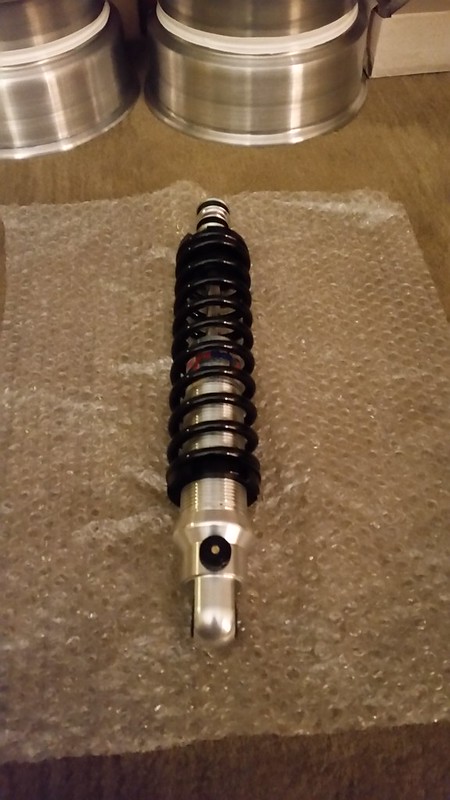
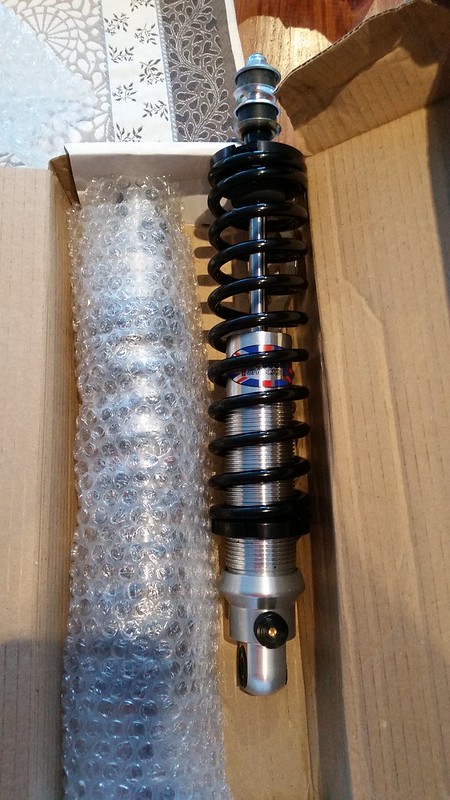
Rear coilovers, straight (not offset)
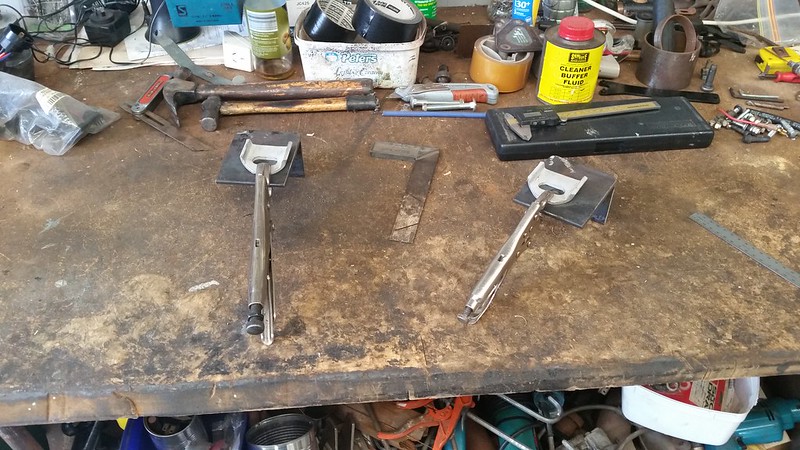
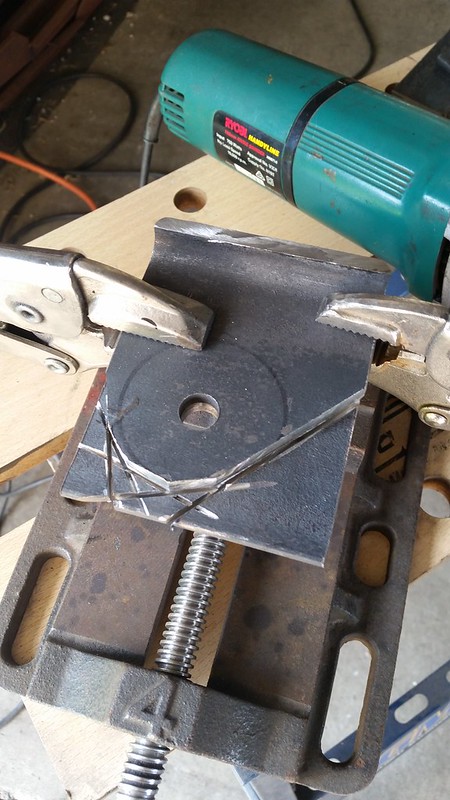
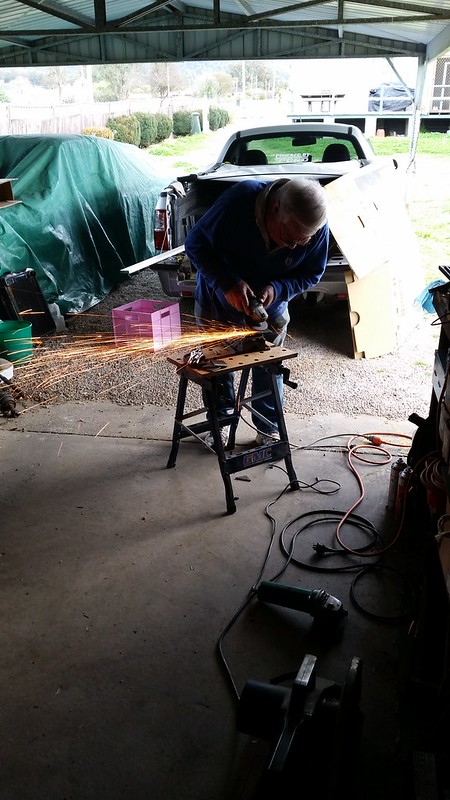
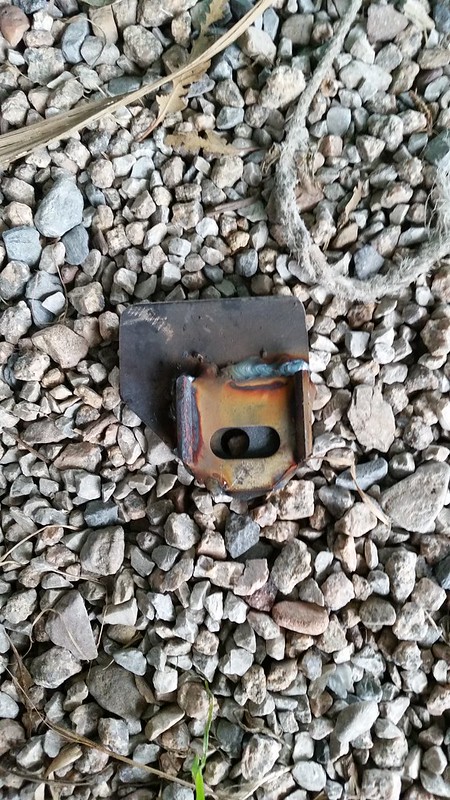
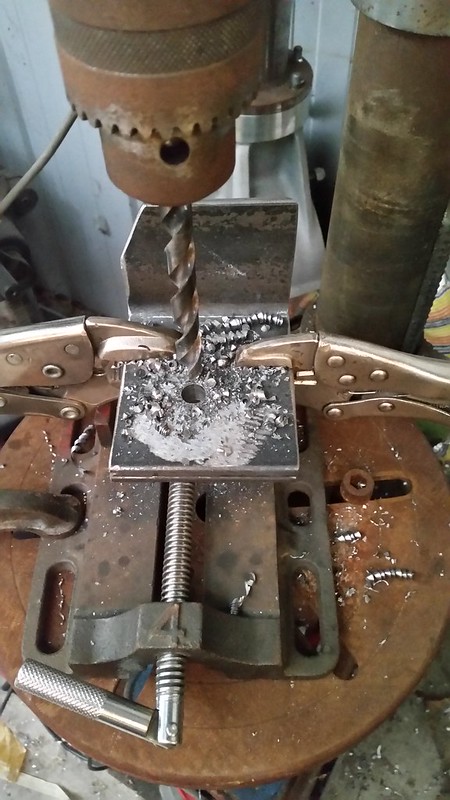
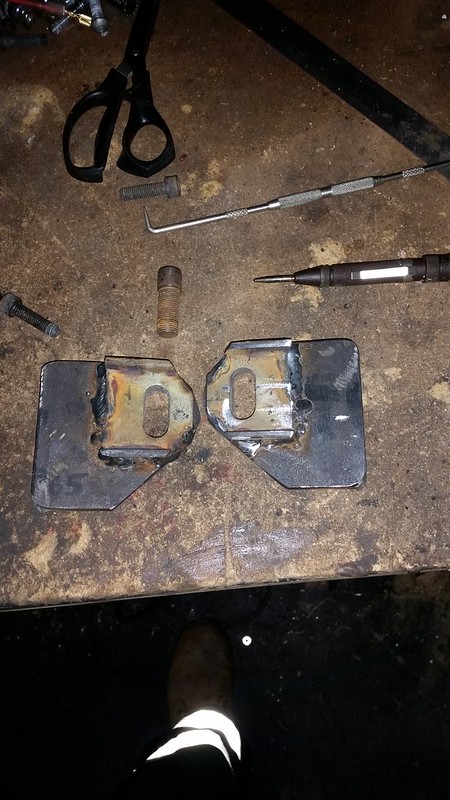
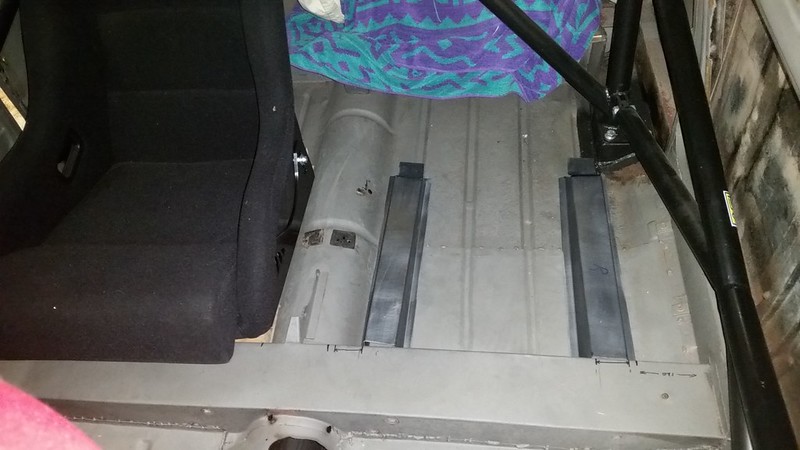
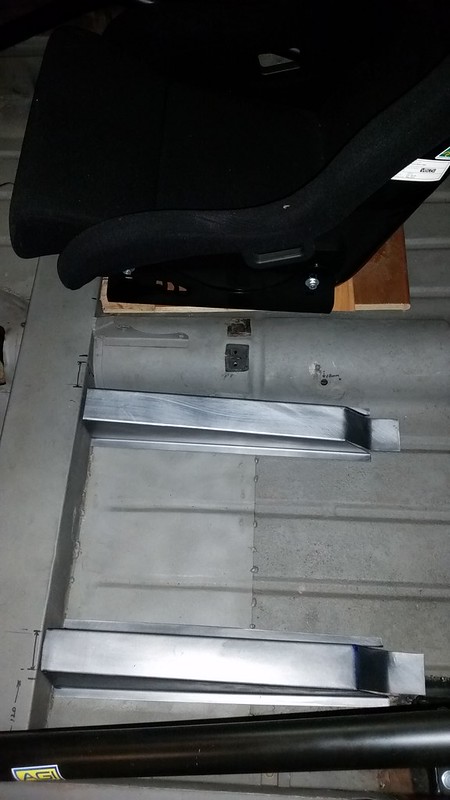
This year I have made a few little goals with the mini, one is the boot floor, another the turrets, another the seat mounts. So far I have drawn up the boot and turrets and left it at that, but I have managed to get some mounts made up. These are only the beginnings, as the inner ones interfere with the exhaust tunnel, so will need some chopping and welding. Hopefully I can make some modest progress and get the seats fixed in.
It has been a quiet 12 months since, but I am hoping that I can slowly nut these little issues out and get the mofo into the next phase in the not-too-distant future. Fingers crossed
so keen to see this finished, also to reply to my last question almost a year ago
im in like hills district ( castle hill, dural, pennant hills )
You me both mate! Got a long way to go yet though.
Nice, the gf's family is in the hills. We moved into Nth Parra at the start of the year, nice area. Different to down south.
Back to the mini, it looks like I need to start looking for storage as my mums gearing up to sell her place in 12 months time.
 Tweet
Tweet


Comment