Announcement

Collapse
No announcement yet.

WagonWorks - Aussie Avant: '06 Audi B7 A4 Build

Collapse
X
 
  • Filter
  • Time
  • Show
Clear All
new posts

  • HuH
    replied
    Last weekend I took some photos of the Audi in order to sell it. It's advertised for sale as of yesterday. Over the last few months not a great deal has been happening with it and I've been thinking about trying something else. Truth be told I miss having a manual car!

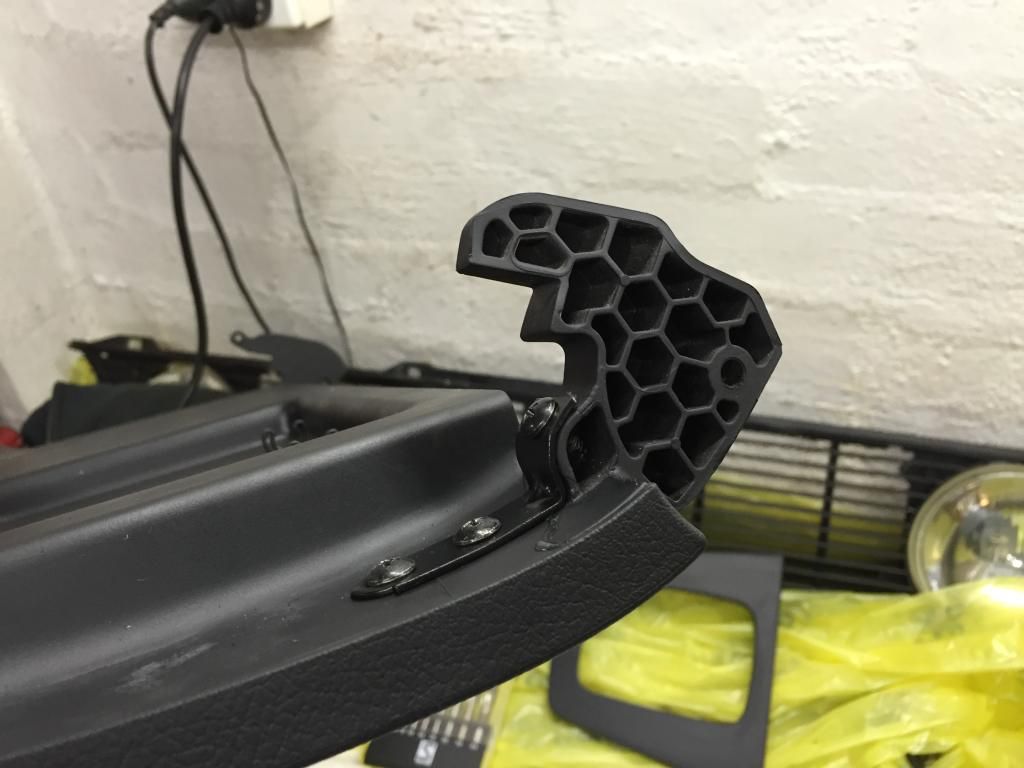
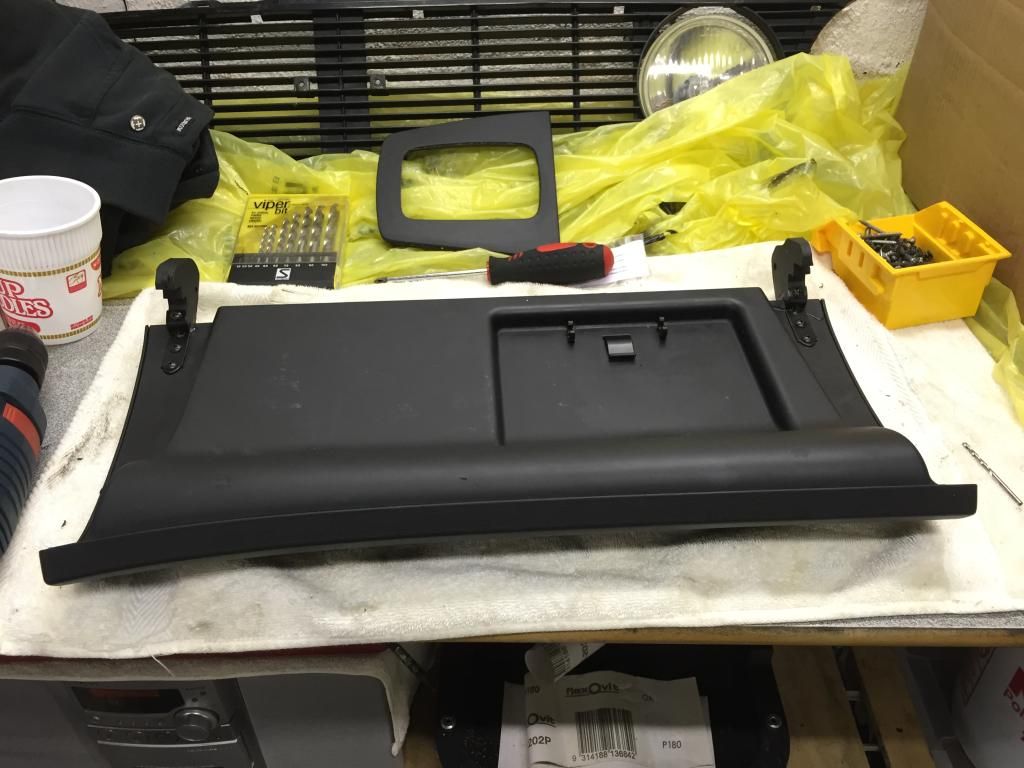
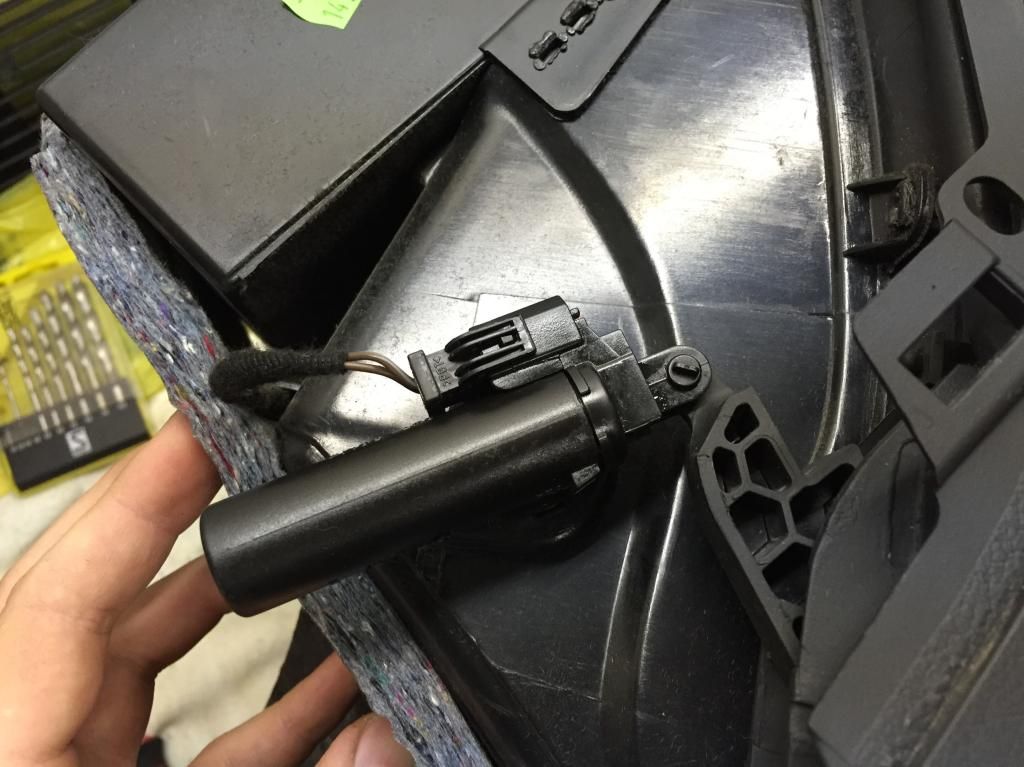
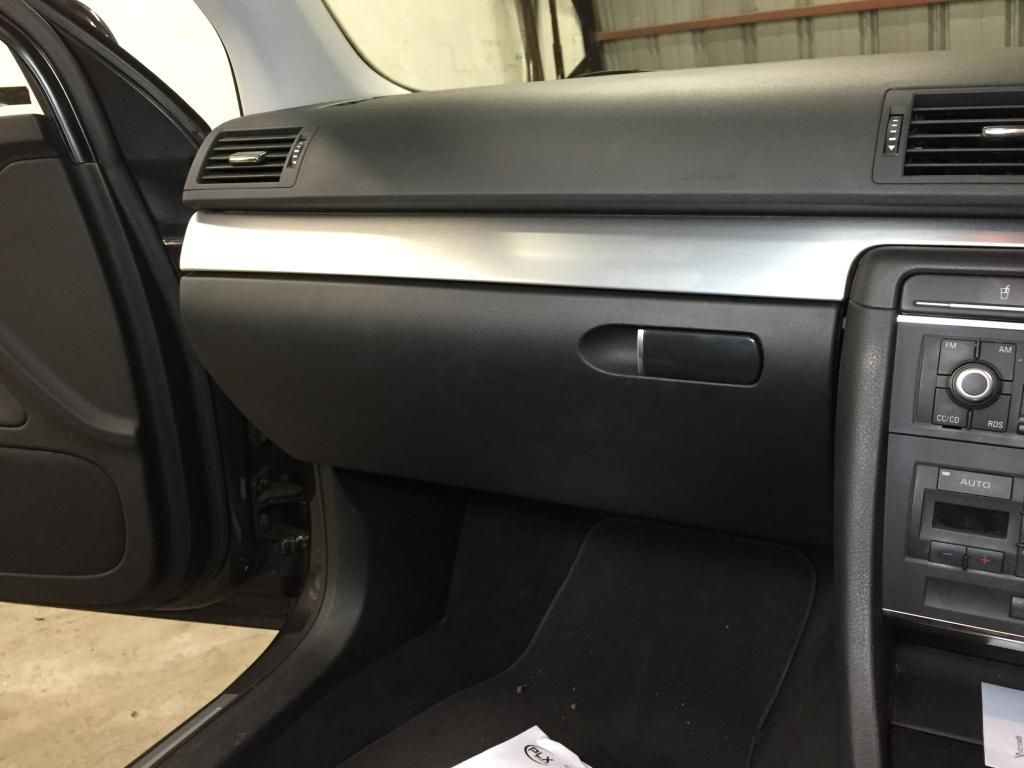
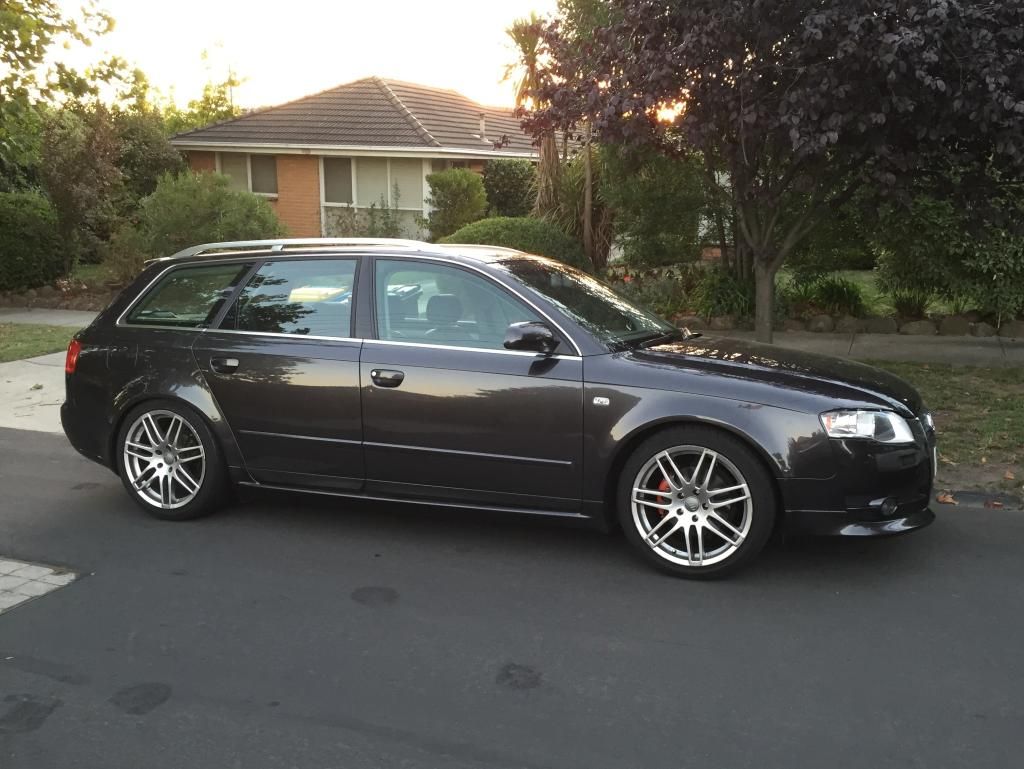
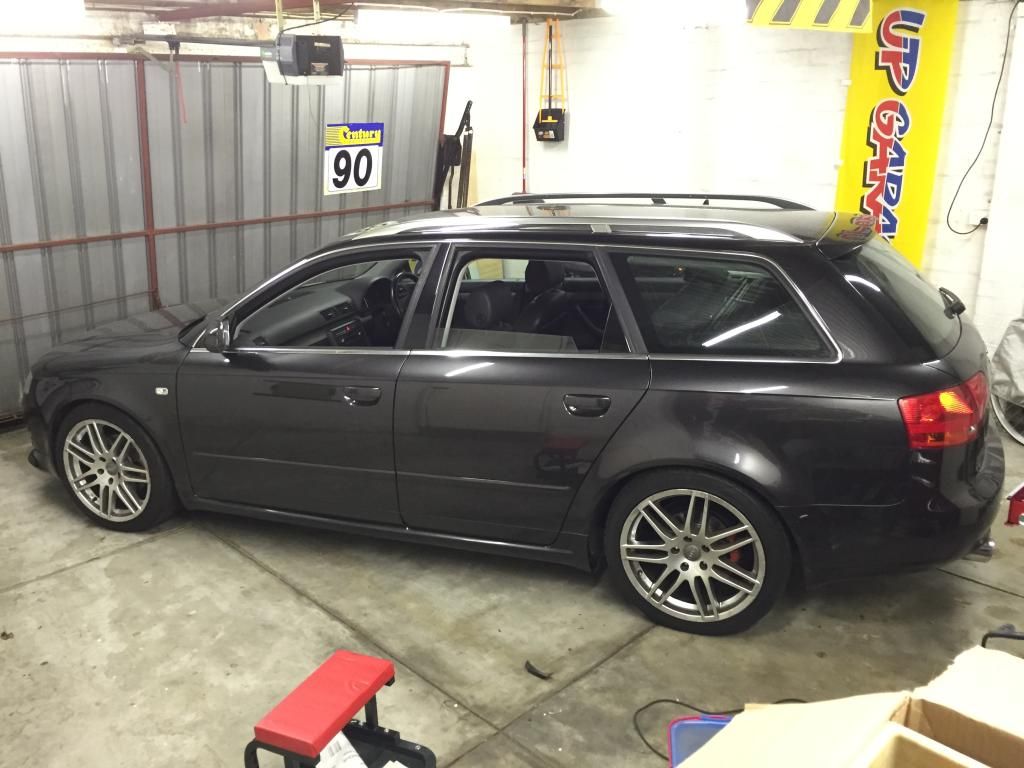
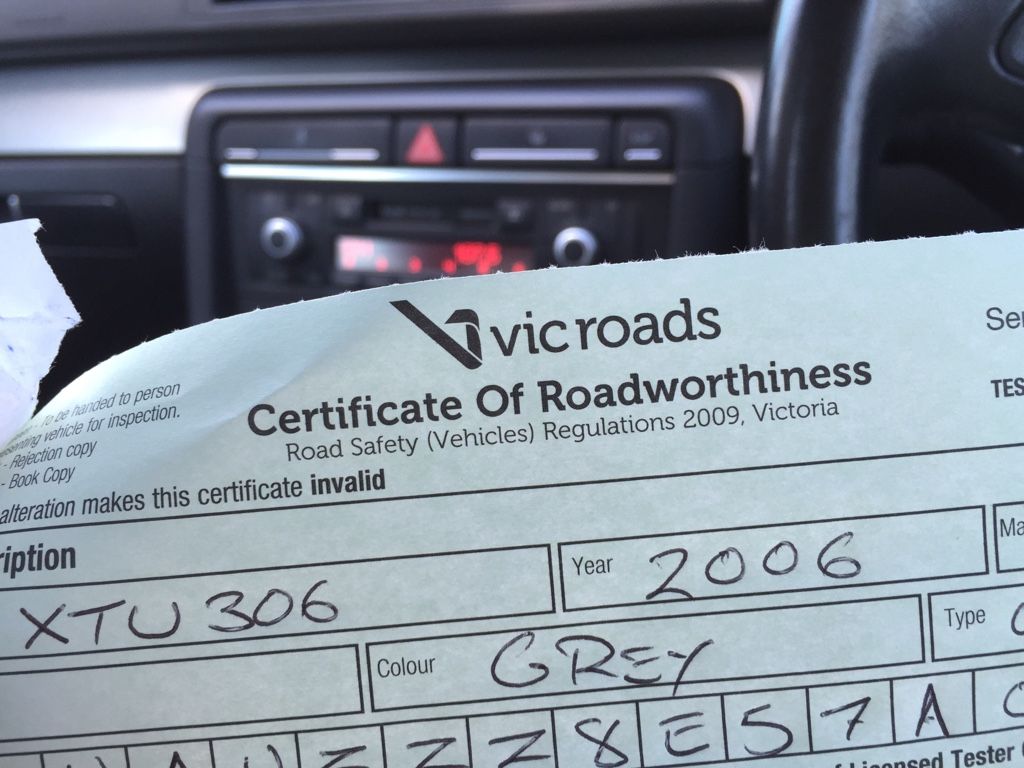
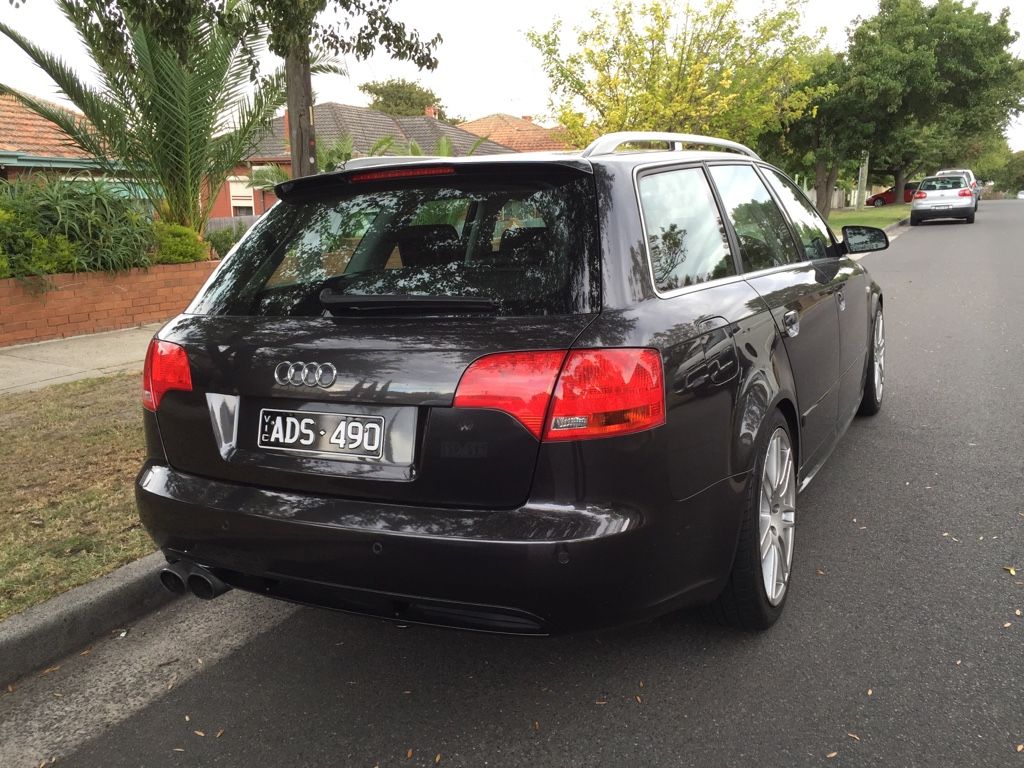
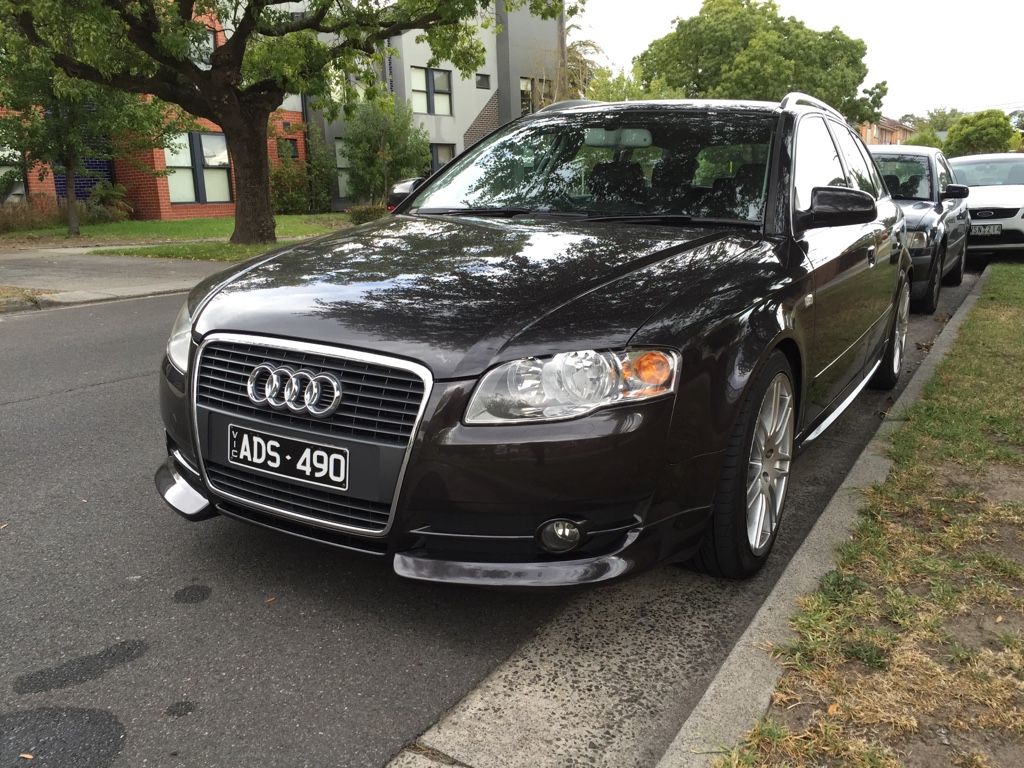
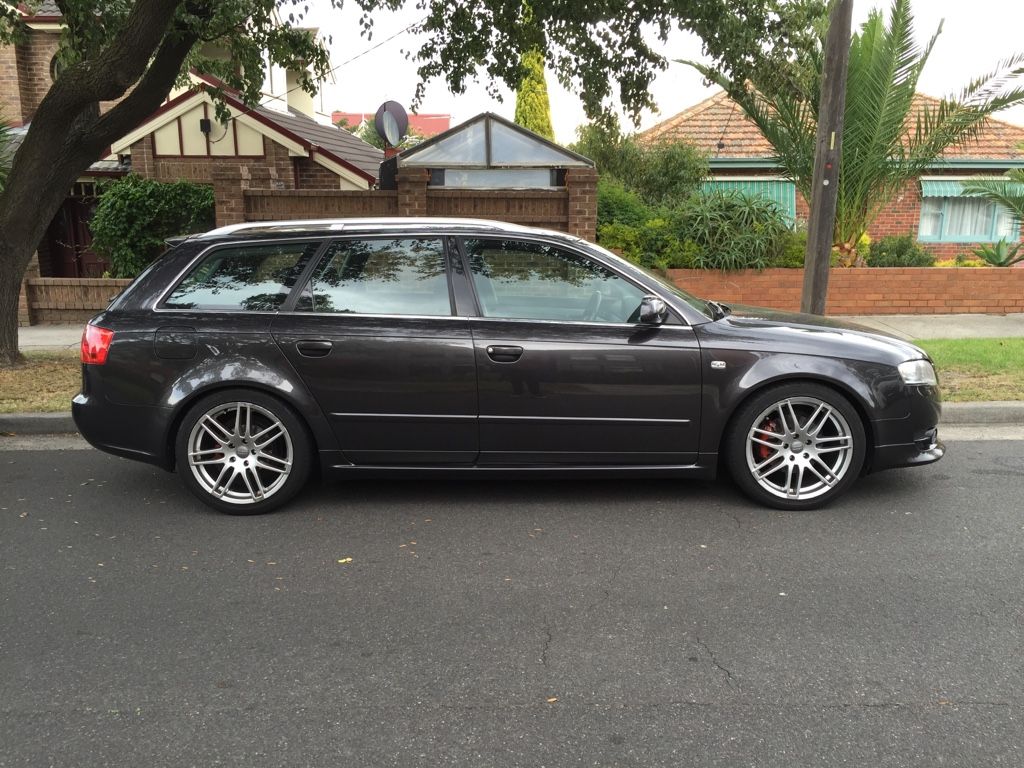
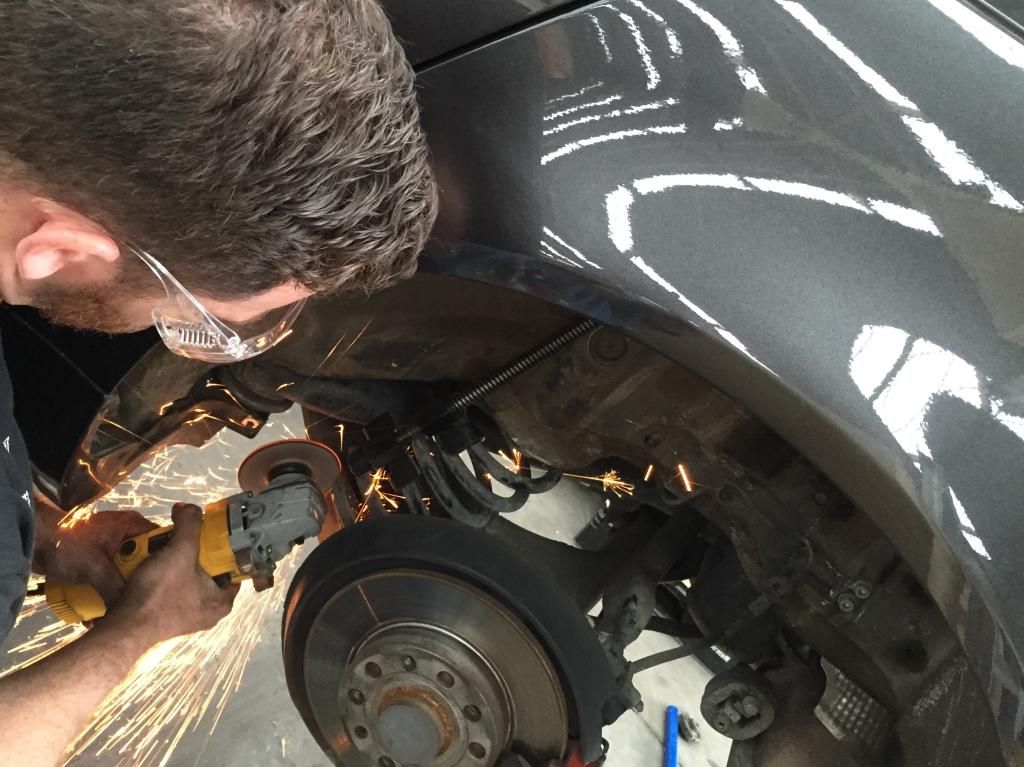
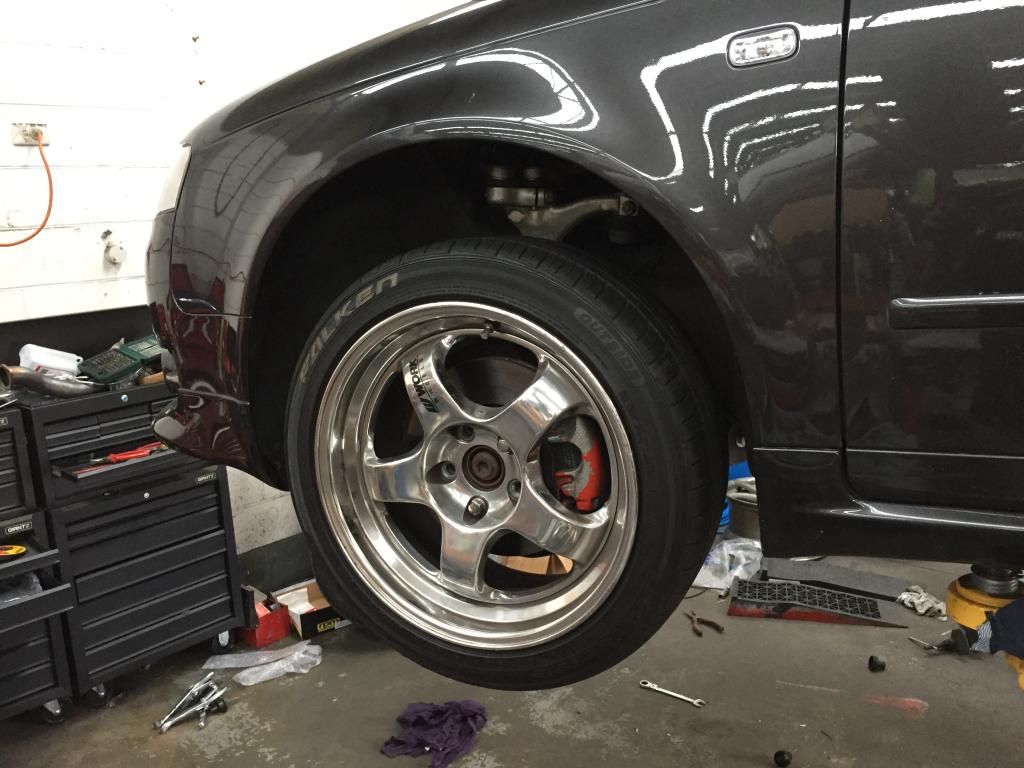
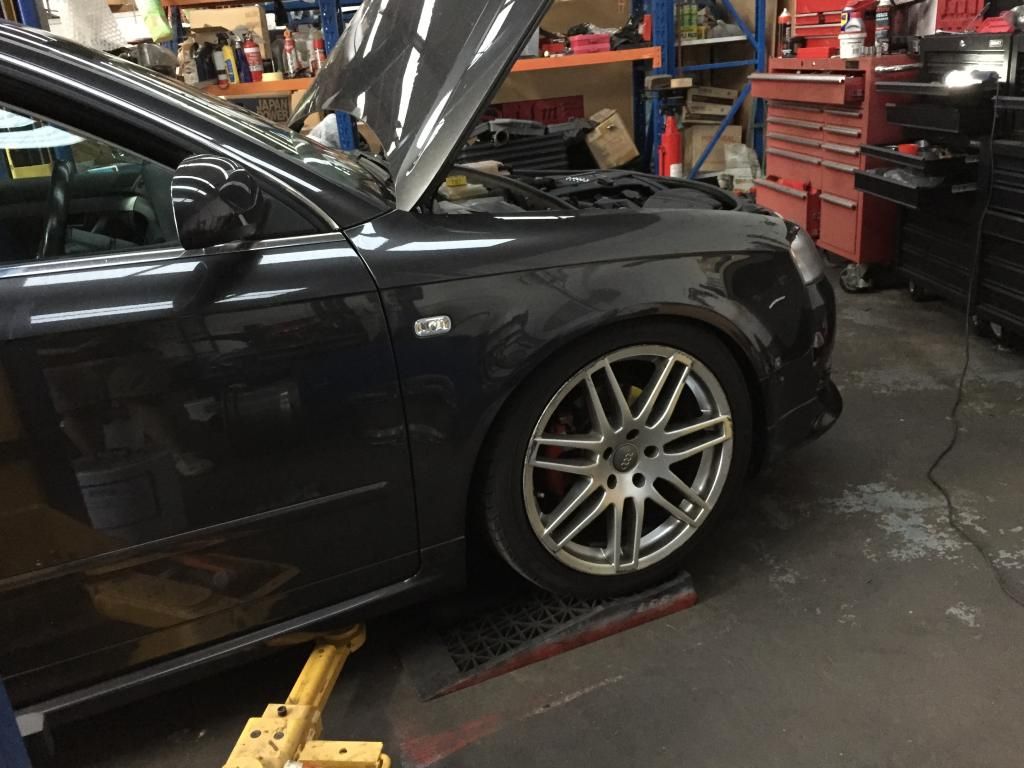
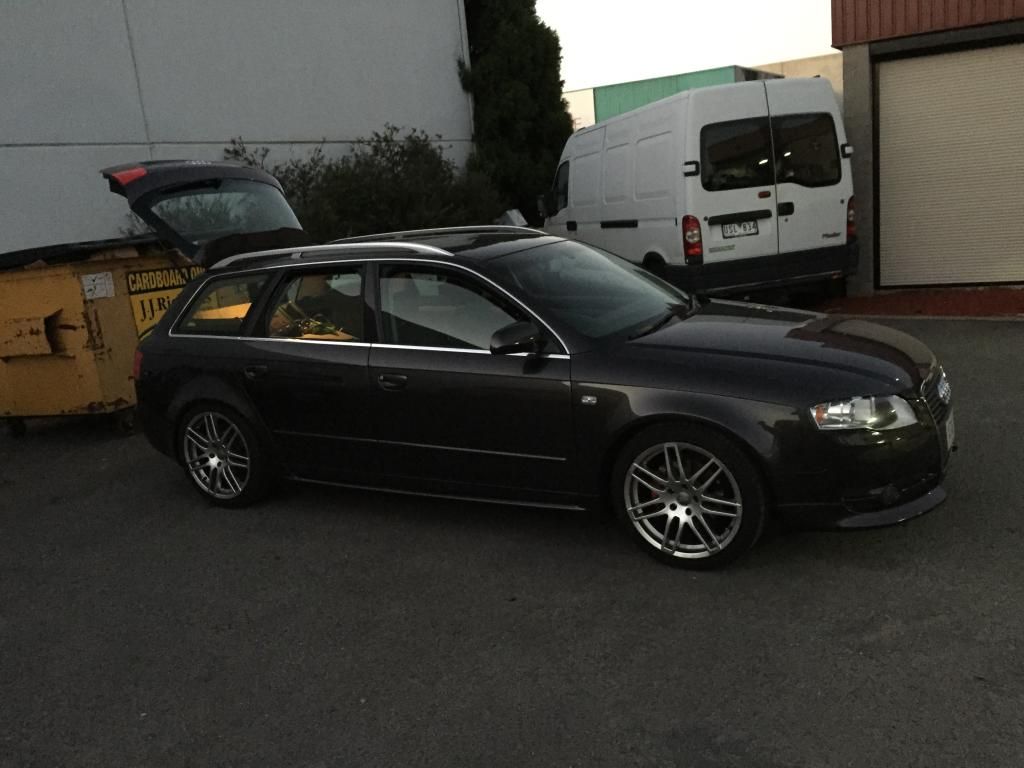
    Now that it's actually advertised I'm not sure about it. I sat down and looked at the pics, then I wrote the ad and listed all the strong points. In a lot of ways I still love the car, especially the way it looks and the comfortable commute in it. With that in mind I put a relatively premium price on the ad, so if I get it I'll be able to buy something I really want and I'll be happy with my choice to sell. We'll see what happens.


    Leave a comment:


  • adolfitovr6
    replied
    nice work,

    Leave a comment:


  • reiernumans
    replied
    The wheels look pretty decent!

    Leave a comment:


  • HuH
    replied
    Here I am at work using Monday to recuperate after a brutal weekend in the garage. I had Friday off work and spent that afternoon, plus Saturday and Sunday afternoons working on the Audi. Before I get to that I'll go back to last weekend when and painting the wheels.


    Looking through the pics now I realise I don't have a decent before shot of the grey colour. Basically it was a solid grey with no metallic at all. In photos they don't look so different painted, but it's obvious to the naked eye.


    We took them back with 400 grit sandpaper for better paint adhesion, then masked them up.


    This is the paint I used. The colour is called 'Chevy Rally Silver'.


    It's an alloy colour with a really nice metallic look.


    Easy, smooth application out of the can too.


    The finished product. I think these ended up with about four coats on them. We used a little more than two cans in total.


    Hub rings arrived from the UK. The later Audi wheels have a 66.6mm centrebore whereas the B7 has 57.1mm hubs.


    Now we move on to the work I did this last weekend. I absolutely ***** the flaky red/orange paint on the calipers. The plan was to get rid of it with a wire wheel and re-grease the pads at the same time since they've been clicking lately. I also took ground-to-guard measurements before jacking the car up so that I could adjust the coilovers to get it levelled out.


    I used a drill and a couple of different wire brushes to strip them back. This was an arduous, filthy and slow process.


    But in the end I think it was worth it. You can see a bit of the fresh copper grease on the back of the pad.


    Back right done. Adjusting the height of the back left was a humongous PITA. I was too frustrated to take any photos.


    Part way through the front right.


    And finished. I didn't want to bleed the brakes so I did all this with the calipers still on the car. This was a bad move. It took so much longer doing it this way. I could've removed them, stripped them in the bench vice and bled the brakes in the same time I spent struggling to strip them back in the car. I didn't have the right size flare nut spanner at home to take them out, otherwise I would've.


    I pulled the rear arch liners out to trim them in the area directly above the front face of the wheels. They have a step in them and the tyres would've rubbed on them. In this photo top is factory, bottom is trimmed.


    All done! Please excuse the filthy car. This was before the wash.


    I'm fairly happy with the ride height and the offset. I like the OEM+ look for now. It looks a bit wonky in these pics. I will snap some better ones.

    Originally posted by P78 View Post
    Corrrr. I like it. These wheels won't stay forever. I'll be looking for something more special soon.

    Leave a comment:


  • P78
    replied
    rial daytona race

    just saying

    Leave a comment:


  • HuH
    replied
    Got the wheels back from the powder coater yesterday. Bit of a mixed result.

    A friend hooked me up with a near new set of tyres in the perfect size for a great price. Big win. The surface of the powder coat is beautifully smooth everywhere we fixed up the damage so that's also a win. Unfortunately the colour and the finish aren't the best.


    There are noticeable streaks around the outer edges where the powder goes from bare alloy underneath to paint. Seems we should've sprayed a coat of primer. The 'Bright Silver' powder colour isn't too bad but it's grey compared to the OEM look I really want. I'm nitpicking but I'd like to get them spot on.


    You might also notice that at least one of the tyres is mounted the wrong way. So since I've got to take them back to get that switched around my plan is to paint the wheels with an alloy wheel paint then remount the tyres. I'm using a colour that is supposed to be a match for BBS silver. Watch this space.

    Leave a comment:


  • FunfGang
    replied
    Today is my birthday.

    Tell your friend to pick out a set of 4x100 wheels and send them my way


    He better have some good locks with a wheel collection like that, and all the assholes in this world.

    Leave a comment:


  • HuH
    replied
    I took the new wheels over to a mate's place yesterday afternoon. We spent a couple of hours cleaning them up.


    The master at work. This is his wheel paradise and seemed like the appropriate place to do it.


    All four wheels had kerb rash, but only one had a gouge that needed filling. These OEM wheels (made by Ronal) have really thick paint, and most of the damage is in the paint itself rather than the alloy. Oh and we weighed them at roughly 13kg per wheel which isn't too bad.


    We used two different types of paint/varnish removal pads, a more abrasive one on the grinder and a soft one on the drill.


    It only took about 15mins per wheel to get the them looking perfectly smooth everywhere.


    I cut the old valves out of them so they could go straight to the powdercoater today.


    This metal putty is remarkable stuff. It's one tube with two parts inside, an inner and an outer. You slice a couple of millimetres off the end and knead it together to start the process. Then press it into the areas that need filling and wait for it to go off. Just 45 minutes later it's cured enough to sand back.


    You can see the small area we filled being smoothed out.


    The wheels were dropped at the paint shop today. They're being powdercoated 'Bright Silver' and then clear coated to give them that OEM gloss. After that a set of 225/40/18s are being fitted and I should have them on the car by the weekend.


    In my lunch break today I picked up a set of OEM ball seat/radius taper bolts that the A5 wheels need. They were a bargain from an Audi wrecker in the same suburb as my work.


    While I was there I also grabbed a new front ashtray. The little chrome bits on mine are peeling off and look horrible.

    Originally posted by FunfGang View Post
    So refreshing to see things done so properly, even if some of it may be because of the strict inspections. You definitely have keen sense of the correct way to do things.

    Looking forward to more progress!
    Thanks so much mate. That means a lot!

    Leave a comment:


  • FunfGang
    replied
    So refreshing to see things done so properly, even if some of it may be because of the strict inspections. You definitely have keen sense of the correct way to do things.

    Looking forward to more progress!

    Leave a comment:


  • Dane083
    replied
    So jealous you got through inspection with Coilovers, very lucky!

    Leave a comment:


  • HuH
    replied
    Time to rewind a bit and get up to date! While I waited for the roadworthy inspection (which was delayed) I worked on a few other things.


    The broken glovebox. It's probably hard to see, but on the bench is the lid with the hinge side facing the camera. You might be able to make out where the hinges have broken away from the lid as is the case in many, many B6s and B7s.


    I bought a pair of these brackets from a seller on eBay. They're shaped specifically for the B6/B7, but LHD and RHD cars must have slightly different designs, because as you can see they don't fit mine.


    I figured I could make them work, but first - glue. This stuff is awesome. Extremely strong. Enough to do the job without the brackets, but I want the extra insurance.


    Glued and clamped overnight, then left to cure for 2-3 days before assembling again.


    Bending the brackets to fit the hinges was easier than I thought. I added a small bench vice to my workshop recently, and that really helped.


    Not exactly elegant, but it's strong and not all that obvious once in the car.


    It would've been nice to keep the two screws on the hinge side, but I couldn't get an accurate enough bend for a flush fit.


    Lid ready to go!


    I pulled apart this damper which seizes up, then trimmed the o-ring inside to free it a little and lubricated the slide before refitting.


    Doing that meant I kept the glovebox light so that was a win. I've heard of people removing the damper but I think that's lazy.


    This bubbling is happening on a few bits of interior trim. I'm still working out what to do on the other sections, but for the glovebox handle I peeled it all off.


    And I think it looks good. Glad to have this fixed.


    Here's a better pic of the car after we finished up at with the suspension install. I felt the back was a bit too low for the front. And even though it's easily legal height, I thought it might draw the eye of a roadworthy inspector and I didn't want to do anything to raise suspicion. So up we went.


    First thing to do is get access. I decided to trim away a little of of the arch liner so that I don't have to remove it to make adjustments in future.


    My cut doesn't look very neat with light shone on it. It's not bad, but I'll tidy it up when I'm under there next.


    I took this photo to see what the underside of the threaded section looked like, hoping to find a hex socket. Bingo!


    With a 10mm Allen holding the threaded bit, I went at the adjustment ring one quarter turn at a time until both sides were at the desired height.


    This is raised about 10mm. I went up 17mm in the end.


    And this is how it sat. Neat, respectable, legal. Good enough to get registration.


    FINALLY. Now the fun starts.


    So happy to get rid of those uggo South Australian plates.


    The OEM front lip things on this car look real clunky from some angles. Down the track I can see myself getting rid of them and going with something a bit more typical.


    So boring. Now I'm on the road I can drop it and fit up some more interesting wheels.


    Last week I picked these up for a bargain. OEM A5 S Line wheels, 18x8.5+29. I'll be fixing up the gutter rash myself then swapping tyres onto them to run until I find what I really want. Keen!

    Originally posted by SliPsY View Post
    Great quality thread, keep it up.
    Thanks for the kind words!

    Leave a comment:


  • SliPsY
    replied
    Great quality thread, keep it up.

    Leave a comment:


  • HuH
    replied
    Originally posted by SebastienPeek View Post
    Not sure why you installed coilovers before getting an RWC...

    You do realise that any adjustable suspension is illegal, right?
    I specifically asked the bloke who inspected it the first time whether he would be okay with it having coilovers for the next inspection and he said it was fine.

    Thanks for your concern.

    Leave a comment:


  • SebastienPeek
    replied
    Not sure why you installed coilovers before getting an RWC...

    You do realise that any adjustable suspension is illegal, right?

    Leave a comment:


  • HuH
    replied
    After a full day of wrenching yesterday, I think we're finally ready for a roadworthy!


    I owe a great debt to my mate Dan for giving up his Sunday and letting us into his work to use the hoist. This job would've been a gigantic ballache without it and his help!


    The Audi's front end was getting the most attention. Coilovers, engine mounts and eight new control arms. We started with the suspension stuff. There are two upper links and two lower links on each side. In this pic the two upper ball joints have been popped out of the upright.


    With that done, the top hat unbolts at three points in the engine bay and one point at the bottom of the strut, then the whole lot lifts it out.


    The only piece we're reusing is the top hat itself, so we separated everything else.


    Next we attacked the forward lower arm with fire. The upper ball joints use a pinch bolt to hold them in, whereas the two lower ones are tapered and harder to separate. A bit of heat and a big hammer did the job.


    Repeating the process on the other side.


    Old vs new with swaybar links attached. I bought my replacement arms through FCP Euro. They're an impressively accurate copy of the OEM arms and seem well made.


    Audi use torque to yield hardware for the suspension so the kit comes with a bag of new replacements.


    Lower arm and swaybar link in place.


    Coilovers next. The Vogtland kit has new bump stops included which is a bonus.


    Top hat and new upper arms mounted to the shock and ready to go.


    And fitted! We left the mounting points loose until the end so that we could jack the suspension to resting height and then tighten them to maximise the life of the bushes.


    The last part to be installed was the rear lower arm, shown here with the balljoint facing up.


    We used a gearbox jack and raised the suspension arms to simulate the car being on the ground, then torqued the bolts. This way the bushes aren't under stress with the car at rest. It's really important to do it this way or the bushes will fail quickly.


    While we were doing that, Dan was in the back removing trim to get to the strut tops. Or so he thought. You actually don't need to do this (the strut top bolts face down into the wheel arch), but if he hadn't I would never have known about this tiny factory subwoofer and amplifier. I thought only cars with the optional Bose stereo had this, but obviously not. It does sound great for a standard setup.


    Shocks out and onto the springs. What a prick. My car has the highest factory suspension Audi put in the Aussie B7s. S-Line suspension is 20mm lower, and I think the S4 is a bit lower again. We dropped the subframe about 20mm, compressed the spring as much as possible and got so close to prying it out but it just wasn't happening. I can't see myself ever putting this factory suspension back in since two shocks are leaking, and a full set of second-hand S-Line suspension goes for next to nothing. So we cut the springs. Here is Tony going at the driver's side.


    And here's me doing away with the passenger side.


    The aftermath. I wish this car had a coil-over-shock rear setup, but that's life.


    All done, with freshly pressure washed guard liners. Rear spring adjustment on this setup is going to be a bit frustrating. I don't want to mess with it much.


    Put this guy up on the car for a look. I reckon 17s are too small, but something Japanese would be cool. Those awful half painted red/orange calipers have got to go!


    Next up: engine mounts. God bless hoists everywhere.


    Passenger side mount with what might be signs of a small leak or could be some sort of anti-seize paste. We weren't sure. Audi said one was leaking, though.


    It's a bit hard to see in this pic, but the old one on the right was definitely looking squashed and out of shape, with a couple of small cracks appearing near the top.


    New mount fitted. We did the driver's side mount as well.


    With that done we dropped the car. This is how the front looked and it was still being held up by the arm of the hoist. There's no way it would've passed a RWC inspection like this so we raised it 35mm. For now.


    This is how it looks at the moment. Bit of reverse rake going on with the back being lower than the front. It's probably legal, but I want to try and raise the back a bit before it goes over the pits just to be sure it'll pass for registration. Then I'll drop it down afterwards.


    This is the only hurdle left. The tech at Audi who looked at my car last time didn't like this clamp setup. He wanted me to replace the whole exhaust. Weird thing is it looks OEM and there is no sign of an exhaust leak. I've sent pics to the bloke I know at the workshop. Hopefully he'll let it go.

    So for RWC we've done:
    - Cam cover gasket
    - Front control arms
    - Swaybar links
    - Engine mounts
    - Wiper blades

    I've asked to take the car in on Wednesday or Thursday this week and I have an appointment with VicRoads on Friday. Cross your fingers and toes!

    Leave a comment:

Working...
X