-
wow, this is a nice read to start my dayFloccinaucinihilipilification
Comment
-
Not half bad right? I mean, it'd be much better if I had some nice patina & the PO didn't cover half this thing in exterior house paintOriginally posted by P78 View Post
Comment
-
Hey you, this is good. Keep doing awesome things yoMy Build:Comment
-
i don't care about po
i liked what i saw you doing Floccinaucinihilipilification
Comment
-
Originally posted by philohlean View Postthanks guyzOriginally posted by P78 View Post
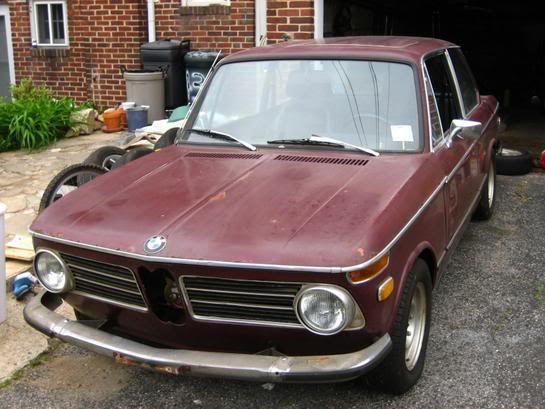
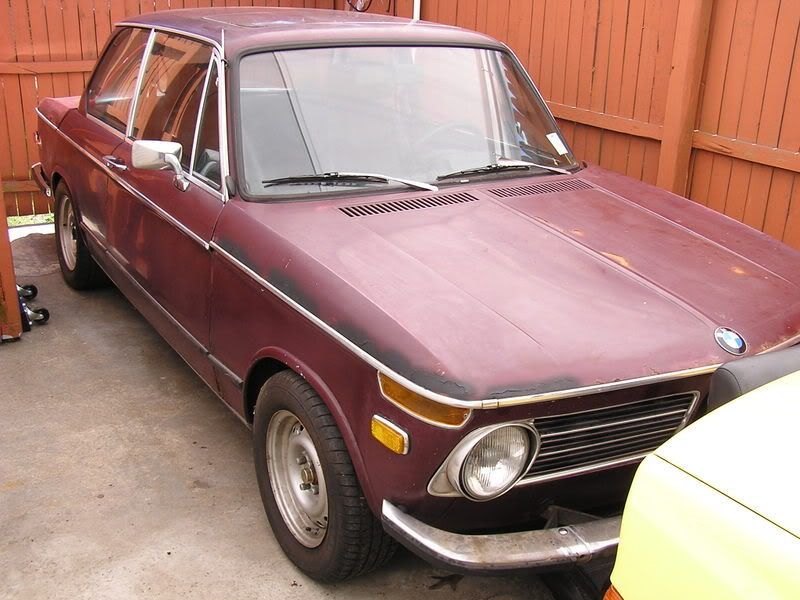
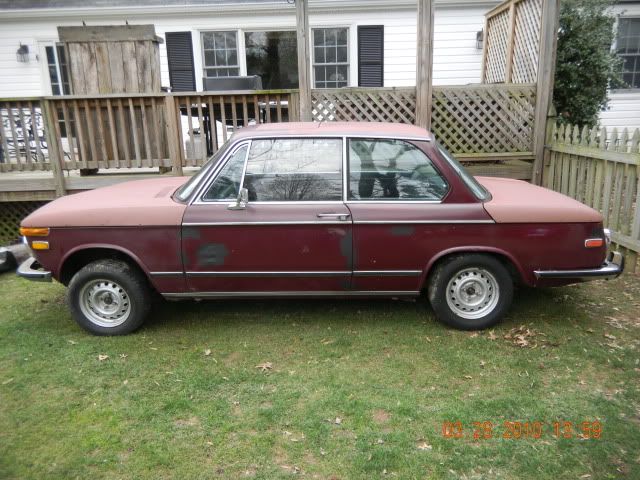
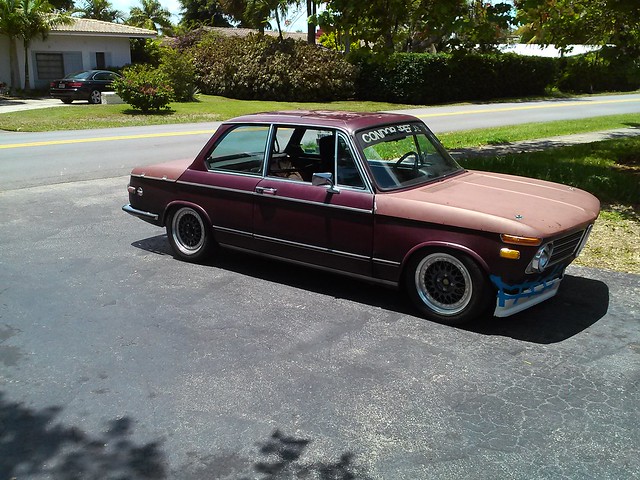
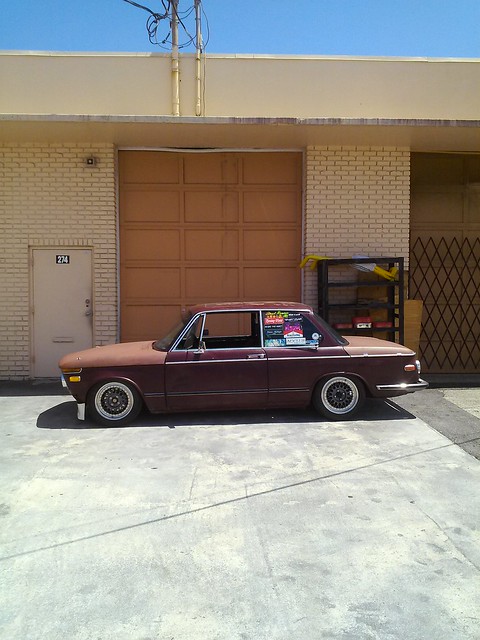
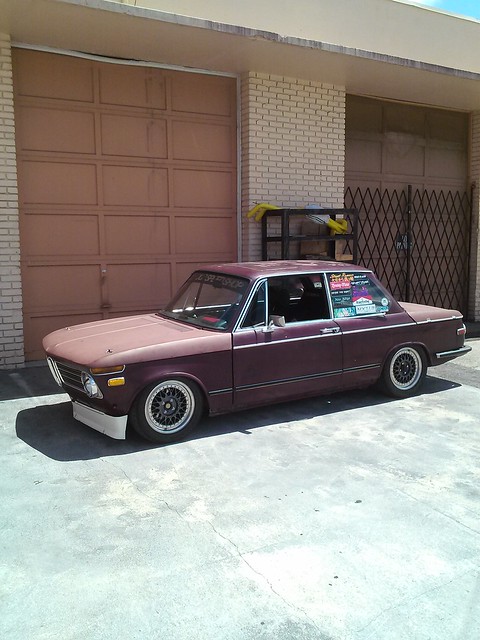
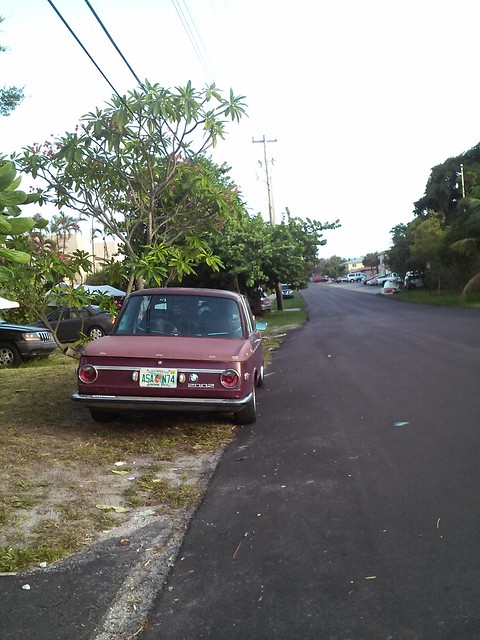
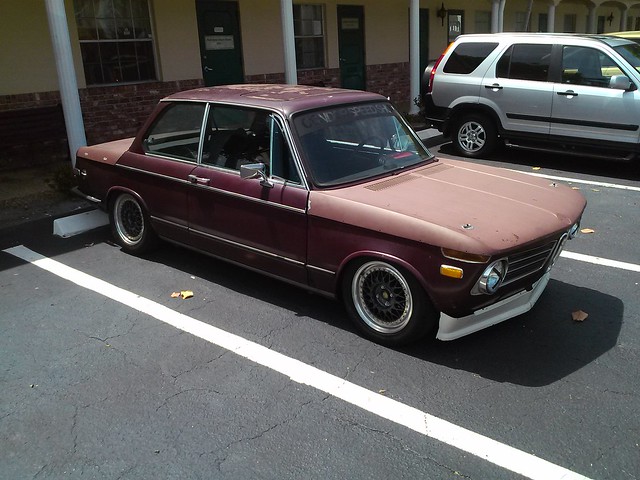
So after perusing some old threads on the internet, it seems I found the previous previous previous owner of this car who was responsible for painting the 2002 with house paint. He posted a few pictures of the car under his ownership, and I got to see the transformation from patina to house paint
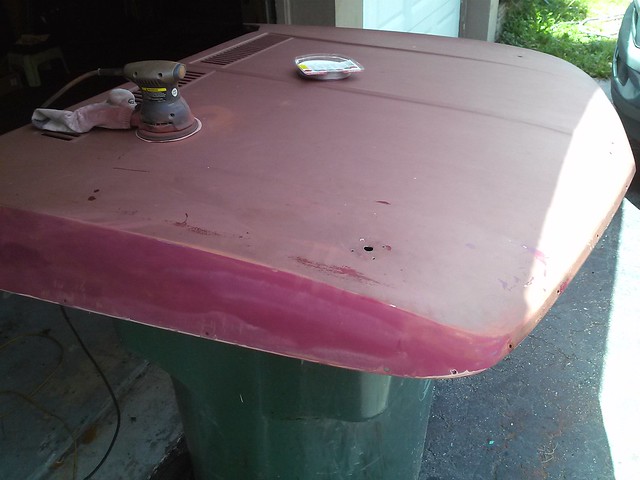
I've been making solid progress removing that horrendous mistake of a paintjob from the car though with some graffiti remover, rags, and putty scrapers. But I won't post any pics of that until I'm done :shhh:
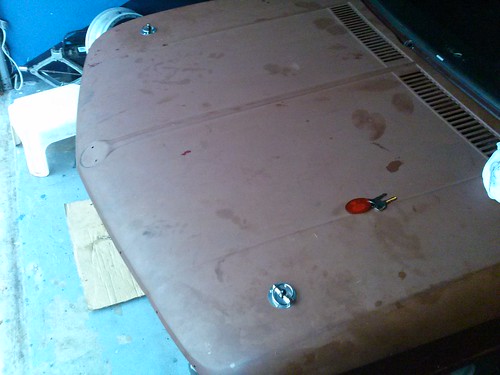
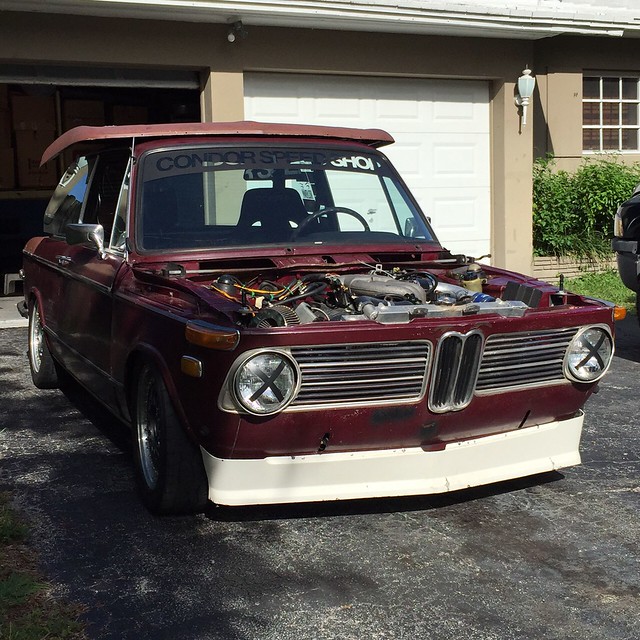
Now that the semester has finished, I have a week break to get some work done on the 2002 before summer classes begin. So I went about mounting attaching the hood & gutting it to clear the radiator/intercooler
 CAM01665 by jasonbelina, on Flickr
I attached the front valence to the car
 CAM01691 by jasonbelina, on Flickr
 CAM01693 by jasonbelina, on Flickr
Most importantly I finished my fan shroud. I added a couple flaps to allow more air flow while the car is moving.
 CAM01685 by jasonbelina, on Flickr
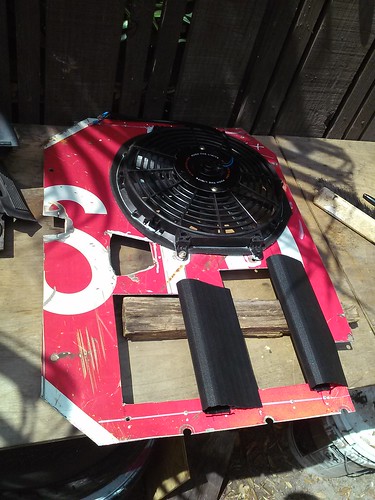 CAM01686 by jasonbelina, on Flickr
A center console has been made after quite a few templates. I still need to bevel the edges, cut out the gauge holes/switch holes/radio hole/wrap it, but it definitely makes the interior look a little more "complete"
 CAM01678 by jasonbelina, on Flickr
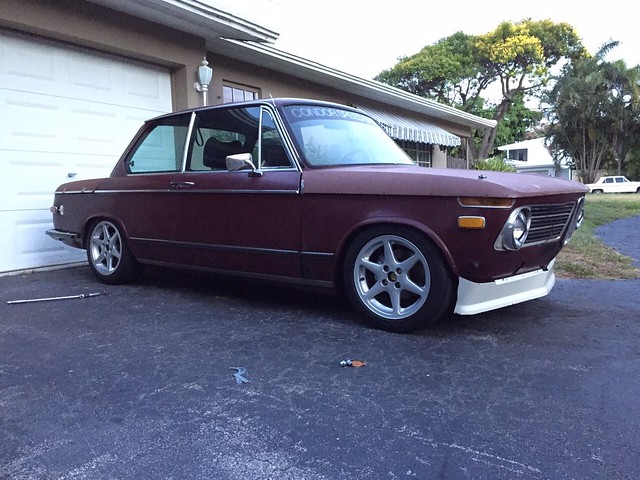
Then I rolled the car outside and gave it a long needed wash.
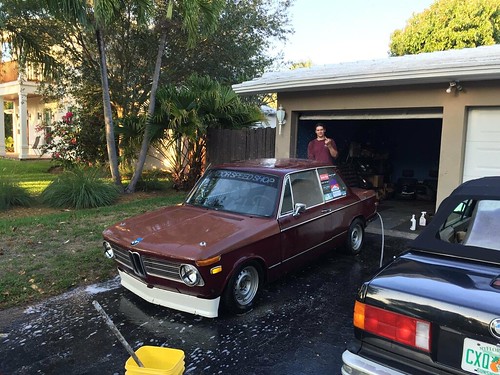 download_20150502_004644 by jasonbelina, on Flickr
I also cleaned up the rear end a lot, refreshed the rear lights, and painted the lgiht buckets silver to try to help the light output
 CAM01682 by jasonbelina, on Flickr
Last edited by Absorbantnut; 05-05-2015, 02:30 AM.
CAM01682 by jasonbelina, on Flickr
Last edited by Absorbantnut; 05-05-2015, 02:30 AM.Comment
-
I need to update this thread more regularly lol
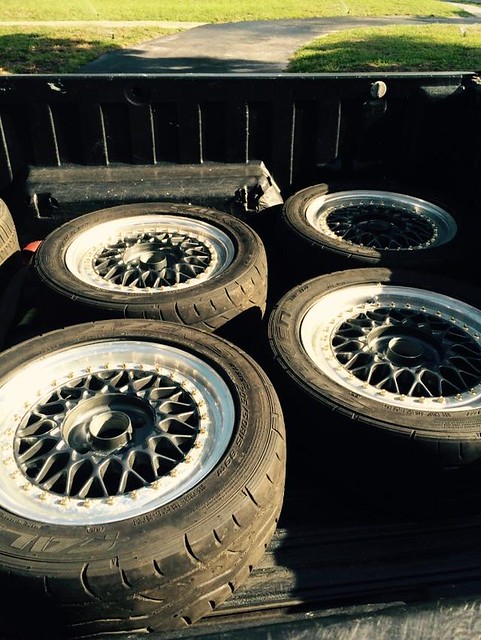
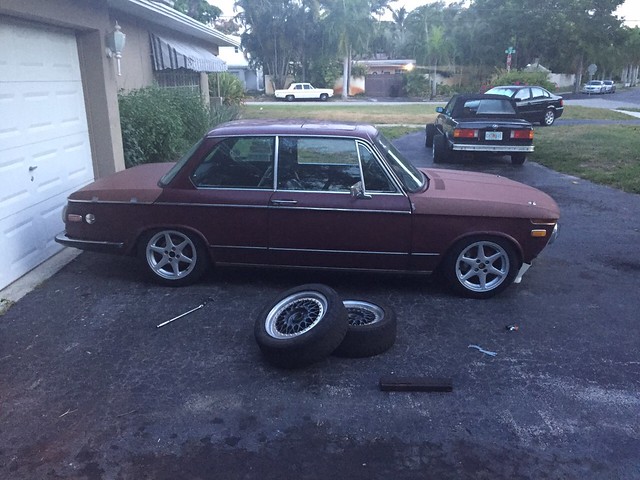
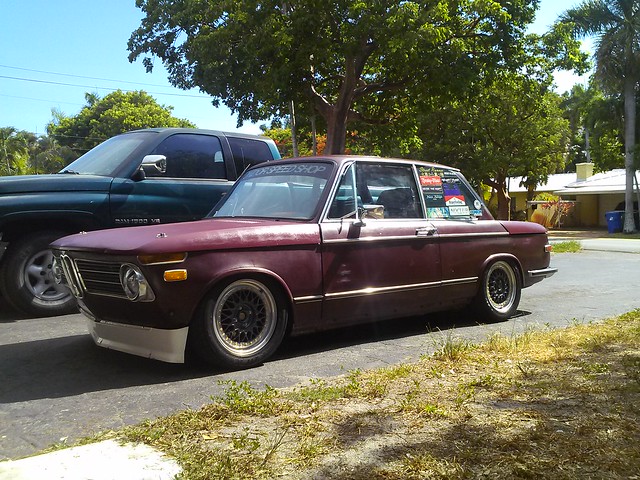
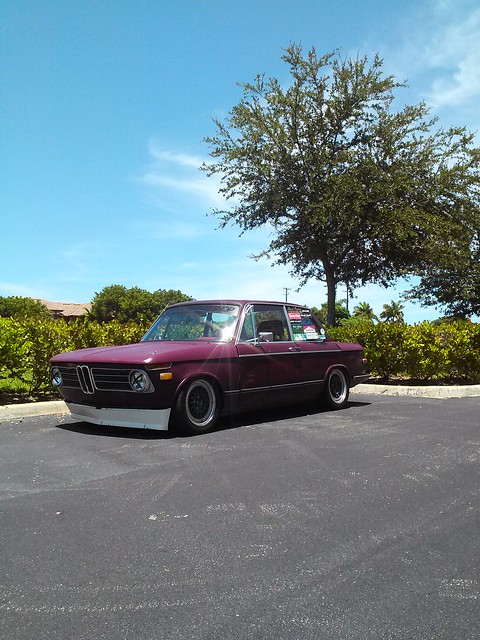
So I figure this is the most "noticeable" update on the car. I had the RS's built as 10s. I was told that I would be able to run a barrel - face - barrel configuration and be able to properly mount tires. However, this wasn't true. I ran into huge drop center issues, which meant that the tire wasn't able to rotate enough to properly mount. When we tried to "coerce" the tire on at the tire shop, the bead ripped & the sidewall blew out.
All was not lost however, I had a set of 0.5" lips lying around the house and decided to throw them on. So I went from a 10" wheel to a 6" wheel with a 205/50. Honestly, it's pretty agressive for stock body and I had to pull the front fenders an inch outwards.
So I took a final pic with the car on steelies

Then on went the RS's!
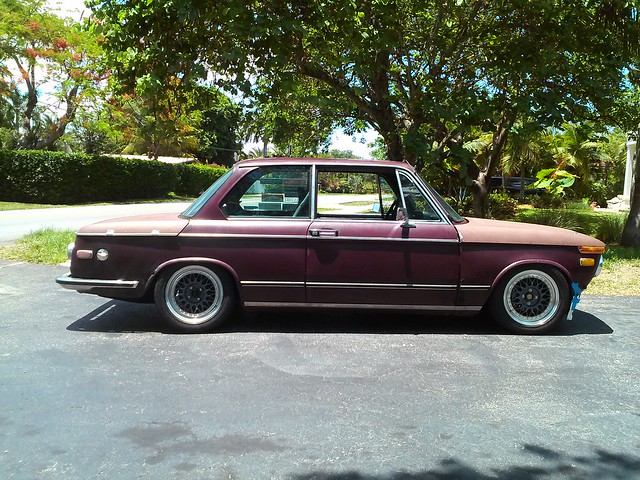
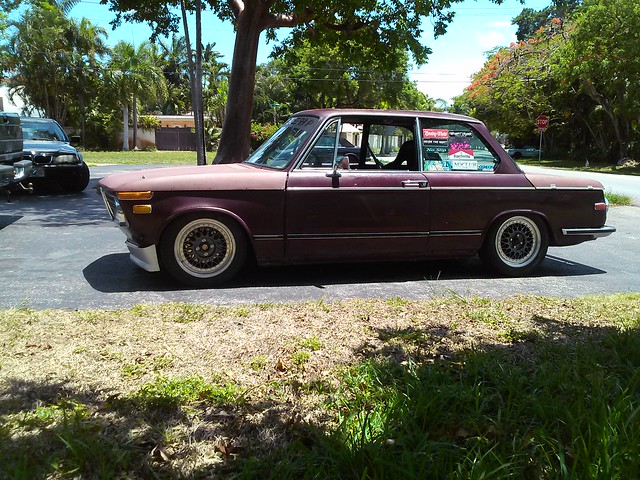
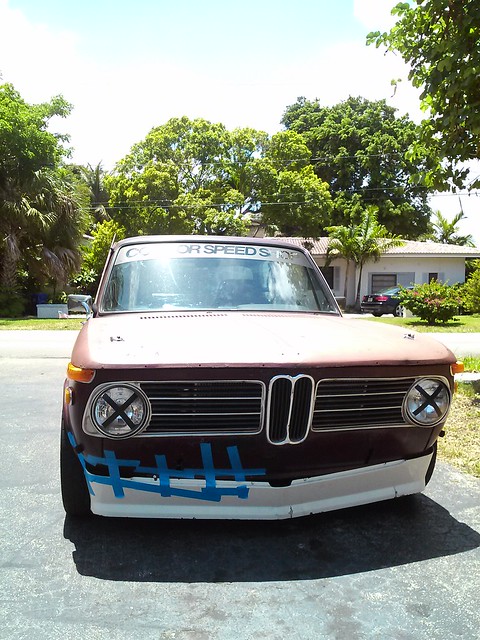
And excuse the tape on the front valence. I let a friend test drive the car, and he bombed over a speed bump. I have a decent amount of travel with these coils so he ended up smashing the lip into the ground. Nothing a bit of painter's tape couldn't fix :nice:
Then I ended up finding a set of Borbet Type C's (My old wheels from my e30) for a steal. So I scooped them up & of course I had to do a test fit on the 02!
While the Type C's didn't look horrible......they didn't look great when compared to RS's :giggle: So I tossed them on my vert & that's where they will stay for now.
Then everything was good for a while. I started driving the car around and didn't have too many issues. But I had no idea what was in store for me :
:
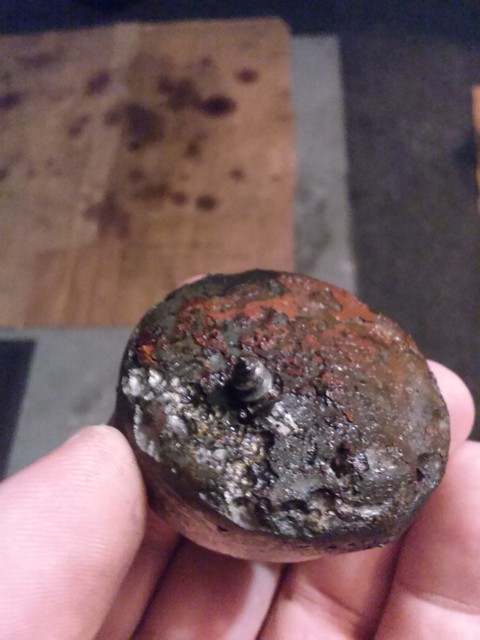
While hanging out at a meet one night with some friends, one of my freeze plugs decides to spring a leak. Not a huge deal. Luckily it was a walmart parking lot; I went inside and purchased some "water-weld" to stop the leak so I could limp it back home.
I tried to upload a video of the leak above ^^ Below is a picture of the hole in the freeze/core plug.
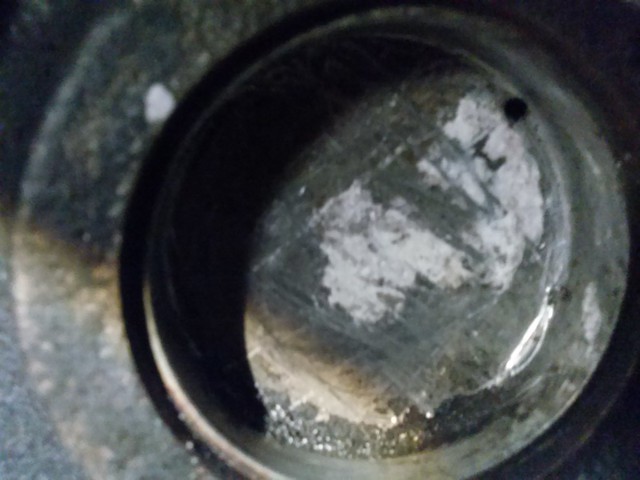
Then here's the backside of the same plug after I removed it :hitler:
So I end up replacing all the core plugs on the exhaust side of the motor.
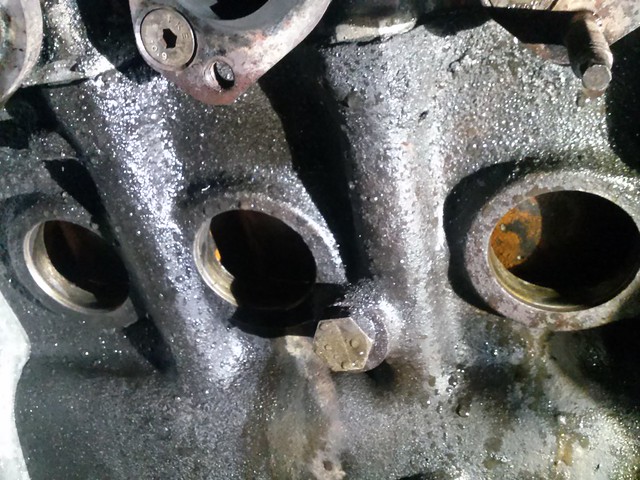
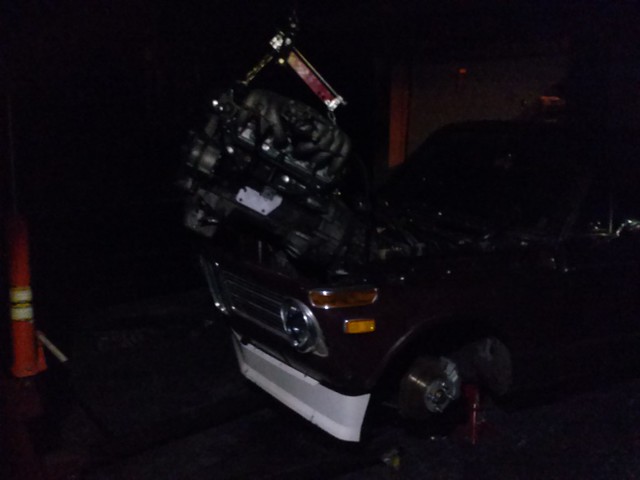
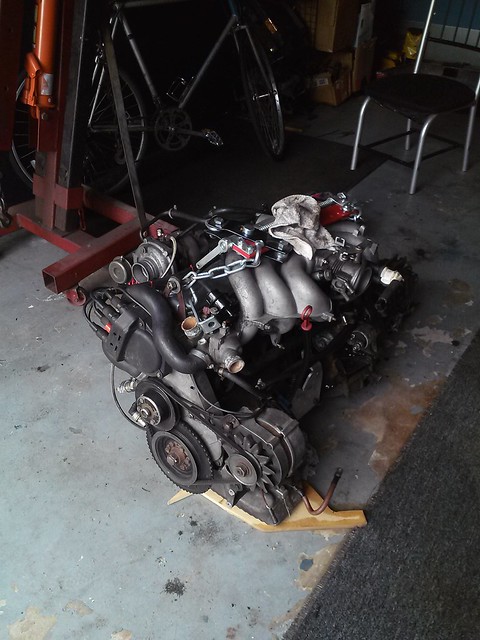
So with those done, I put the car back on the road and begin to daily it again. Like clockwork, the next day the car leaves me stranded 25 miles from home. Three freeze plugs had failed on the intake side :doh: At this point I'd had enough and deicded to pull the motor to replace all the plugs.
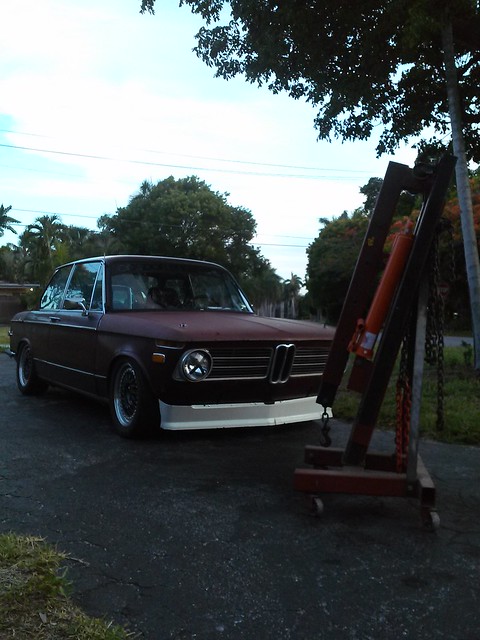
I pulled the motor in my driveway in about an hour. It took 1 week for all the freeze plugs to arrive. Then another two hours to drop the motor back in & start up. Not a bad turn around time :dontknow:
All new plugs yummmmmmm:
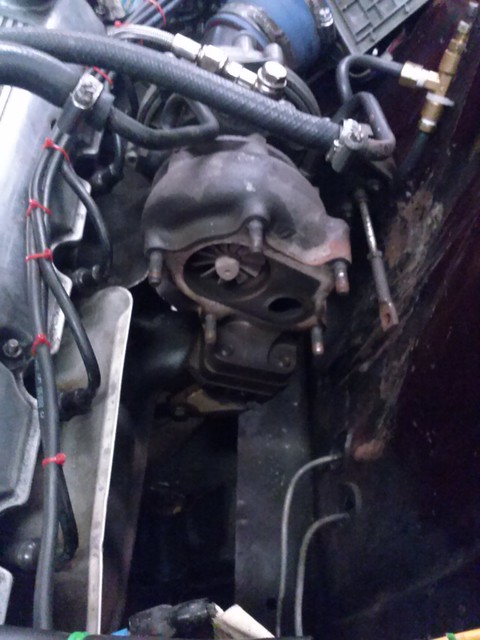
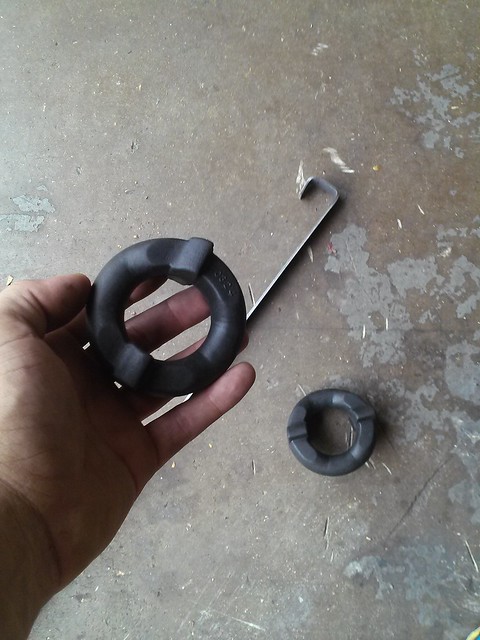
Also, while I had the motor out, I figured it was a good a time as any to replace the water pump(3rd time since I've owned the motor lol). I opted for a late model pump since it allowed me to delete the nipple for the overflow tank the early model pumps have.
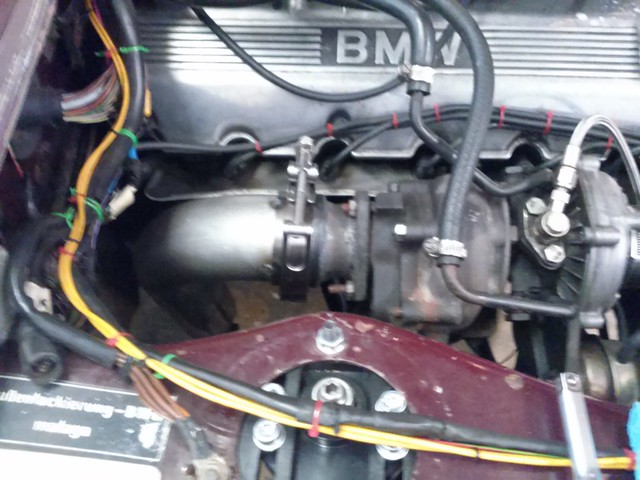
Then my boy RJ over at Ireland Engineering hooked me up with some goodies and this sick drawing
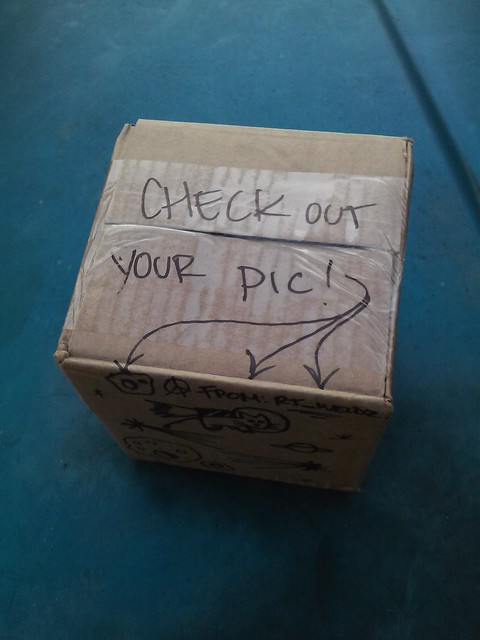
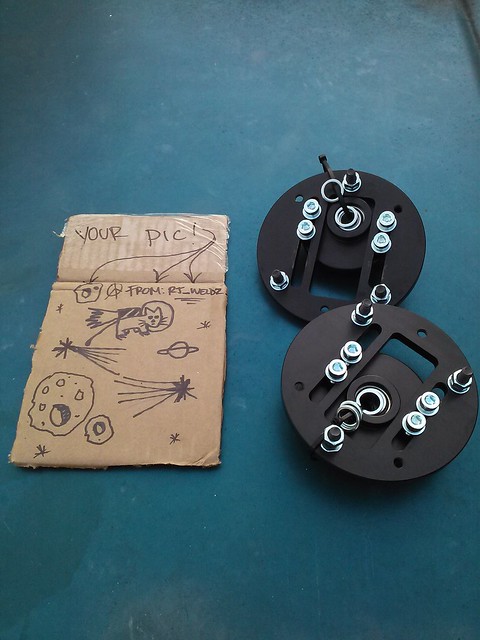
So of course I had to install everything as soon as possible

And then after that it's been the daily again. I tinker with things here and there, but it's pretty reliable on its own
Oh! I forgot to mention somewhere along the line I scooped up a set of euro turn signals :mrgreen:
Comment
-
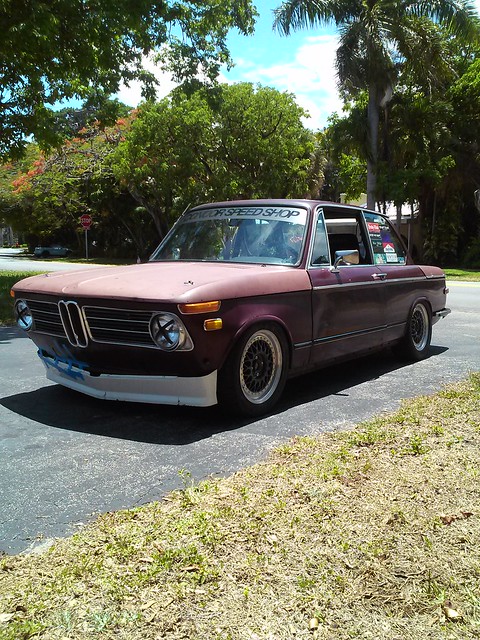
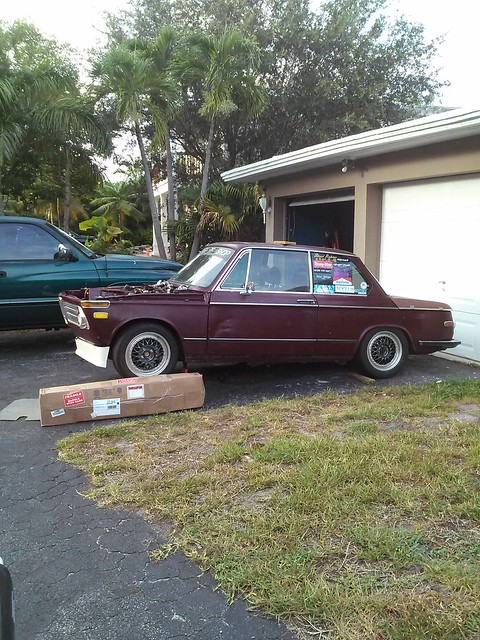
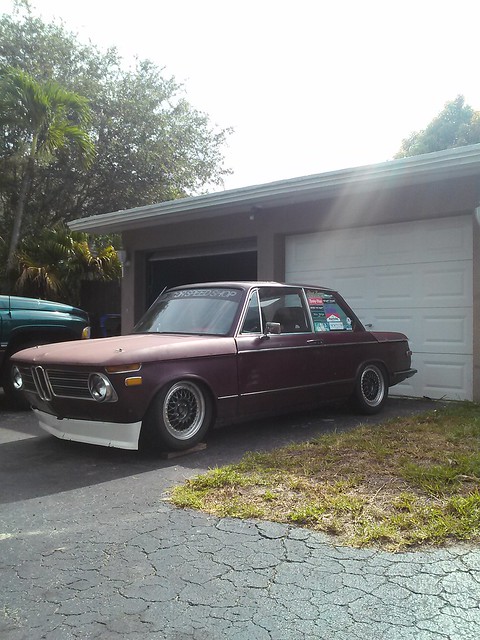
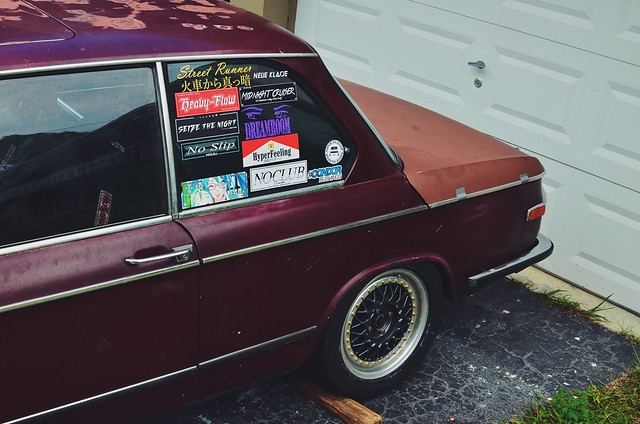
I ended up redoing the housepaint from the PO on the hood & trunk. No this isn't permanent, it's just a temporary fix that makes the car look 50% better :chase:
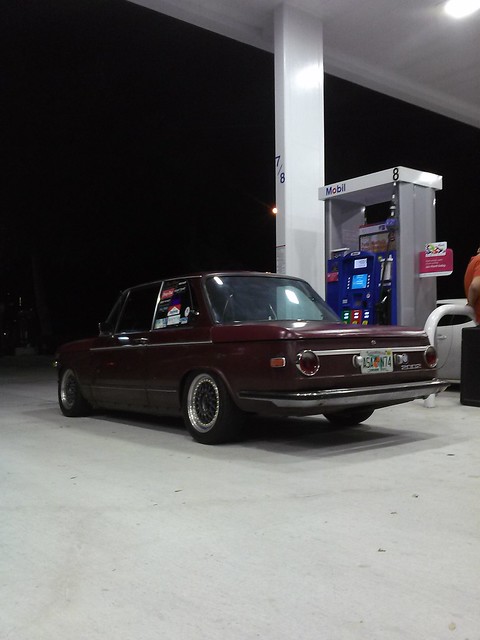
I am going to try to wetsand the paint to knock some of the glossiness off. If that doesn't work, it's only another $10 for some "eggshell" paint instead of "semi-gloss"
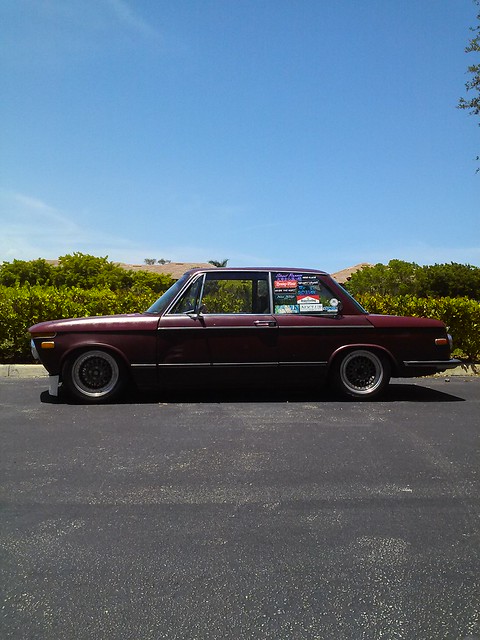
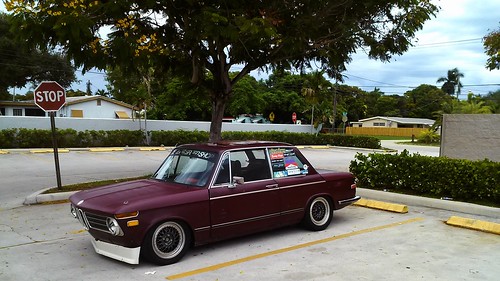
Here's the only roller I have of the car
Comment
-
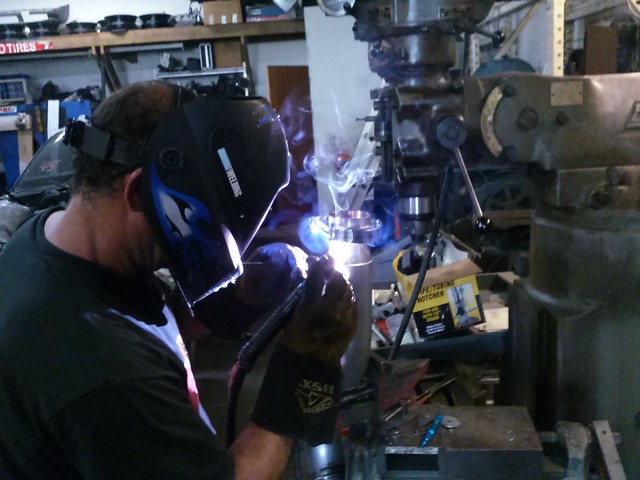
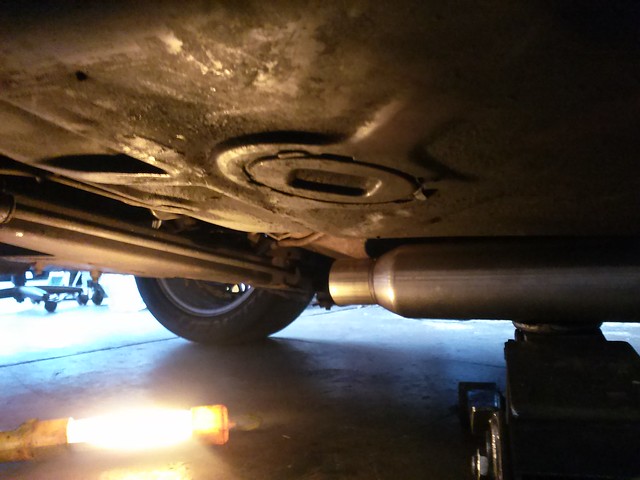
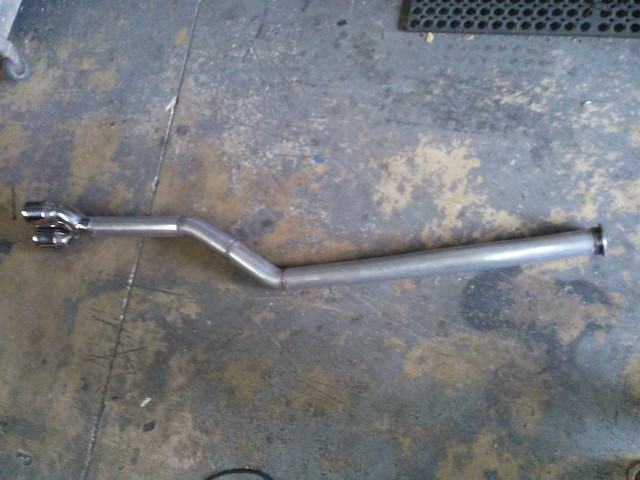
So here's the run down on the exhaust that John @ Wot-tech put together for me last week..........
- Mandrel Bent
- TIG'd
- Single Resonator
- 3'" Downpipe
- V-bandz
- 2.5" once the exhaust turns underneath the car
- Single Resonator
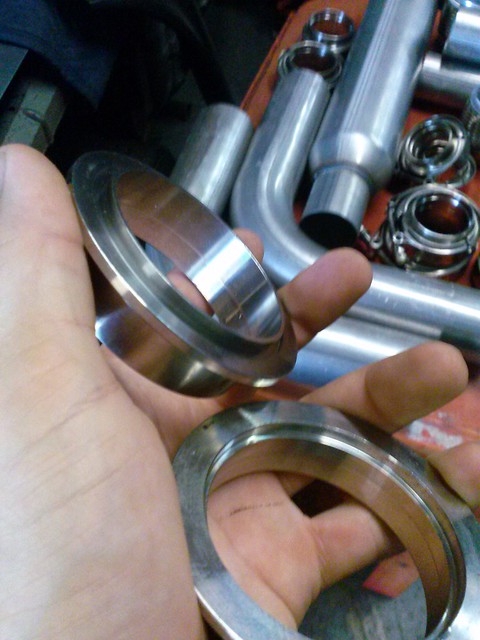
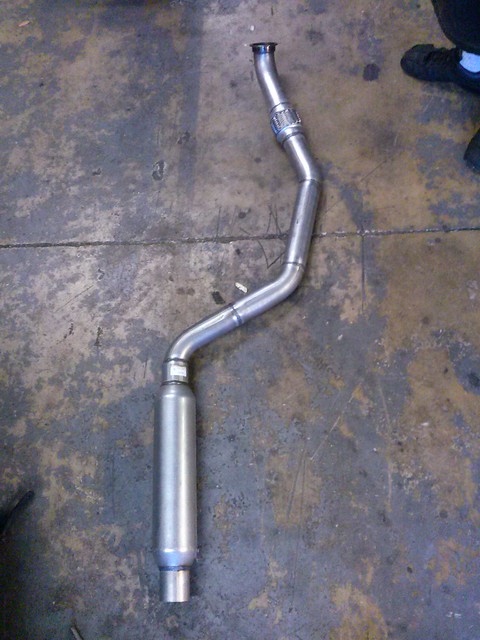
The collection of parts
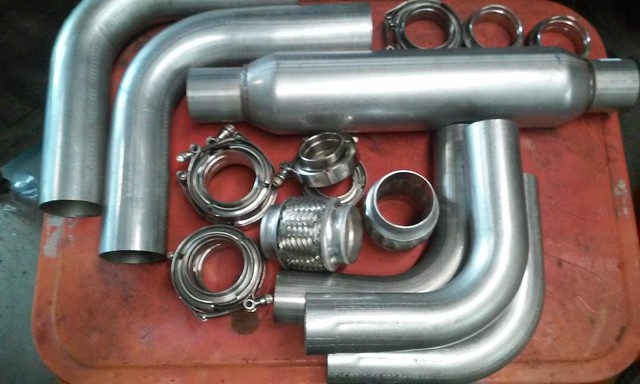
Close up of a v-band
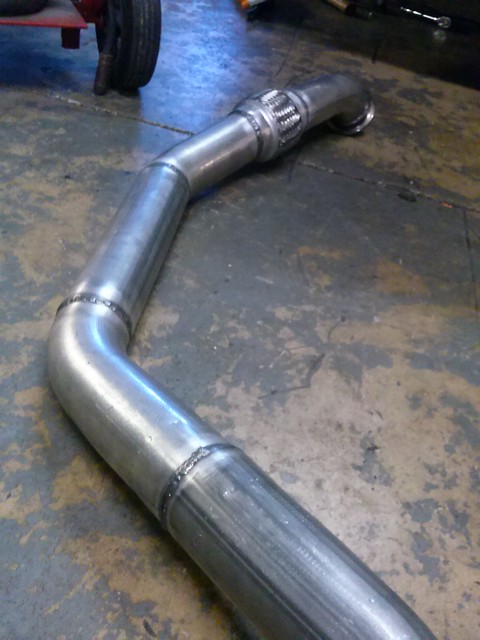
First turn down for the downpipe done
Tacked together
Action shot
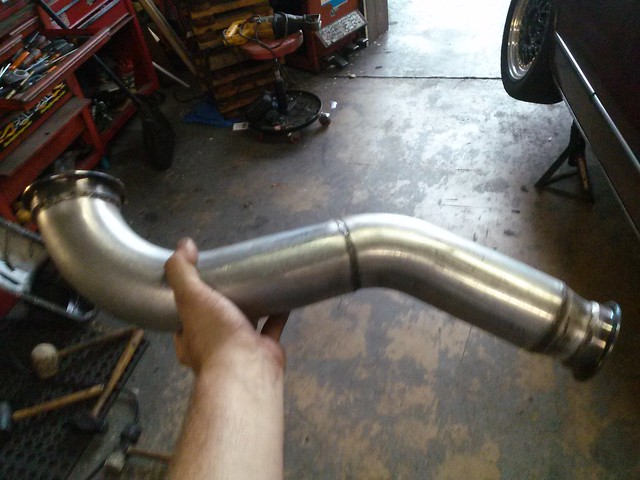
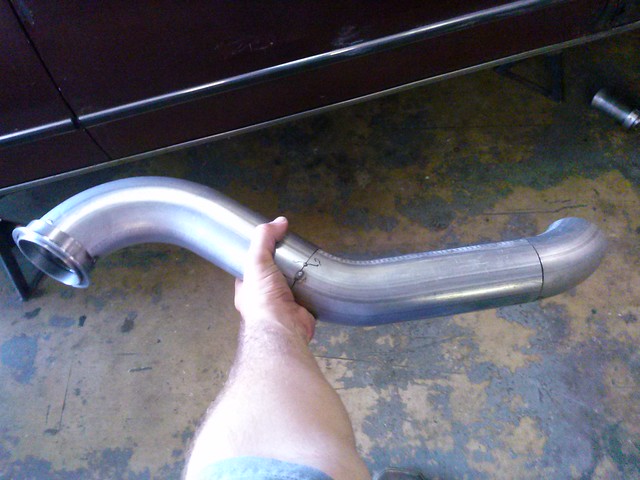
Downpipe completed with the bung for the wideband installed
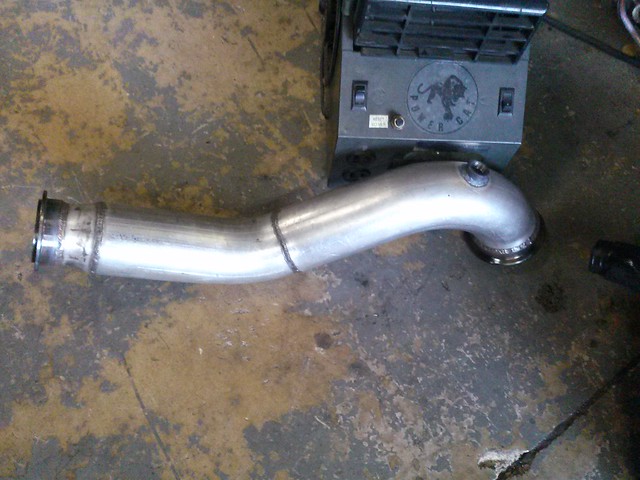
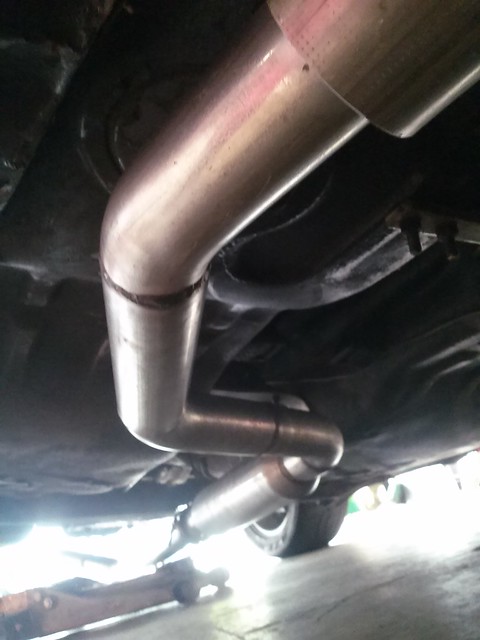
Next we started on the piece after the downpipe
Added a resonator
Then we pulled it out after tacking everything in place and John finished it

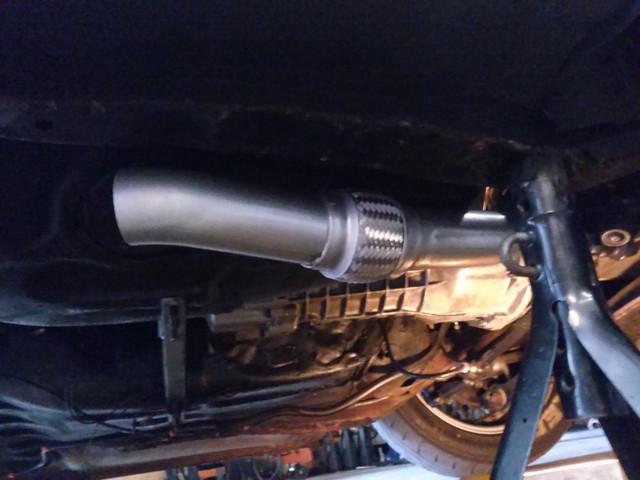
We ended up adding a shield underneath the flex pipe so that it wouldn't get a hole dragged into it :p
You can see the shield if yu look in the top right corner of this picture
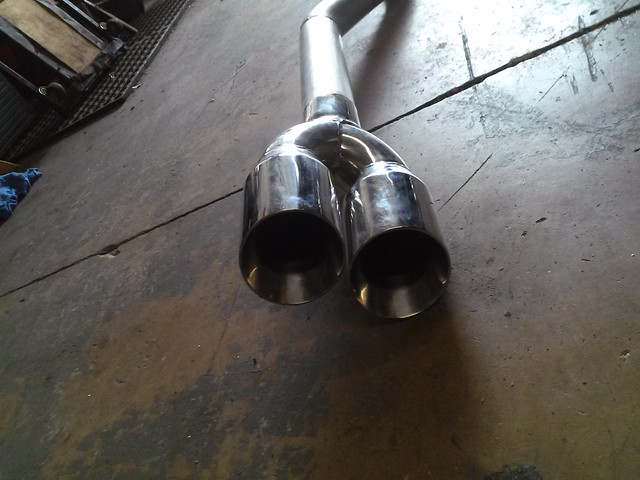
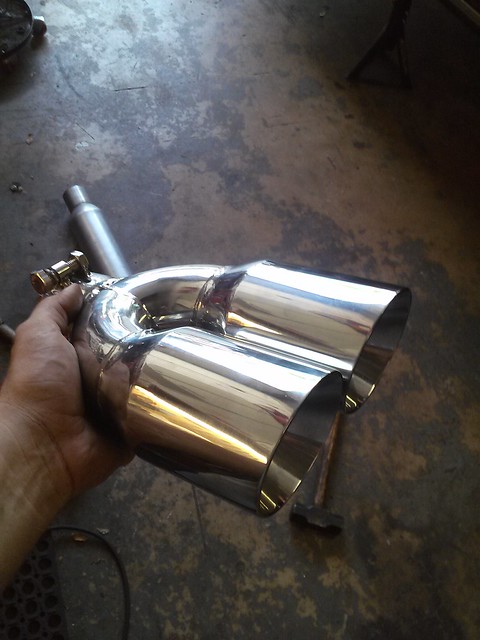
Then we finished the "axle-back" part of the exhaust
Close up of the tips. Very similar to 5th Gen Camaro SS exhaust. Someone else also said it looked like a Vetter exhaust. But it's neither") :
:
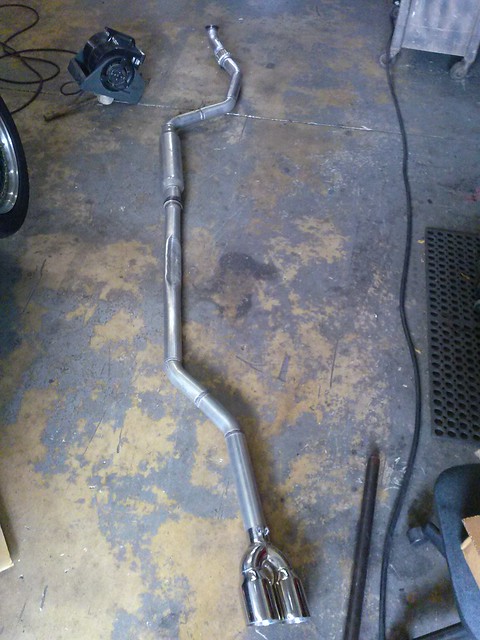
Here's a pic of everything but the downpipe. We snugged it up against the bottom of the car to try to retain as much ground clearance as possible
And if you're wondering about hangers, John had a great idea to mimic the stock hangers on the car
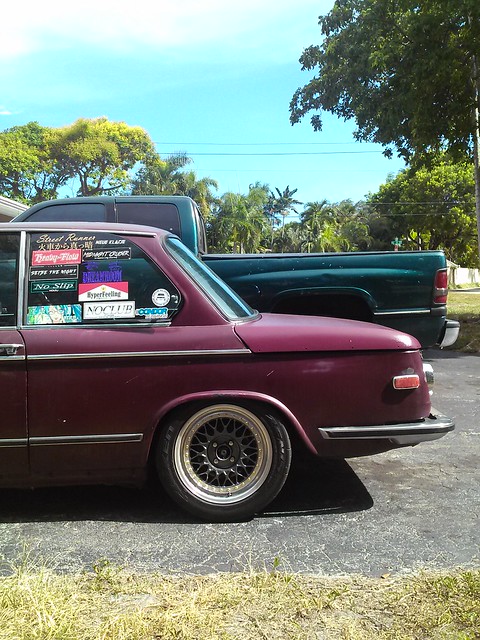
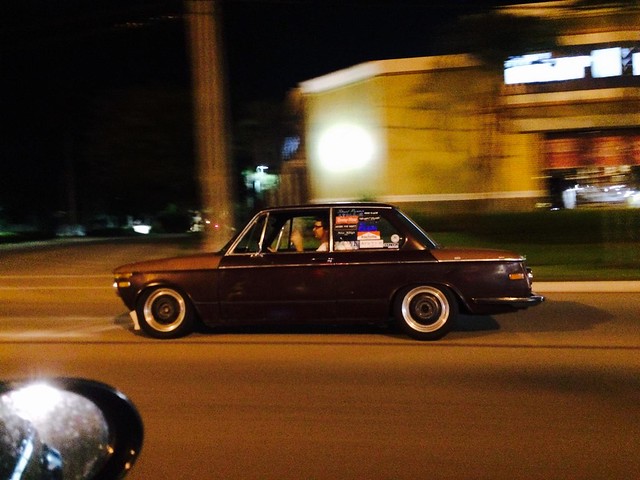
Here's a little throwback pic of the car I never posted. I can't really see going any more agressive on stock body if you want to keep meaty tires. I can only fit a credit card between the rear arches and sidewall of the tire. Guess I'll need to chop it up for flares once I pick my new wheels up form my friend
And here's a sound clip of it.
[YOUTUBE]tyrYIpv6n1s[/YOUTUBE]Comment
- Mandrel Bent
-
wow some nice progress there! I like the trashy look! And rims are great. too bad the barrel lip didint work out... it was dope!Ruining cars since 2006 yoComment
-
Ha thanks. Hopefully it cleans up over the next few months. Going to be trying a few new things outOriginally posted by Meeve View Post
Fixed the video link
Comment
-
Well with finals wrapping up I'll finally get some more time to start working on this car. I've collected all the parts I needed, now I just need to get around to installing them. That includes a medium case 3.73S diff, upgraded axles, rear disk brake conversion, along with a couple of apperance modifications. Stay tuned.....or don't
Last edited by Absorbantnut; 08-01-2015, 09:42 AM.Comment
-
this thing sounds out of this world. love it buddy!!! glad to see it's turned out this well1986 BMW 528e - Delphin Grey - 5spd
1986 Toyota Cressida - Dark Blue Metallic - 1JZ VVTI swap, AR5 transmission
1990 Honda Civic Wagon - Rio Red - Daily Driver
Instagram: @kiburComment
-
-
Comment
 Tweet
Tweet


Comment