Originally posted by Meeve
View Post

Fixed the video link

") :
:


 :
:
 :
:
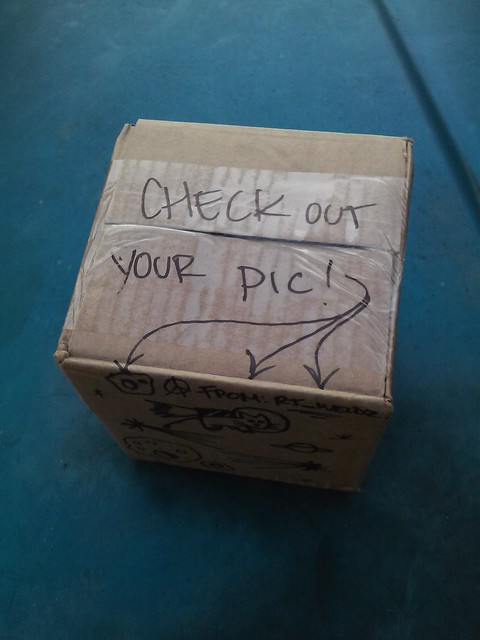
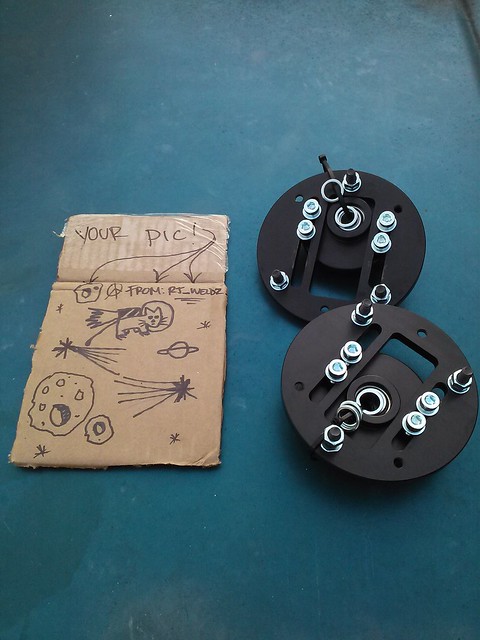


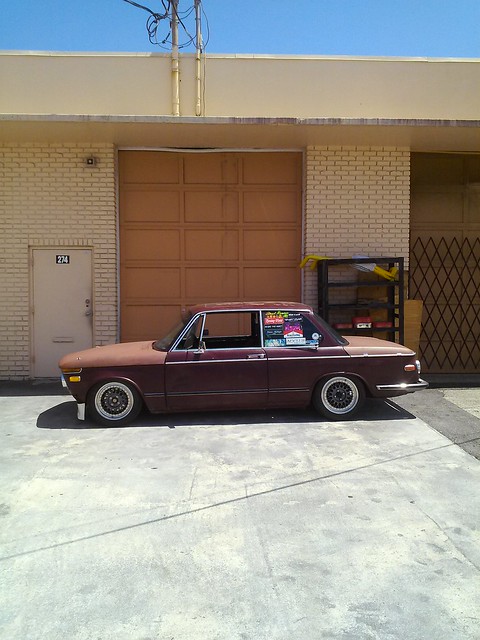
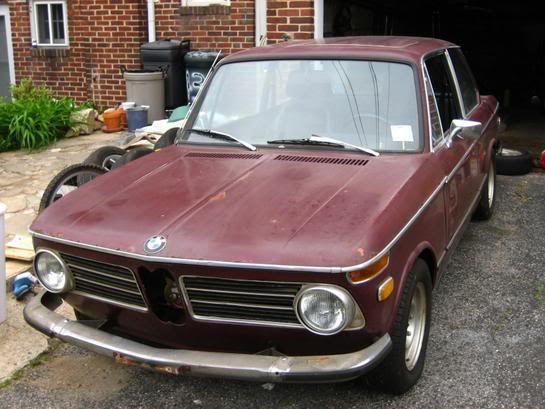
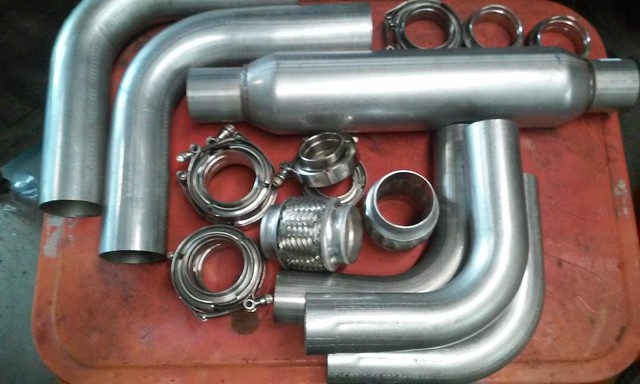
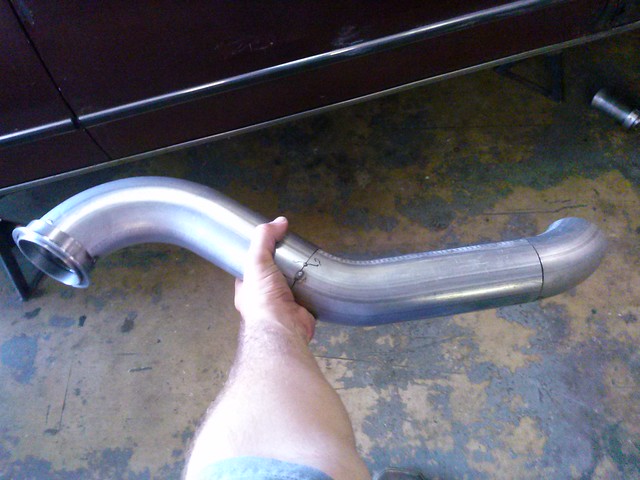
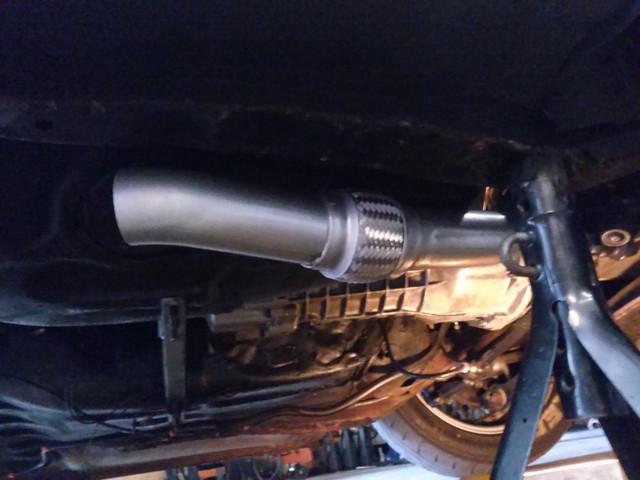
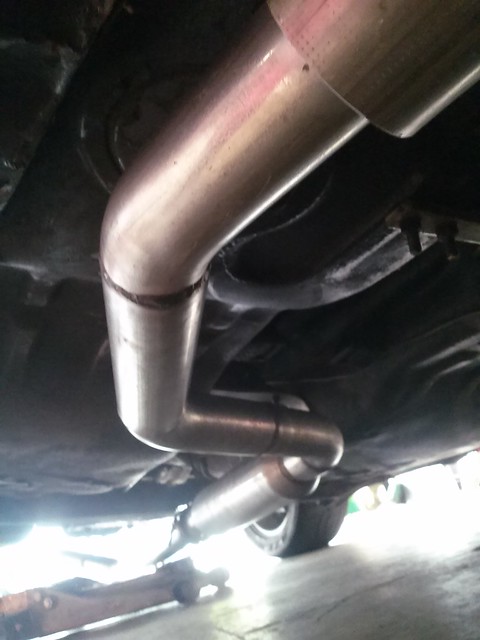
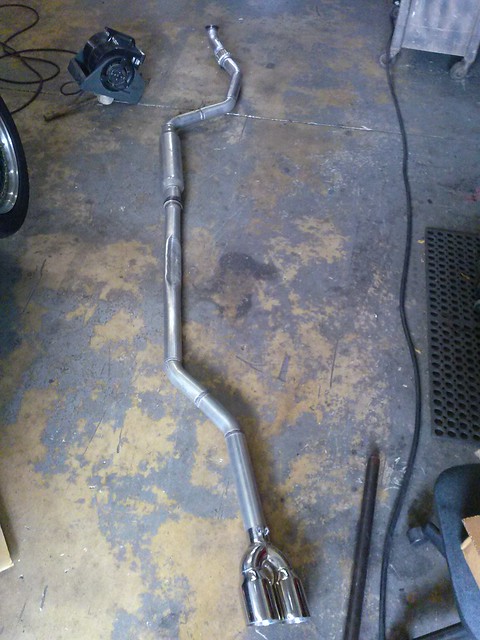
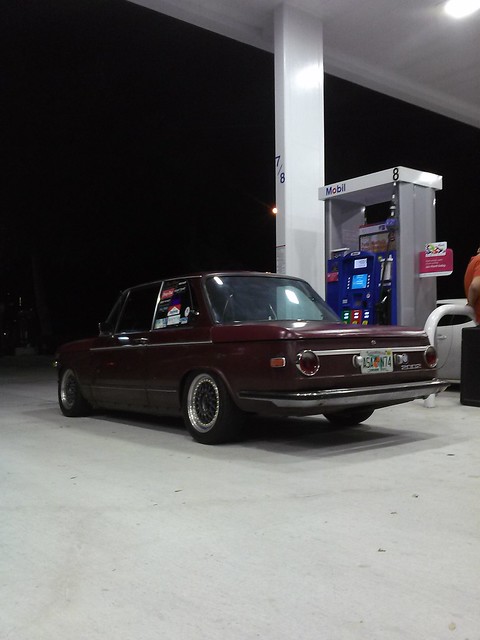
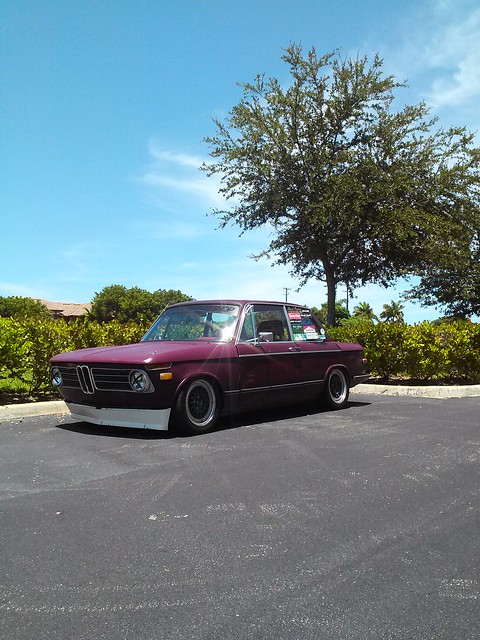
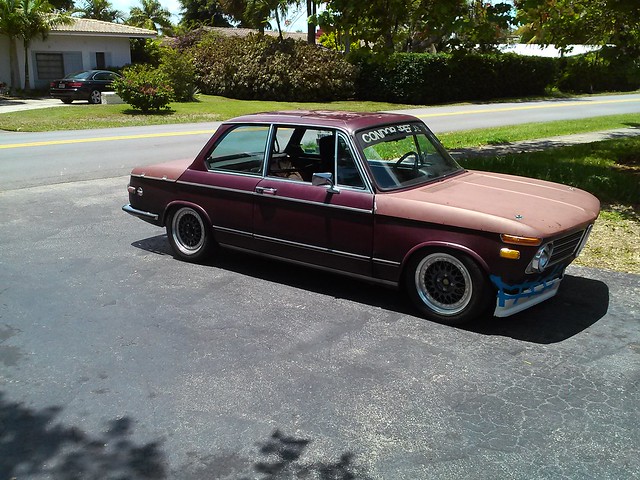
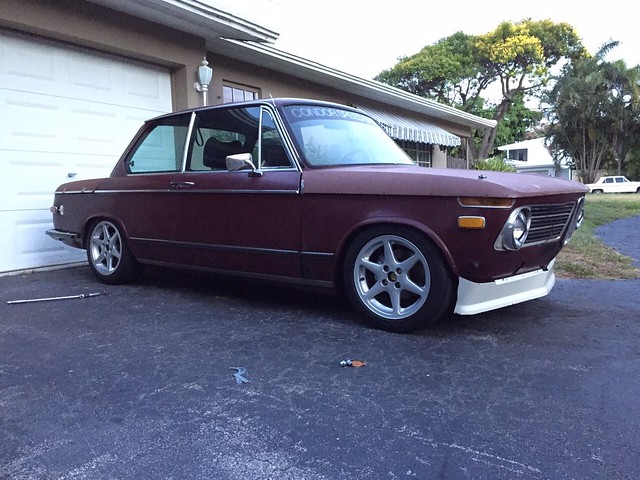
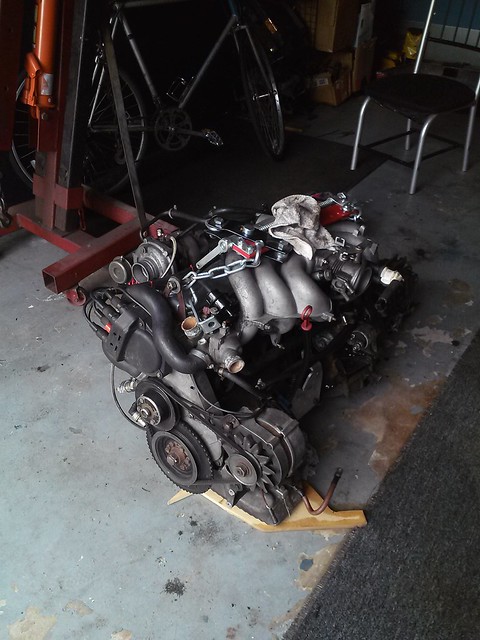
 CAM01665 by jasonbelina, on Flickr
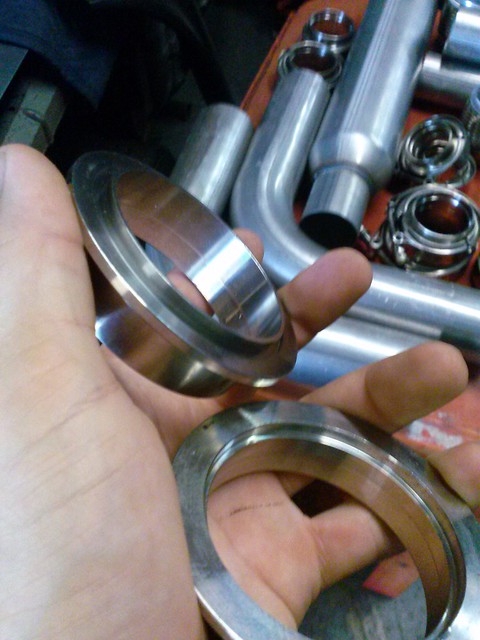
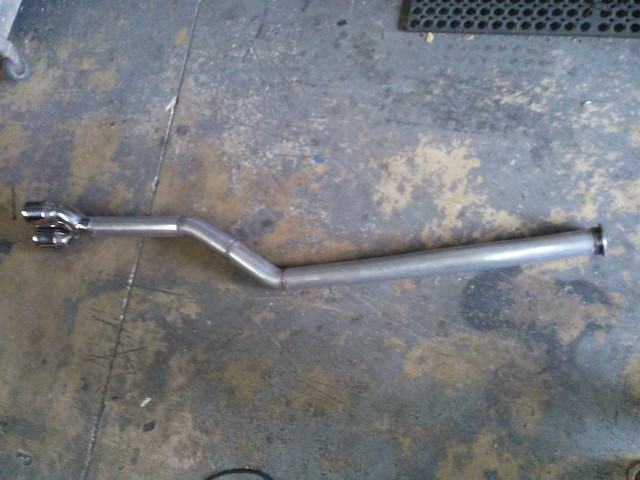
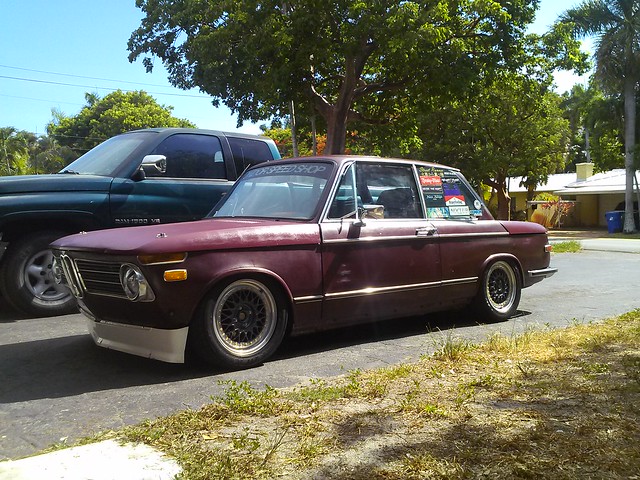
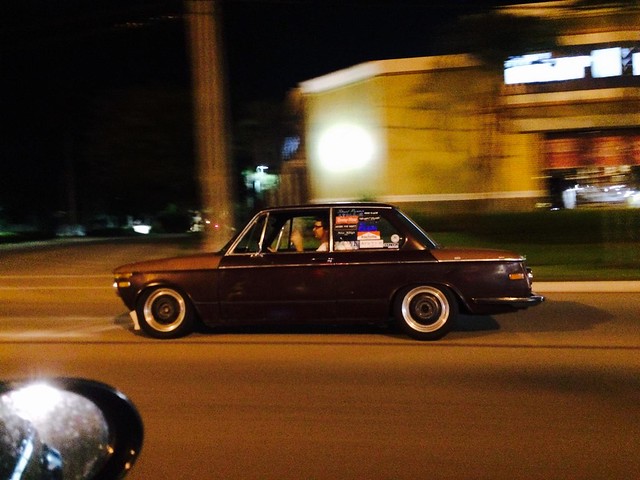
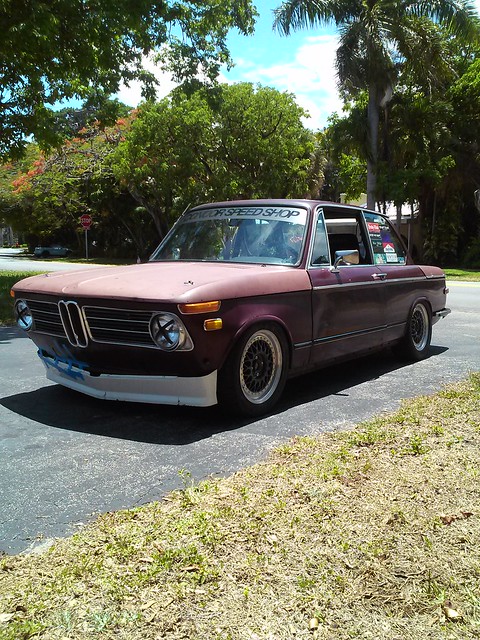
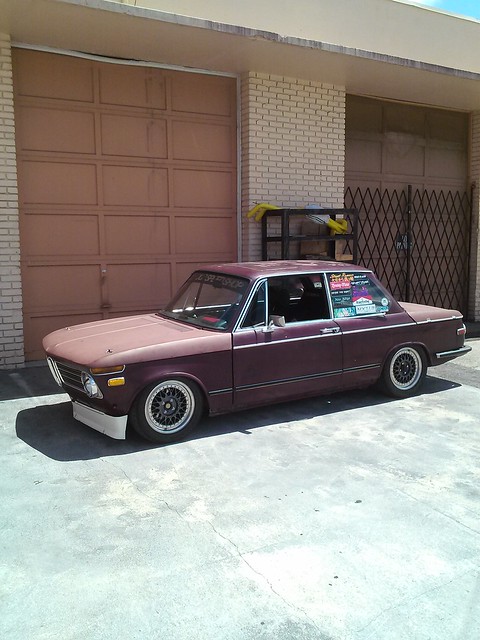
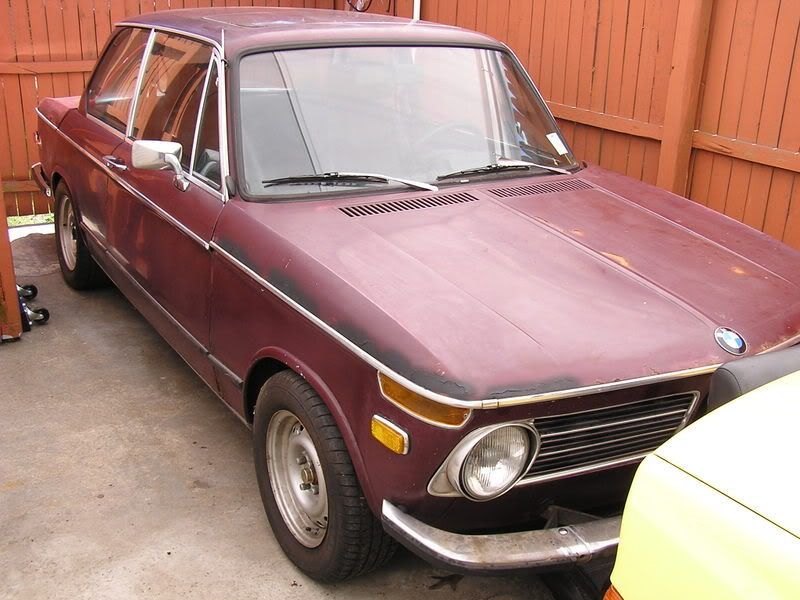
 CAM01691 by jasonbelina, on Flickr
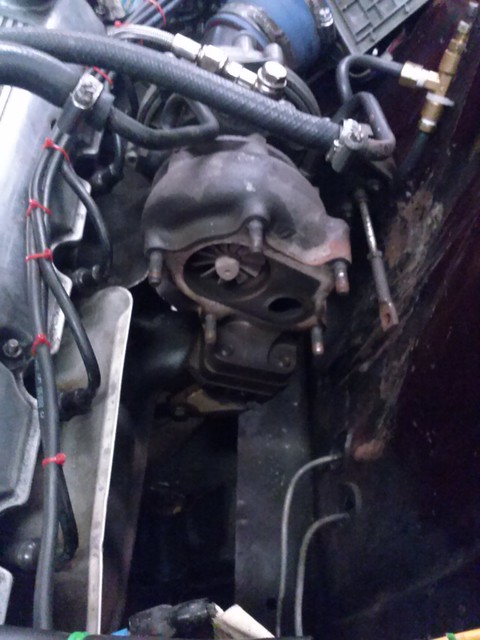
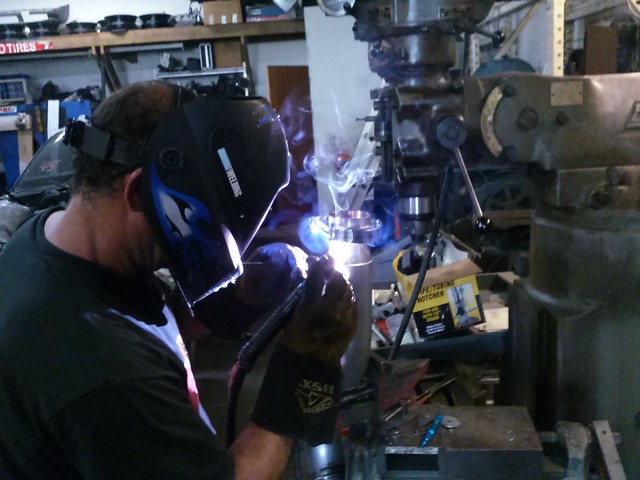
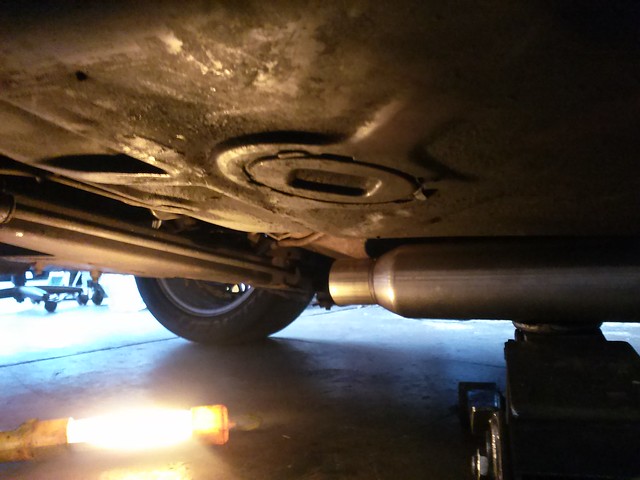
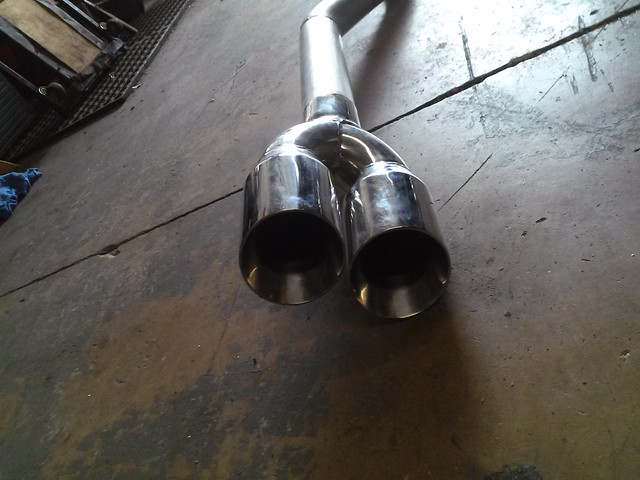
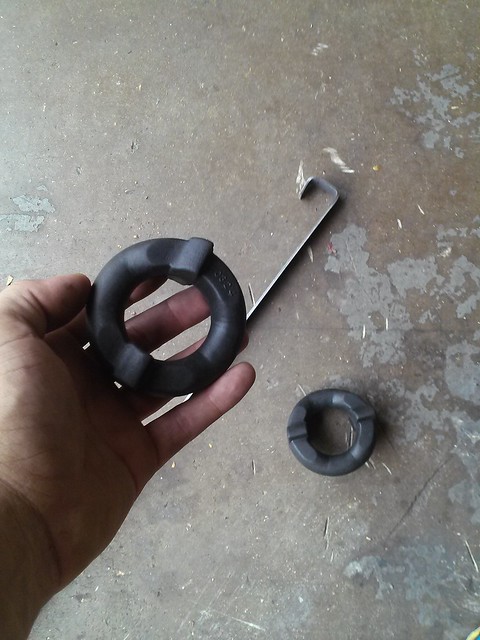
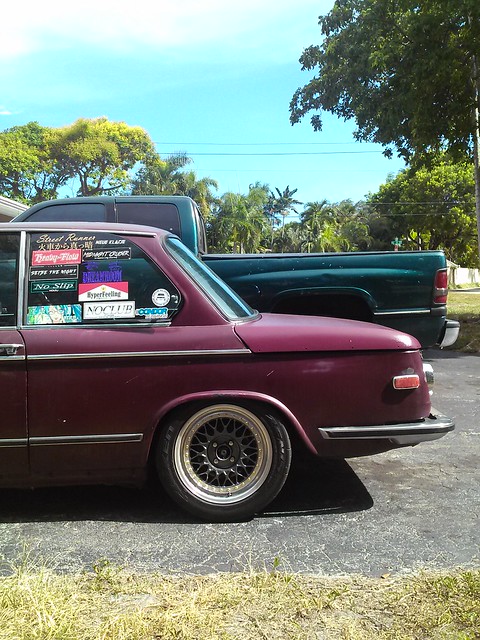
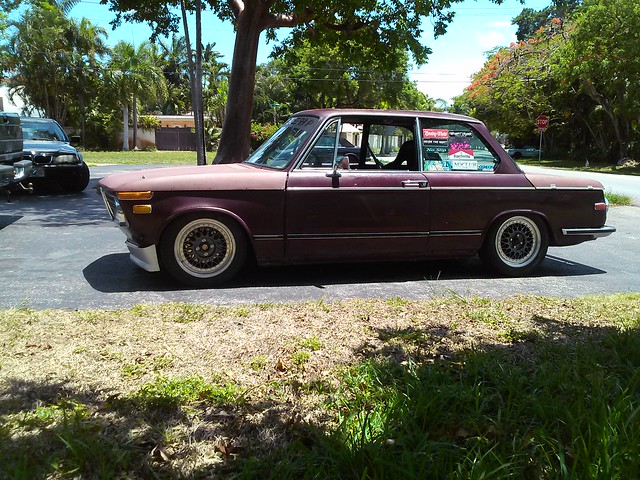
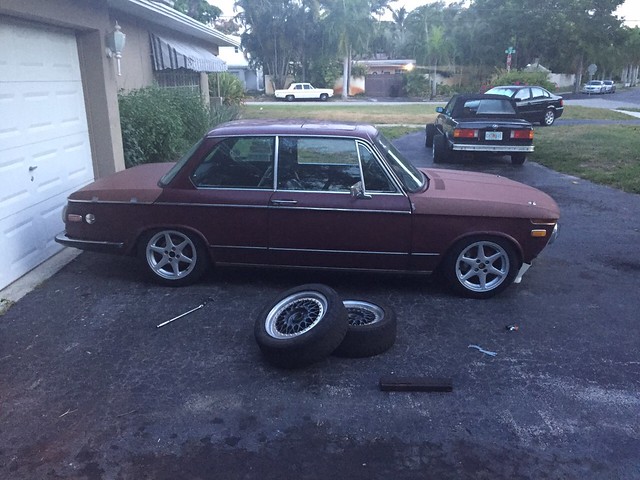
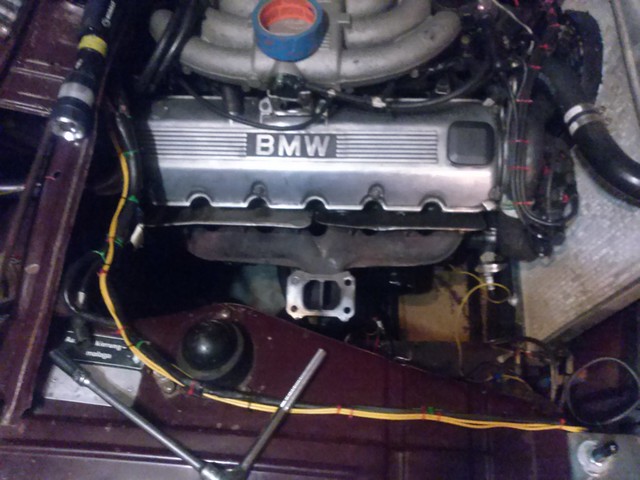
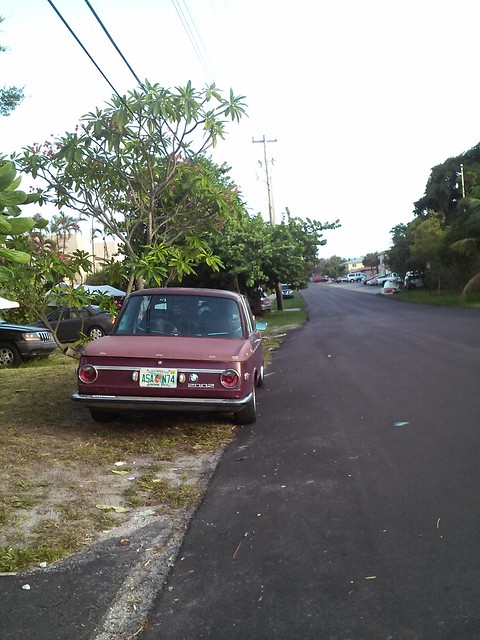
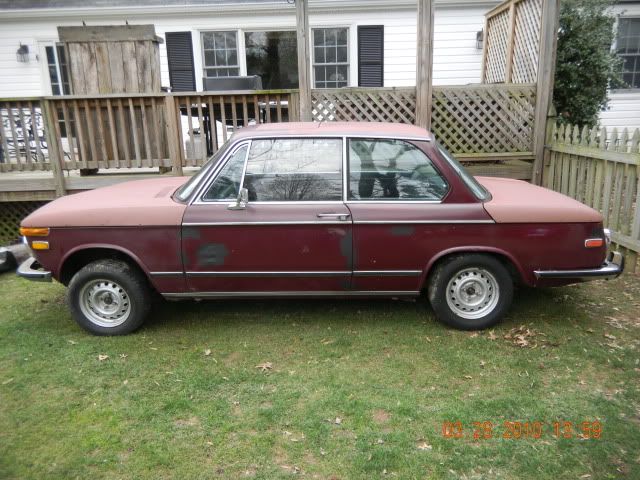
 CAM01693 by jasonbelina, on Flickr
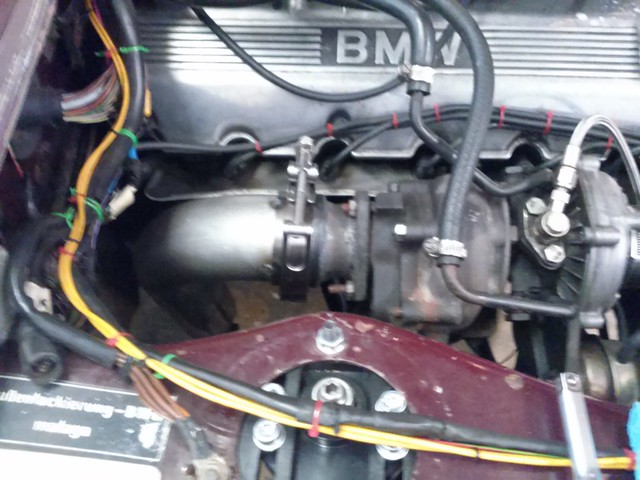
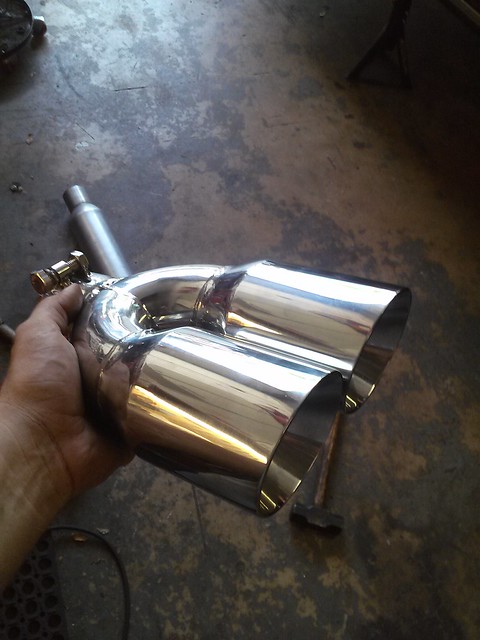
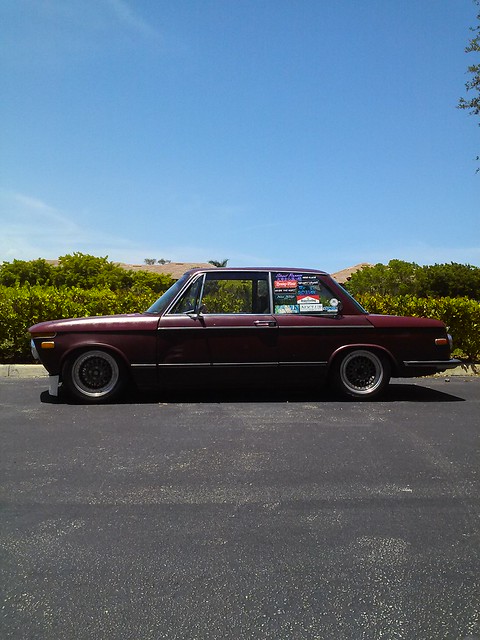
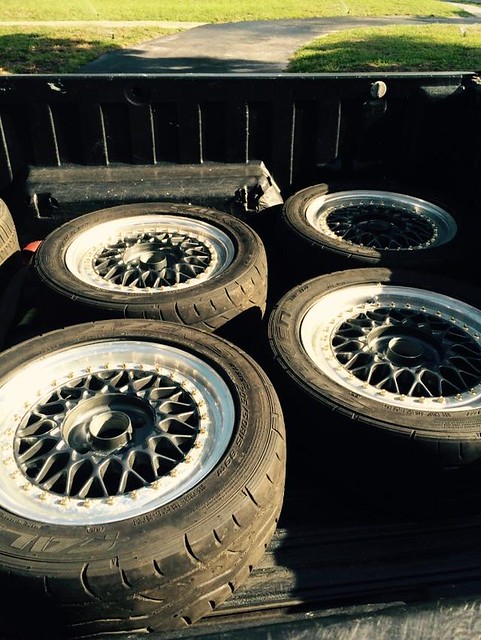
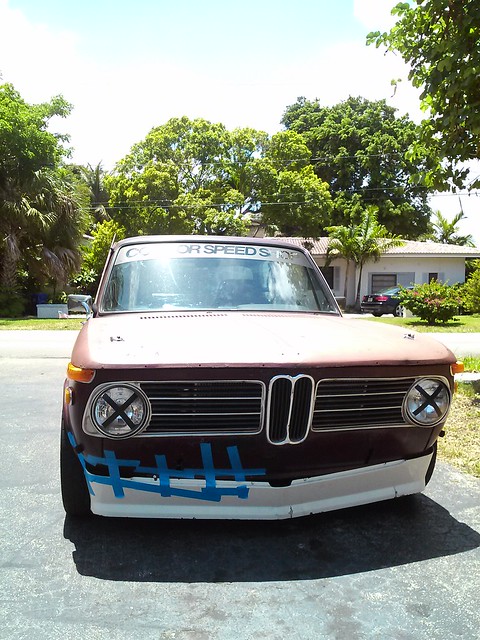
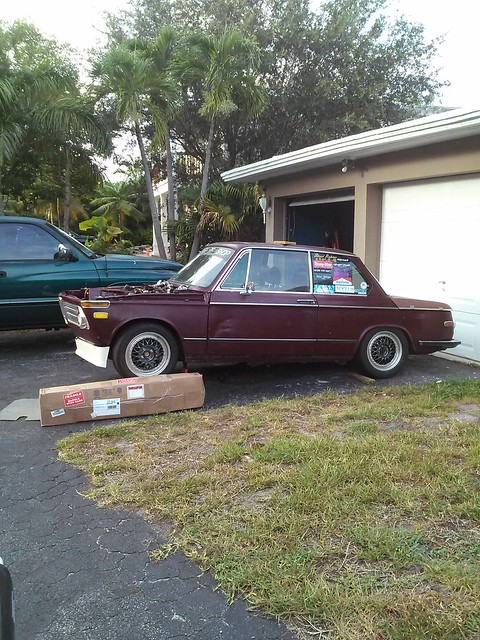
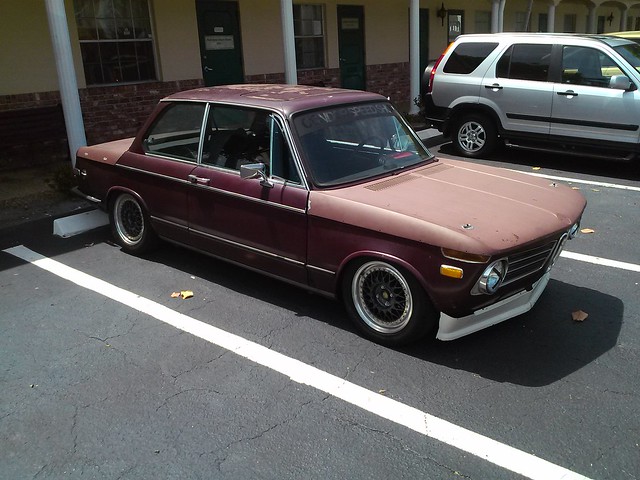
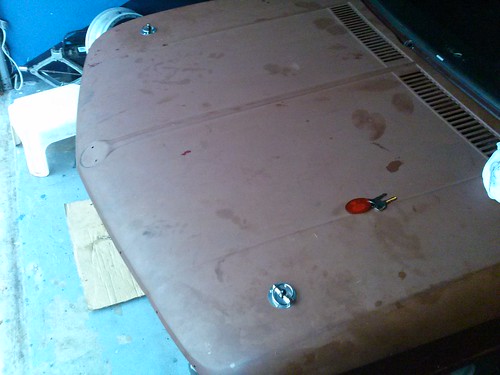
 CAM01685 by jasonbelina, on Flickr
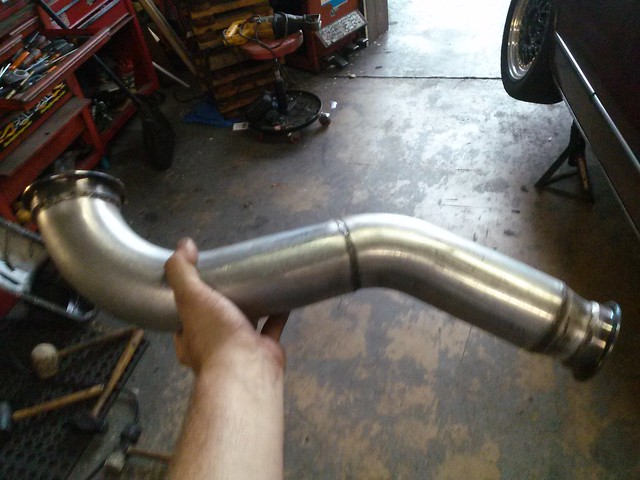
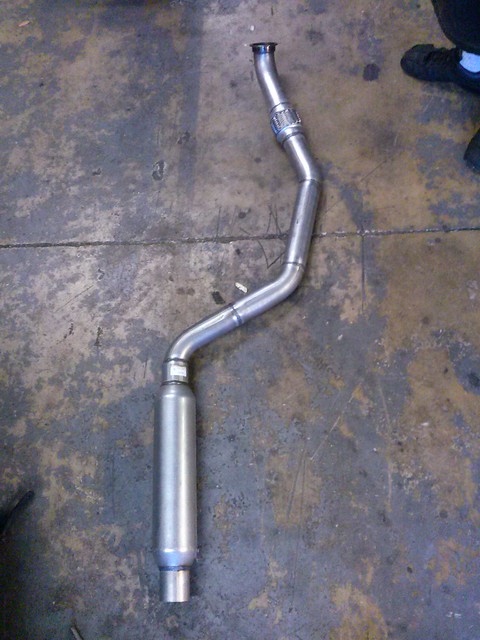
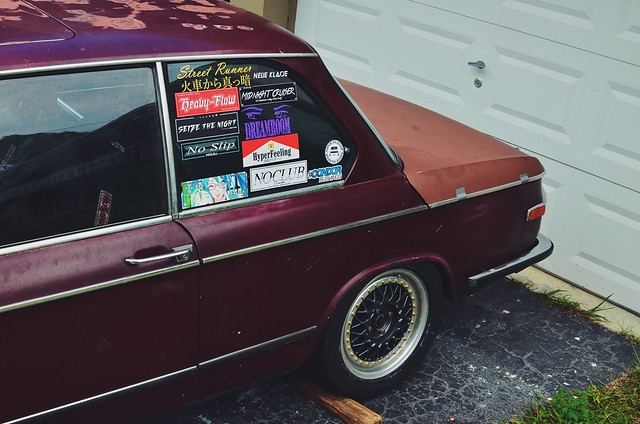
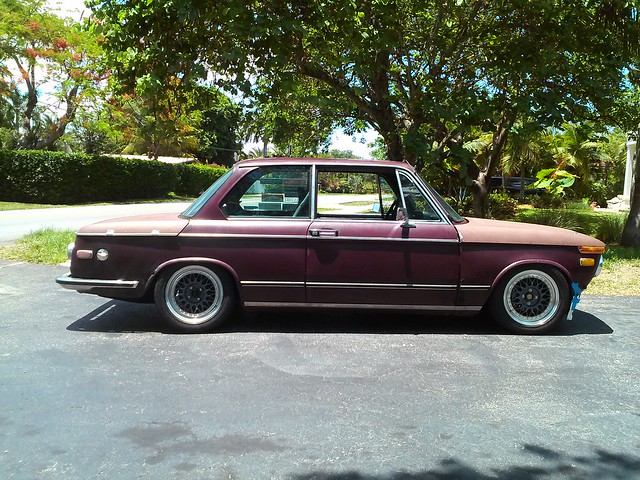
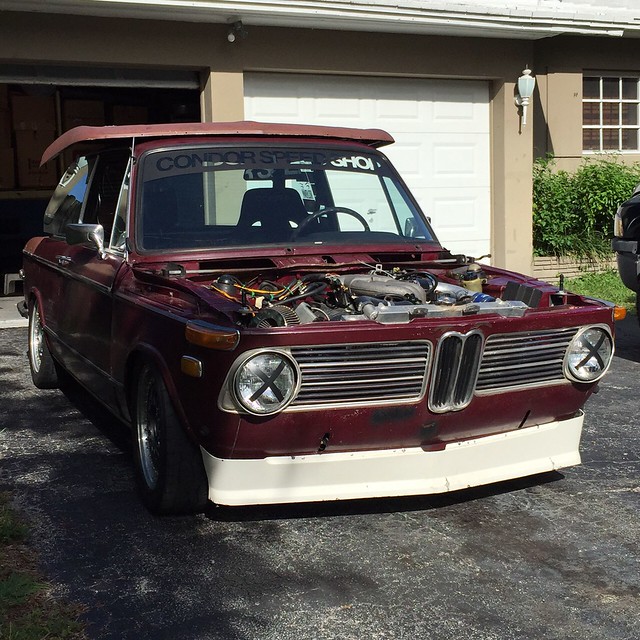
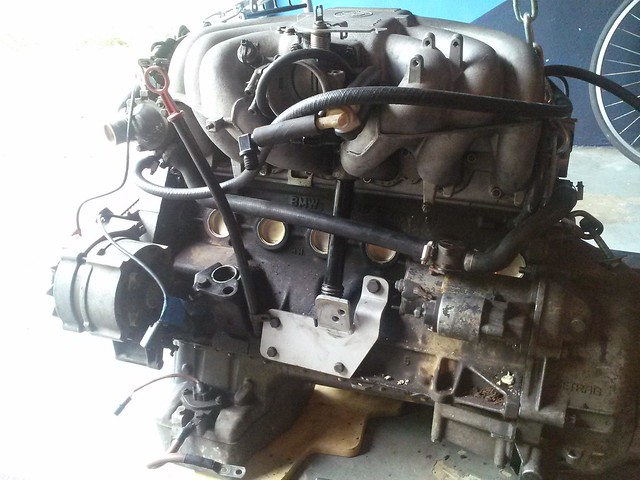
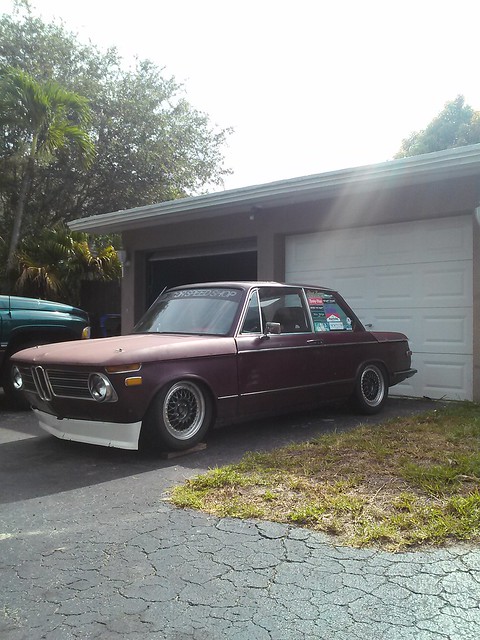
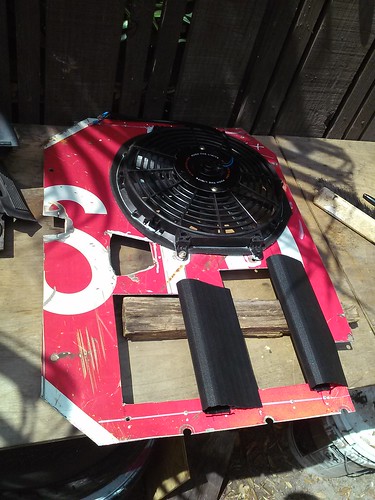 CAM01686 by jasonbelina, on Flickr
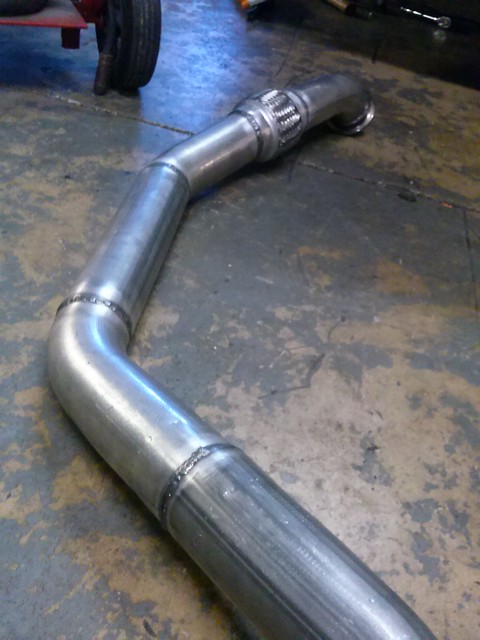
 CAM01678 by jasonbelina, on Flickr
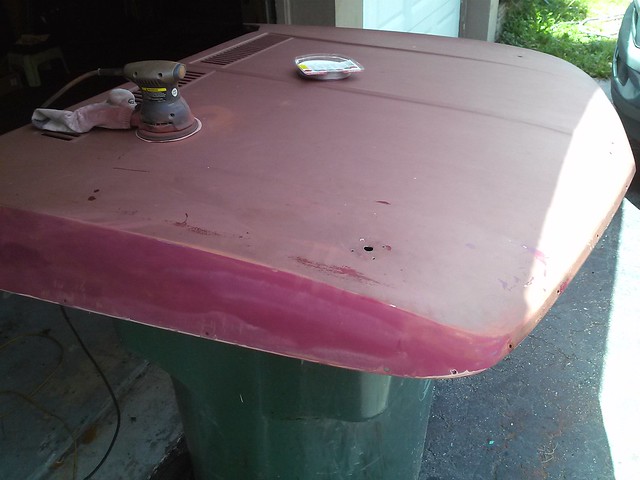
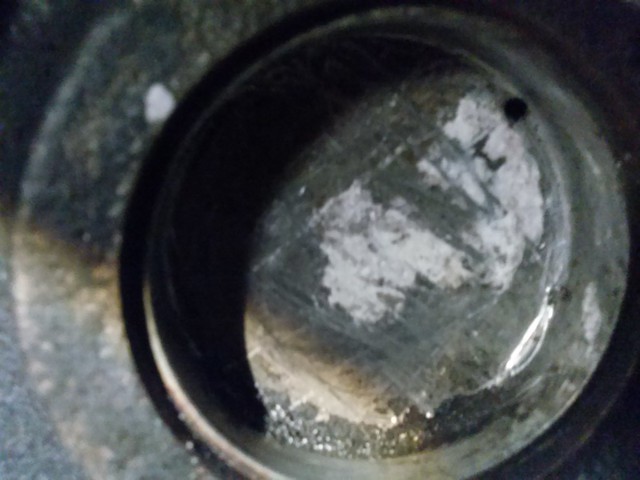
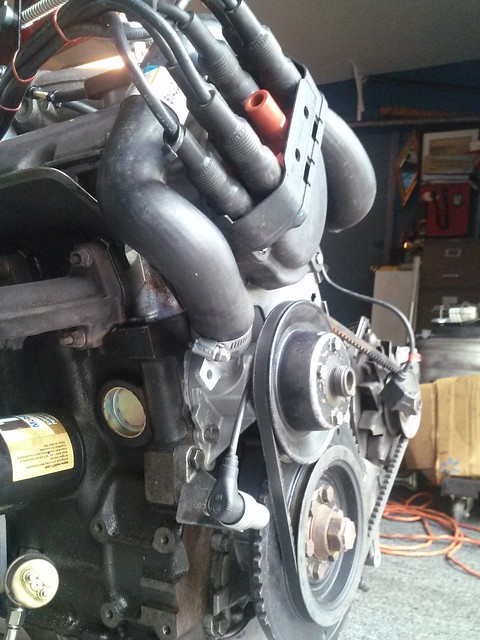
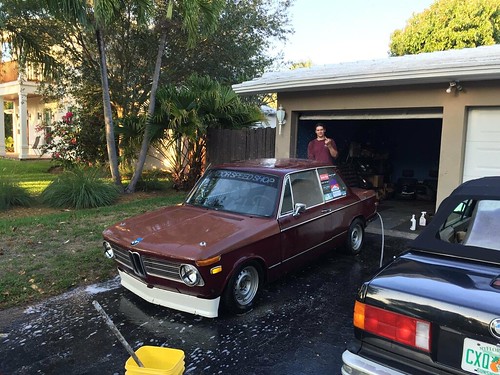 download_20150502_004644 by jasonbelina, on Flickr
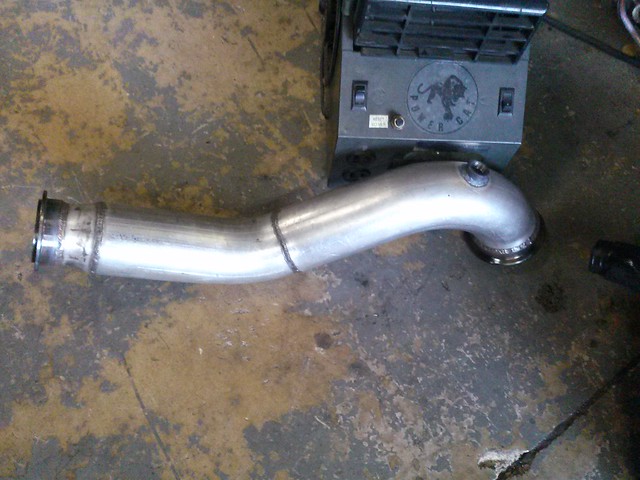
 CAM01682 by jasonbelina, on Flickr
 I'm more active on r3v tho
Leave a comment: