Announcement

Collapse
No announcement yet.

.:Rabbit GTI

Collapse
X
 
  • Filter
  • Time
  • Show
Clear All
new posts

  • .:Rabbit GTI

    hi guys, i have been doing a restoration on my mk1 gti for the last couple years. I first started the project when i return from H20I 2011. I was full of ideas and since I had paint chipping, due to the fact the paint job that was done years before was way too thick and never really stick to the car, it was the time to tackle the resto.

    I was already running my 20v BT for 2 years so I knew the setup was good to go. All the small gremlins were dealt with and my wire tuck was all good.
    I started ripping into it thinking it would only be down for one winter... Yeah right!! A lot of stuff happen during all these years, got married, got a house, got a dog, renovated the whole house, the built a garage to pursue the built of the rabbit.

    During all that time i was able to put the car to bare metal by hand, fix up all the small rust, collected a lot of parts, found a painter who is excited about the project.
    during that time i was offered a awd kit from a TT so i jumped on it... yeah im going all wheel drive!! finding the other parts to accomplish the swap was a nightmare!! As i went along, i always tried to make everything i needed, engine mounts axles mounts, driveshaft, welding on the car etc i developement a lot of parts for my project.

    unfortunately i did not took a lot of picture at the beginning but here is what i have...


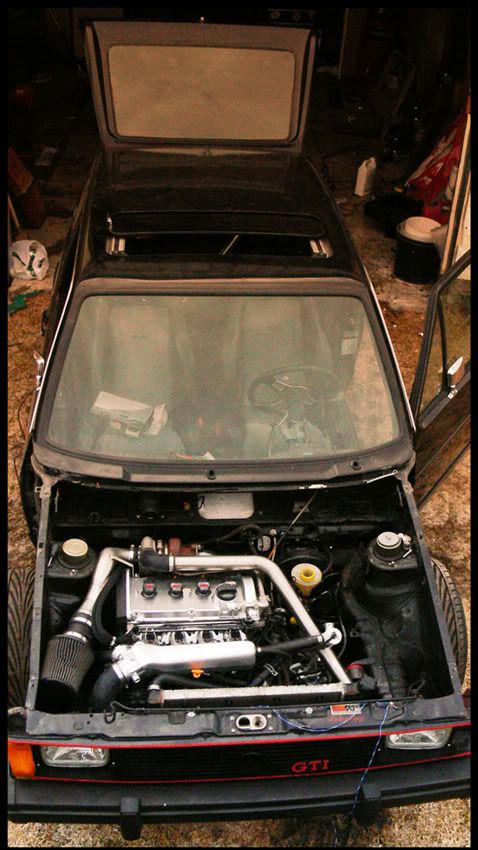
    the car the way it went to h20i


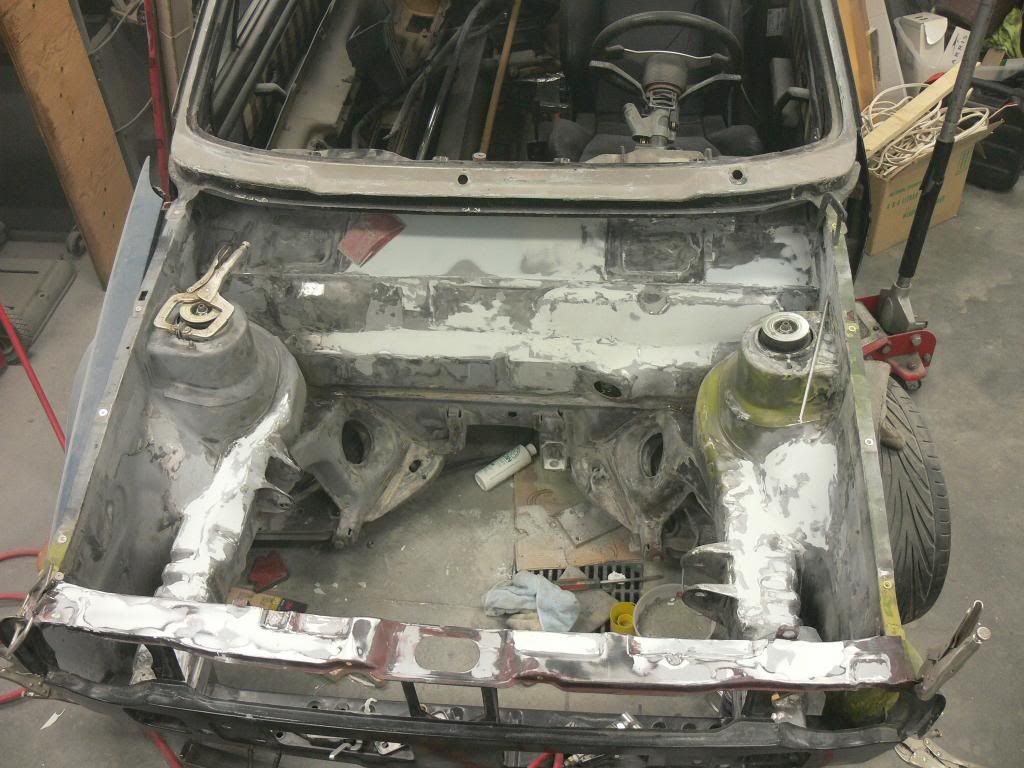
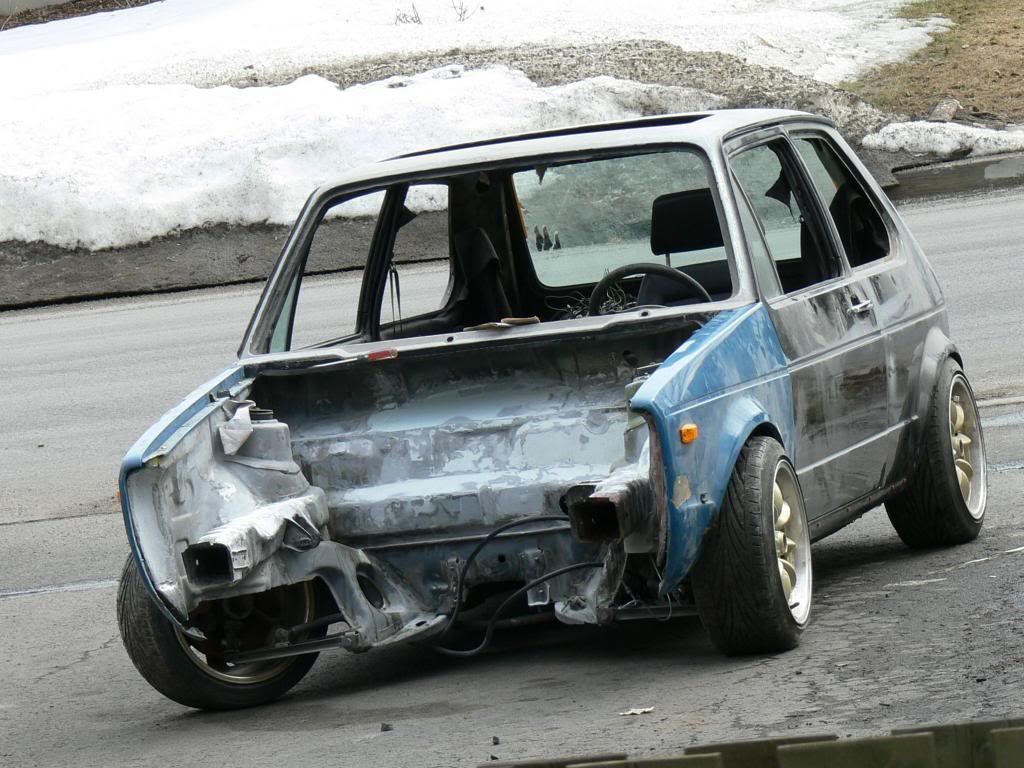
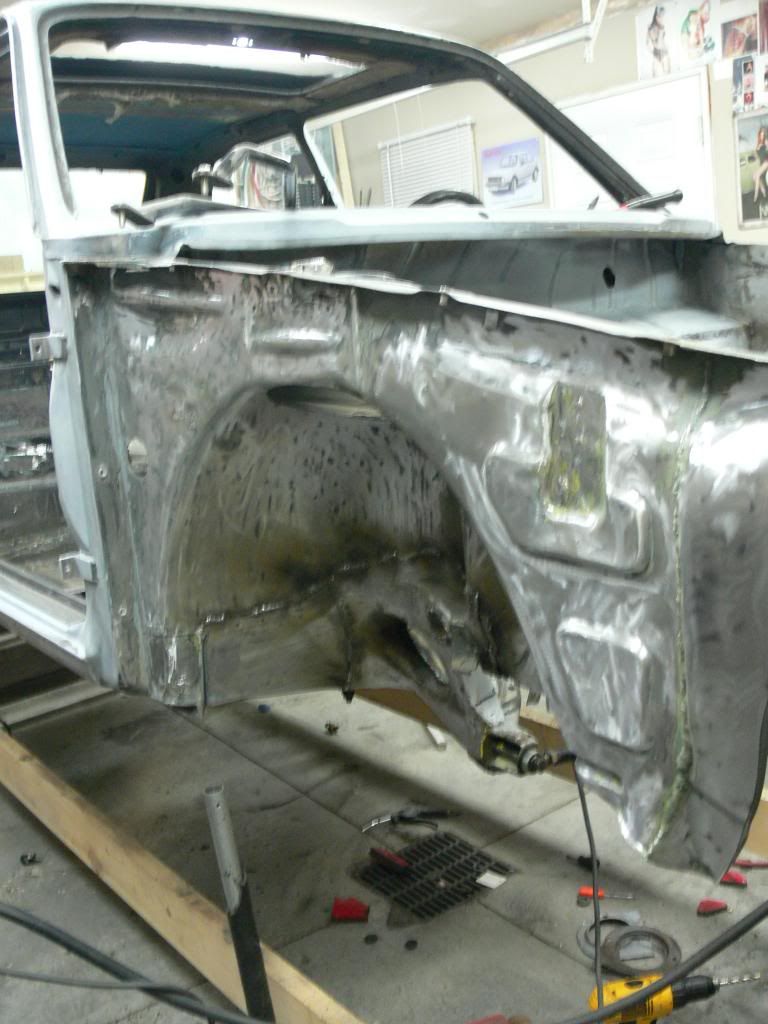
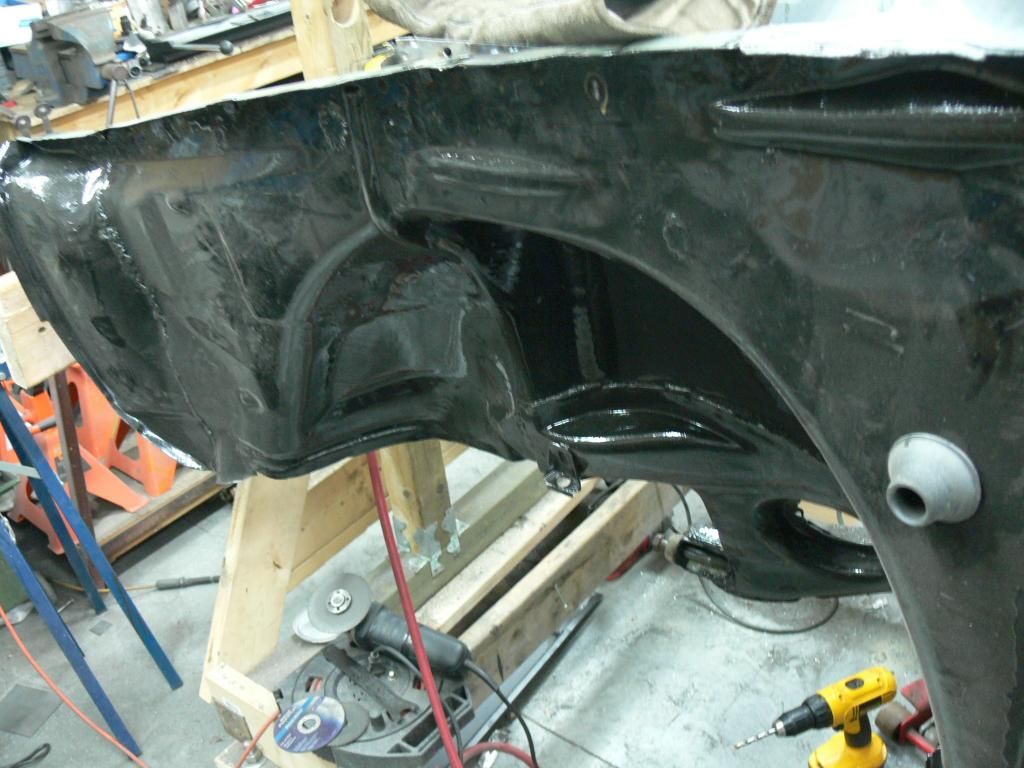
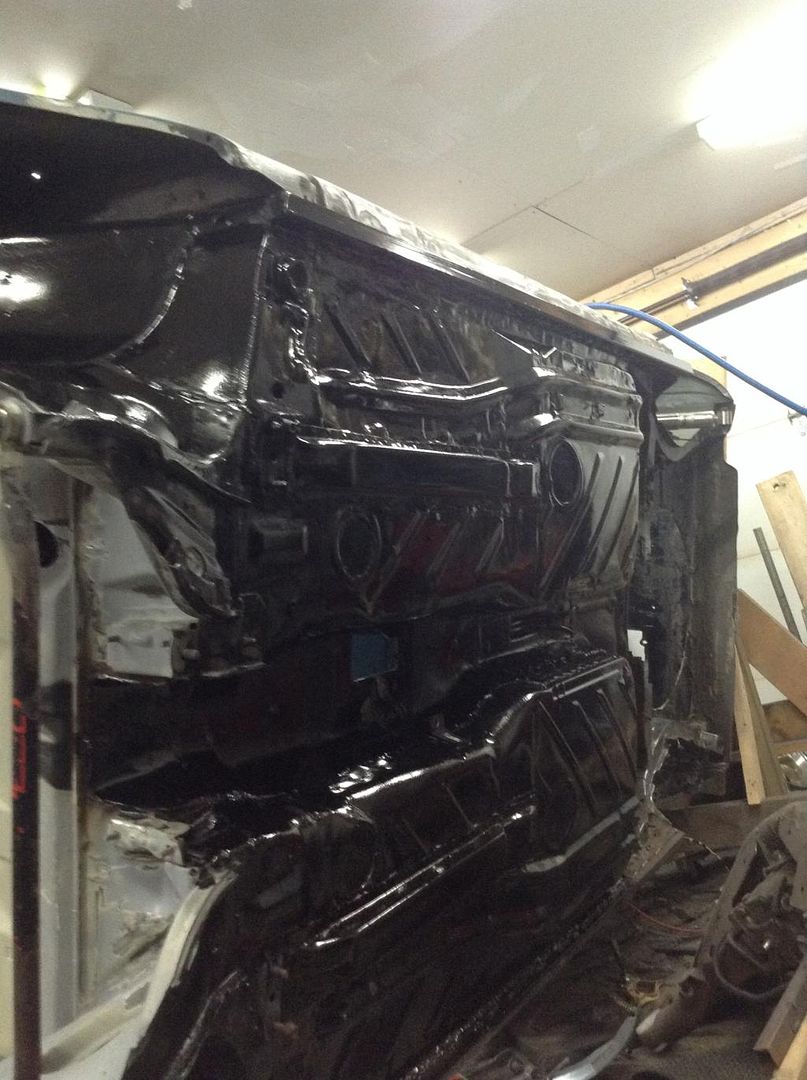
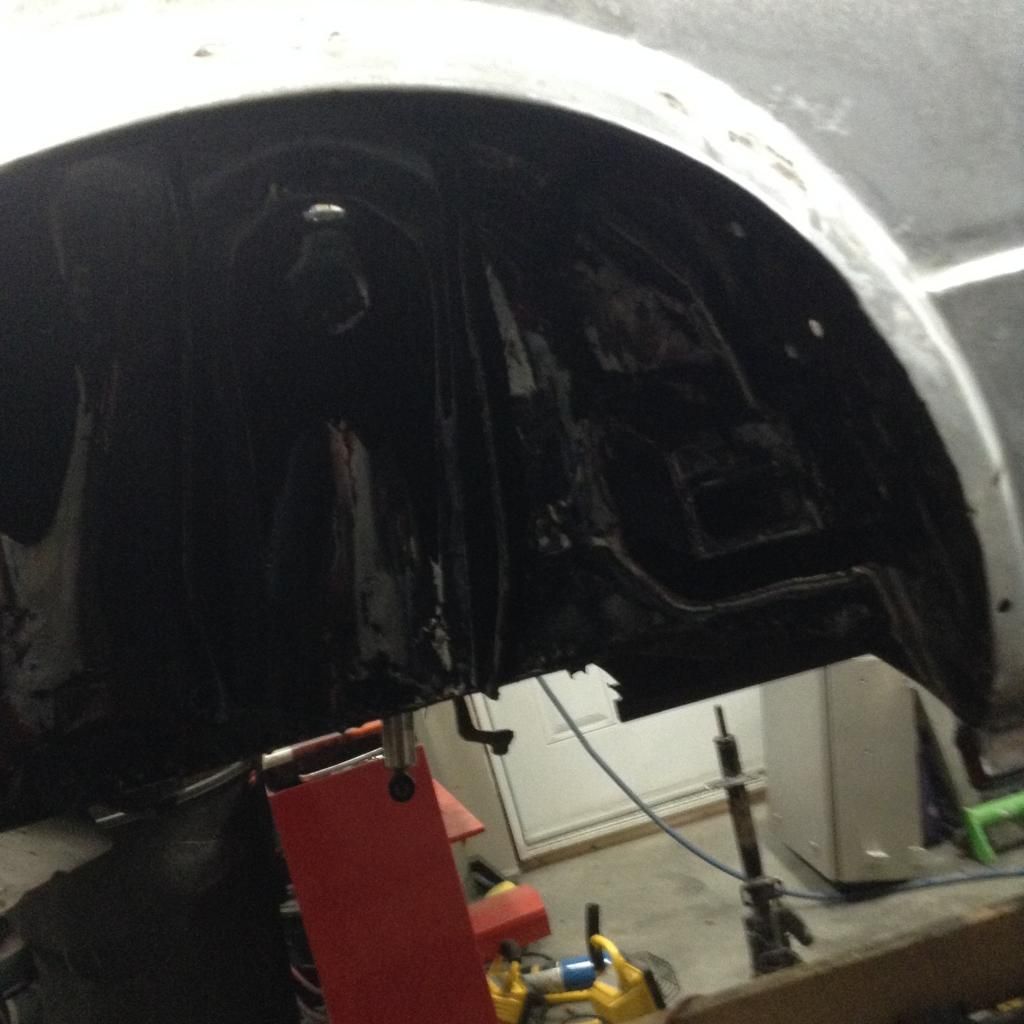
    during disassembly/ shaving the bay
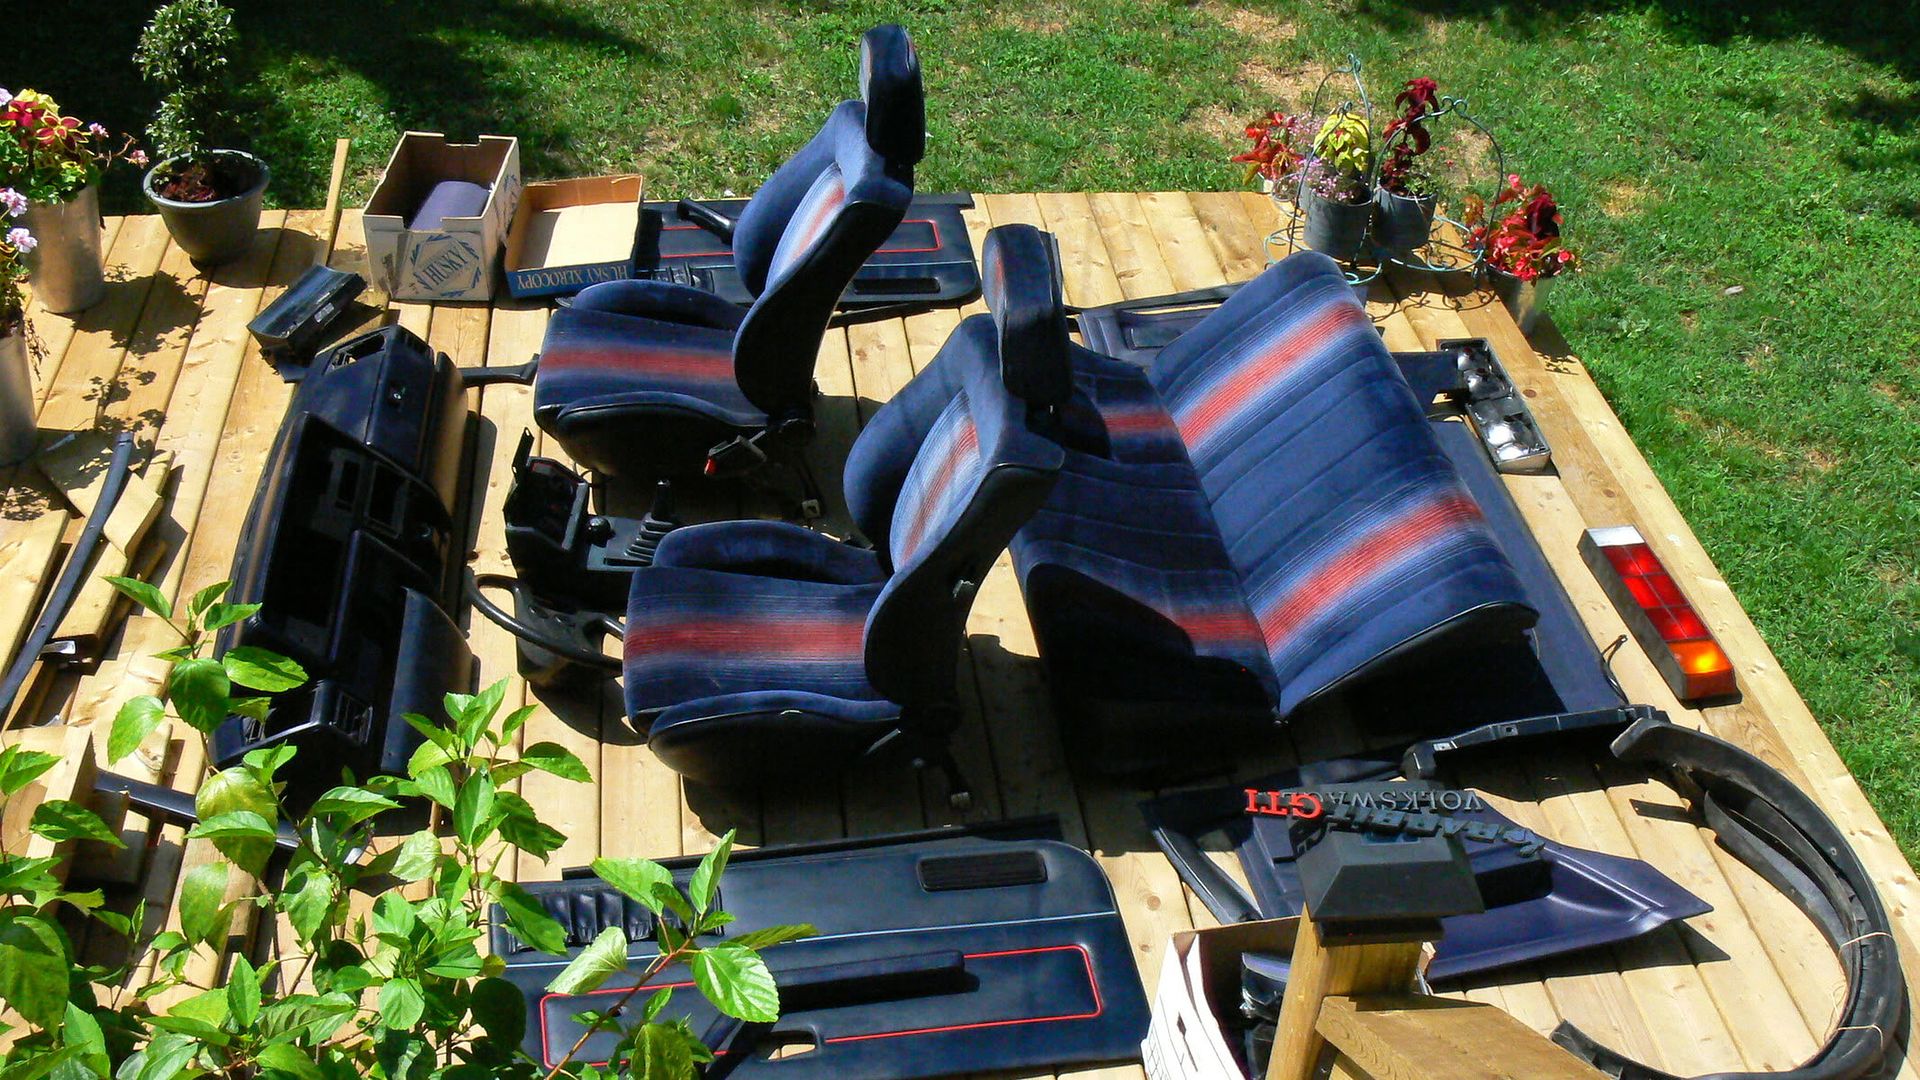


    some of the parts

    full gti blue interior,


    oem front wings


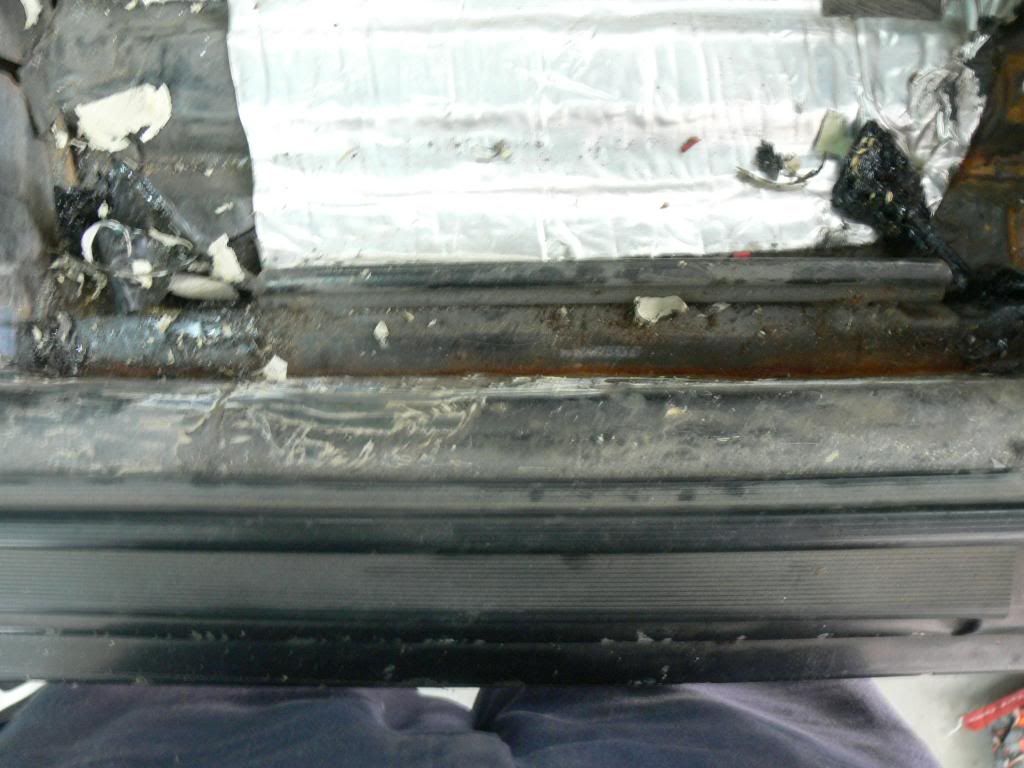
    fitting the syncro/haldex


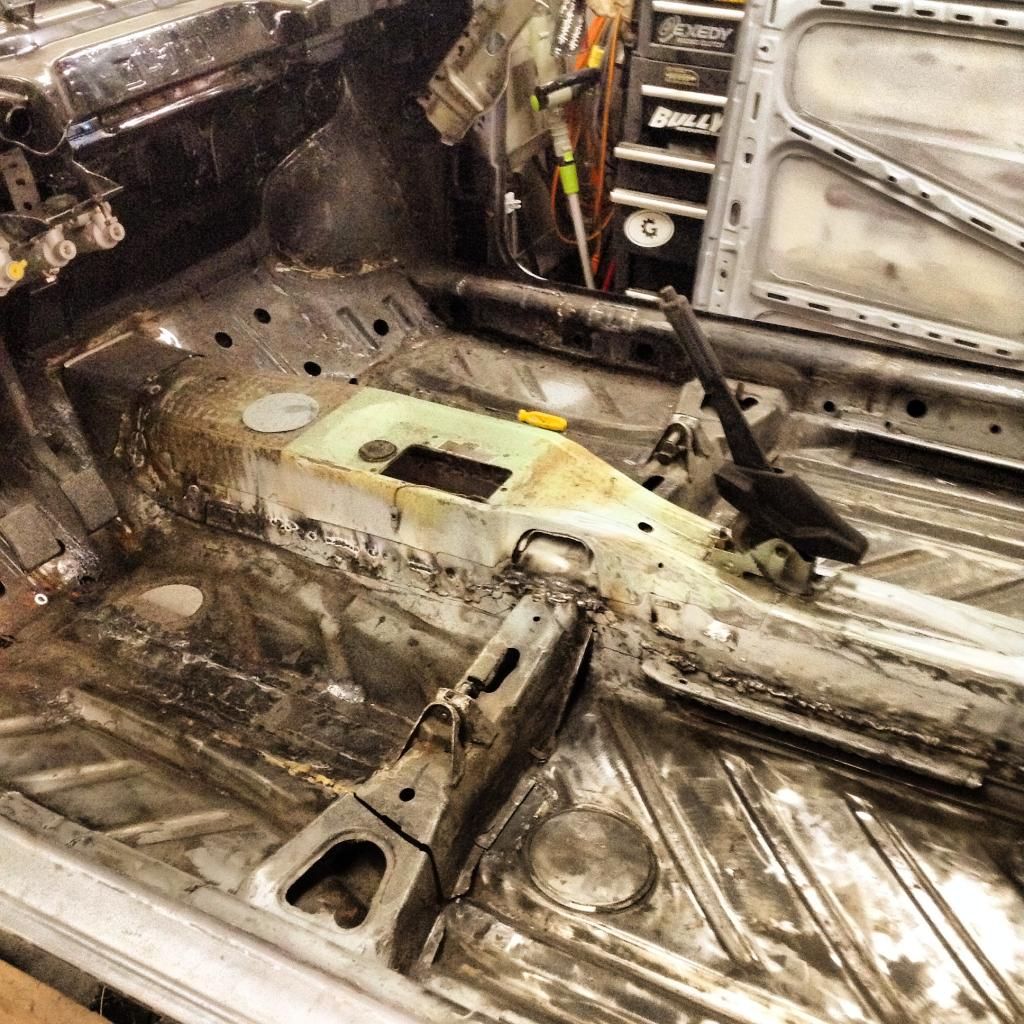
    raise the exhaust tunnel, i did not want to have a dragging exhaust system because of the central driveshafts


    more picture to come later....

  • #2
    SUBBED!!!!! i Love rabbits cant wait to see this build
    IG: @uncle_rickey
    c126 coupe

    Comment


    • #3
      yes please

      Daily Project 1980 more-door Rabbit "Ruth" ^
      save the squares

      Comment


      • #4
        back on the project

        to help me reach all the different spot on the car and to be able to instal the rear beam on the car a built up my own wood rotisserie, it was a challenge raising the car to that height without any lift, i only had my floor jack but it made the project a lot easier to work on...


        when came the time to rolled it for the first time i was so nervous....

        it seem I can't post the video from photobucket....

        bean able to work on the floor pan without having o crawl on my back has let me to take out all the under sealer and i was able to make sure i could run after all the small rust issues... and found some rust buried under the seam sealer...


        since the car was on bare metal i made a few modification to the bay, i raised my strut tower with a set i had bought years ago.


        once all the rust was dealt with I poor15 all the area subject to the element.... and got carried away...


        [IMG]http://img.photobucket.com/albums/v667/fastbunny/3E70B732-9DC2-486D-8D45-5BD403467499.jpg/IMG]

        Comment


        • #5
          oh boy. i love where this is going.
          Mkv Gti
          Instagram: FuzzyDice_emanyankee

          Here's my build thread

          Comment


          • #6
            Well fuck, that'll be a blast to drive once it's together!
            1999 SL2 Saturn Build rip
            1998 EK hatch Civic Build

            Comment


            • #7
              Bye bye long tail hello short tail...


              I made a panel to cover the rear diff since the spare tire we'll is gone, I use my bead roler and I think it came pretty good.


              I also fix the last bite of rust on the car, the rear license plate light holes, they were pretty shot. I thought about using some led license plate bolts but I found no model that were sealed. I guess I'll use the oem stuff...


              Before I took the car off I double check the clearence between the wheel and the strut with the new geometry of the rear suspension, wheel is 15x8 et20 and I still tuck it and with almost a inche of clearance.....

              Comment


              • #8
                After a year on the rotisserie , flipping it around, I finally took it out of it. It was a big step for me. Since I had out the rotisserie, the car did not had its front core support. So just for fun I snapped it place and threw the hood on it. Wow it start to look like a car again..


                I made a new rack for the car so when it will be time for paint the body guys will be able to block the car at their height and not laying down on the floor.


                To be sure the rad would fit again where it was suppose to I had drilled some hole for the position and a year later, everything went back to they we're suppose to... I love cleecos!


                Since I can't leave anything alone a decided to do a 2 part front core support to make life easier later on.. Pretty happy how it cam out. I reinforce the upper part with some sheet metal to had some much needed strength to it.


                For got to take a picture of the upper part... Later today!

                Cheers!

                Comment


                • #9
                  It's been a crazy week, trying to get everything done for the body shop... Still had to finish the 2 pièces front core, and it came out really good and strong, pretty happy with it. I added a lower brace to solidifies the botom of the upper part.


                  After that i put on the door I had bought years ago and they fit pretty good. My worked fear was the car would had twisted for been on the rostisserie for such a long time even if i had braves in place. The Shell is still super straight.


                  The wing are for a rhd rabbit from jappan that a jdm shop had imported for a rhd swap for a client and he sold me the wings... Pretty cool...
                  on friday my painted called me up to tell me the transport was on the way for the pick up since it had stoppée snowing. Man i was nervous because the car was still sitting on the Wood frame on the rostisserie but i had fabricated steel support for the travel.... The car was dancing all the way to the shop. Good thing i was just 6km away...


                  No more picture of the shell until ist all painted... Now back to cleaning the shop and starting to refurbish all the parts to make evrything look new again...

                  Comment

                  Working...
                  X