Announcement

Collapse
No announcement yet.

An attempt at subtlety in a crowd of buffoons

Collapse
X
 
  • Filter
  • Time
  • Show
Clear All
new posts

  • gunchsta
    replied
    Back-tracking just a hair here, this is what the old (not original however, though it probably wouldn't have been as faded if it was 
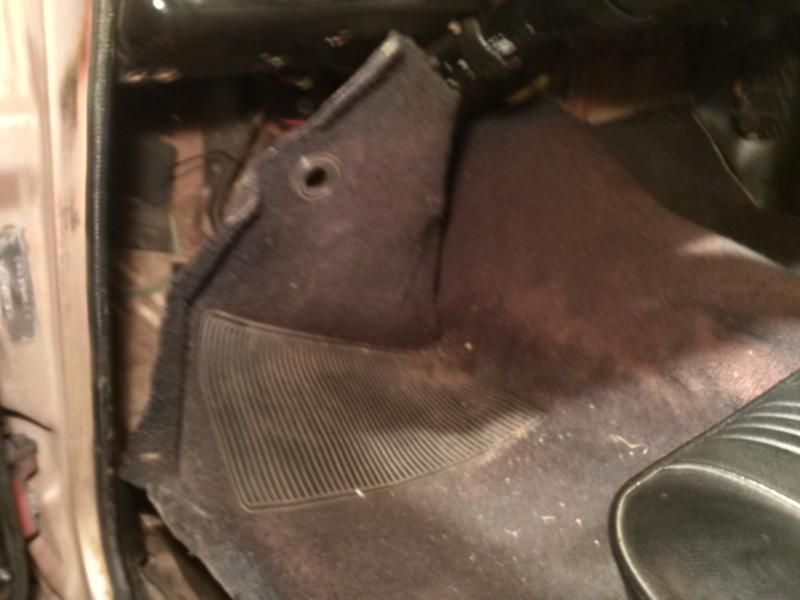
) carpet looked like coming out. Mind you, I've pulled this carpet back before so I was pretty sure I wasn't going to find any major rust, but you can never really be too sure.

    Pulled back


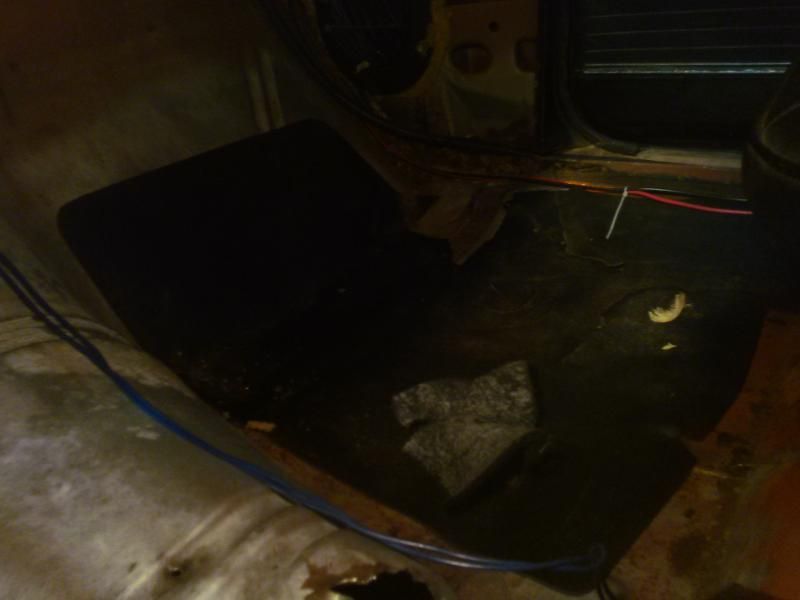
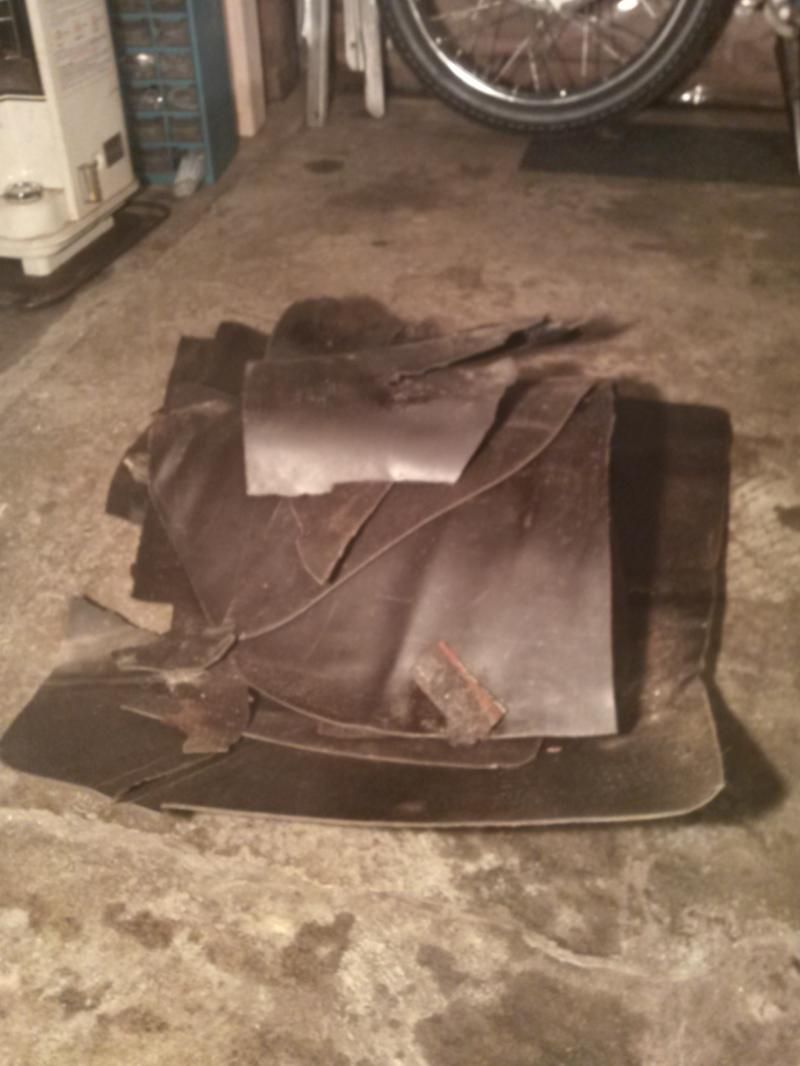
    old/cheap sound deadening, heavy, gross... that's on it's way out


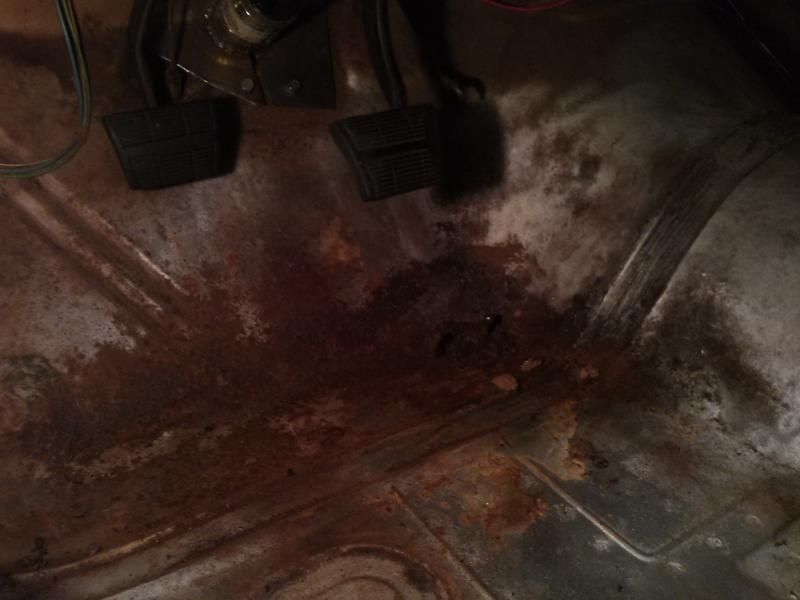
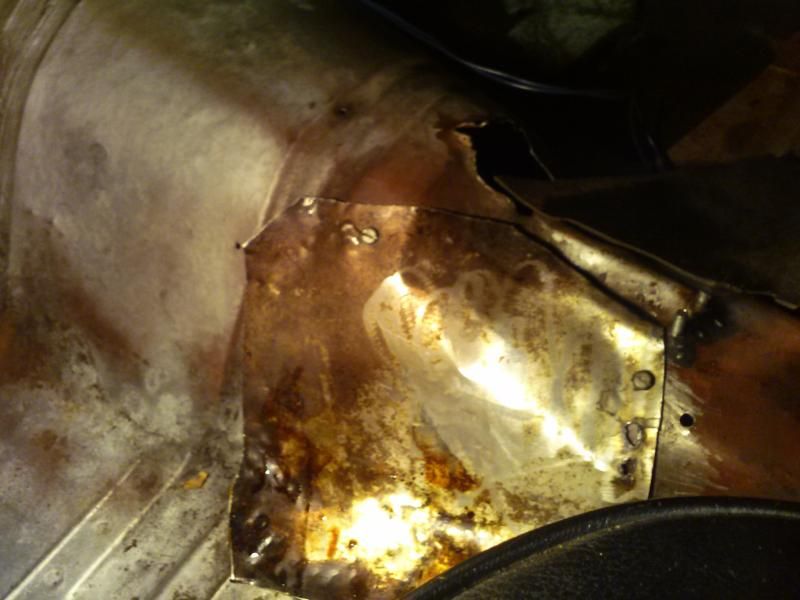
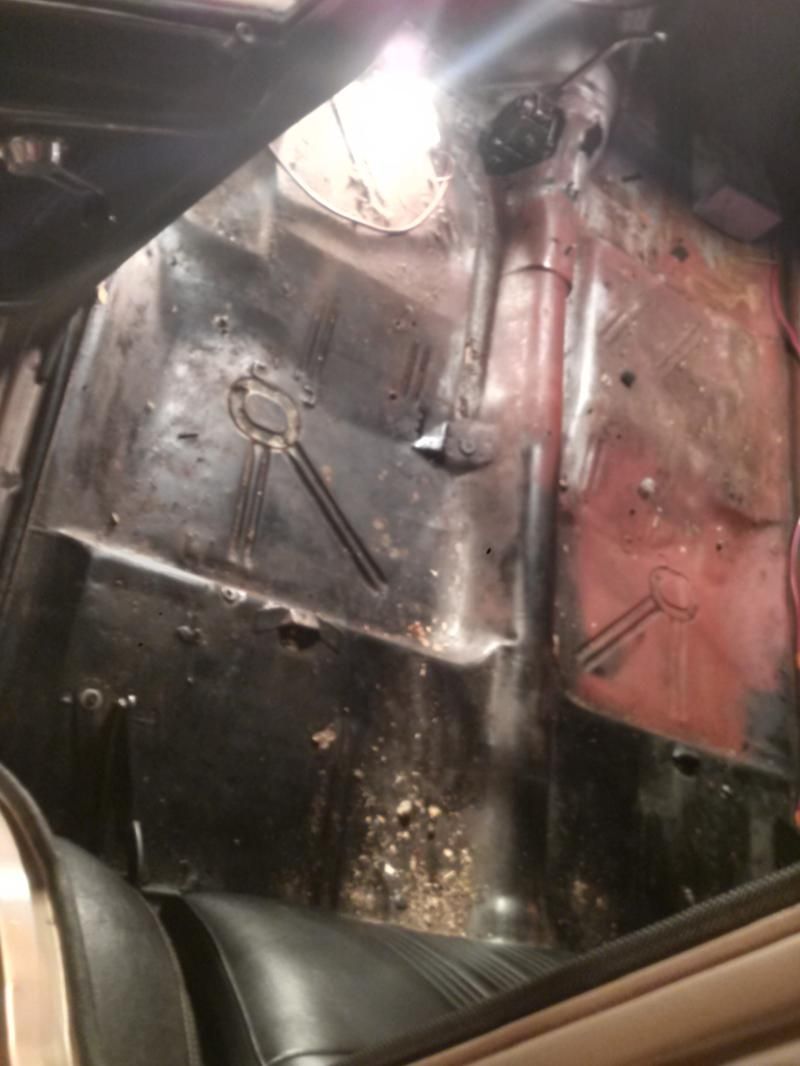
    sound deadening removed, this is the 'worst' part of the floor... if you can call it that because it's just all scaly surface rust


    passenger floor


    This, admittedly, is my doing. Although I'm thankful that with the skills I lacked I didn't do any real difficult damage, just a shtty patch.


    Weight reduction!


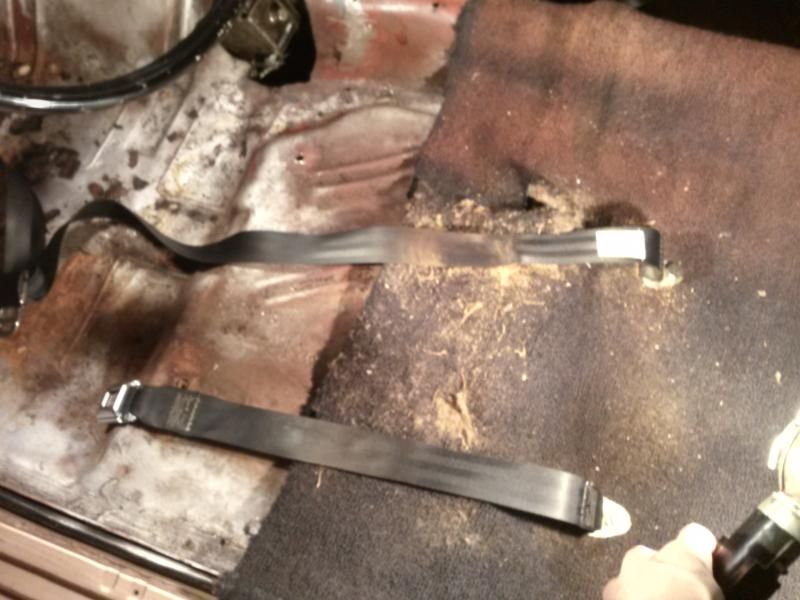
    drivers seat out, dirty carpet underneath and seat belts


    both seats out, carpet fully coming out


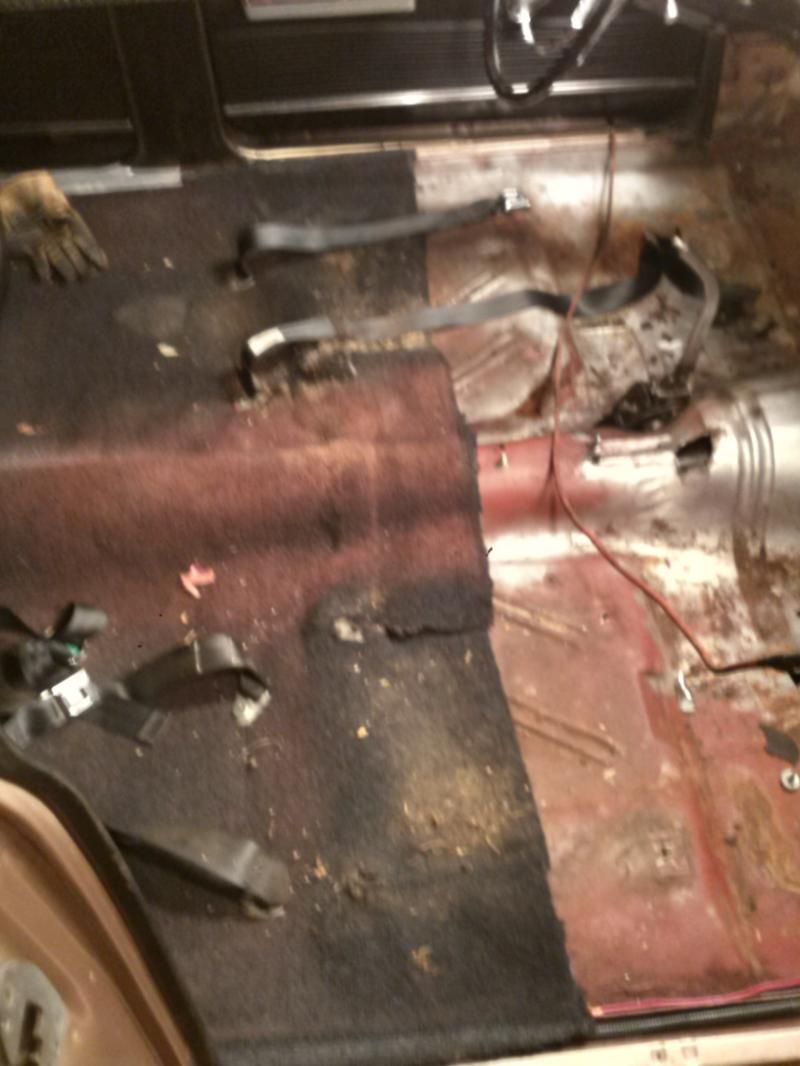
    front and rear seats out, sound deadening out, everything is rust free and gorgeous


    I wasn't feeling up to any real work this evening, but I did manage to take my camera out and snap a couple pictures, as well as learn something that:
    A. gets me excited about my cars condition, because I'm a nerd like that and
    B. is a solution to another "tacky" thing I did years back to the car--bolted the seatbelts to the floor with some thin washers for reinforcement-- I was never especially satisfied with that solution but I was headed to the track and I needed seat belts to run so that's what I did, and that's how it stayed.

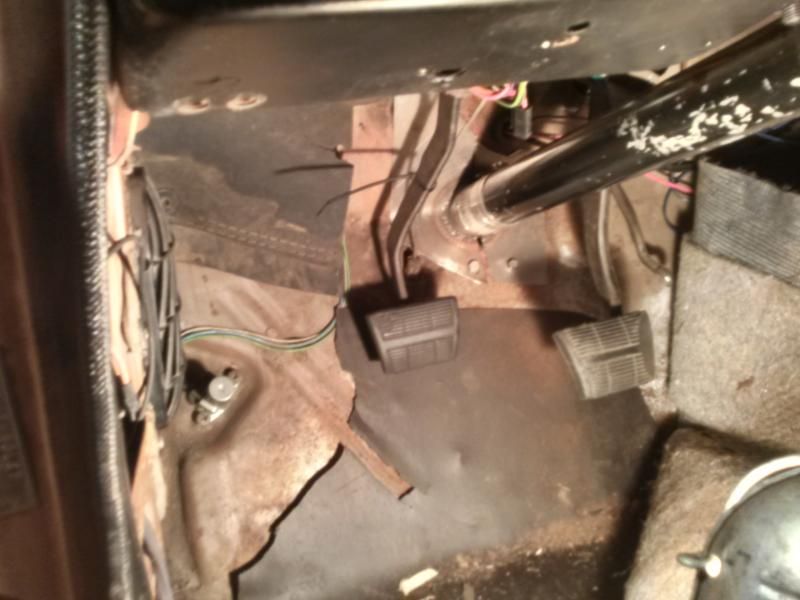
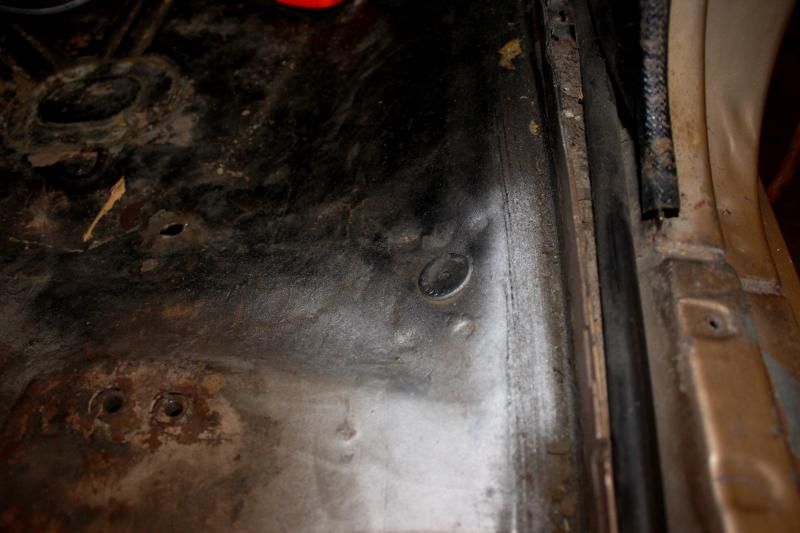
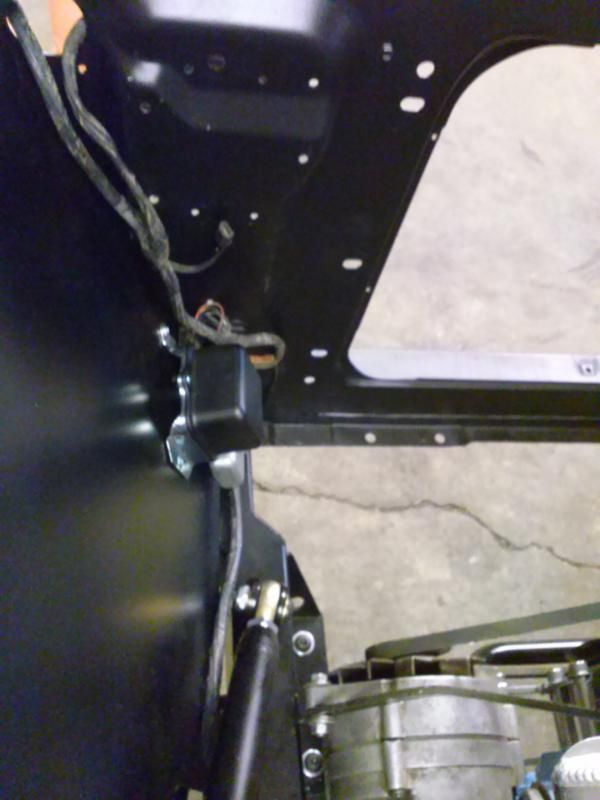
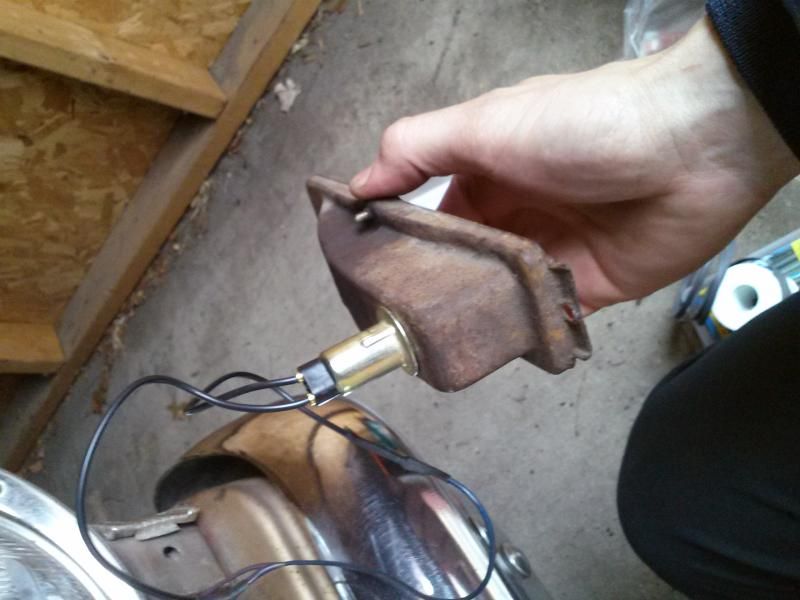
    I found 4 of these rubber plugs, still intact, that must have came from the factory plugging the bolt holes for the front seatbelts (this car likely wasn't optioned highly enough to have them). This got me far too excited- I really dig dorky factory details like this, and I have been contemplating how to mount my belts in a more original fashion, and this gave me THE factory mouting position. What's more original than that!

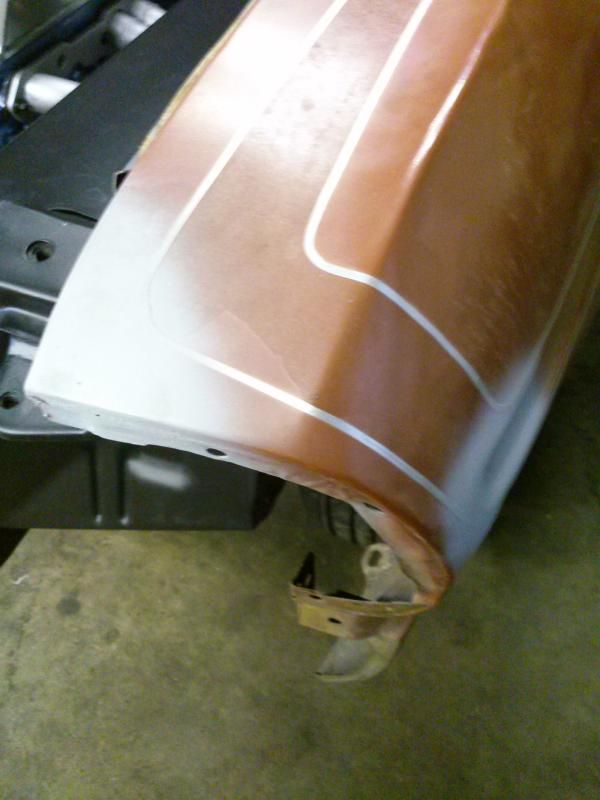
    Hard to tell but it's the little circle pretty much in the center of this picture, to the left of the rubber plug you can see the ugly hole I drilled for the seat belts before, that will be getting filled asap.


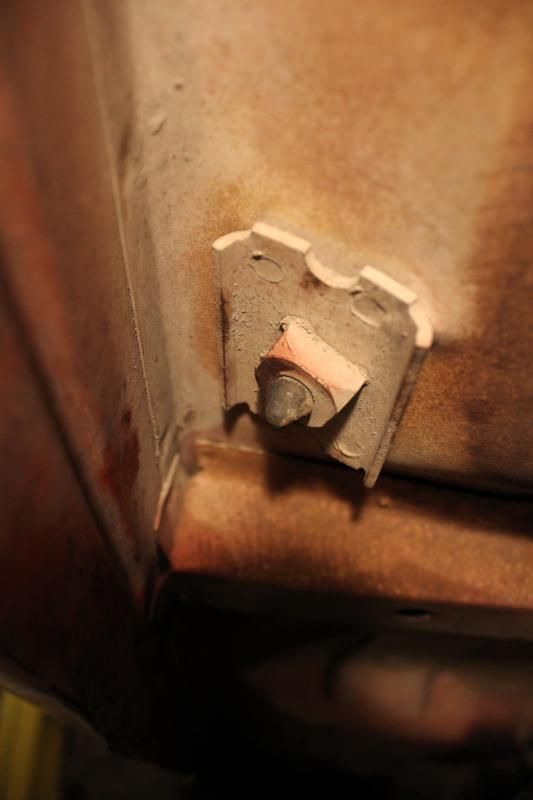
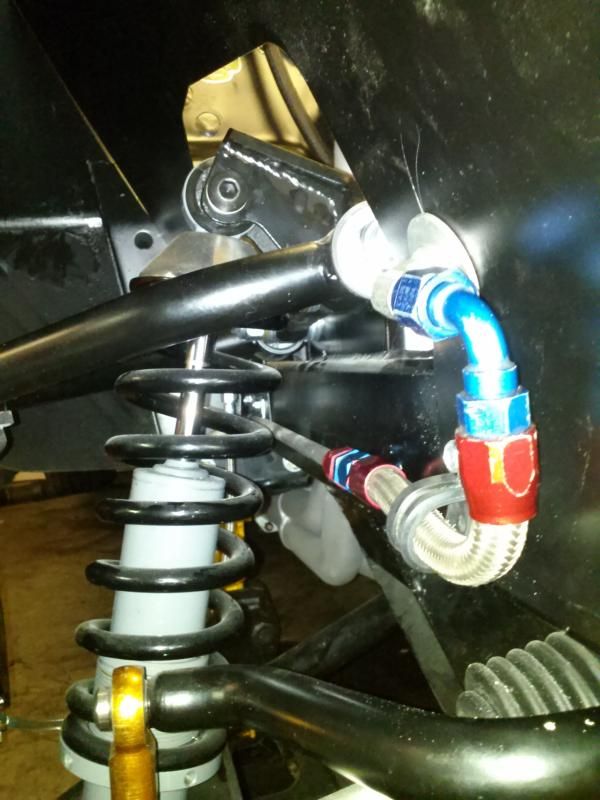
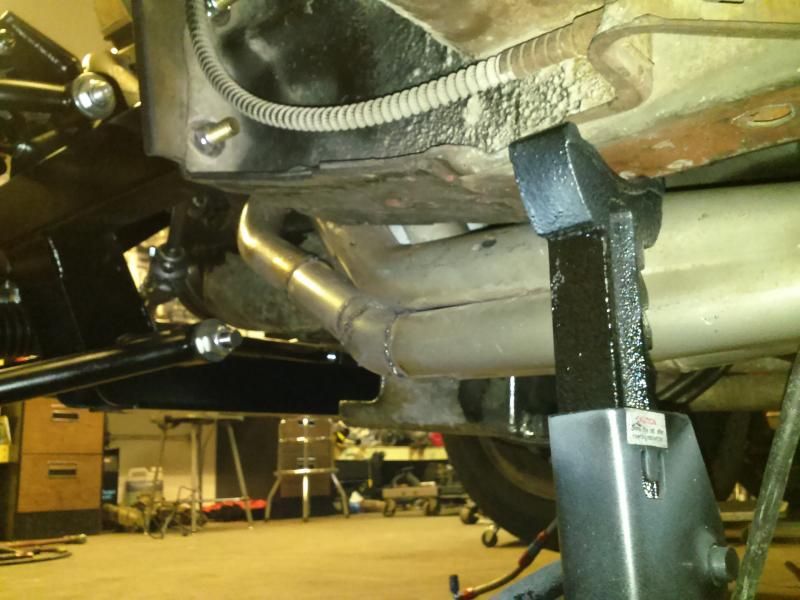
    and how it looks from underneath the car. You'd think for as much time as I've spent under here I would have figured this out by now... I guess you'd be wrong.


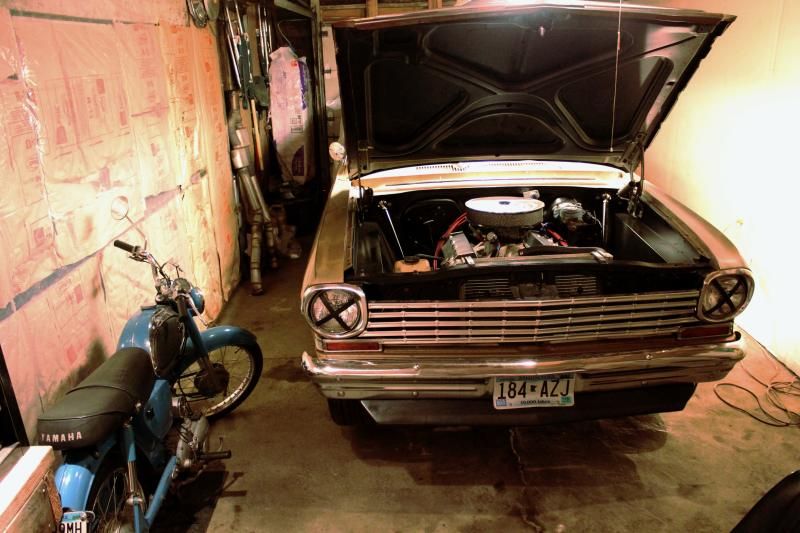
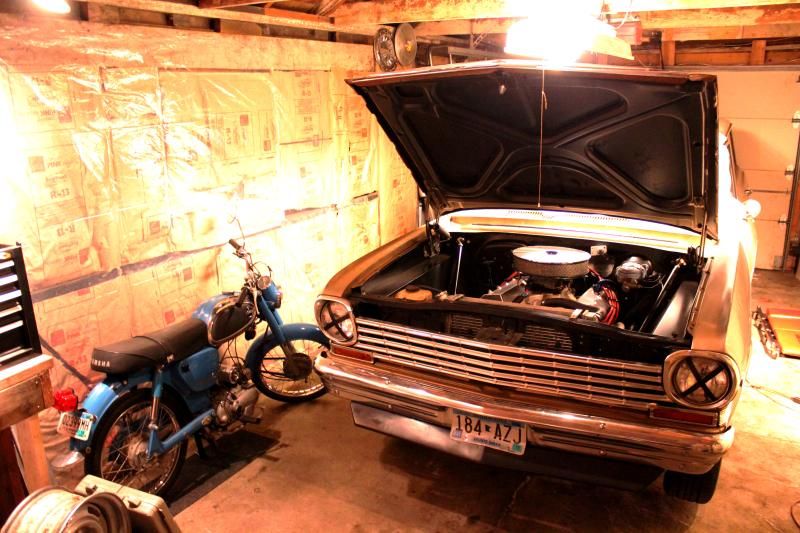
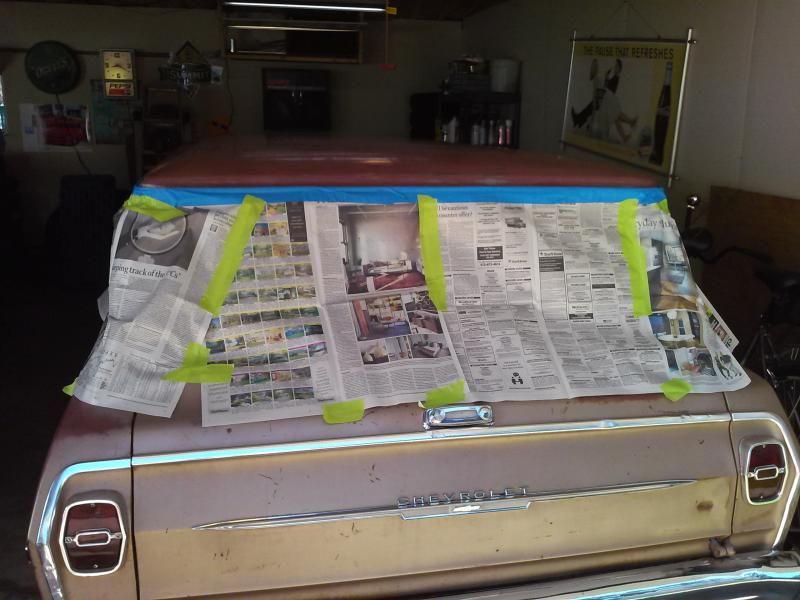
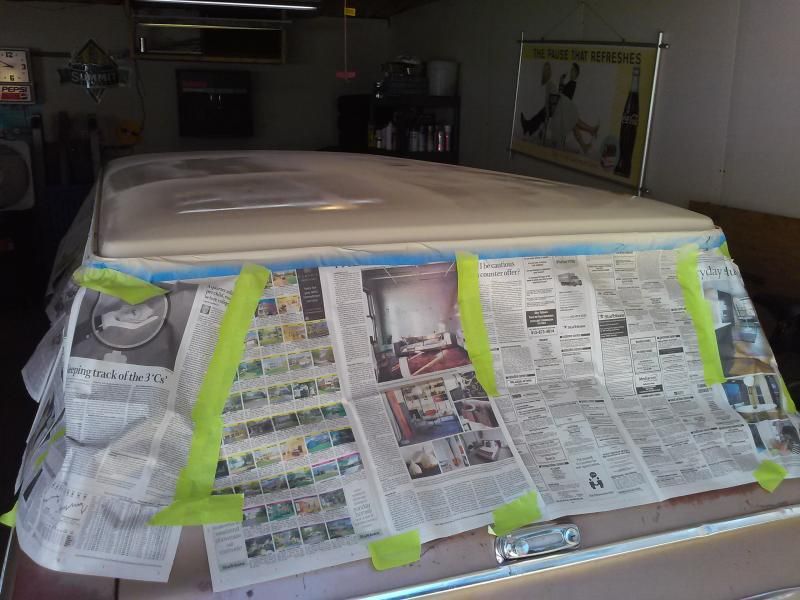
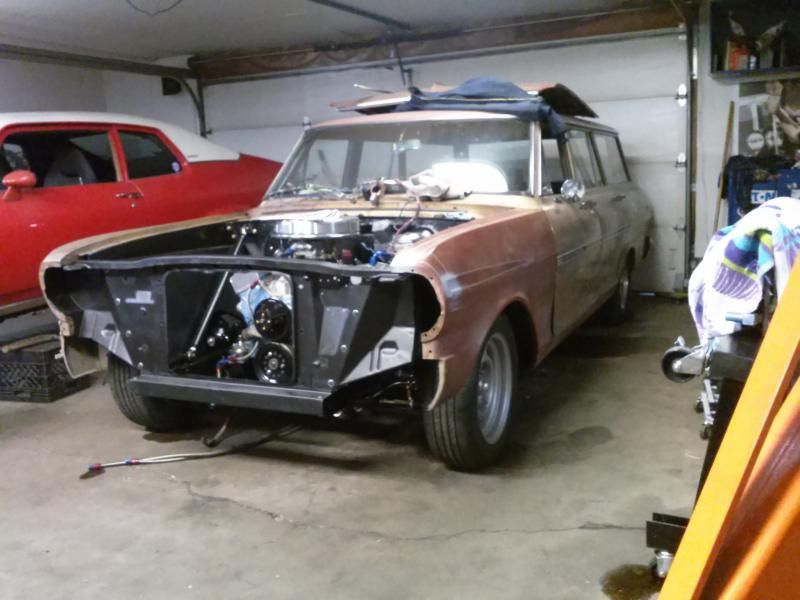
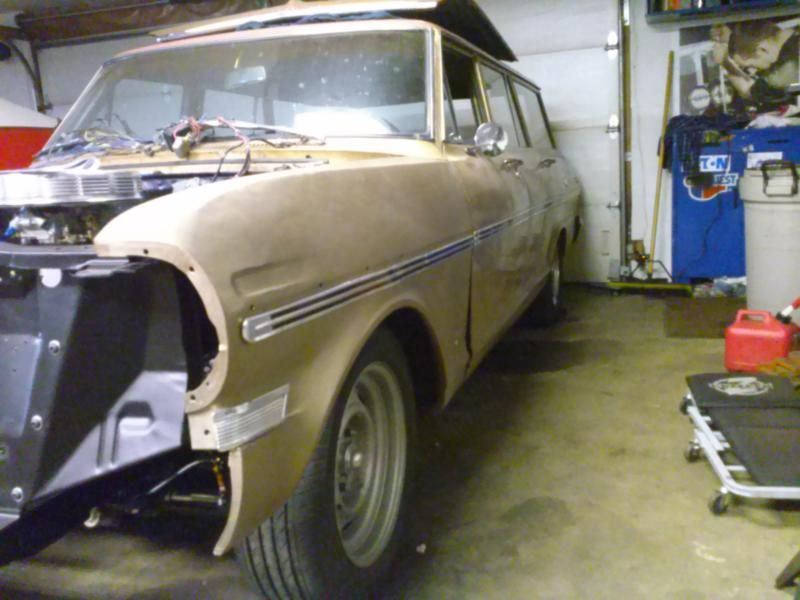
    These last pictures just show my modest garage/work space. Obviously not a source of bragging, nor is my build the caliber of some on here, but I always enjoy seeing what circumstances someone is building a car in, and what their work space looks like, so I figured I would share mine if anyone else feels the same way. It's tight but cozy, and so far I've yet to feel cramped. I try to keep it organized and clean, which helps it not feel too cramped.


    Thats it for now! Thanks for looking!

    Leave a comment:


  • gunchsta
    replied
    Originally posted by meech View Post
    that transmission made everything cooler.
    Everything's cooler with a manual

    Edit: I now realize I basically re-stated what you just said.
    Thank you for the compliment and I'll try to up my reading comprehension game...
    Last edited by gunchsta; 02-11-2015, 12:14 AM.

    Leave a comment:


  • meech
    replied
    that transmission made everything cooler.

    Leave a comment:


  • gunchsta
    replied
    Originally posted by Raoul Duke View Post
    It's not always about being polished and stuff. The "sleeper" thing, the bodystyle, the cleanliness under the hood. That's what I really like about it.
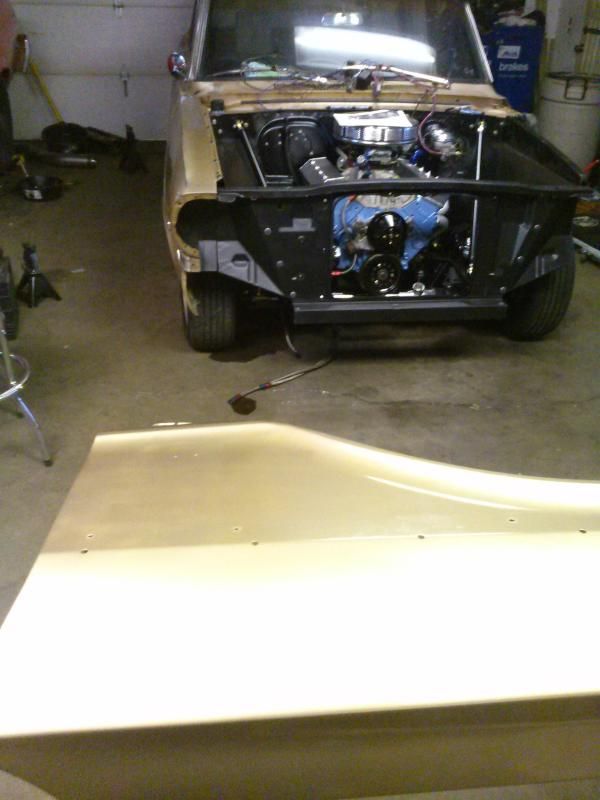
    Thanks! I will try and get some more current pictures of where I'm at, some are on my camera at home, and some are on my old phone, but here's a few phone-snaps from this weekends project- I tried to take pictures but I got too excited working on stuff to stop so I have a couple before and afters, and not many "in progress" pictures.


    Fit the new trans into the tunnel so I could start finishing up the bump in the tunnel for the shifter mechanism and boot.

    This is how the transmission sits in the tunnel and where the shifter sits. as you can see just a large hole in the floor at this point, which is how it was when I bought the car.


    quick cardboard mock-up of what I wanted to create


    took a quick trip to menards, bought an $8 sheet of 16ga steel and did some cutting, some bending, some eyballing, and ended up with this.


    all welded in, boot in place. Extremely over built for what it needs to do (hold the shift boot in place) but I'm pleased with how it turned out. Will look a lot better than the boot just screwed into the floor sideways.


    it's a good thing my phone camera isn't extremely clear, you cant see the booger welds as good. 110 Mig with no gas and an inconsistent spool speed... creates some pretty welds!

    Leave a comment:


  • Raoul Duke
    replied
    Originally posted by gunchsta View Post
    You're too kind, there are far more good looking and polished cars here than mine, but thank you for the compliment!
    It's not always about being polished and stuff. The "sleeper" thing, the bodystyle, the cleanliness under the hood. That's what I really like about it.

    Leave a comment:


  • gunchsta
    replied
    Friday update-

    thrift store purse + scissors = this fancy arm rest upholstery situation


    all masked off and ready for paint- the roof was originally white but most of the paint burned off in its life in the desert, the splotchy white that remained got sanded off by me so the roof was all this chalky flat primer maroon for the last 4 years and I despised it. So I finally bit the bullet and put a coat of paint on it.


    I think with some wet sanding and real buffing it'll turn out fairly decent, it was a quick rattle can job but i'm still pleased with the over all effect.

    here it is out in the sun


    finally got the 50 year old junkyard pitted windshield replaced


    I finally got around to running the tail pipe actually past the quarter panel, before it was just reverberating off the inside of the quarter and it was really quite loud.


    some more random pictures to look at


    the most exciting part for me is this picture here

    Richmond Super T10 plus 4 speed. Finally going back to a manual, oh how I've missed that clutch pedal.

    The interior is all torn apart right now for some much needed r&r as well as some dynamat, filling of dumb holes I drilled, and the proper hump in the trans tunnel for the 4 speed. I swear I'll have better pictures soon...

    Leave a comment:


  • gunchsta
    replied
    Originally posted by Azrial89 View Post
    Loving it! All the hard work looks like it paid off!
    Thanks, I'm pleased with how it turned out.

    Originally posted by Imaeechew View Post
    Very nice. I have always loved that front clip swap for these cars.
    Thank you, I was apprehensive at first but I'm glad I did it. It's significantly improved from the original design.


    Here's some pictures


    Photobucket is being tremendously slow right now, so that's all. More later!

    Leave a comment:


  • Imaeechew
    replied
    Very nice. I have always loved that front clip swap for these cars.

    Leave a comment:


  • Azrial89
    replied
    Loving it! All the hard work looks like it paid off!

    Leave a comment:


  • gunchsta
    replied
    another bay picture, more stuff coming together


    mounted the voltage regulator down low and 'out of sight' without doing any real wire-tucking


    fuel line bulkhead detail


    pulleys and belts on


    detailing the backside of the grille since everything else had been painted


    plugs and wires on, radiator in... getting close


    dusty blurry picture of the engine all buttoned up


    obligatory gas station first drive picture!


    cruising with a buddy and his mk2


    the turn signal pigtail was all messed up, and it went into a strange fixture on the signal housing that was like $35 bucks from some goofy nova-specific website... well my car is no concourse restoration so I just adapted a parts-store cheapy fitting to my housing. uses the same bulb as original and allowed me to get the missing parking light back on the car, and fixed a grounding issue this signal had in the past due to the wrecked pigtail.


    it was now springtime, I was driving the car and it felt great, had the car out of my buddies hair and back in my apartment garage. Took it in to the shop I used to work at and we aligned it. Put the hood back on, got that parking light in, aligned... ready to rock! I wanted to keep the hood off longer and show off all my hard work, but I drive the car a lot and don't particularly like letting the engine sit and get rained on- it doesn't hurt on occasion but when it's just sitting at work it seems unnecessary. Plus, despite what this thread may lead you to believe, in person I don't especially like showing the car off or talking to people that much about it.


    this photo also shows the 69 camaro lower splittler/lip/valance I put on.

    Thanks for reading! stay tuned for more! the car is at my house now and it's torn apart again so there'll be plenty to see!

    Leave a comment:


  • gunchsta
    replied
    Welded up a few little holes in the fender


    figured out that I'm no body man so I left the ones that are on the body line (above the trim) open. This fender is for a 62 so it has slightly different trim, which is why it has the other trim holes.


    The best part about a car with 'patina' is that none of the panels really match, so this color was close, I sprayed it on thin over black then sanded/roughed it up, it matched fairly well. Unless you looked really close but, just don't look really close at this car please.


    Leave a comment:


  • gunchsta
    replied
    A few pictures of the freshly painted engine


    Time to put on my new brake master and run some lines


    Ran some new lines on the axle too, they were pretty beat up.


    Engine back in the car for the 3rd or 4th time. . . goes pretty quick


    Also, note the entire front wiring harness on the cowl there

    Leave a comment:


  • gunchsta
    replied
    Originally posted by xAHx View Post
    This thing is too rad. Totally dig it.
    Thanks a lot!

    Originally posted by Motoman325 View Post
    This place is for slow moving low cars,
    take your cool muscle car somewhere else lol

    But really i was hooked from the first engine bay shot

    Wha kind of torque are you running to lift that front end?
    Or would you blame it on the old front end?
    Well, on a chassis dyno the car made 325 horse 525 torque- but I think we started the pull too low in the RPM range so it flashed the converter and hit the dyno with more torque than it actually makes across the powerband if that makes sense. It has a lot of torque down low because of the smaller, cast iron heads, but I doubt that much... So, long story short yes I blame it on the front end partially, and on the wagon-ness- it has a lot of weight over the rear tires and it weight transfers well, even with the new, tighter front end.

    Originally posted by Raoul Duke View Post
    This is one of the nicest rides here! I'm so in love with your car. Of course I am, old GM wagons are the greatest things that exist. Keep up the progress!
    You're too kind, there are far more good looking and polished cars here than mine, but thank you for the compliment! edit: just realized you're the guy in Germany with the Buick wagon. I checked out that thread I love it! I really like watching the european builds- you guys all seem to be very dedicated and meticulous.

    Originally posted by mike-81-240d View Post
    This is awesome.
    Your Benz looks awesome in your signature. Wagon squad


    More header pictures-


    The funny thing is that the other side didn't have to be modified at all- this side had to really be re thought out, otherside just bolted right in like normal. I am glad I kept the collector in the same position so I didn't have to change my exhaust on the driver's side, but I think it made the process a lot more difficult. Other friends that have built whole sets of headers have said they kinda built them from the flanges on the engine down, and welded that all up, then slipped the collectors on and welded them in place, giving you a bit more room to weld all the way around the tubes and a bit more choice on which tubes go where. But like I said, it was an awesome learning experience, and a whole lot of fun.

    Leave a comment:


  • mike-81-240d
    replied
    This is awesome.

    Leave a comment:


  • Raoul Duke
    replied
    This is one of the nicest rides here! I'm so in love with your car. Of course I am, old GM wagons are the greatest things that exist. Keep up the progress!

    Leave a comment:

Working...
X