 Tweet
Tweet
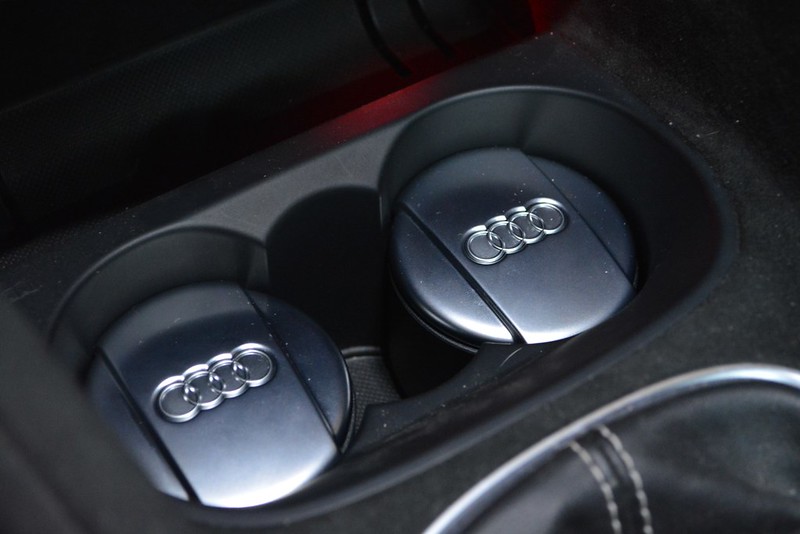
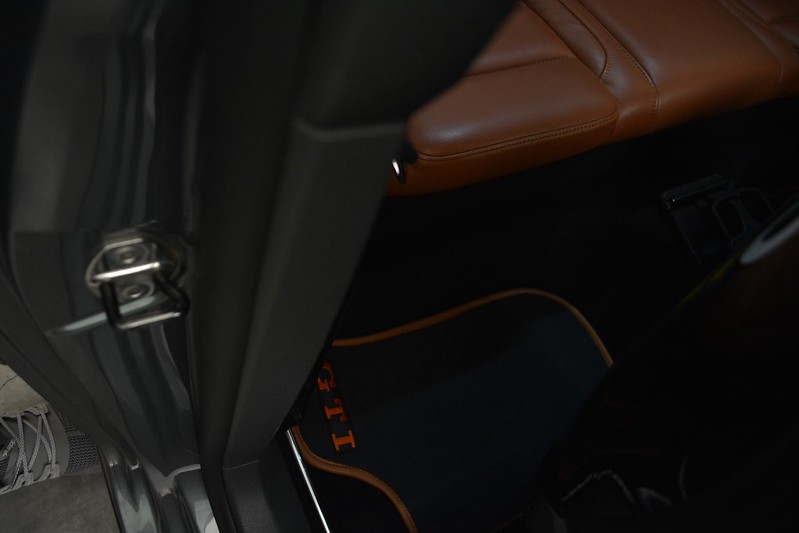
Maybe too many logos for me personally, but damn does it look good in there.
-
My super boring build http://www.stanceworks.com/forums/sh...other-M3-buildInsta Mintyhinrichs -
I promise you, if you see it in real life, the logos are just the correct amount, and they really set it off very nicely . Trust me on this one, until you see it for yourself.
Someday !!!
Cheers
Mike
Audi RS4PRA | VW Golf MKV GT-Y | Audi A1 SportBackComment
-
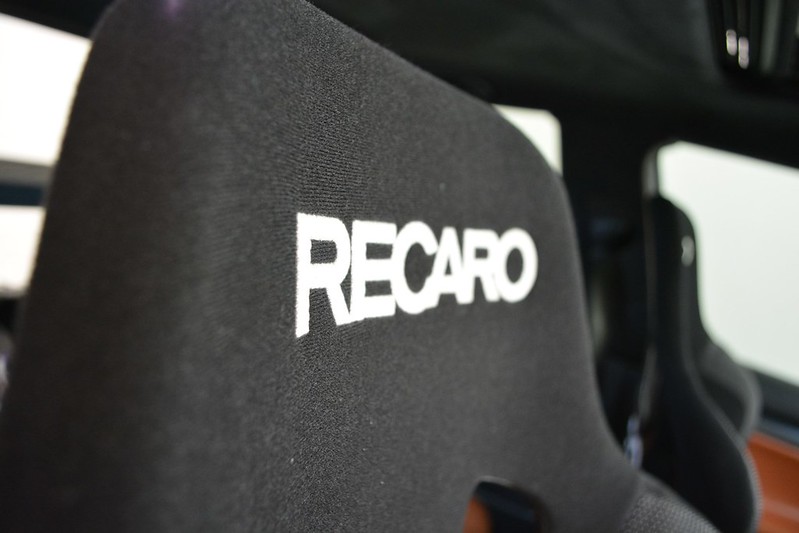
I'm a fan of the car but not the wheels. Interior looks good, I could have lived with less logos, especially on the non Recaro parts, but hey, you do you!Instagram: @Eurow
Comment
-
Your attention to detail and documentation is awesome!! Keep up the awesome builds.Comment
-
Looks awesomeComment
-
love everything about that interior... god dam, now i want to wrap my dash. i blame you for this...lolComment
-
Again, I have some updates to show you.
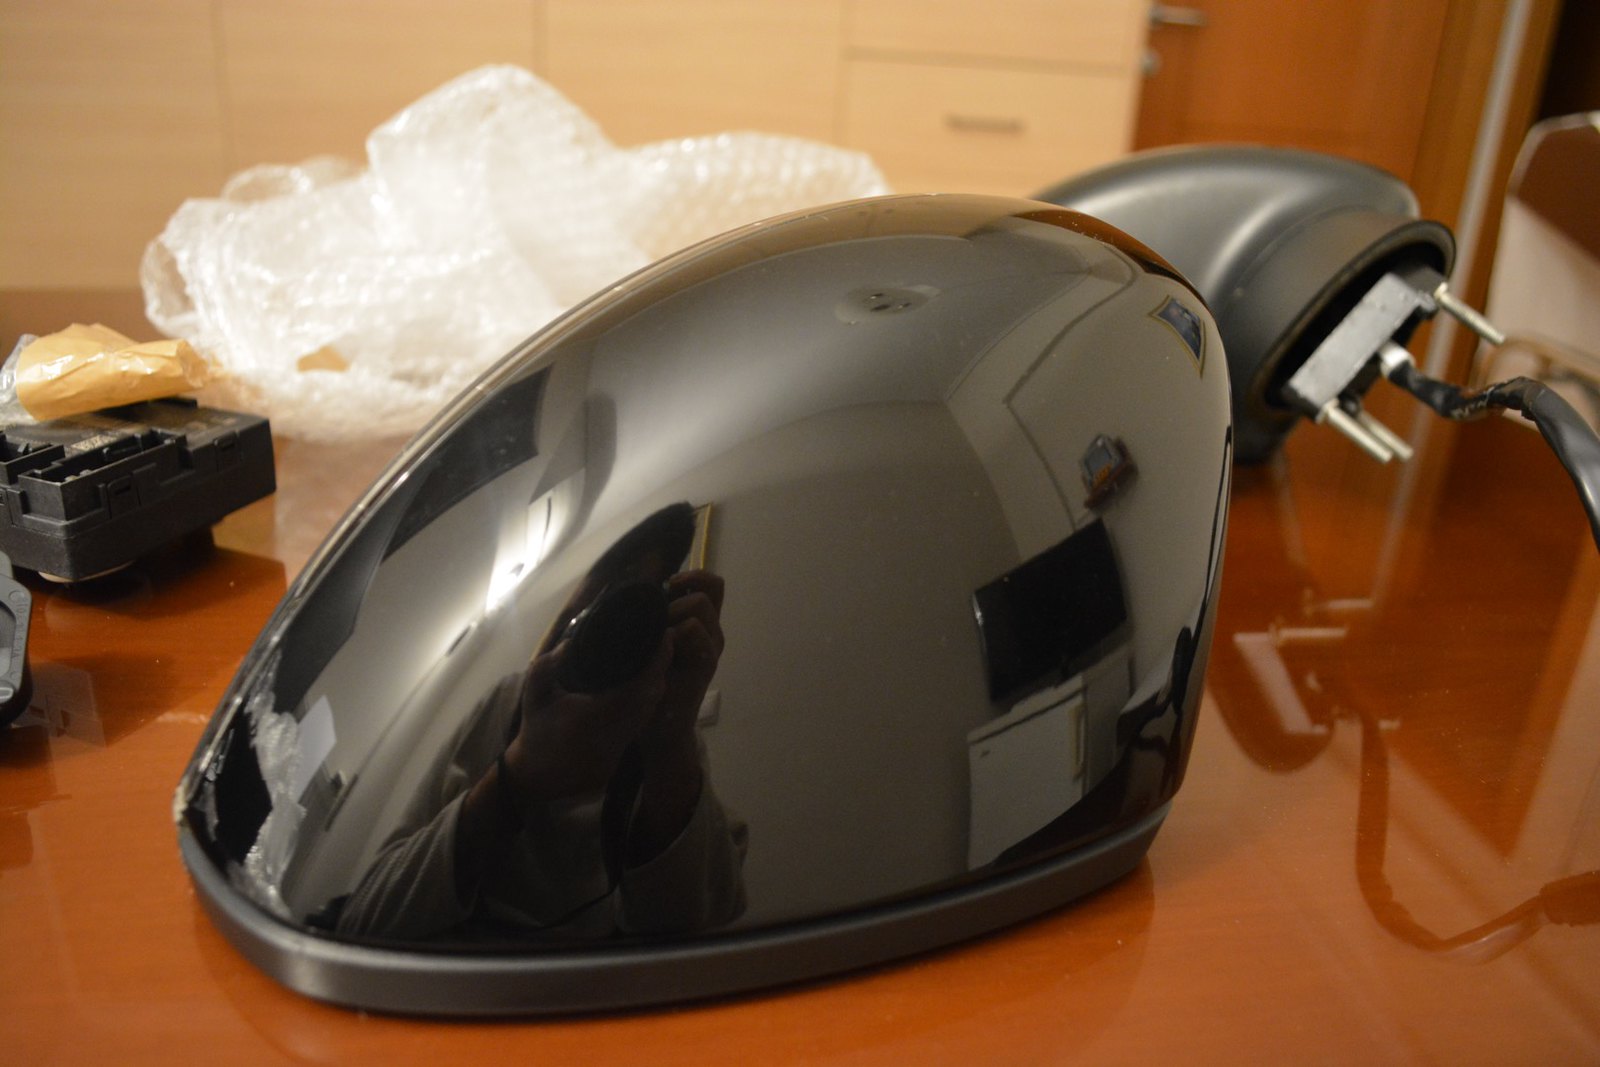
So, I sourced a pair of power folding mirrors, and heated as well. A nice retrofit i always wanted to do
 Apr_1 by mgpdoc, on Flickr
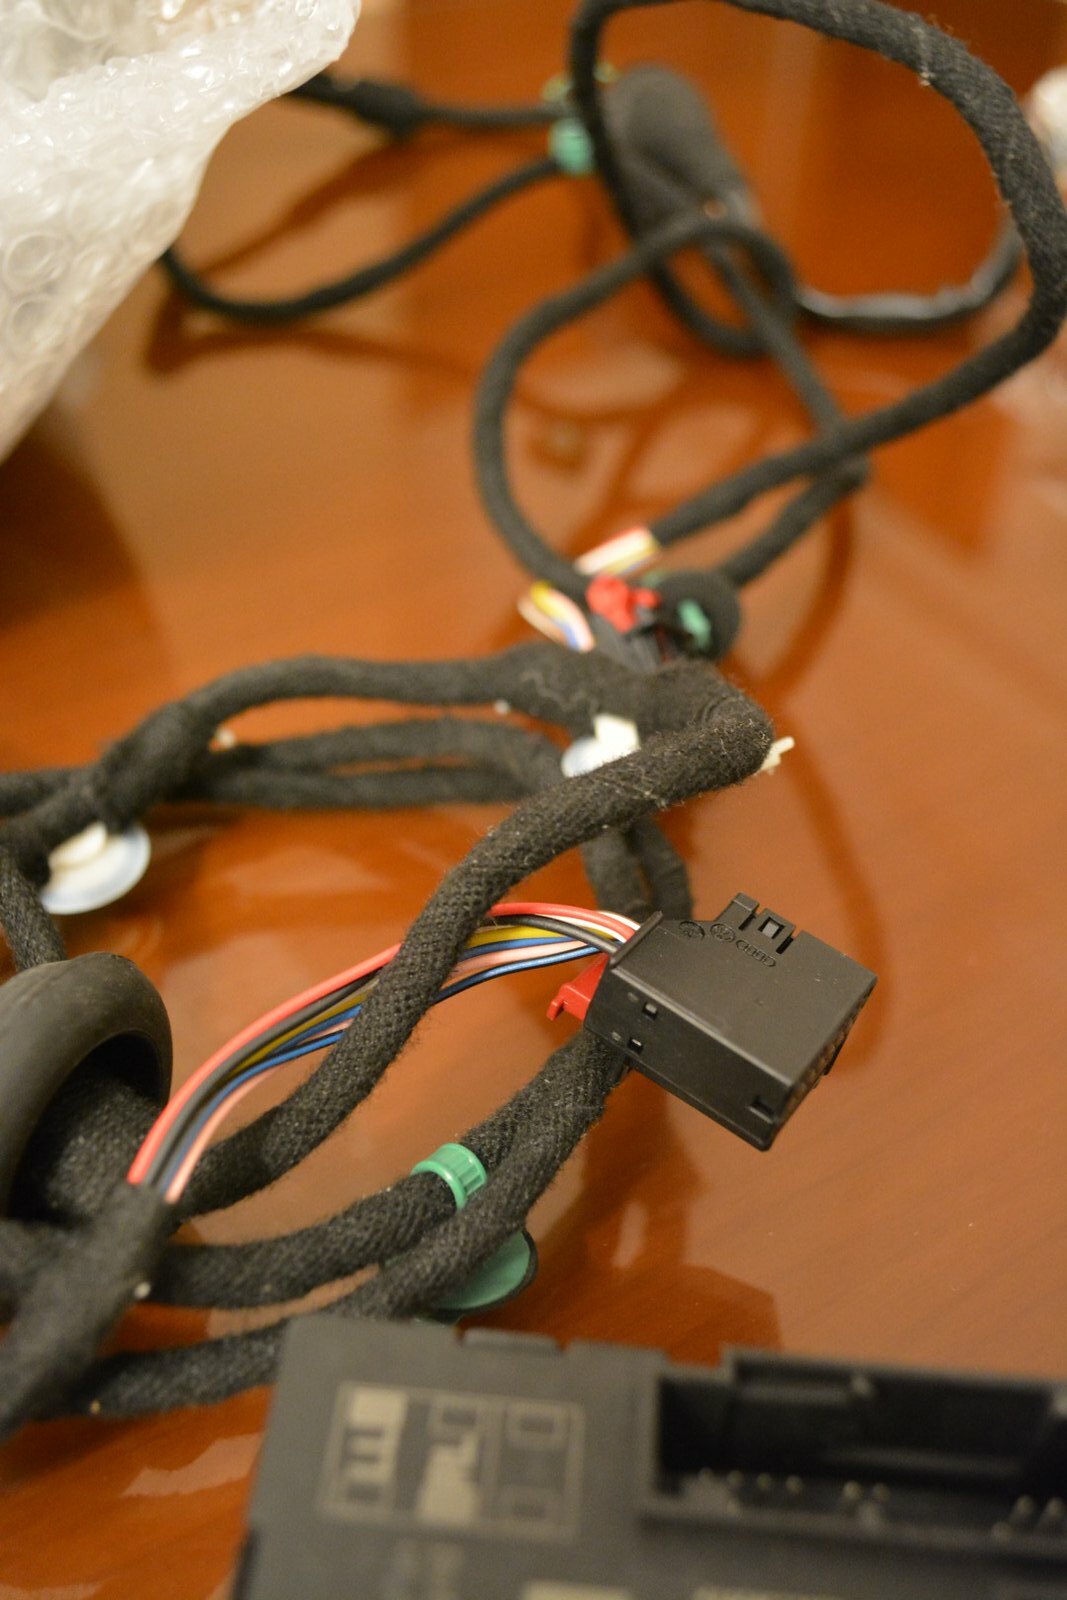
Complete with the loom
 Apr_1 by mgpdoc, on Flickr
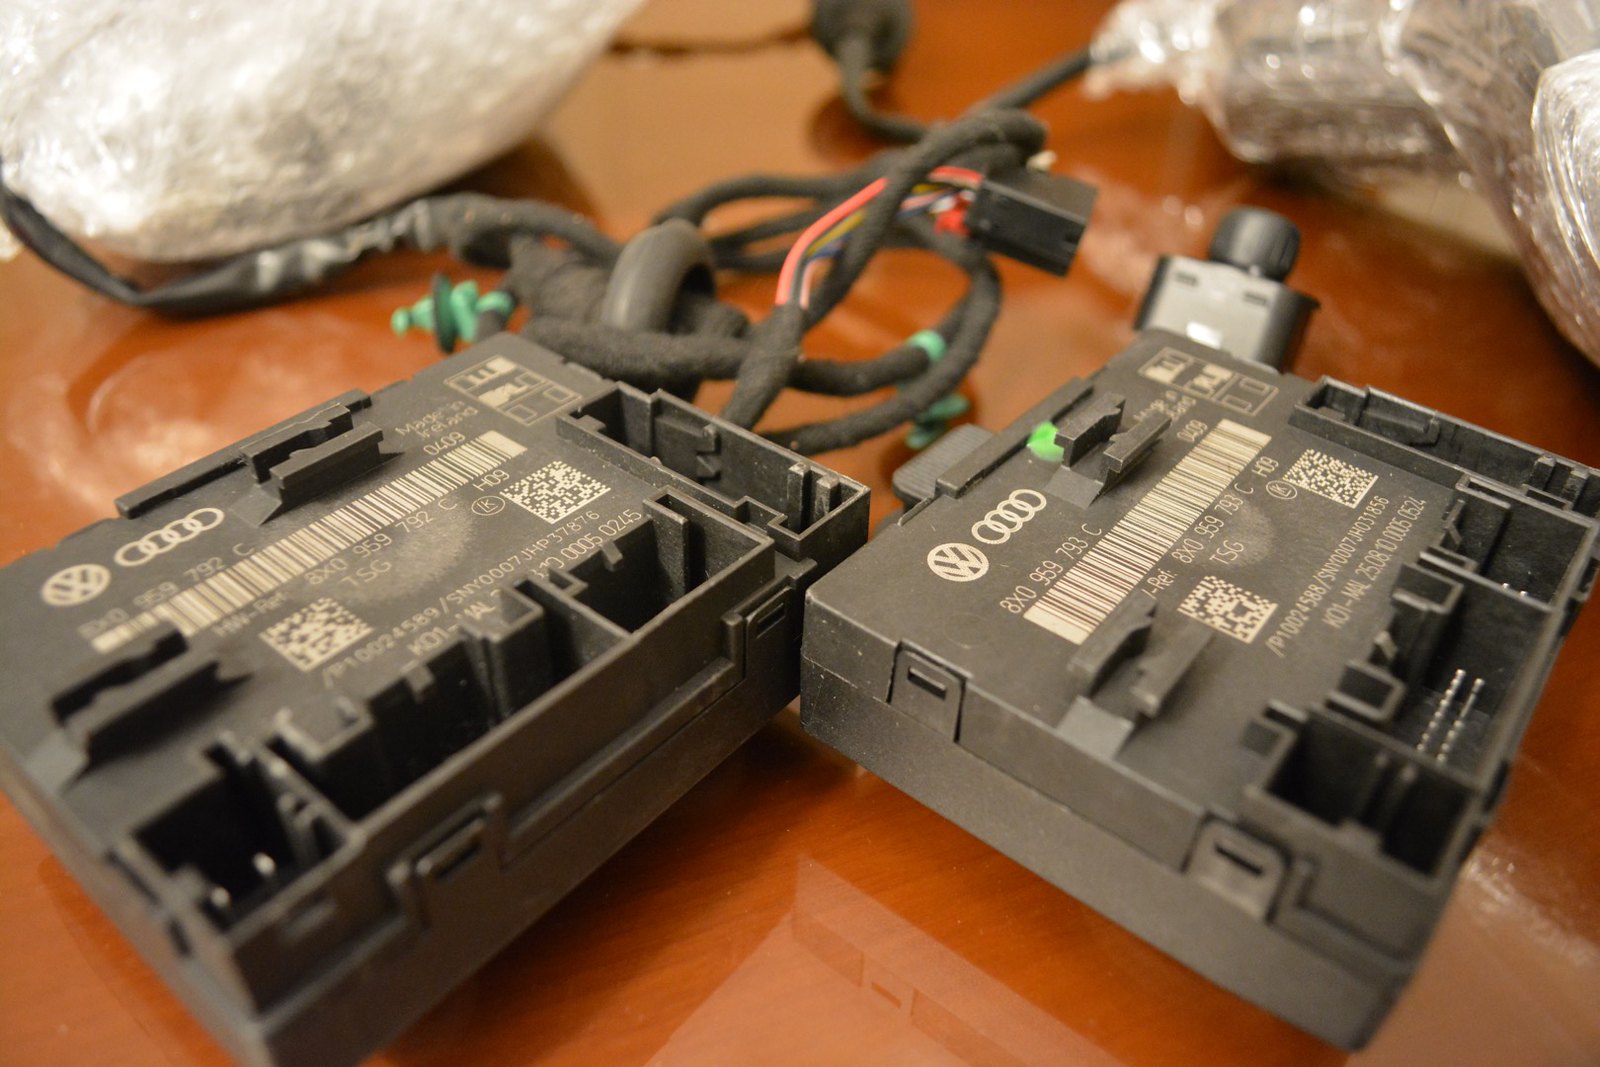
Control unit
 Apr_1 by mgpdoc, on Flickr
And thes ECUs
 Apr_1 by mgpdoc, on Flickr
I will install them when i have some more time i guess
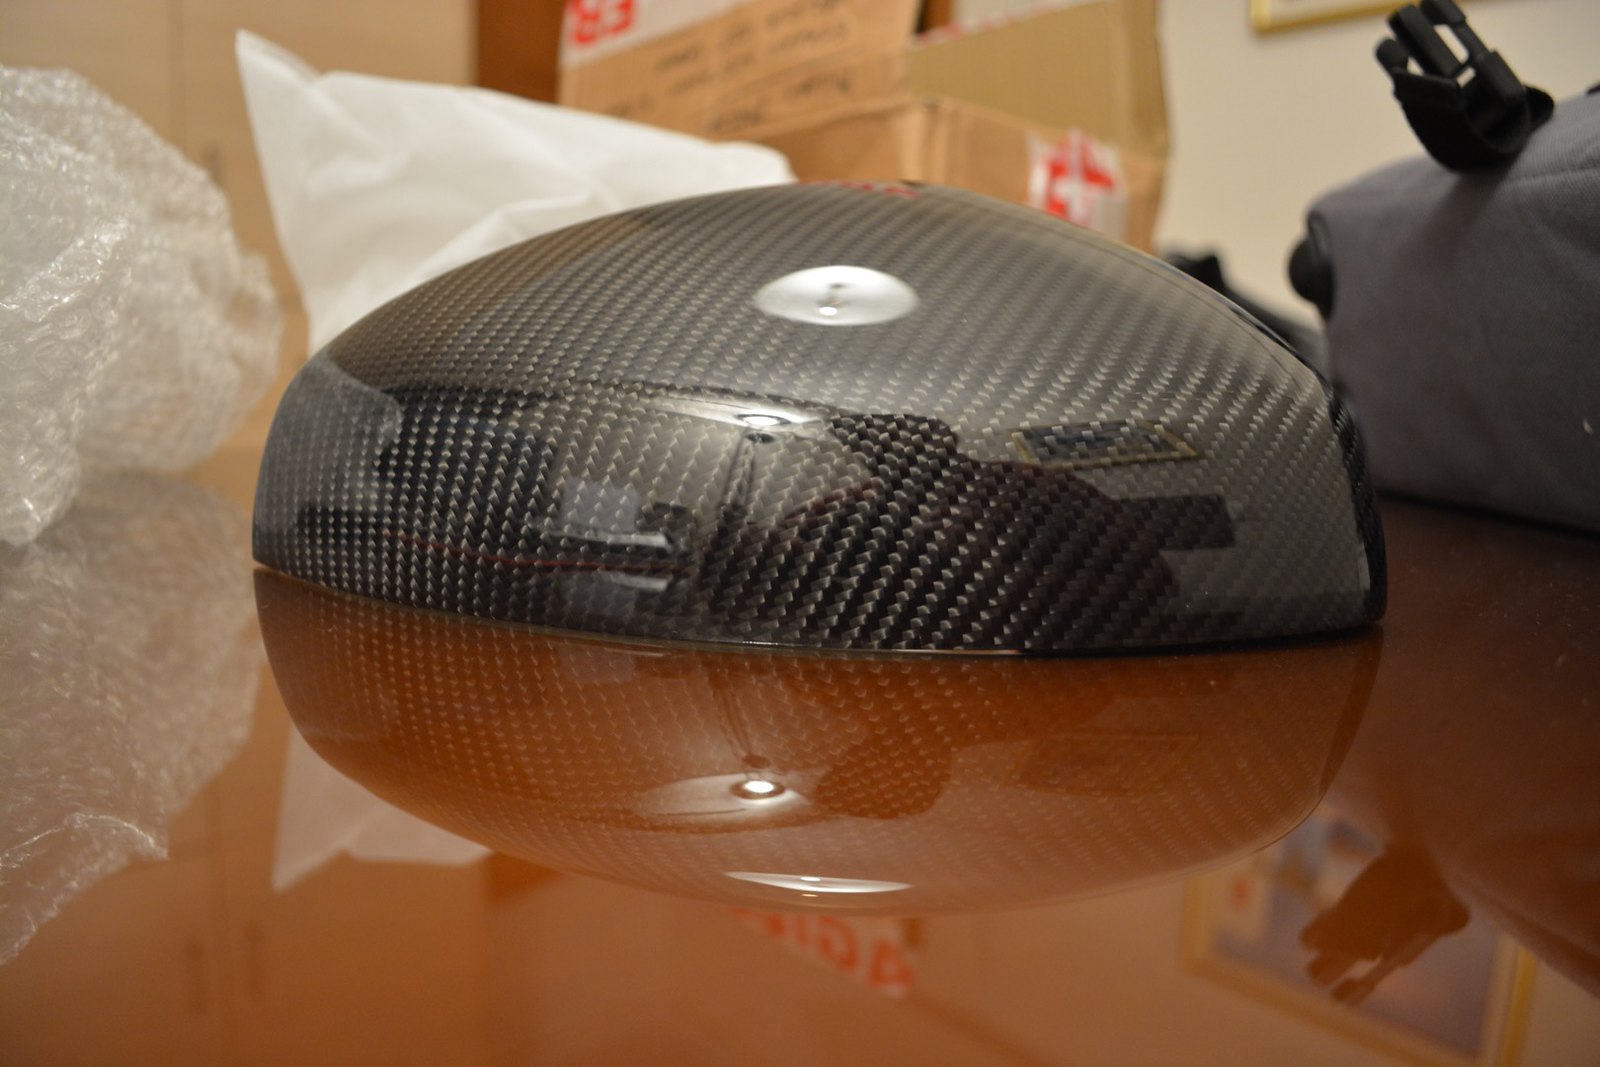
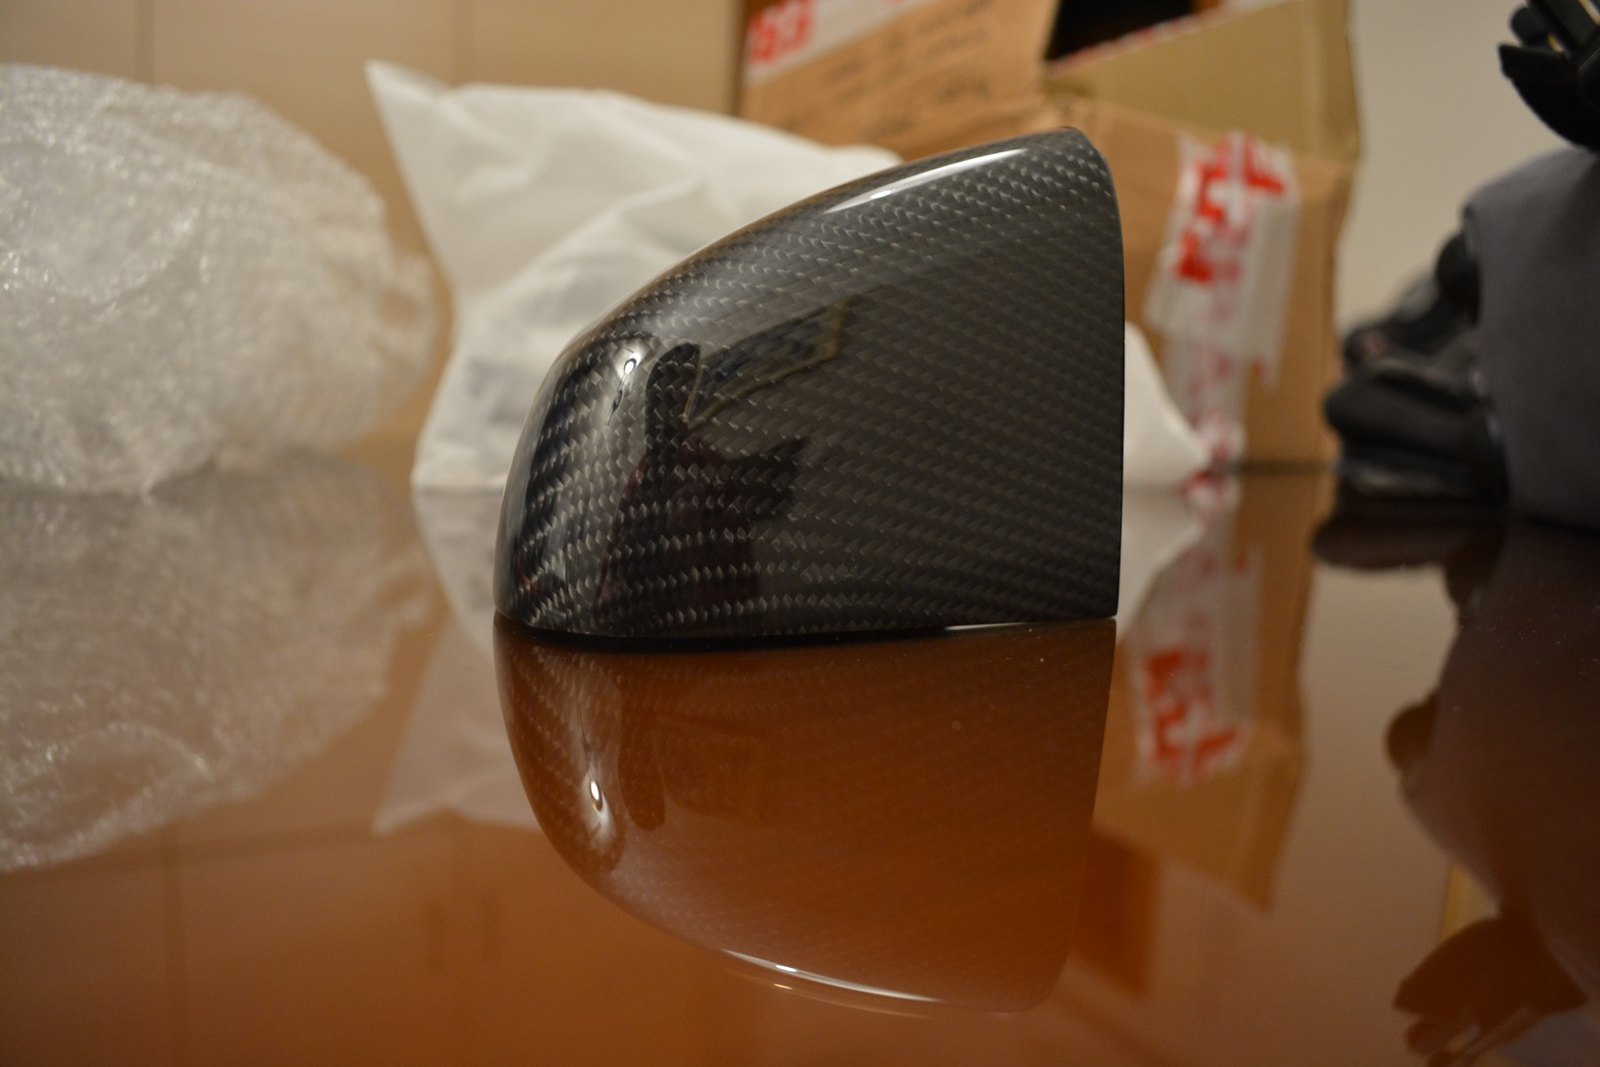
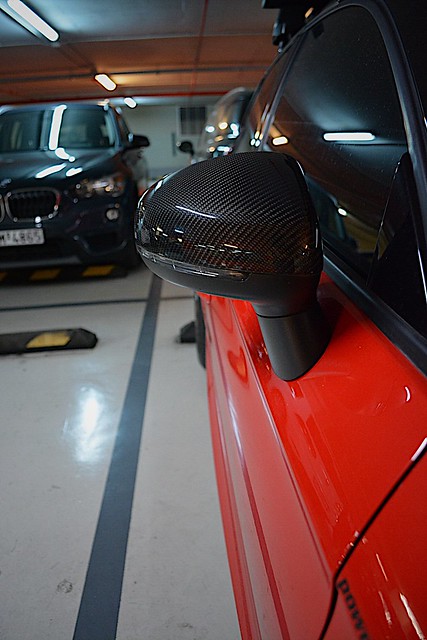
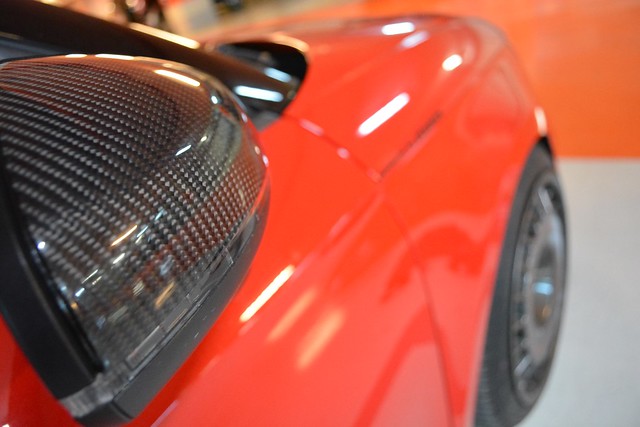
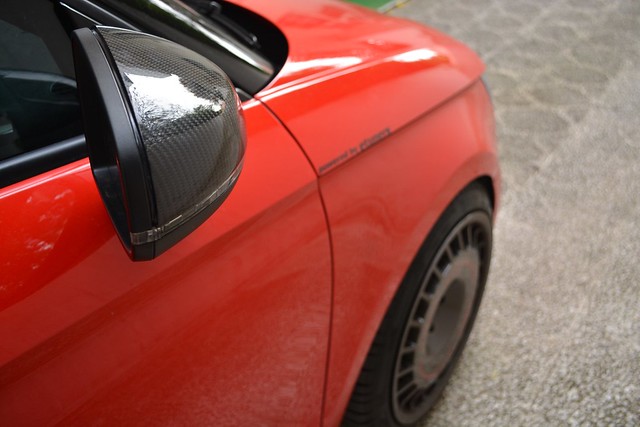
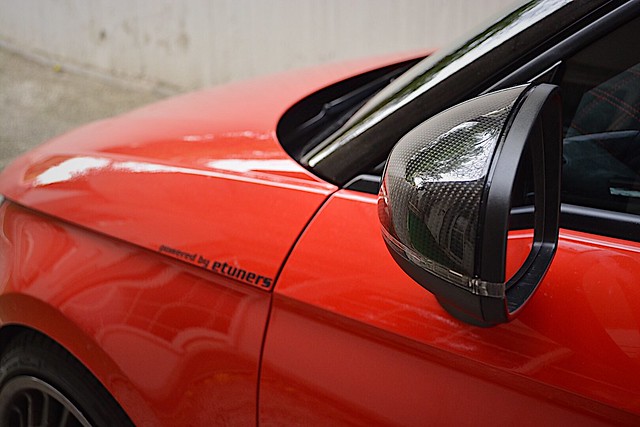
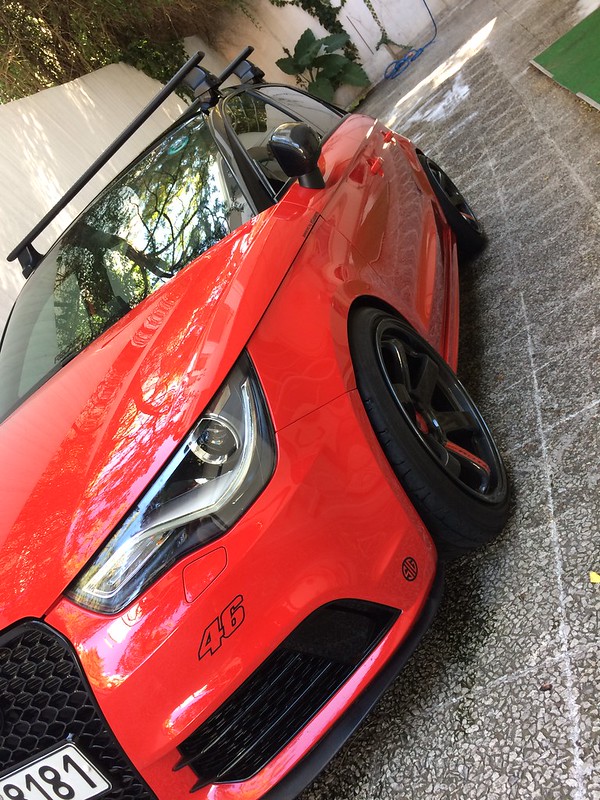
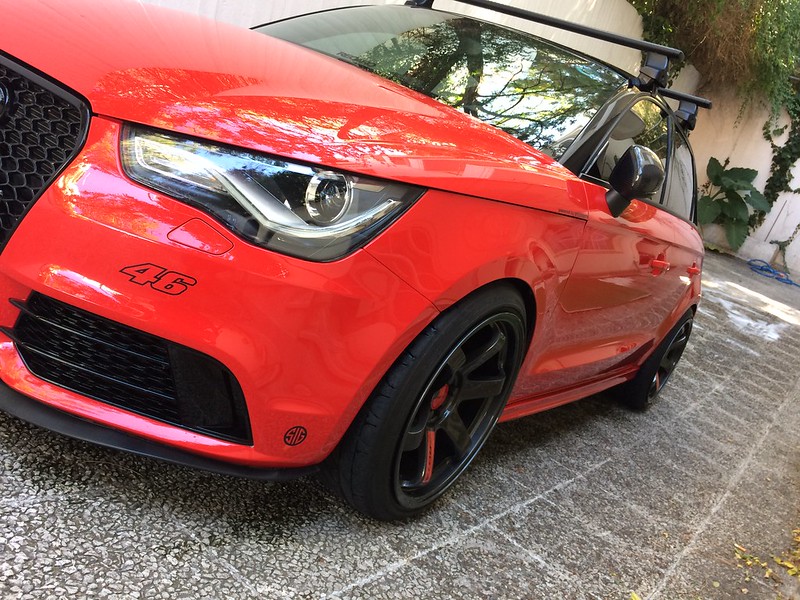
Then, although i said i wouldnt do this, in this car as well, i fell for a set of cf mirror caps. I just had to
 Untitled by mgpdoc, on Flickr
 Untitled by mgpdoc, on Flickr
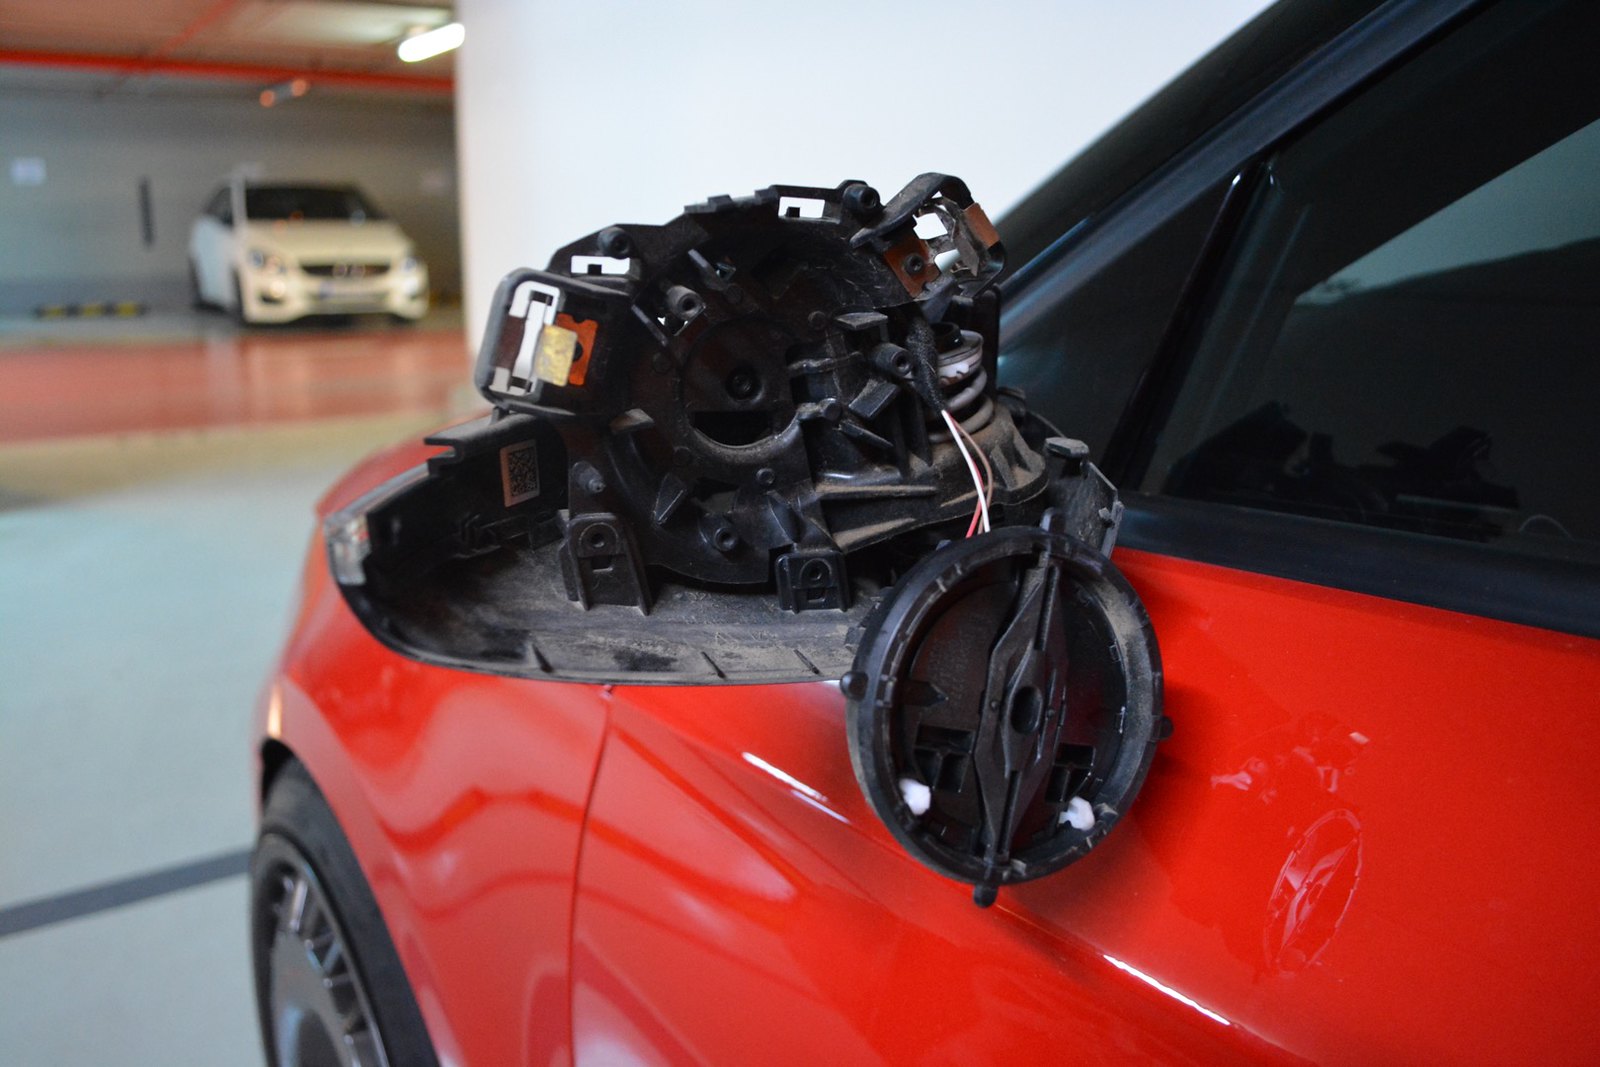
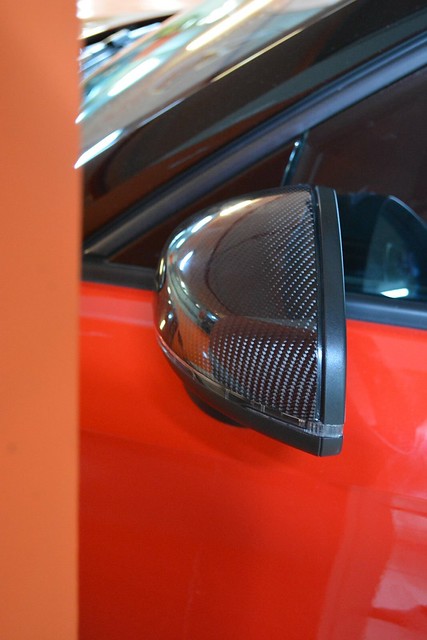
Lost no time, and installed them
 Untitled by mgpdoc, on Flickr
 Untitled by mgpdoc, on Flickr
 Untitled by mgpdoc, on Flickr
 Untitled by mgpdoc, on Flickr
 Untitled by mgpdoc, on Flickr
 Untitled by mgpdoc, on Flickr
They came out great, amazing quality, and suit the car nicely.
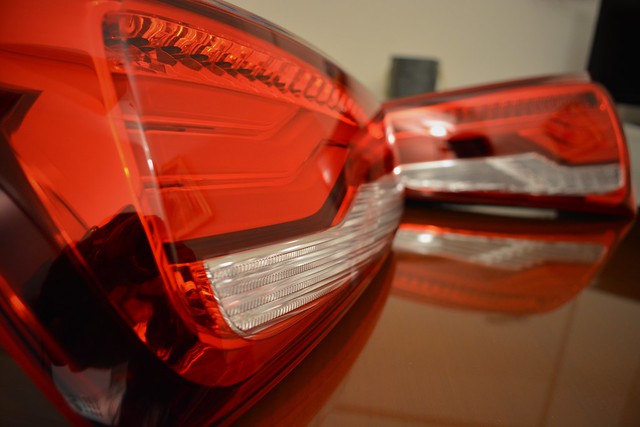
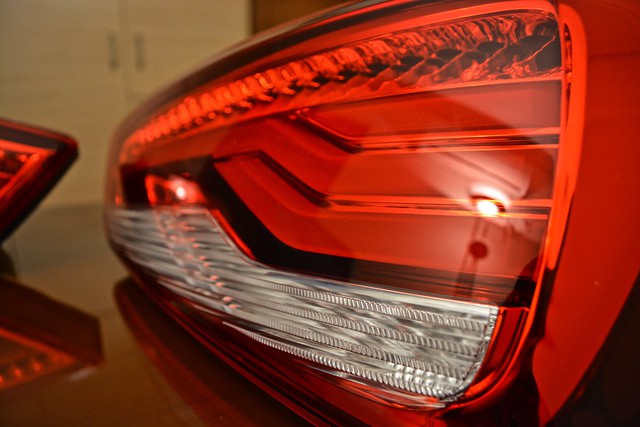
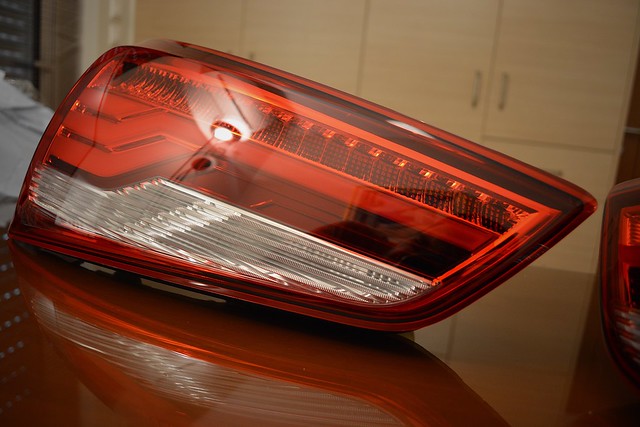
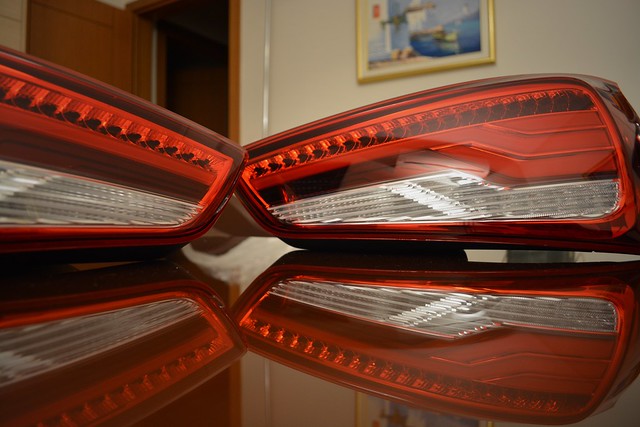
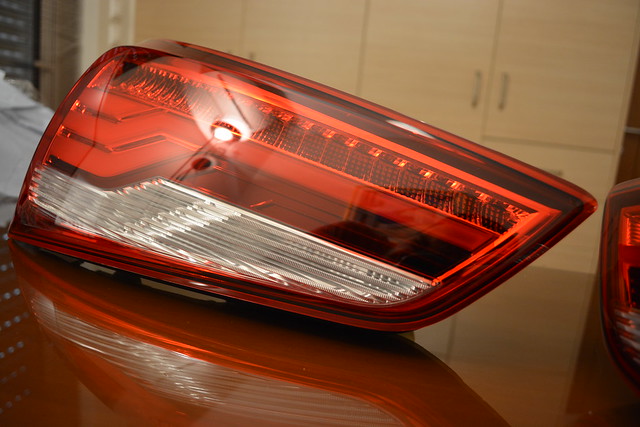
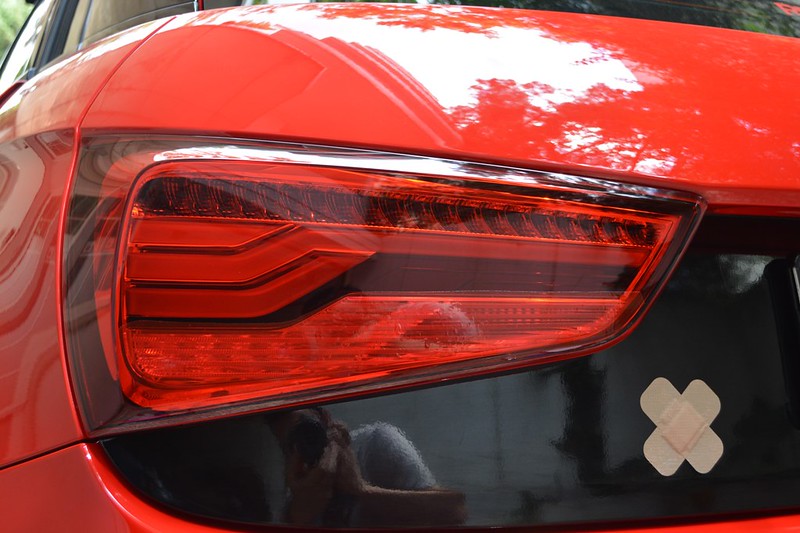
What is more, I purschased some LED facelift tailights. I already had LED ones which i like. But thes are also cool. I think i will keep both, lol.
 Untitled by mgpdoc, on Flickr
 Untitled by mgpdoc, on Flickr
 Untitled by mgpdoc, on Flickr
 Untitled by mgpdoc, on Flickr
 Untitled by mgpdoc, on Flickr
Car was very happy with its gifts . . . but more was to come . . .
 Untitled by mgpdoc, on Flickr
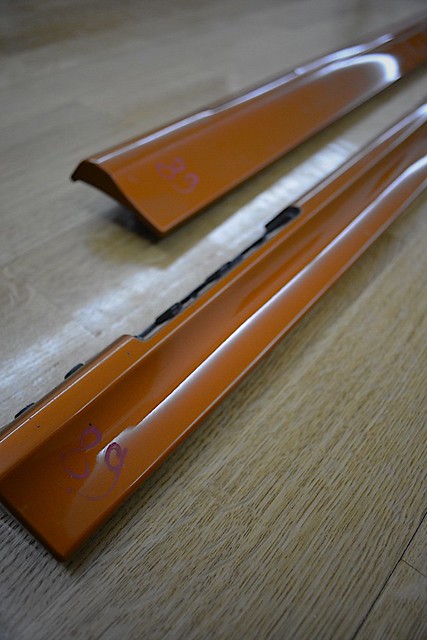
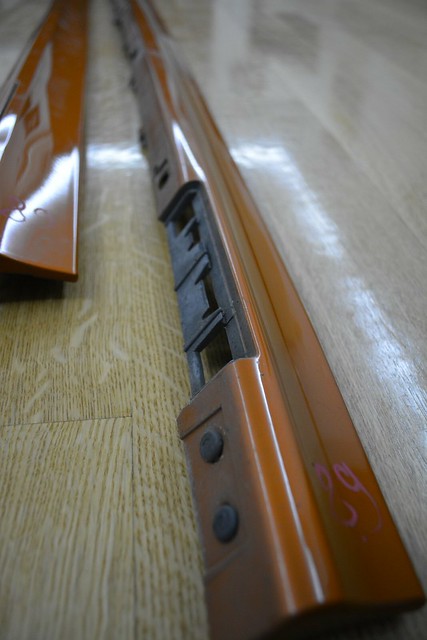
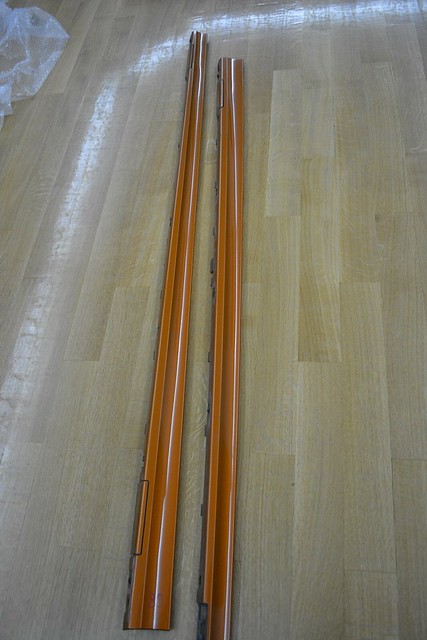
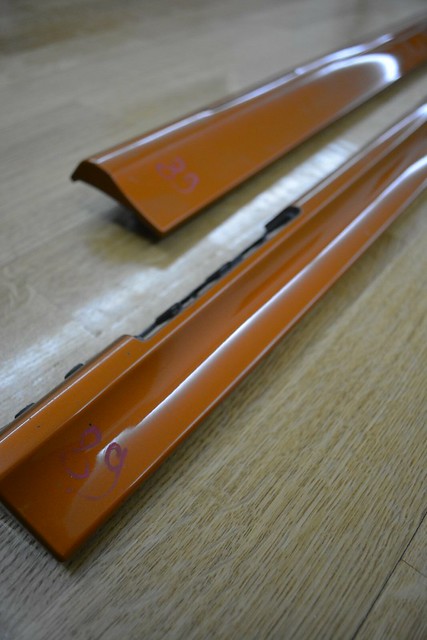
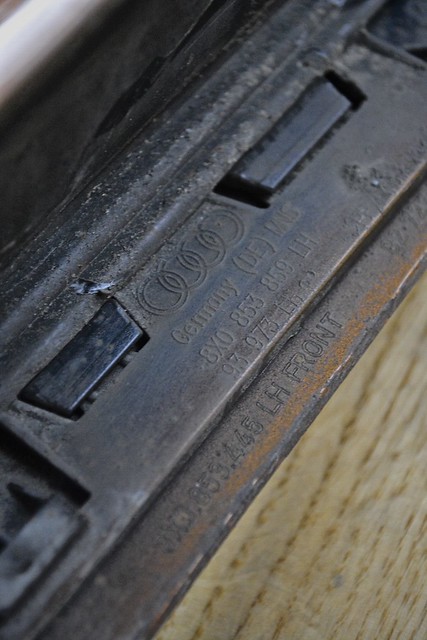
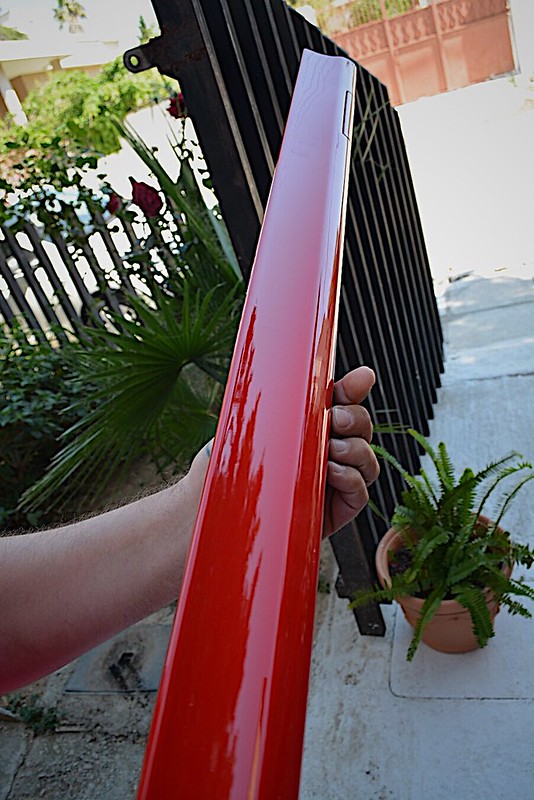
I sourced some S-Line Sideskirts, german ebay is your friend sometimes.
 Untitled by mgpdoc, on Flickr
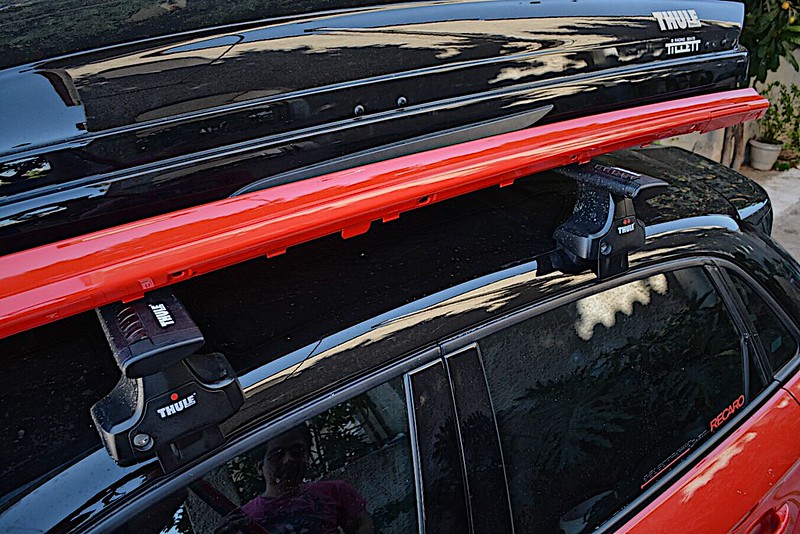
Only part missing
 Untitled by mgpdoc, on Flickr
 Untitled by mgpdoc, on Flickr
 Untitled by mgpdoc, on Flickr
 Untitled by mgpdoc, on Flickr
 Untitled by mgpdoc, on Flickr
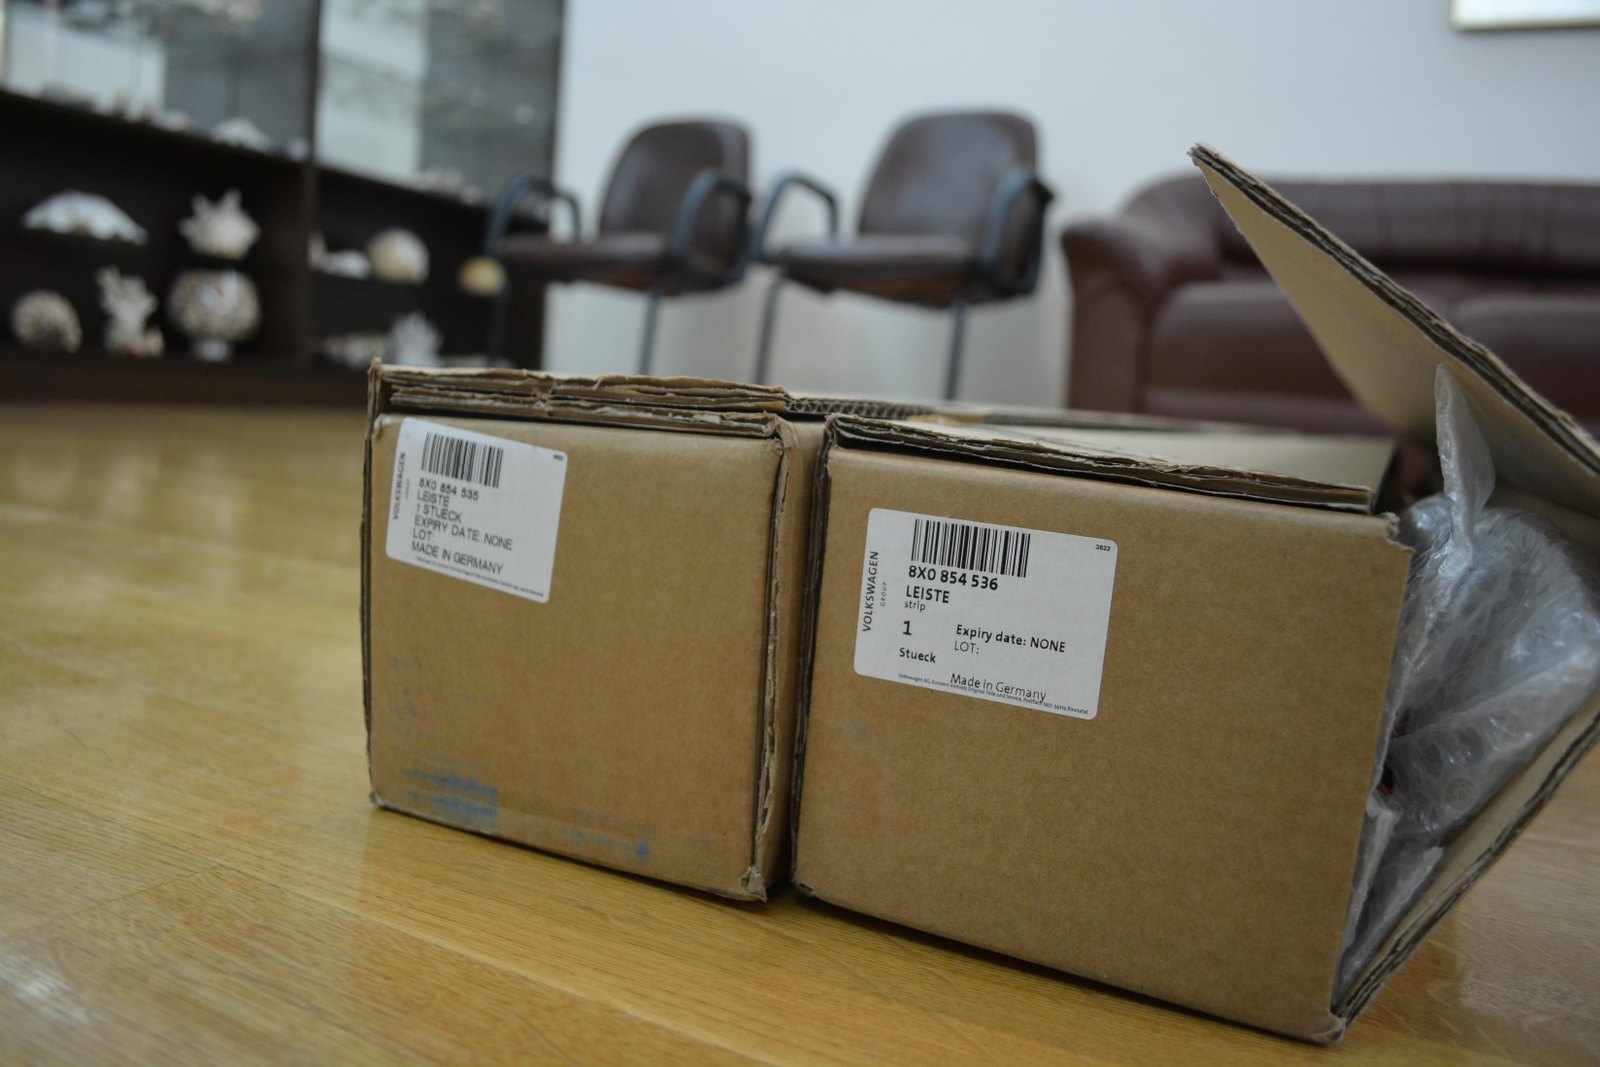
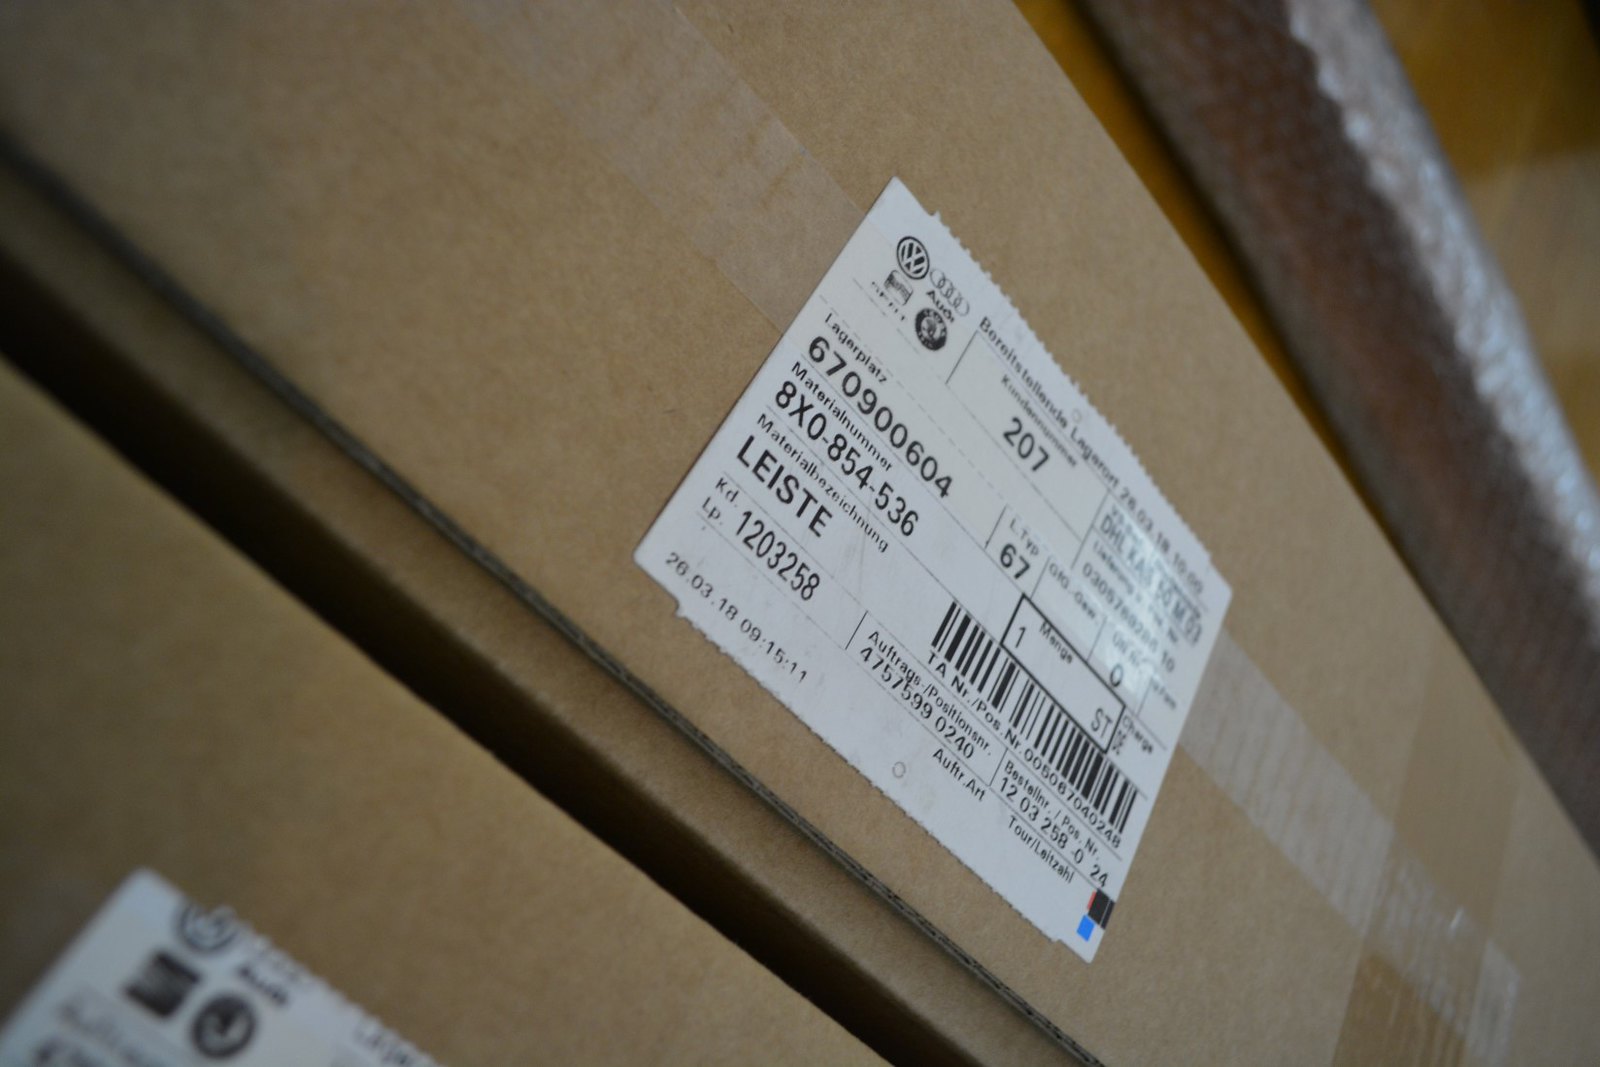
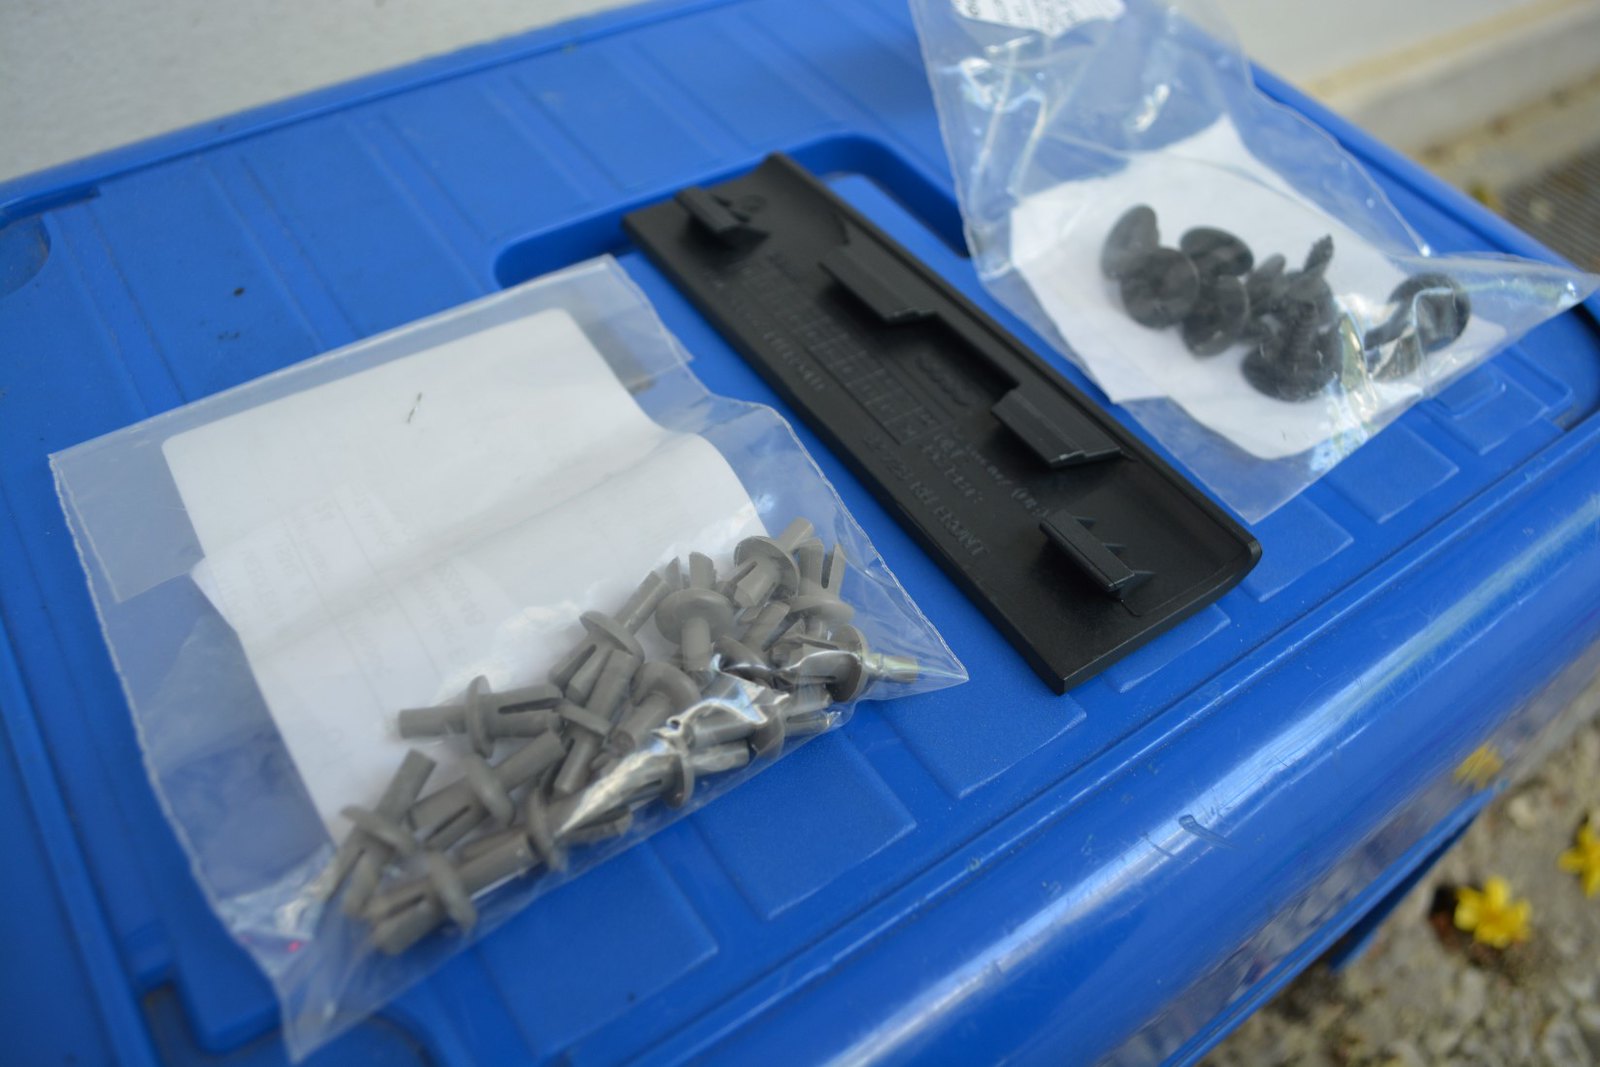
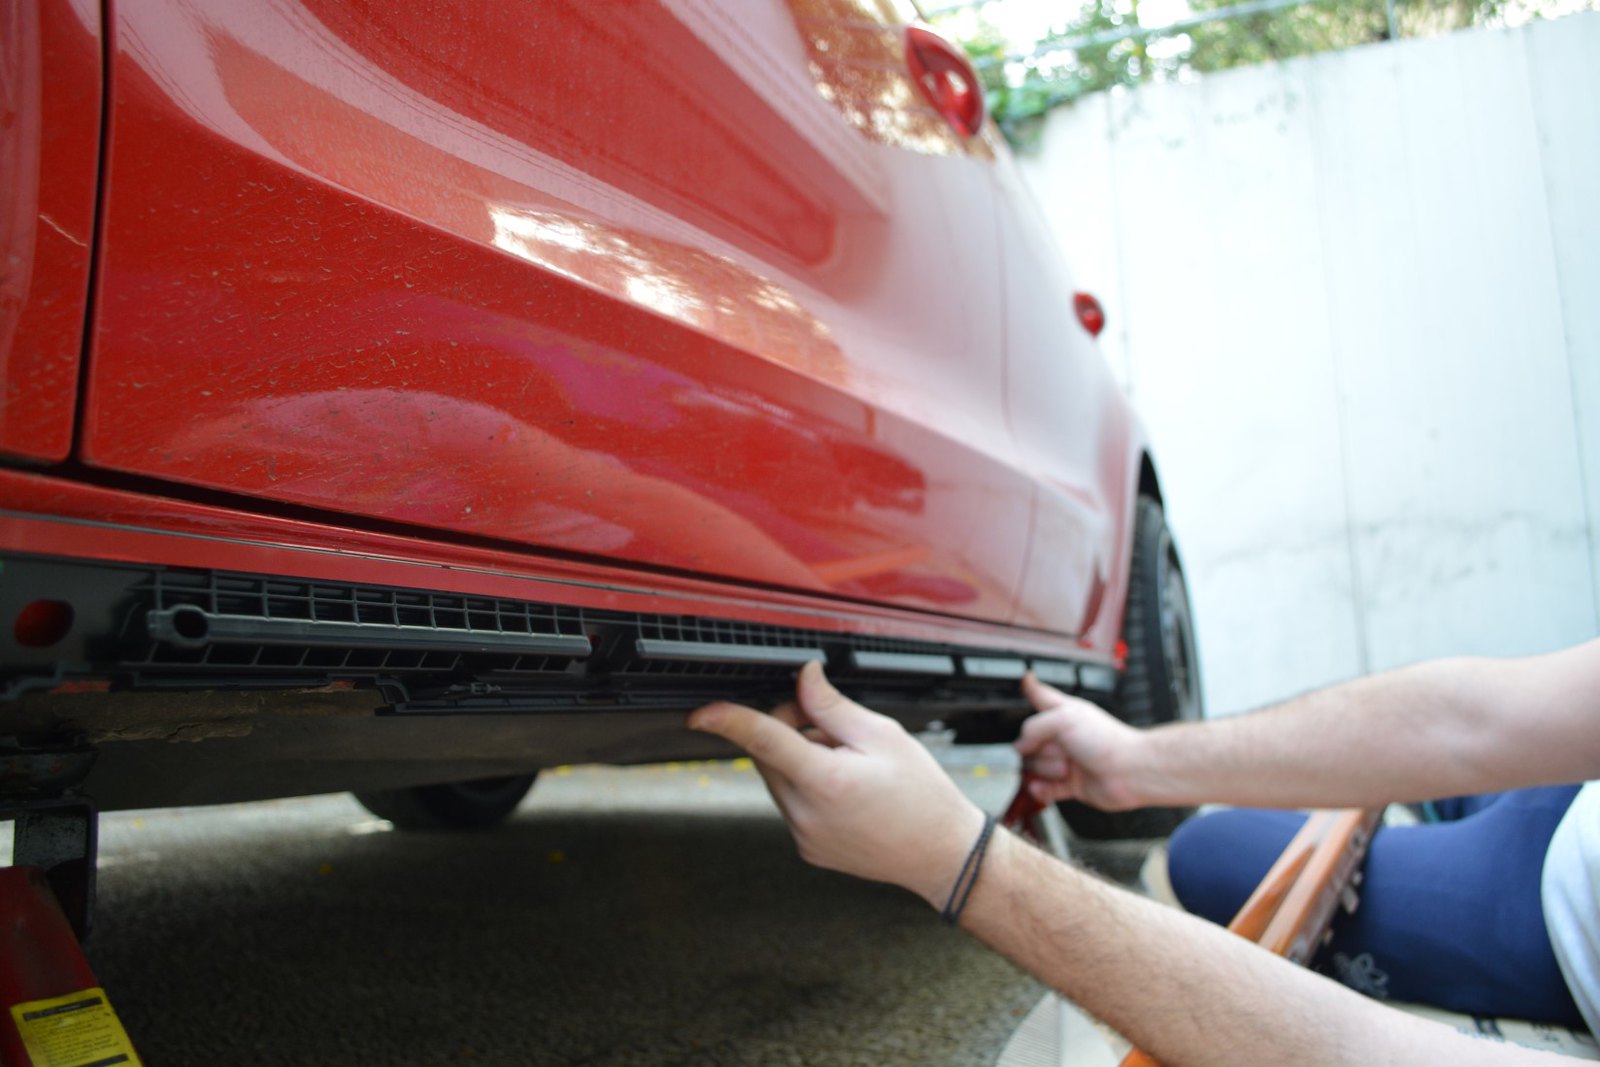
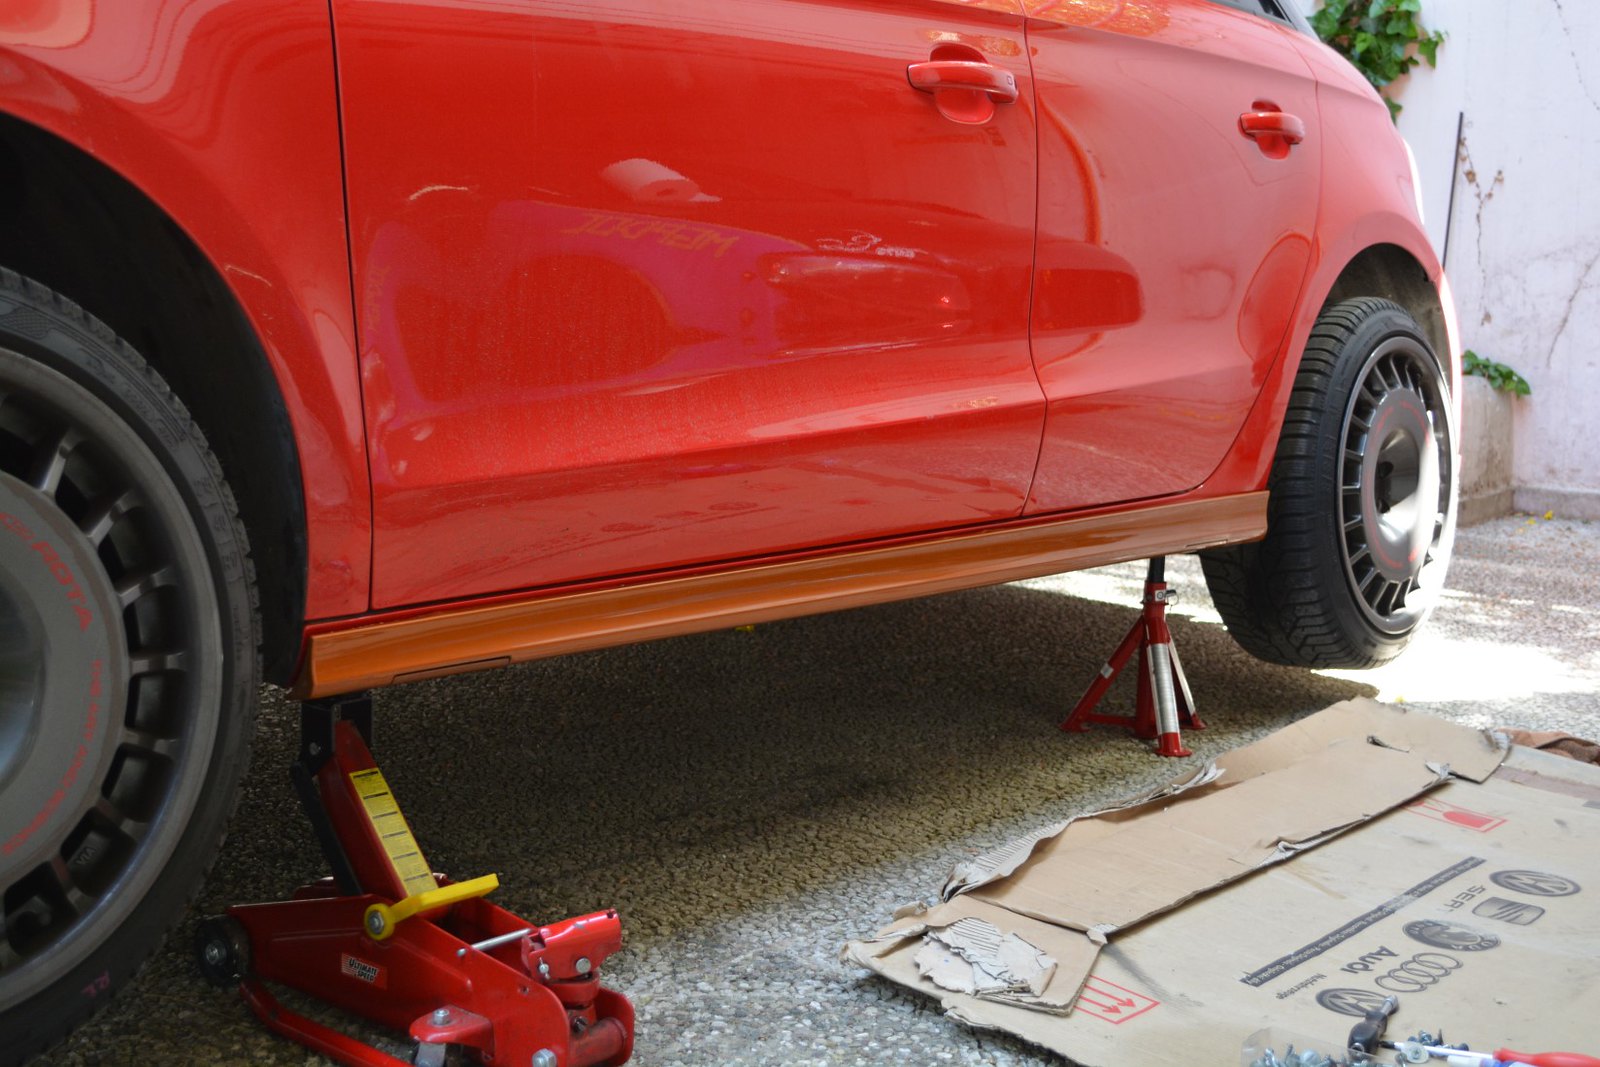
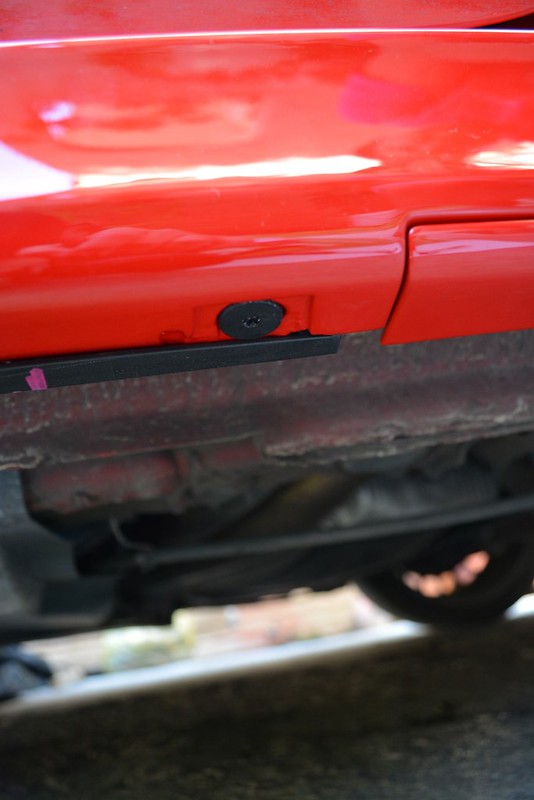
Then, I ordered some more boxes from the dealership, this time it was the chassis-mounts for the sideskirts. These were new, and cost more than the sideskirts themselves. I also bought the fittings, and bolts. I wanted to do it right, or not at all.
 Side by mgpdoc, on Flickr
 Side by mgpdoc, on Flickr
 Side by mgpdoc, on Flickr
 Side by mgpdoc, on Flickr
From this
 Side by mgpdoc, on Flickr
To this
 Side by mgpdoc, on Flickr
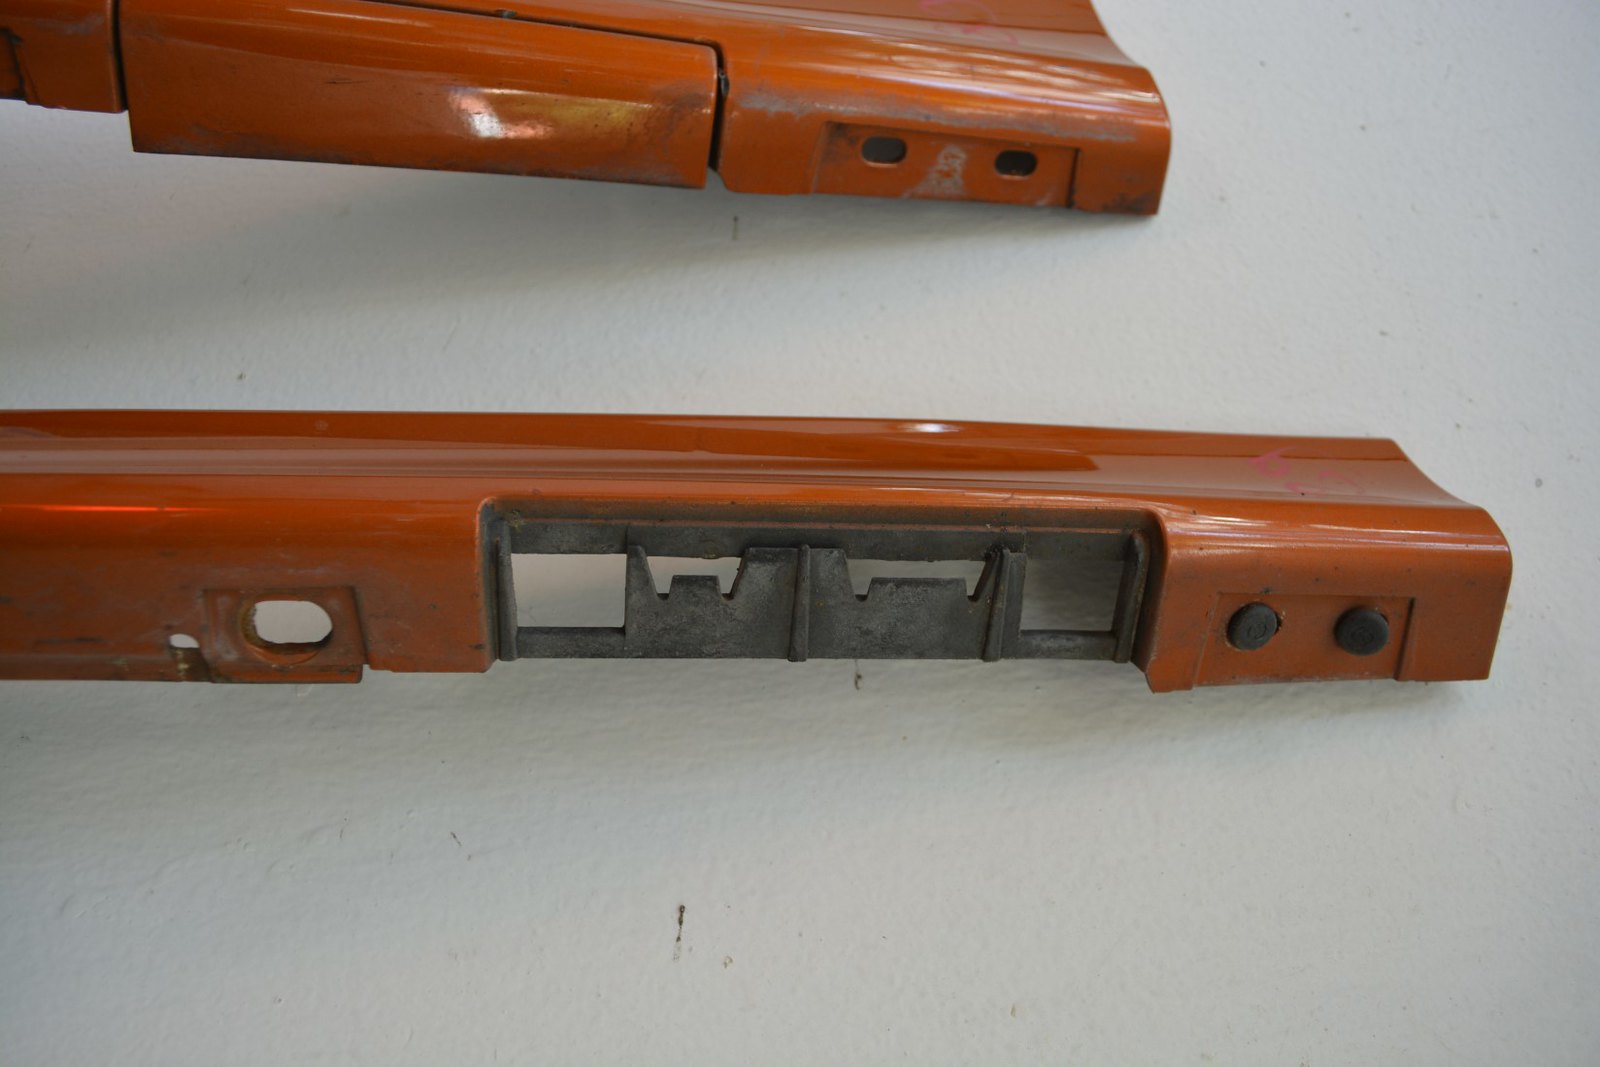
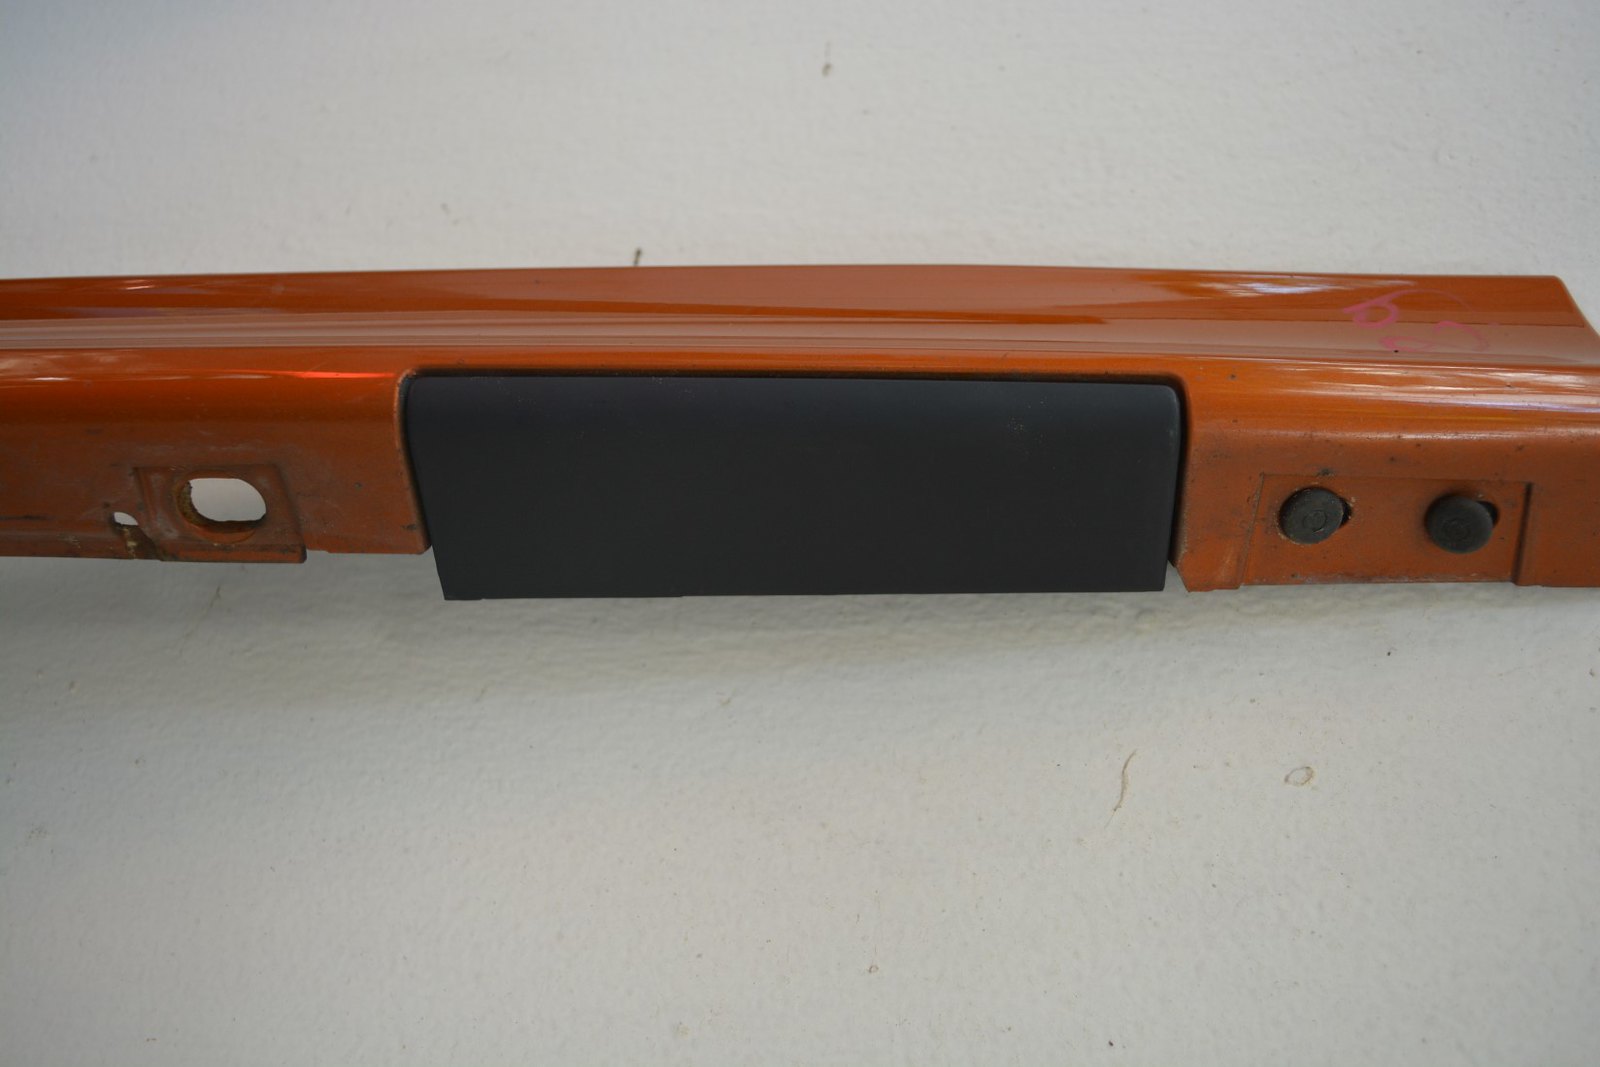
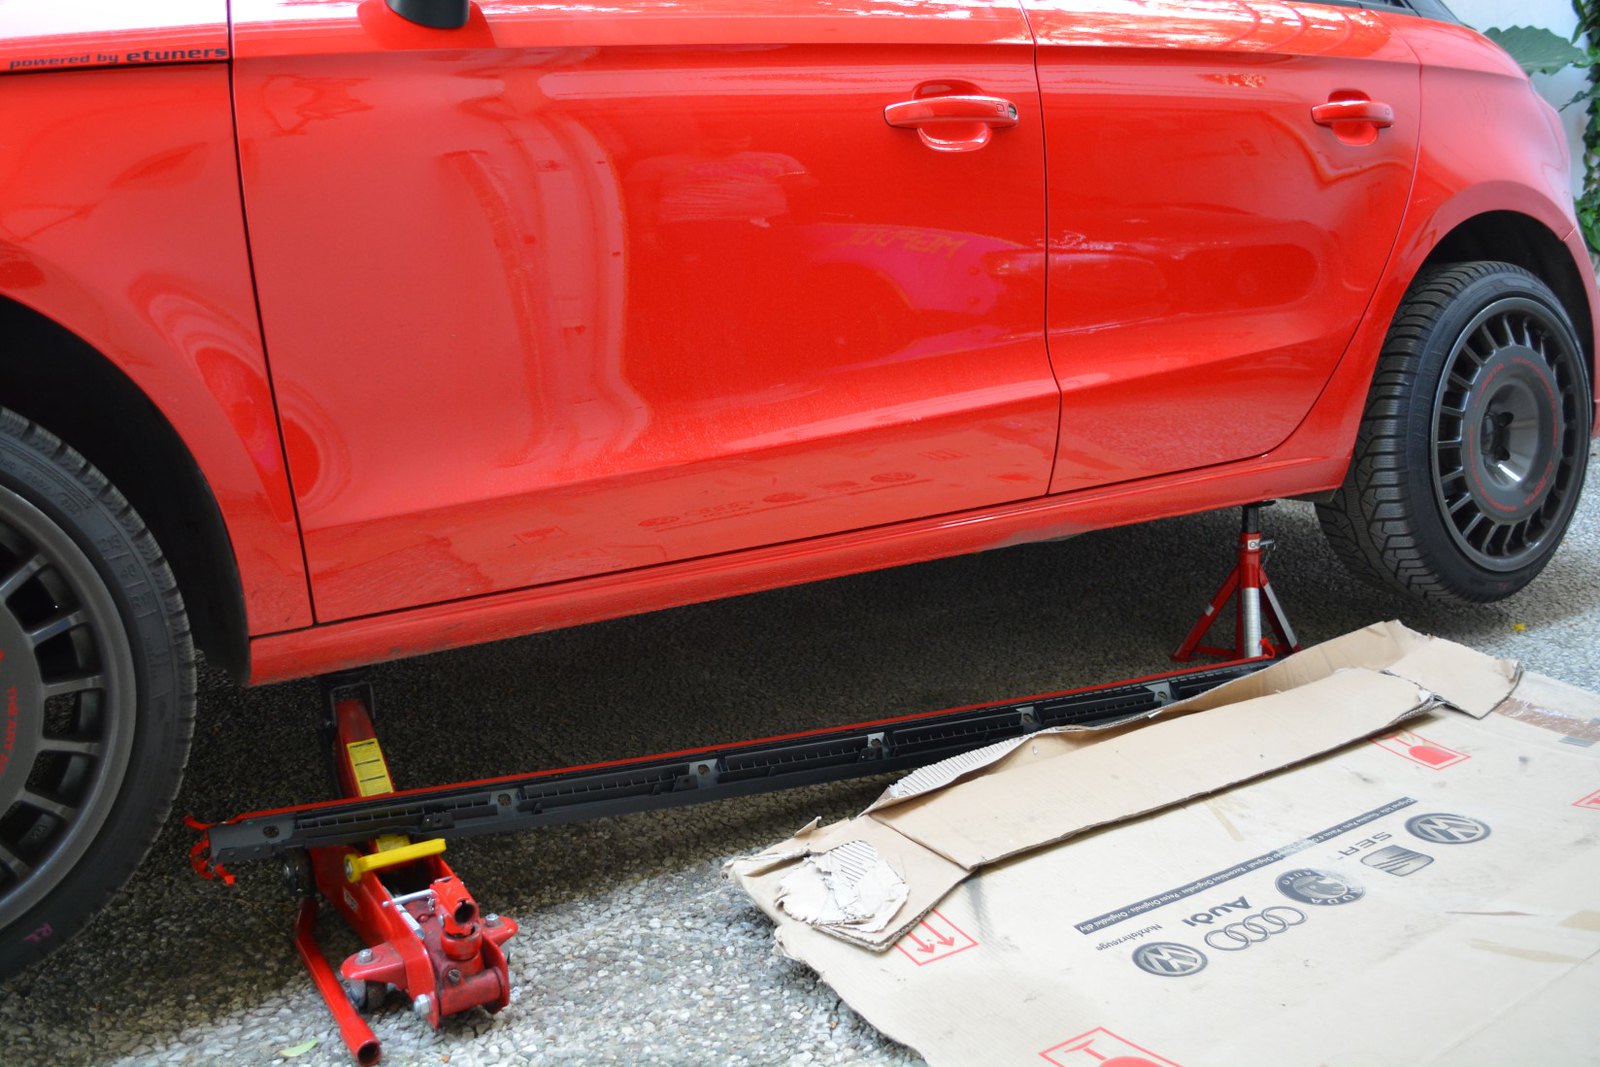
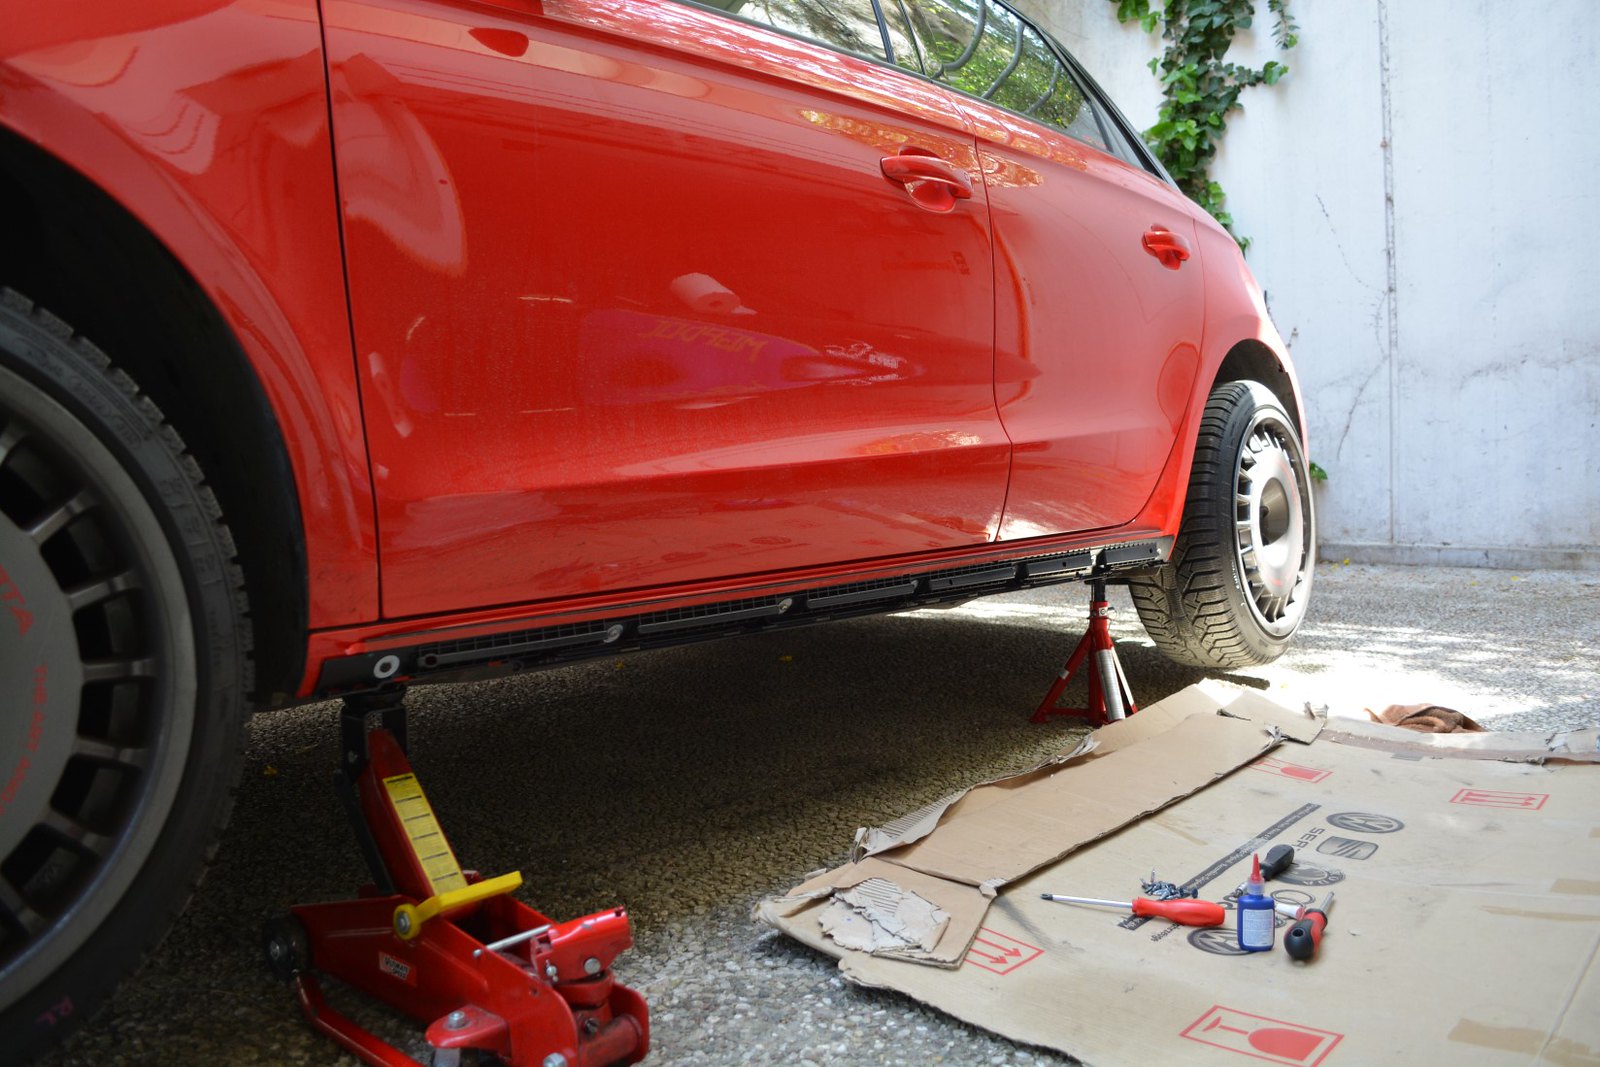
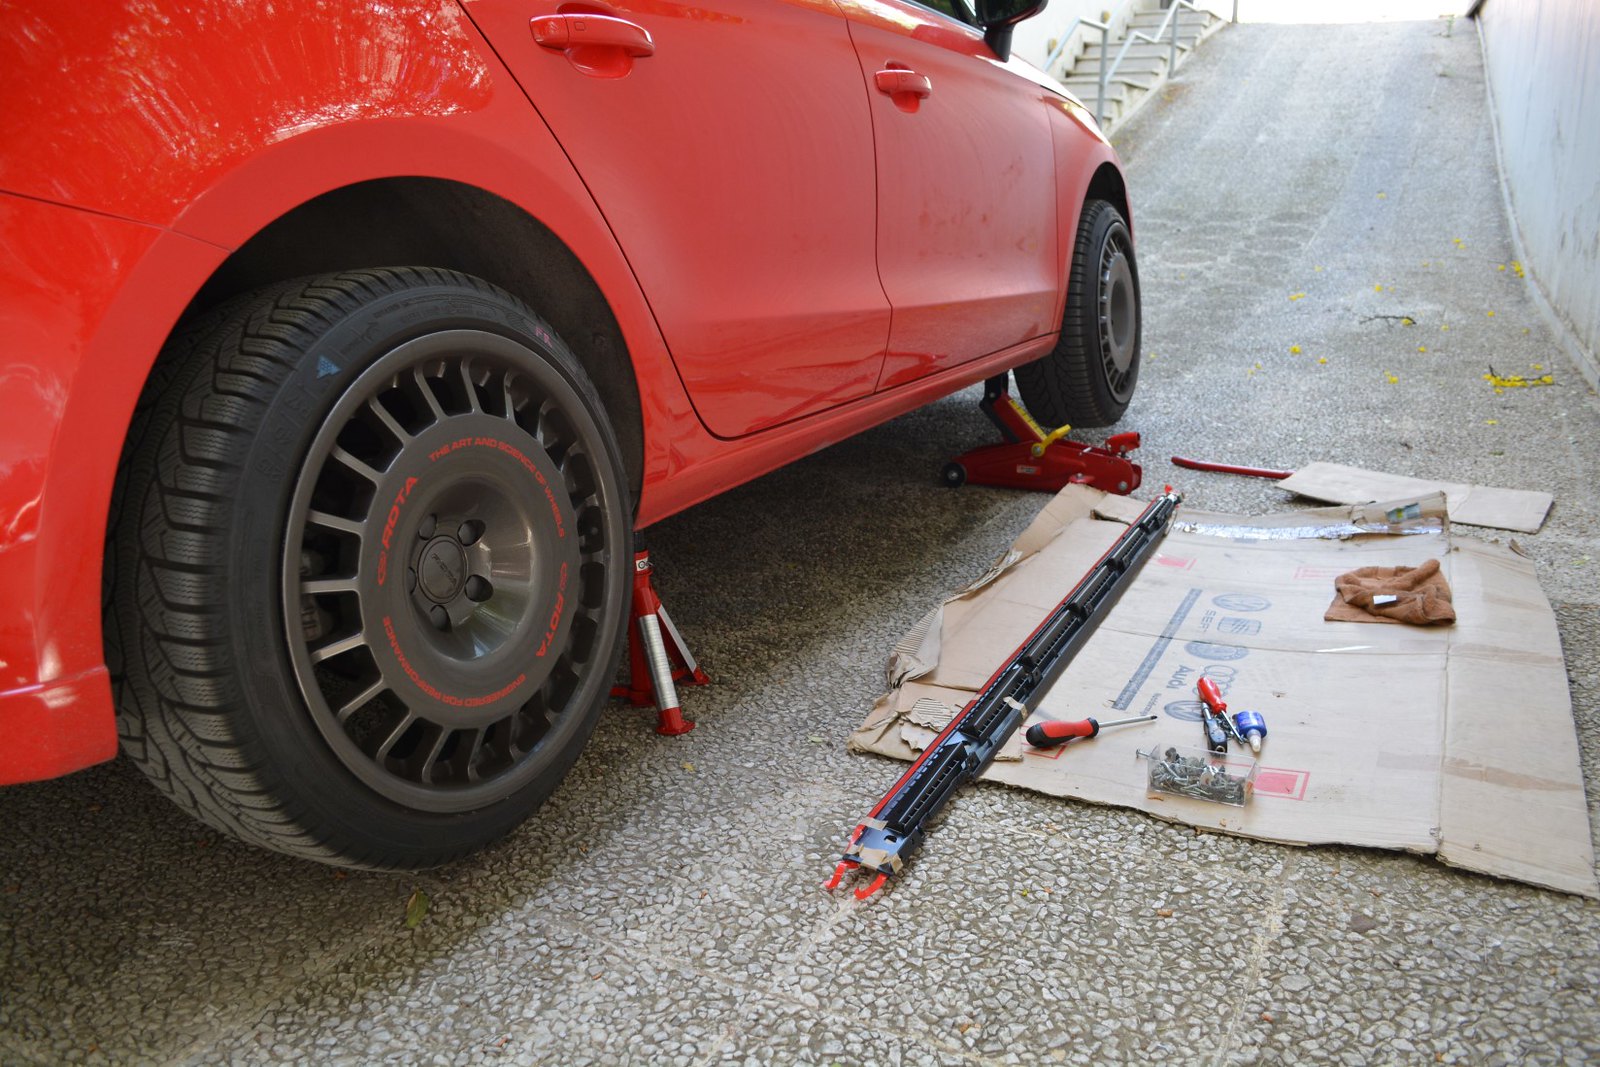
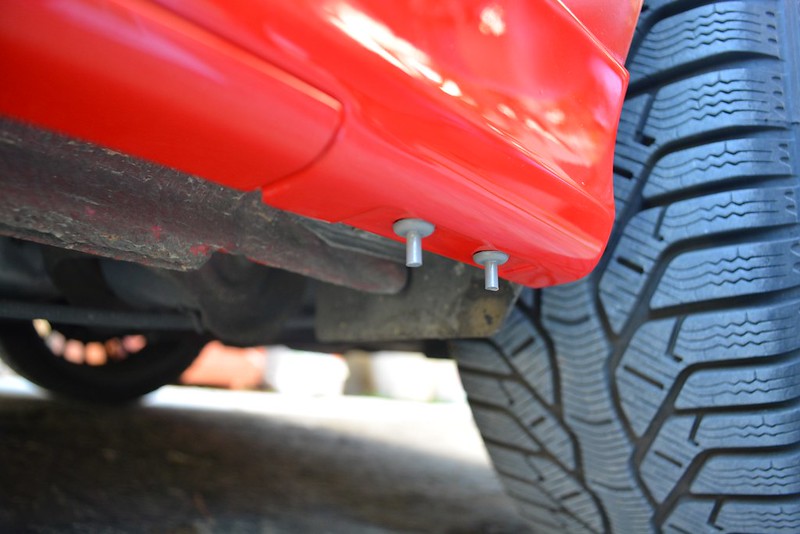
So, i went ahead and decided to fit the mounts. As my car didnt come from factory with the S-Line parts, it did not have the guides, like studs, to where the mounts should sit. So i had to measure some things, and then bolt these on the car. It had double sided tape from factory, a very strong one. I used bolts in the 7 holes given, and also some adhesive glue in the flat contact points.
In my opinion this is going nowhere.
 Side by mgpdoc, on Flickr
 Side by mgpdoc, on Flickr
 Side by mgpdoc, on Flickr
 Side by mgpdoc, on Flickr
 Side by mgpdoc, on Flickr
Then the other side
 Side by mgpdoc, on Flickr
 Side by mgpdoc, on Flickr
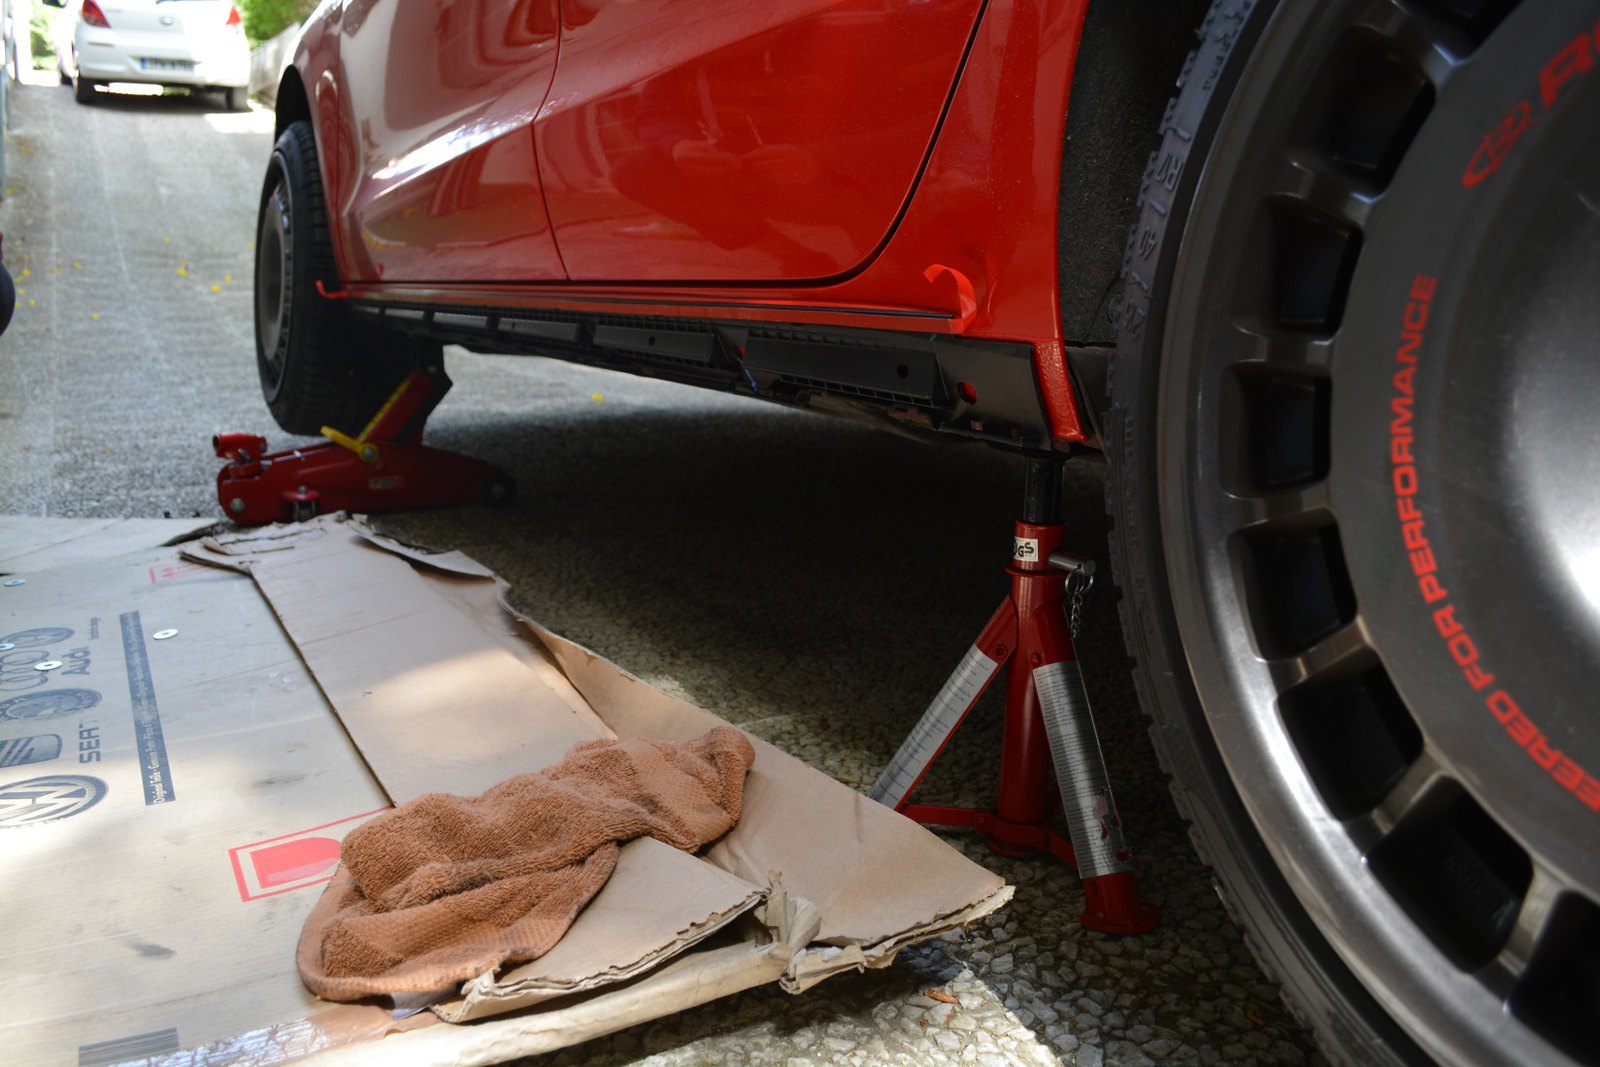
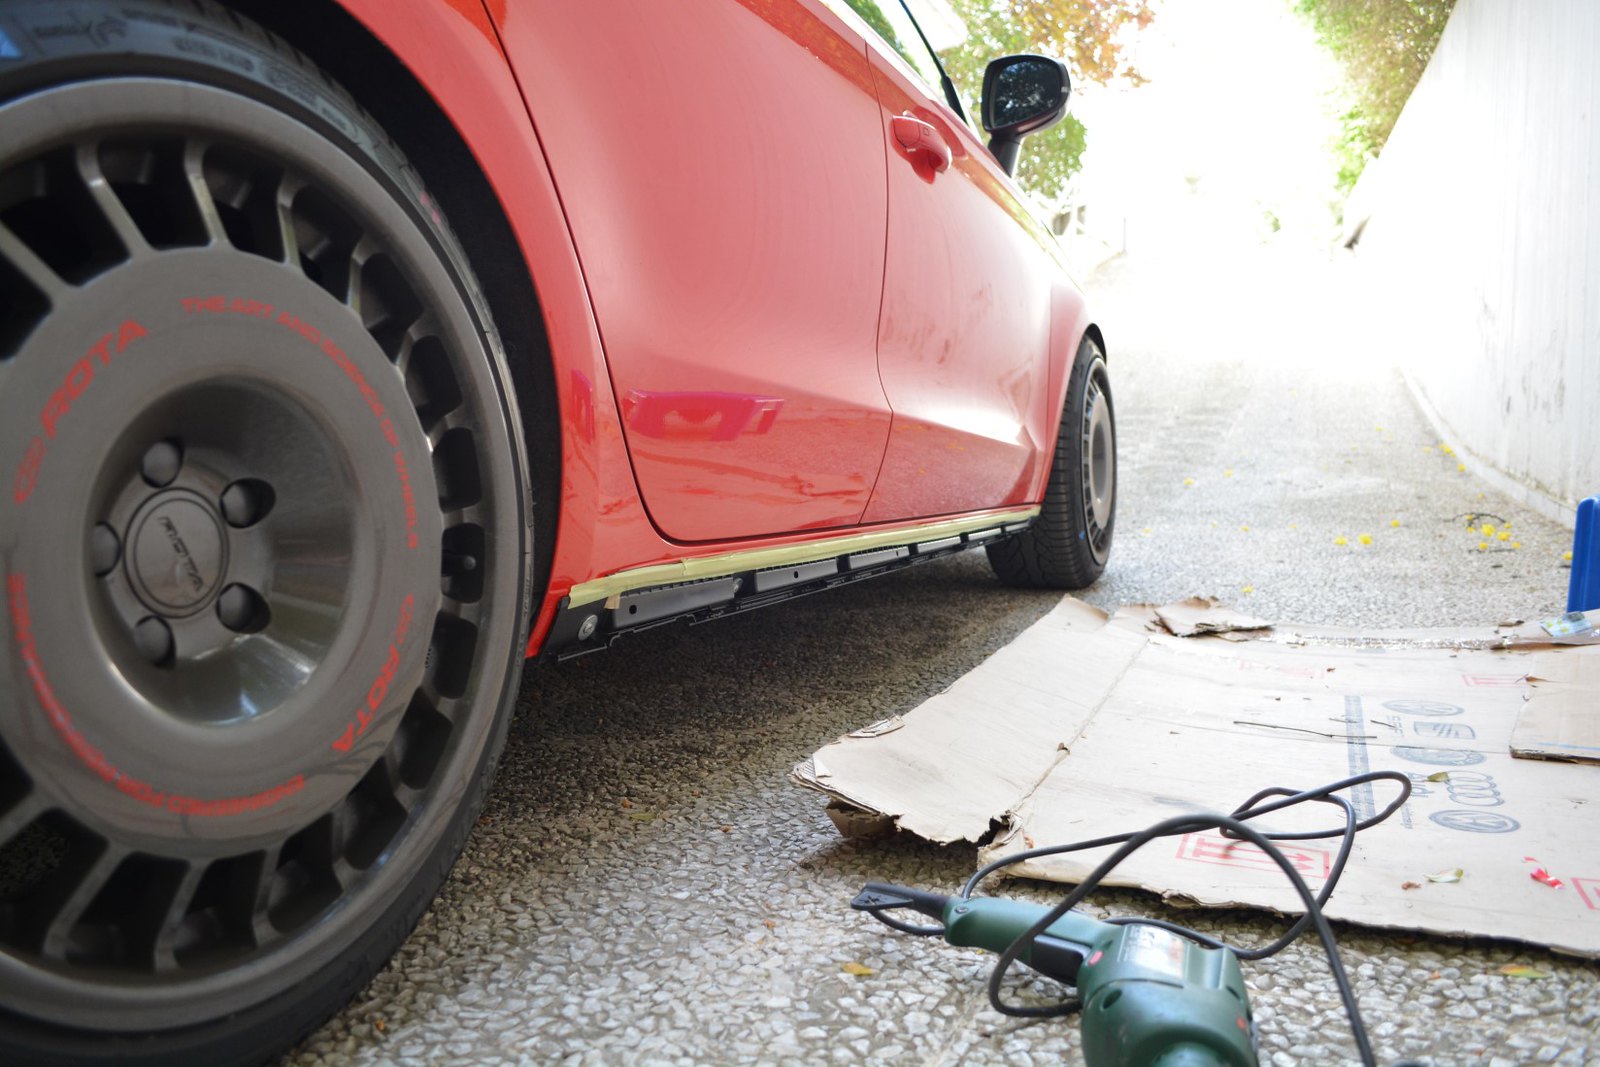
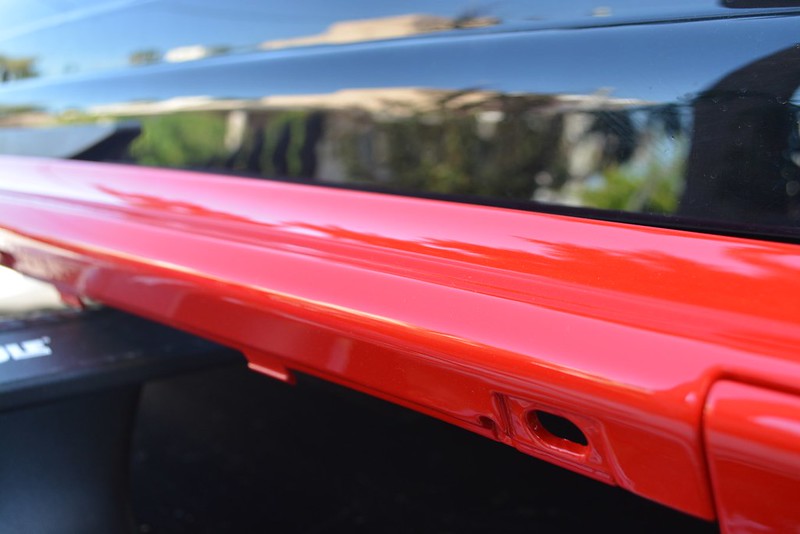
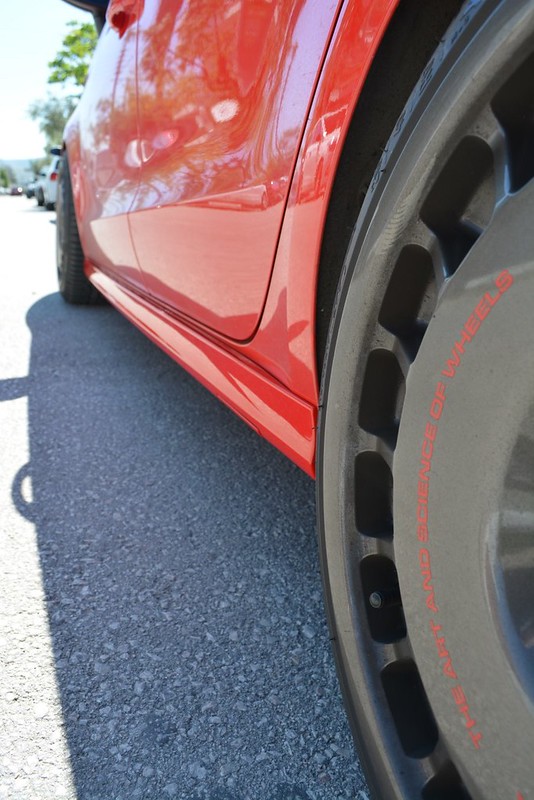
I put them on without clipping them perfectly , because they need to be painted misano red
 Side by mgpdoc, on Flickr
 Side by mgpdoc, on Flickr
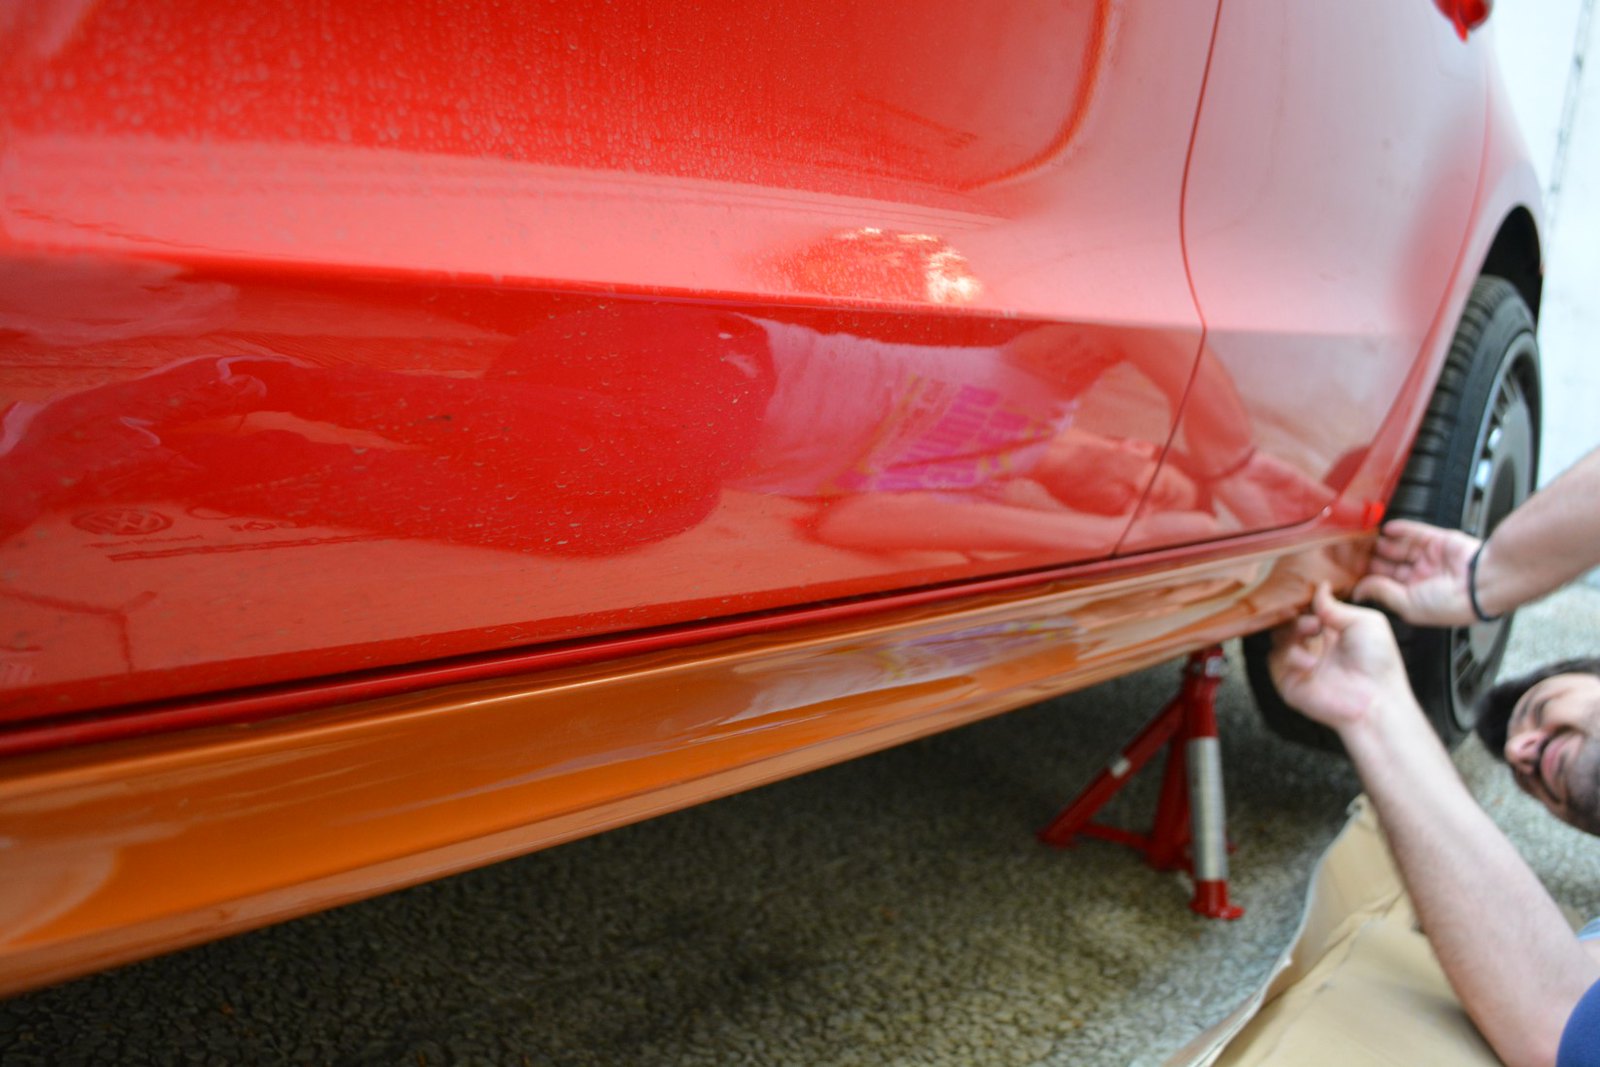
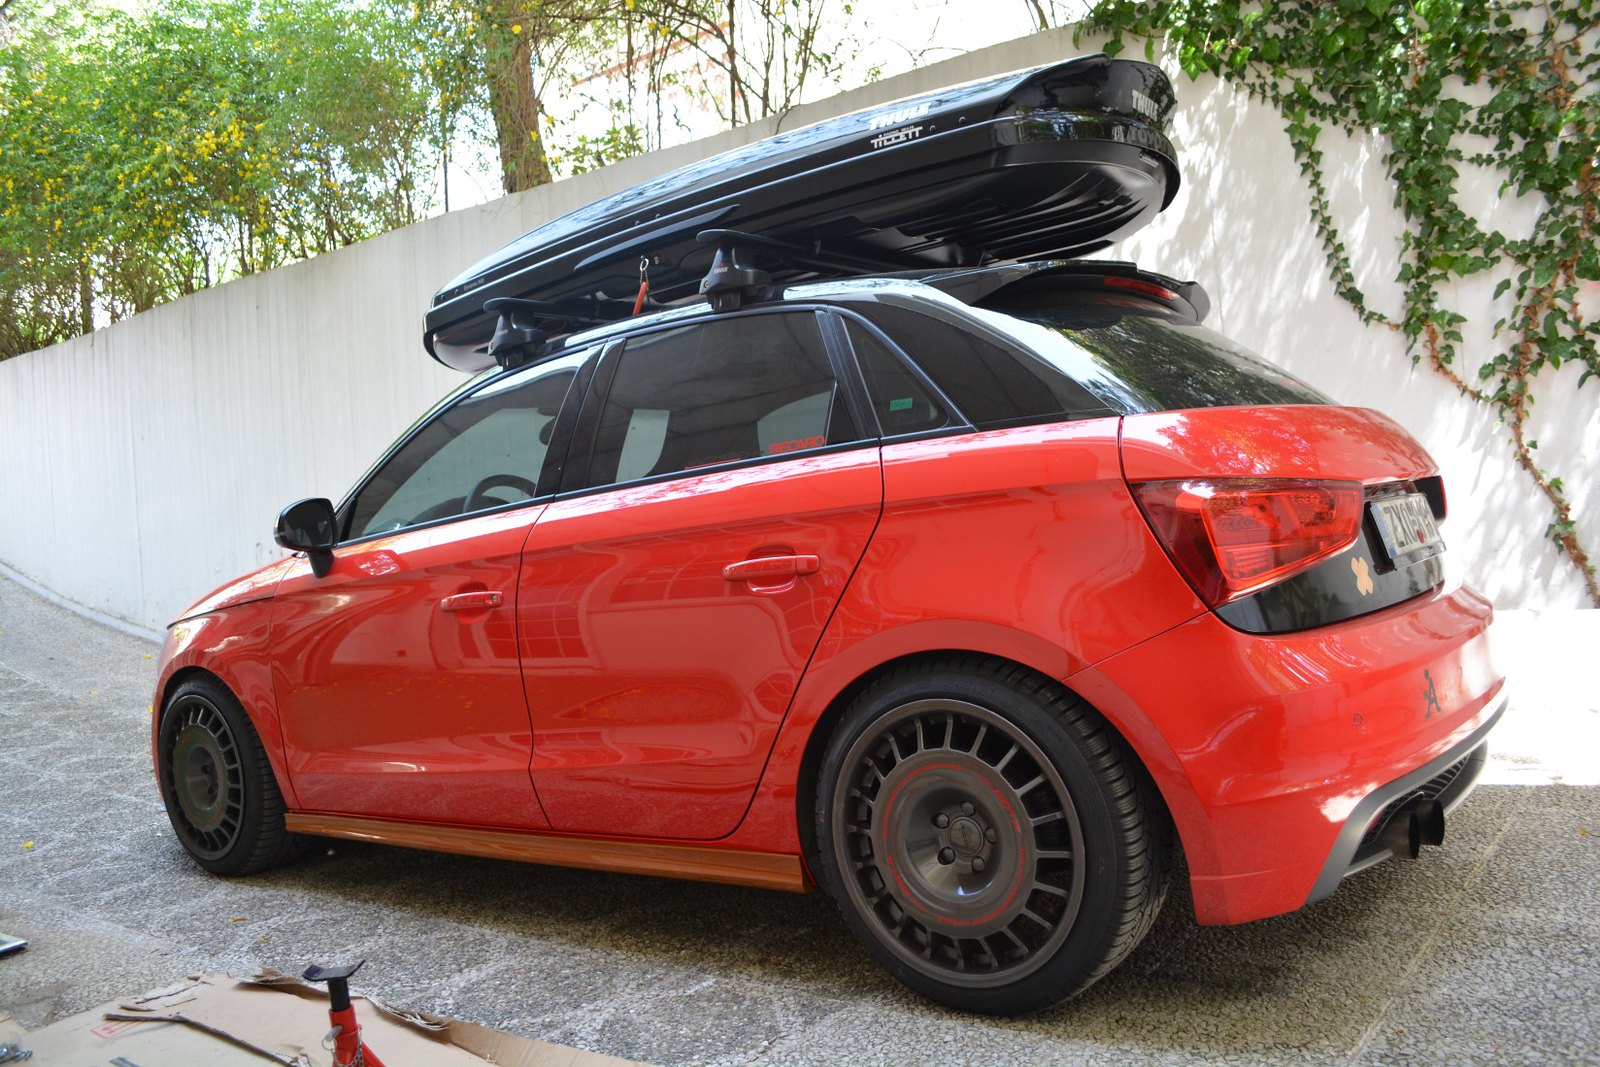
They came out awesome....imo
 Side by mgpdoc, on FlickrLast edited by mgpdoc; 04-05-2018, 12:04 PM.
Audi RS4PRA | VW Golf MKV GT-Y | Audi A1 SportBackComment
-
It's been a while since I updated this, mostly due to lack of time, not lack of things happening.
However let's take things slowly, hopefully in the actual time frame they happened.
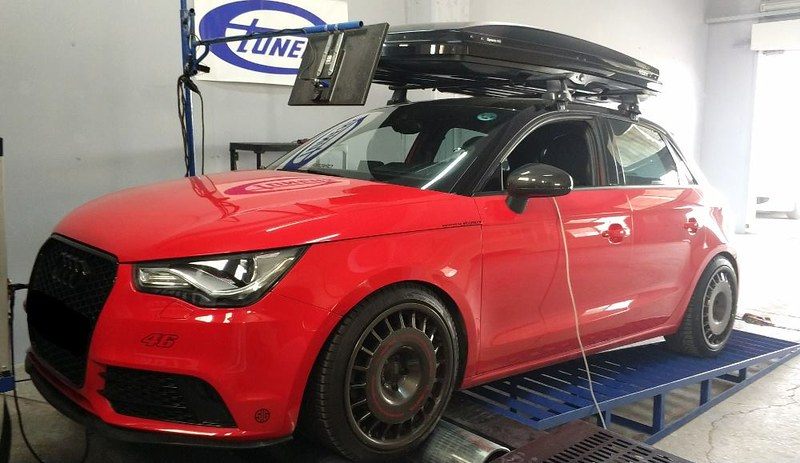
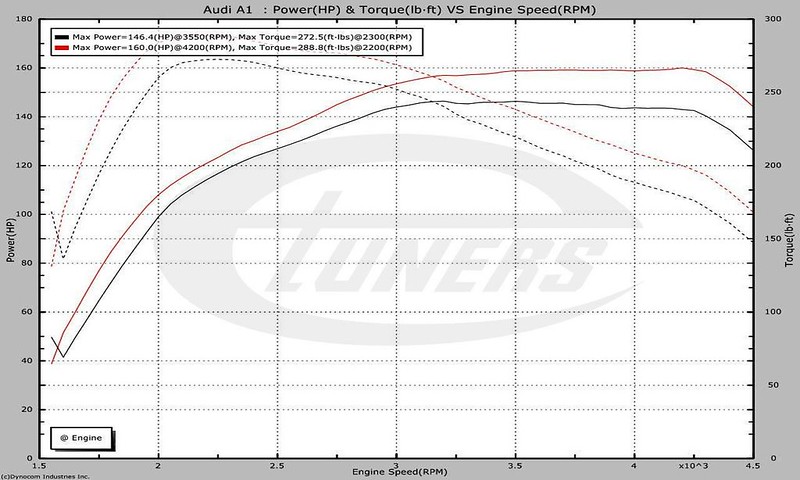
Got the car on the dyno
 Untitled by mgpdoc, on Flickr
Car made a healthy 160hp, and almost 29kg of torque.
 Untitled by mgpdoc, on Flickr
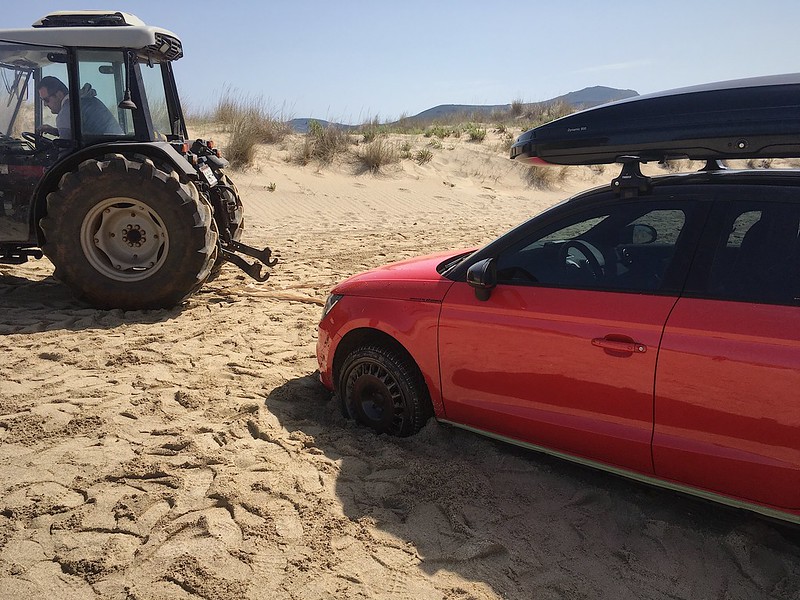
Got the car stuck - again
 Untitled by mgpdoc, on Flickr
 Untitled by mgpdoc, on Flickr
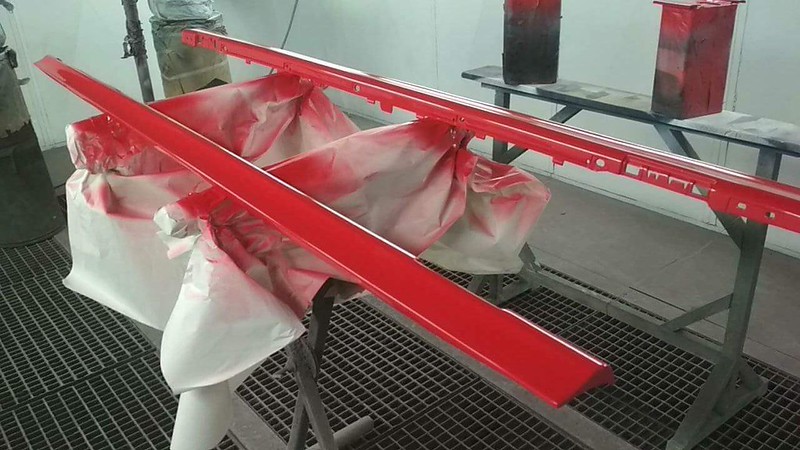
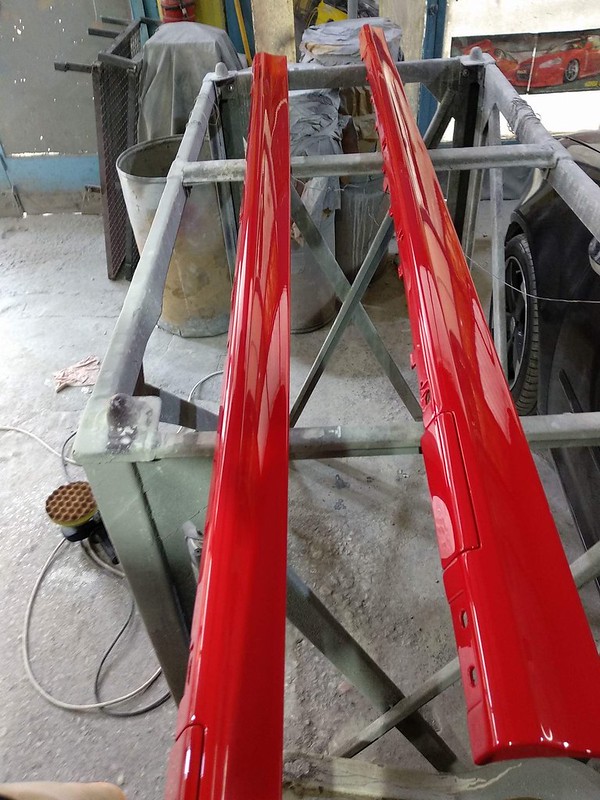
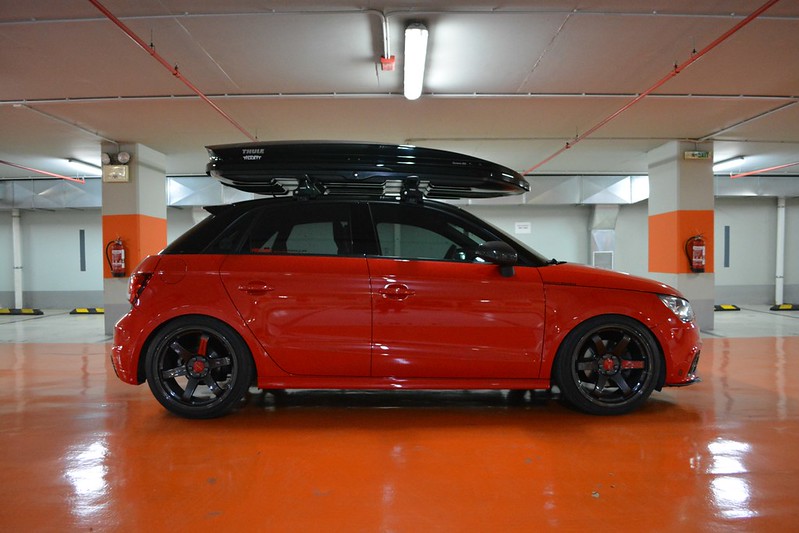
Sideskirt were painted
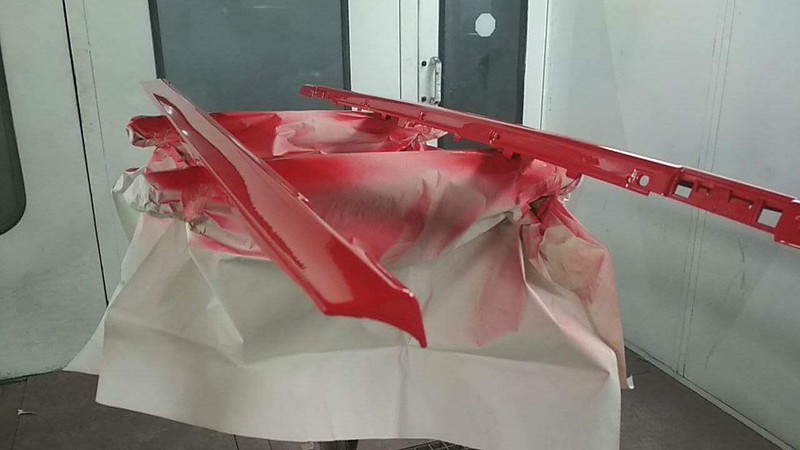 Untitled by mgpdoc, on Flickr
 Untitled by mgpdoc, on Flickr
 Untitled by mgpdoc, on Flickr
 Untitled by mgpdoc, on Flickr
 Untitled by mgpdoc, on Flickr
 Untitled by mgpdoc, on Flickr
Installed with all new hardware
 Untitled by mgpdoc, on Flickr
 Untitled by mgpdoc, on Flickr
 Untitled by mgpdoc, on Flickr
Loved the sideskirts
 Untitled by mgpdoc, on Flickr
 Untitled by mgpdoc, on Flickr
 Untitled by mgpdoc, on Flickr
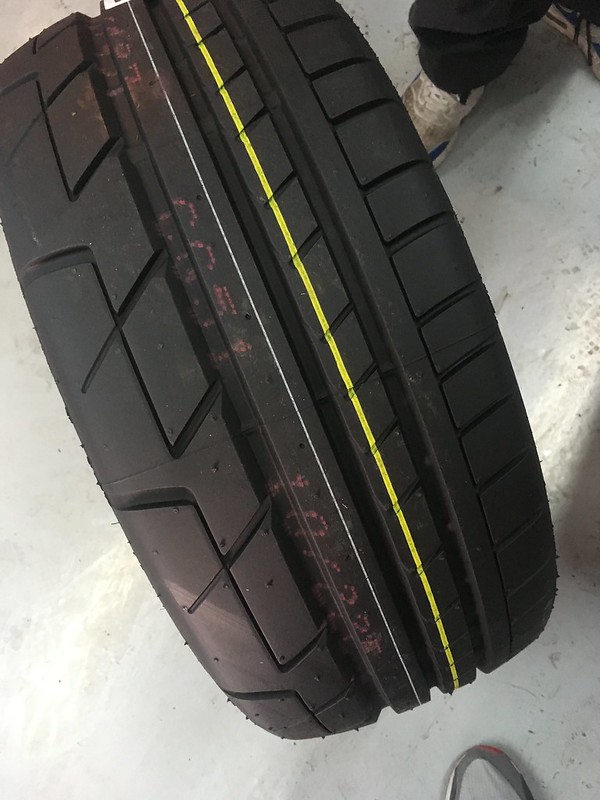
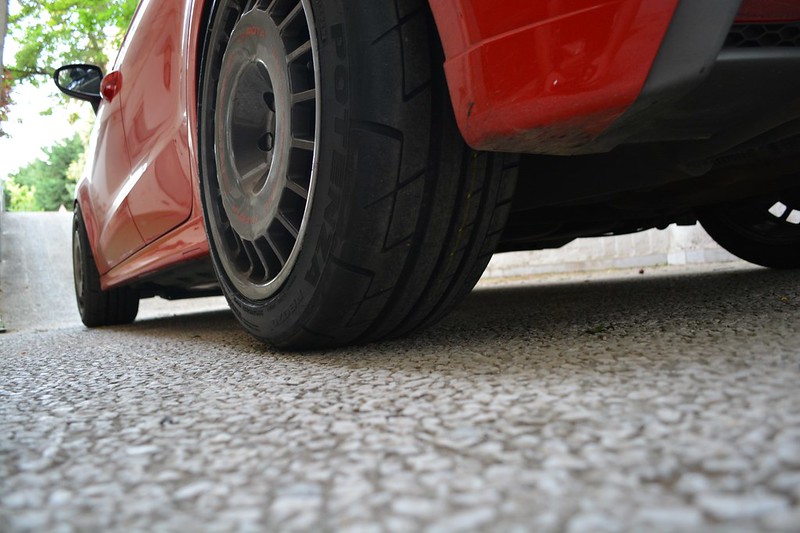
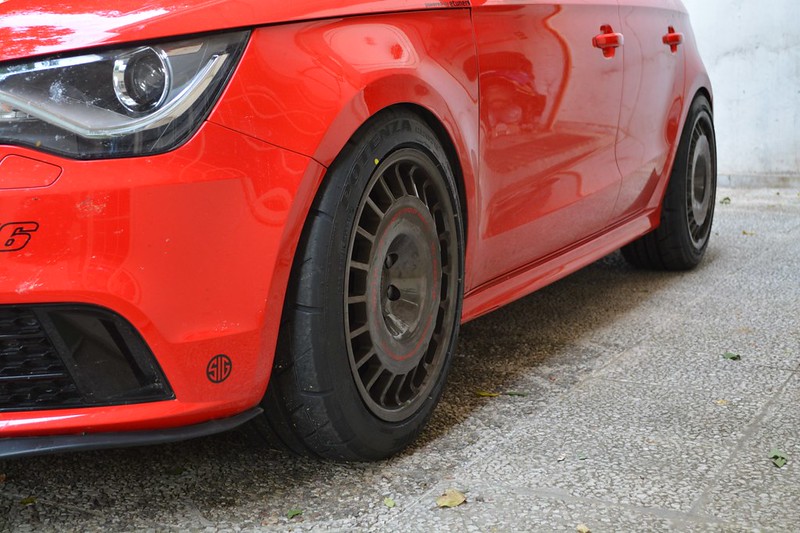
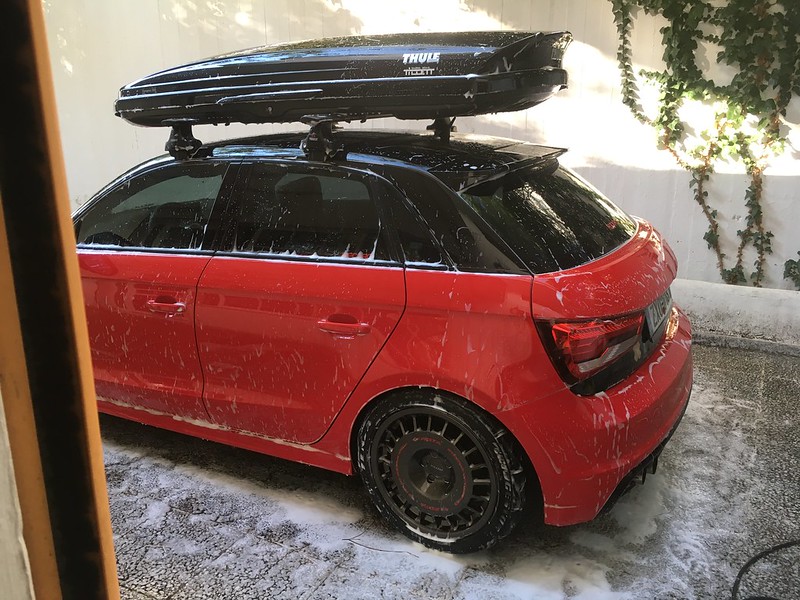
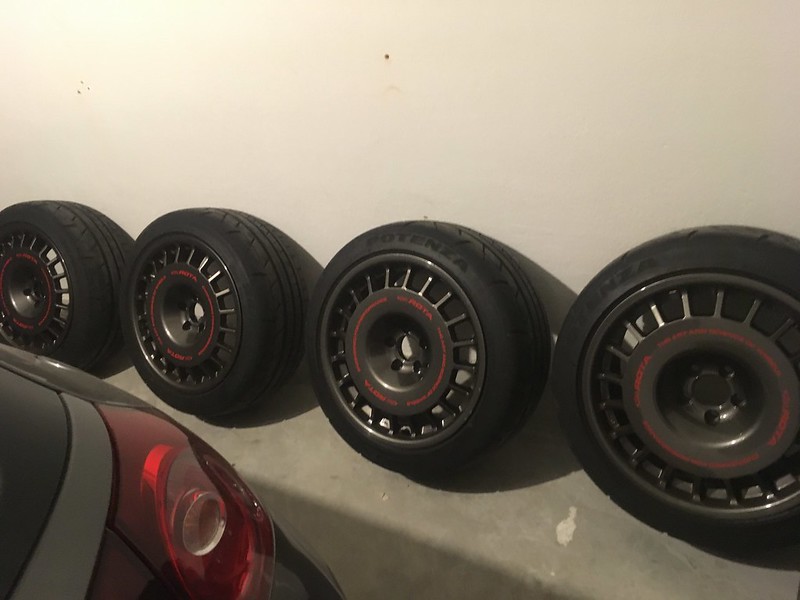
Installed new beefy Bridgestone summer tires on my winter wheels - go figure
 Untitled by mgpdoc, on Flickr
 Untitled by mgpdoc, on Flickr
 Untitled by mgpdoc, on Flickr
 Untitled by mgpdoc, on Flickr
225-45-17s
 Untitled by mgpdoc, on Flickr
Audi RS4PRA | VW Golf MKV GT-Y | Audi A1 SportBackComment
-
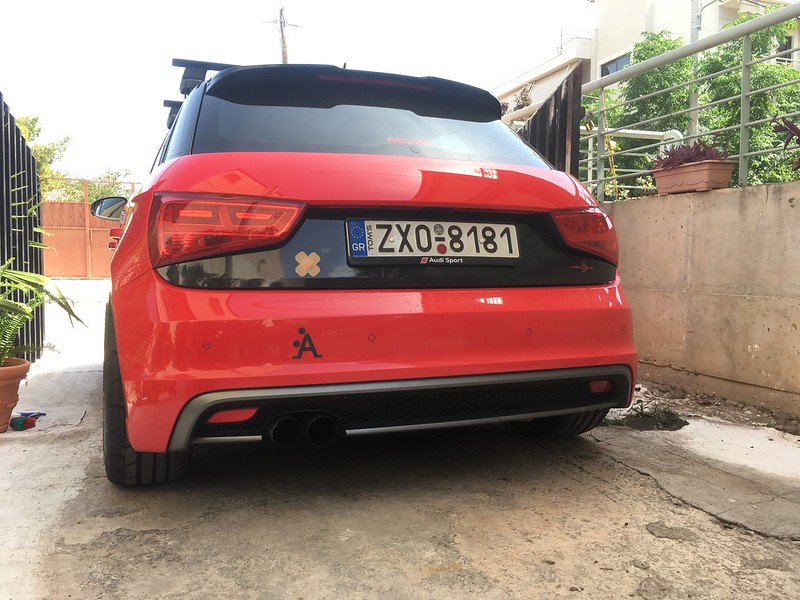
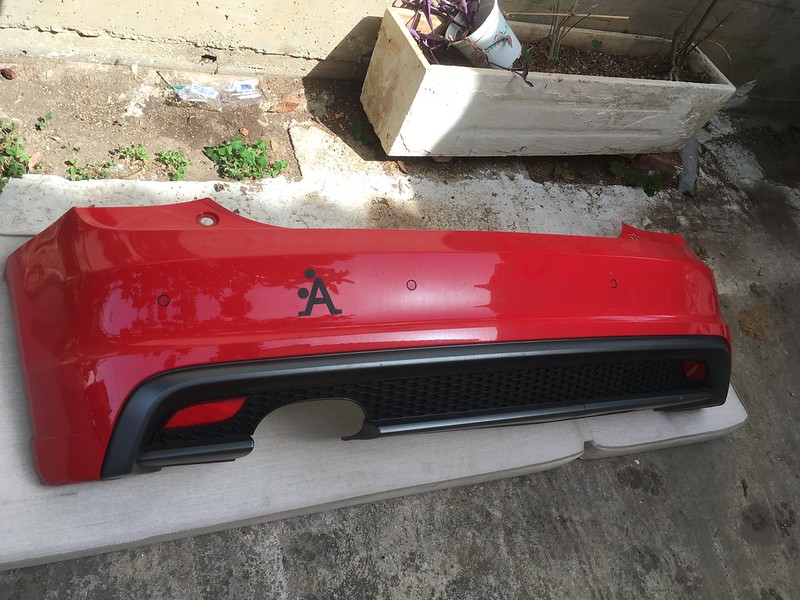
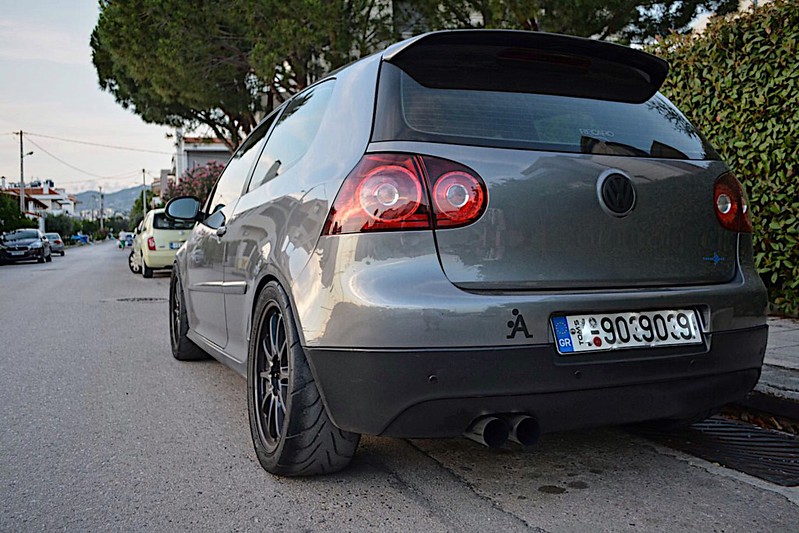
Then, I removed the rear bumper to match the lower trim in gloss black
 Untitled by mgpdoc, on Flickr
While i was there I went for a full bumper respray to make it fresh
 Untitled by mgpdoc, on Flickr
Car was like this for a while, since number one rule, is to not time-push your painter
 Untitled by mgpdoc, on Flickr
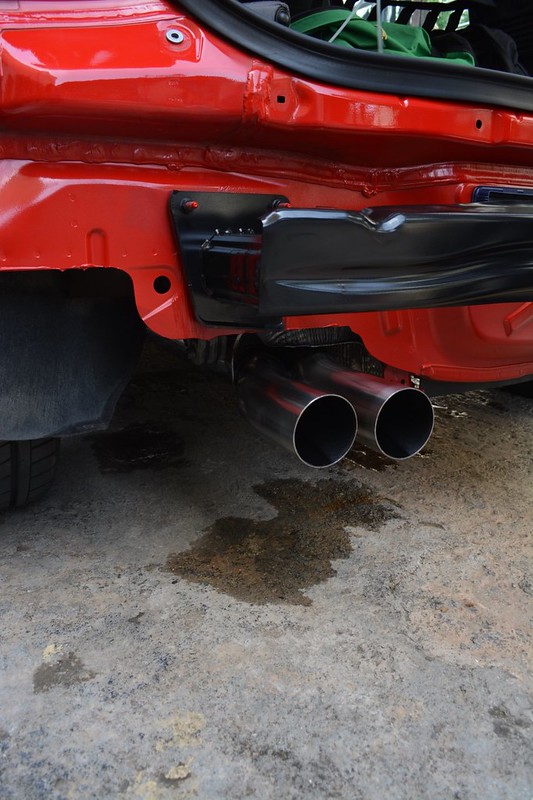
Polished the exhaust given the chance
 Untitled by mgpdoc, on Flickr
 Untitled by mgpdoc, on Flickr
Love this photo
 Untitled by mgpdoc, on Flickr
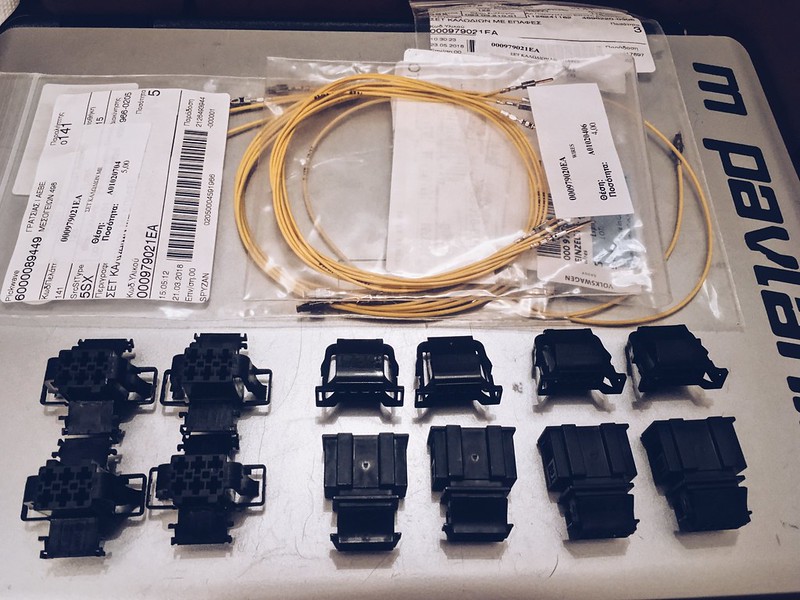
Bought some new OEM hardwate to convert the tailights to the Facelift ones that i had bought a while back. All this lot in the picture, costs no less than about 100euros. It sucks I know
 Untitled by mgpdoc, on Flickr
Out with the old
 Untitled by mgpdoc, on Flickr
In with the new and everything working like it should
 Untitled by mgpdoc, on Flickr
 Untitled by mgpdoc, on Flickr
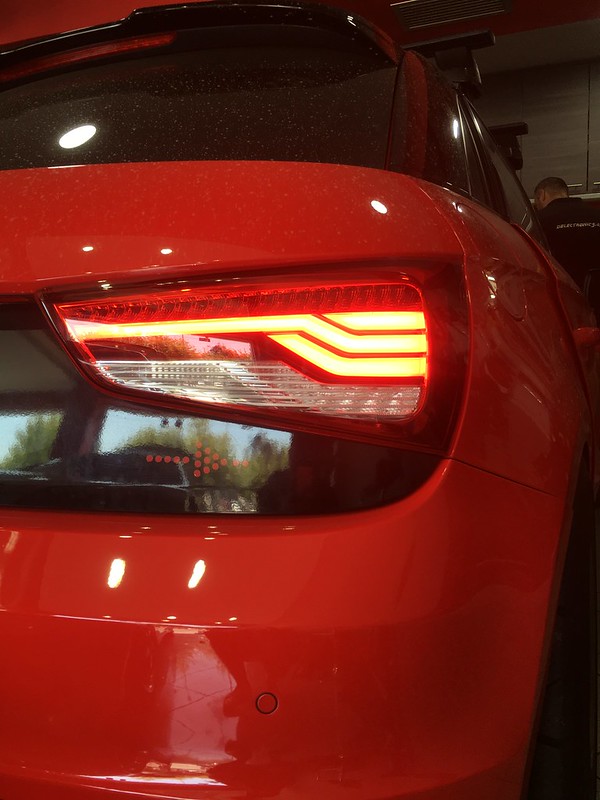
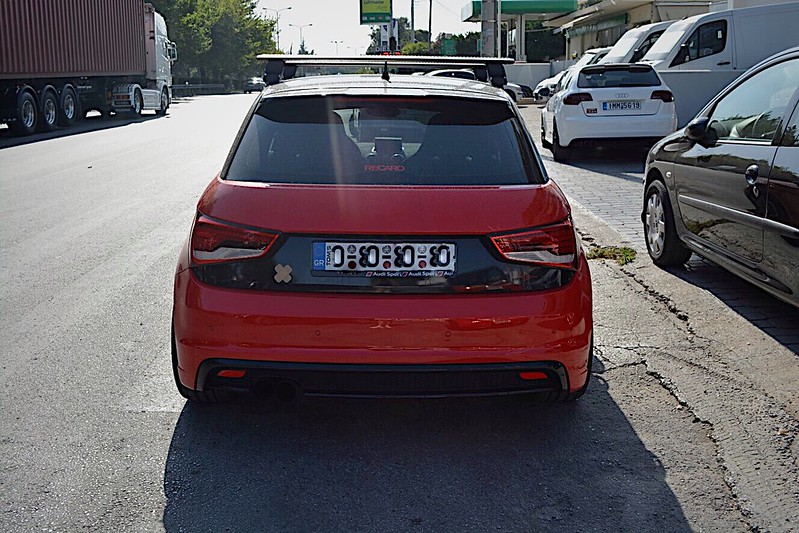
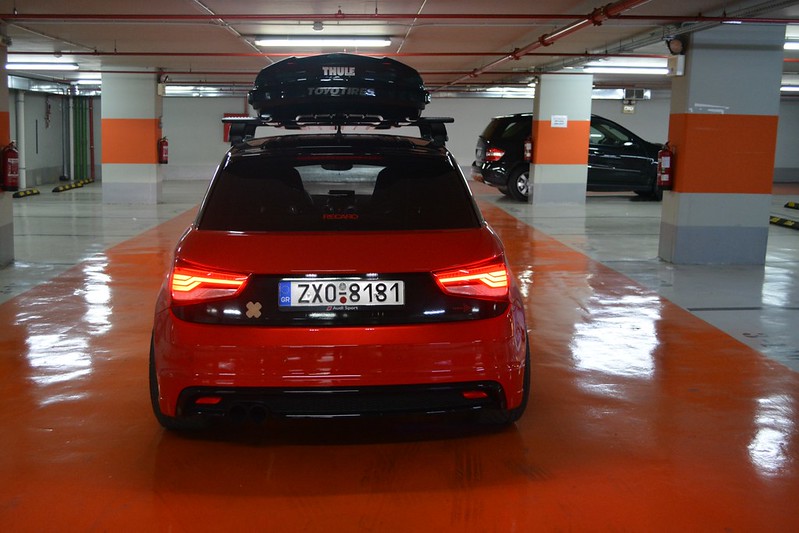
Here with the bumper installed in gloss black as well. I liked the rear end it was very fresh and these tailights when on, are very smart. I will show you in pics to follow.
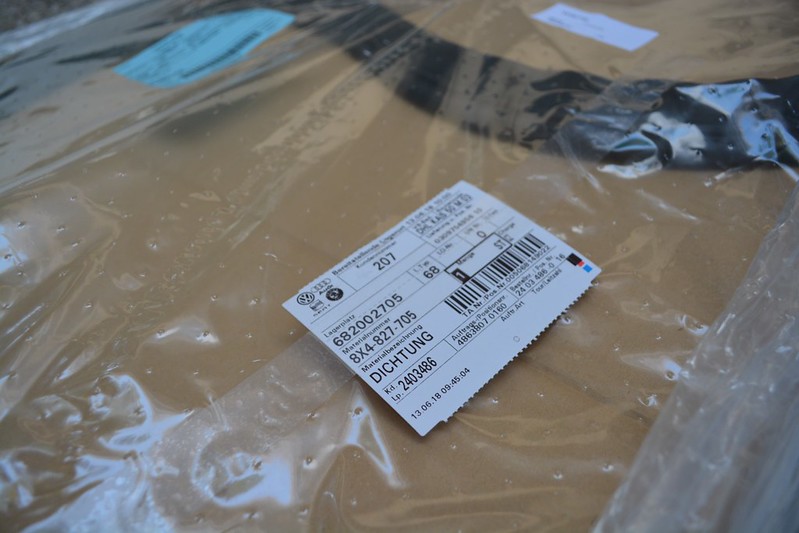
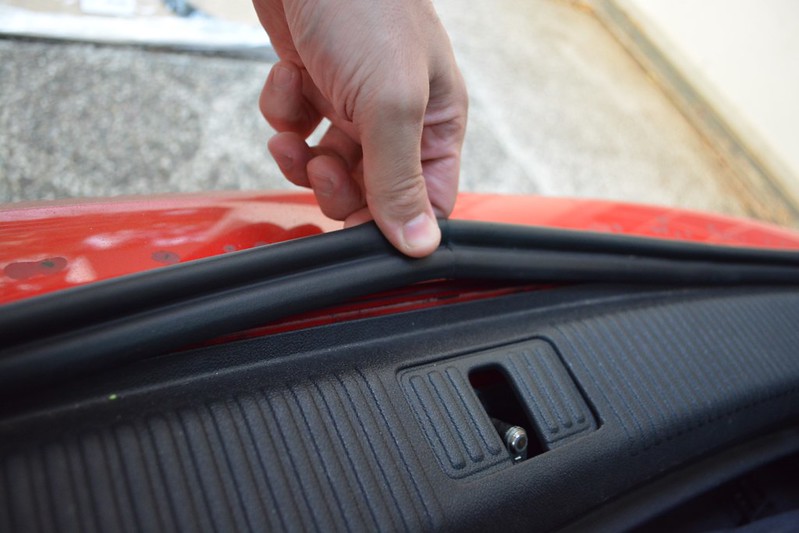
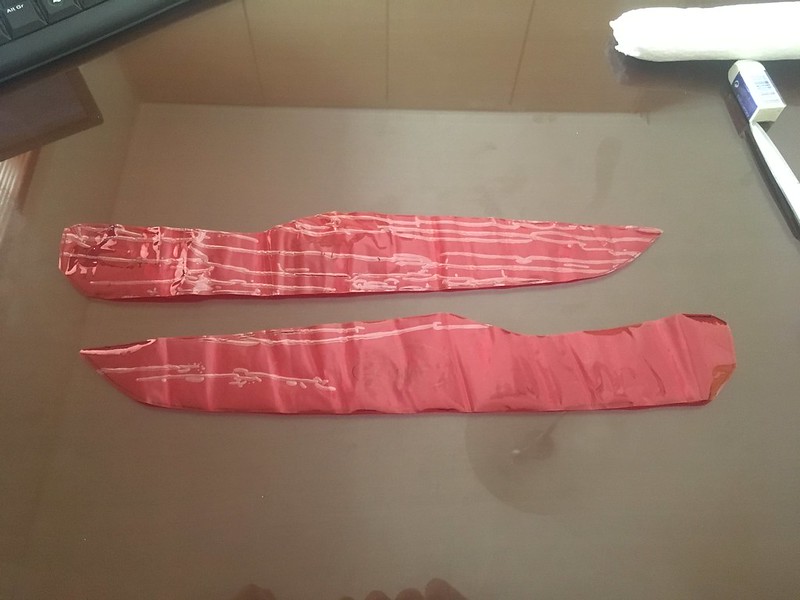
Changed the boot seal as well which was looking tired
 Untitled by mgpdoc, on Flickr
 Untitled by mgpdoc, on Flickr
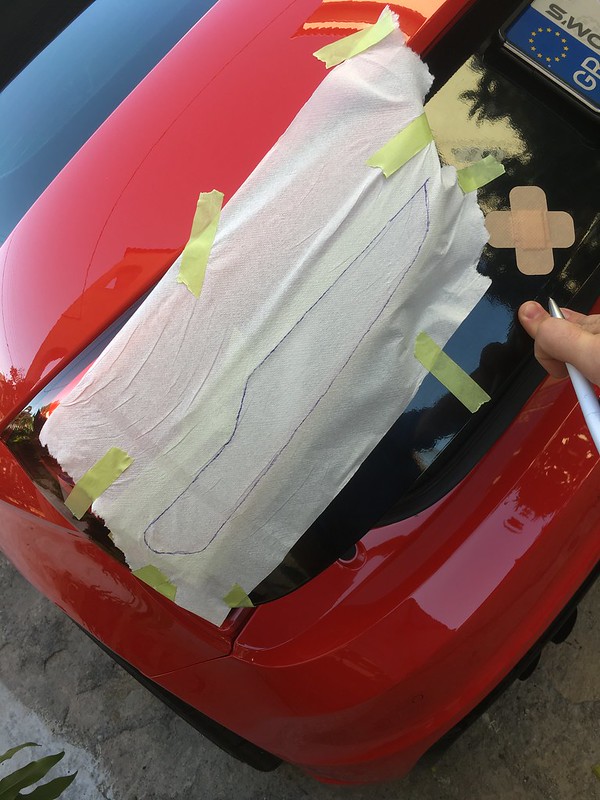
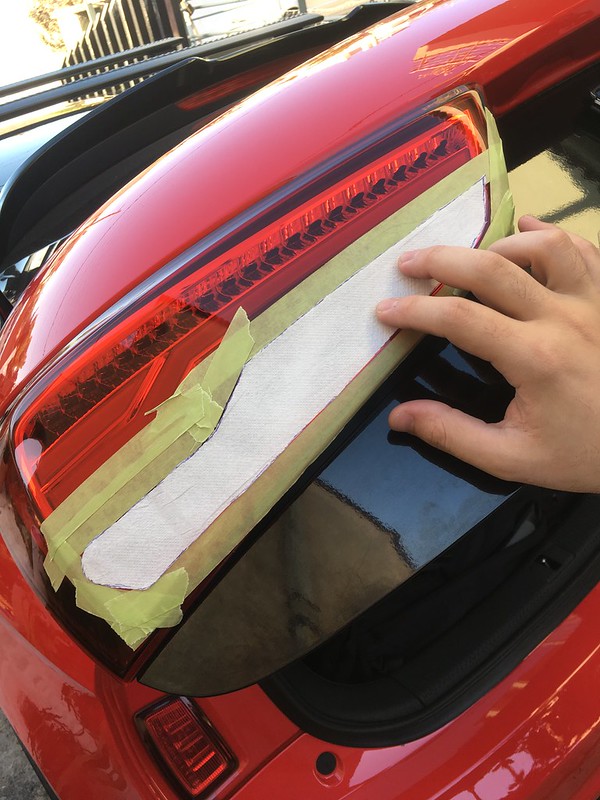
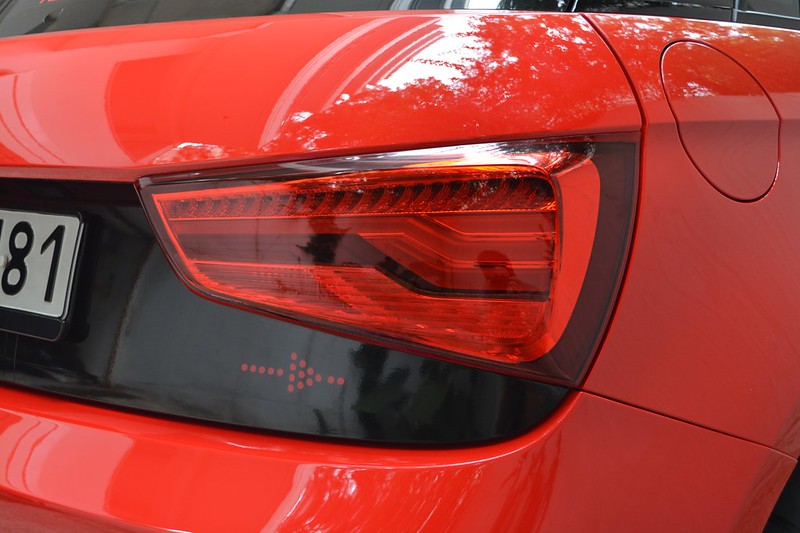
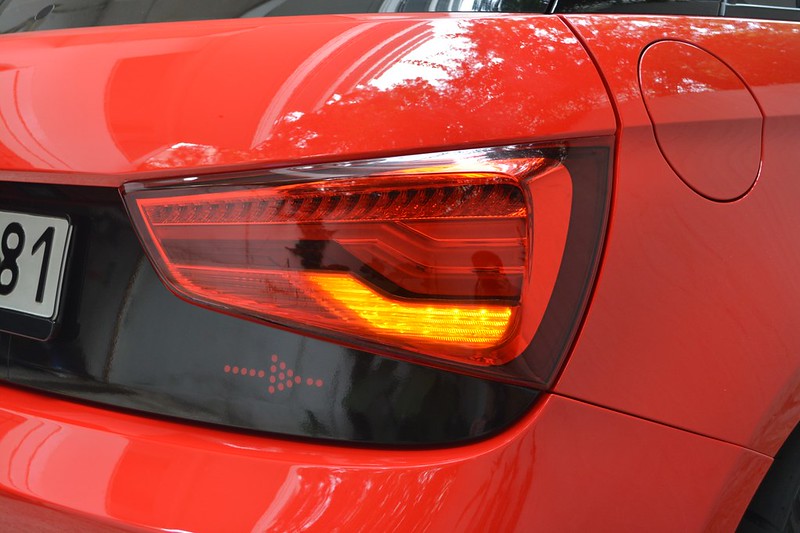
Then, seeing that the talights were looking very white at the indicator i thought i'd give it a go with red tint like i always to see what they looked like
 Untitled by mgpdoc, on Flickr
 by mgpdoc, on Flickr
 Untitled by mgpdoc, on Flickr
 Untitled by mgpdoc, on Flickr
Came out really nice
 Untitled by mgpdoc, on Flickr
 Untitled by mgpdoc, on Flickr
 Untitled by mgpdoc, on Flickr
 Untitled by mgpdoc, on Flickr
 Untitled by mgpdoc, on Flickr
I liked it and left it like that for a while
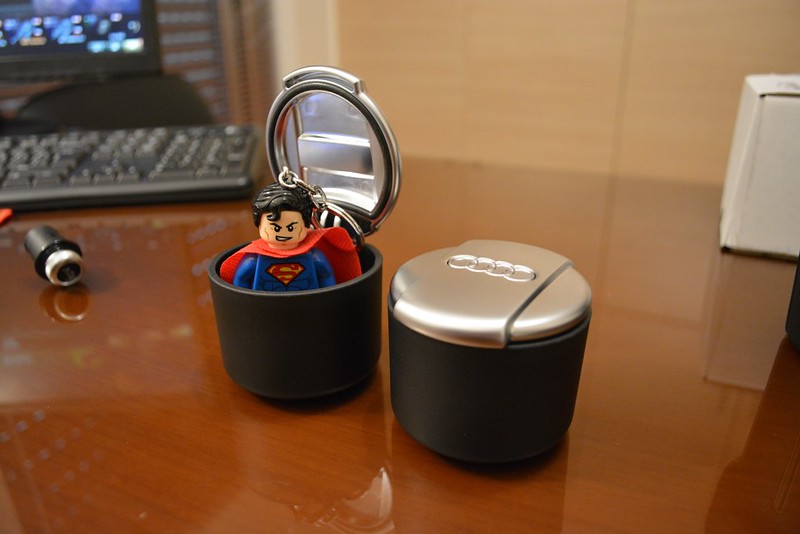
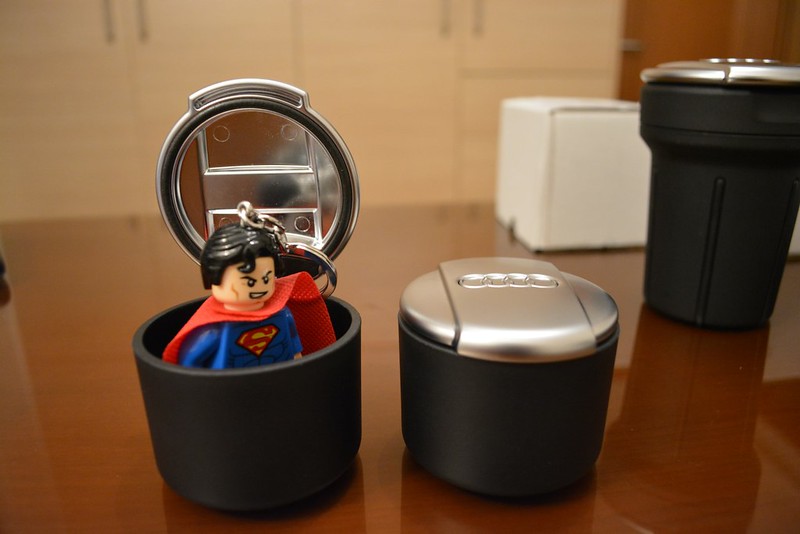
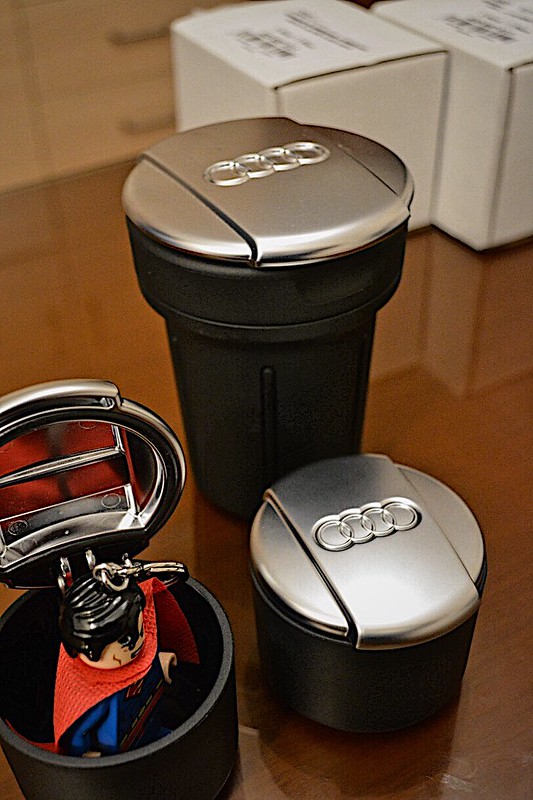
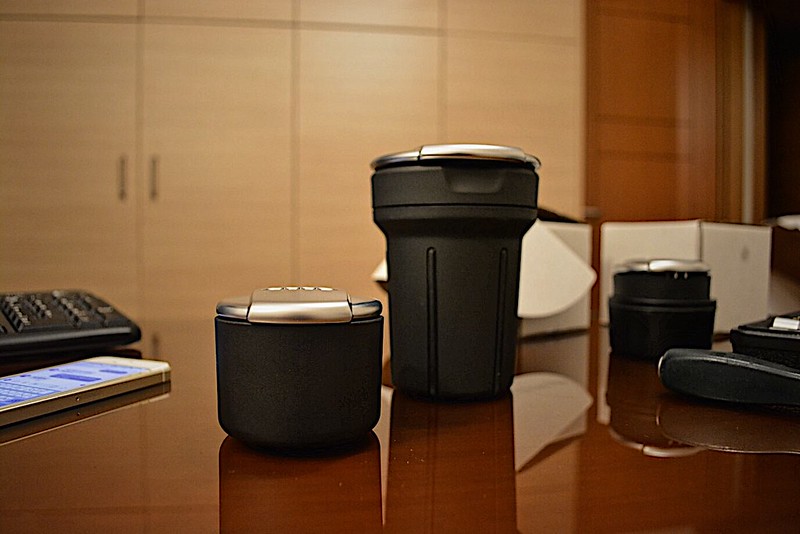
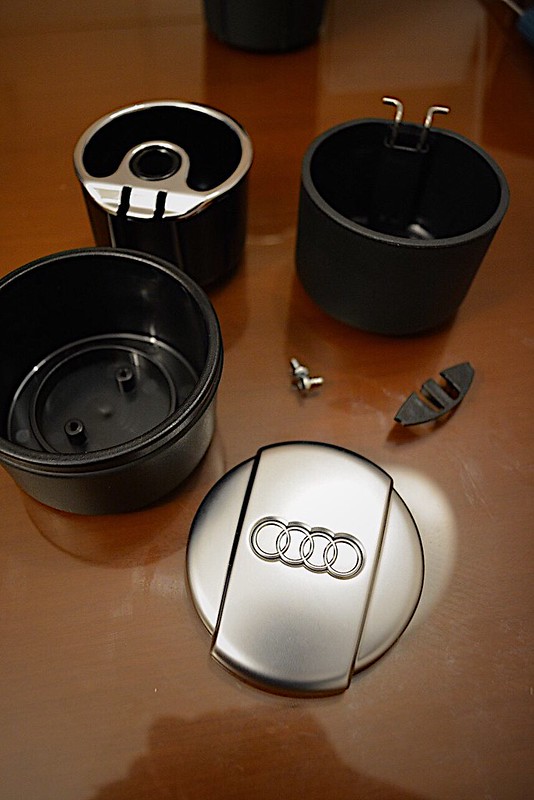
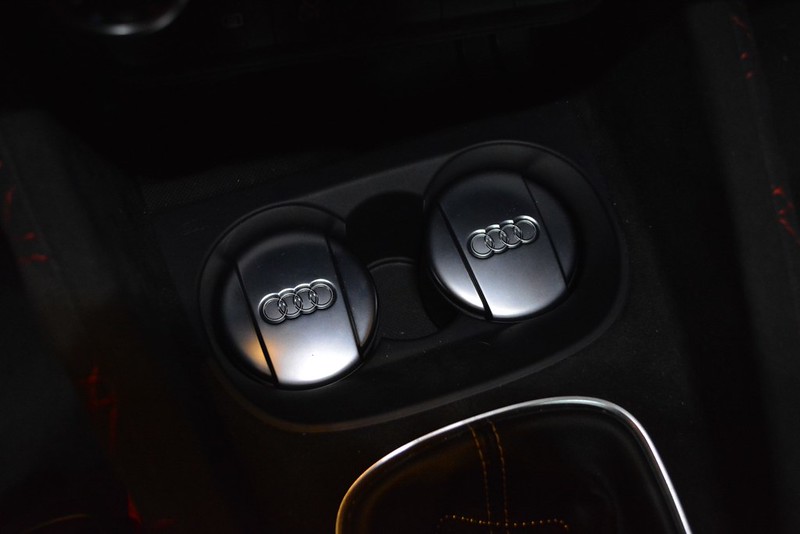
Then I bought some Audi R8 ashtrays
 Untitled by mgpdoc, on Flickr
 Untitled by mgpdoc, on Flickr
Removed my tall one
 Untitled by mgpdoc, on Flickr
 Untitled by mgpdoc, on Flickr
Modified to fit
 Untitled by mgpdoc, on Flickr
Installed in place
 Untitled by mgpdoc, on Flickr
Much nicer, and subtle
 Untitled by mgpdoc, on Flickr
Also took my GTX3076 MKv out for a stretch
 Untitled by mgpdoc, on Flickr
 Untitled by mgpdoc, on Flickr
 Untitled by mgpdoc, on Flickr
 by mgpdoc, on Flickr
 by mgpdoc, on Flickr
 by mgpdoc, on Flickr
 by mgpdoc, on Flickr
 by mgpdoc, on Flickr
Audi RS4PRA | VW Golf MKV GT-Y | Audi A1 SportBackComment
-
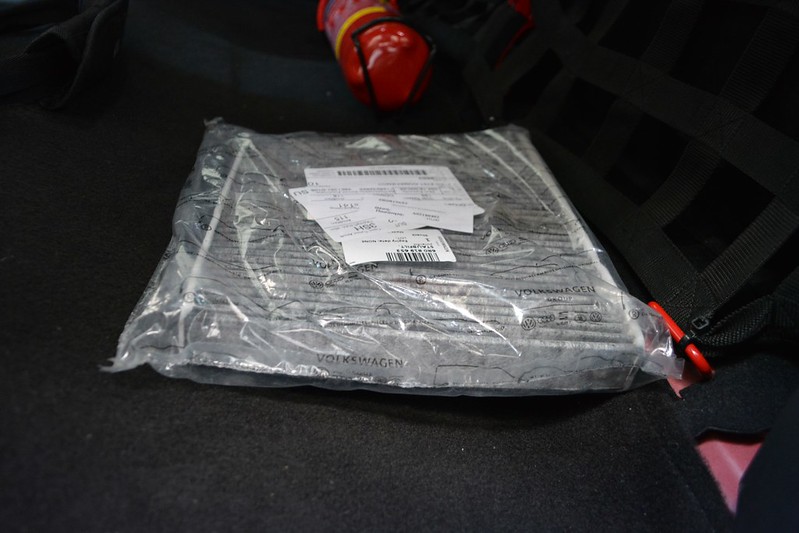
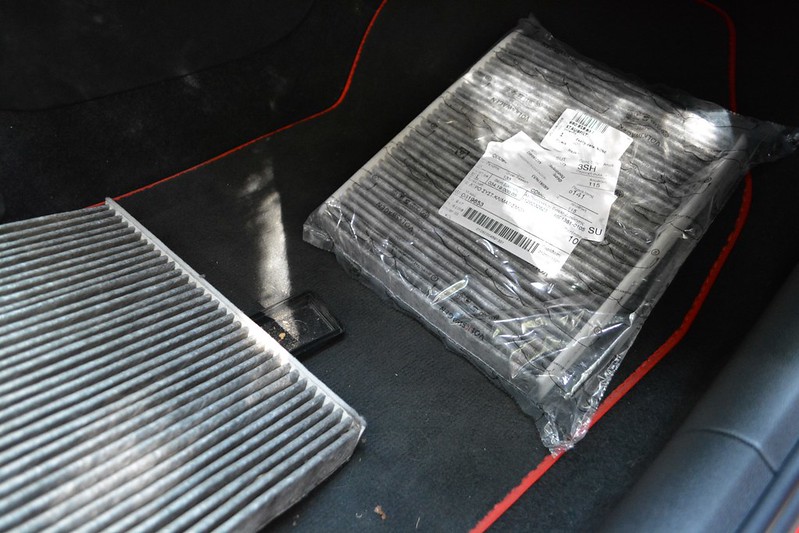
Then i gave the car a proper service, oil, filters, cleaned the KN intake, etc.
 Untitled by mgpdoc, on Flickr
 Untitled by mgpdoc, on Flickr
 Untitled by mgpdoc, on Flickr
Wheels got a wash prior to storing them
 Untitled by mgpdoc, on Flickr
 Untitled by mgpdoc, on Flickr
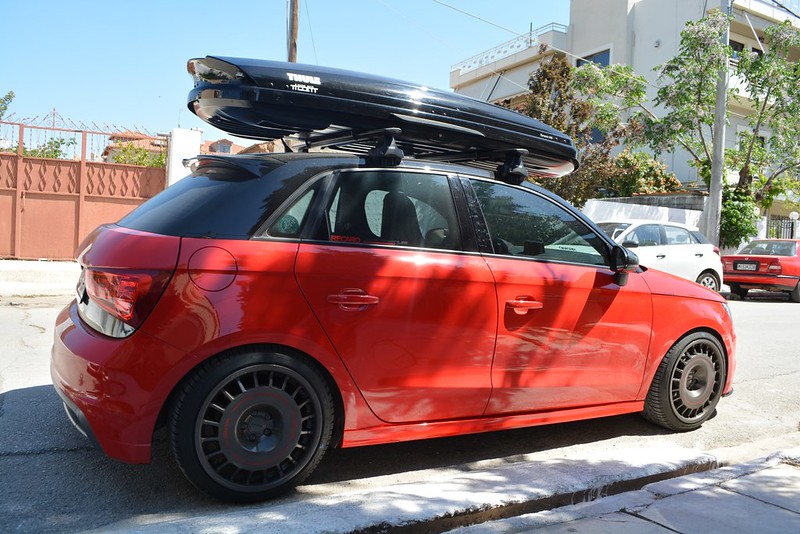
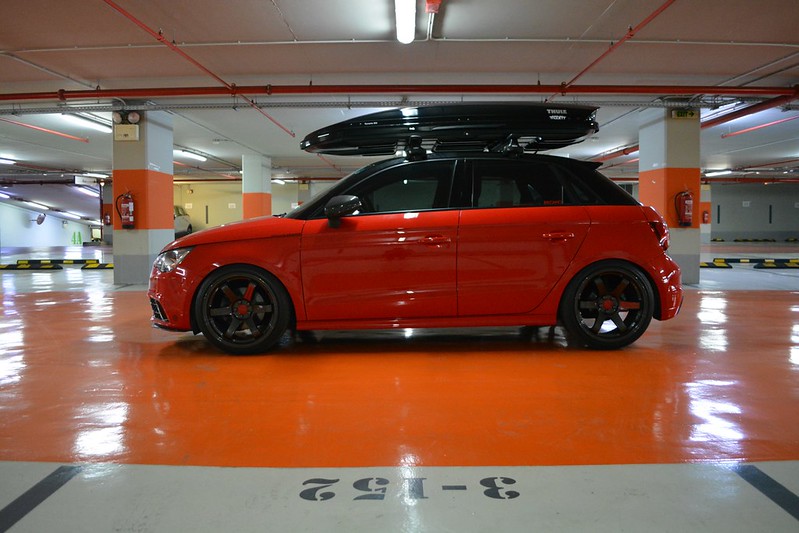
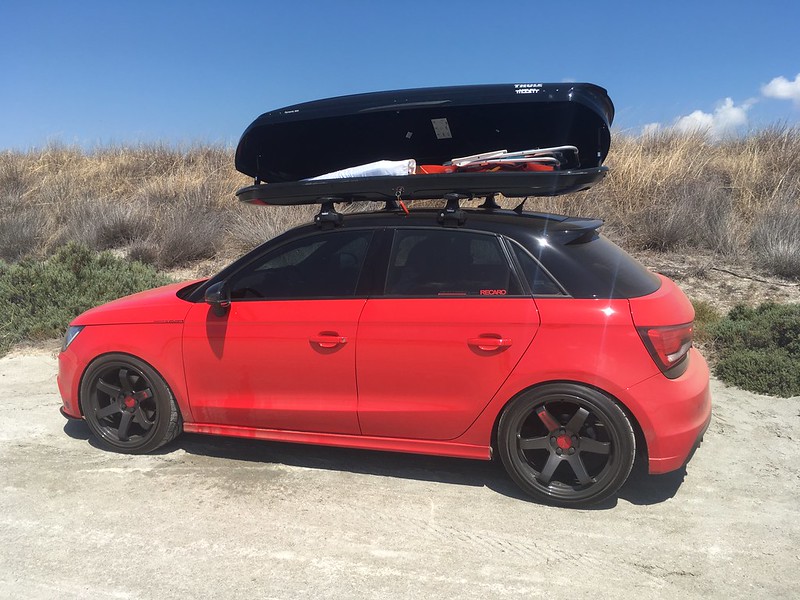
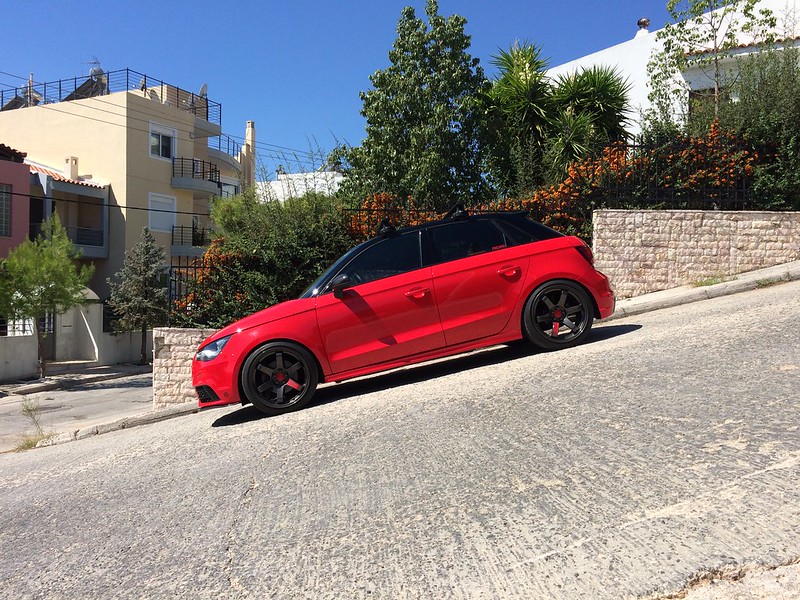
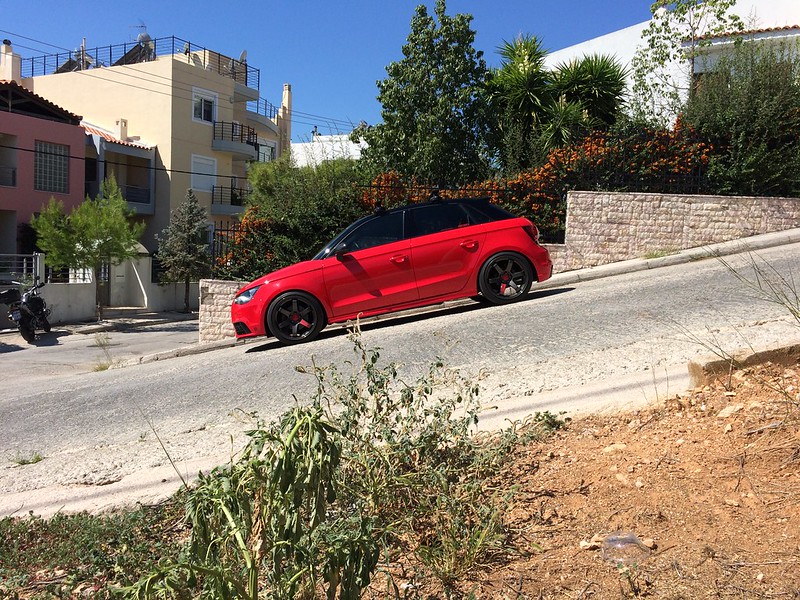
Summers 18s back on, and car ready for a summer trip
 Untitled by mgpdoc, on Flickr
 Untitled by mgpdoc, on Flickr
 Untitled by mgpdoc, on Flickr
 Untitled by mgpdoc, on Flickr
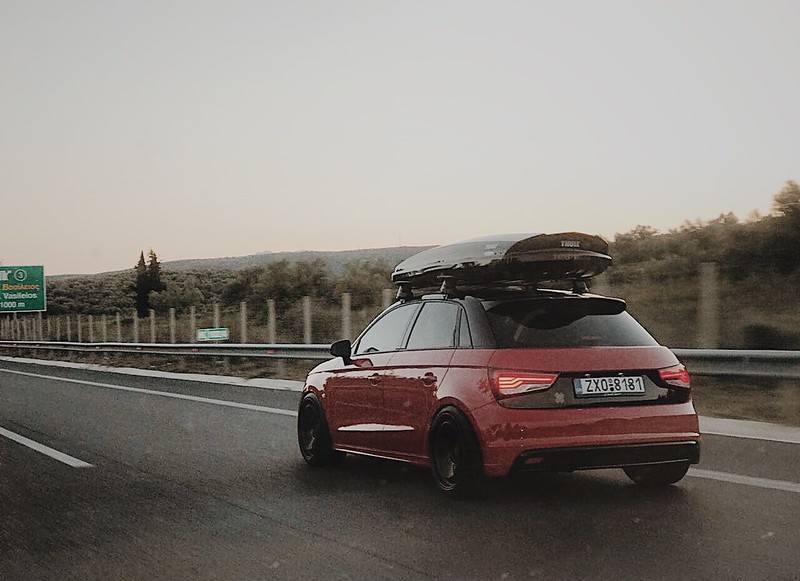
Car felt great on the trip
 Untitled by mgpdoc, on Flickr
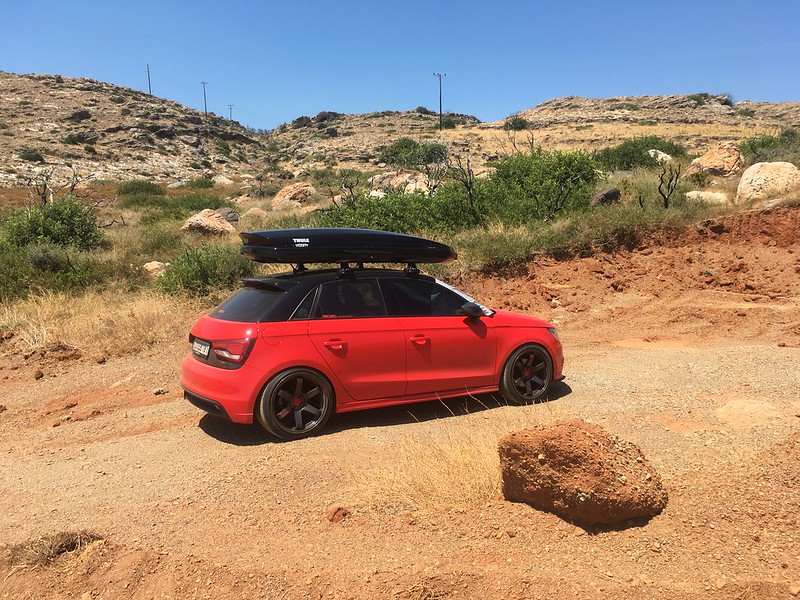
In the middle of nowhere
 Untitled by mgpdoc, on Flickr
 Untitled by mgpdoc, on Flickr
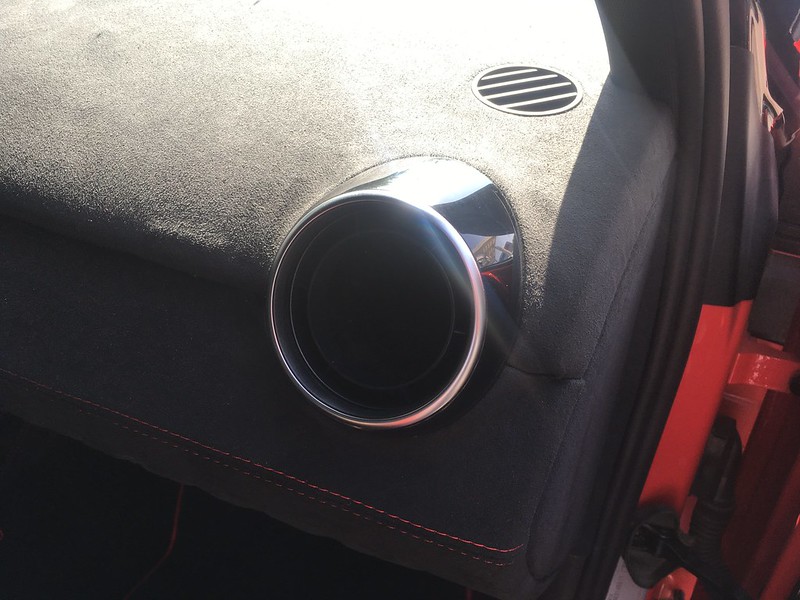
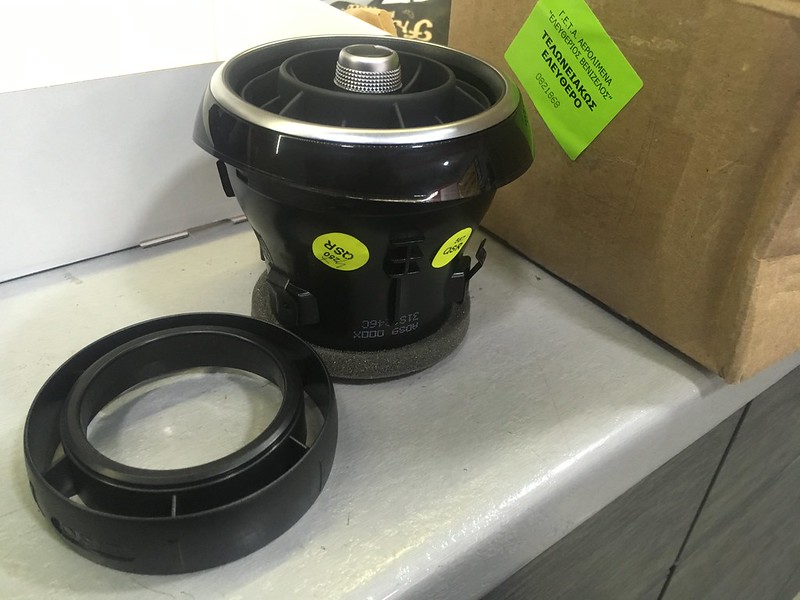
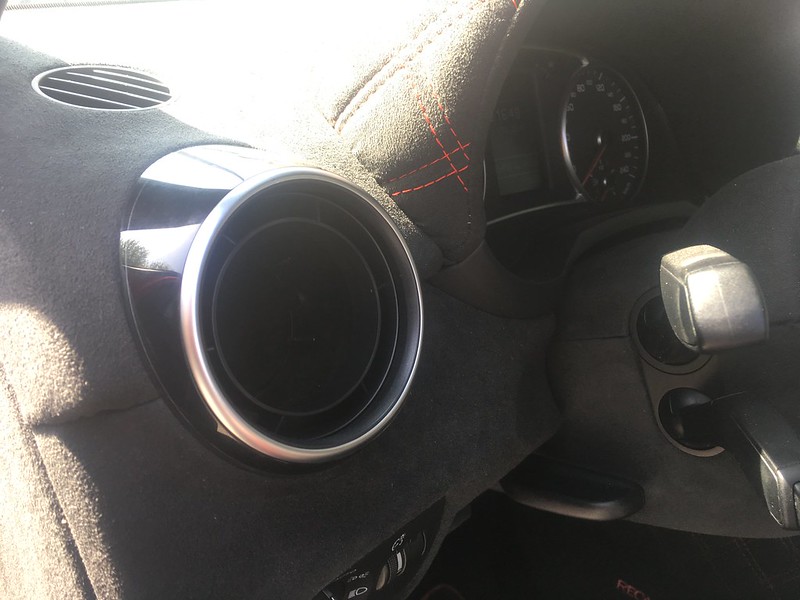
Also bought another two OSIR pods for my side vents
 Untitled by mgpdoc, on Flickr
 Untitled by mgpdoc, on Flickr
 Untitled by mgpdoc, on Flickr
Last edited by mgpdoc; 09-09-2018, 03:41 AM.
Untitled by mgpdoc, on Flickr
Last edited by mgpdoc; 09-09-2018, 03:41 AM.
Audi RS4PRA | VW Golf MKV GT-Y | Audi A1 SportBackComment
-
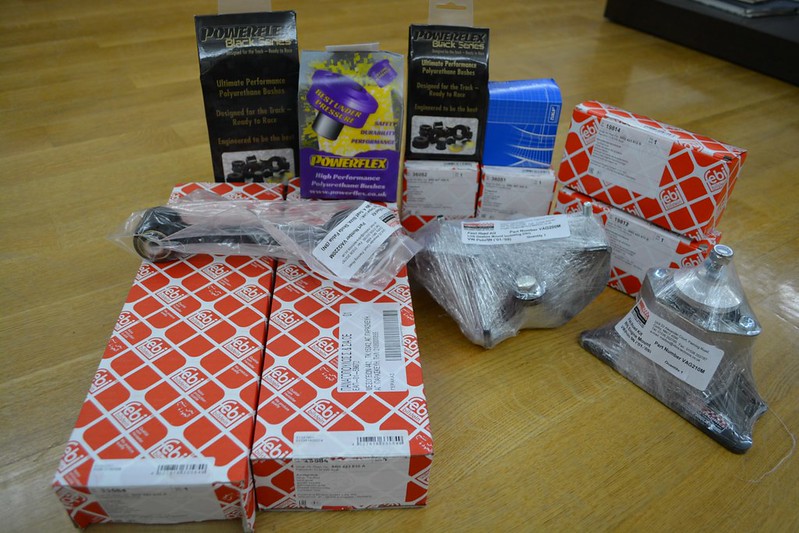
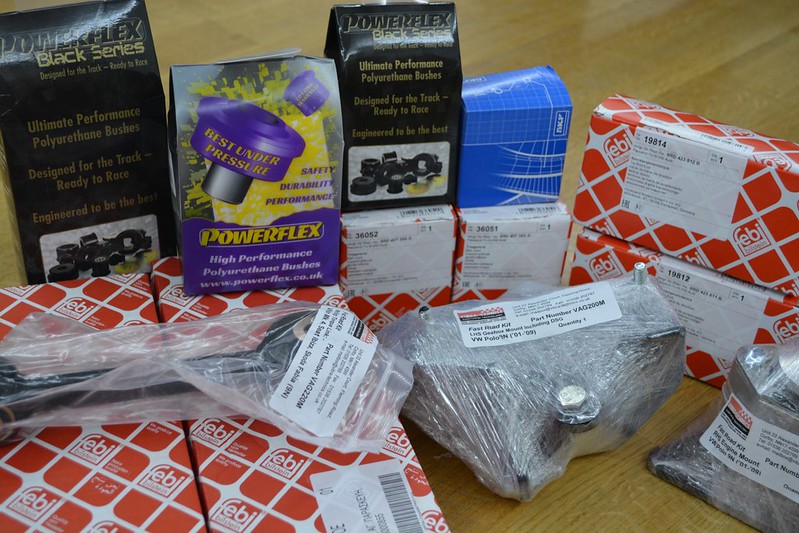
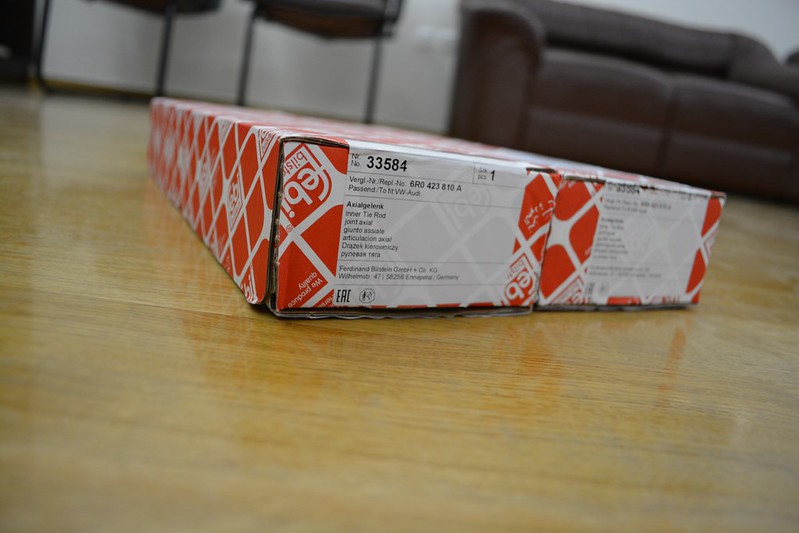
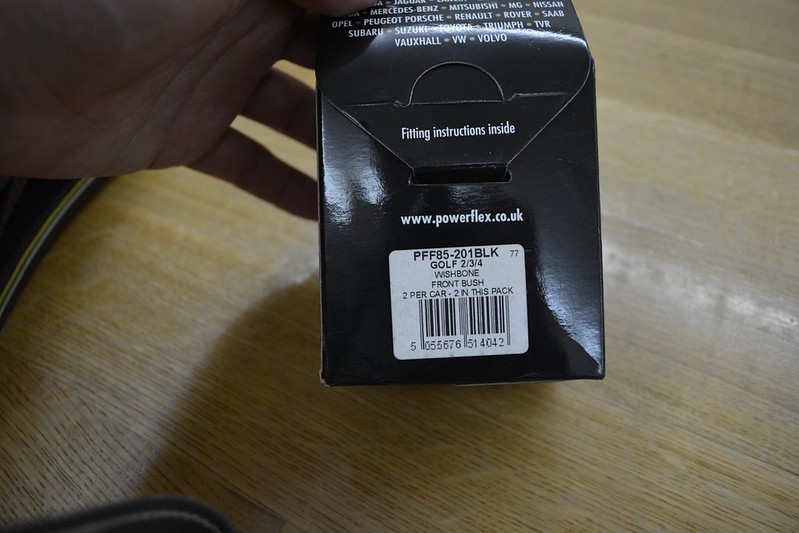
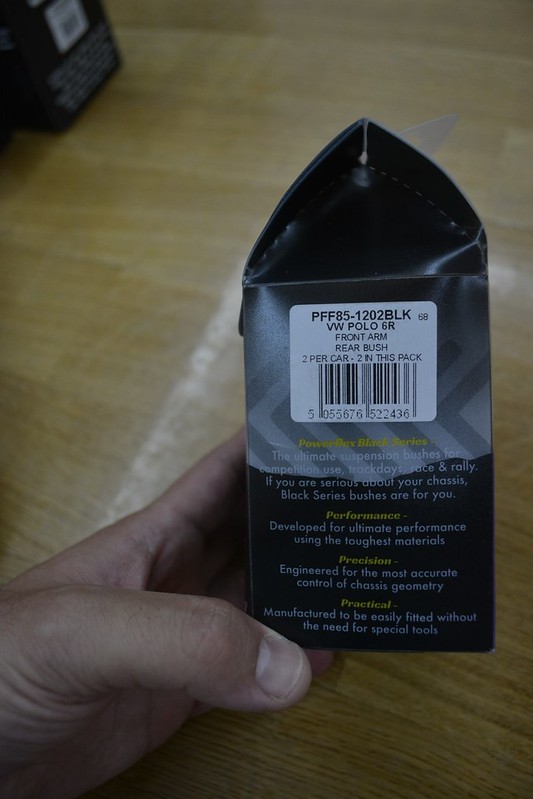
What i didnt like is the engine movement back and forth, when letting go off the gas pedal , and while shifting, despite the Powerflex rear dog mount. I obviously needed new mounts , oem or something even better. I could find nothing available for my car - as always- so i searched and talked a lot, wit companies. I think i came across something, which, fingers crossed will fit. If it does actually fit, we will have to see how the vibration is inside the cabin as well, as these were not intended to go on a diesel car. Along with the engine mounts, I also ordered some black - yes black - powerflex mounts for some suspension components. I will let pictures do the talking
 DSC_0415 by mgpdoc, on Flickr
 DSC_0420 by mgpdoc, on Flickr
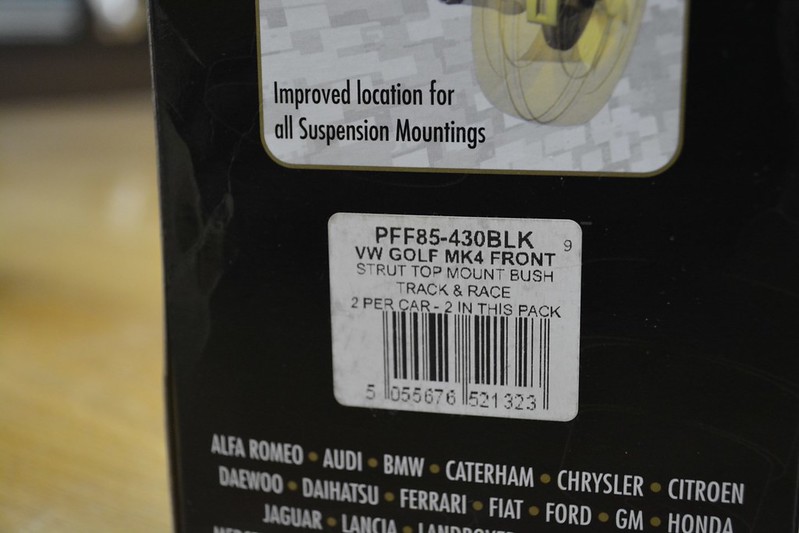
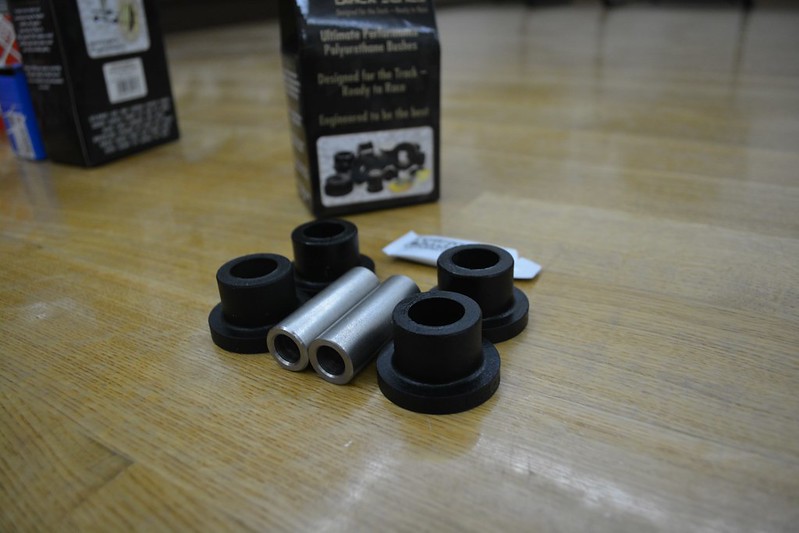
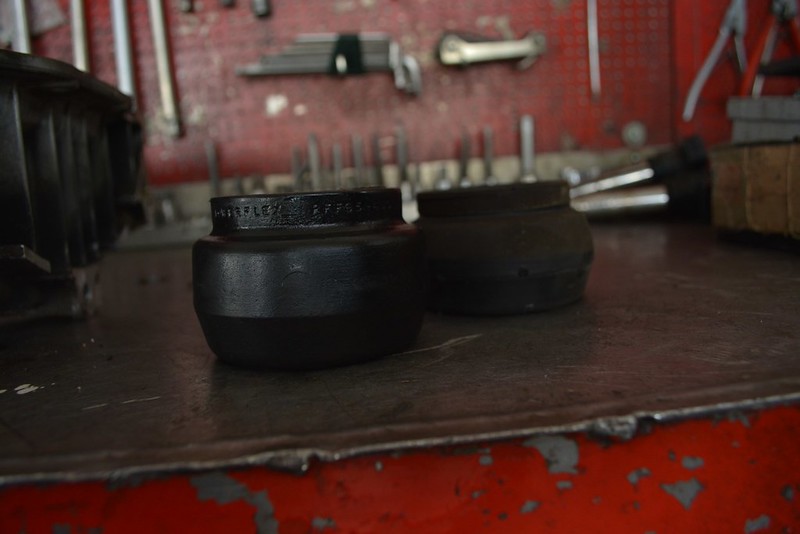
Top Strut Front Suspension Bushings, lets hope these will hold better than stock ones- already changed once
 DSC_0421 by mgpdoc, on Flickr
 DSC_0423 by mgpdoc, on Flickr
 DSC_0425 by mgpdoc, on Flickr
 DSC_0427 by mgpdoc, on Flickr
 DSC_0428 by mgpdoc, on Flickr
 DSC_0429 by mgpdoc, on Flickr
 DSC_0431 by mgpdoc, on Flickr
 DSC_0432 by mgpdoc, on Flickr
 DSC_0434 by mgpdoc, on Flickr
 DSC_0435 by mgpdoc, on Flickr
 DSC_0436 by mgpdoc, on Flickr
 DSC_0438 by mgpdoc, on Flickr
 DSC_0441 by mgpdoc, on Flickr
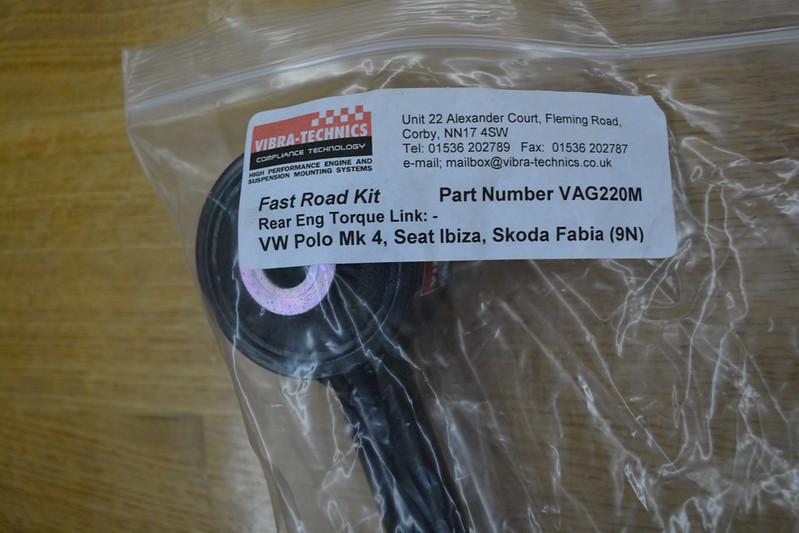
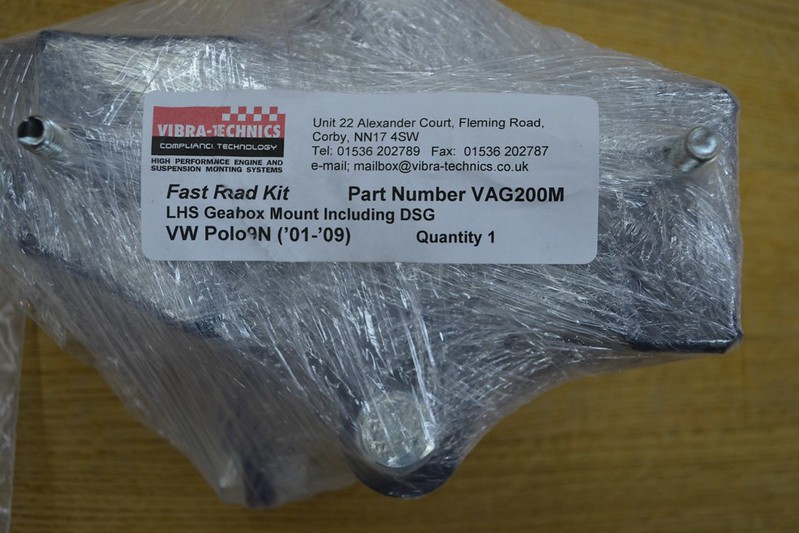
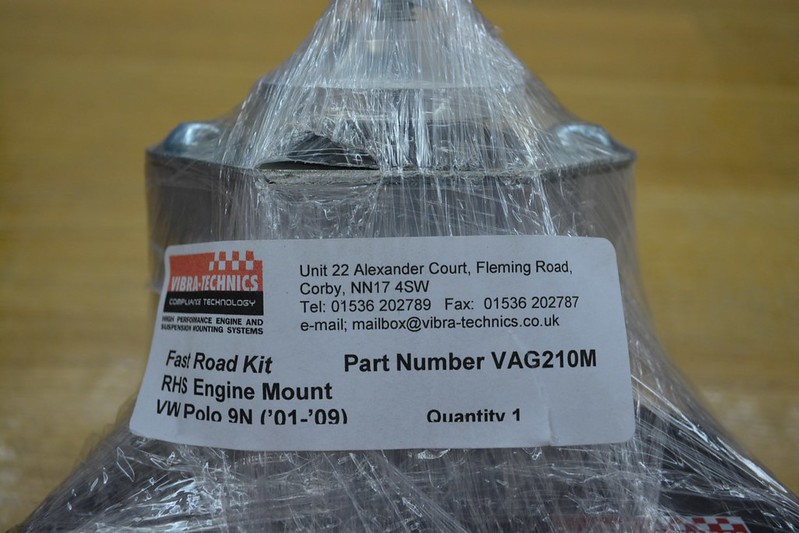
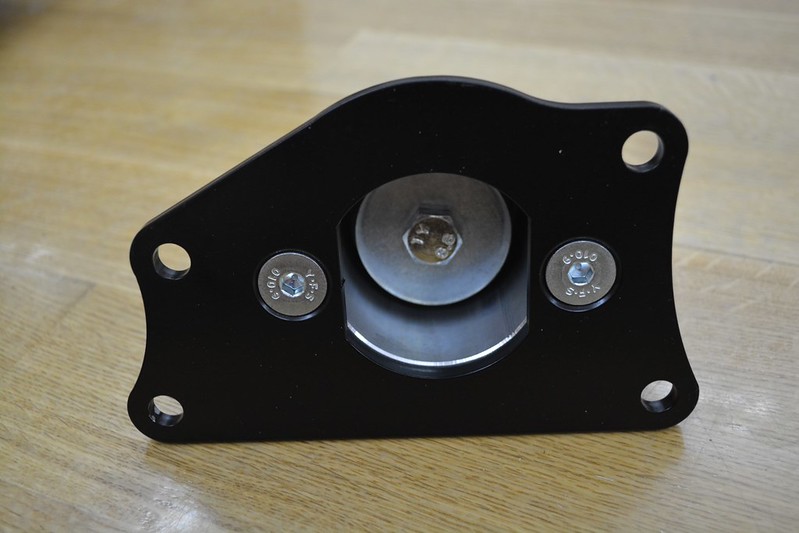
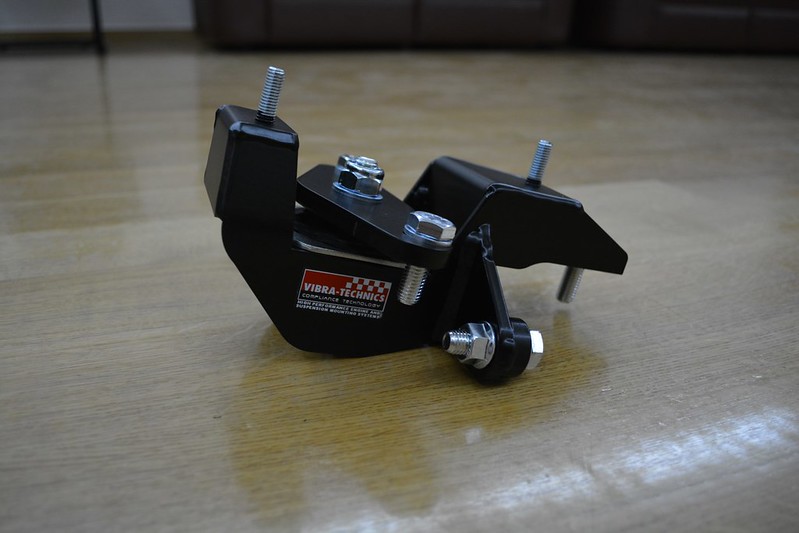
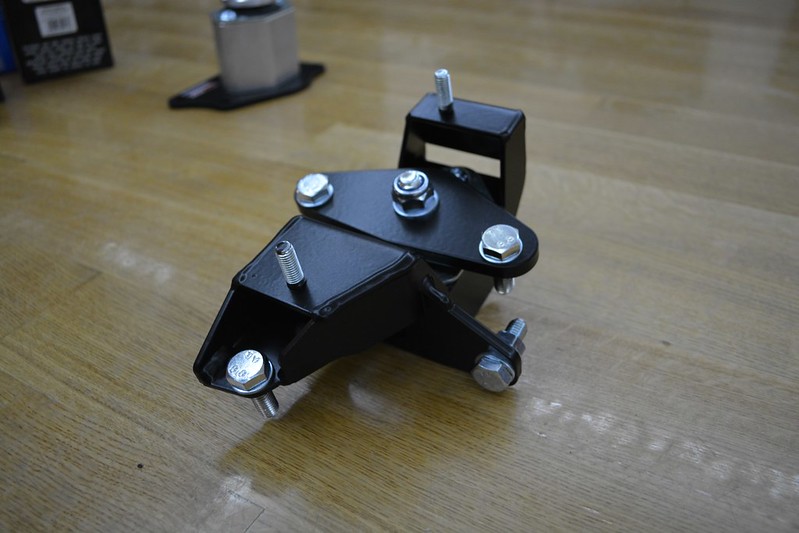
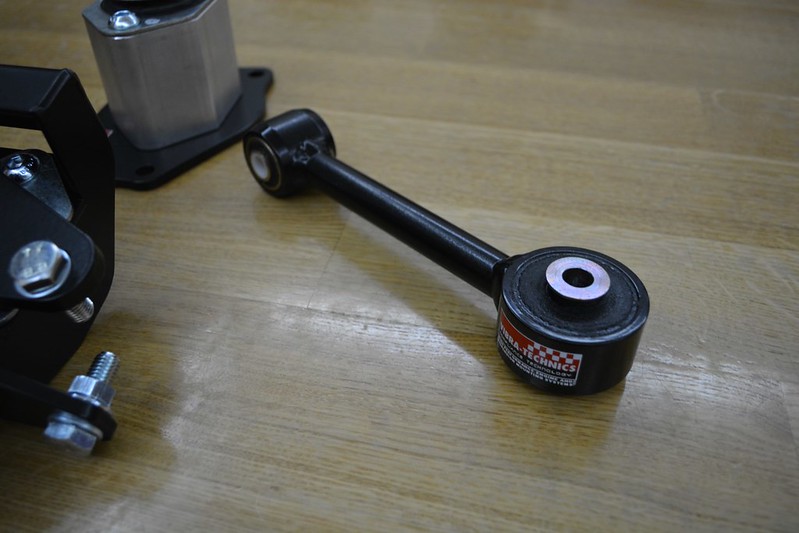
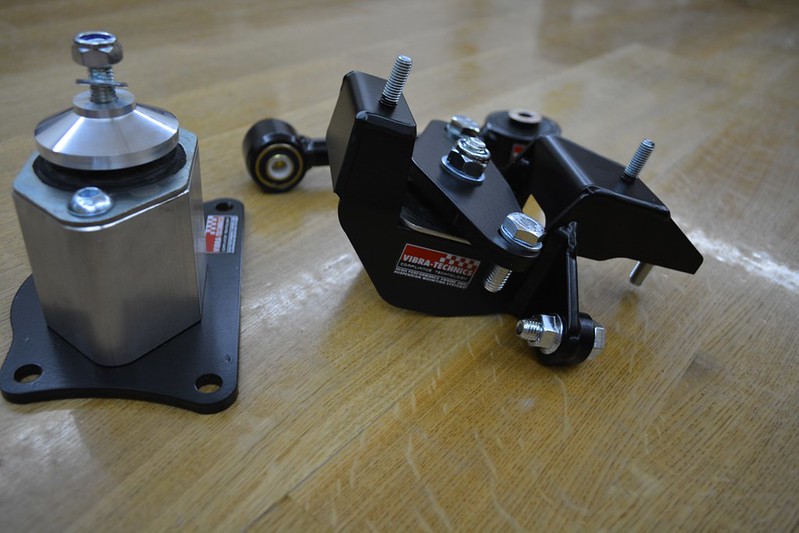
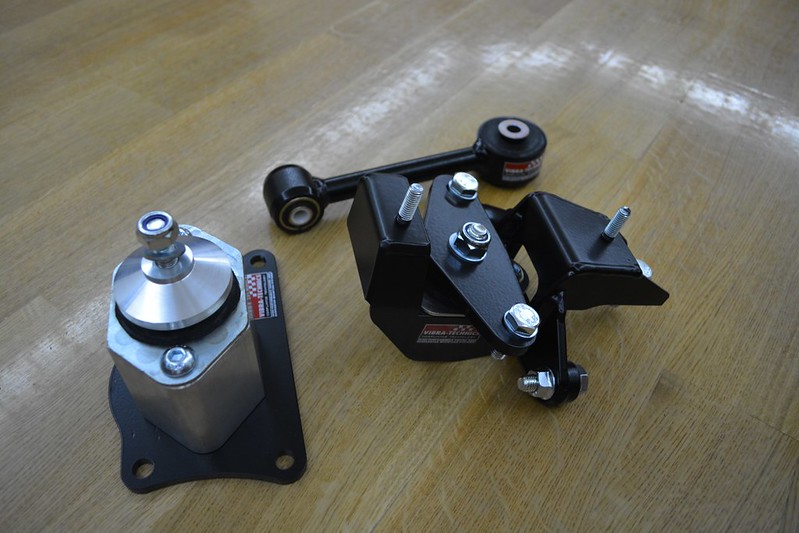
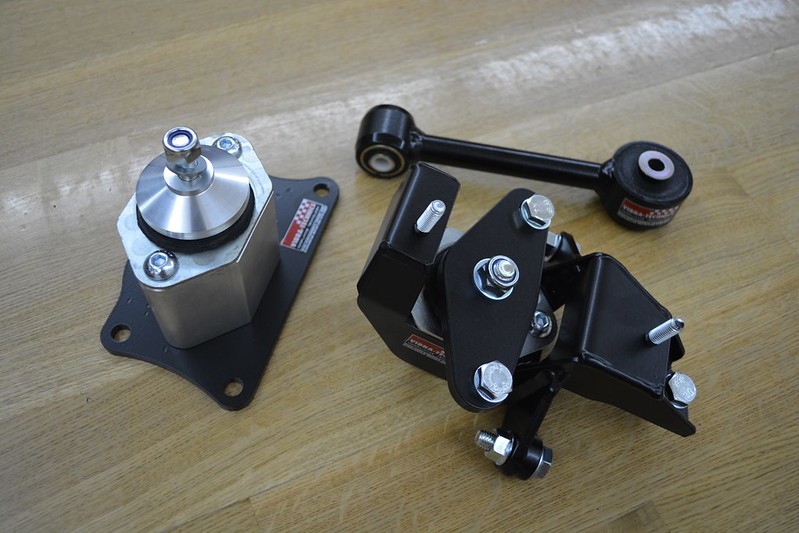
And now for the engine mounts - I bought the Vibra Technics, great quality - lets hope they fit. They told me the dog mount is not suitable for non-petrol cars, and if i see that's the case, i will use my existing Powerflex Diesel specific one. As for the other two, although not listed for my car, they told me they would fit. Bought them through Darkside Developments, and they told me that if they dont fit, I can return them and get my money back. Let's see.
 DSC_0442 by mgpdoc, on Flickr
 DSC_0443 by mgpdoc, on Flickr
 DSC_0444 by mgpdoc, on Flickr
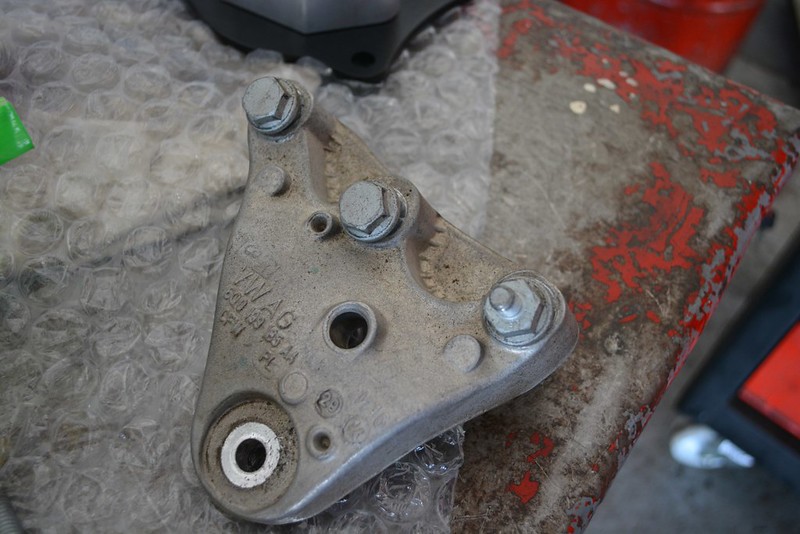
Engine side
 DSC_0447 by mgpdoc, on Flickr
 DSC_0450 by mgpdoc, on Flickr
Gearbox mount
 DSC_0452 by mgpdoc, on Flickr
 DSC_0456 by mgpdoc, on Flickr
Dog mount
 DSC_0459 by mgpdoc, on Flickr
 DSC_0460 by mgpdoc, on Flickr
Fingers crossed they fit
 DSC_0461 by mgpdoc, on Flickr
 DSC_0462 by mgpdoc, on Flickr
 DSC_0463 by mgpdoc, on Flickr
 DSC_0465 by mgpdoc, on Flickr
Cheers
More to come, hope you liked the updates
Follow me on Instagram, @mgpdoc for quicker updates
Cheers
Mike
Audi RS4PRA | VW Golf MKV GT-Y | Audi A1 SportBackComment
-
Clean job as usual
But black mount for a daily? Not a good idea for me...

Comment
-
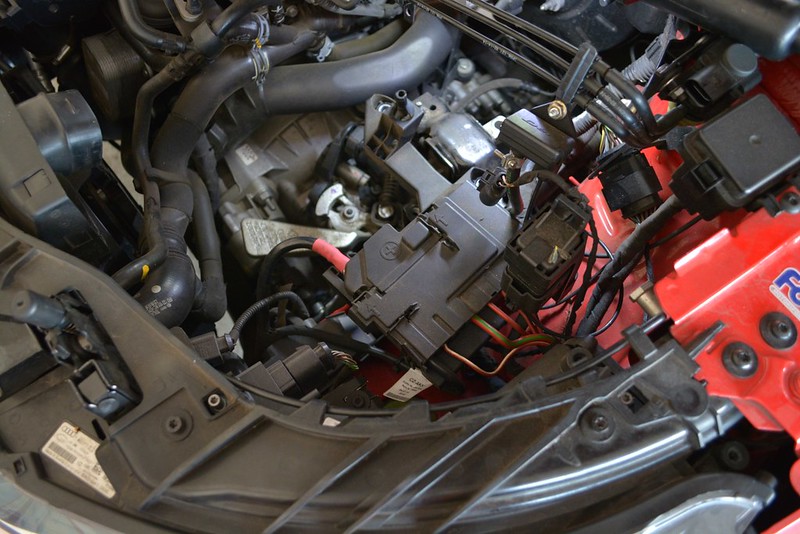
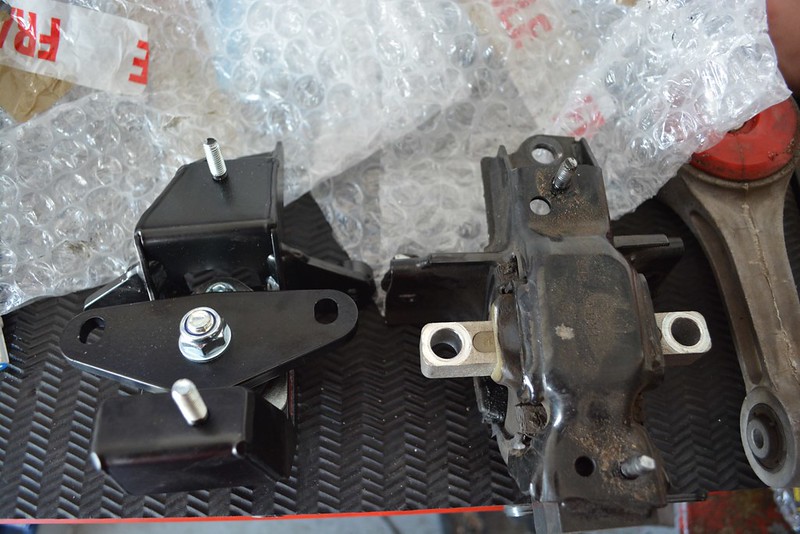
So then naturally, i just had to find some time to put all the things, and see how it went. First stress of the process was to see of the mounts would actually fit, since, they were not listed for my car. However everyone reassured me after a lot of photos going back and forth that they would actually fit.
Driver's - Gearbox side
Airbox removed
 DSC_0467 by mgpdoc, on Flickr
 DSC_0470 by mgpdoc, on Flickr
Mount removed
Side by side
 DSC_0471 by mgpdoc, on Flickr
What a weird shaped mount. Seems like they will be ok though
 DSC_0472 by mgpdoc, on Flickr
 DSC_0473 by mgpdoc, on Flickr
Test fitted and went in first time
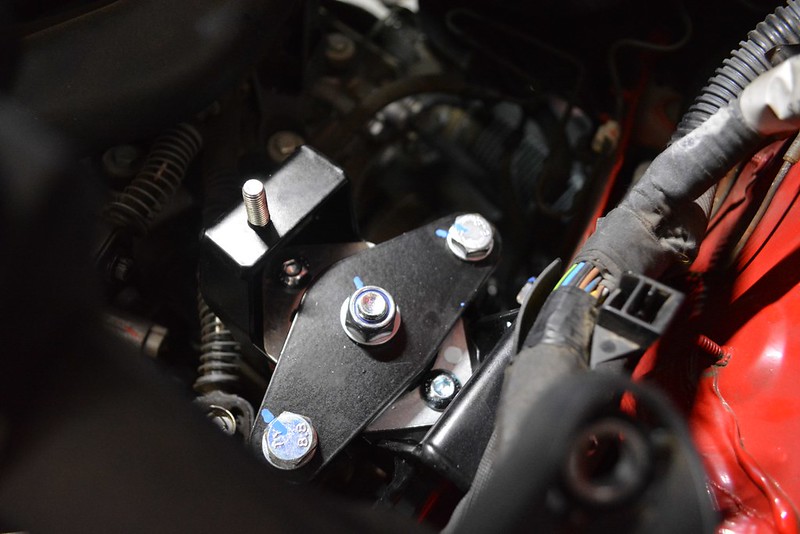 DSC_0480 by mgpdoc, on Flickr
Marked my bolts, cause you know me.
Installed the airbox back in- needs a good clean, LoL
 DSC_0495 by mgpdoc, on Flickr
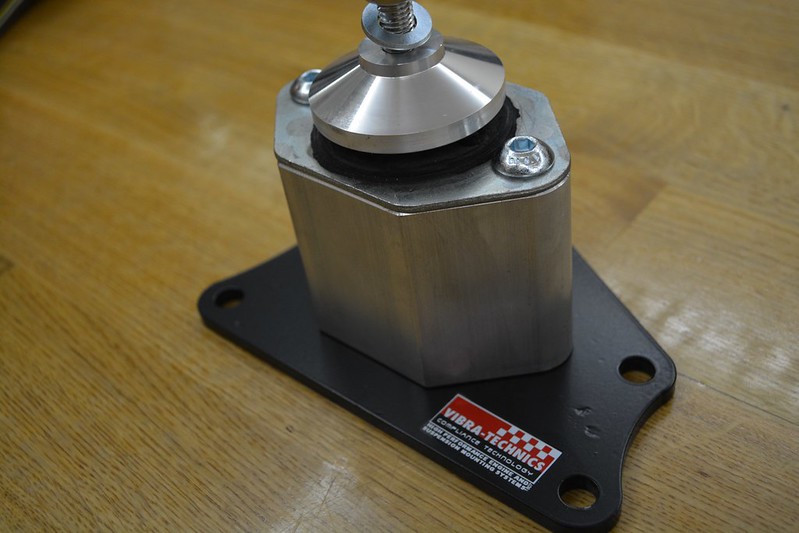
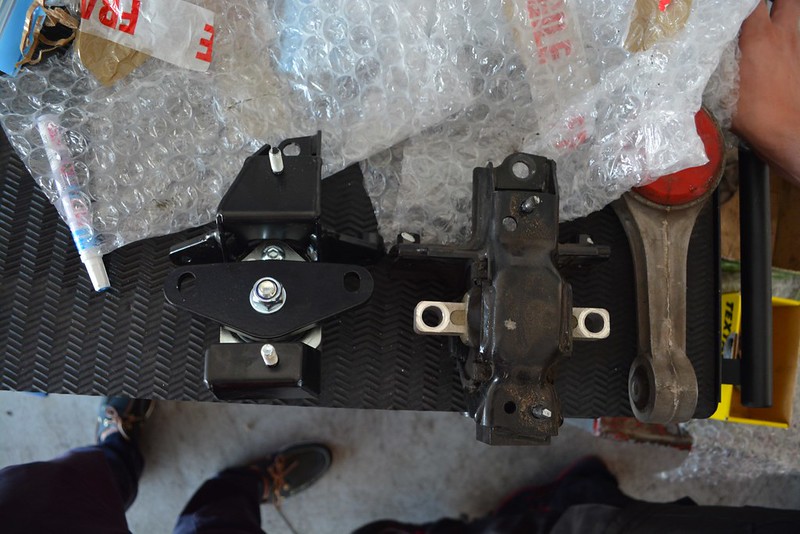
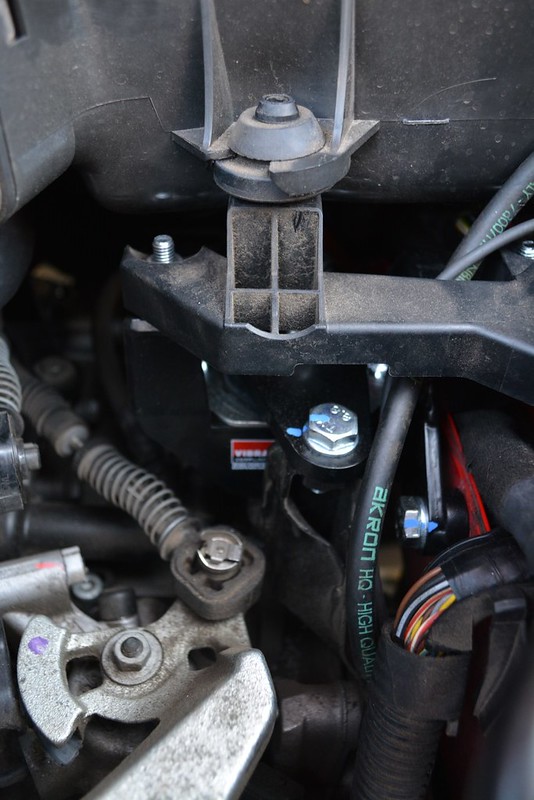
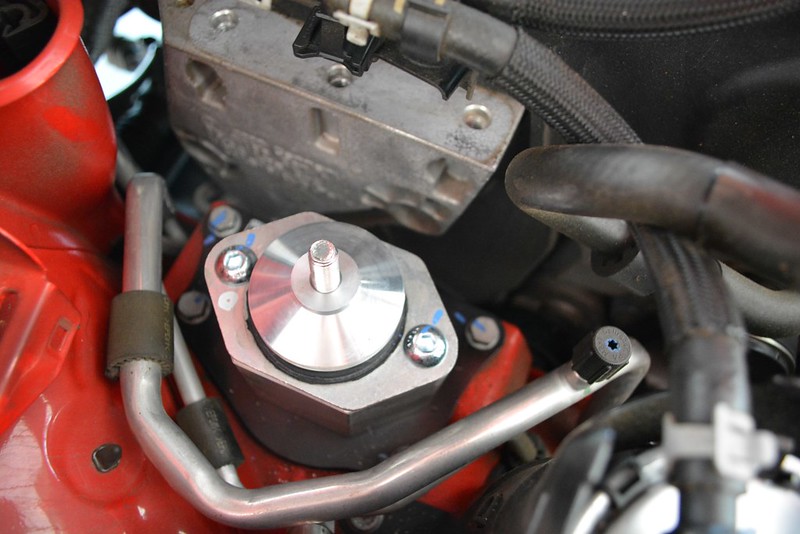
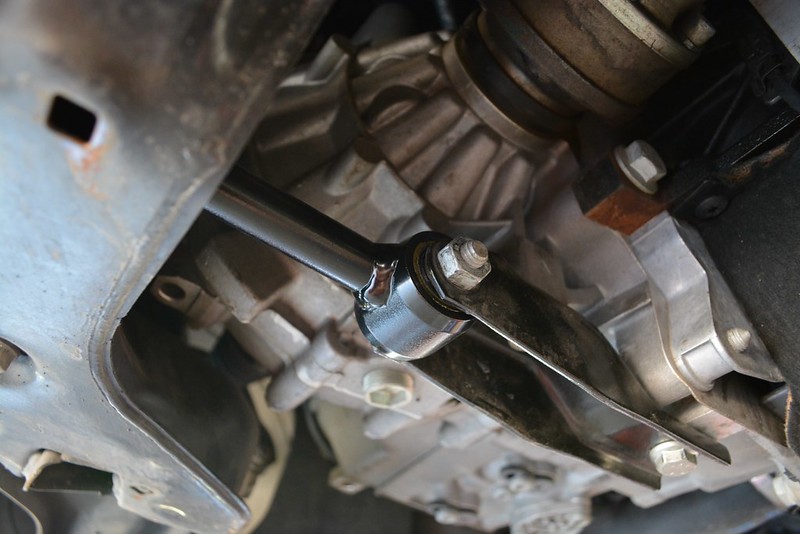
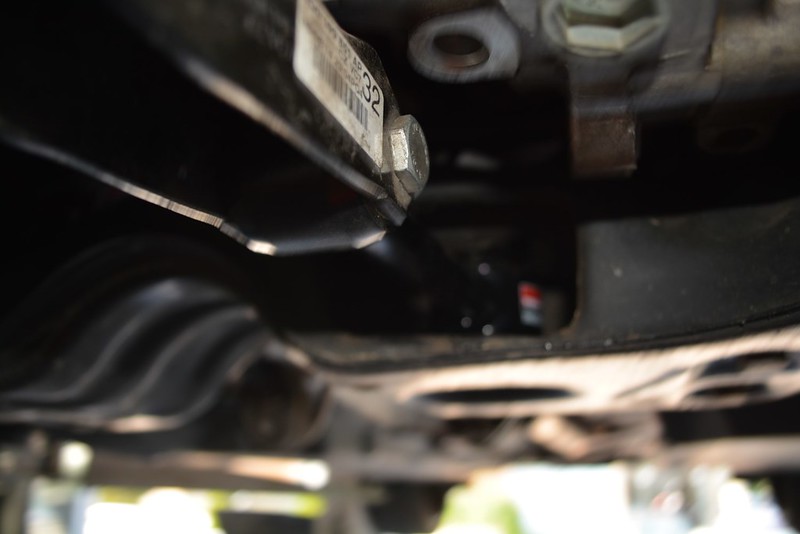
Now, for the passenger's - engine side
 DSC_0481 by mgpdoc, on Flickr
This is the actual mount
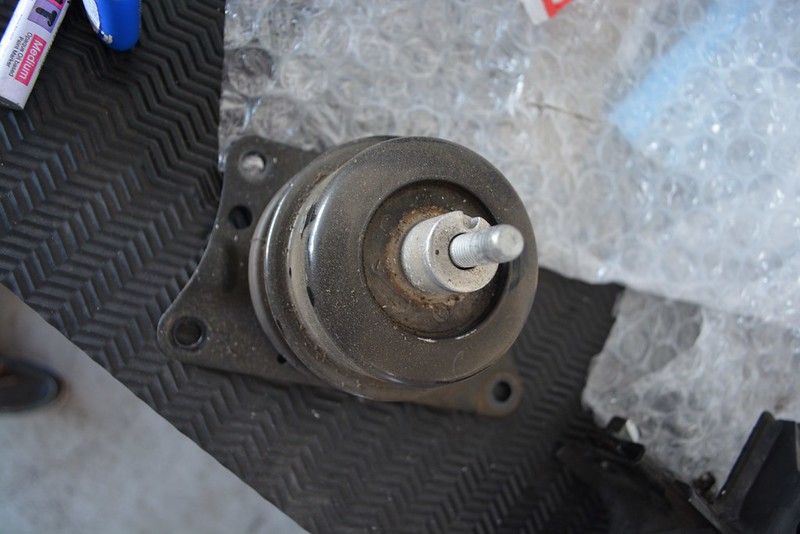 DSC_0482 by mgpdoc, on Flickr
This was very tired. Side by side with the VT one
 DSC_0483 by mgpdoc, on Flickr
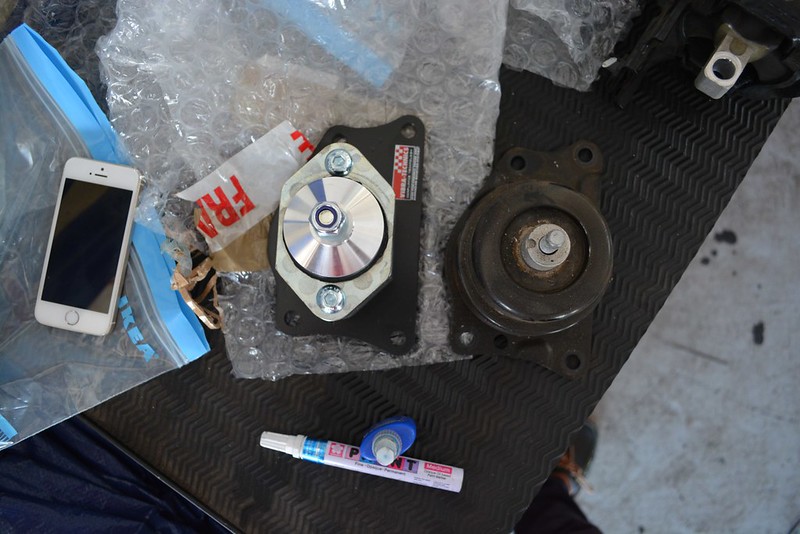 DSC_0486 by mgpdoc, on Flickr
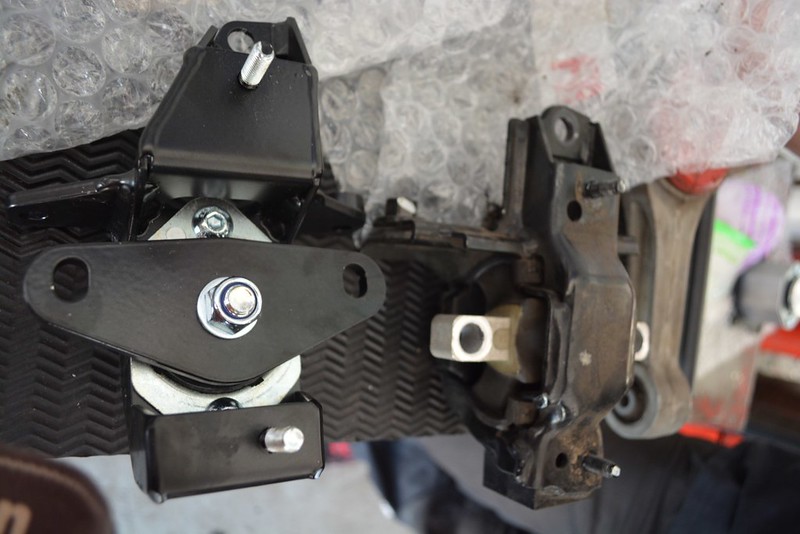
Installed in place
 DSC_0487 by mgpdoc, on Flickr
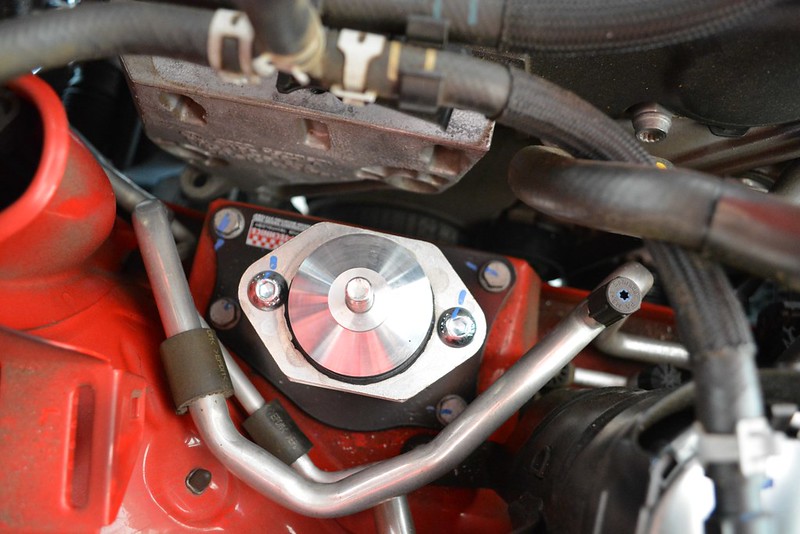 DSC_0490 by mgpdoc, on Flickr
 DSC_0497 by mgpdoc, on Flickr
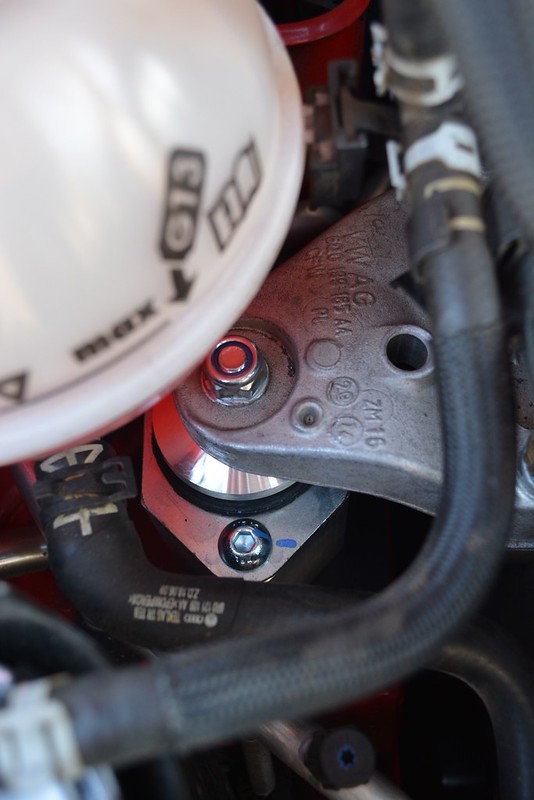
Finally the lower mount - no problems here
Out with the old oem mount with the Powerflex insert
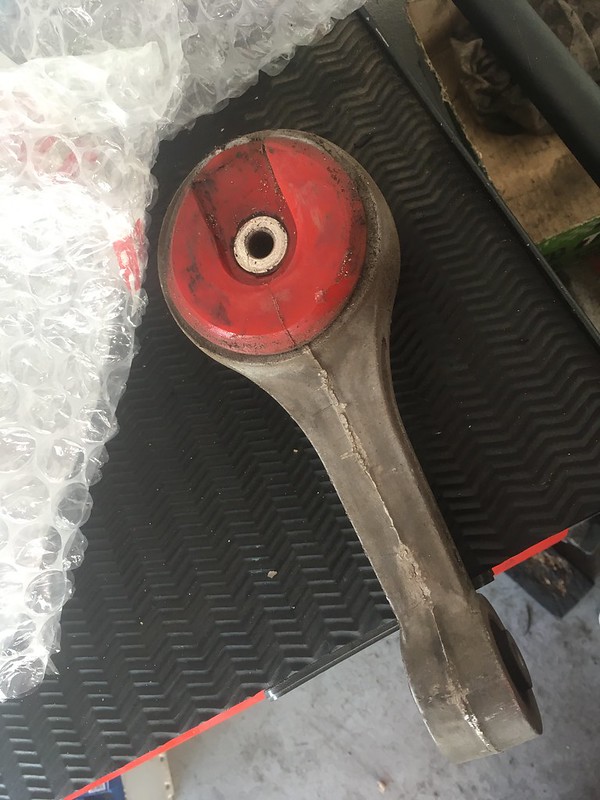 Untitled by mgpdoc, on Flickr
In with the complete replacement of the VT one
 DSC_0492 by mgpdoc, on Flickr
 DSC_0494 by mgpdoc, on Flickr
I was very anxious as to how it would behave, given this is a diesel engine, and vibrations are there. Even in a petrol car, when you go to stiffer mounts, you can feel it in the cabin. However, no drama. Yes, when the car is cold, and the ac on sometimes it can get a little harsh, but nothing major, and only at idle. Feels very very nice, and no going back whatsoever . . . .
Cheers
Audi RS4PRA | VW Golf MKV GT-Y | Audi A1 SportBackComment
-
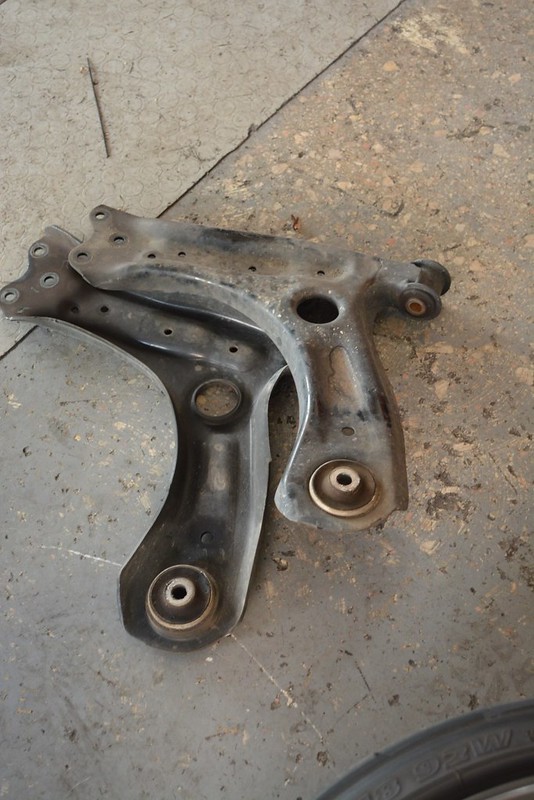
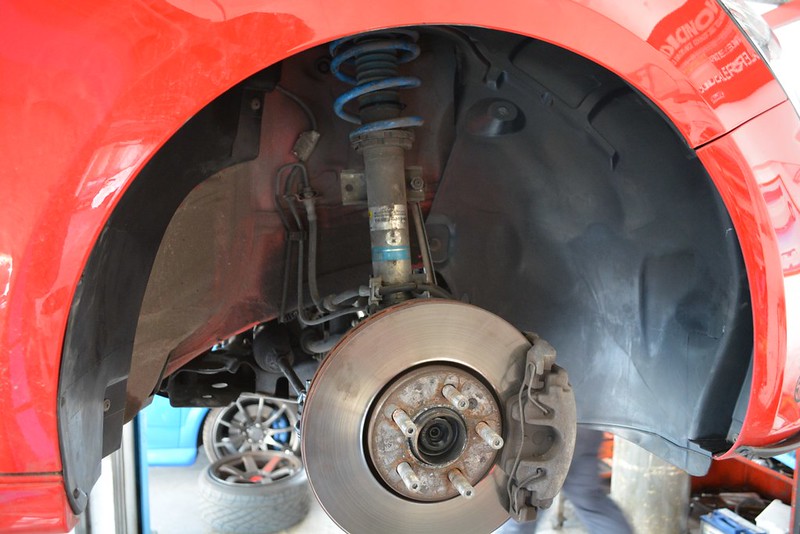
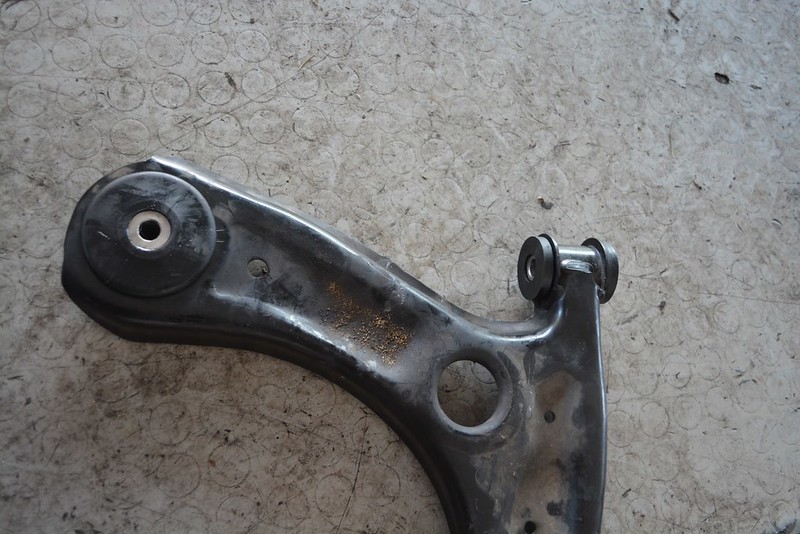
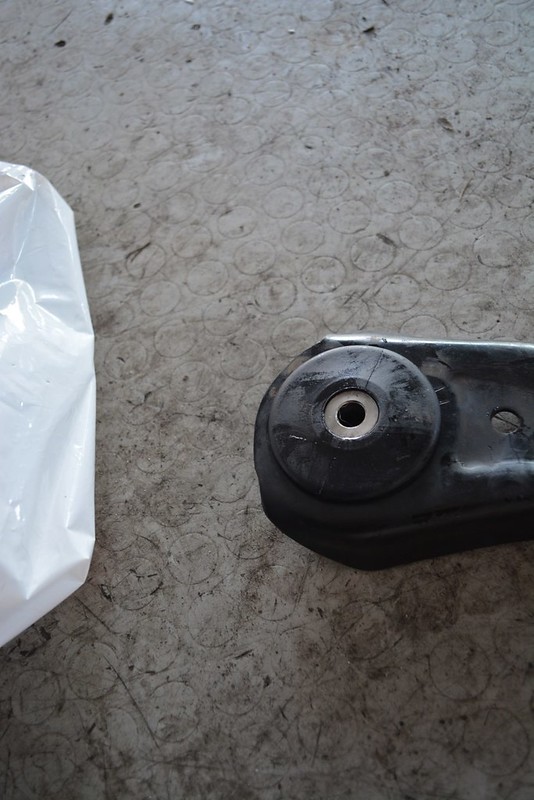
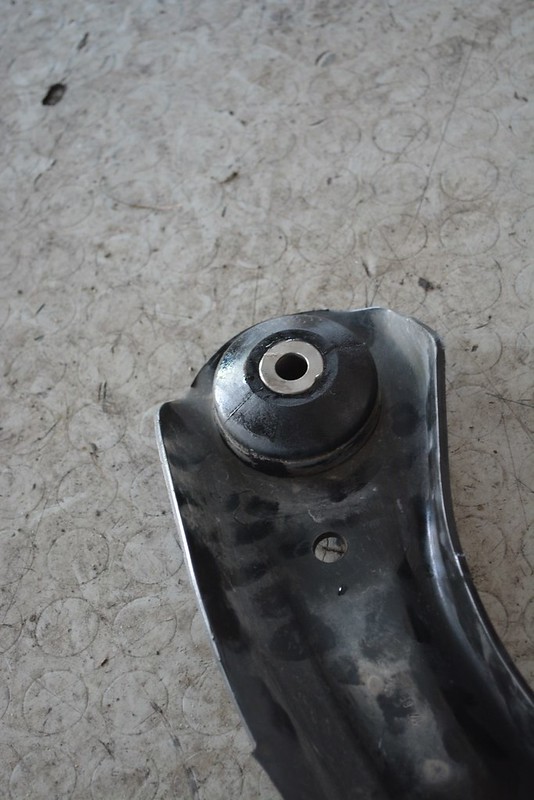
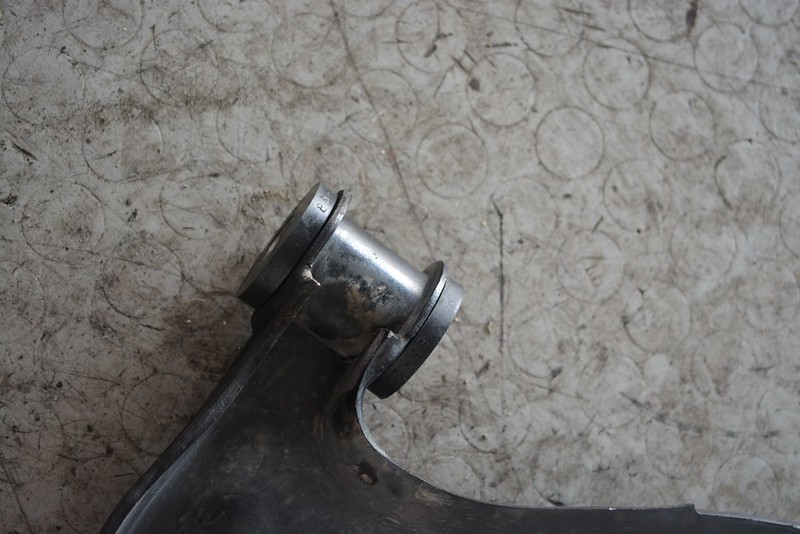
Then it was a matter of installing all of the new bushed and things to complete the puzzle
Old rear control arm bushings
 DSC_0504 by mgpdoc, on Flickr
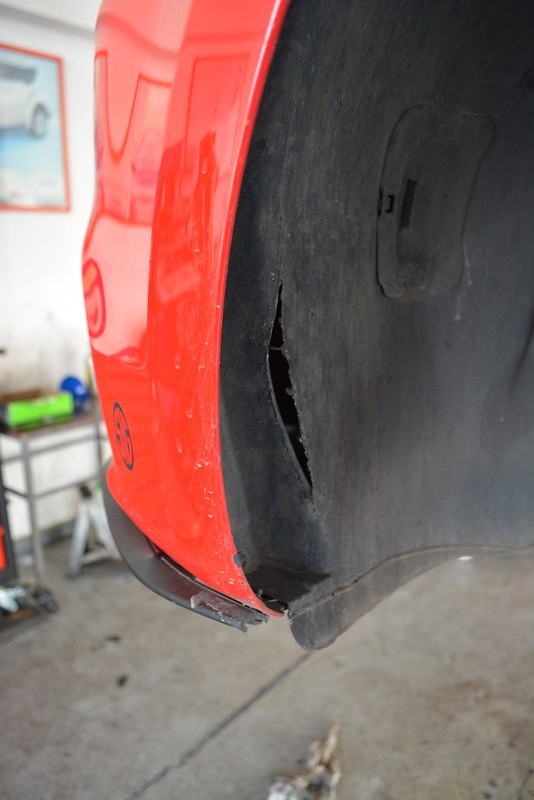
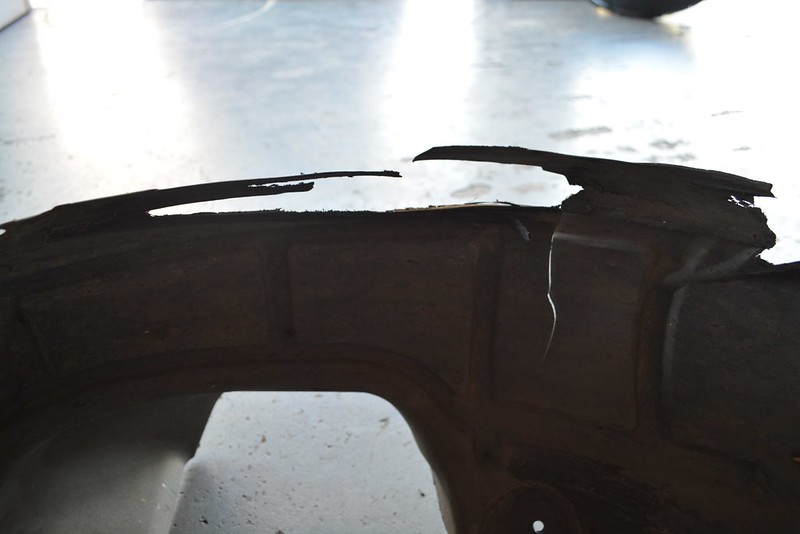
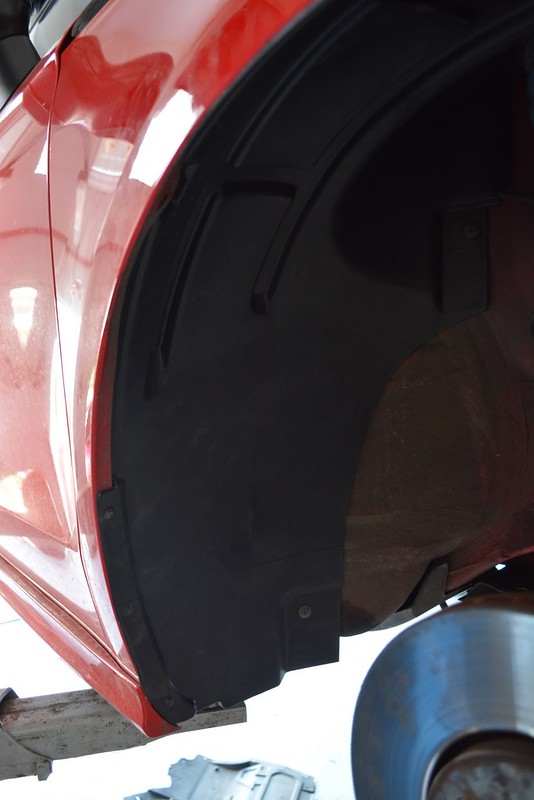
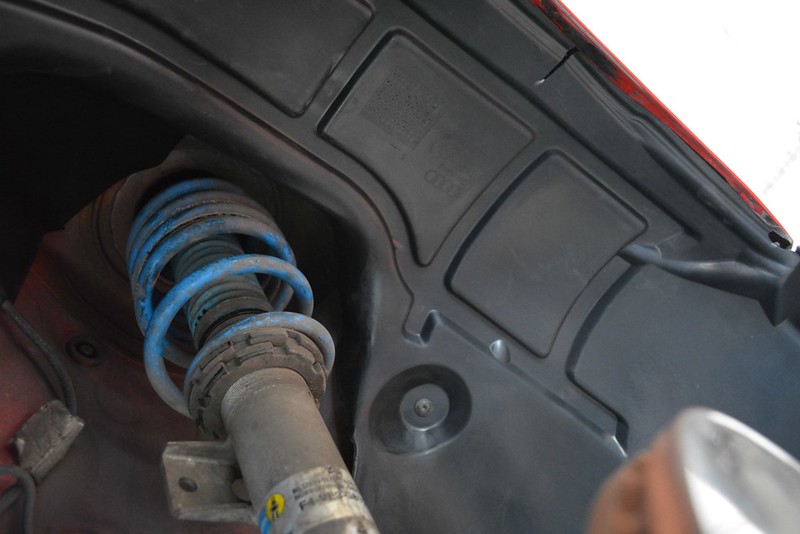
Inner Arches were tired
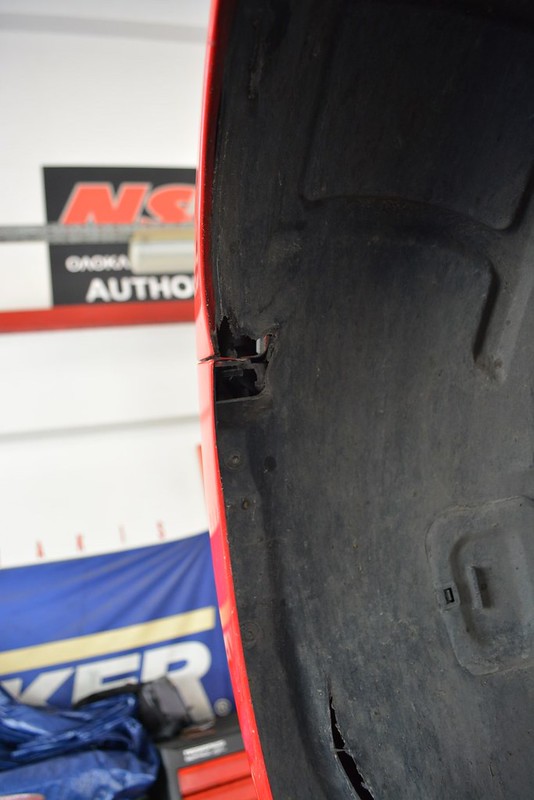 DSC_0505 by mgpdoc, on Flickr
 DSC_0506 by mgpdoc, on Flickr
 DSC_0517 by mgpdoc, on Flickr
Disassembling
 DSC_0507 by mgpdoc, on Flickr
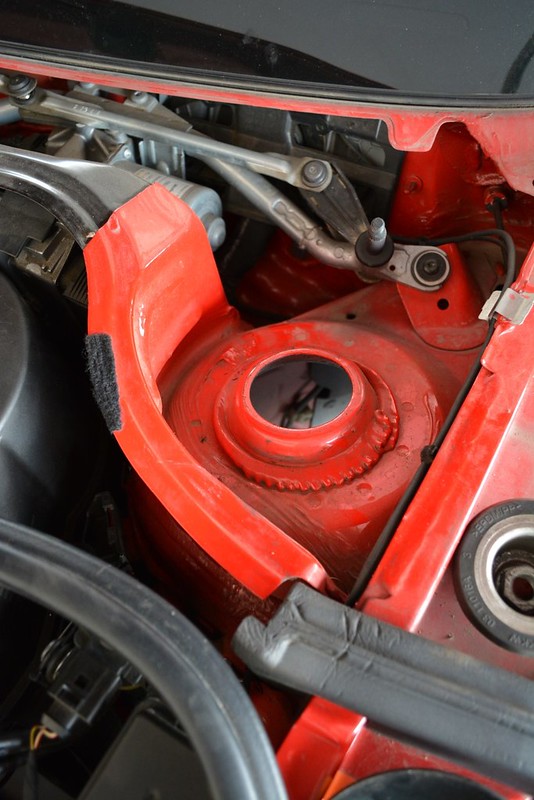
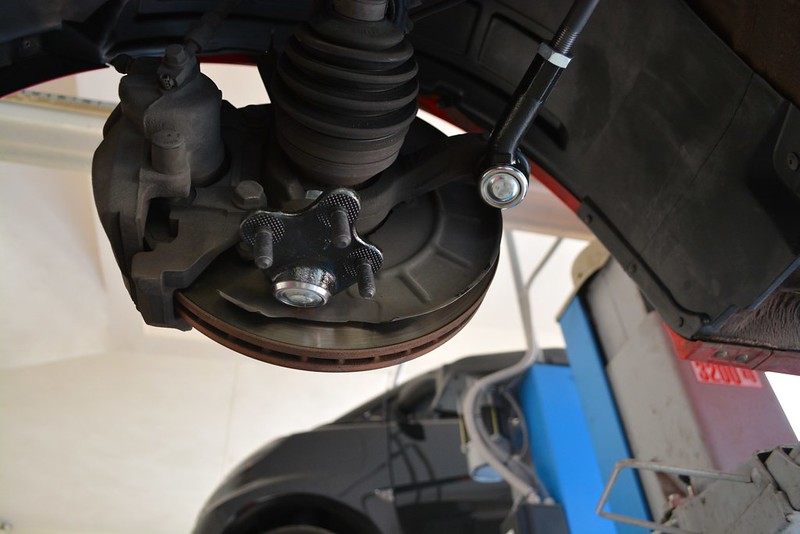
Front suspension removed for the top mount bushings and bearings
 DSC_0510 by mgpdoc, on Flickr
 DSC_0509 by mgpdoc, on Flickr
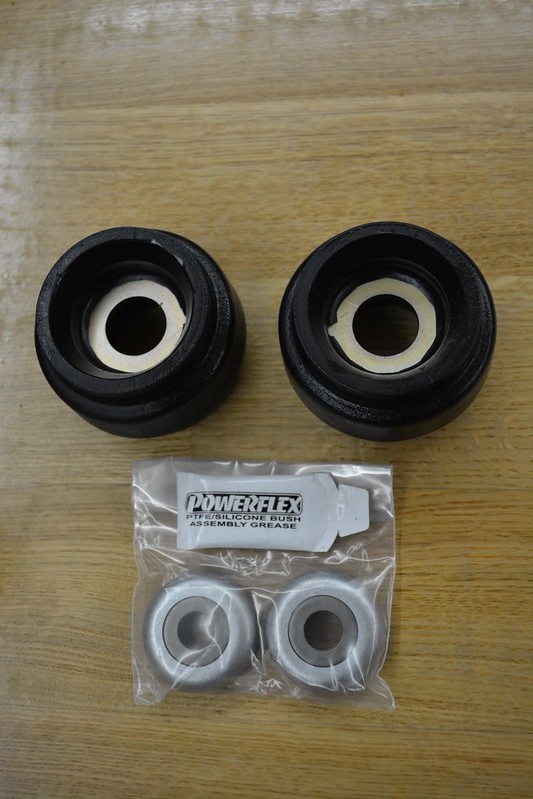
OEM vs Powerflex Black Bushings
 DSC_0511 by mgpdoc, on Flickr
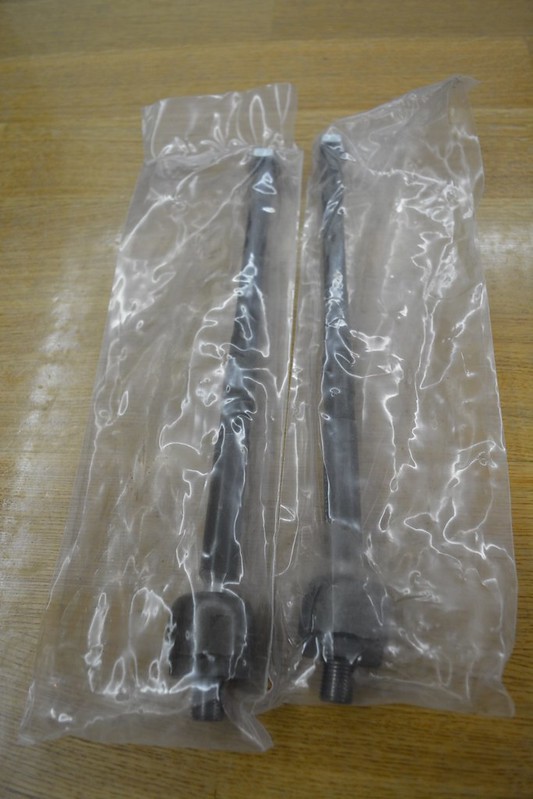
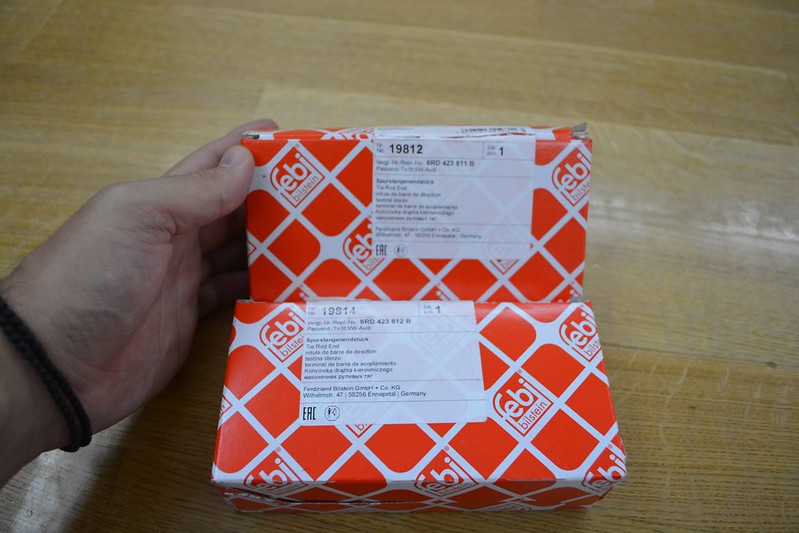
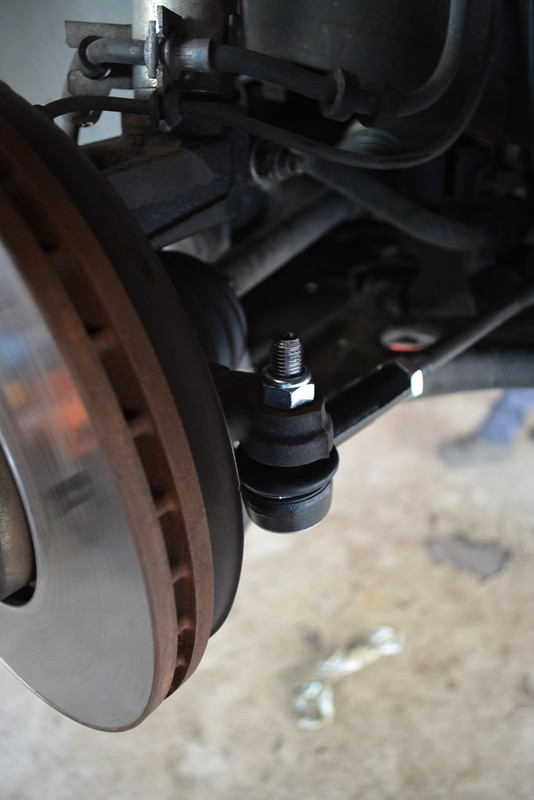
Steering rack ball joints, that love my wide wheels+Spacers+Ride Height combo a lot, i am sure
 DSC_0516 by mgpdoc, on Flickr
Control arms removed
 DSC_0519 by mgpdoc, on Flickr
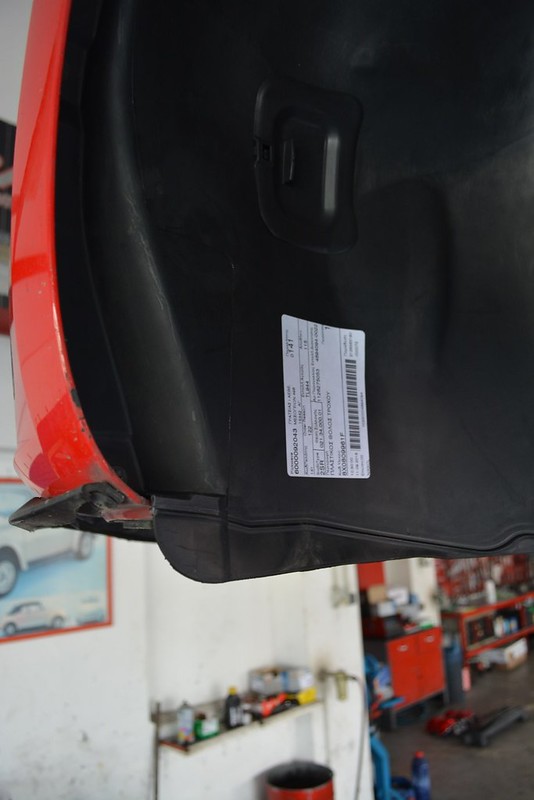
New arches bought from the dealership, ready to be installed
In place
 DSC_0520 by mgpdoc, on Flickr
 DSC_0521 by mgpdoc, on Flickr
 DSC_0522 by mgpdoc, on Flickr
I need to clean my suspension, makes me sad to see it like that
 DSC_0523 by mgpdoc, on Flickr
Putting shinny things back on
 DSC_0524 by mgpdoc, on Flickr
 DSC_0514 by mgpdoc, on Flickr
 DSC_0527 by mgpdoc, on Flickr
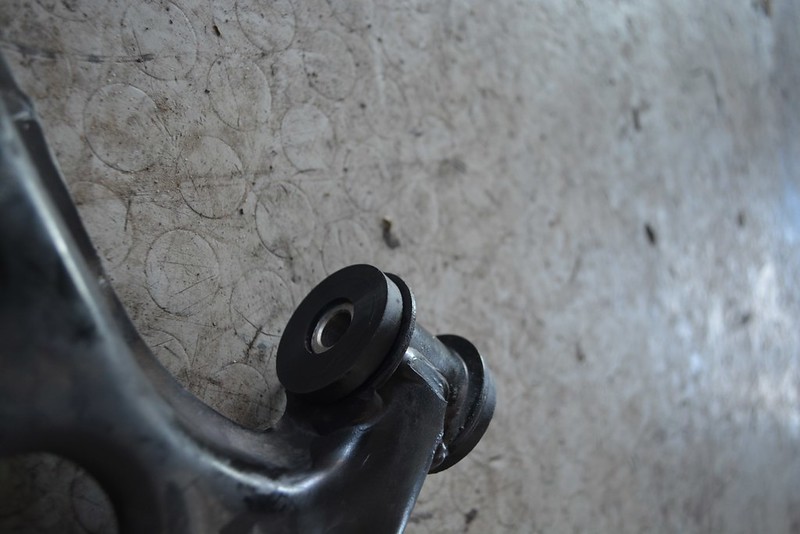
Old bushings removed, new ones, Powerflex black bushings front and rear, in place
 DSC_0529 by mgpdoc, on Flickr
 DSC_0530 by mgpdoc, on Flickr
These are not only firm, but also, stealthy, noone knows they are there, except for you. Ok maybe the passenger as well.
 DSC_0532 by mgpdoc, on Flickr
 DSC_0533 by mgpdoc, on Flickr
 DSC_0535 by mgpdoc, on Flickr
Until i show you some final photos after the alignment and fitment of the new suspension components, here's a small, but not cheap side projects i have been working on.
 DSC_0501 by mgpdoc, on Flickr
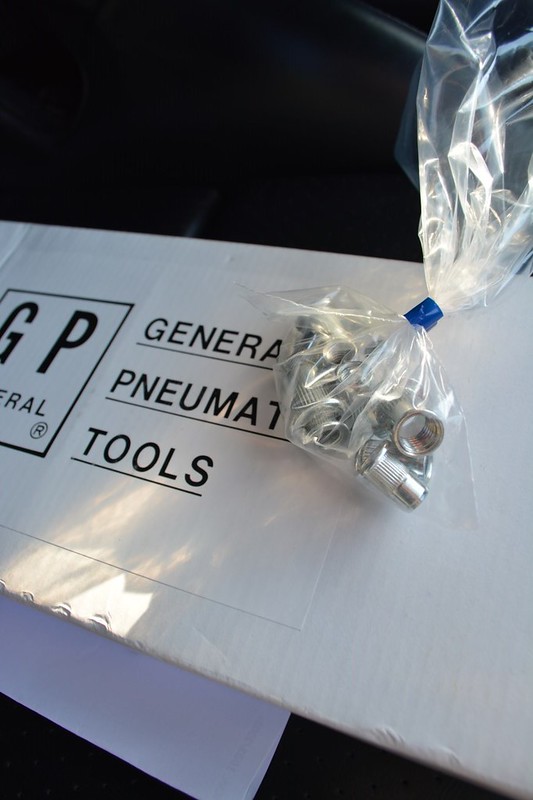
Any ideas ?
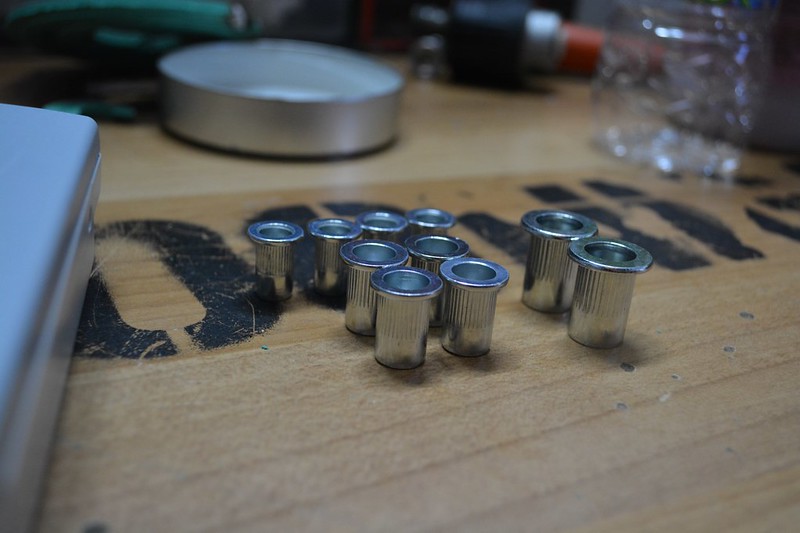
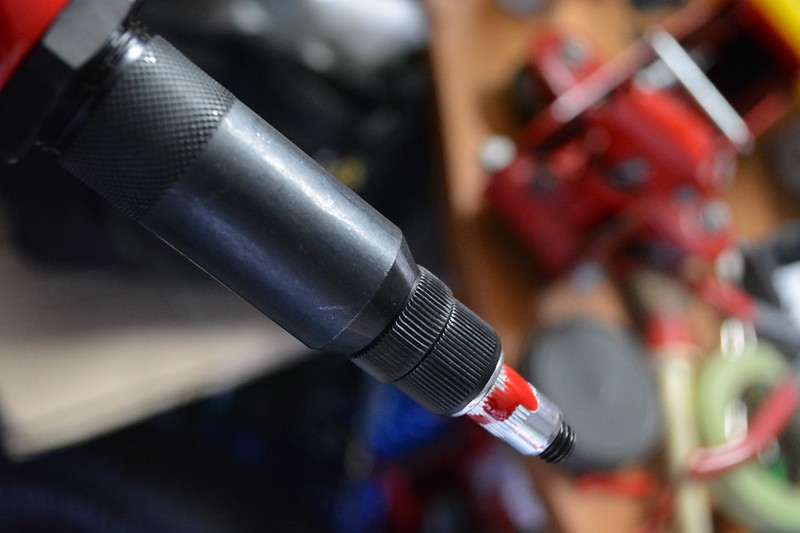
I bought this expensive bad boy. It is suitable for M5, M6, M8 and M10 rivnuts. I always wanted this, and instead of going to body shops, have one just for me. This gives you the ability to go oem fitment on all custom mounted parts, so it's just what i wanted.
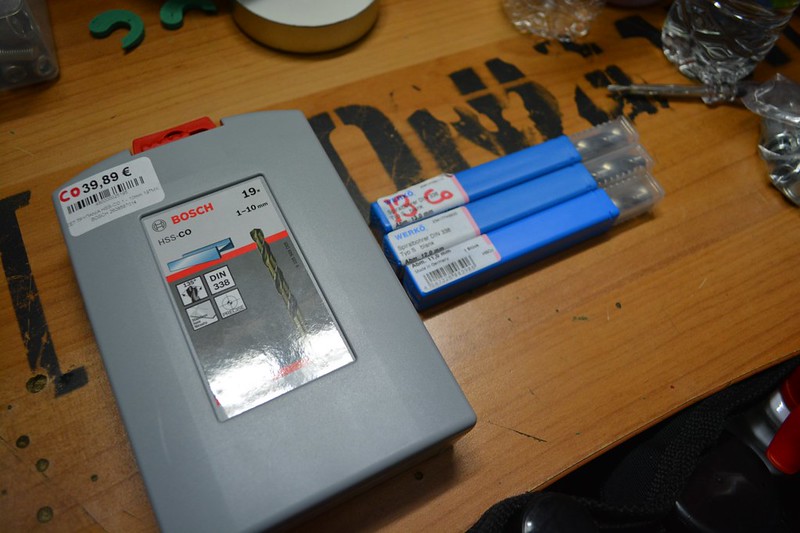
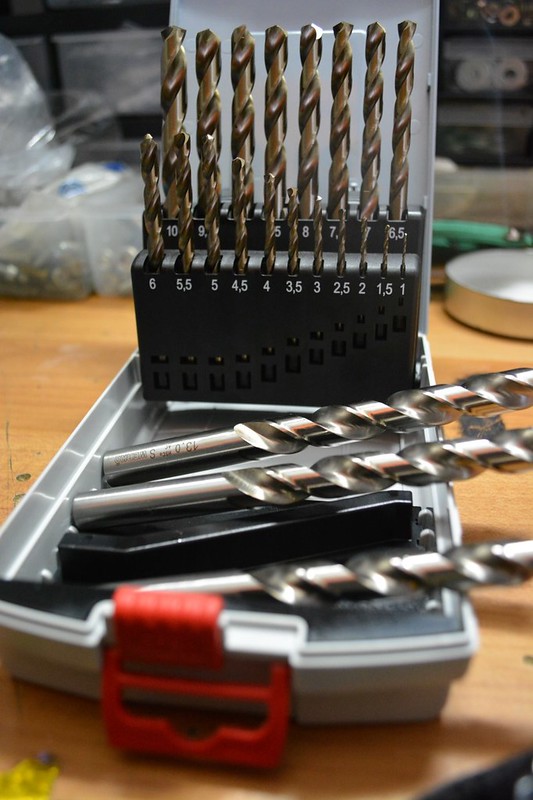
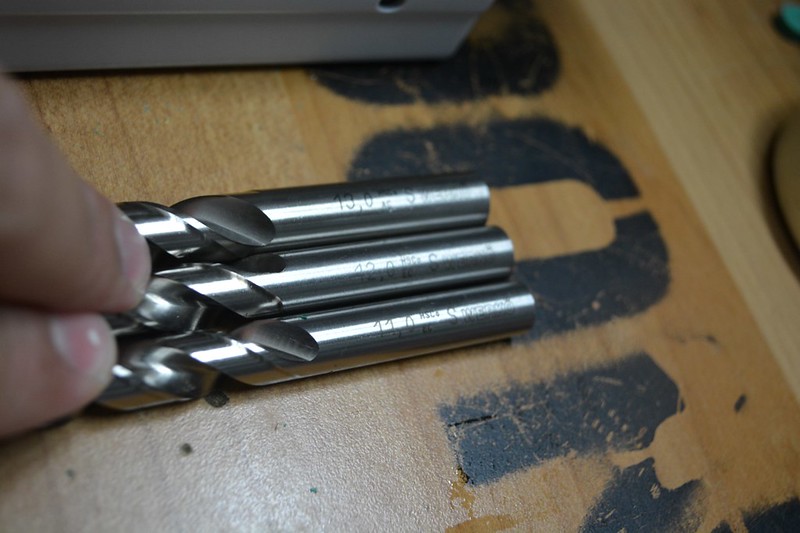
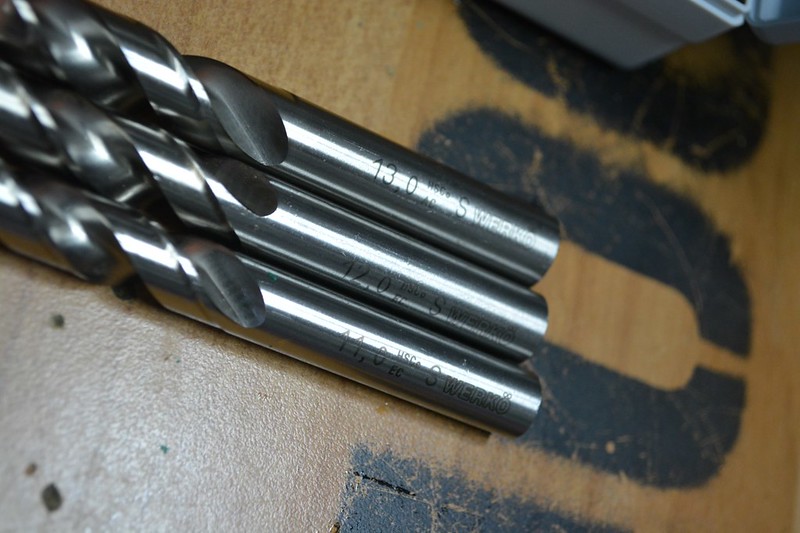
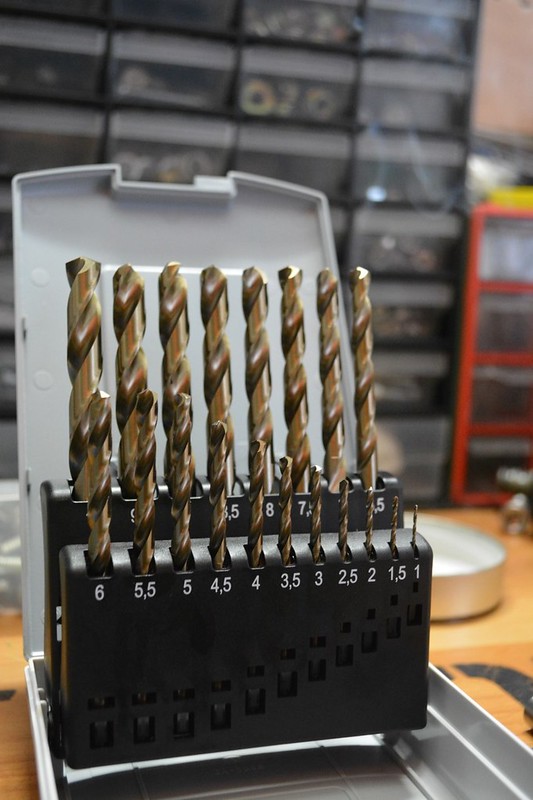
Also acquired some cobalt drill bits all the way to 13mm. Cant go wrong with quality tools i guess.
 DSC_0550 by mgpdoc, on Flickr
 DSC_0551 by mgpdoc, on Flickr
 DSC_0553 by mgpdoc, on Flickr
 DSC_0555 by mgpdoc, on Flickr
 DSC_0557 by mgpdoc, on Flickr
 DSC_0559 by mgpdoc, on Flickr
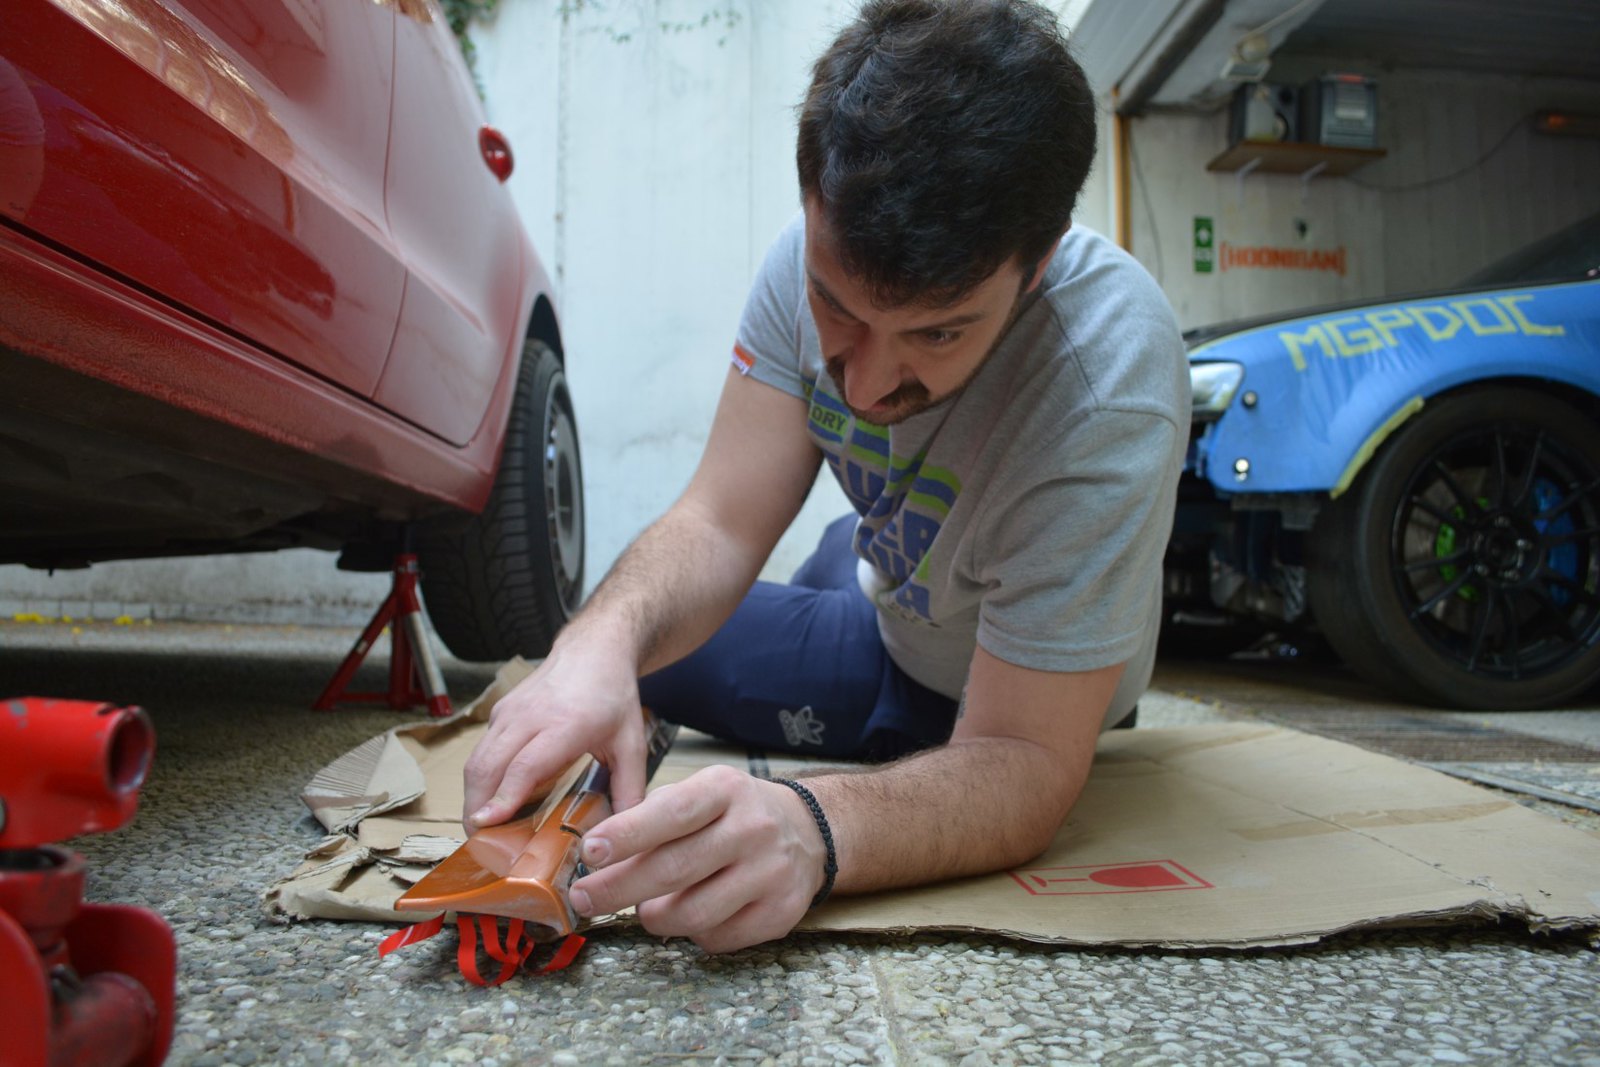
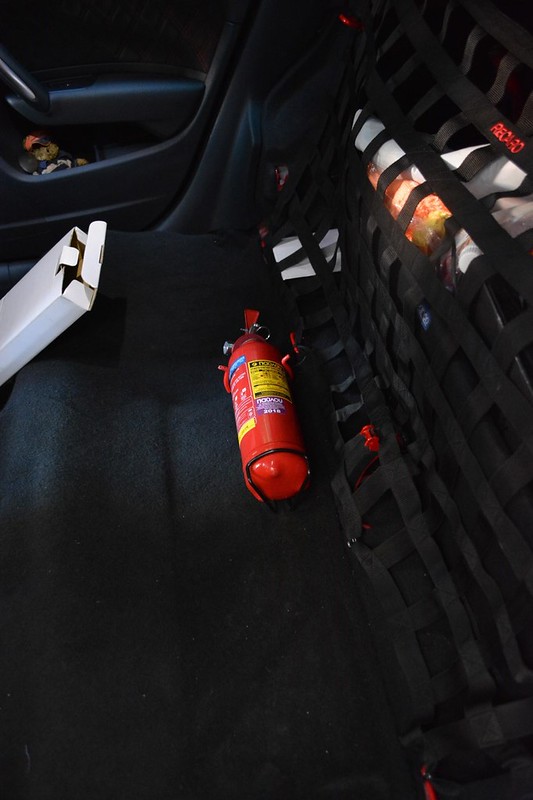
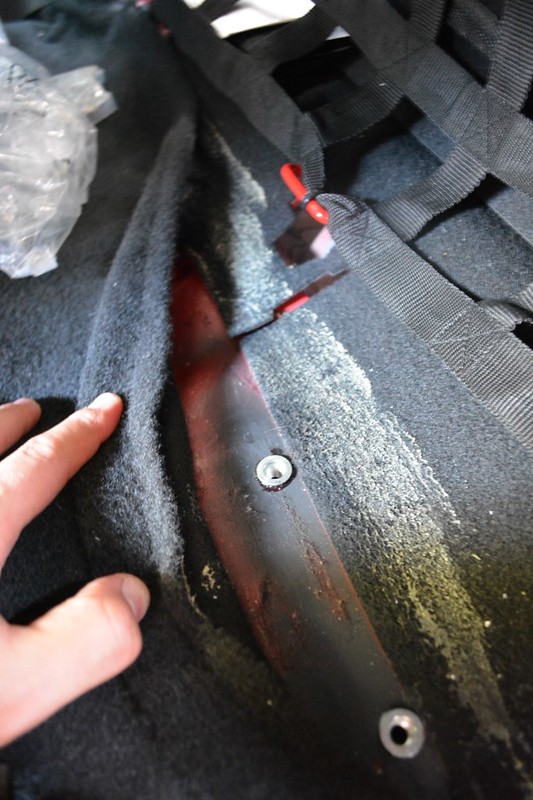
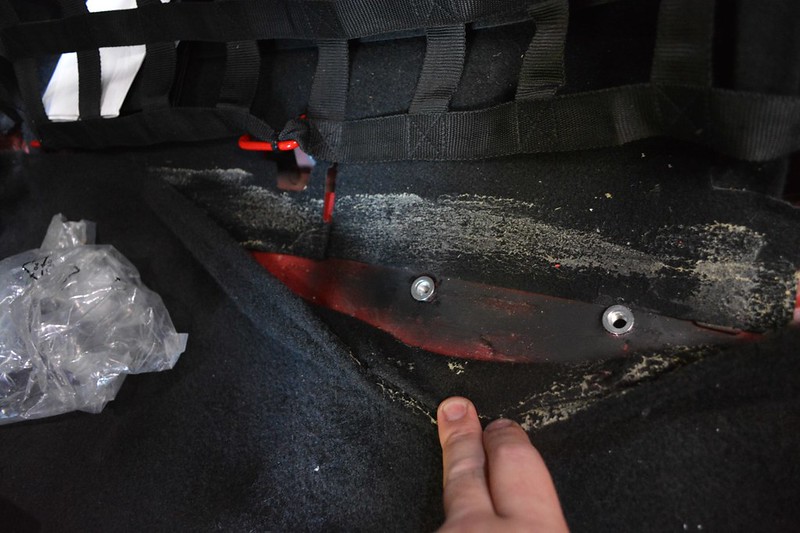
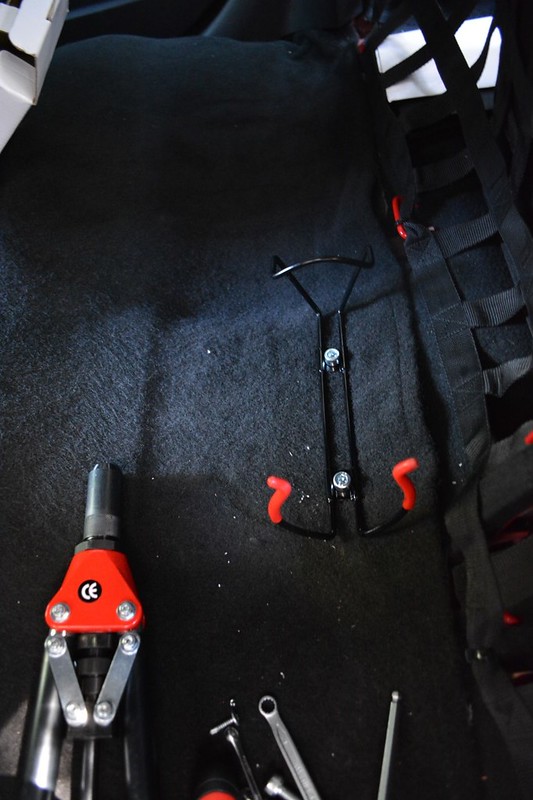
First job i tried it on, was the rear fire extinguisher mount.
 DSC_0538 by mgpdoc, on Flickr
It was installed with self-tapping screws, which due to vibrations, at some point, fail.
 DSC_0549 by mgpdoc, on Flickr
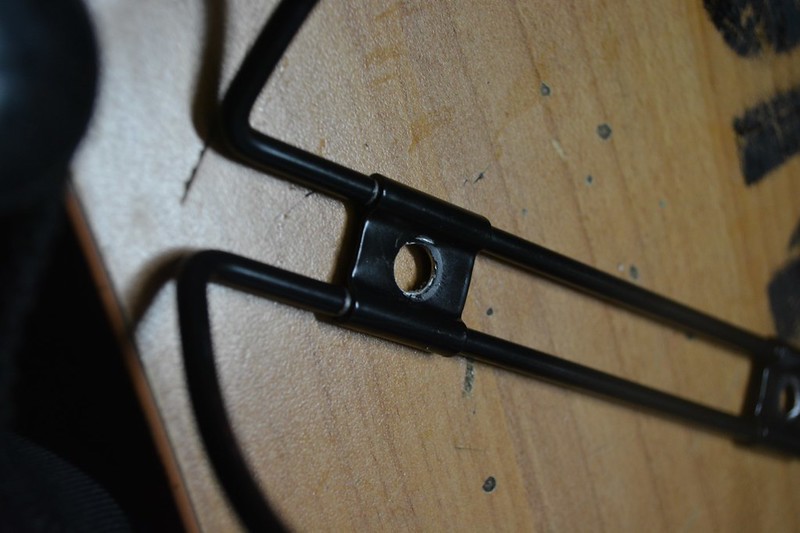
Drilled the holes to 8mm
 DSC_0560 by mgpdoc, on Flickr
M8 Rivnut with some red loctite
 DSC_0561 by mgpdoc, on Flickr
 DSC_0567 by mgpdoc, on Flickr
 DSC_0570 by mgpdoc, on Flickr
Ah, better
 DSC_0579 by mgpdoc, on Flickr
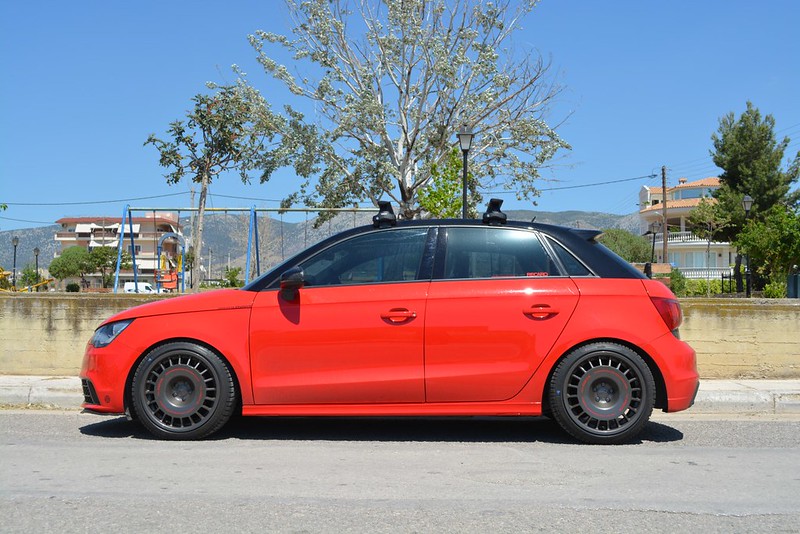
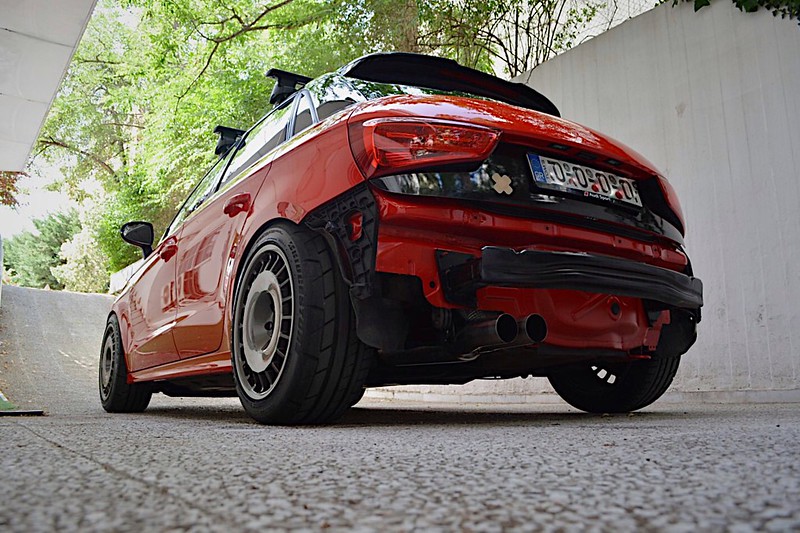
Now, for the fitment photos, after the suspension has settled. Car feels amazing, mush stiffer but in a good way, not here and there, more like in one place. Sharper, and precise
 Untitled by mgpdoc, on Flickr
Without doing anything to the front ride height from the suspension settings, look how much higher it sat from the changes of components....
 Untitled by mgpdoc, on Flickr
 Untitled by mgpdoc, on Flickr
 Untitled by mgpdoc, on Flickr
Cheers everyone, I hope you liked the updates
For faster updates, as always, follow me on instagram, @mgpdoc
Audi RS4PRA | VW Golf MKV GT-Y | Audi A1 SportBackComment


Comment