 Tweet
Tweet
Originally posted by parttimeprojectionist
View Post
-
Wow! Thank you for the kind words, I truly appreciate it! And yes, the community here in stanceworks is truly awesome! -
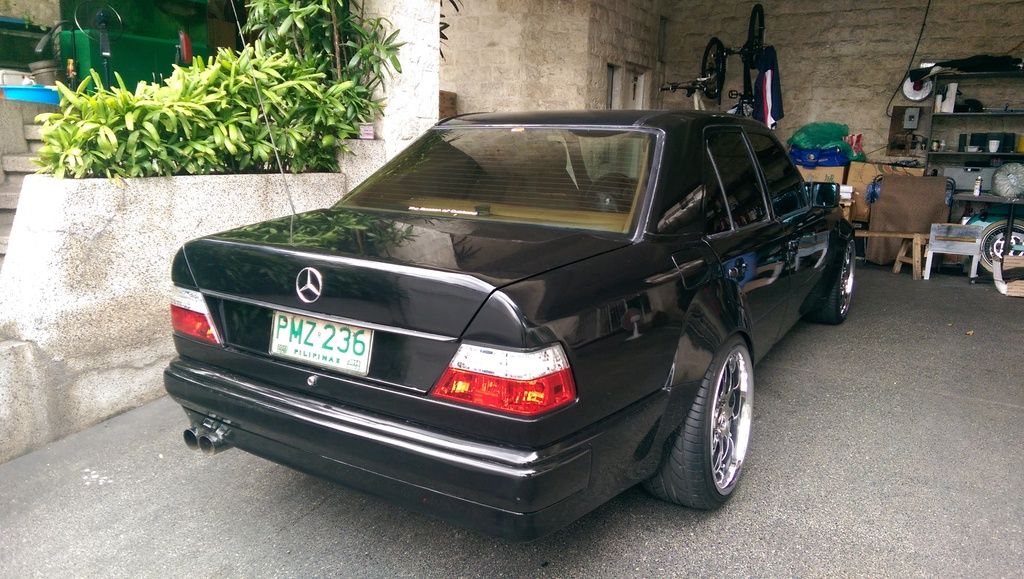
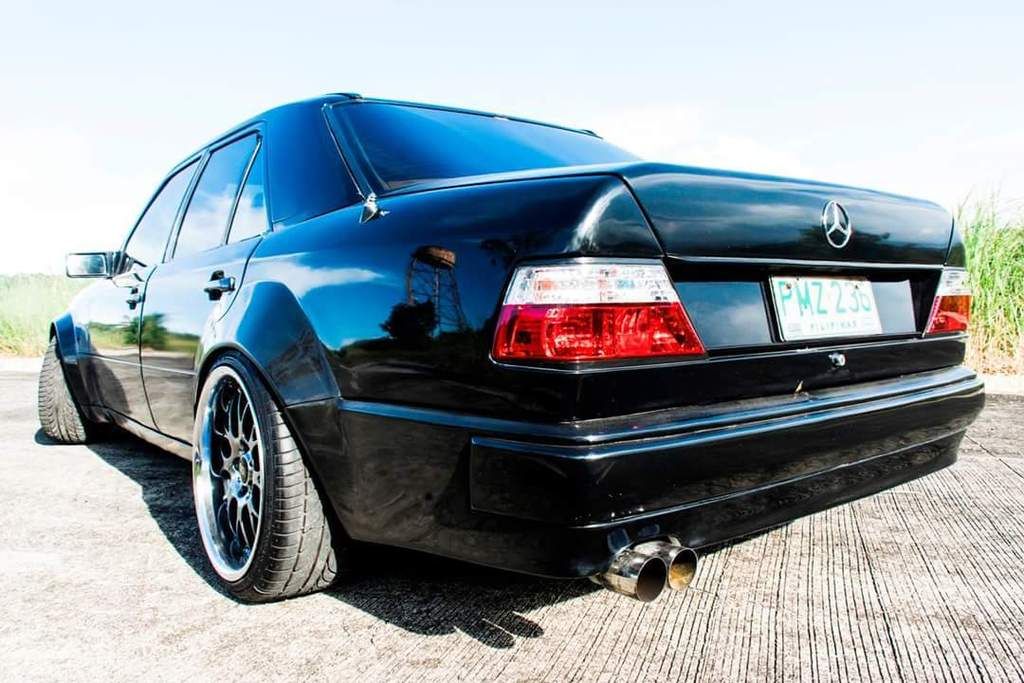
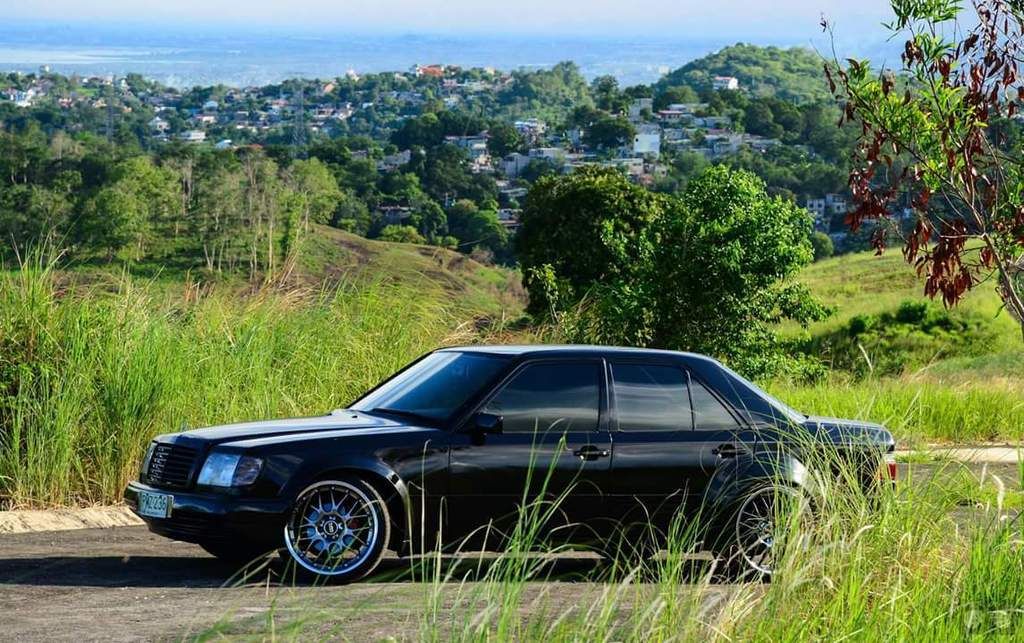
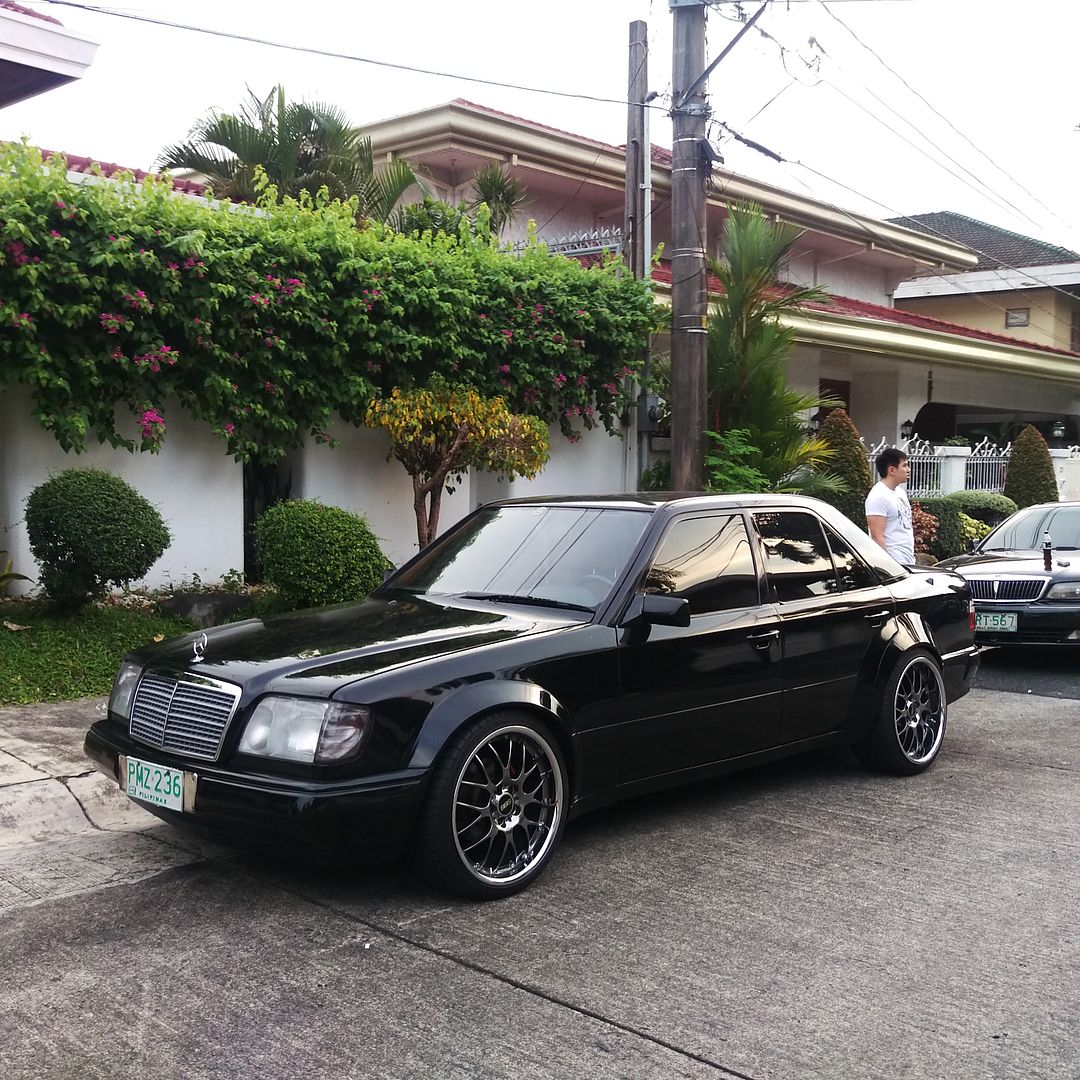
Okay. So a few weeks ago. I brought the car back to the shop to take care of some issues. And I visited a lot to make sure that e erything would be fixed well. I was able to bring home the car today and I am definitely happy!!!*
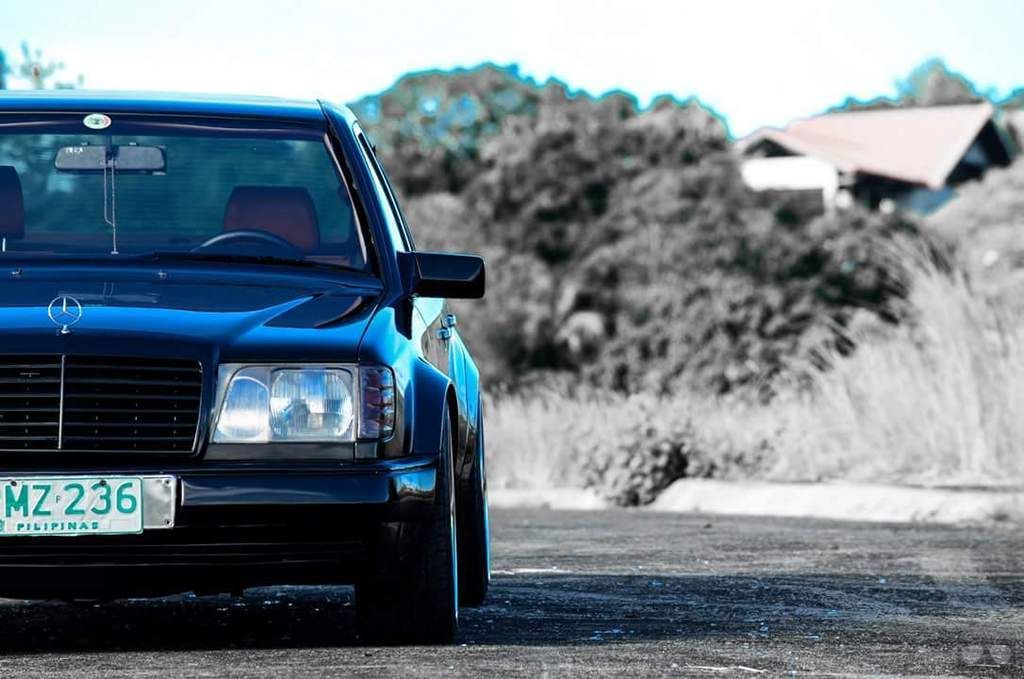
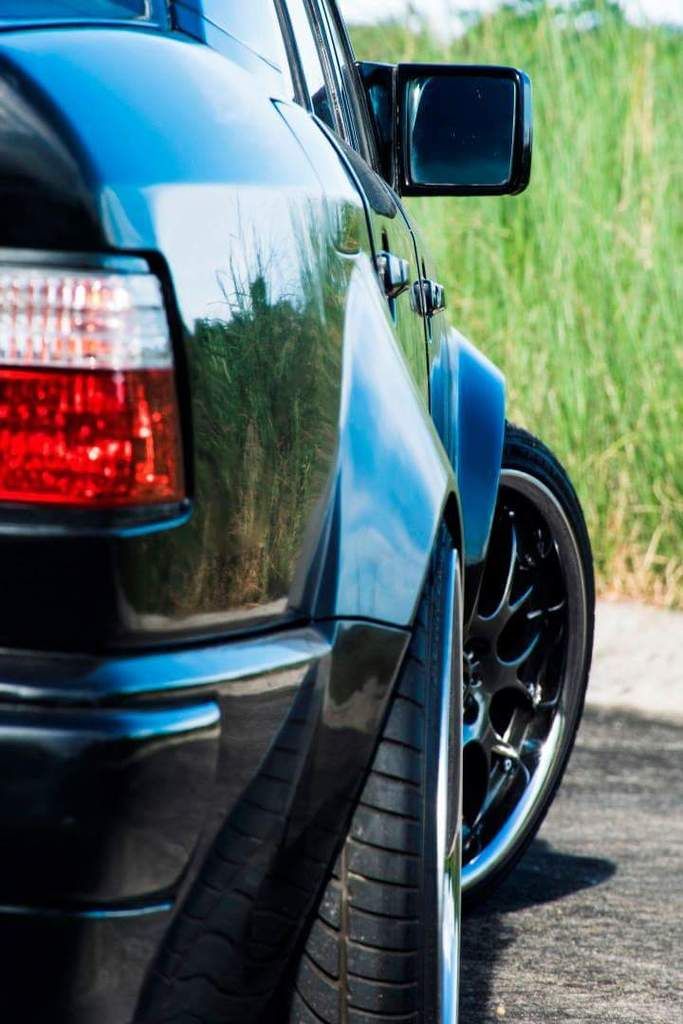
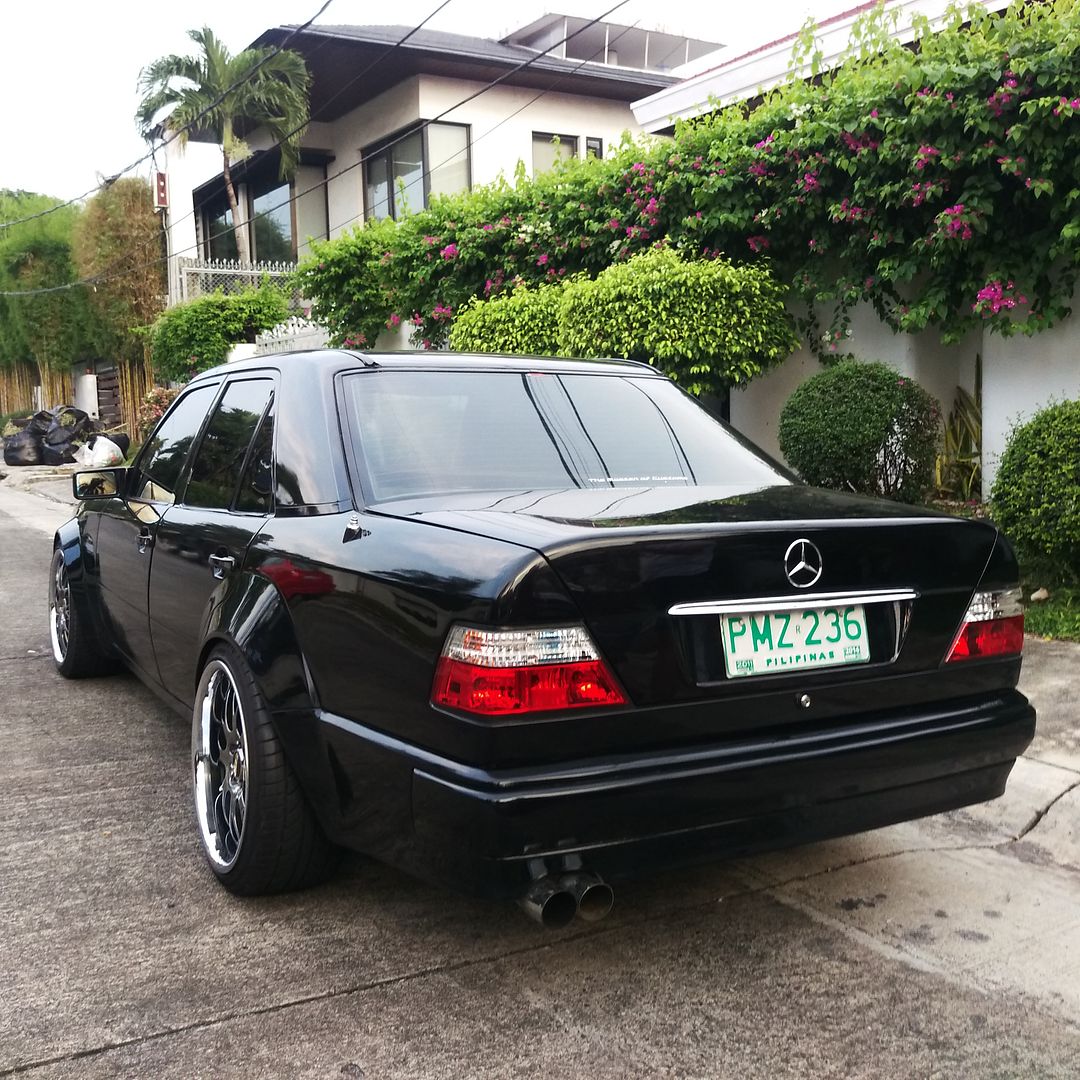
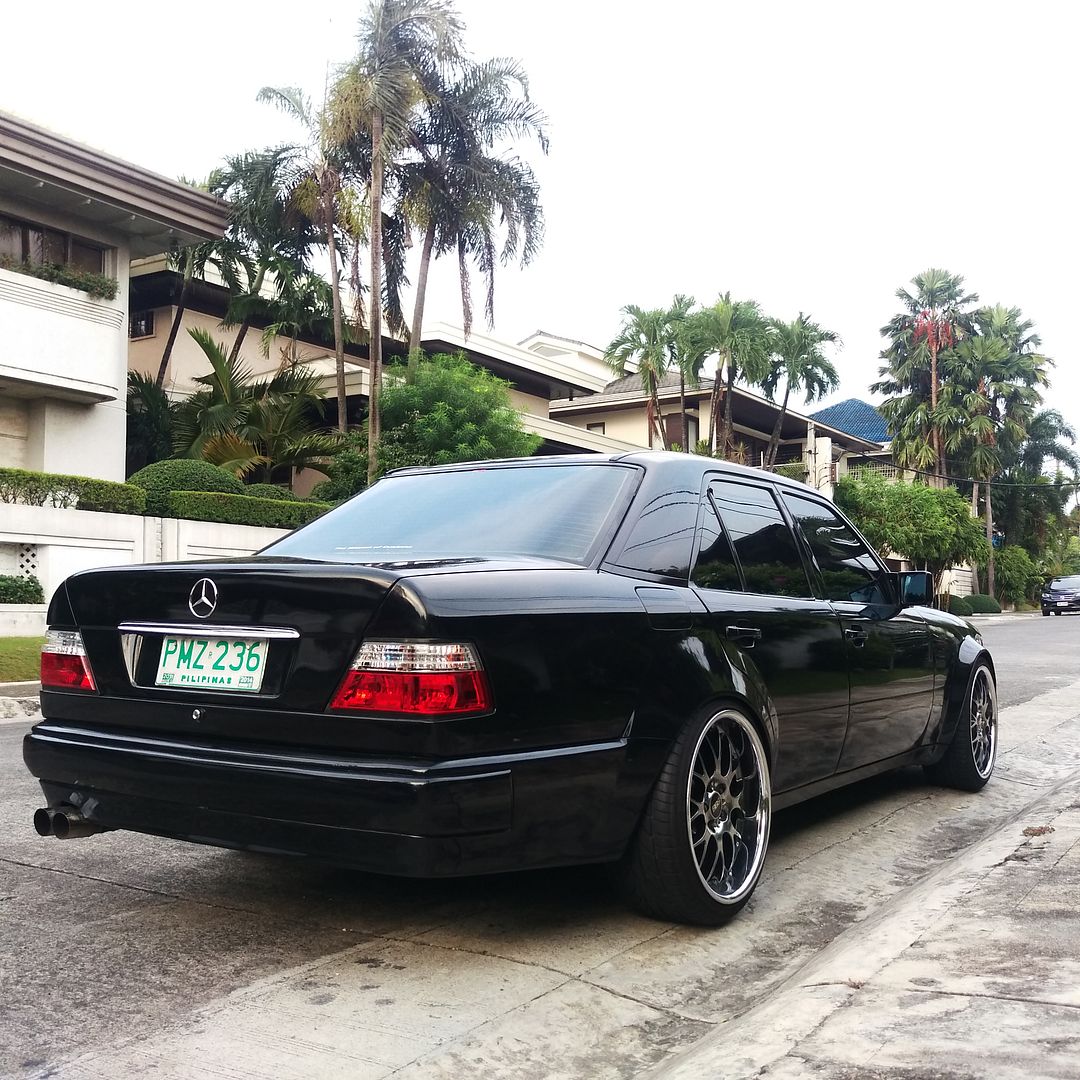
The front fenders are now fixed, tried to replicate the 500e ones. Also did the 500e bumper on the rear(it's extended as compared to the non 500e bumpers) it's not that obvious. but for those people who know the 500e, you'd easily spot it.*
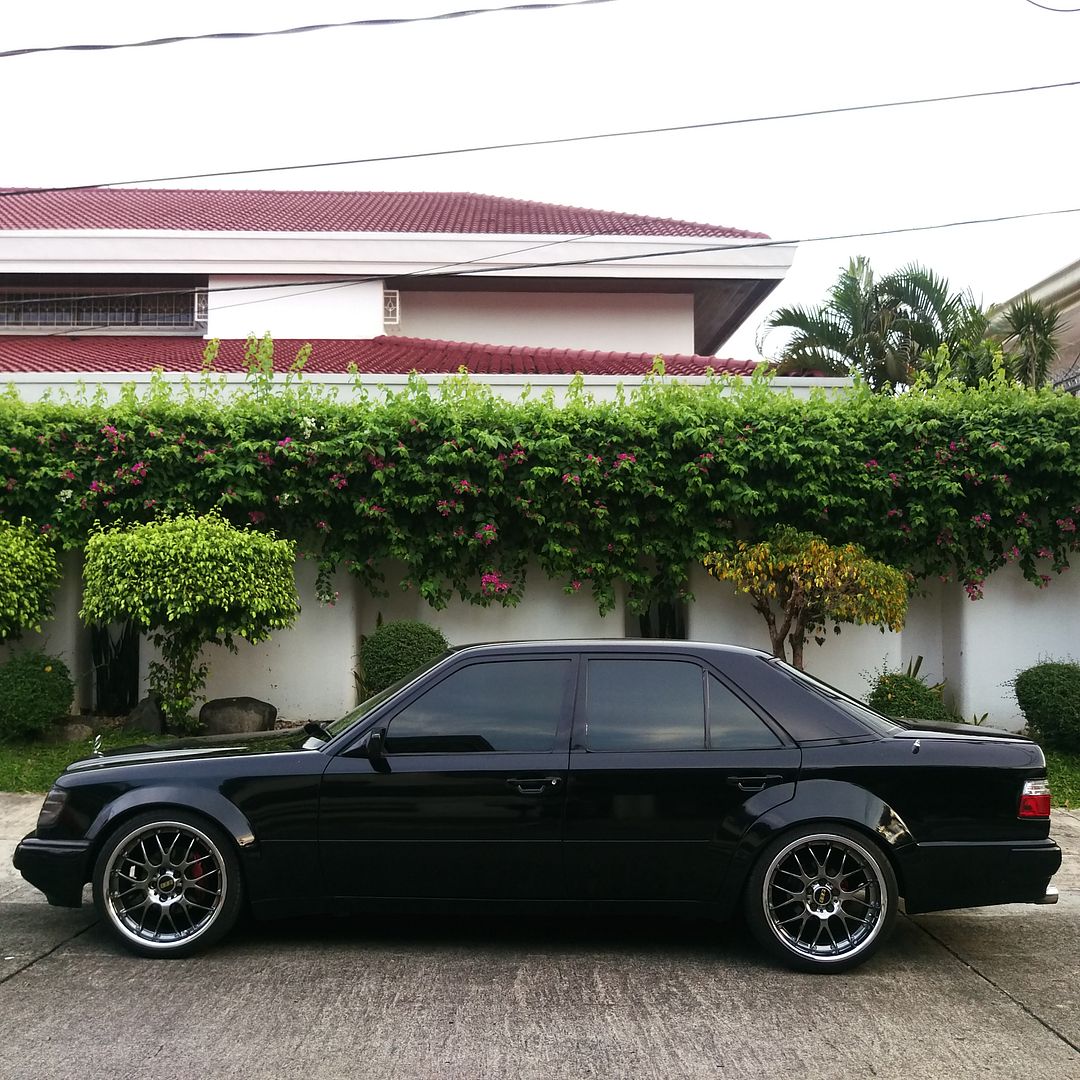
Here are some pics from today:*

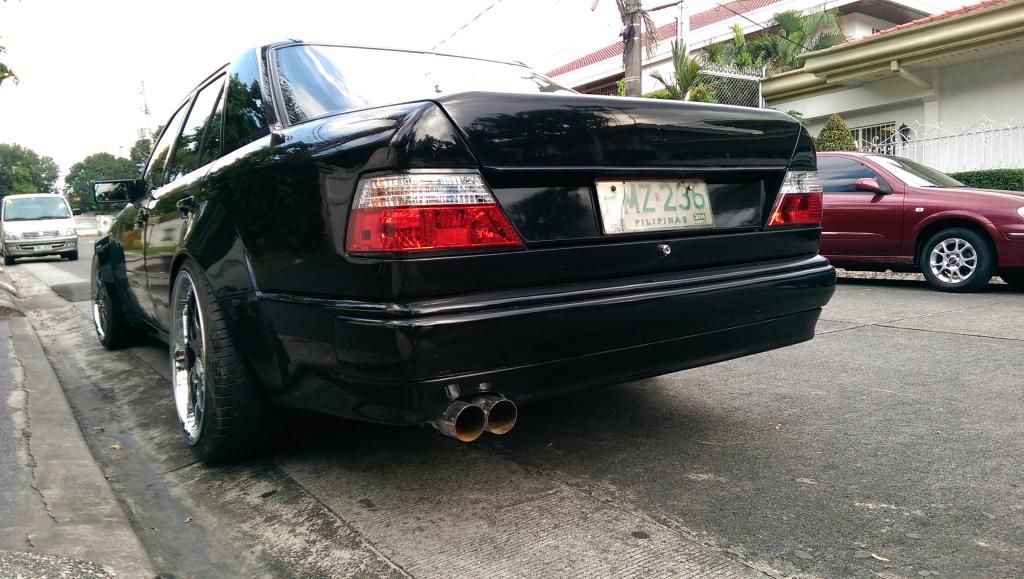
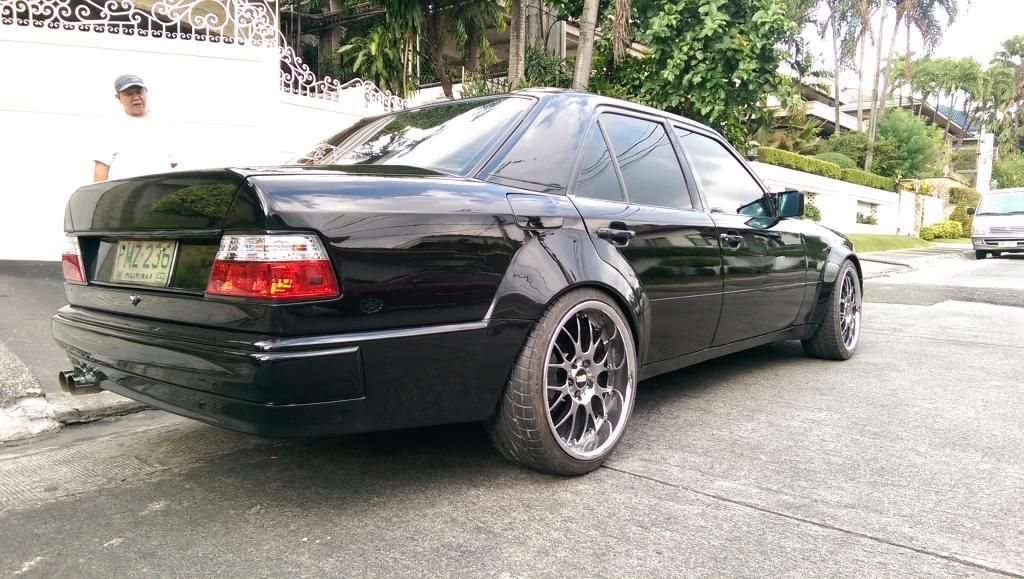
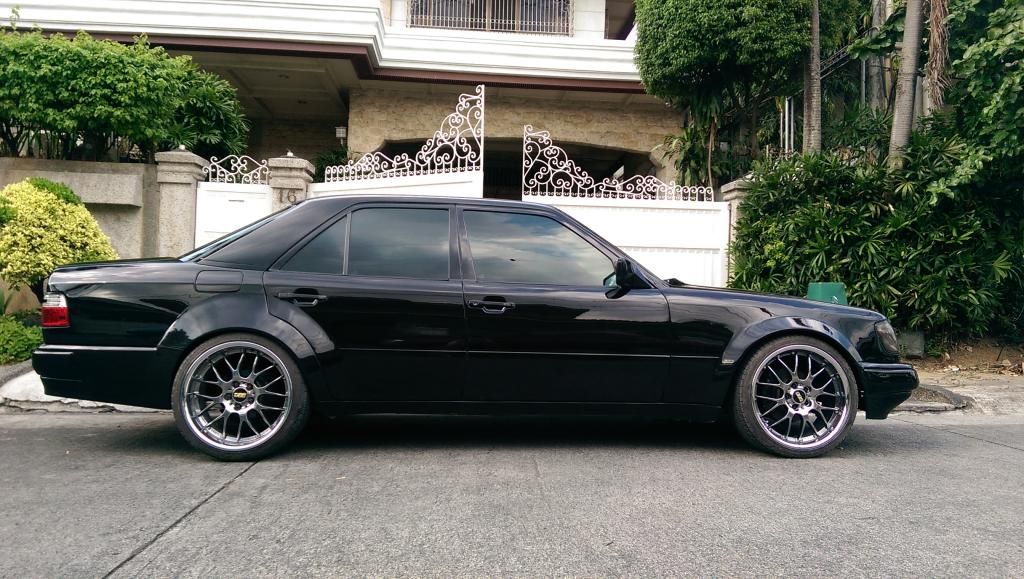
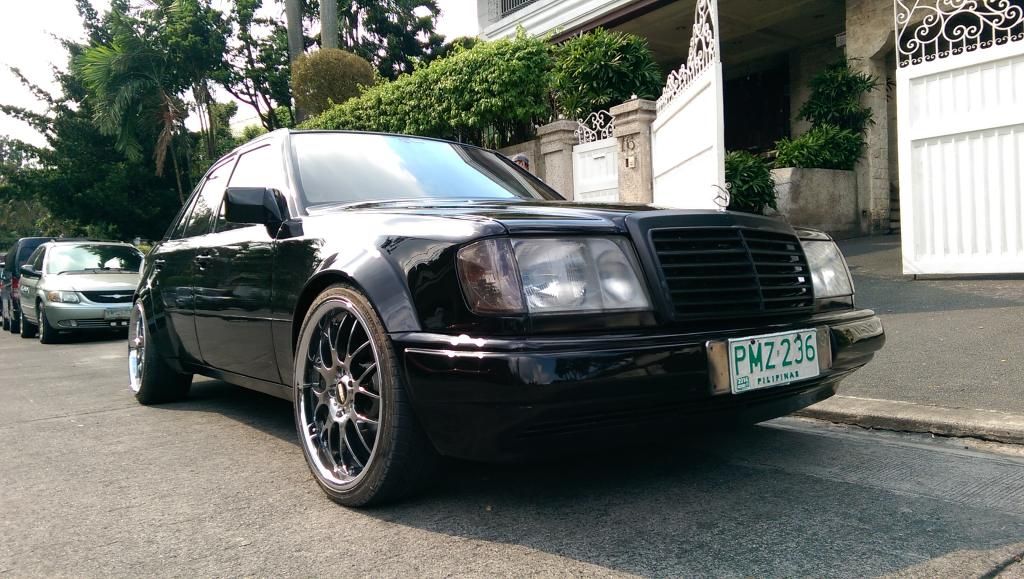
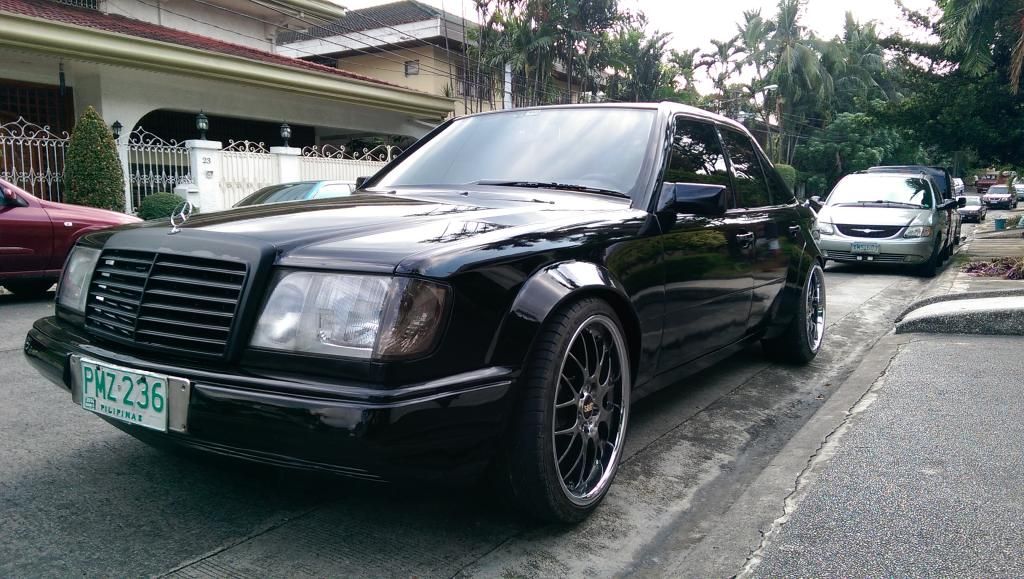
I think it looks so much better than before! Now... Time to replicate the 500e front bumper OR the AMG aero 1 or 2 front bumper. We shall see what will happen!*
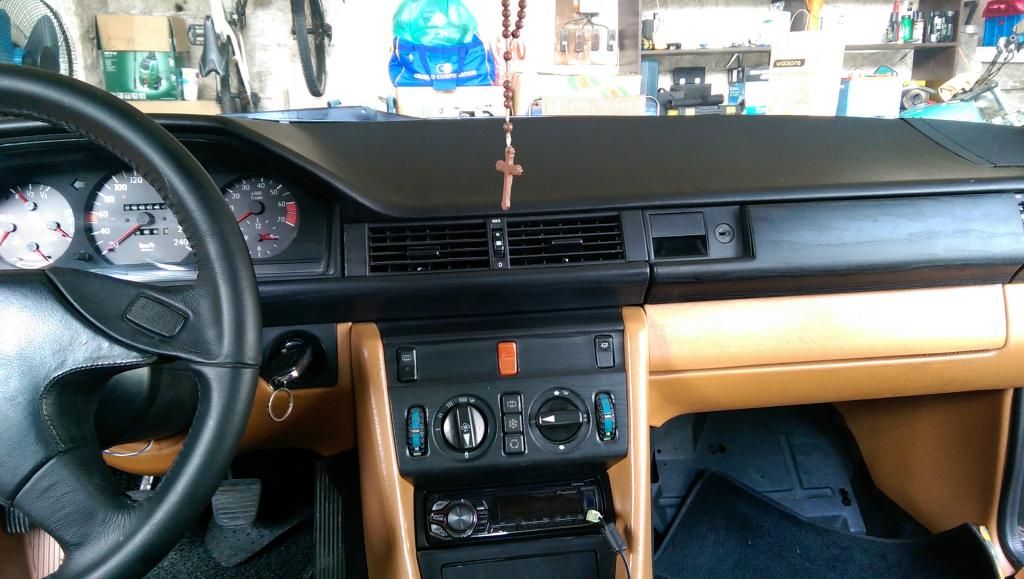
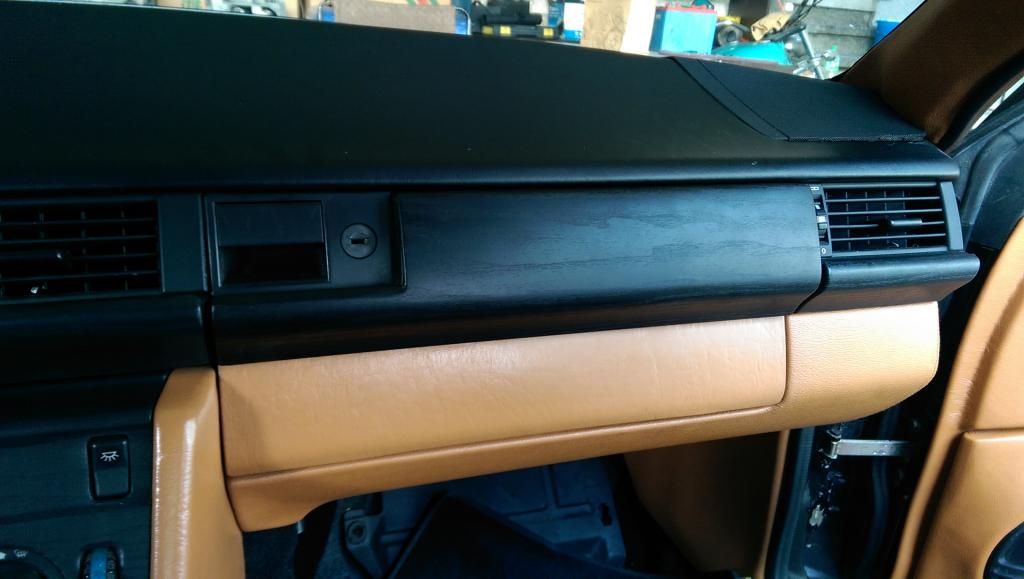
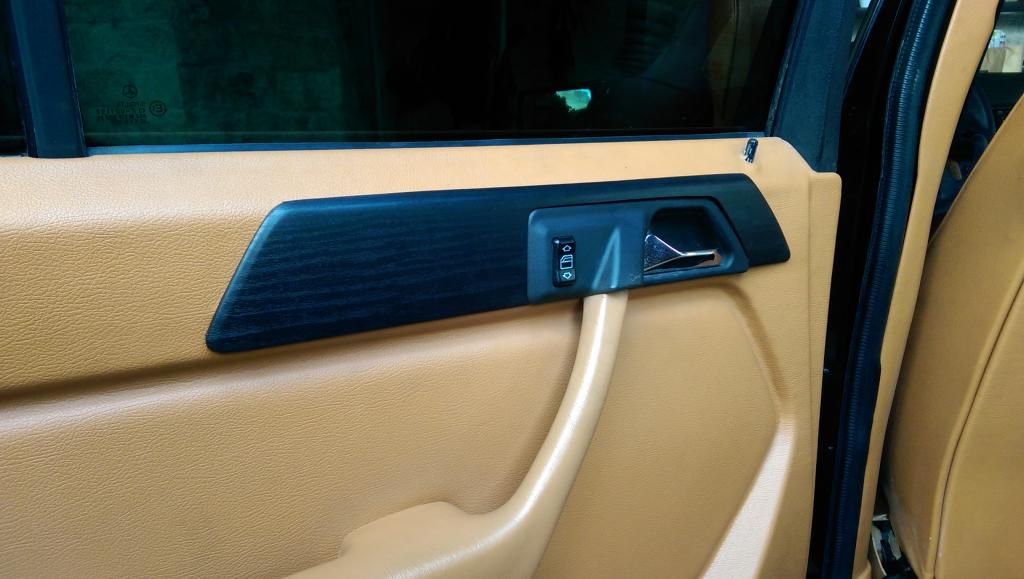
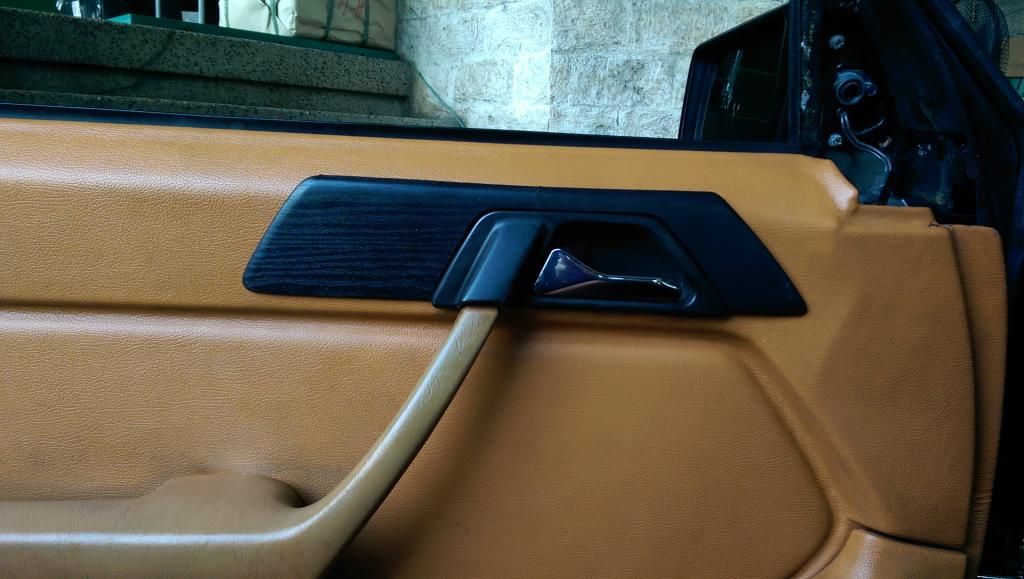
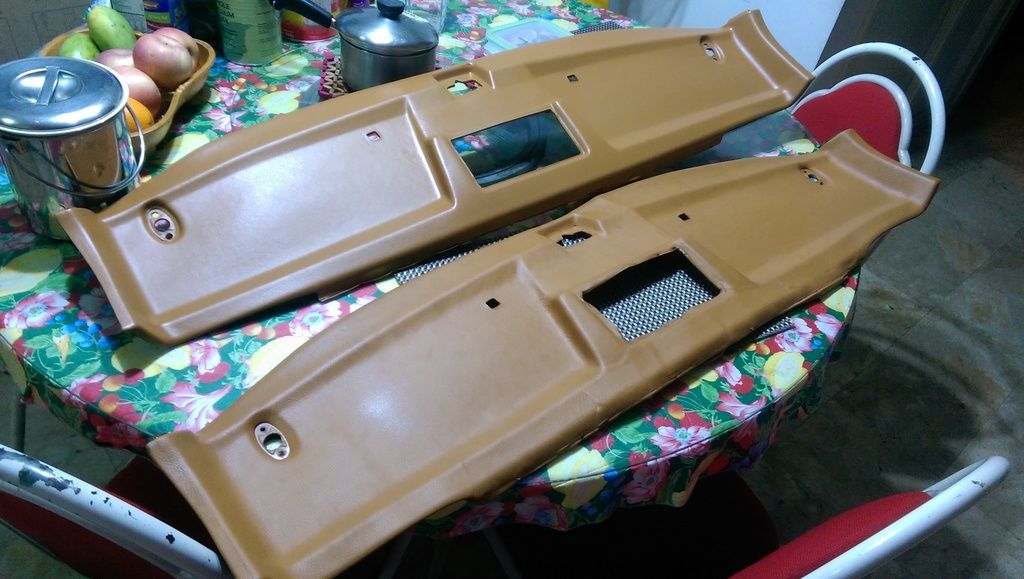
Oh,and I also installed the wood trims that I covered with vinyl. I shall apply resin on it some other time. For now, it will stay matte. Looks good I think. *It flows very well with the car's interior. Agree?*
Also. I used 3M double sided tape (the gray one with the red backinng) to attach thesez but they stick out a little because the double sided tape is too thick. Might use something else for this but this will do for now.*
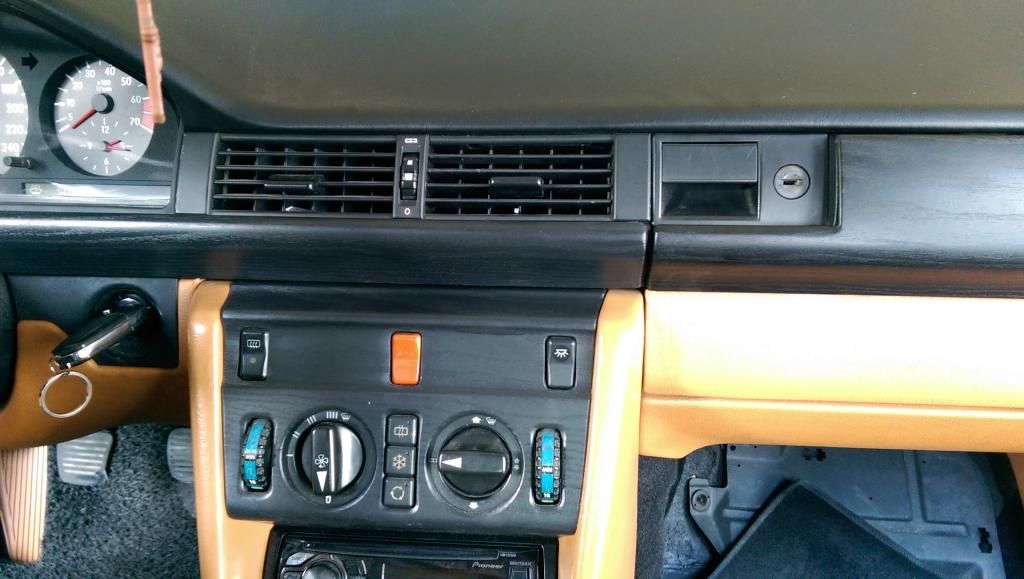
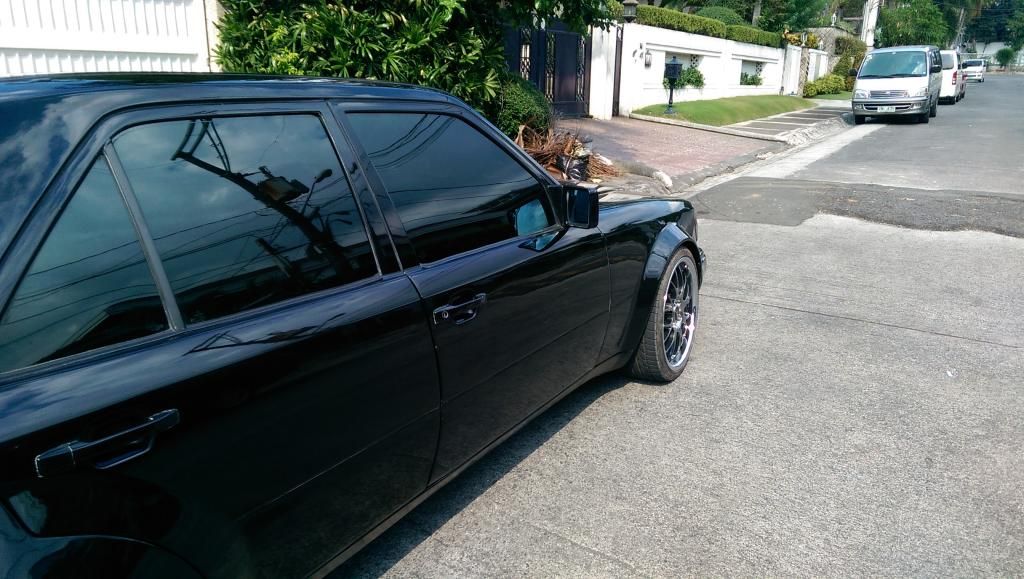
These are the fronts. Hehe the cut wasn't that noticeable! Perfect!*
That's all for now!*
Oh, I tried selling my hood to I could upgrade to the e look one. Some guy is coming over to take a look at the hood. Hope I sell it tomorrow so I could finally facelift this! That way the headlights wouldn't look out of place!*Comment
-
A tad lower in the front and your golden. I'm really happy you went this route with the car man. It looks 100,000,000 times better imo.Instagram : @SHMVNY_GVNGComment
-
Subbed! Amazing to see the style change so quickly. I second/third/whatever everyone who suggested 17's said. Ditch the 19's for more low."Not on that low piece of shit."Comment
-
looking so much better now, that wood trim flows perfectly being matte and subtle. Keep up the good work.My super boring build http://www.stanceworks.com/forums/sh...other-M3-buildInsta MintyhinrichsComment
-
Yeah I have some plans for the front! Thankyou so much! I agree, I think it looks a million times better than before! So happy I went this route!Originally posted by mikey G View Post
I'm currently selling the 19s! There are some potential buyers already. I hope I sell them asap! I am eying this set. they're 18x8.5 and 18x10. Should be perfect! Only problem is that they're 114 and mines 112. I'll have to change my spacers.... $$$$$ :'(((Originally posted by a4b6usp View Post
Should look good on the 124 right?Comment
-
So much better.
Comment
-
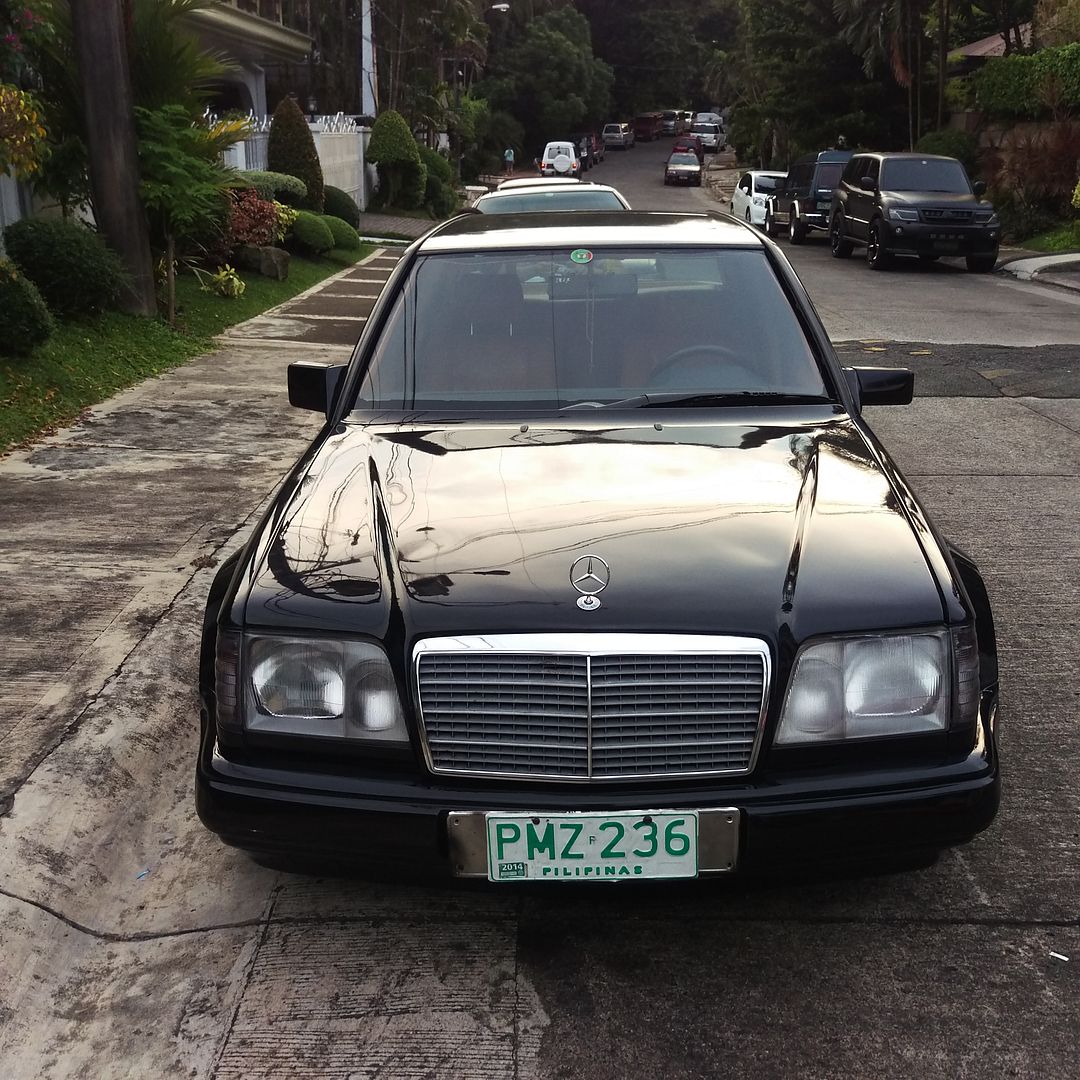
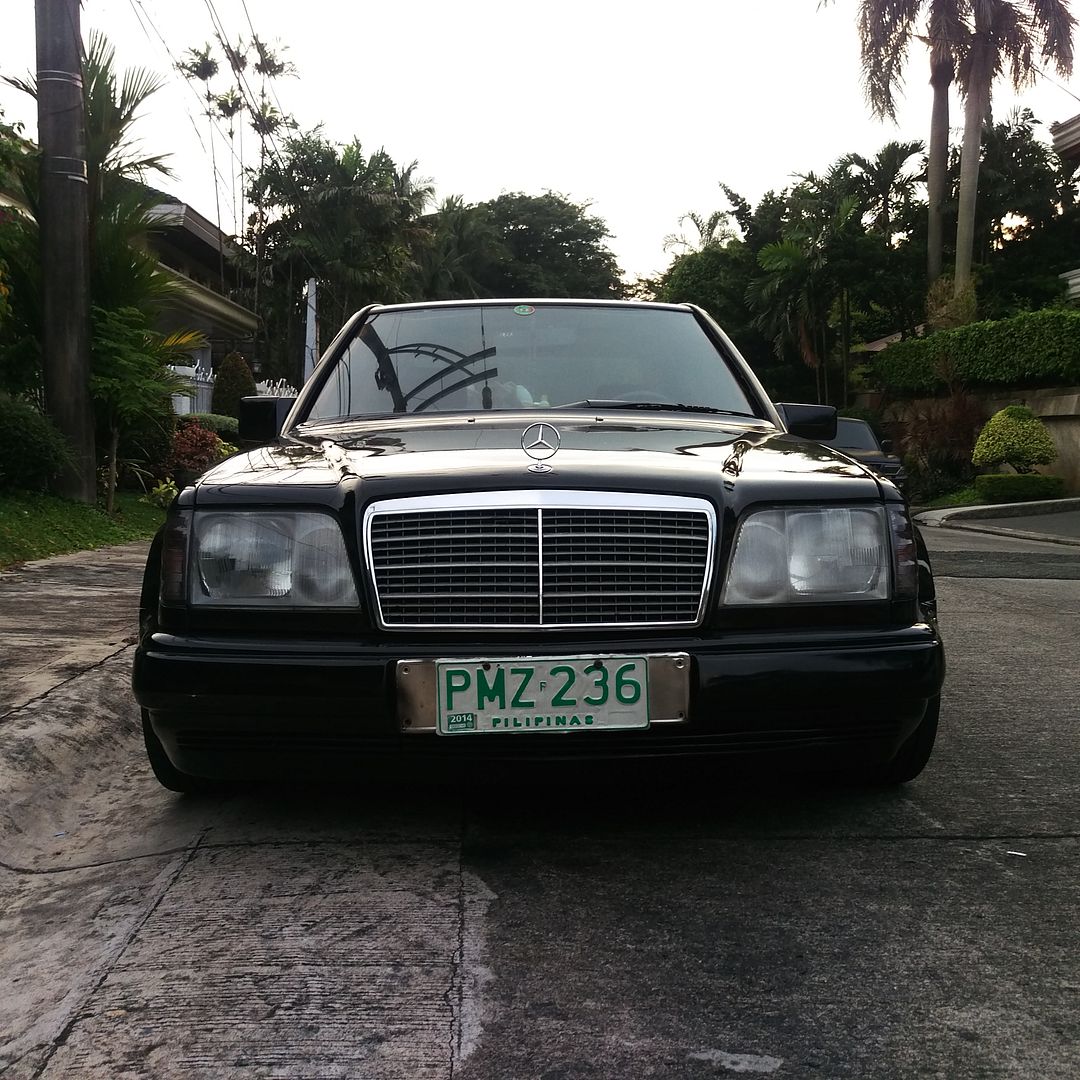
Okay I havnt updated this for a while now so here's some updates!*
Here's a comparison picture of how the Benz was transformed *
*
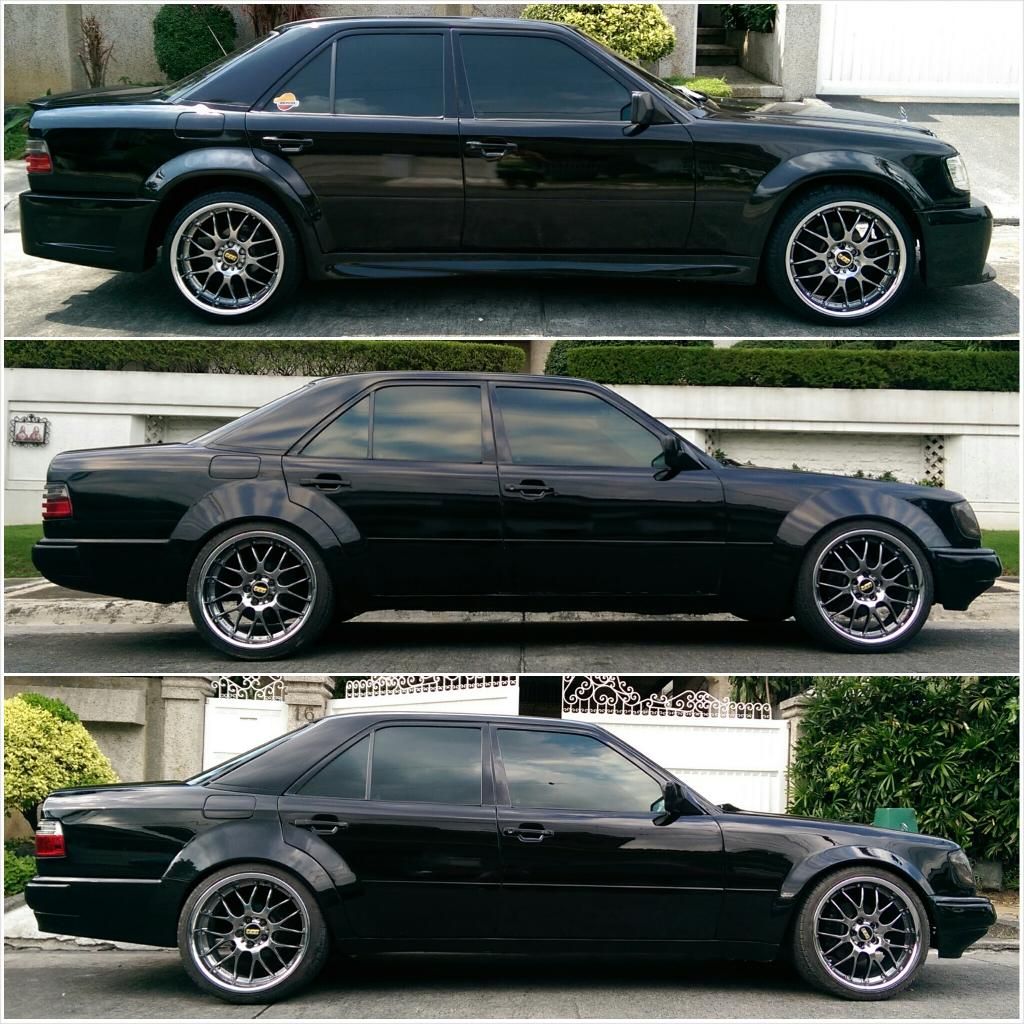
Now all I need is an amg or 500e front bumper! Haha*
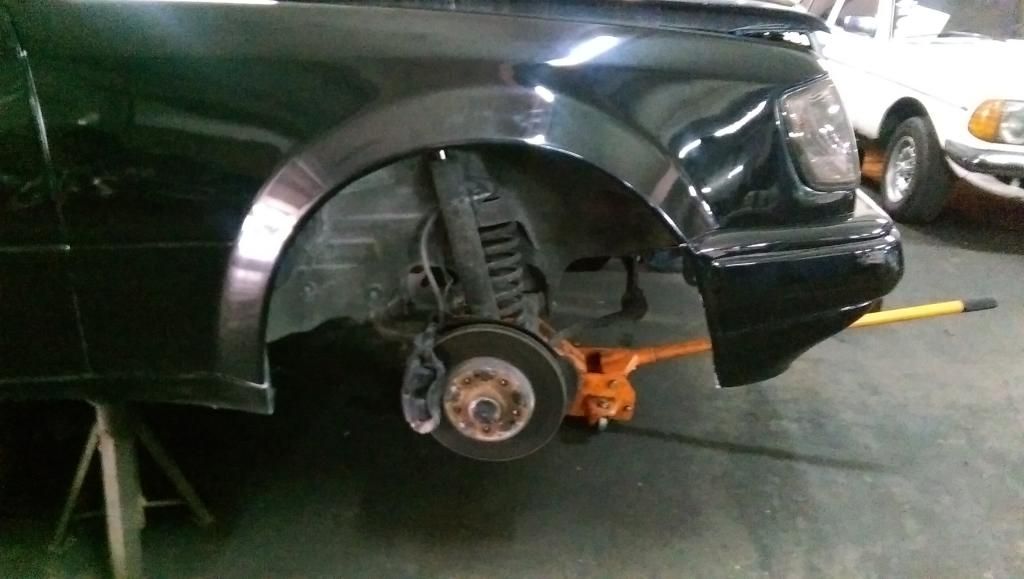
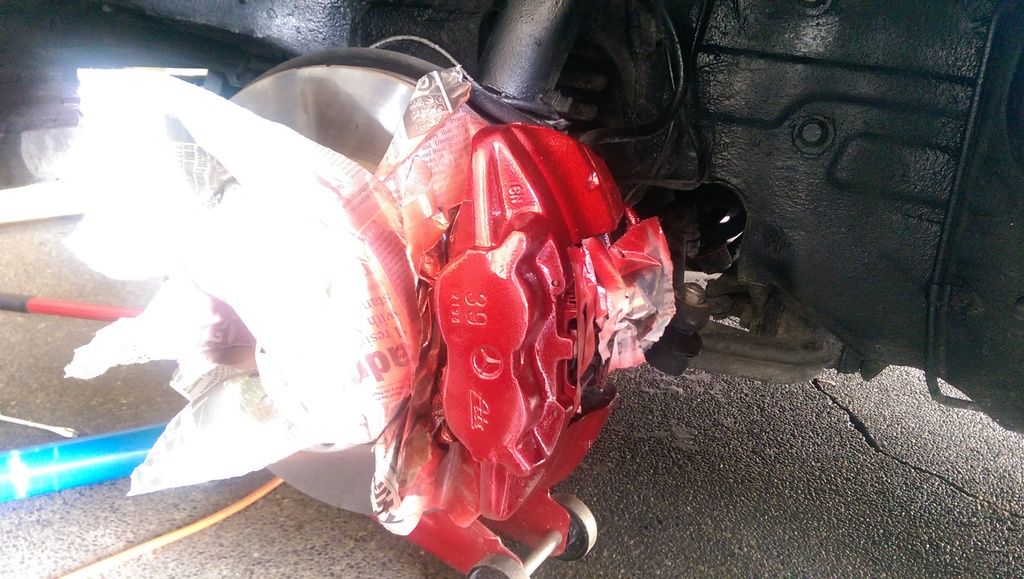
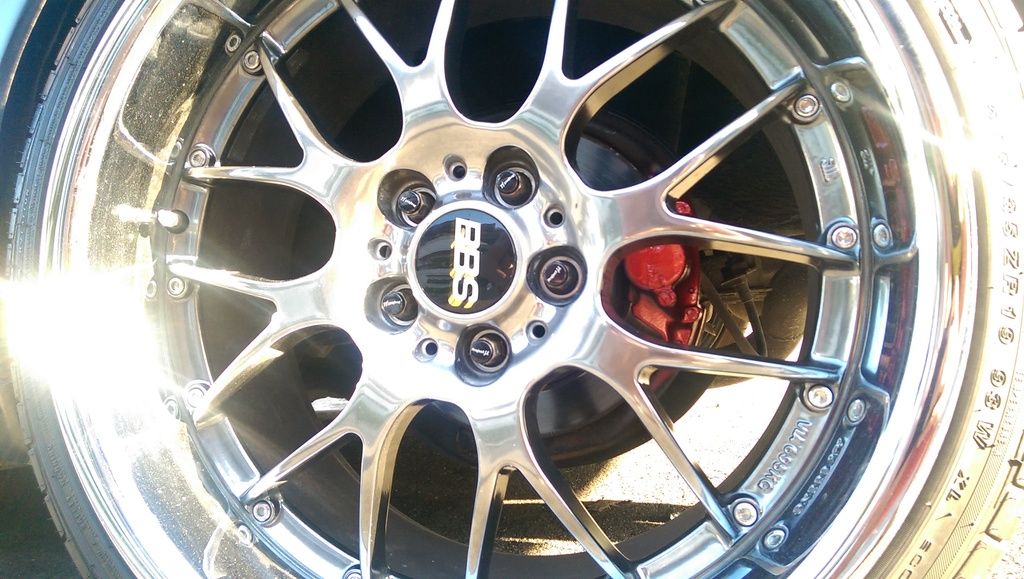
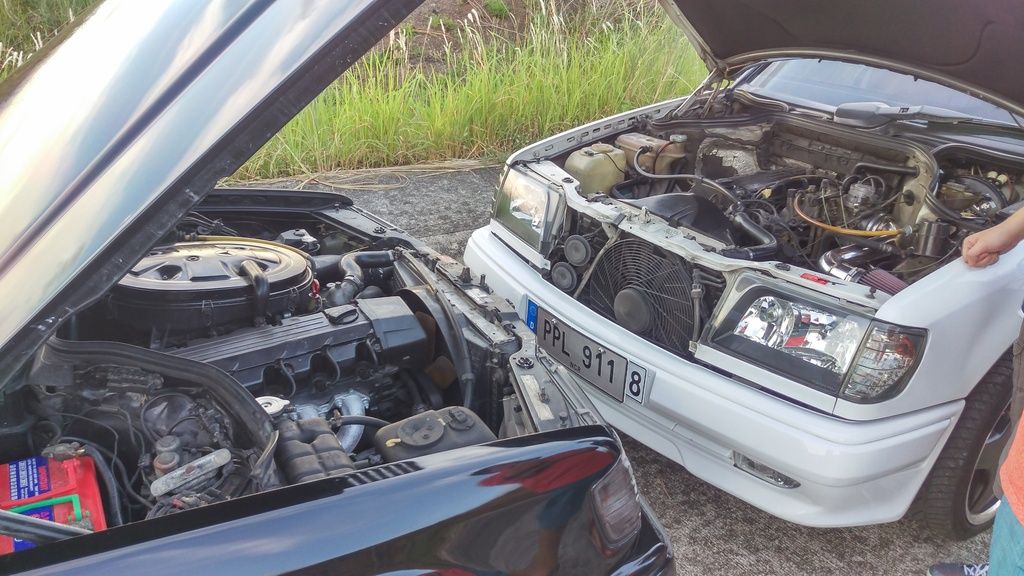
So I finally got the 4pot brakes installed!*
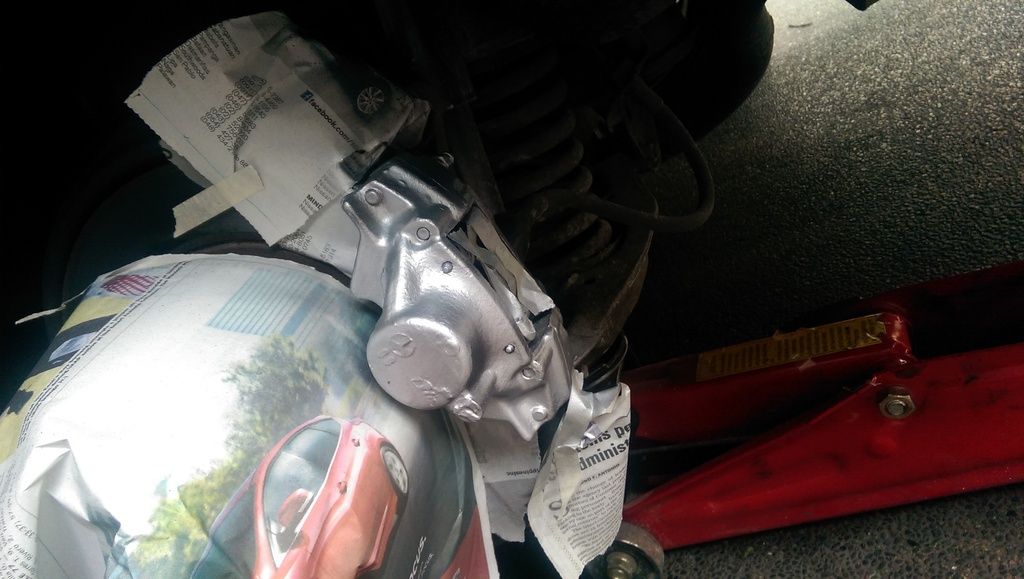
Here's how the stock single sliding piston looked like:*
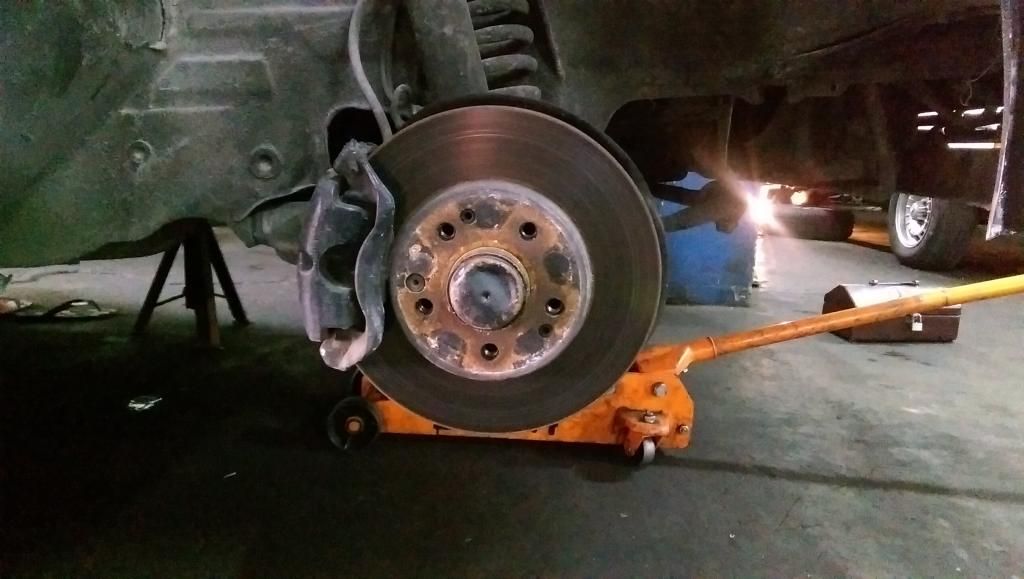
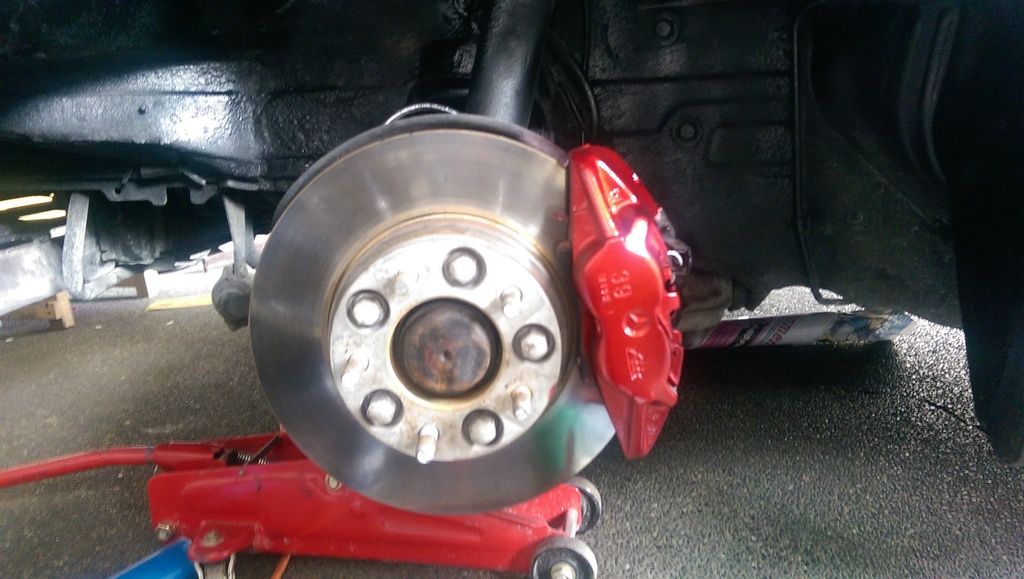
And here are the brakes installed!*
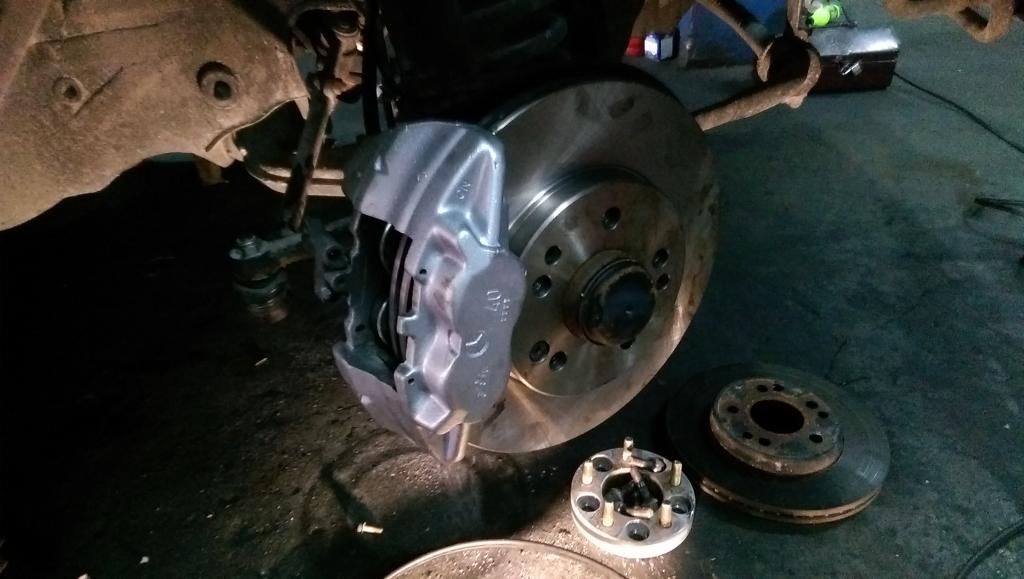
Dont they look sexy as hell? Well, at least compared to the older ones I had. hahaha*
Got new disk rotors, which I believe are a little bigger and wider than the ones I had. Also changed brake pads and the brake fluid!*
The stopping power was so incredible I was so happy with it! Spent a total of about.... $300 on this "big brake upgrade" not bad! All brand new parts except for the caliper itself.*
Also, after some time, I decided to paint the calipers red. Just to give it an offset to the black/gray/silver theme I have going on the benz. Just to make it pop. And add +25hp lol. Haha*
Fronts:

Rear:

Finished product:
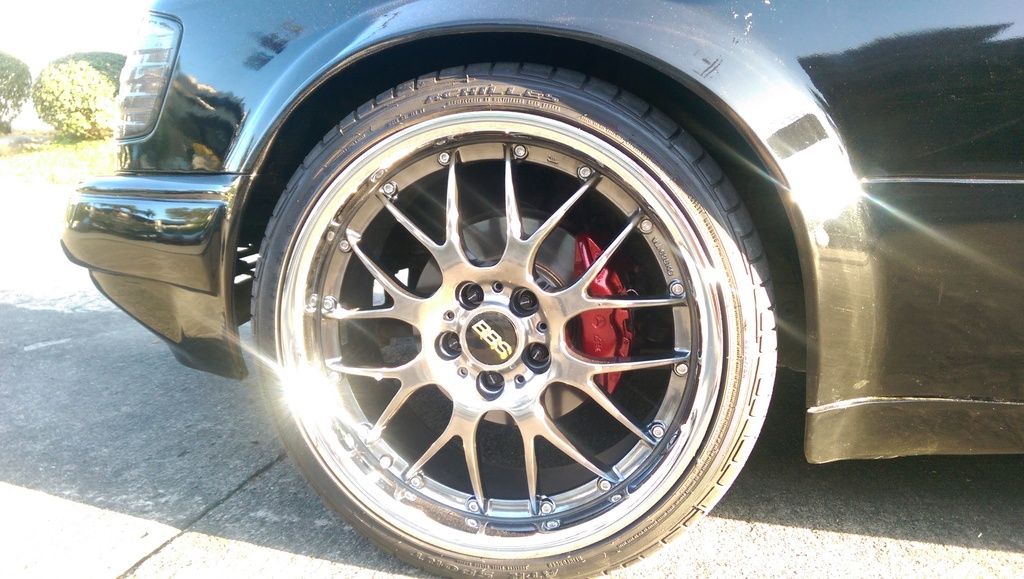
Imo, it looks good and not too "ricey". I'm sure others would beg to disagree. Hahahaha*
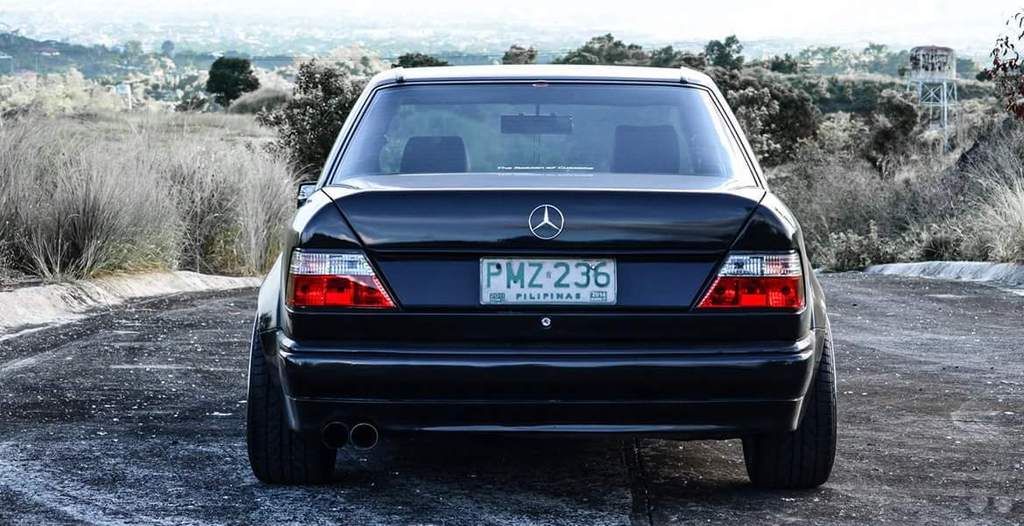
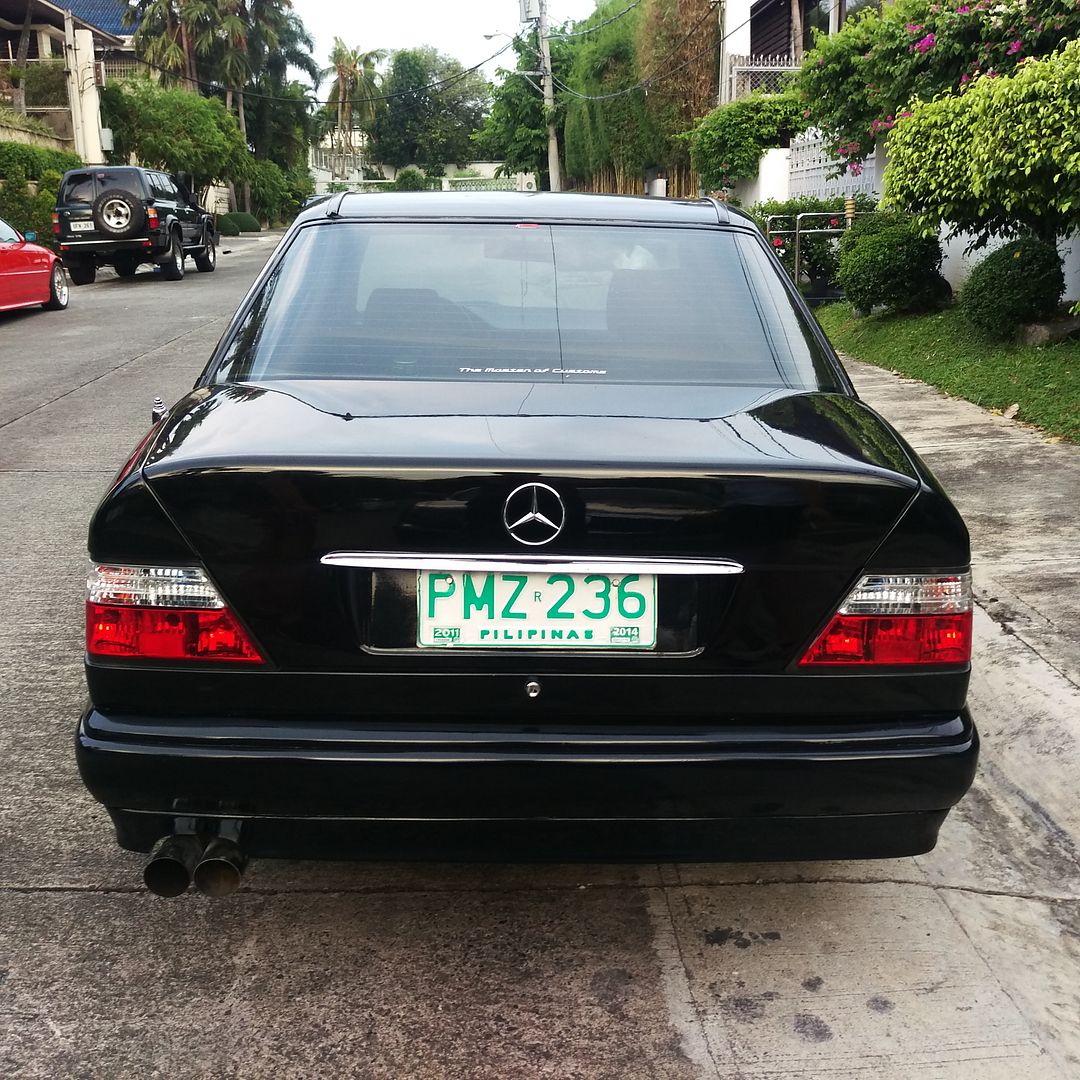
And I finally got the correct Benz star for the trunk! Woot!!*
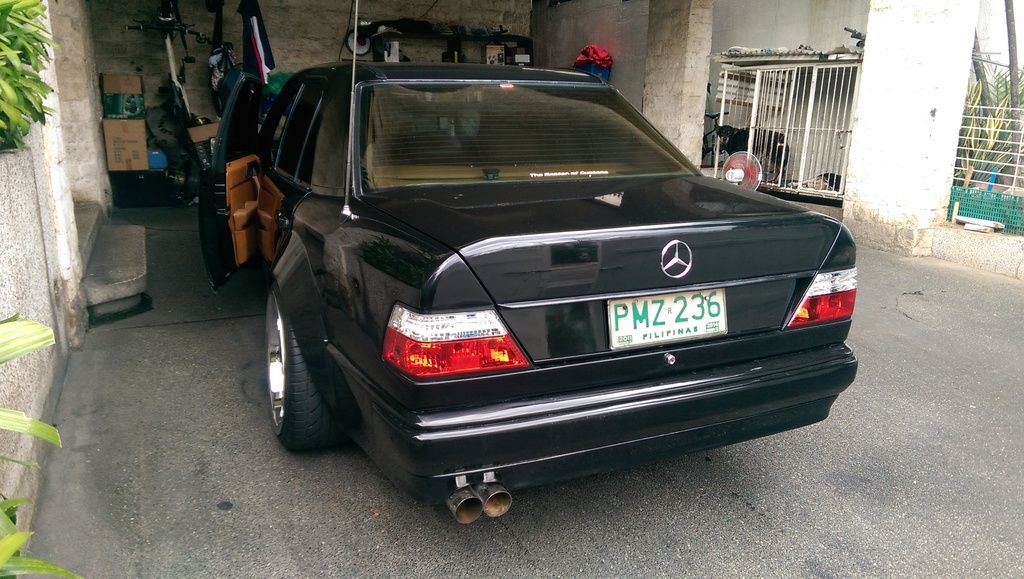
Finally looking like a proper Benz!!
I was also able to get hold of this hood insulator thing that goes underneath the hood because I didn't have one on mine.*
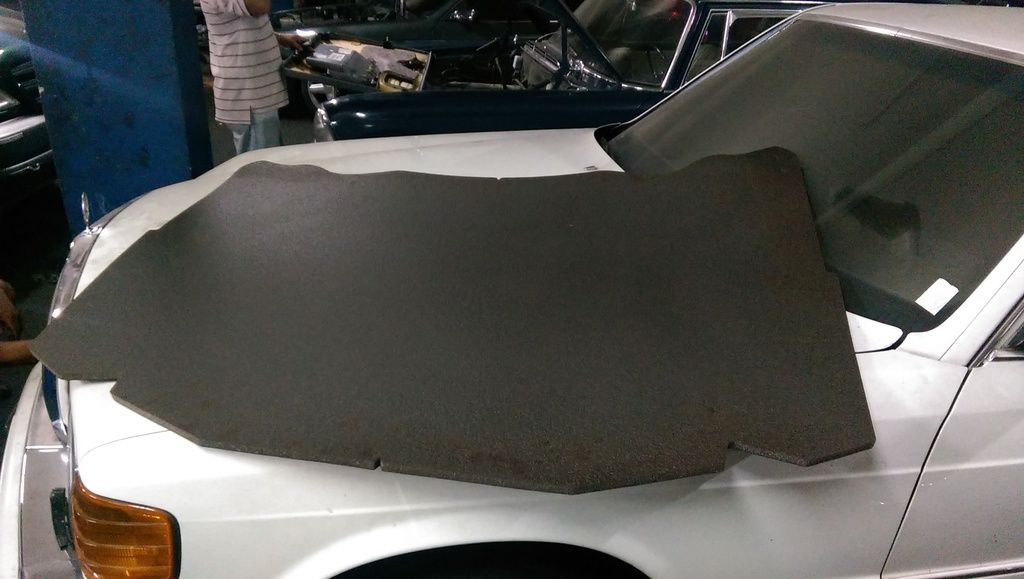
Dint have a photo of it installed yet haha.*
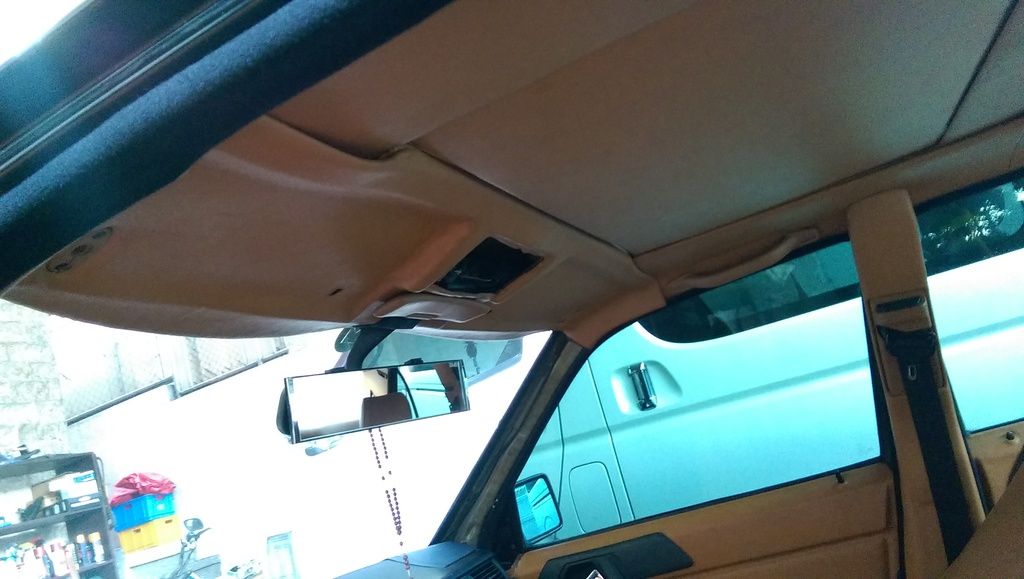
Also. I don't know if you guys noticed, but the headliner of the Benz is sagging horribly due to a leak in my sunroof. The material ismade of a cardboard-like material so it doesn't react very well with water...*
Here's how it looked like:*
Ugly! Haha luckily, I was able to find one for sale that comes with sunvisors, which is perfect cause I don't have sunvisors yet! I got it for *only about $30! That's a great Sal already because I tried to buy this before and the seller was asking for about $180 for just the headliner!! Crazy.*
Ofcourse the one I got was the wrong color because I had my interior customized. Here's what I got:

Headliner was gray but in was very very good condition. No signs of water ever touching it or cracking or anything on the leather or on the cardboard-like side. It was perfect! sunvisors were okay but I've decided not to use these. I want ones with the mirror and light. I'll shall keep looking for those.*
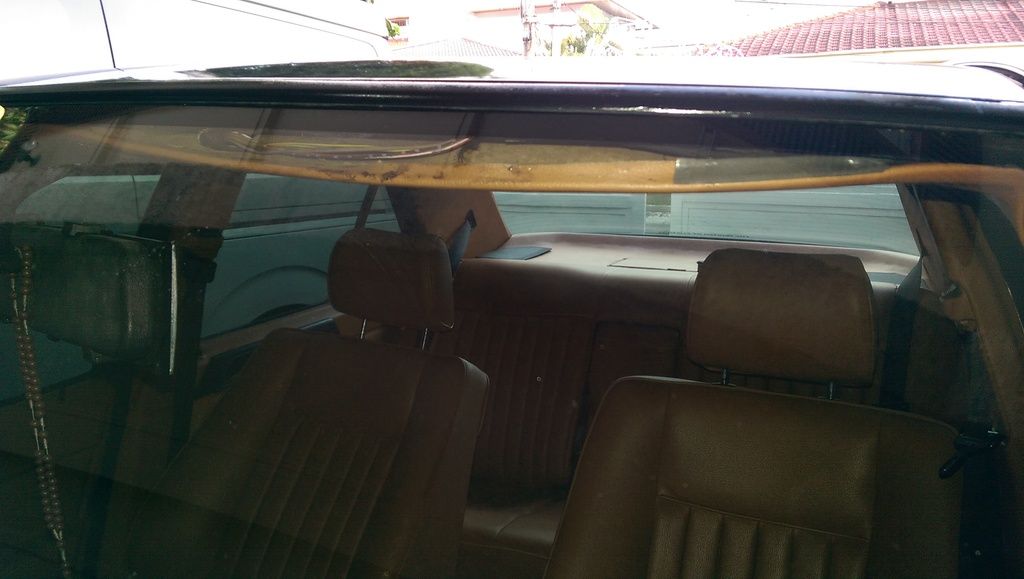
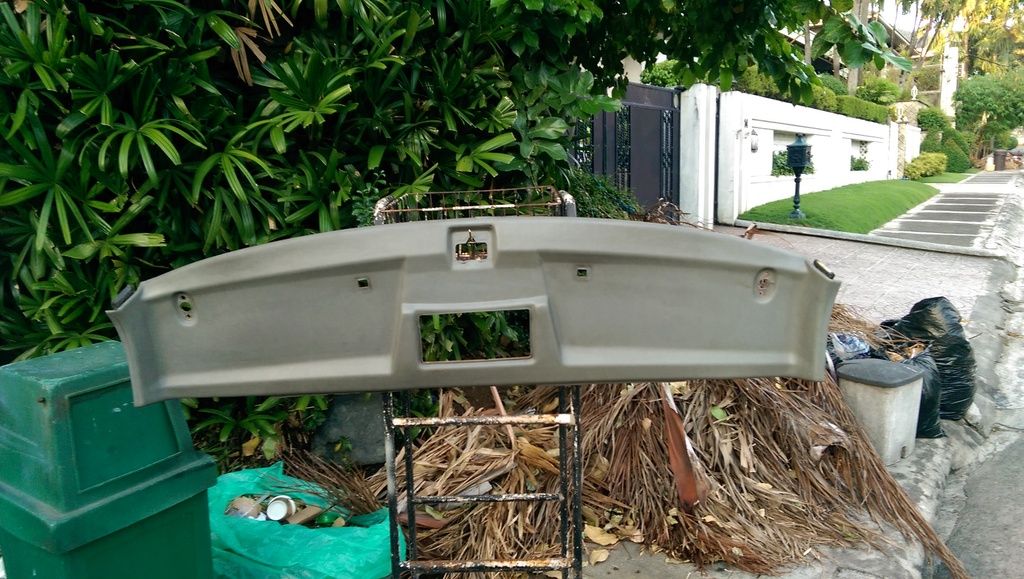
Anyways, when I finally removed my headliner, this is what I found:

Looks okay. But when you turn it over....
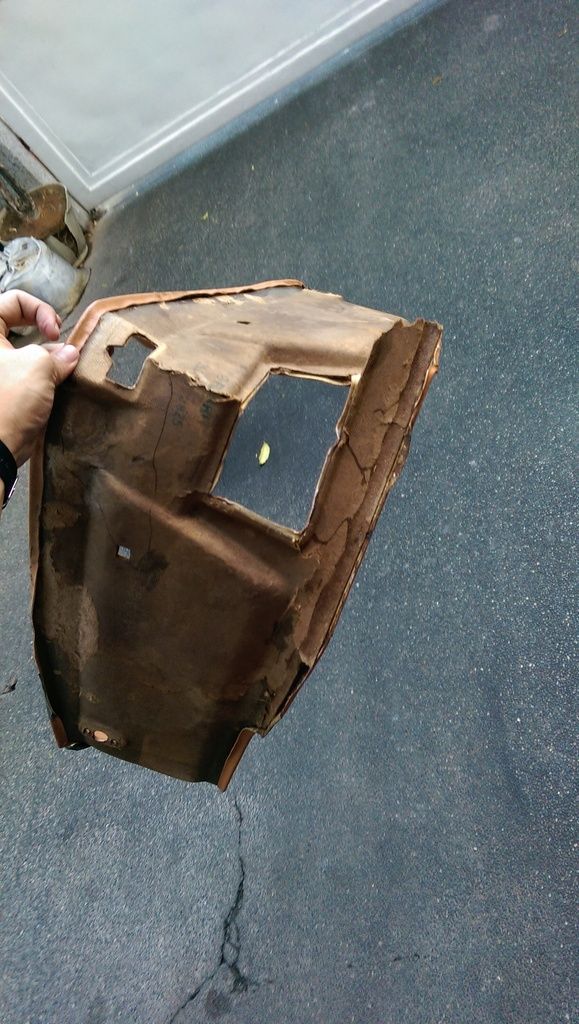
Boom!! You can see so many cracks and watermarks haha. it was so saggy and scrappy. Definitely time to replace it.*
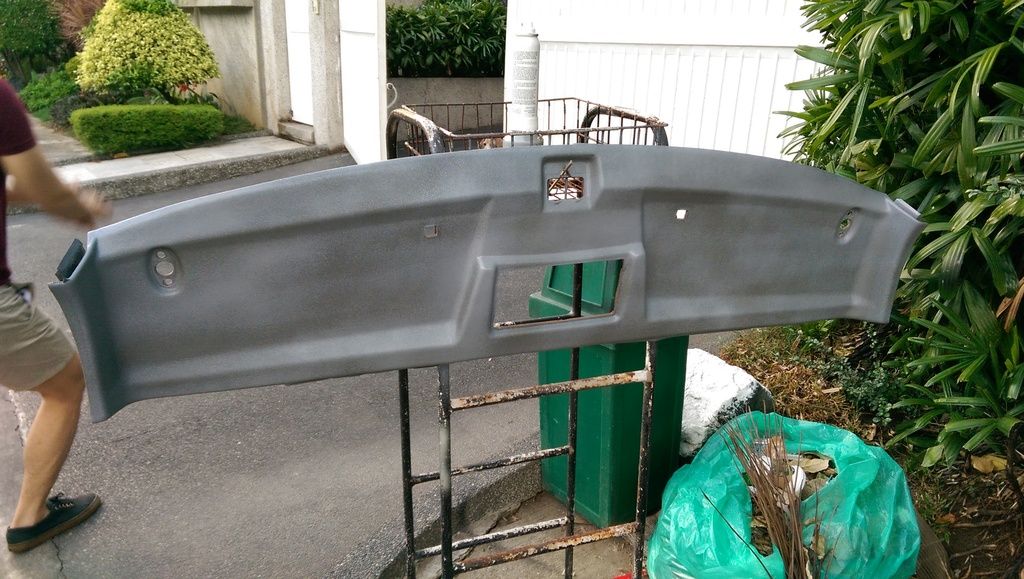
Because it was the wrong color, I went to a paint shop and had vinyl paint mixed to match the color of my interior. The mixer did a decent job and color came out pretty close.*
Since I don't have a compressor and paint gear, I got this refillable portable paint sprayer:
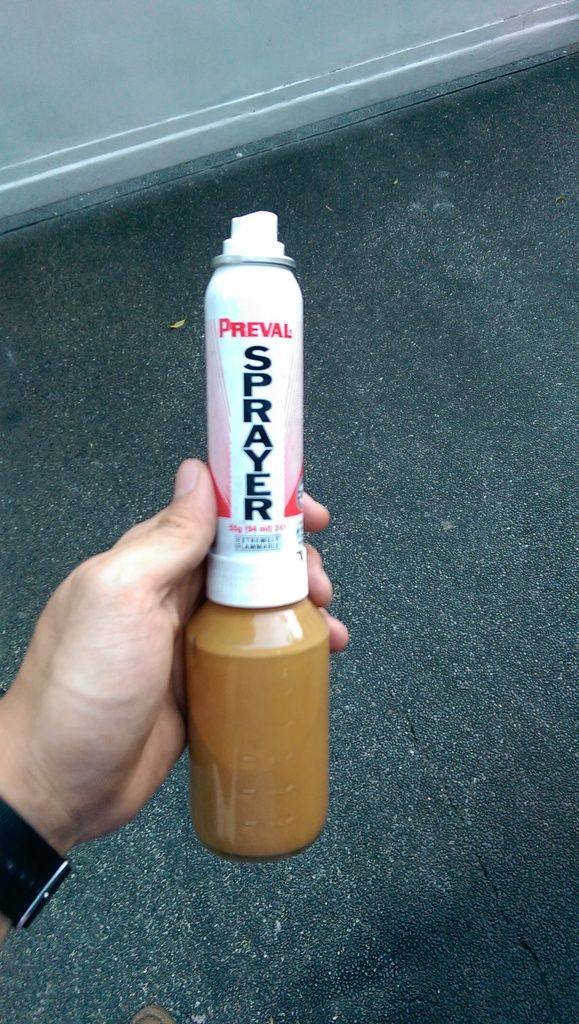
This cost me about $10 for the sprayer, and another $15 for the primer, thinner and paint.*
I started out by cleaning the piece with wax and grease remover then I used the thinner to wipe it down.*
Started with 3 light coats of primer and then on to the paint afterwards.
*
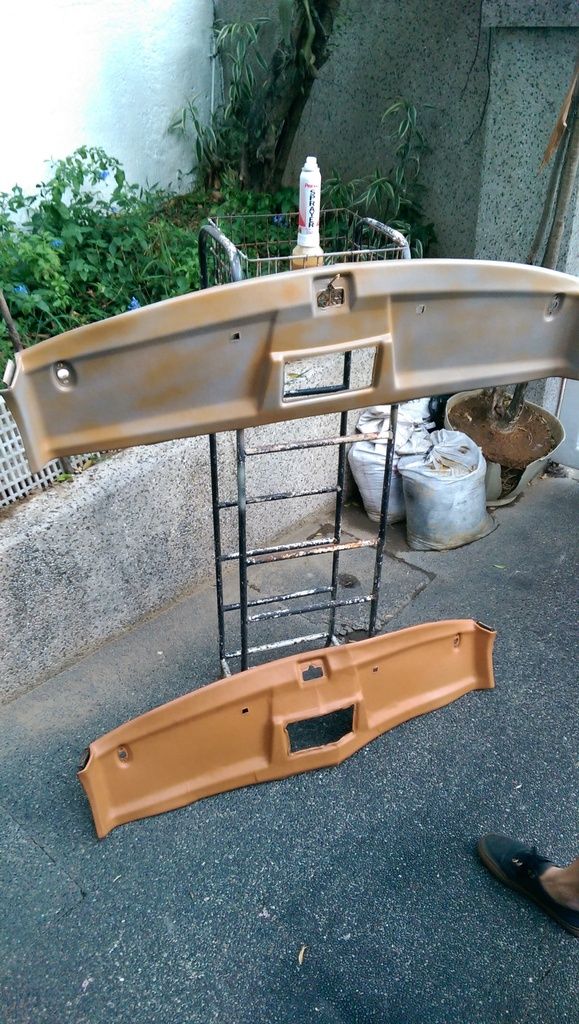
Getting there...
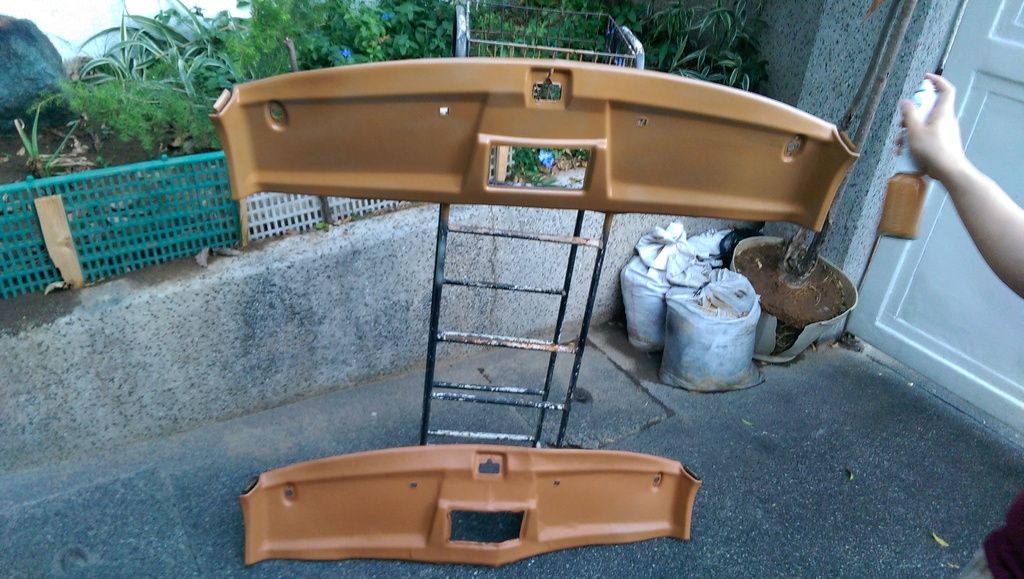
And done! They look pretty good and color is almost 100% correct!*

Looks great!! I'll be painting some of the plastics and panels as well that aren't color matched properly.Comment
-
This is coming along nicely! Still convinced that you should go back to the OEM rear lights though...
Trust me, you will reach that moment eventually Lucas
Lucas

Former daily: 2002 CLK 500 AMG - (sold) . . . . . . . . .
Project: 1986 W124 260E rebuild - (3.0 swap) . . . . . . . . . Follow me on IG : @loekaazDaily: 2004 Pontiac GTO. . . . . . . . . Daily Econobox: 2009 Mini Clubman CooperOriginally posted by LCGComment
-
+1 on OEM rear lights.Originally posted by loekaaz View Post
also I would say no to 18s. I think with 17s and a little meat on the tires would look perfect with this widebody.Comment
-
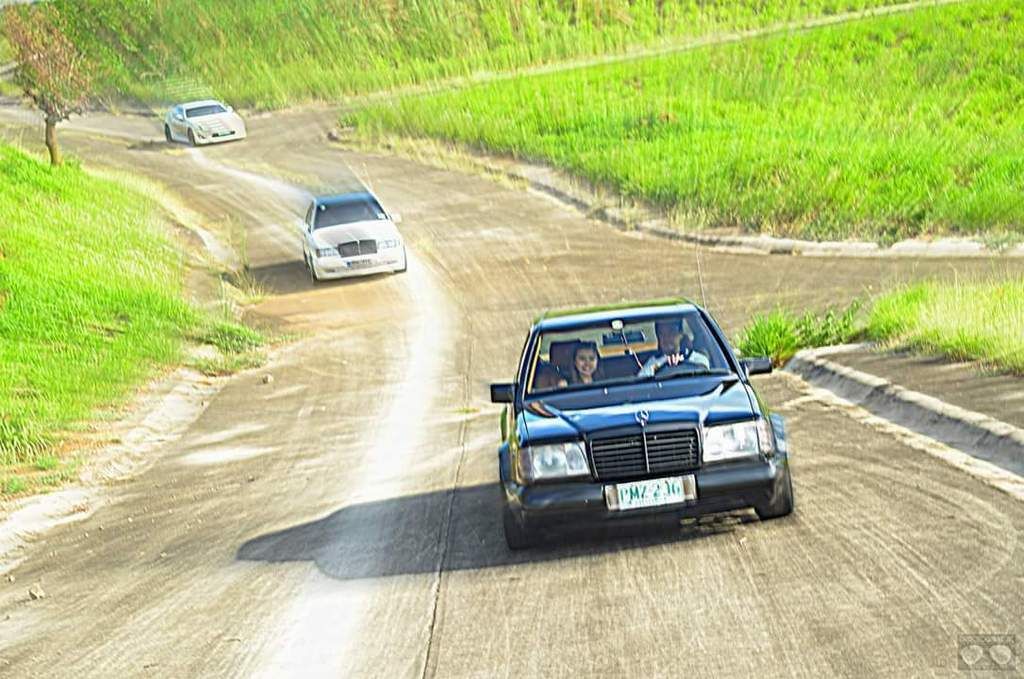
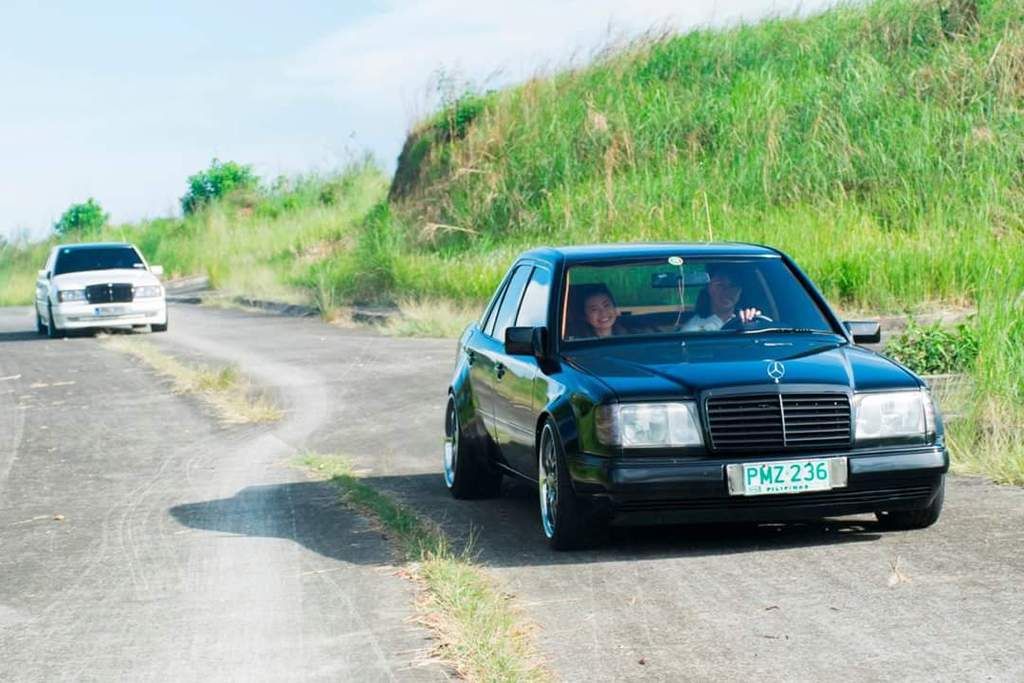
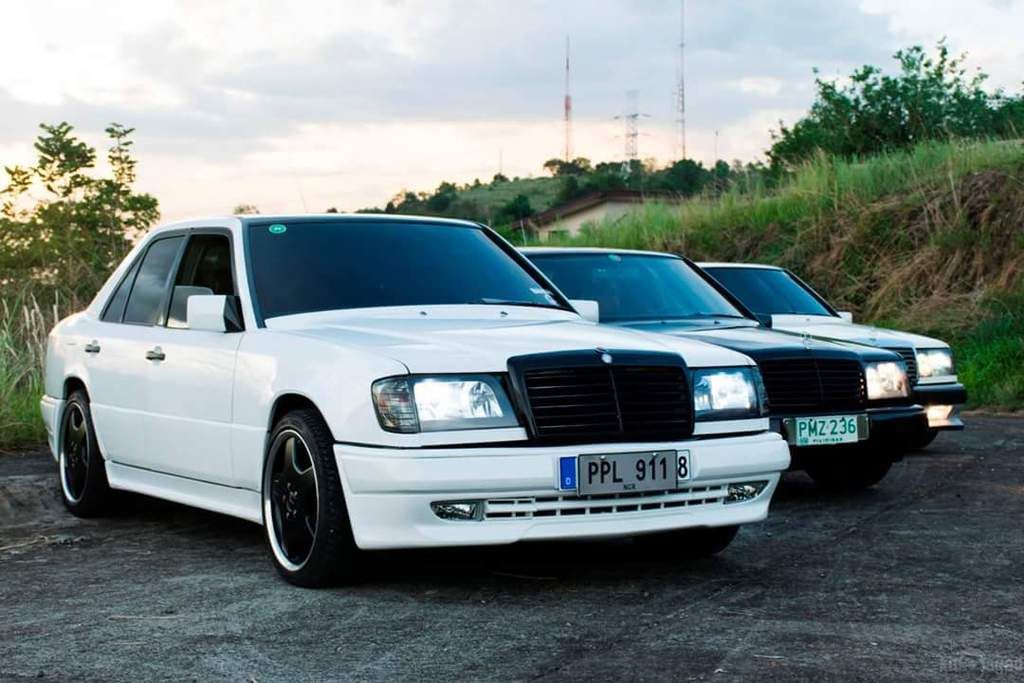
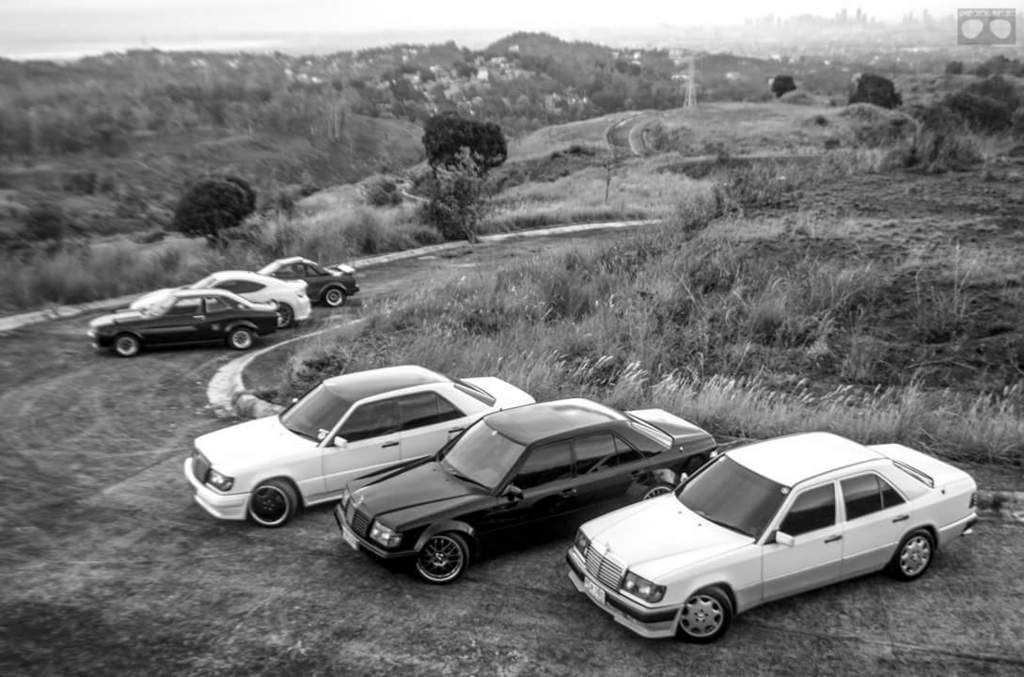
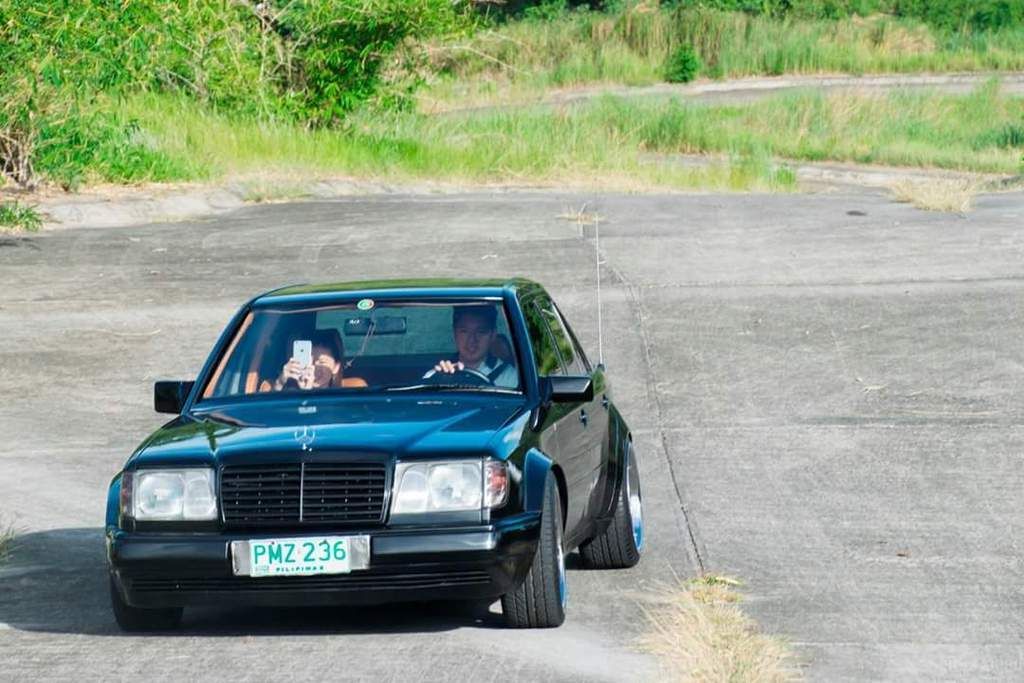
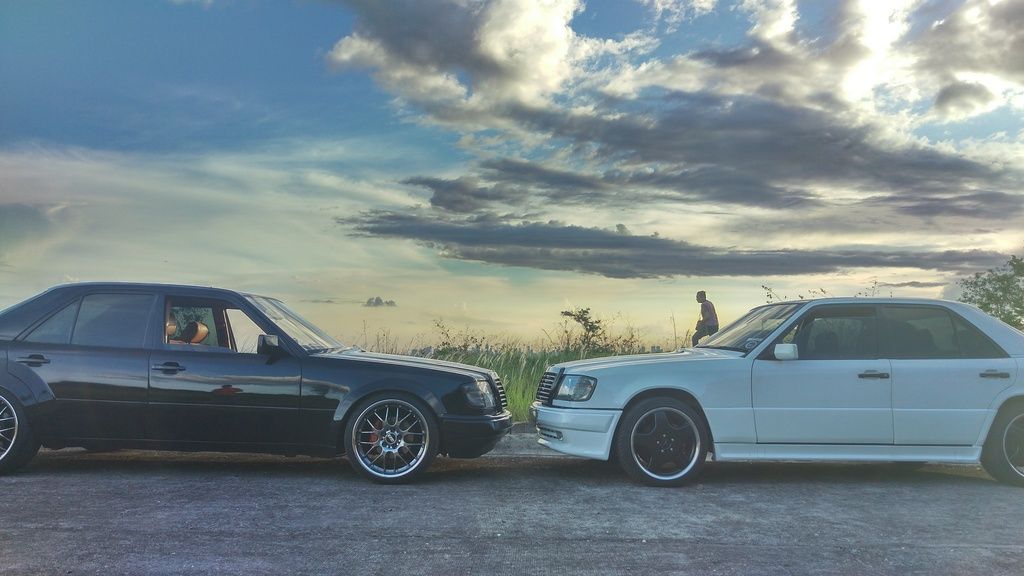
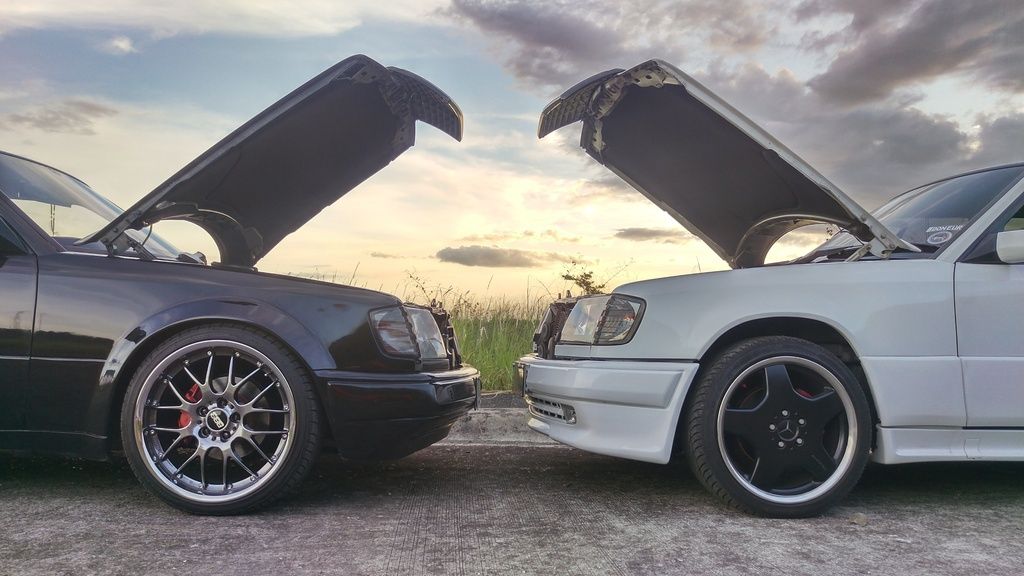
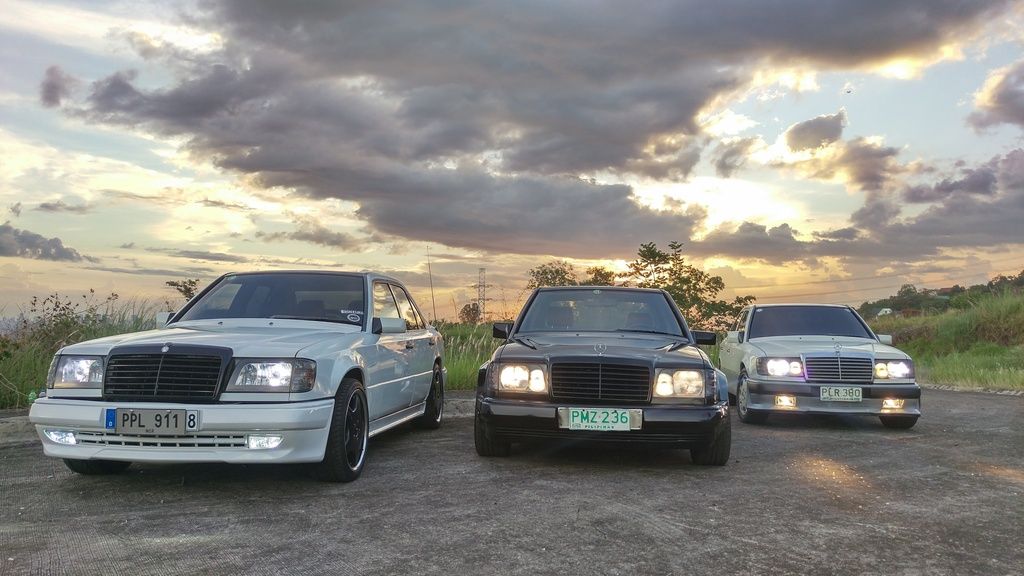
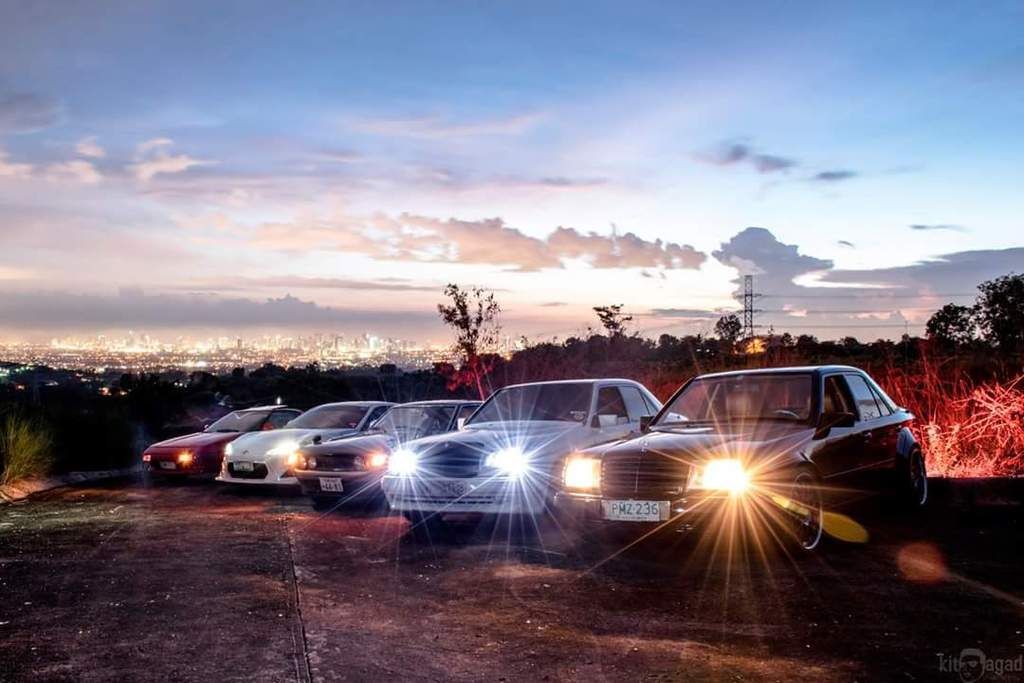
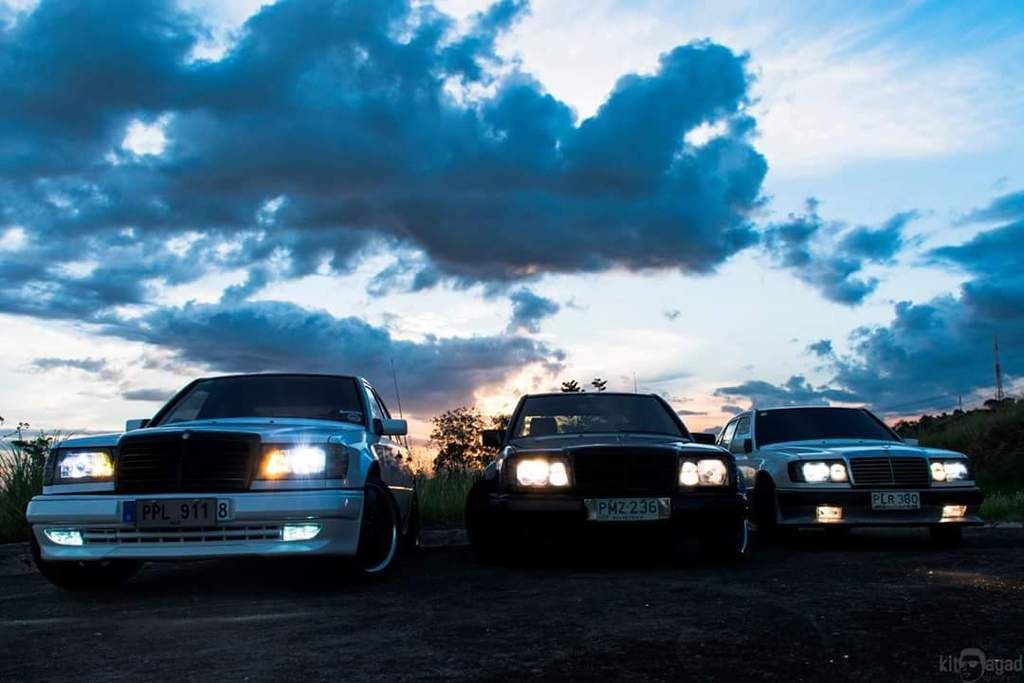
Hey guys, I know its been a while since I posted stuff here. Havnt really changed anything with the car since. But here are some pictures from our photoshoot last time with some other w124s. Enjoy!


Comment
-
Finally got the E-Look hood and trunk!!! Looks awesome and clean now!
[IMG]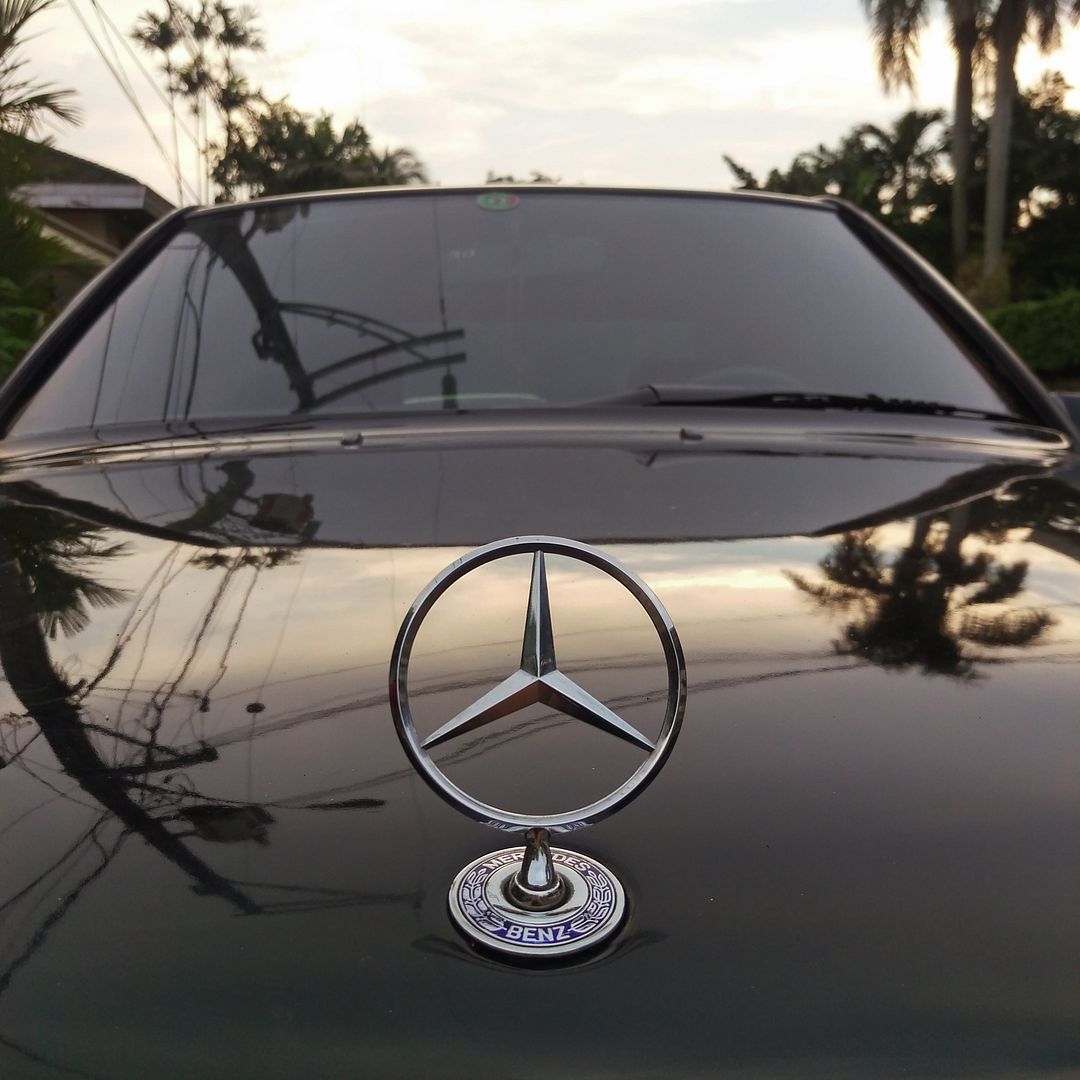
Comment
-
I have a 300E 1987 W124 i wanna lower it too tuck in just the top of the tires. Im lost in what option i have to lower it . any help?Comment
-
Clean w124 , keep up the nice workMy 1966 Mercedes 200d build http://www.stanceworks.com/forums/sh...ad.php?t=73179Comment


Comment