Announcement

Collapse
No announcement yet.

Rhonda the Lancer X (2014 Wicked White Lancer X ES)

Collapse
X
 
  • Filter
  • Time
  • Show
Clear All
new posts

  • ryanjblajda
    replied
    Originally posted by Oh Damn, it's Sam View Post
    AFAIK, they're all 1/4" MNPT. Maybe there are some for industrial uses that are larger, but I've not seen them. You're going to have to adapt for your pressure switch, drain, and compressor anyway.


    I don't know what amp you're running, but if you're anywhere near 60A, the voltage drop on that wire is going to be about a volt if it's 8AWG. And that's assuming the wire is actually 8AWG of copper - half the time these days the wire manufacturers are including the insulation in their gauge measurements. I know you know this stuff, but just for posterity.


    Gotcha. I see why I was confused now, You're using the term "output" to mean the 85 pin on the relay, whereas I would call the 87/87A pins the "output."
    yeah ill just exchange my plugs for adapters and buy the valves.

    the amp i have wont draw anywhere near 60amps lol. it would maybe draw like 12-15 maximum. but i rarely ever run it hard.

    Leave a comment:


  • Oh Damn, it's Sam
    replied
    Originally posted by ryanjblajda View Post
    i found a pressure switch rated for 165. which is really close, but its 1/4" NPT same with the relief which sucks because i would have to get 1/2" to 1/4" step downs.
    AFAIK, they're all 1/4" MNPT. Maybe there are some for industrial uses that are larger, but I've not seen them. You're going to have to adapt for your pressure switch, drain, and compressor anyway.

    Originally posted by ryanjblajda View Post
    the amp wire is already running the trunk from the battery and thats where the distro is, and i think its a 8 AWG wire, and 60amp fuse (right next to the battery), which is plenty to drive both the amp and compressor. i am running a 444c compressor and the max draw of 20a according to a tech from Viair.
    I don't know what amp you're running, but if you're anywhere near 60A, the voltage drop on that wire is going to be about a volt if it's 8AWG. And that's assuming the wire is actually 8AWG of copper - half the time these days the wire manufacturers are including the insulation in their gauge measurements. I know you know this stuff, but just for posterity.

    Originally posted by ryanjblajda View Post
    sorry, i didn't mean to explain it that way, let me try and clarify. the acc line will run through the kill switch, and to the trigger input on the relay. the "output" or ground of the trigger relay will go to the positive side of the pressure switch, and then the ground of the pressure switch to chassis ground.

    hope that helps. i swear on the electrical side i know what im doing. (im an AV install tech with some high voltage experience.)
    Gotcha. I see why I was confused now, You're using the term "output" to mean the 85 pin on the relay, whereas I would call the 87/87A pins the "output."

    Leave a comment:


  • ryanjblajda
    replied
    Originally posted by Oh Damn, it's Sam View Post
    Whatever component in your system has the lowest pressure rating should be where you set your system pressure, both with your pressure switch and your safety valve. If you have a 150 psi tank, a 170 psi safety valve will work. I'd rather see a 150 psi safety valve on there (they're typically set about 5-10 psi higher than they're rated), but if 170 is all your can get, it's a damn sight better than not having one.
    i found a pressure switch rated for 165. which is really close, but its 1/4" NPT same with the relief which sucks because i would have to get 1/2" to 1/4" step downs.


    Originally posted by Oh Damn, it's Sam View Post
    I don't know what you've got feeding that subwoofer in the trunk, but if its wiring has enough excess capacity to cover another 30A, it would be trivial to add a distribution block inline and feed the compressor off of it. You're going to need to get a fat primary back to the compressor anyway, so if you can save yourself that work, do it.
    the amp wire is already running the trunk from the battery and thats where the distro is, and i think its a 8 AWG wire, and 60amp fuse (right next to the battery), which is plenty to drive both the amp and compressor. i am running a 444c compressor and the max draw of 20a according to a tech from Viair.


    Originally posted by Oh Damn, it's Sam View Post
    It's a little hard for me to dissect what's going on here, but it sounds like you're planning on running your compressor's power from the relay through the pressure switch. That's going to send 30A through that little switch, which is not a great idea. Instead, put your compressor kill switch and your pressure switch in series on the trigger side of the relay. That way, they'll both only have about 100-200 mA running through the pressure switch, which is much safer.
    sorry, i didn't mean to explain it that way, let me try and clarify. the acc line will run through the kill switch, and to the trigger input on the relay. the "output" or ground of the trigger relay will go to the positive side of the pressure switch, and then the ground of the pressure switch to chassis ground.

    hope that helps. i swear on the electrical side i know what im doing. (im an AV install tech with some high voltage experience.)

    Leave a comment:


  • Oh Damn, it's Sam
    replied
    Originally posted by ryanjblajda View Post
    what do you mean by lowest rated item in the system? my tank is rated for 150PSI which is also what my pressure switch turns off at. so my relief valve should be for what like 170PSI?
    Whatever component in your system has the lowest pressure rating should be where you set your system pressure, both with your pressure switch and your safety valve. If you have a 150 psi tank, a 170 psi safety valve will work. I'd rather see a 150 psi safety valve on there (they're typically set about 5-10 psi higher than they're rated), but if 170 is all your can get, it's a damn sight better than not having one.

    Originally posted by ryanjblajda View Post
    Phase 2:

    Wire in Alpine Power Pack (going to use that for my Accessory Line for the Compressor Relay)
    Wire Acc to Positive Lead of Compressor Kill Switch, and to Acc Port on Sub Amplifier
    Wire Gnd of Kill Switch to Positive of Relay -> Gnd of Relay to Positive of 150PSI Turn-Off Switch and Negative of PSI Turn-Off to Chassis Gnd

    Wire Mains Power to Distro -> to Amp 12v Port and Compressor 12v Port

    (Estimated Cost - $30 for spade connectors and wire)
    I don't know what you've got feeding that subwoofer in the trunk, but if its wiring has enough excess capacity to cover another 30A, it would be trivial to add a distribution block inline and feed the compressor off of it. You're going to need to get a fat primary back to the compressor anyway, so if you can save yourself that work, do it.

    It's a little hard for me to dissect what's going on here, but it sounds like you're planning on running your compressor's power from the relay through the pressure switch. That's going to send 30A through that little switch, which is not a great idea. Instead, put your compressor kill switch and your pressure switch in series on the trigger side of the relay. That way, they'll both only have about 100-200 mA running through the pressure switch, which is much safer.
    Last edited by Oh Damn, it's Sam; 10-25-2015, 07:18 PM.

    Leave a comment:


  • ryanjblajda
    replied
    my plan for the "phases" of my air shit, since i dont feel like breaking the bank. I guess i have to go back and take out 2 of my plugs and replace them with a safety and drain valve, but other than that this is my plan of attack.

    ----------------

    Phase 1:

    DONE - Seal Tank Fittings (remove bottom plug and side plug, and replace it with Safety & Drain Valve)
    Run Air Line from Tank to Gauge & Bag Tee Fittings
    Connect Air Line to Paddle Supply Ports

    (Estimated Cost - $50 for air line and additional connectors)

    ----------------

    Phase 2:

    Wire in Alpine Power Pack (going to use that for my Accessory Line for the Compressor Relay)
    Wire Acc to Positive Lead of Compressor Kill Switch, and to Acc Port on Sub Amplifier
    Wire Gnd of Kill Switch to Positive of Relay -> Gnd of Relay to Positive of 150PSI Turn-Off Switch and Negative of PSI Turn-Off to Chassis Gnd

    Wire Mains Power to Distro -> to Amp 12v Port and Compressor 12v Port

    (Estimated Cost - $30 for spade connectors and wire)

    ----------------

    Phase 3:

    Install Gauges, Pod and Hook Senders to Tee Fittings

    (Estimated Cost - $200 for Gauges and Pod)

    ----------------

    Phase 4:

    Install Bags and connect Air Lines to Del side of Paddle Valves.

    (Estimated Cost - I still owe a buddy $200 for his bags i am buying)

    ----------------

    Pretty much everything i can think of that i still need to do.

    Leave a comment:


  • ryanjblajda
    replied
    Originally posted by Oh Damn, it's Sam View Post
    That's the one. Every air system needs one set at a pressure just above the lowest-rated item in the system.


    Not with NPT fittings you can't. The tapered threads will eventually stretch to the point where the plug will no longer seal. Often it doesn't take more than two or three removals for this to occur. If you're on a tight budget, you can get away with using a safety valve as a drain valve, but it's a loud and messy solution. A proper screw valve costs about $7.00, so it's not like it's going to break the bank.
    yeah i just remembered the NPT thing after posting my previous reply.

    what do you mean by lowest rated item in the system? my tank is rated for 150PSI which is also what my pressure switch turns off at. so my relief valve should be for what like 170PSI?

    Leave a comment:


  • Oh Damn, it's Sam
    replied
    Originally posted by ryanjblajda View Post
    with regards to the safety valve are you talking like a relief valve in case the tank gets overpressure so it doesn't explode?
    That's the one. Every air system needs one set at a pressure just above the lowest-rated item in the system.

    Originally posted by ryanjblajda View Post
    and i don't have a drain valve but i could always just remove the plug on the bottom.
    Not with NPT fittings you can't. The tapered threads will eventually stretch to the point where the plug will no longer seal. Often it doesn't take more than two or three removals for this to occur. If you're on a tight budget, you can get away with using a safety valve as a drain valve, but it's a loud and messy solution. A proper screw valve costs about $7.00, so it's not like it's going to break the bank.

    Leave a comment:


  • ryanjblajda
    replied
    Originally posted by rice4life View Post
    Looks good man! Have you considered throwing on something like the MR lip spoiler?
    i have not. but i will look into it. i actually bought an EVO replica lip for like 170 bucks and it didnt fit AT ALL, so i tried to sell it and nobody ever bought it so tossed it which sucked major balls. i have been looking at the lip fangs they make, since they arent too expensive and i like how they look.

    Originally posted by Oh Damn, it's Sam View Post
    I have the biggest soft spot for Lancers. I daily an '04 and it has been the toughest little son of a bitch. Great little cars, and it looks like this one is off to a good start!

    For what it's worth, your air tank needs a drain valve and a safety valve if it doesn't have one.

    Where are you going to mount your other two paddle valves when you get the air installed in the rear?
    with regards to the safety valve are you talking like a relief valve in case the tank gets overpressure so it doesn't explode? and i don't have a drain valve but i could always just remove the plug on the bottom. but a drain would probably be better.

    I wish i had thought about the other two paddles before i cut up my fuse cover, but i will probably buy another fuse cover and end up laying them out so i can fit all 4. thats if i do air in the rear at all. it will be a bitch because i would have to run an airlift strut or the like because BOC wont work, and i would want to run 2 compressors at that point probably, which would require me to figure out something else for my floor situation. but thats a long ways away, seeing as just getting the front on air will probably take me until the end of this year.

    Originally posted by MsDriftMissile View Post
    Looks good! I had a 2001 lancer ES before my lexus. Really wanted to actually do something with it until it ended up costing me over 4k just to keep it running lol. It was a lemon for sure. Terrible car. Had the cat/manifold swapped.. Ended up looking like a 5 year old welded heat shields onto it. I loved the look of the car.. That was about it lol! Can't wait to see more of yours!
    thanks man! so far the lancer has ran like a champ. i dont daily it, just because i live so close to where i work i usually take the scooter to work.

    Leave a comment:


  • MsDriftMissile
    replied
    Looks good! I had a 2001 lancer ES before my lexus. Really wanted to actually do something with it until it ended up costing me over 4k just to keep it running lol. It was a lemon for sure. Terrible car. Had the cat/manifold swapped.. Ended up looking like a 5 year old welded heat shields onto it. I loved the look of the car.. That was about it lol! Can't wait to see more of yours!


    Leave a comment:


  • Oh Damn, it's Sam
    replied
    I have the biggest soft spot for Lancers. I daily an '04 and it has been the toughest little son of a bitch. Great little cars, and it looks like this one is off to a good start!

    For what it's worth, your air tank needs a drain valve and a safety valve if it doesn't have one.

    Where are you going to mount your other two paddle valves when you get the air installed in the rear?

    Leave a comment:


  • rice4life
    replied
    Looks good man! Have you considered throwing on something like the MR lip spoiler?

    Leave a comment:


  • ryanjblajda
    replied
    i bought a new toolbox to keep everything all together.


    i also started painting the army theme on my scooter.


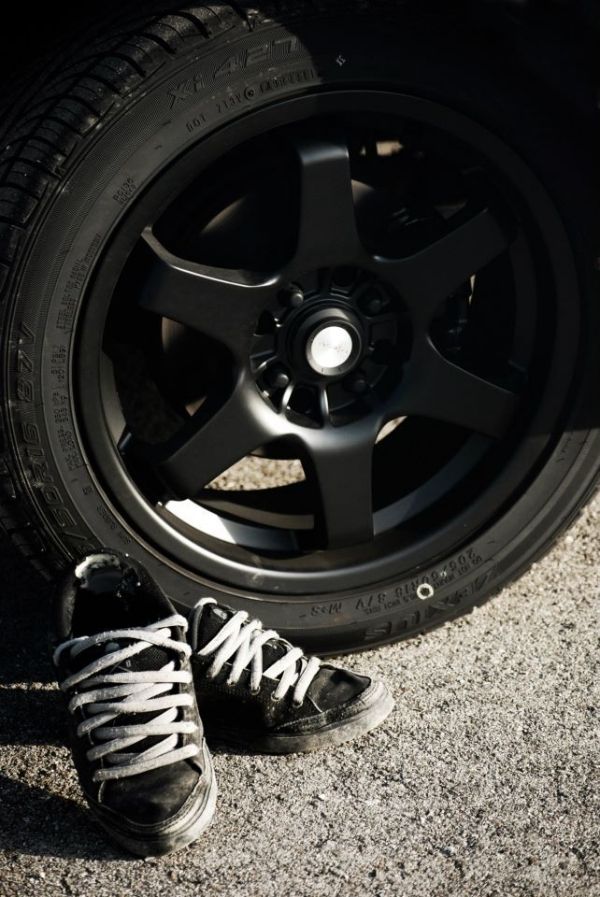
    i also got my wheels painted and all of my fittings in my air tank. i have like no extra money at the moment, so i will be doing all my air shit in phases.


    Leave a comment:


  • ryanjblajda
    replied
    finally got my other paddle valve in. i love how it hides.


    Leave a comment:


  • ryanjblajda
    replied
    working on it lol. always on a budget.

    Leave a comment:


  • rice4life
    replied
    Welcome back mane. Hurry and get that air done!

    Leave a comment:

Working...
X