Announcement

Collapse
No announcement yet.

'56 F100 bagged and linked

Collapse
X
 
  • Filter
  • Time
  • Show
Clear All
new posts

  • tscharf18
    replied
    So to continue the story and to get to where we are now.
    The truck was now broken down on the side of the road and I had to decide to continue forward with the group or to wait for the tow truck and go back home and get my daily driver and then head to vegas. I decided since my girlfriend was waiting for me in vegas already at the airport I had better continue to vegas. We had a friend come pick up the truck on the side of the freeway. There was the dilemma now of what do I drive in vegas but luckily I have very good friends that lend me very cool cars to drive around. Brian the owner of mackeys hotrods lent me and my gf his roadster to drive since we now had no transportation.
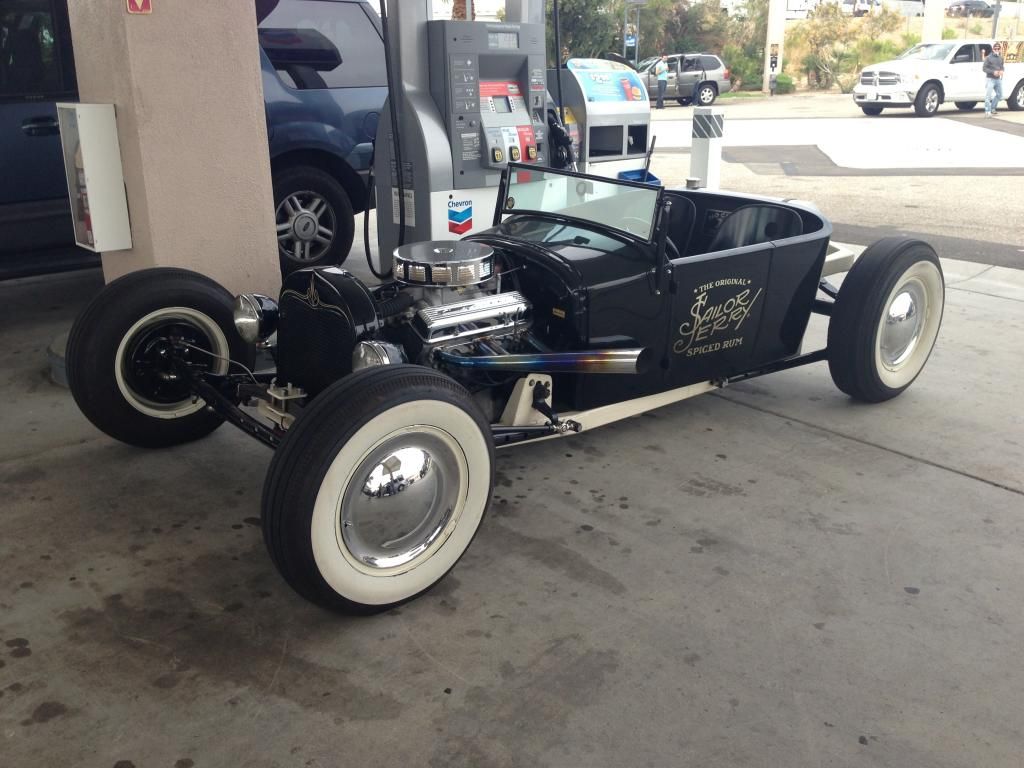
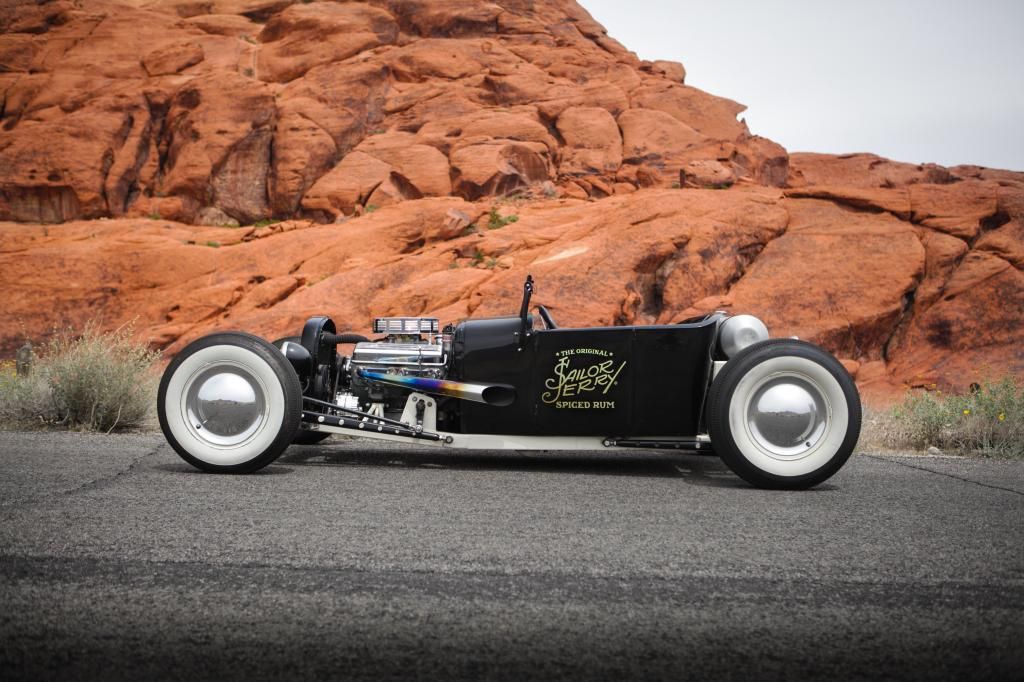


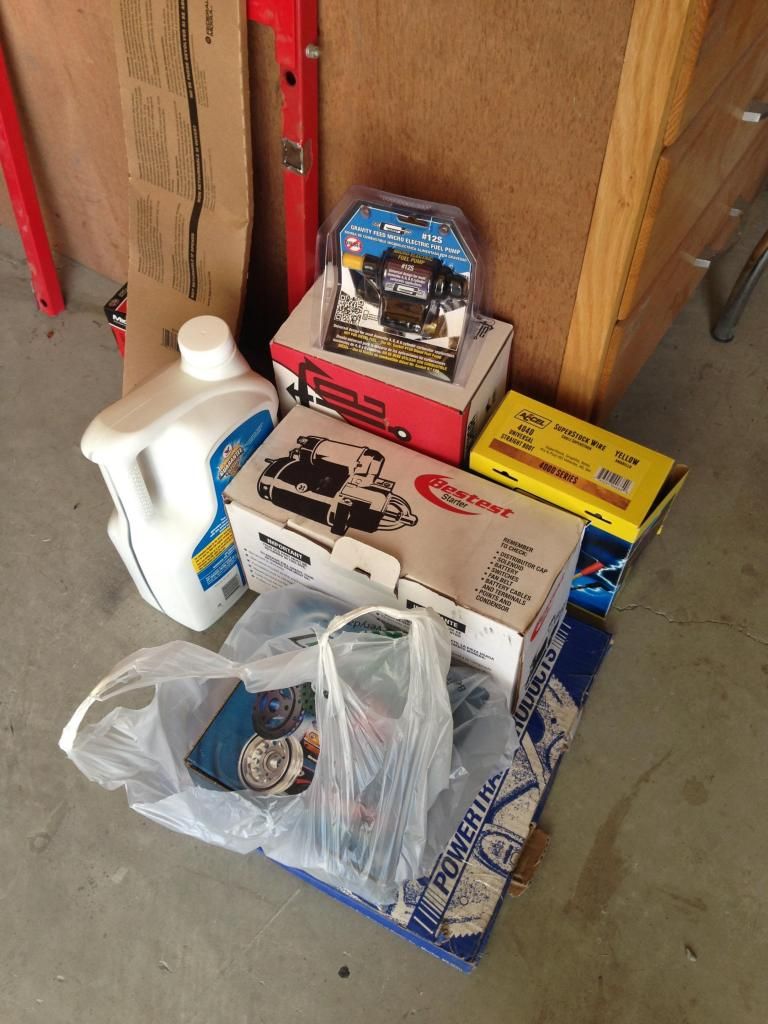
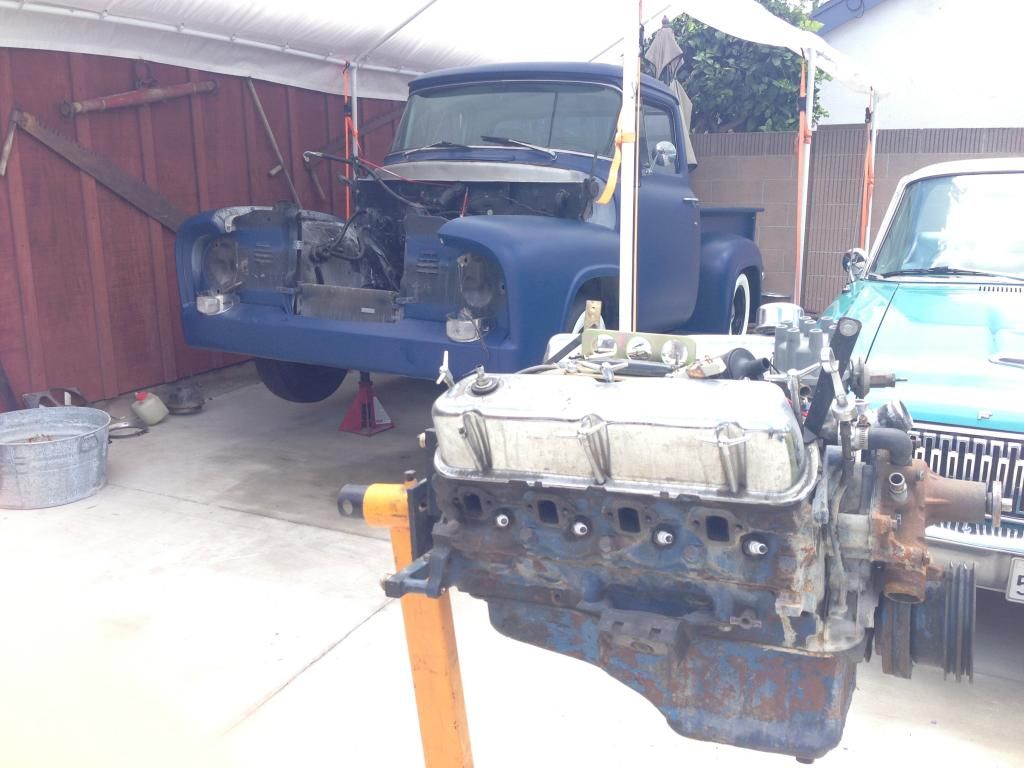
    When we got back from vegas it was now time to find the cause of the failure. I already had the 351w that was fresh so I was planning on just swapping the motors. While pulling the 289 that had failed on me. I found our failure. It was a grounded ignition wire. But that wasnt it. upon pulling the old motor I found multiple things that had to be changed. The starter was cracked, engine had a blown head gasket, had a stuck valve, broken motor mounts, grounded headlight harness, the flex plate was on backwards, cracked shift linkage, and the piston rings were toast. So instead of trying to salvage everything from the old motor I decided to spend the money and just go brand new with everything that way I wouldnt have any unexpected failures. This is what I was looking at:
    -change fuel pump from mechanical to electric
    -change distributor from points to electronic
    -new water pump
    -new radiator
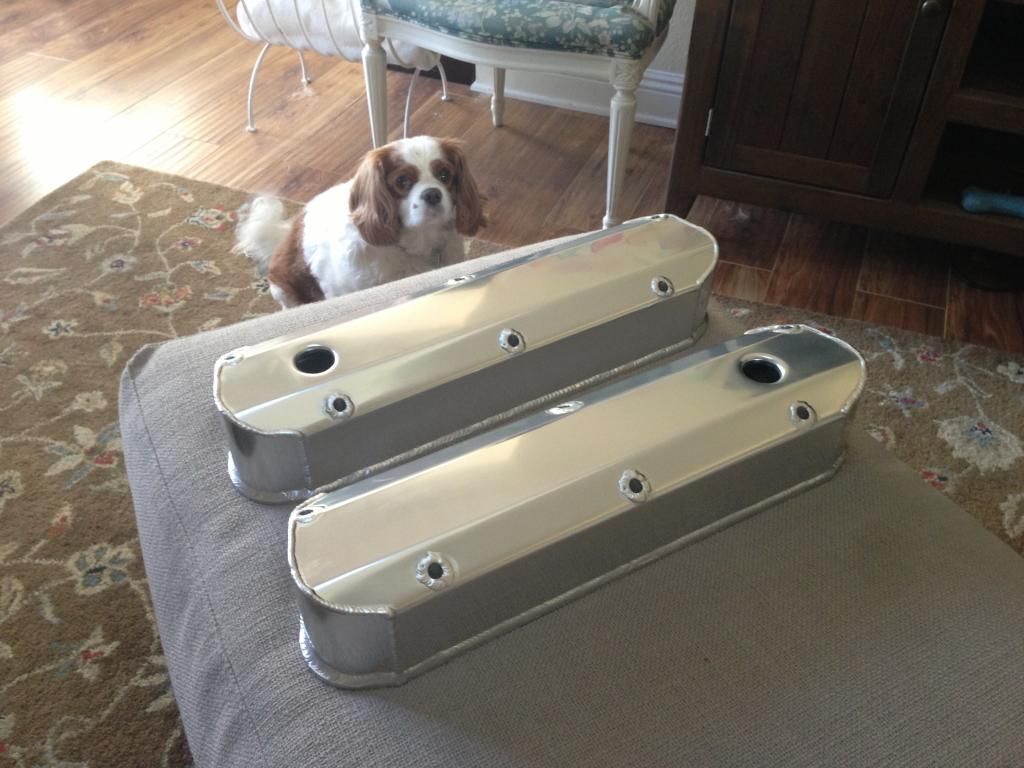
    -new valve covers
    -new starter
    -new motor mounts
    -new plugs and wires
    -new alternator
    -new battery
    -new headlight harness
    -new radiator supports
    -new shift linkage
    -new dipstick
    -new edelbrock intake manifold
    -new edelbrock 650 4 barrel carb
    -new harmonic balancer
    -new flex plate
    -new headers


    With the new engine in it was time to start bolting everything up. passenger side header went on fine. But when I tried putting in the driver side it couldnt even get close to fitting. It was hitting the steering linkage and couldnt even get close to mounting in place. So the only option was to pull the column and linkage to get a part number. Once I got the part number I looked it up and it was out of a chevy C10. The previos owner apparently decided to put a chevy steering system in the truck and now my ehaders werent going to fit. I decided to buy a pair of Summit racing Block hugger headers thinking that would solve the problem, and now with the new headers it cleared the steering linkage by almost an inch. With one problem solved another arose. Now we didnt clear the starter on the other side. I decided to ditch the big oem starter and pick up a high torque mini starter in hopes that now I can clear the header and finally fire this engine up.
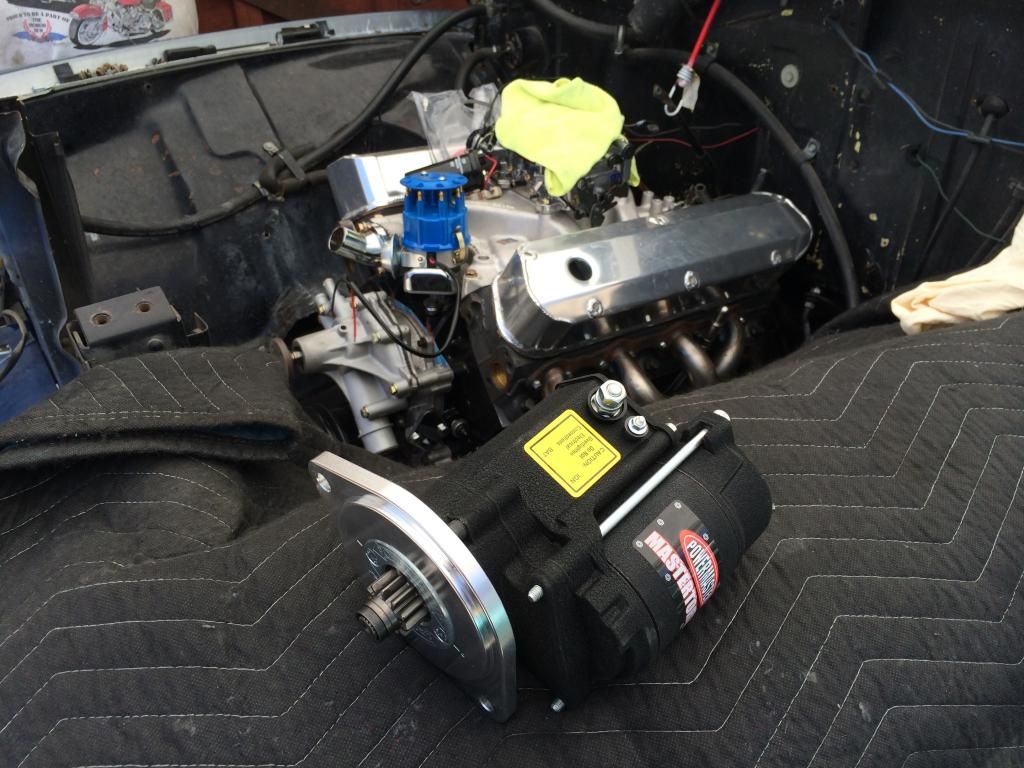
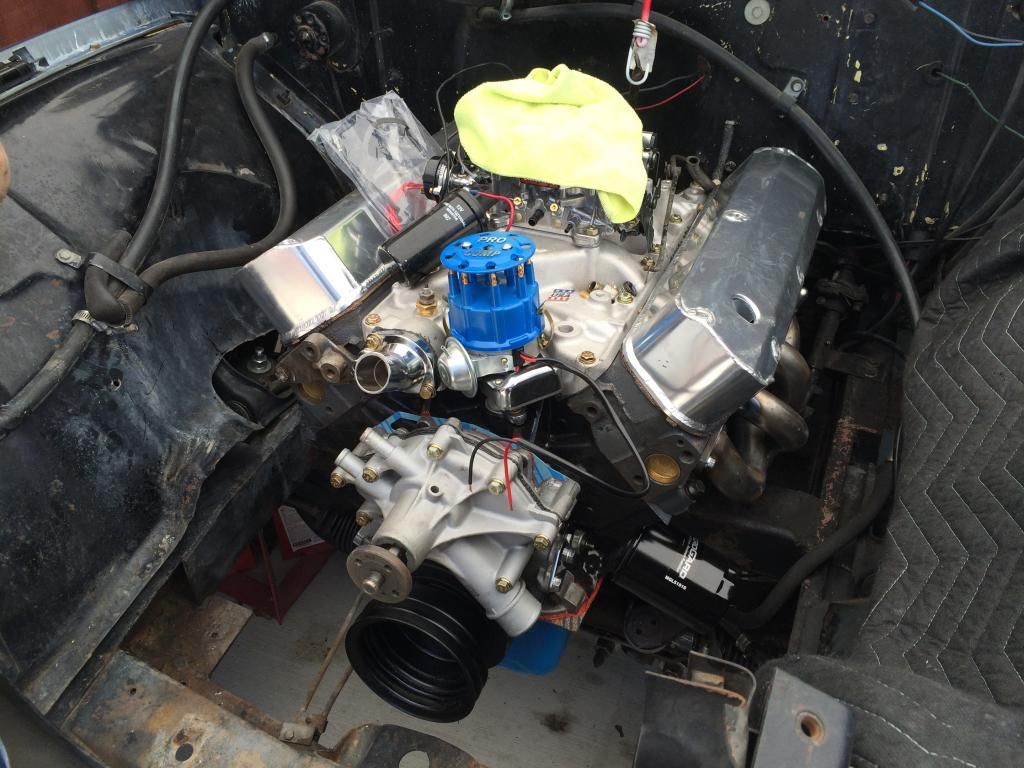


    I should have some time this week to try and get everything bolted up and get her fired. I'll keep you all updated as I go.

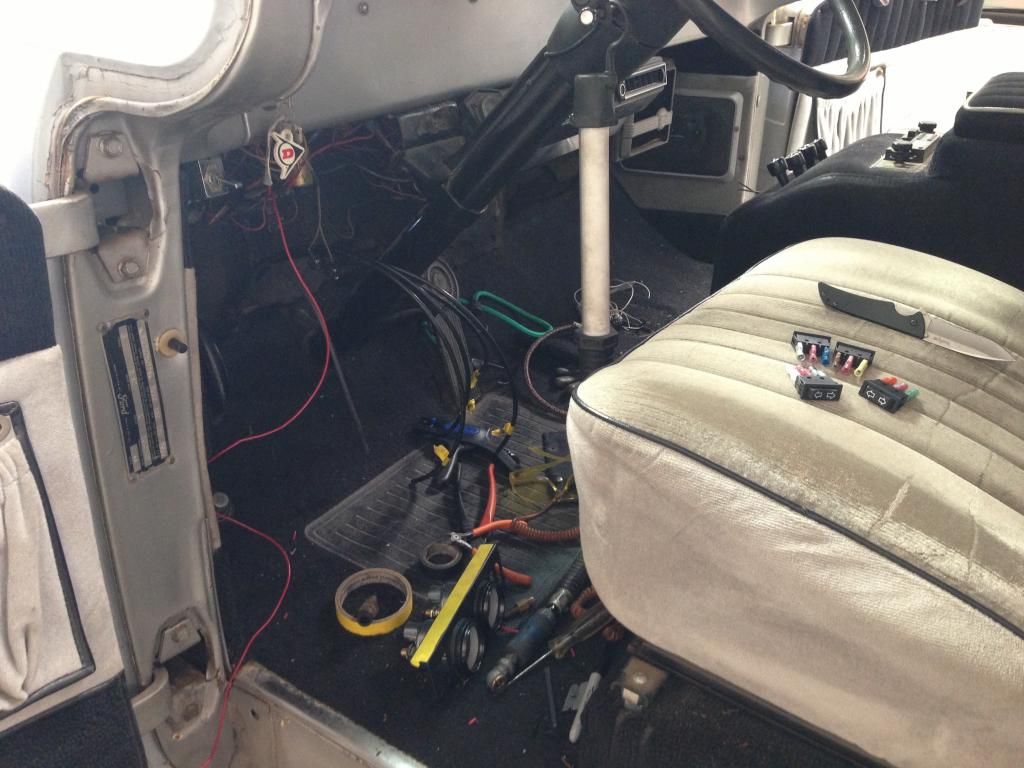
    Leave a comment:


  • tscharf18
    replied
    Originally posted by rice4life View Post
    Beautiful truck!

    Love the shine the wood has, real nice contrast between the dark blue.
    thanks man!

    Originally posted by 7075x4130 View Post
    why u no equal 4 link but man i love the truck! it makes me really happy you kept it original style and sizeish on the wheel, no hideous 22 billets!
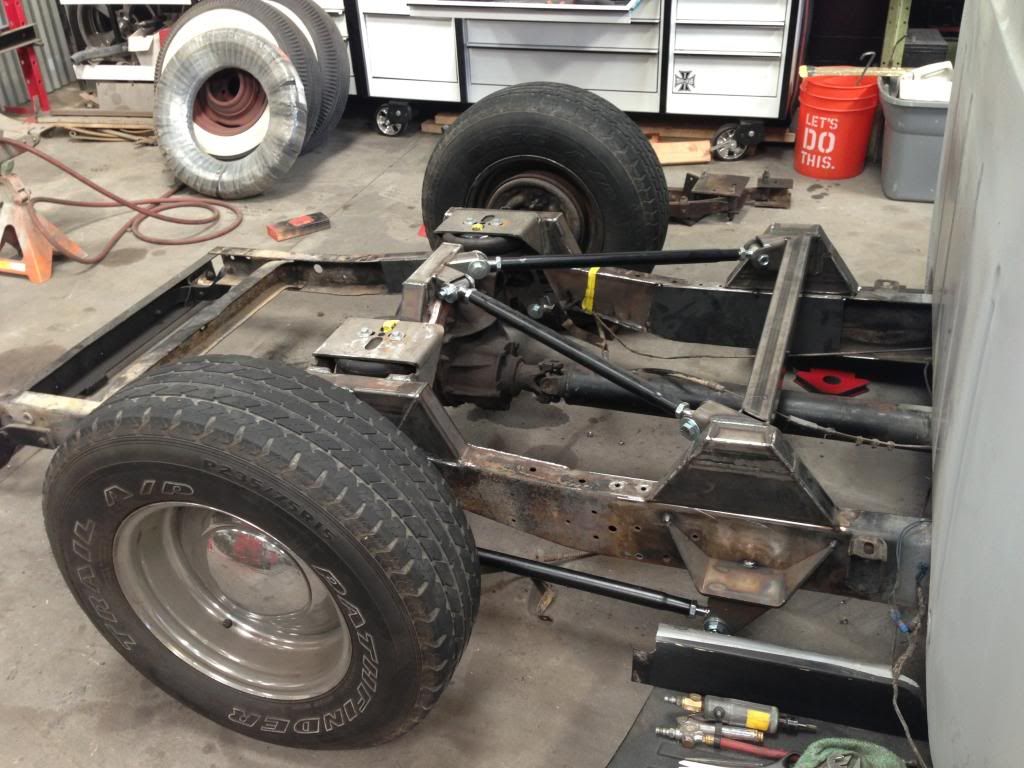
    On a straight 4 link the rear end shifts a little when you air out, I have really tight clearance with the rear tires so I went with a triangulated 4 link.

    Leave a comment:


  • mullet
    replied
    this is wonderful

    Leave a comment:


  • Belvader
    replied
    this is such a beautiful truck

    Leave a comment:


  • Lukey
    replied
    fucking amazing!!

    Leave a comment:


  • 7075x4130
    replied
    why u no equal 4 link but man i love the truck! it makes me really happy you kept it original style and sizeish on the wheel, no hideous 22 billets!
    Last edited by 7075x4130; 05-21-2014, 05:06 AM.

    Leave a comment:


  • P78
    replied
    damn, the blue paint, the woodgrain and the pinstripe

    awesome ride

    shame about the breakdown

    Leave a comment:


  • TheDarkside
    replied
    Heck yes.

    Leave a comment:


  • rice4life
    replied
    Beautiful truck!

    Love the shine the wood has, real nice contrast between the dark blue.

    Leave a comment:


  • Randomofodication
    replied
    Stellar looking truck! Shame to see it broke down

    Leave a comment:


  • tscharf18
    replied
    Sorry for neglecting this build thread for so long, i've just been so busy trying to get this thing finished. But luckily I have been picture documenting the whole thing so now I have some catching up to do. here it goes. This whole build was supposed to be done before april 17th for the viva las vegas show in las vegas. A show that i've wanted to be a part of for a long time and I thought I gave myself enough time to finish the truck for but didn't really account for problems. I knew it was still possible but it was going to be close. The plan was to finish the truck and roll out in the caravan with a few cars from Mackey's Hotrods and a few from sailor jerry.

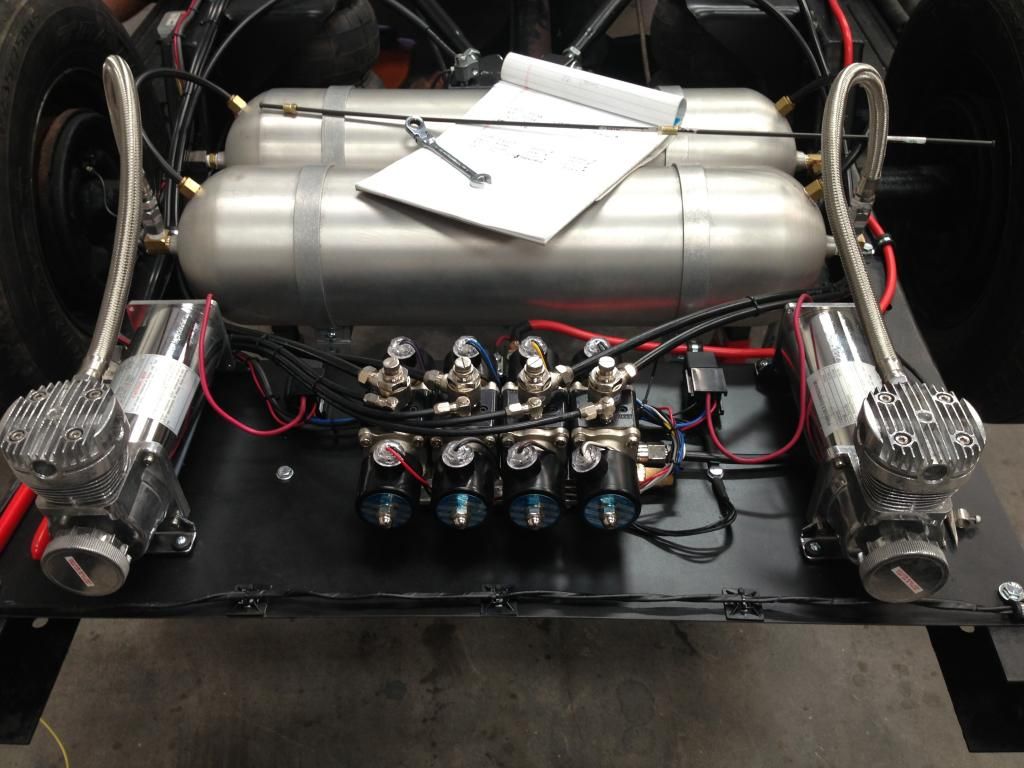
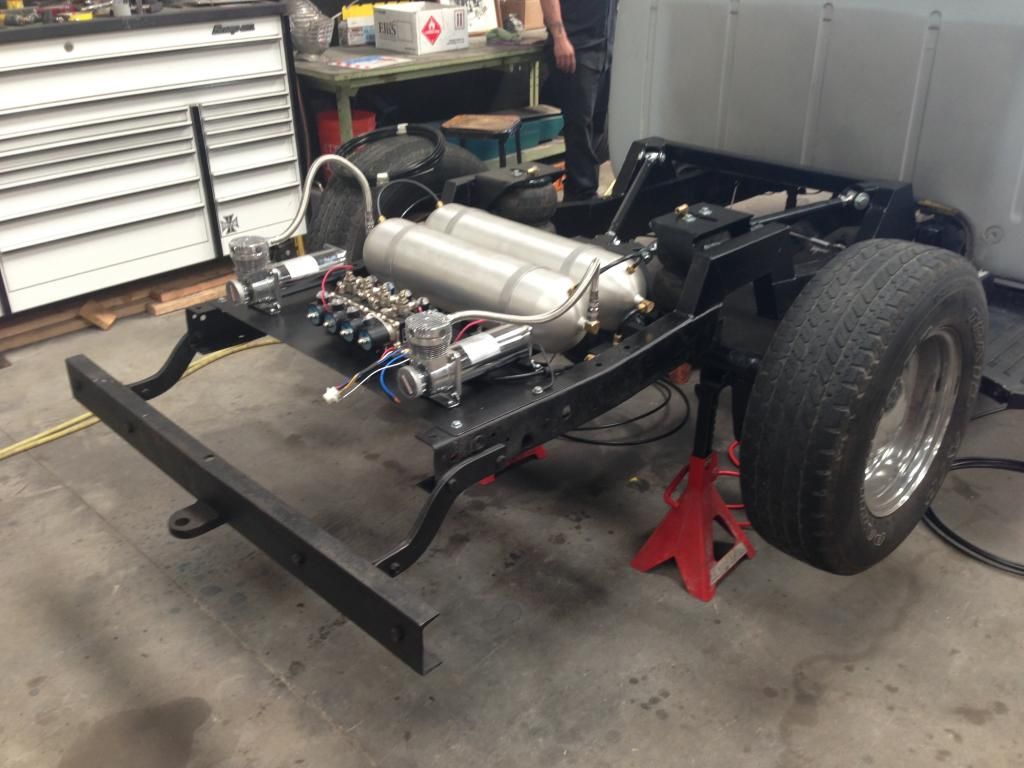
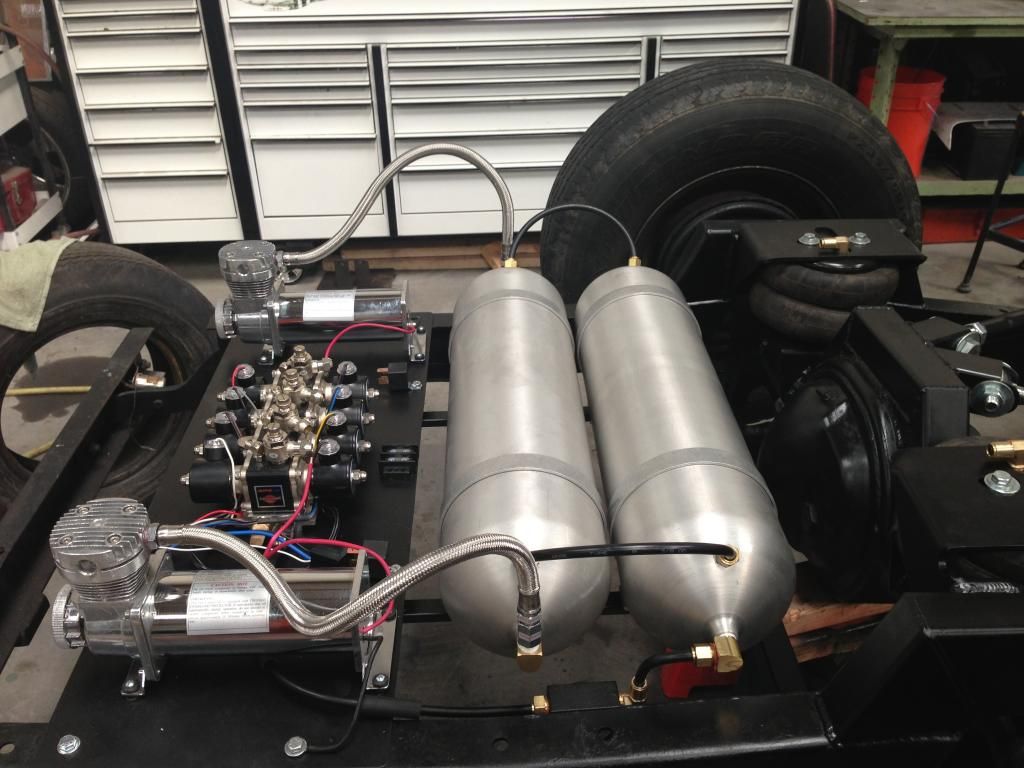
    So I think we left off at mounting all the tanks, solenoids, compressors and lines.


    So with all that wired up we ran into problems with some of the valves from airbagit. Horrible customer service and was telling us there was nothing wrong with the valves. we got them to send us new valves and was able to get everything situated. another problem was now that the front wheels didn't clear the bags so I had to borrow front wheels from a friend till I got my new wheels. I decided not to wait for the new vales to ship and wait till they got here to go ahead and take it to paint. But with no valves we had to put a T fitting in the line and connect a shraeder valve setup. so basically the truck couldn't air up or down but I could get the bags to hold air just so I could drive it to paint.

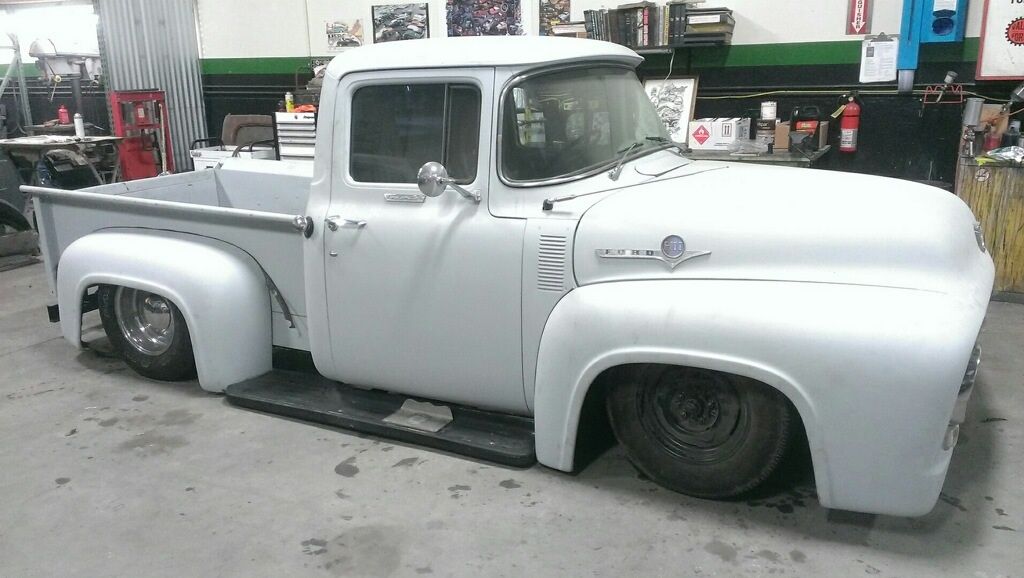
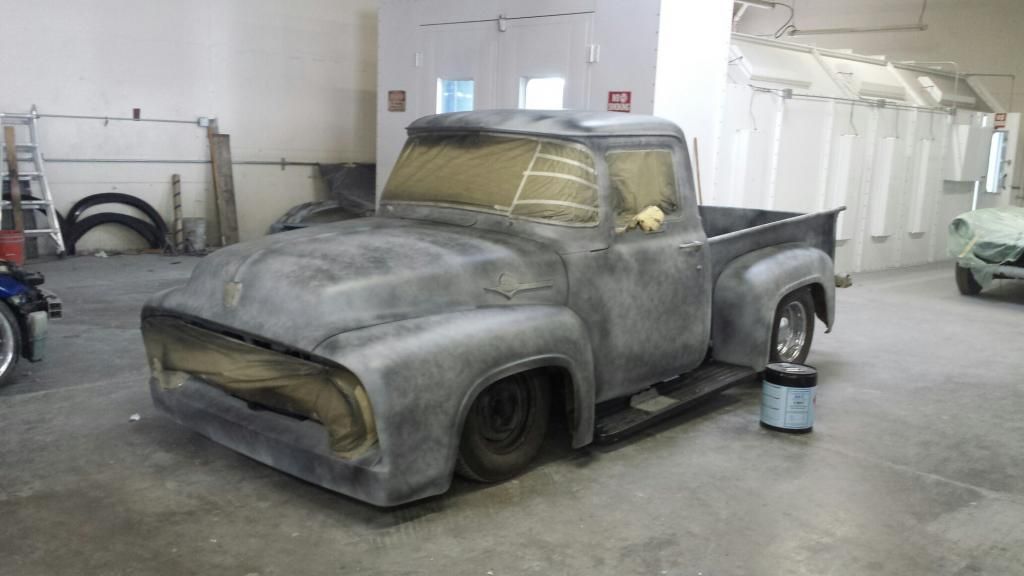
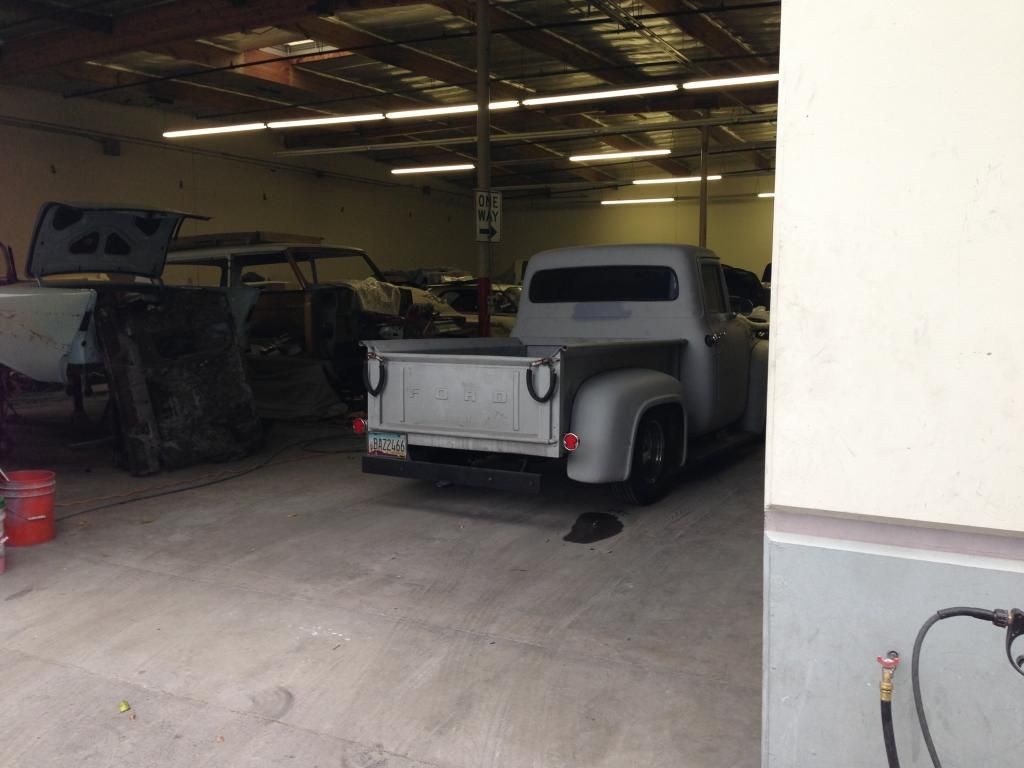
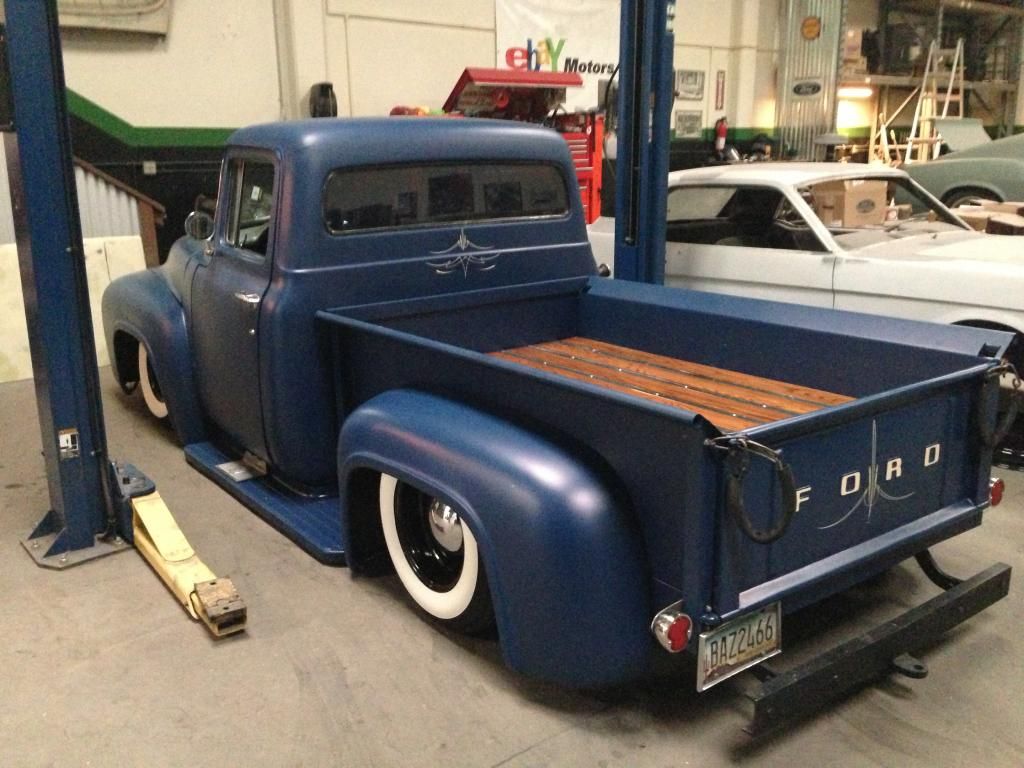
    Here is the truck before paint laid out (note that its still on big tires so It will get lower with new tires


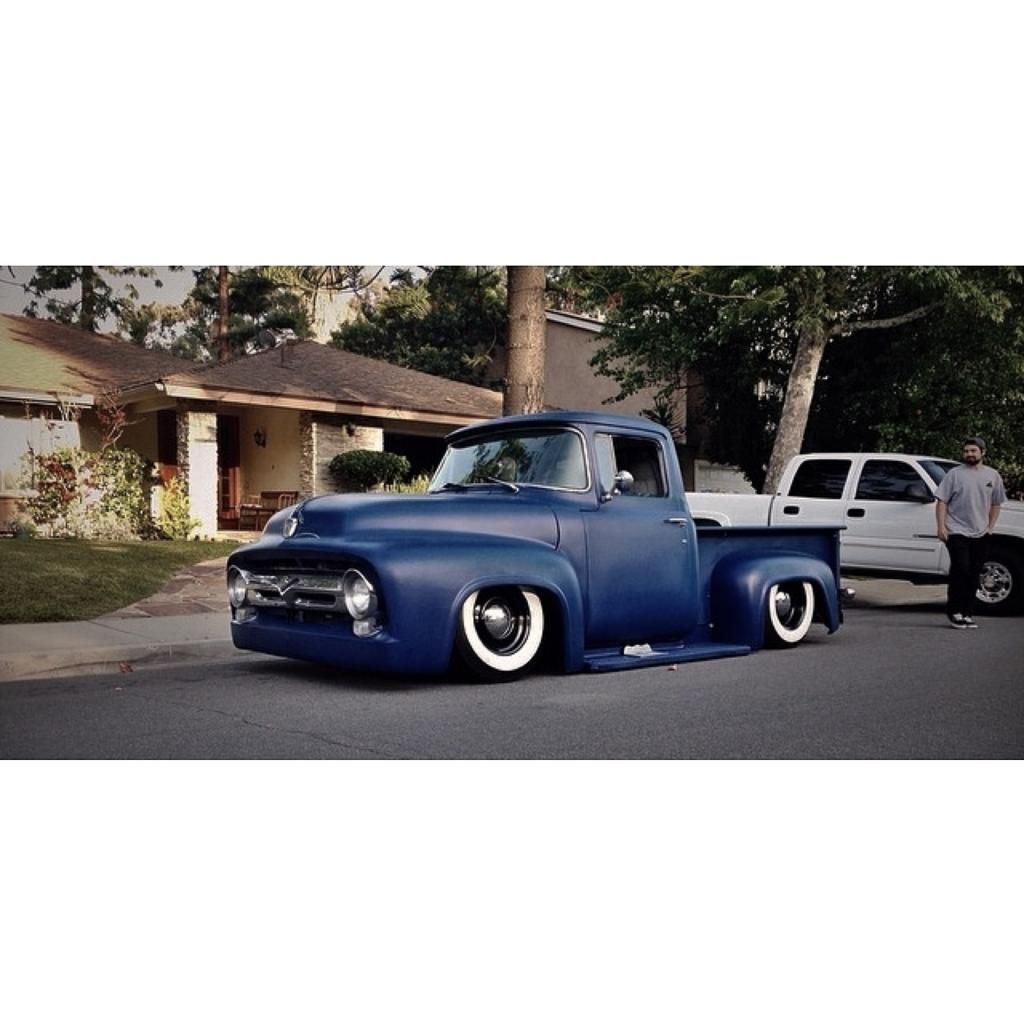
    So I dropped the truck off at my buddy Eric's paint shop so spray the truck. When building a car you want to pick a color that will look the best on the truck and then you decide on one. Then you start thinking and realize all the different colors and finishes. In the end I decided to stick with my first choice. My inspiration on building this truck was when I was in old navy as a kid and saw that satin navy blue f100 parked inside with the fake dog sitting inside. I know you all know what I'm talking about. So that was the color I went with. satin navy blue.

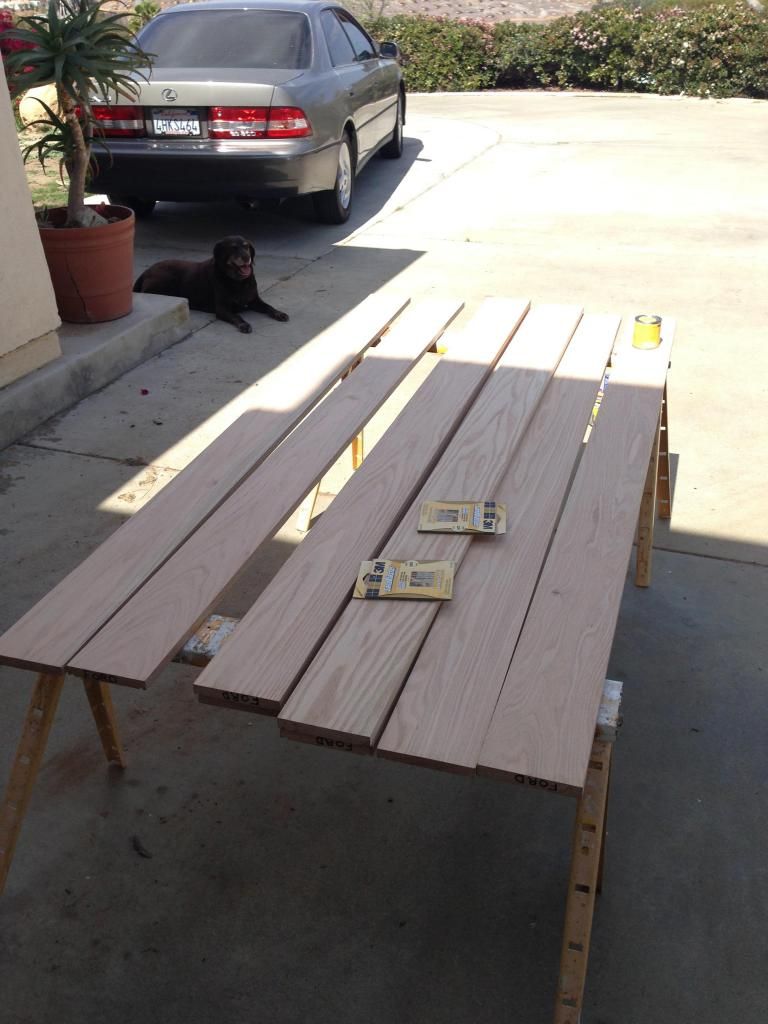
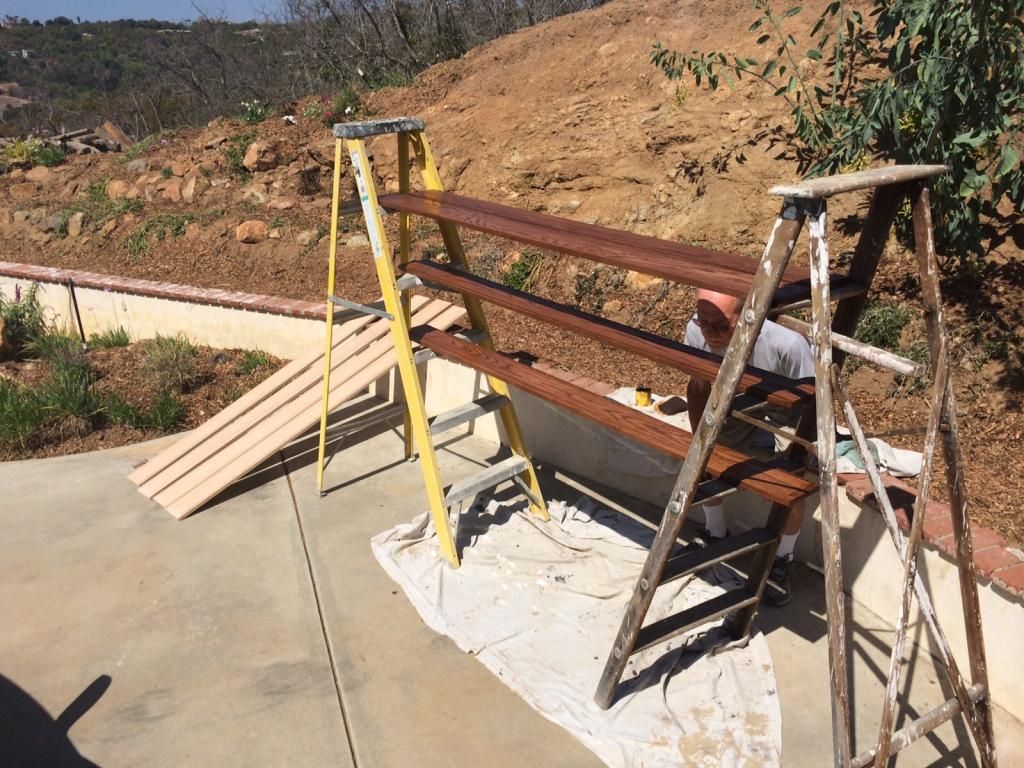
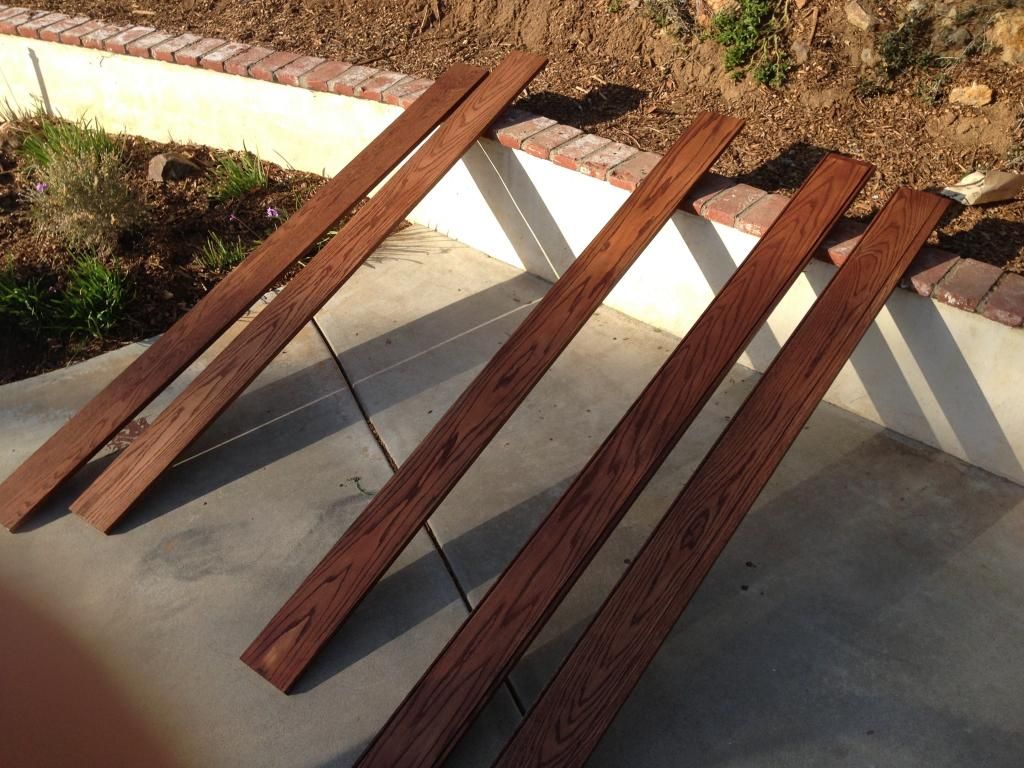
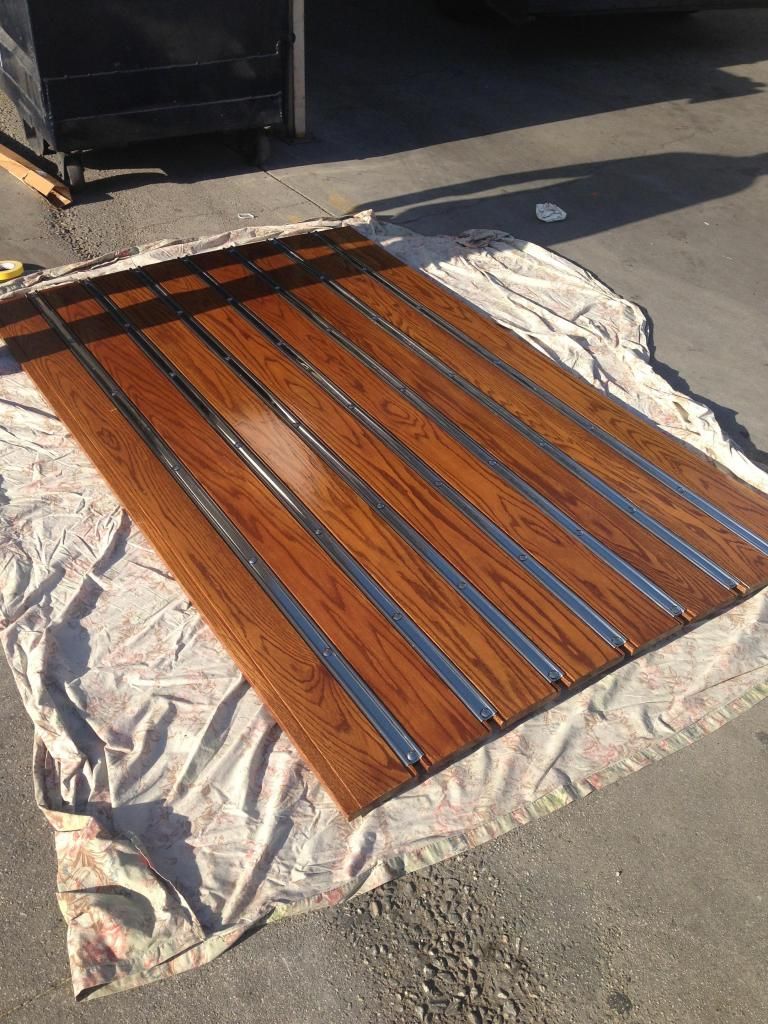
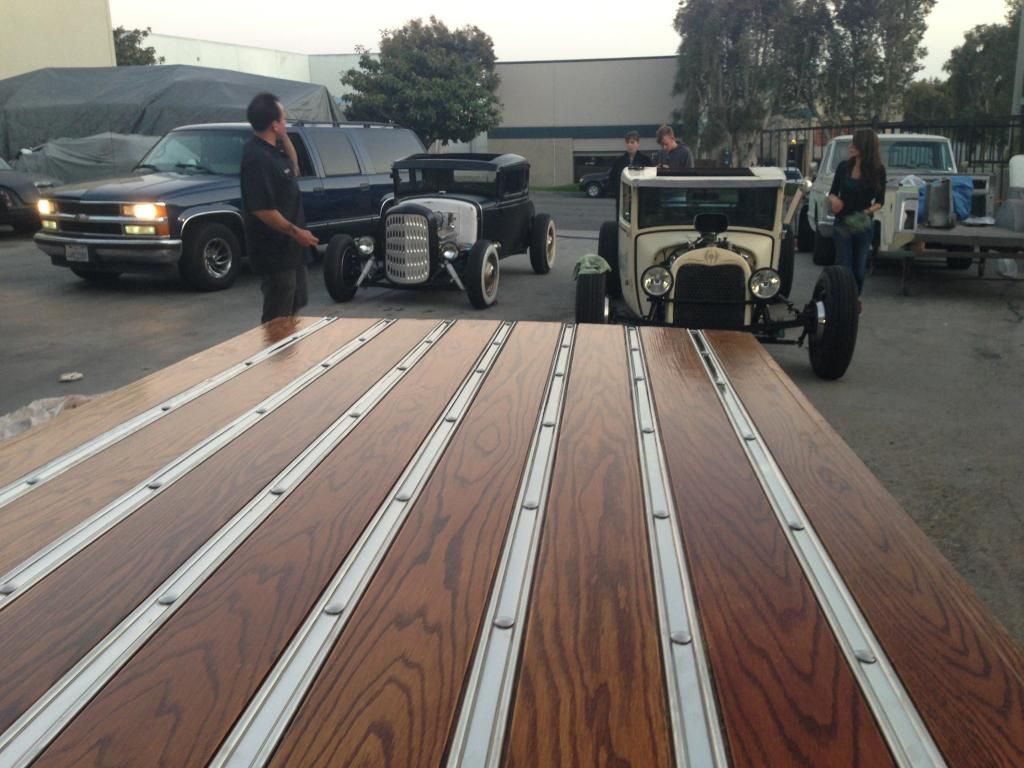
    While the truck was at paint which would take about two weeks I was busy prepping everything else that needed to be ready for the truck because I would get the truck back from paint 2 days before we left for vegas. So it was time to start prepping the wood for the bed which was Oak and came precut for the bed from truck shop in orange, ca. I also picked up polished bed strips and hardware to match. I decided on a stain called English Chestnut. and a semigloss spar varnish to protect it from weather.

    First step was to sand it with 150, then 400, then 750 grit paper to make sure it was nice and smooth before we apply the stain.


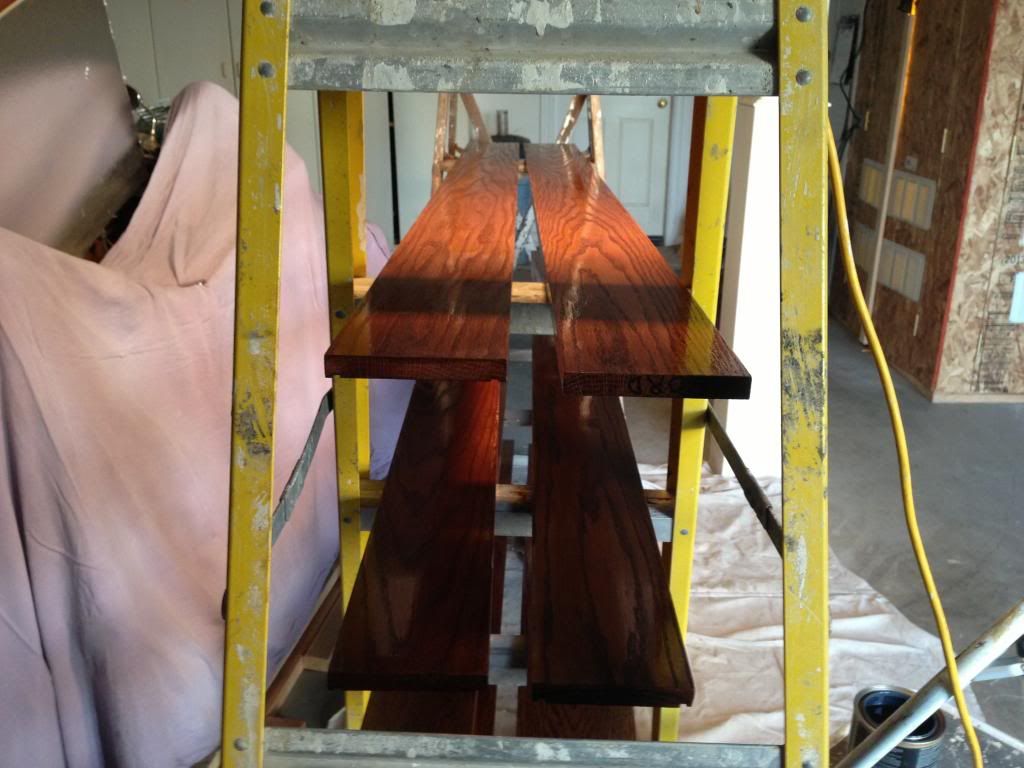
    Next was to apply the stain and varnish to the wood. the wood only needs one coat of stain. but varnish on the other hand needed about 8 coats in 12 hour intervals to ensure the previous coat is dry enough to lay on another coat. The wood would into have come out the way it did if it wasn't for my grandpa's expertise and time he helped me varnish the wood and sand in between coats to ensure the best possible outcome.


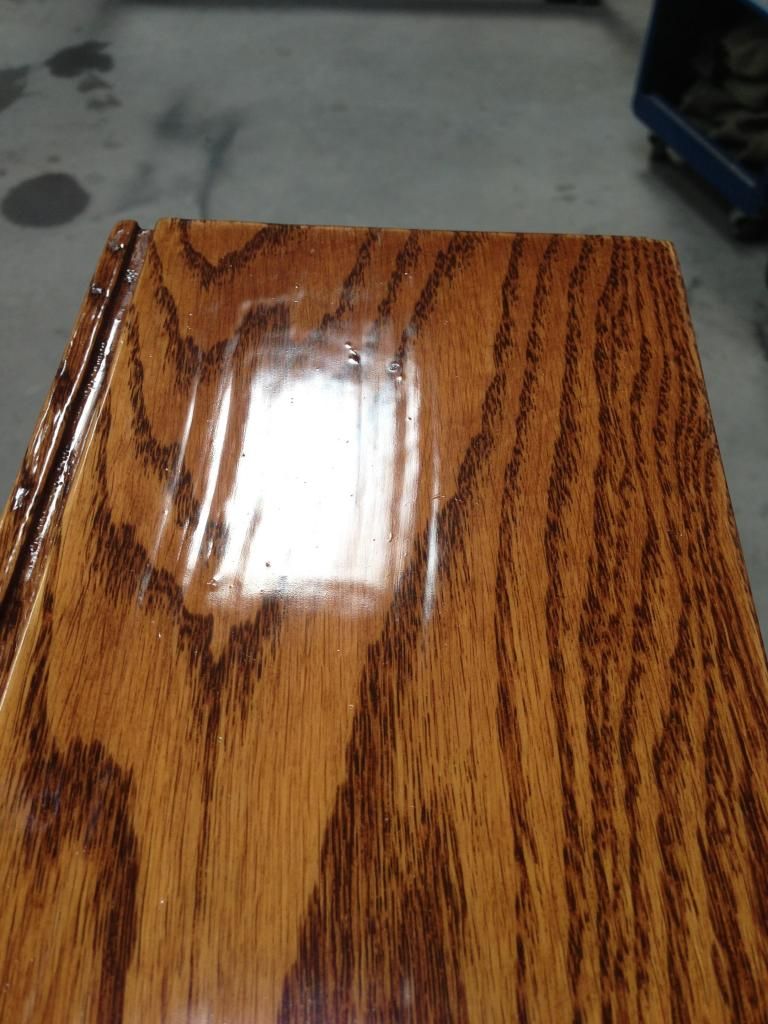
    Now that the wood was ready it was time to assemble it. but we ran into a big problem when I realized that one of the strips of wood has no groove in it for the strips that hold it together. As you can see in the pics below. So I had to take a grinder and try my best to make a groove of the same width that wont be seen from the outside.


    It came out ok so now was time to cut steel supports and to assemble everything.


    Meanwhile Eric was working on the truck sending me update pics and then I get a text saying that there was an electrical fire in the paint booth so he wont be able to paint it at the shop. At that moment my heart sunk and I basically lost all hope of finishing the truck before the show. As if all the time put into the truck to this point was for nothing.


    A few days later Eric sent me a text saying he found a shop that was willing to let him use their booth to put color on the truck but he wont have time to spray the bay or the jams, just the exterior. I decided some color was better than no color for the time being. It was back on, the race against time to get it done but it meant that I wasn't going to get any sleep for the next few days before the show and I'm going to live off of red bull and caffeinated drinks.

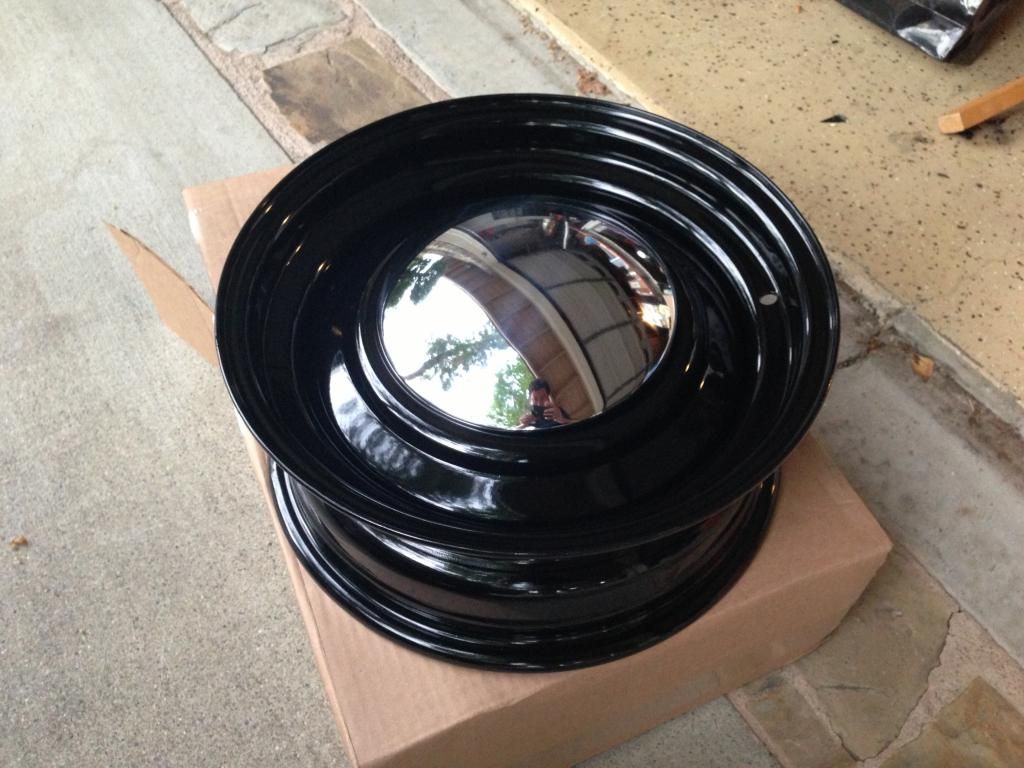
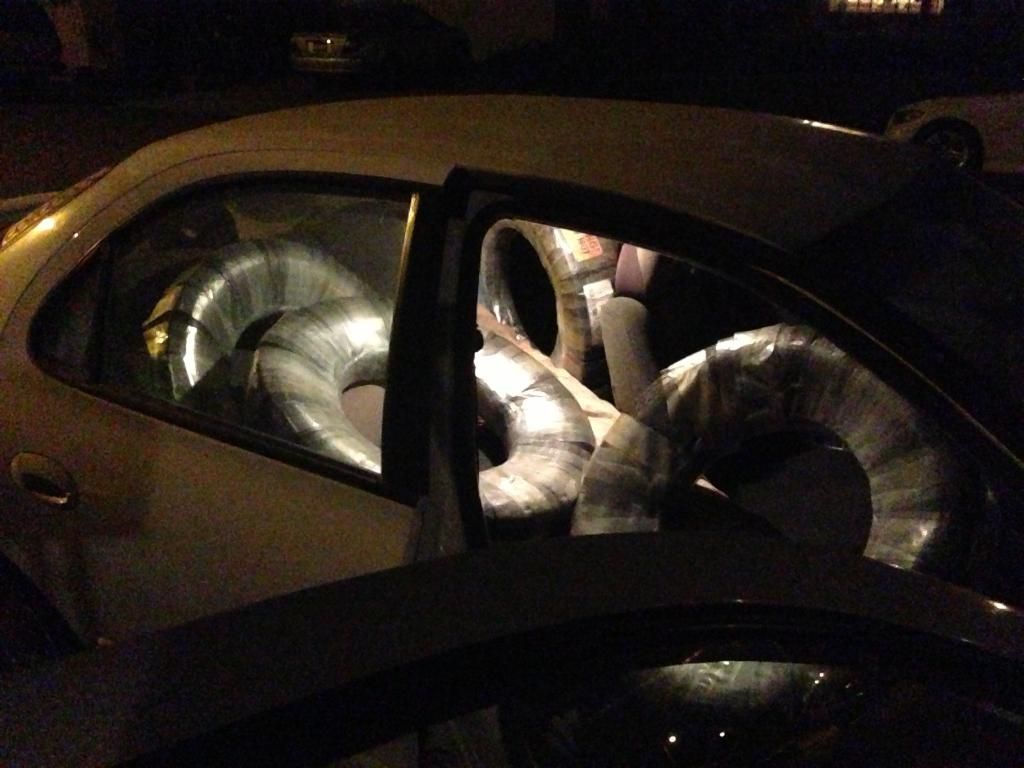
    I picked up the whitewalls from performance plus tires in long beach which is where every hotrodder in Socal referred me to for tires. So i figured I cant go wrong. I went with a G78 15" with a 3.5" whitewall.
    While I was there I saw a set of 15" smoothies on the wall that I asked him about and he cut me a great deal on them. So I had them mounted up and now to wait to get the truck back to put them on.


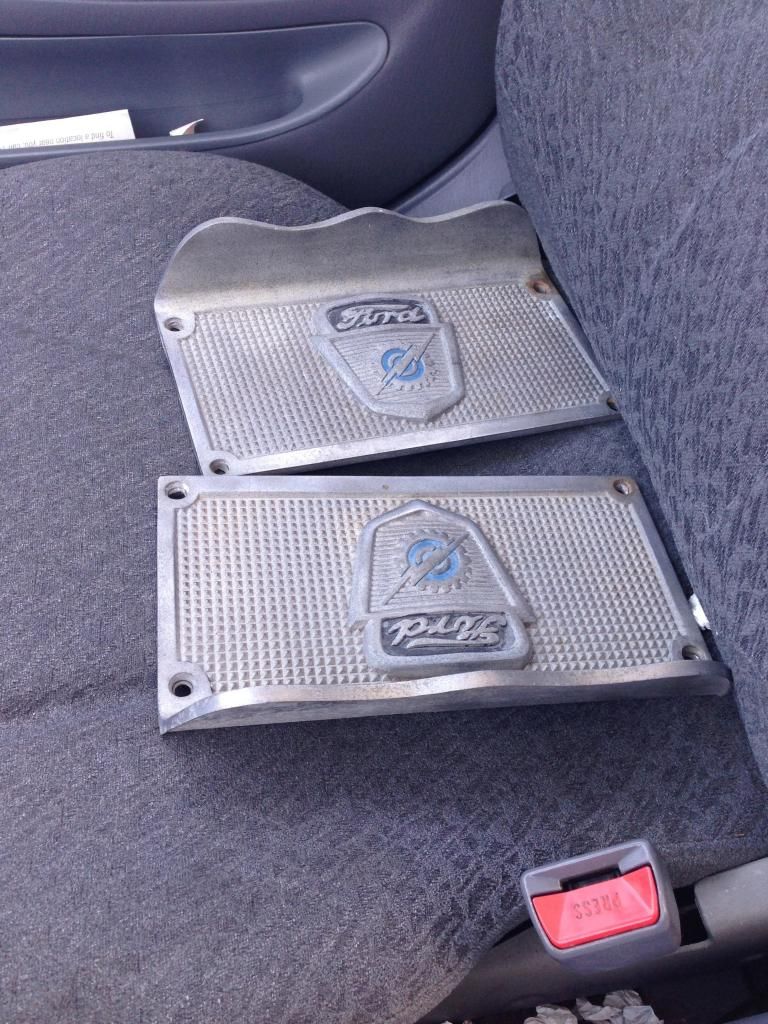
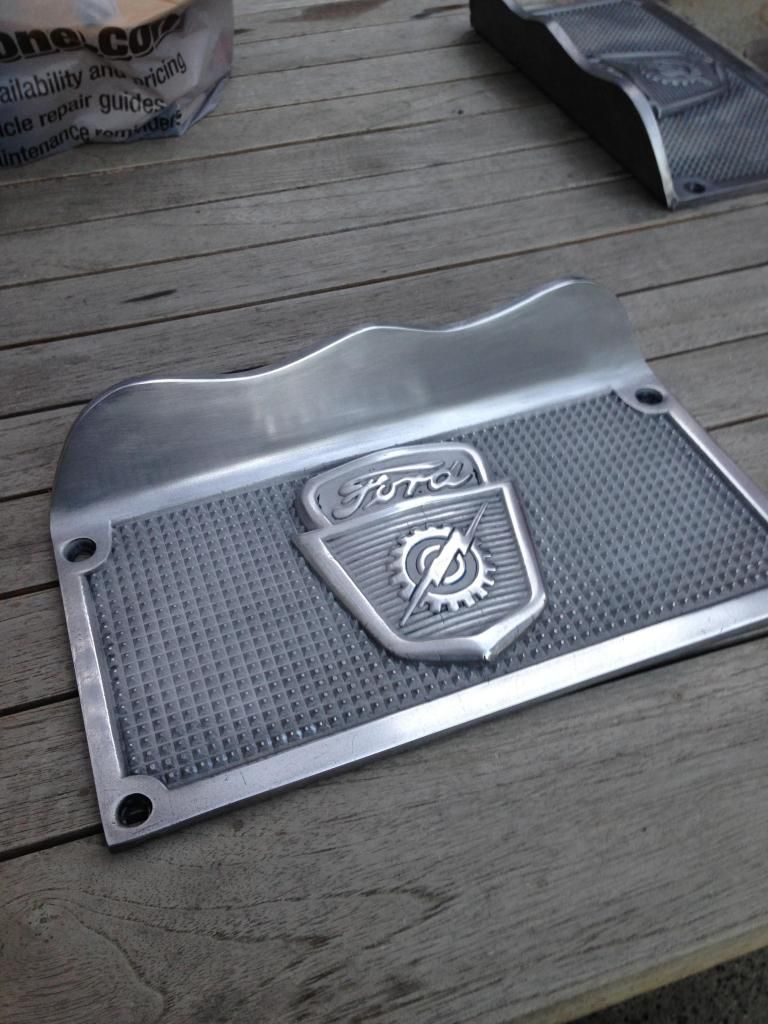
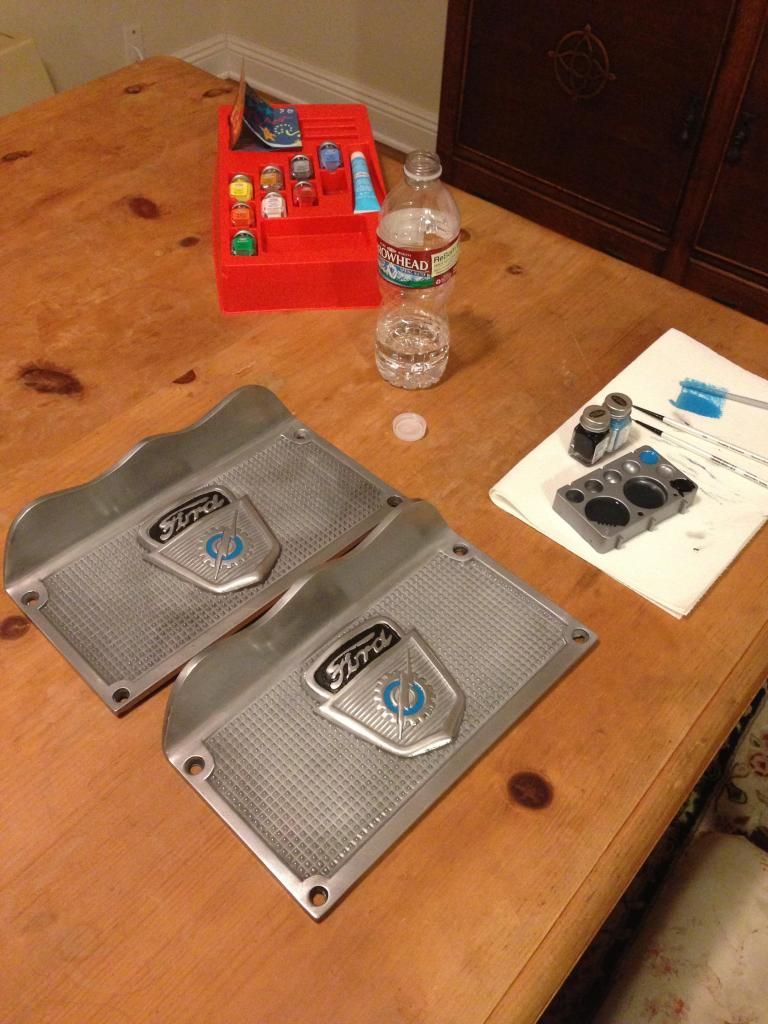
    Last thing to do while I wait for the truck was to attempt to make the side steps look a little better as they were in really rough shape. I made a few calls to some friends that might have access to a sandblaster that I could use and the first person was able to help me out. We didn't have the right grit sand in there but anything was better than nothing at this point. Once I got them home me and my brother wet sanded them with 200, 600, and then 1000 grit sandpaper and then used some metal polish and was able to get a little shine out of them. I then used some model car paint to put some color back in the emblems.


    Finally went and got the car back from paint on tuesday (we were leaving for vegas thursday morning)
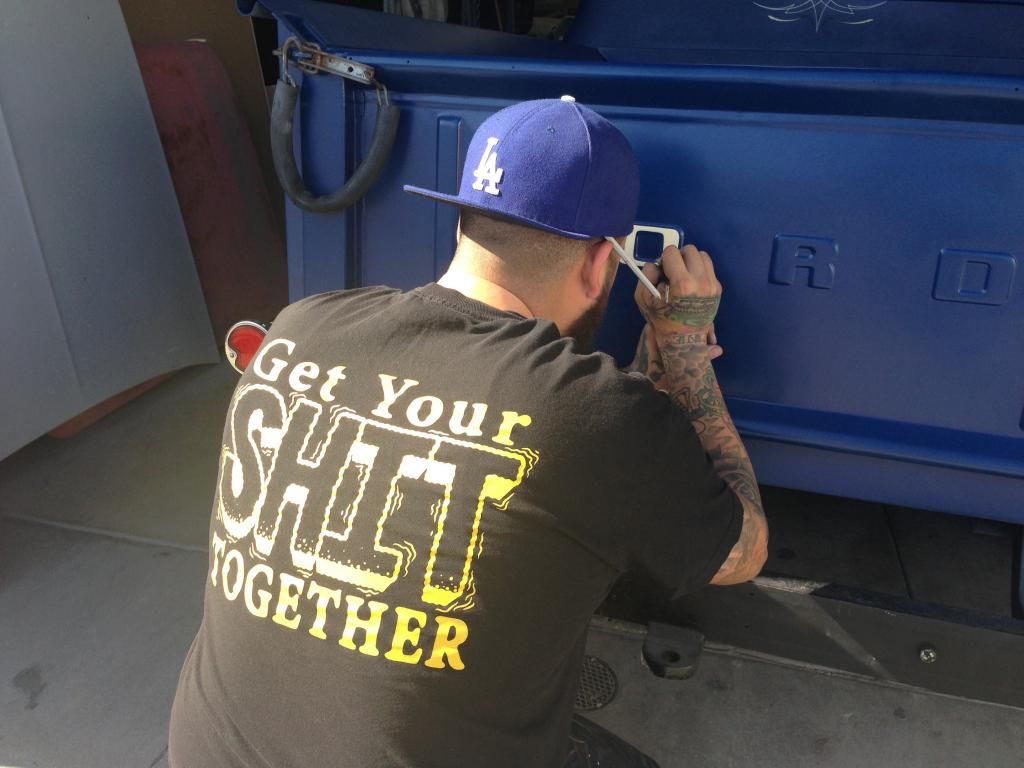
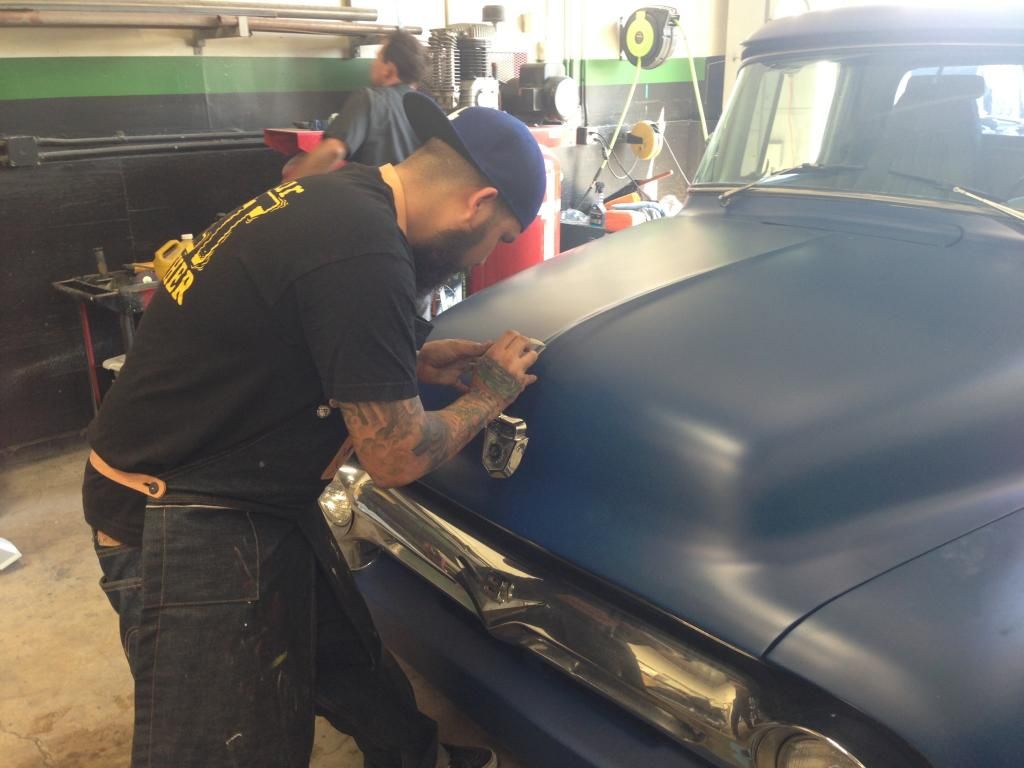
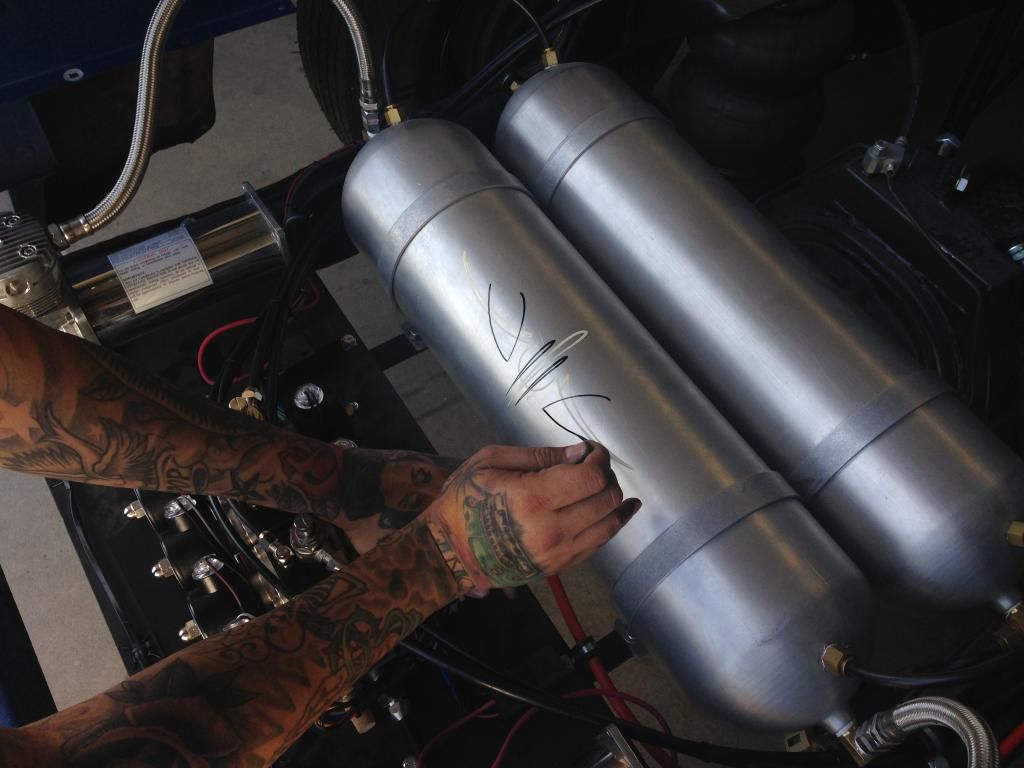
    got it back to the shop. Installed the valves and they worked now so we had full control on the air ride system. Went to install the wheels and then realized the rear wheels didn't fit because they were a different lug pattern than the fronts. So in a last minute hurry we took the old rear wheels and had them rush powder coated to match the fronts and was then able to get all four wheels and tires on. everything looked as if it was going to work out and we were going to make it to vegas. ran into issues the next day with getting the wood in so I had to shave about 1/8" off both sides to get it to go in, but we got it in. Installed new chains for the tailgate. changed spark plugs, wires, coil, changed the oil all in preparation for the 5 hour drive to vegas. We had Mr. rhythm come down to the shop to lay some pinstriping down on the truck which he did an amazing job at.


    The final result.


    Everything was set for vegas. we had made the deadline against all odds and issues we ran into. the feeling was great. I had never built something like this before that was this extensive of a project and to think that I had completed it was great. Now I had to go home and pack.

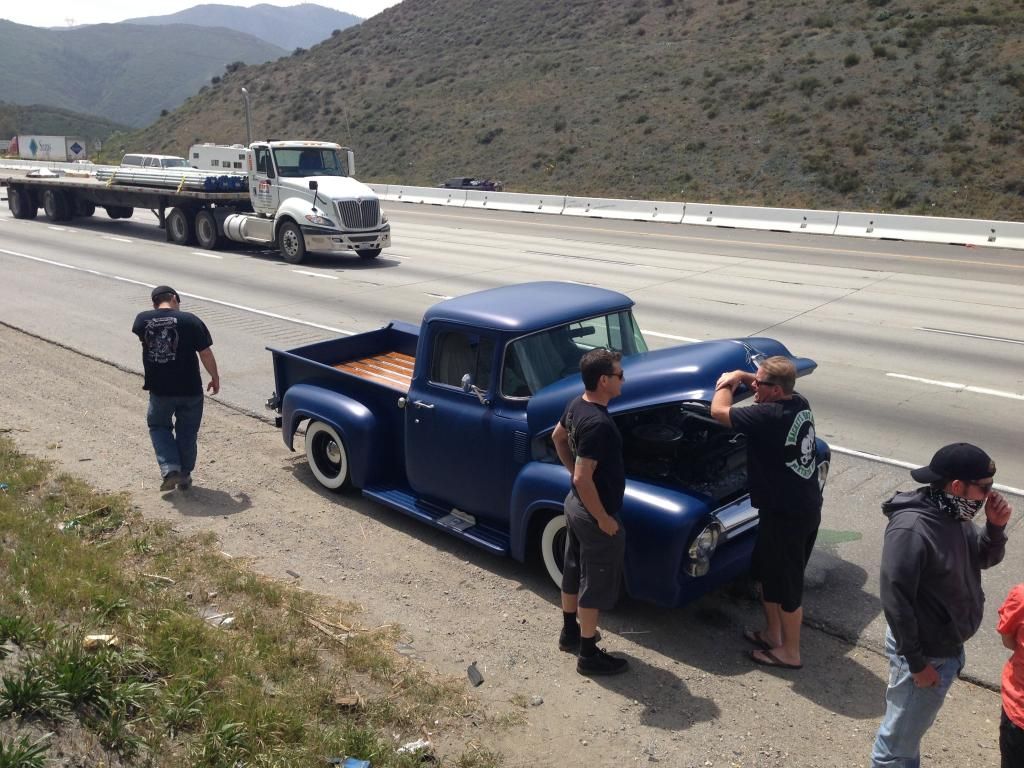
    The day was here. I couldn't sleep the night before due to excitement. I woke up and drove to the shop to meet up with everyone for the caravan. all the cars were there all vegas prepped like mine and ready to go. Left the shop at 10am. about an hour and a half into the drive I felt a heavy misfire in the engine going up the cajon pass and then it went away. I ignored it. Then it came back harder than ever. it felt as if 4 cylinders were dropping simultaneously. I looked at my temp gauge, it was starting to climb at the same rate as my heart was dropping. This wasn't happening. The truck was losing all power and the temp was almost at 275. And that was it. We weren't making it to vegas....

    Leave a comment:


  • CubbyChowder
    replied
    Originally posted by tscharf18 View Post
    So I had everything hooked up and in and it seems that AIRBAGIT.com sent me faulty air valves, so I cant get the front of the truck to air out. im trying to resolve this issue with them but they want me to send them the faulty valves and they want to test them before they send me new ones. last time I ever buy anything through them.
    Sorry to hear, I've pretty much only heard terrible things about AIRBAGIT as a whole.

    Leave a comment:


  • tscharf18
    replied
    So I had everything hooked up and in and it seems that AIRBAGIT.com sent me faulty air valves, so I cant get the front of the truck to air out. im trying to resolve this issue with them but they want me to send them the faulty valves and they want to test them before they send me new ones. last time I ever buy anything through them.

    Leave a comment:


  • tscharf18
    replied
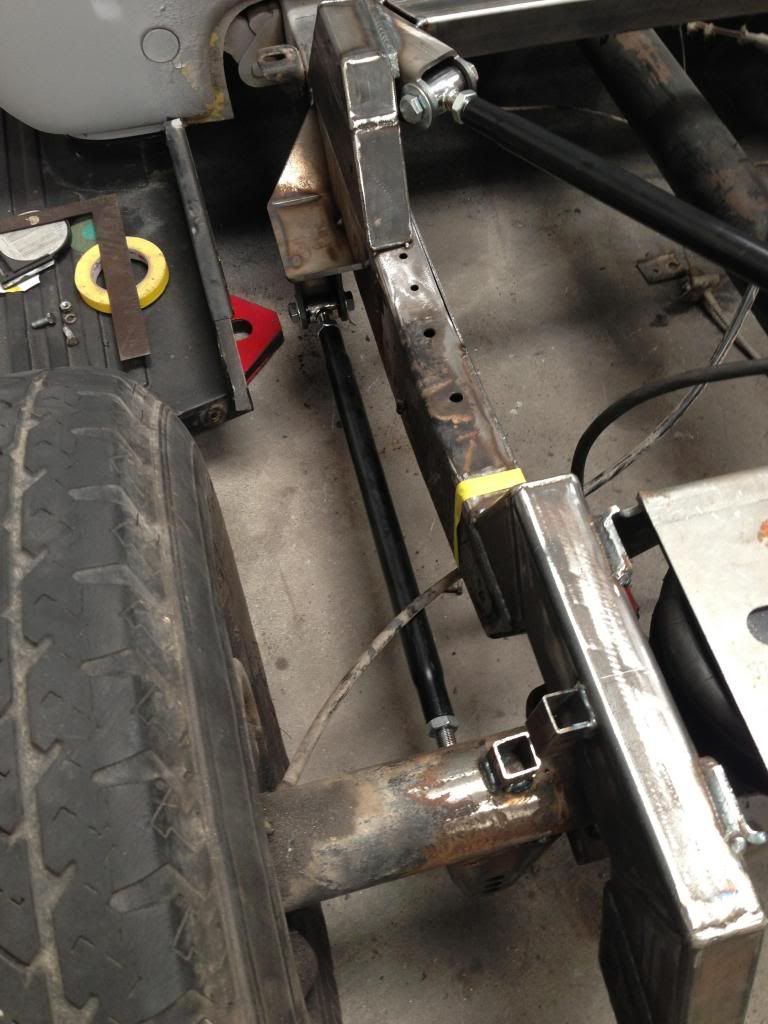
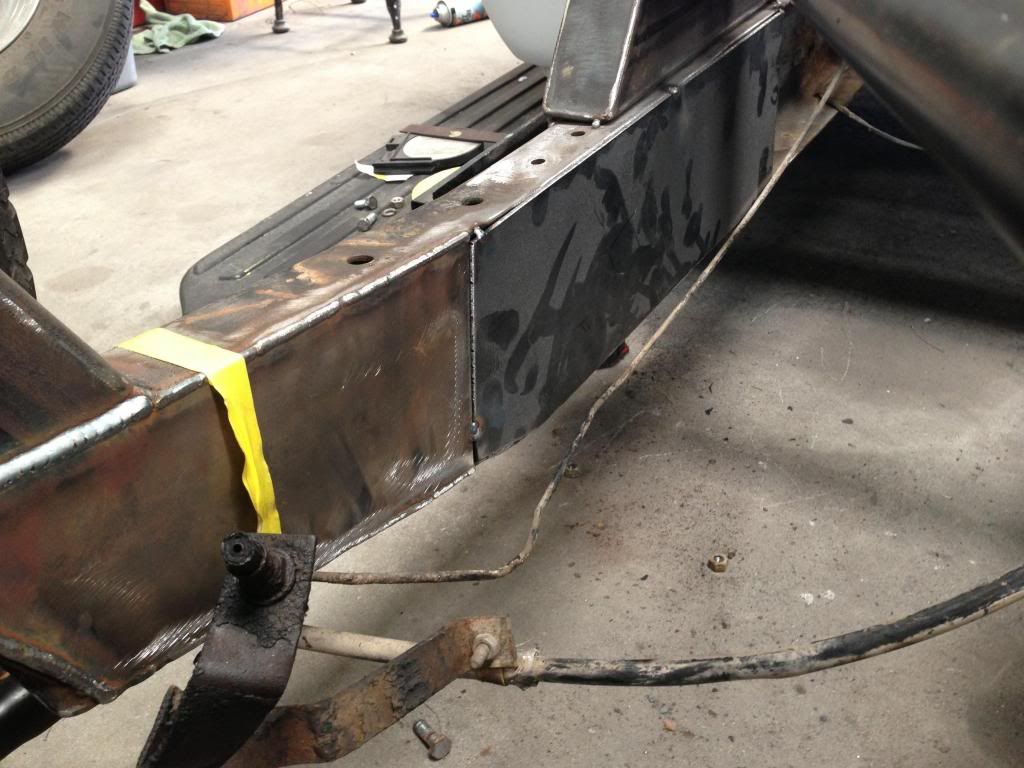
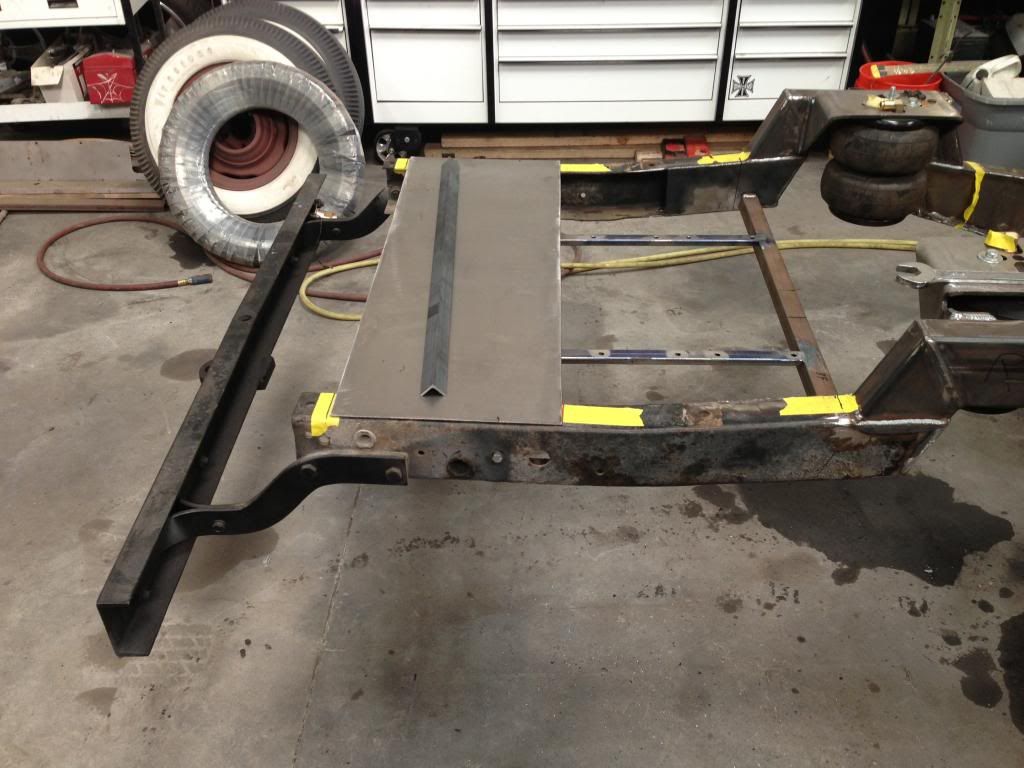
    Sorry I haven't updated the build in a few days but have been very busy making progress. So we finished the trailing arms (lower half of 4 link). heres some pics of those all mounted up (still tacked not fully welded) and started to box the rear section of the frame behind cab for strength


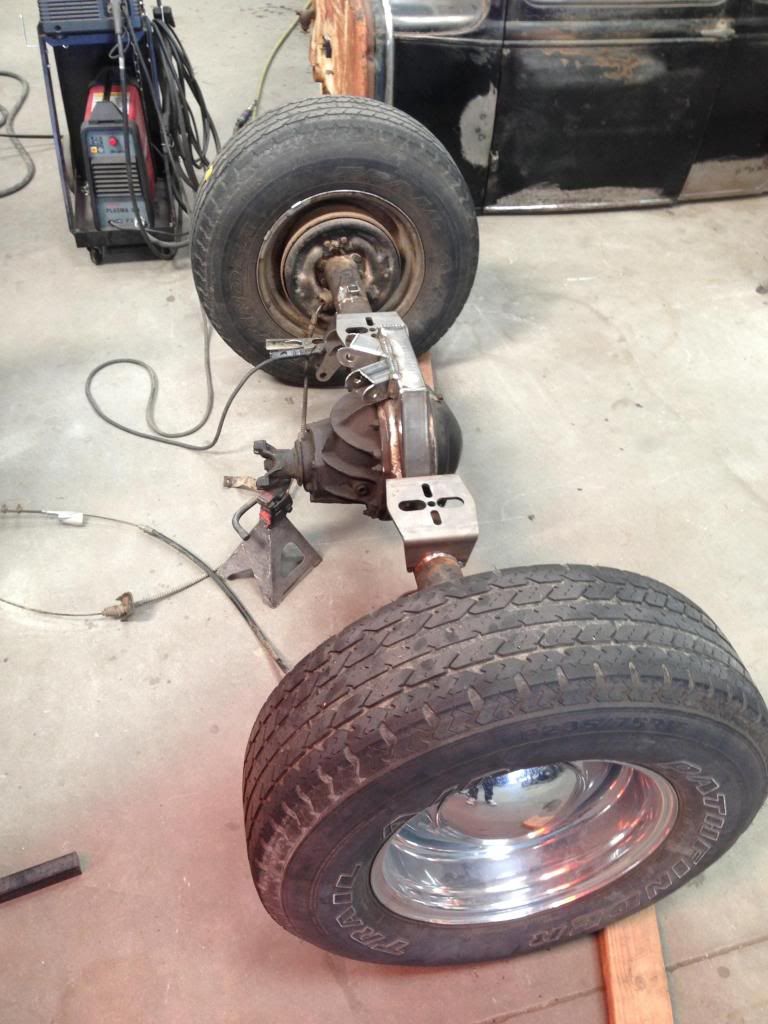
    next was to disconnect driveshaft and links and remove the whole rear axle to finish welding up the mounts on the pumpkin because they are not easy to access with it still on the truck, and while that is off we can paint the frame and everything black to make it look nice and clean.


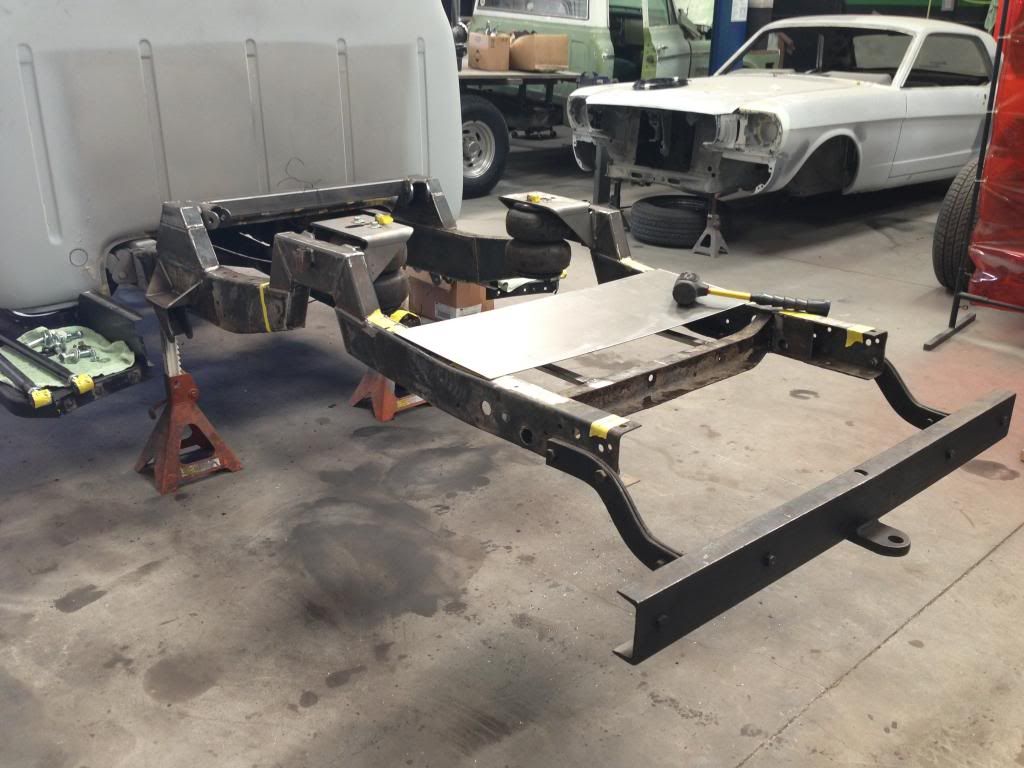
    Then we had to fab up a tray and bracket for the air tanks/compressors/and solenoids


    will be finishing up everything tomorrow so expect a post with alot of pics tomorrow with the whole rear painted and everything looking pretty. Then its off to paint of friday which should take about two weeks

    Leave a comment:


  • brandunn
    replied
    Love the truck

    Leave a comment:

Working...
X