Announcement

Collapse
No announcement yet.

Just call me Harada - My 1984 50th Anniversary Edition Z31 300zx Turbo Build

Collapse
X
 
  • Filter
  • Time
  • Show
Clear All
new posts

  • jbaker1121
    replied
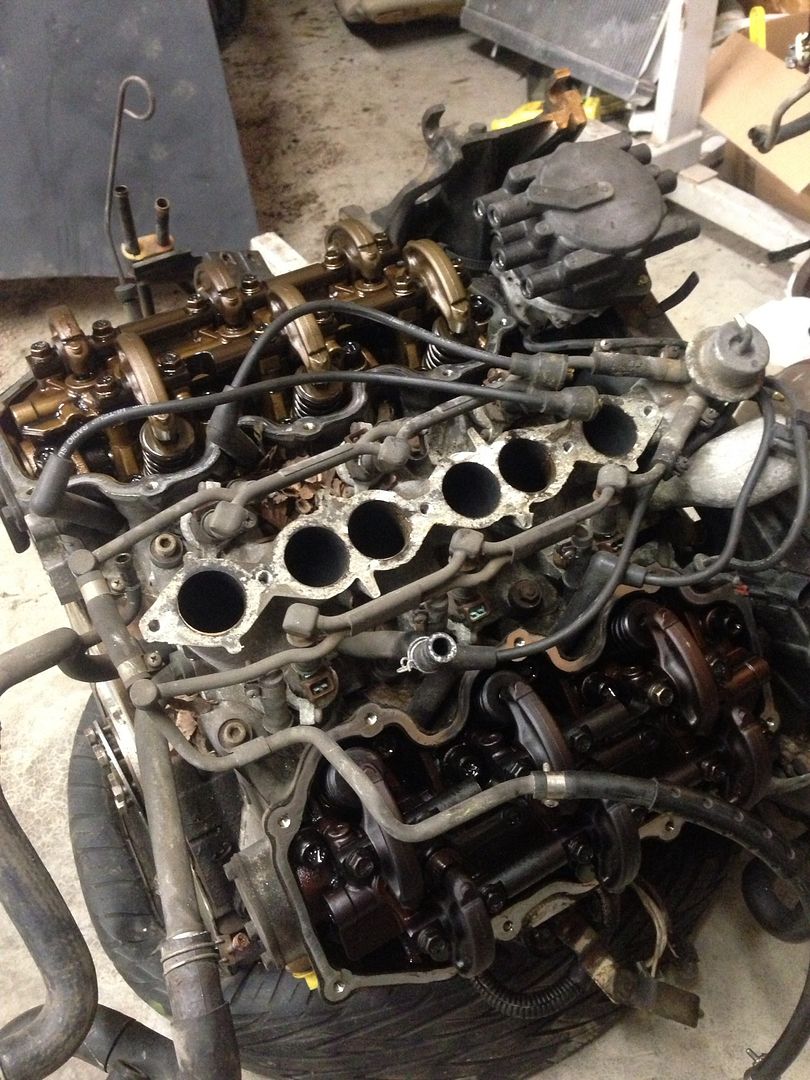
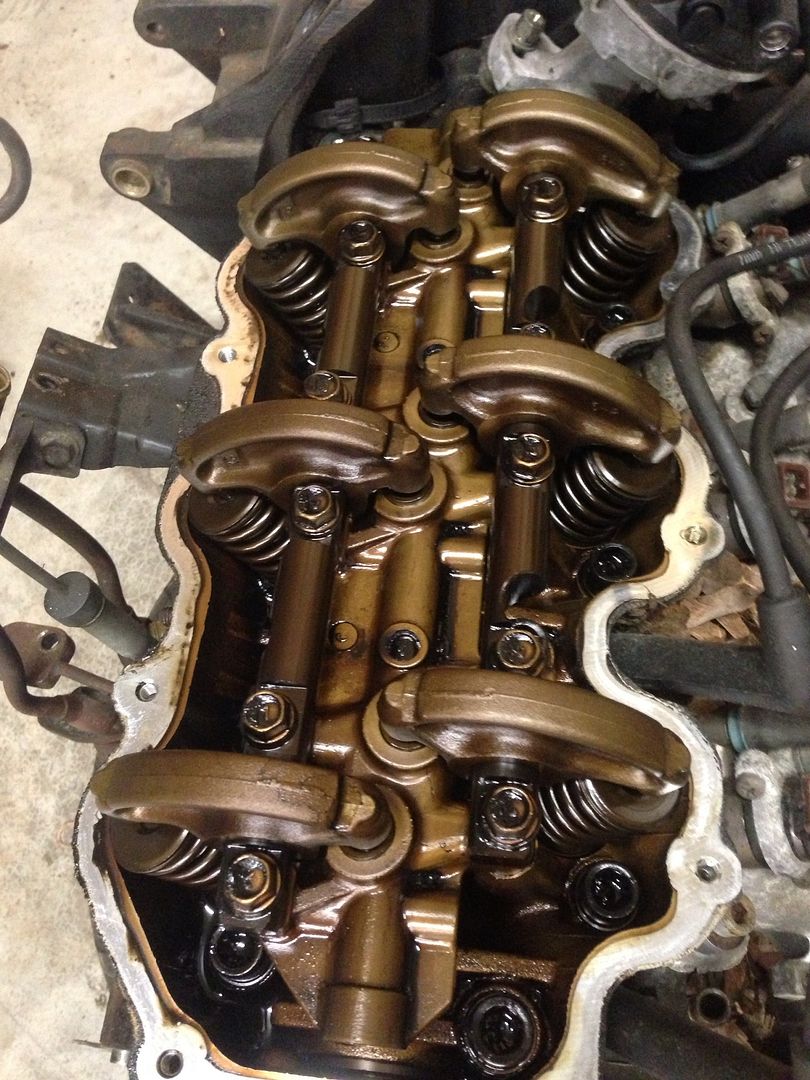
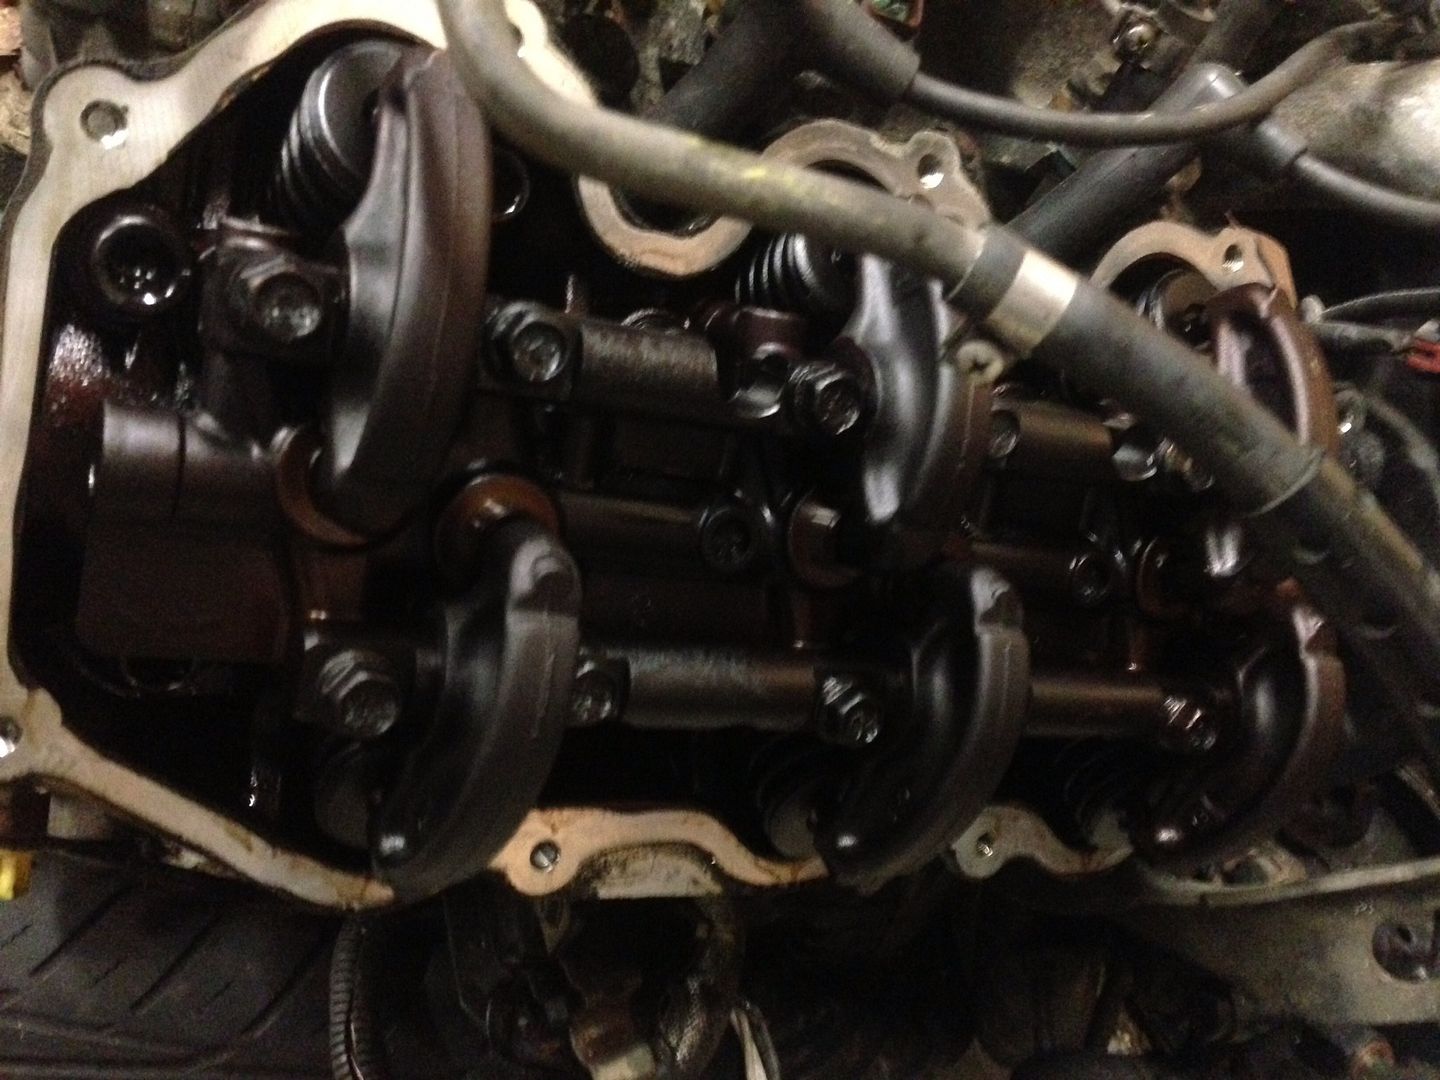
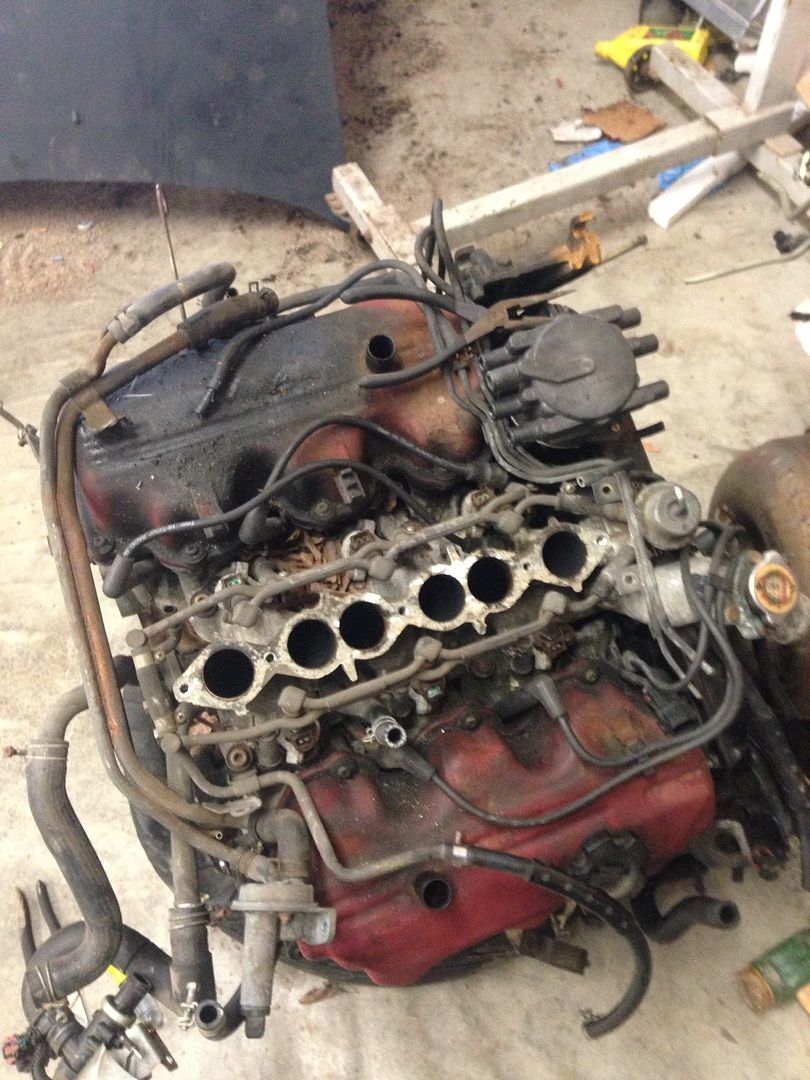
    All the gaskets came in, so I took a day off studying for finals to try and get few of them out of the way.
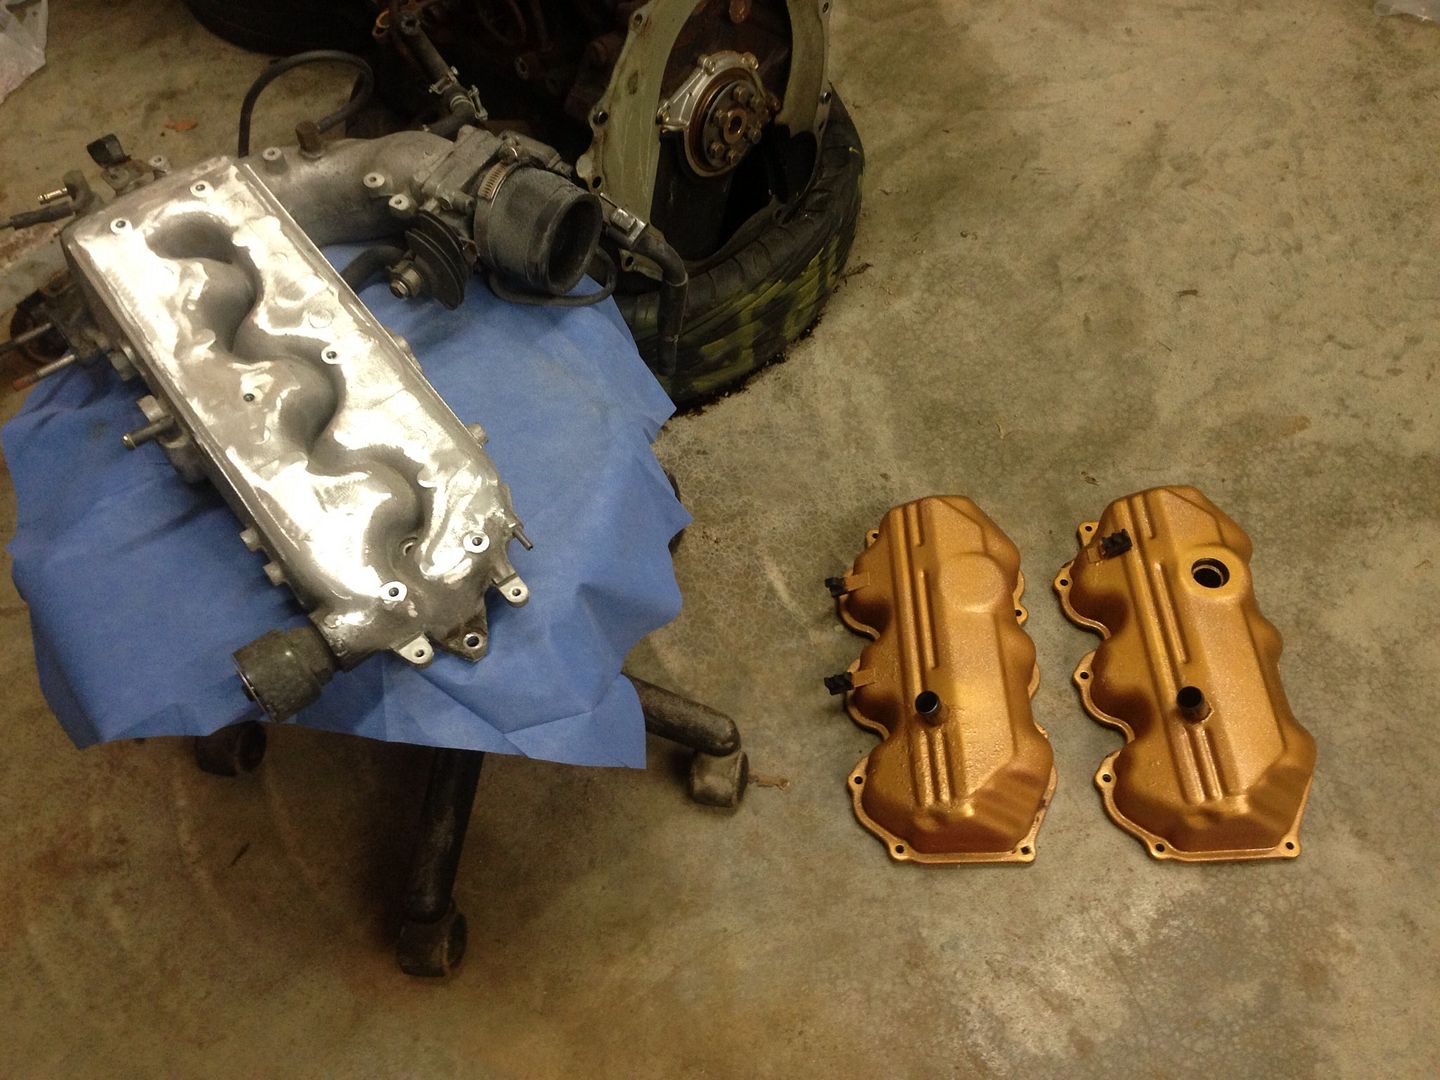
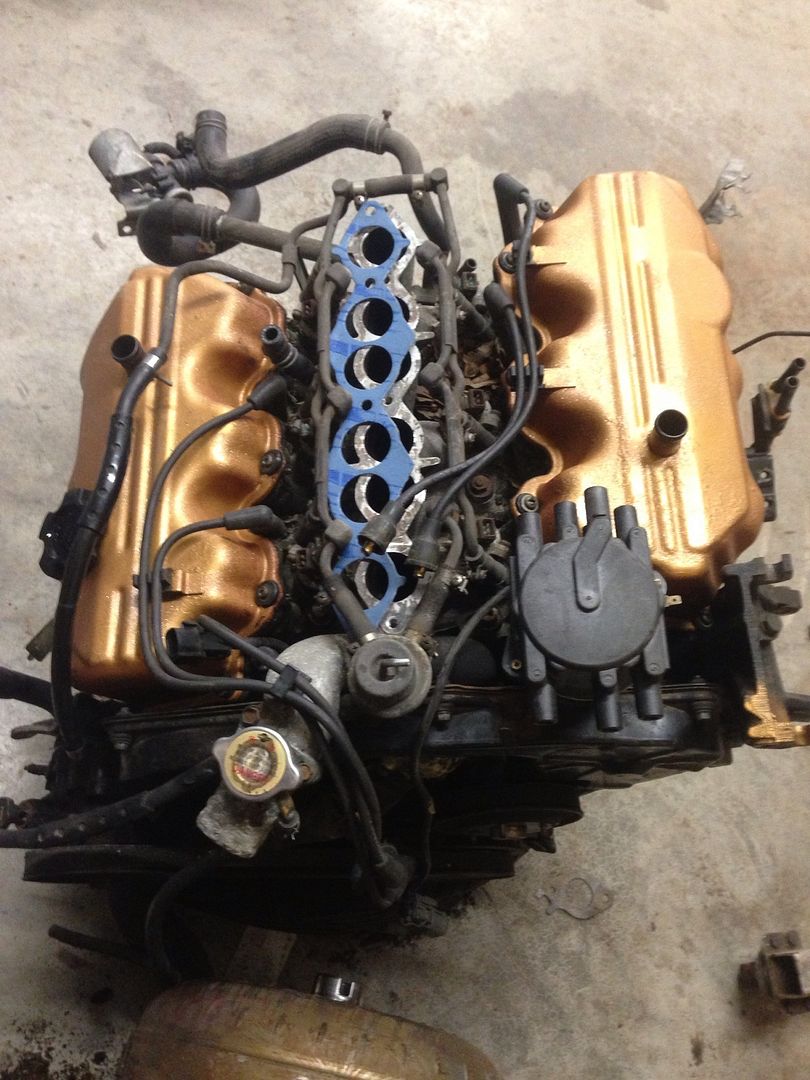
    Did the valve cover gaskets and got to the intake manifold gasket (also removed the exhaust manifold and have the gaskets ready)
    Painted the valve covers in Gold to match the 50th AE gold trimming around the car, and did those gaskets. I think I may do the spark plugs before putting the intake manifold back on, plus I want to polish it up a bit more.
    It seems like somebody has been in here to replace these gaskets before. One of the valve cover gaskets was very new, while one of the heads also seems to be newer than the other (although the EGR is on the 'dark' head so that may be the reasoning for it's color)
    A lot of the bolts also seem to be new.
    I'm happy about this - seems at least one of the previous owners was taking care of the engine.

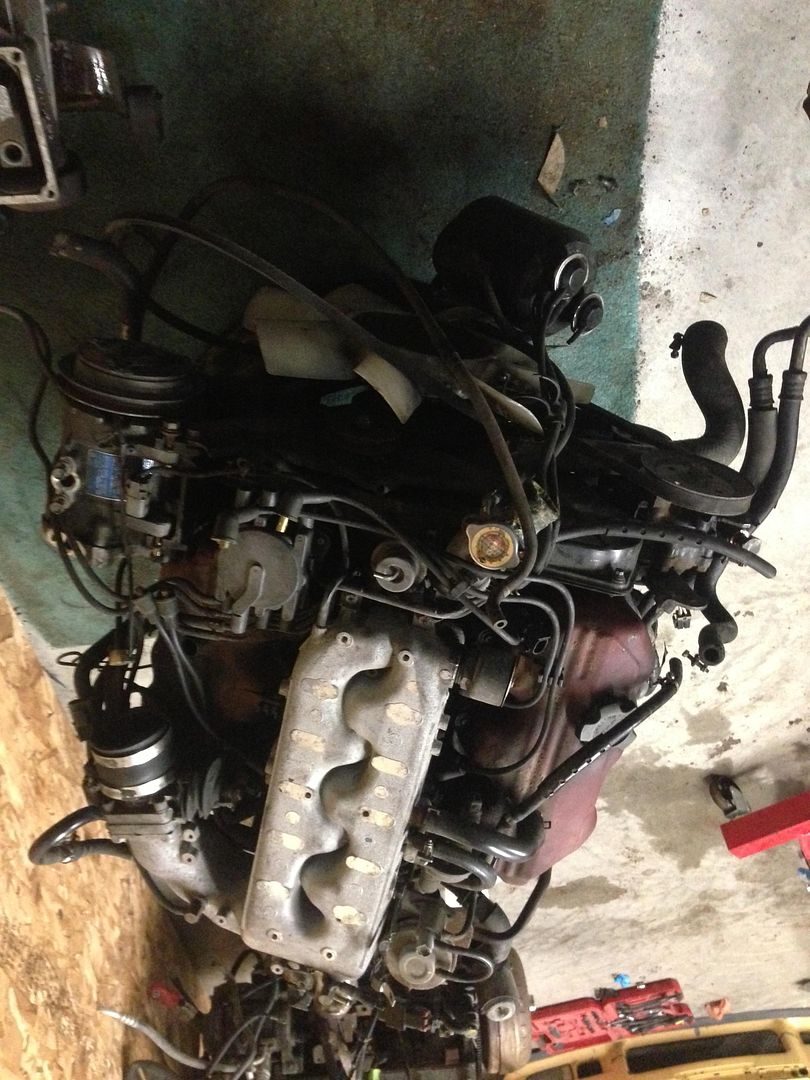
    Ran into some issues because one of the guys let our neighbor use the engine crane so I couldn't move it up to the engine stand to access the oil pan etc.
    (changing those gaskets too)

    It's also an issue to find the correct size bolts to mount the transmission to the motor, and the motor to the engine stand. The local places didn't have the right size.

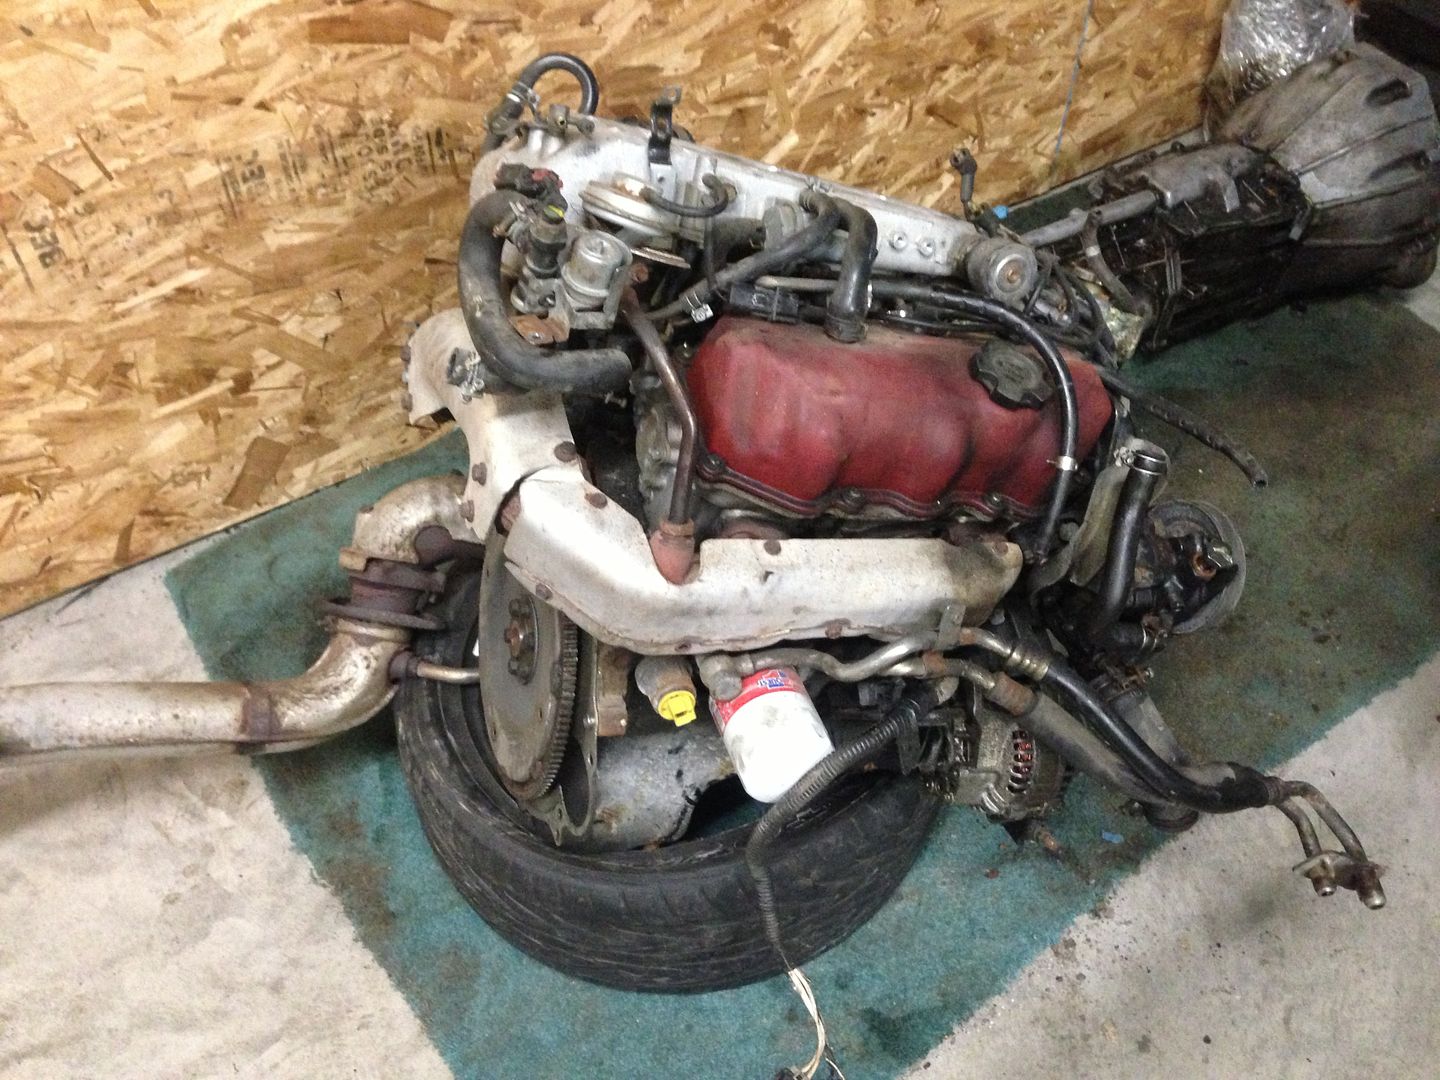
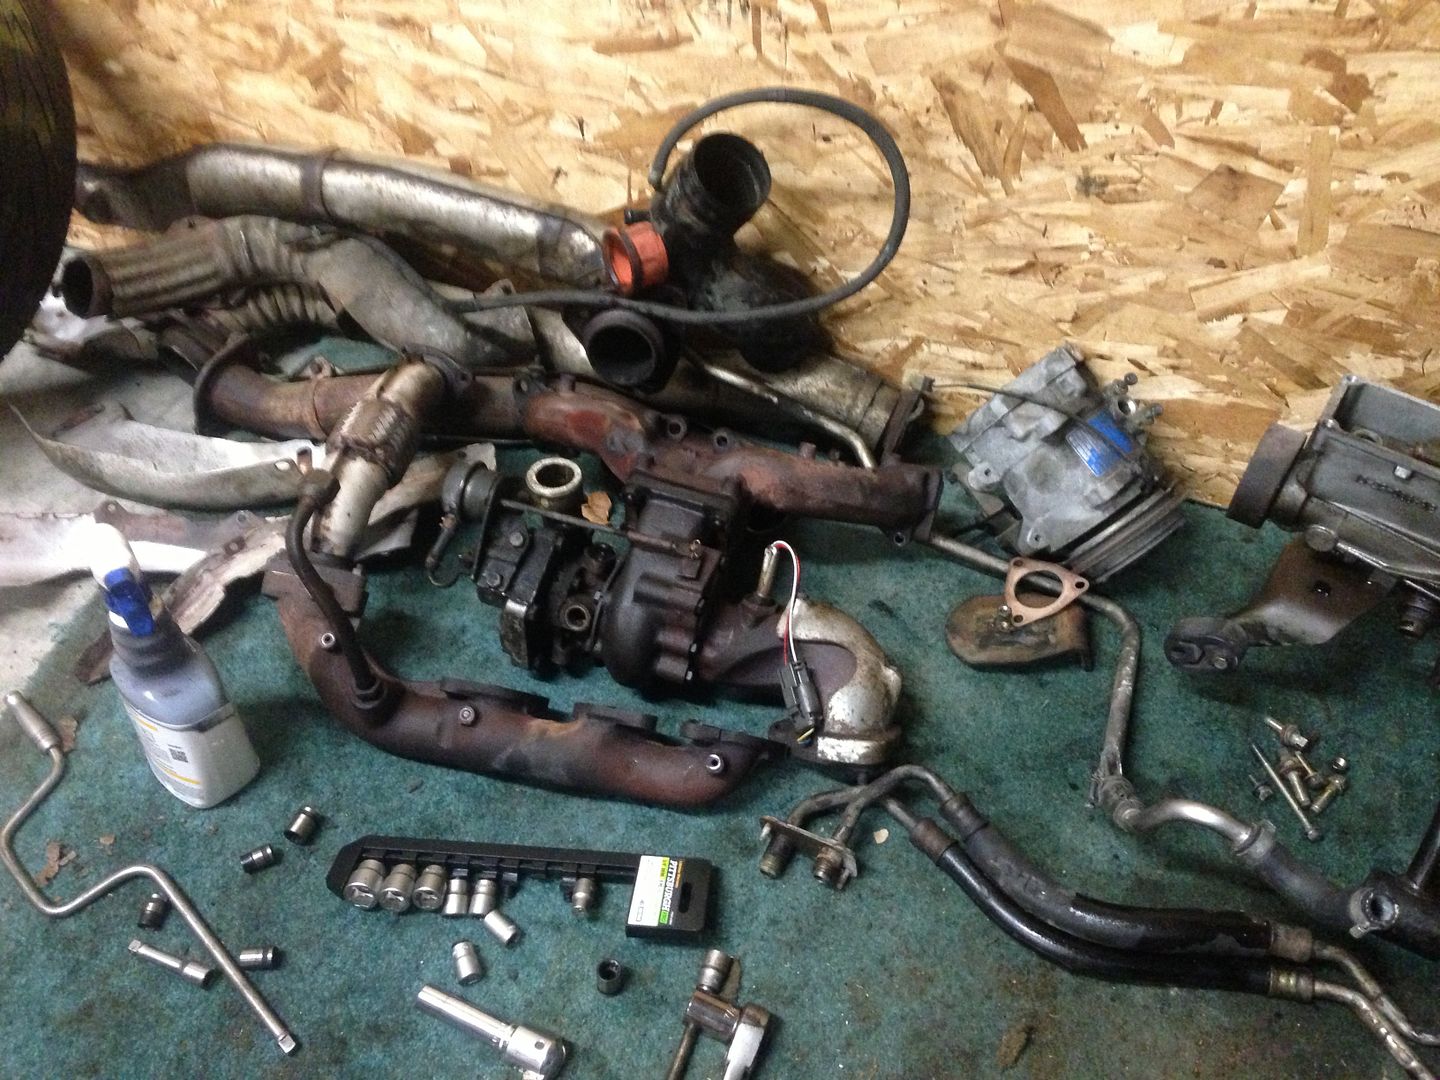
    Anyway, here's some pics.
    Finals are coming up so I won't have a chance to work on the car until afterwards.


    Leave a comment:


  • jbaker1121
    replied
    Originally posted by aeok18109 View Post
    i rike eet. a rot.
    arigato

    Leave a comment:


  • aeok18109
    replied
    i rike eet. a rot.

    Leave a comment:


  • jbaker1121
    replied
    Originally posted by sawtooth4x4 View Post
    nice. I've two Z31's. a 2+2 and 2 seater. Fun cars. Always wanted a turbo, just couldn't find one!
    Awesome! My first Z

    Originally posted by lublub View Post
    I like this car.
    me too!

    Leave a comment:


  • lublub
    replied
    I like this car.

    Leave a comment:


  • sawtooth4x4
    replied
    nice. I've two Z31's. a 2+2 and 2 seater. Fun cars. Always wanted a turbo, just couldn't find one!

    Leave a comment:


  • jbaker1121
    replied
    HARNESS CAME IN!
    MOTOR CAME IN!

    Now I just need to do some wrenching to replace ~20 gaskets, some studs, do some maintenance, spark plugs, oil, etc. And I should be good to drop the motor into the car.
    This is the first time I’ve gotten this “deep” into working on a car.
    First time doing the bodywork, first time stripping a car clean,
    First time working on a motor to this extent… it’s a steep learning curve.

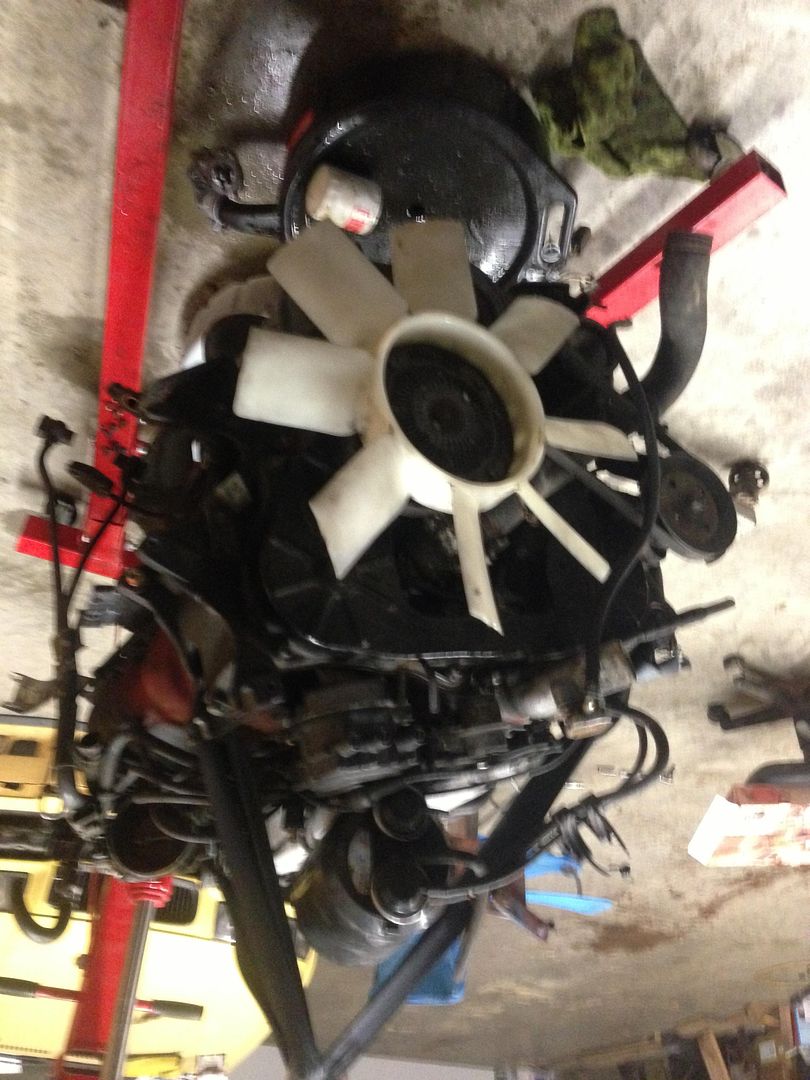
    MOTOR!
    A 1986 VG30ET with 92k original miles. No problems other than a leaky valve cover. With these motors, the problem areas are the exhaust manifold gaskets and the valve cover gaskets. On this motor, both needed to be replaced due to small leaks, however I would want to replace these anyway because I would like to clean up the valve covers (shine up that red color!) and have the exhaust manifolds “easy” to remove when needed.

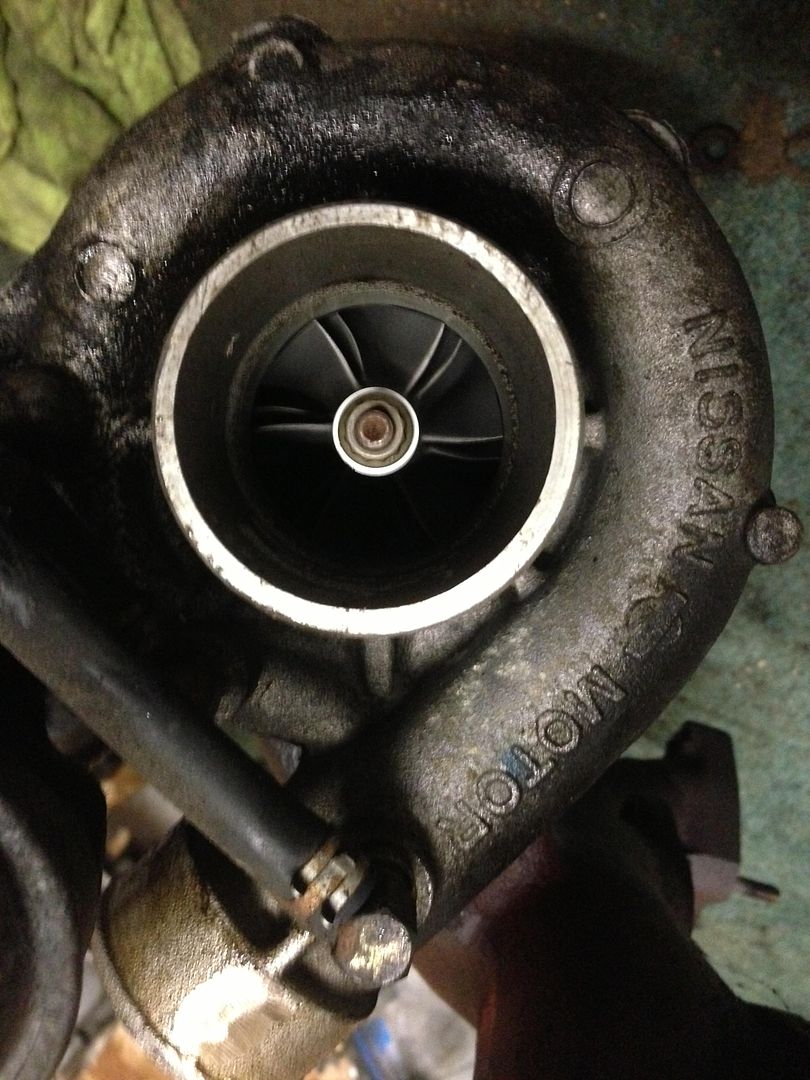
    The cool thing about this motor is that it’s from an AUTO zx, so it come with a clutch cooler and an oil cooler, both which didn’t come with the Manual cars. So, I’ll have the benefit of extra cooling parts without needing to go aftermarket. I just need to ditch the auto flywheel for a proper m/t one, and change the bushing/bearing.


    The hairdryer


    First thing I did was ditch the Air conditioning. I may regret it later with summer coming up, but the lines in the engine bay were cut anyway so that would be more money out of my pocket to get it working rather than just hooking it up again. Removing it makes the motor look cleaner anyway. (and shaves a few pounds…. Power/weight yo!) plus I have T-Tops!

    Bolts and Nuts that have been sitting untouched for ~30 years (motor is an ’86, ar is an ’84) really need some “convincing” to be removed…and now I see why it’s sort of a given that you need to replace the studs on the exhaust manifold after you remove it for the “first” time…. All but 3 of them came right out. Luckily none broke, and the only bolts I stripped were ones that are easily replaceable.

    Due to my inexperience and the lack of organization of my friends’ tools, it took me ~4 hours to remove a few things from the motor. This included spraying PB blaster + waiting, searching for the right extension, staring and trying to figure out what needs to get removed first in order for the thing behind it to be removed…
    However, I’m glad I stripped it all down.

    All the gaskets should be in by Friday, and I should have them replaced, new plugs in, new timing belt/tensioner and hopefully all other motor “stuff” finished by this weekend, including the harness wiring. Hopefully I can even attempt to drop the motor into the car by this weekend!


    BODY!
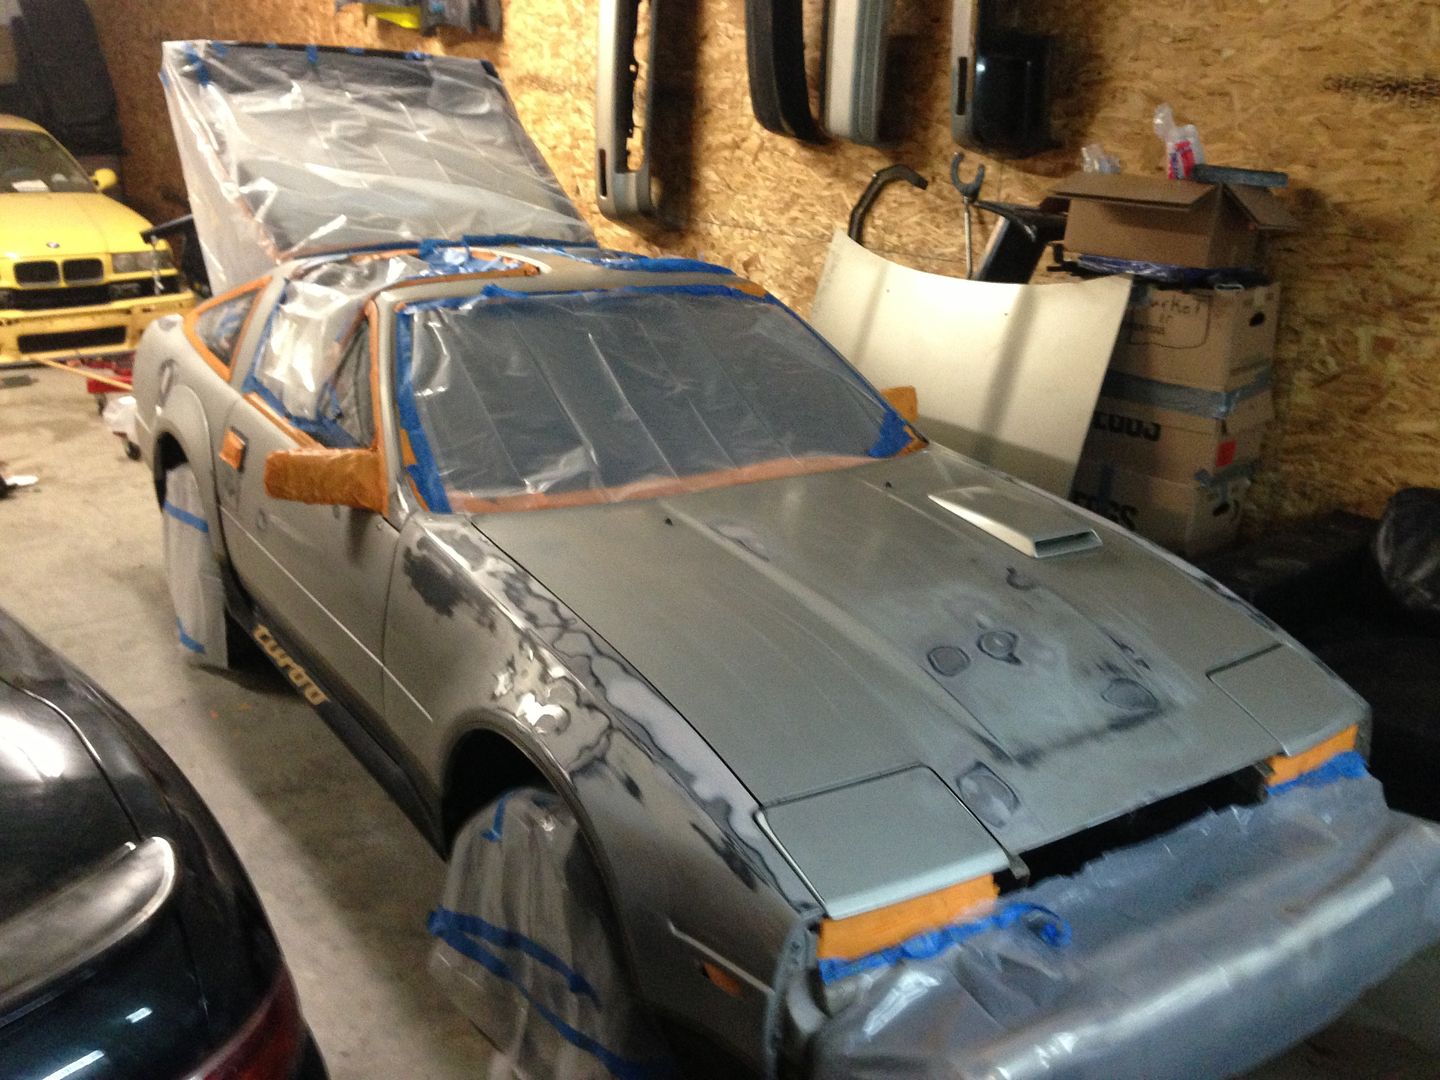
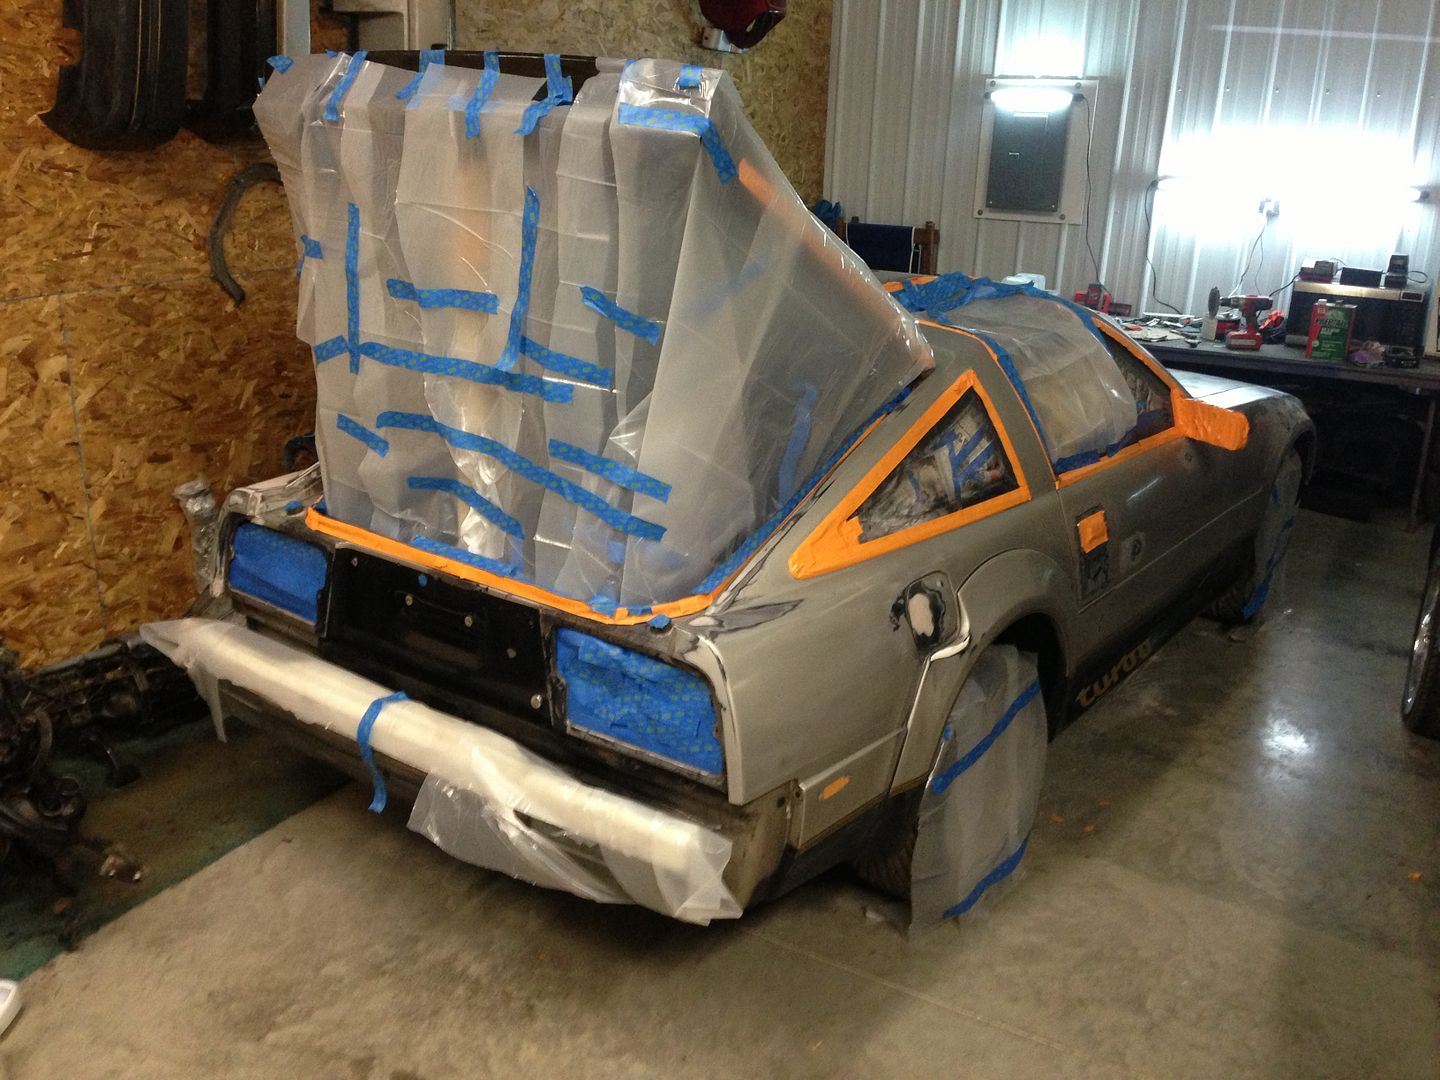
    As for the car itself: ready for paint/dip
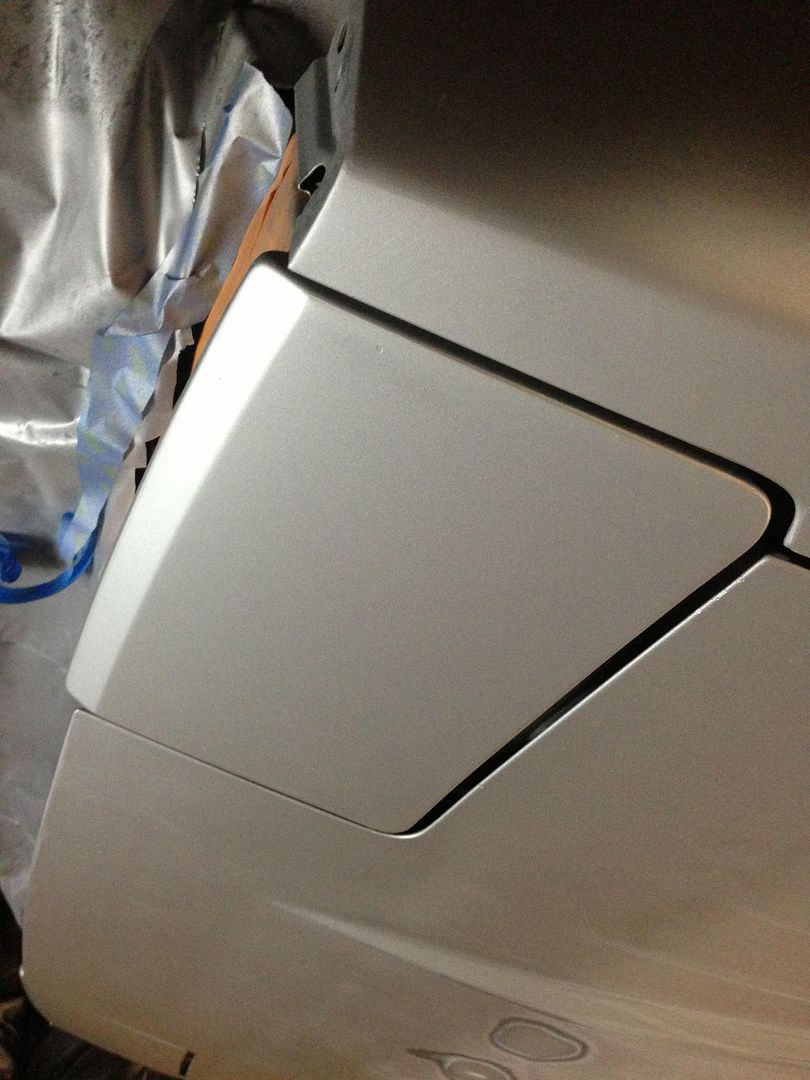
    Going with an Aluminum/black two tone with silver metallizer gloss topcoat.
    factory look with a little bling. Sort of like the GTR super Silver w/ black on the bottom.

    Sprayed some aluminum on the headlight cover/fender to test it out. It should look great with about 4 more layers and some silver metallic flake.


    Plastidip gallons cost a lot more than I thought, but it’s still cheaper than getting the car painted. After all, this is sort going to be a drift car/car to tinker with. However, after masking the car all up and preparing for paint, I found out it would cost me $500 to get it dipped “professionally” so I said “screw it” and I’m going to do it myself. We have a compressor in the shop anyway, I just need a regulator and paint gun with a 1.7-2.0 nozzle. (I know it sounds “easy” but we shall see)

    For Dip materials in the color I want, it is still about $300. Maybe I’ll hold off until after the motor is in since there are still things I need to purchase (plugs, fluids, etc)

    The parts for the Kouki front in came in, but one of the headlights is cracked and I need to wait for a replacement. The hood also needs some body work. I may hold off on these for now until the car is running since I would rather devote time to that.

    I also haven’t even begun to work on the modified rear bumper w/ license plate recess, although I have everything I need to get it done. Again, I’d rather devote my time to getting it running

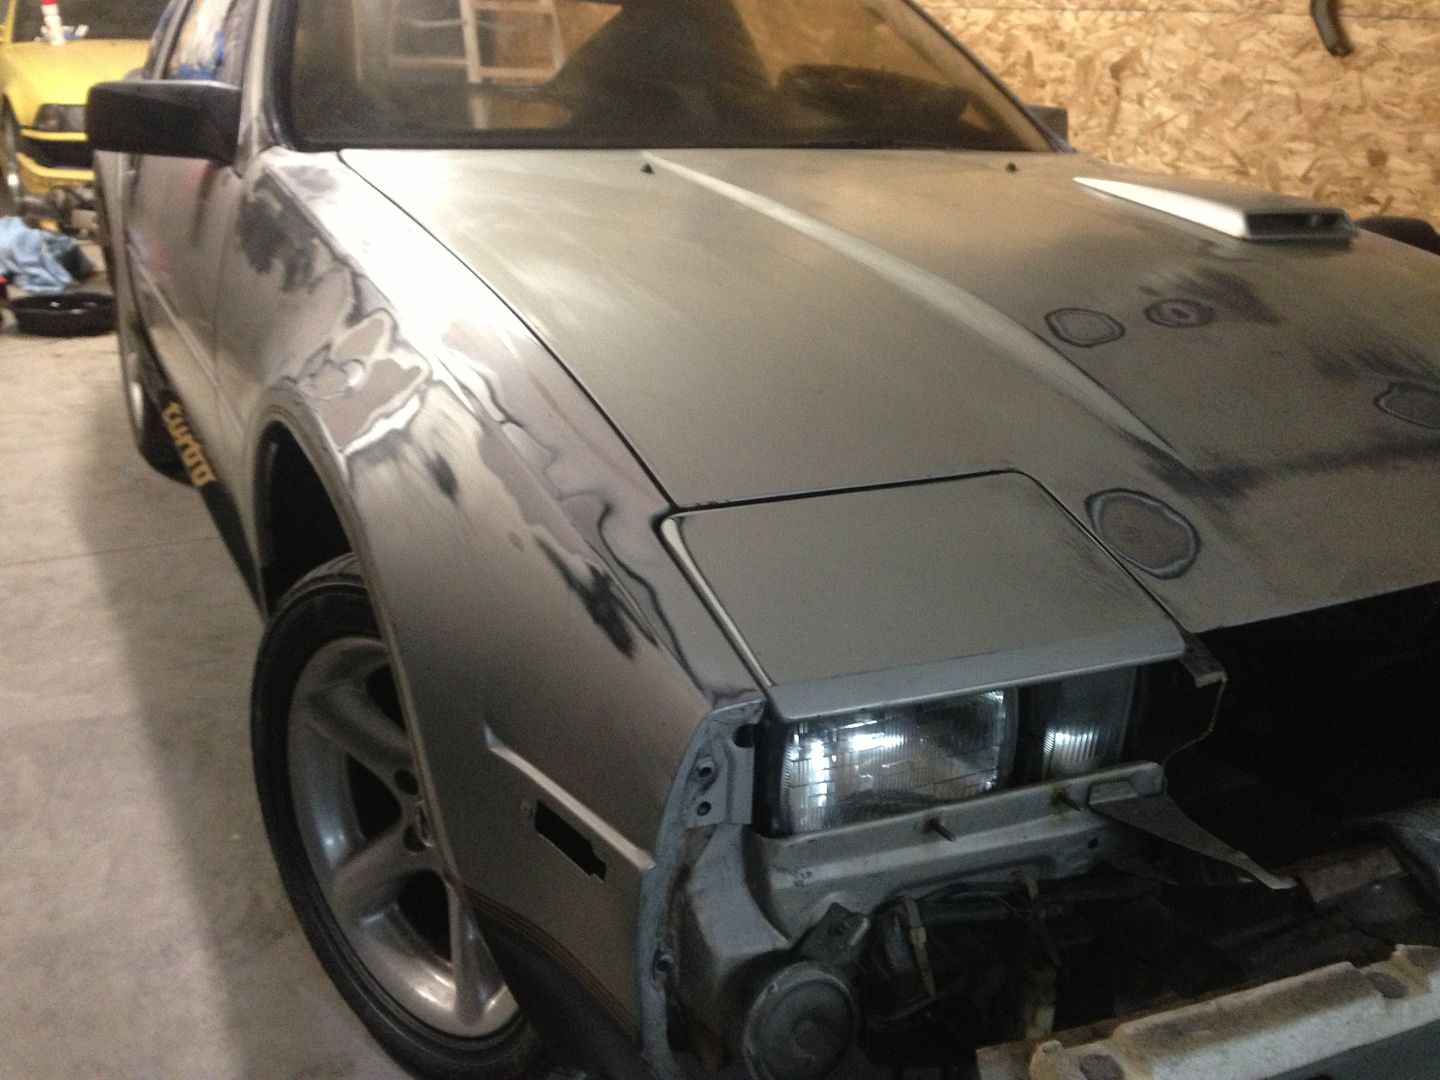
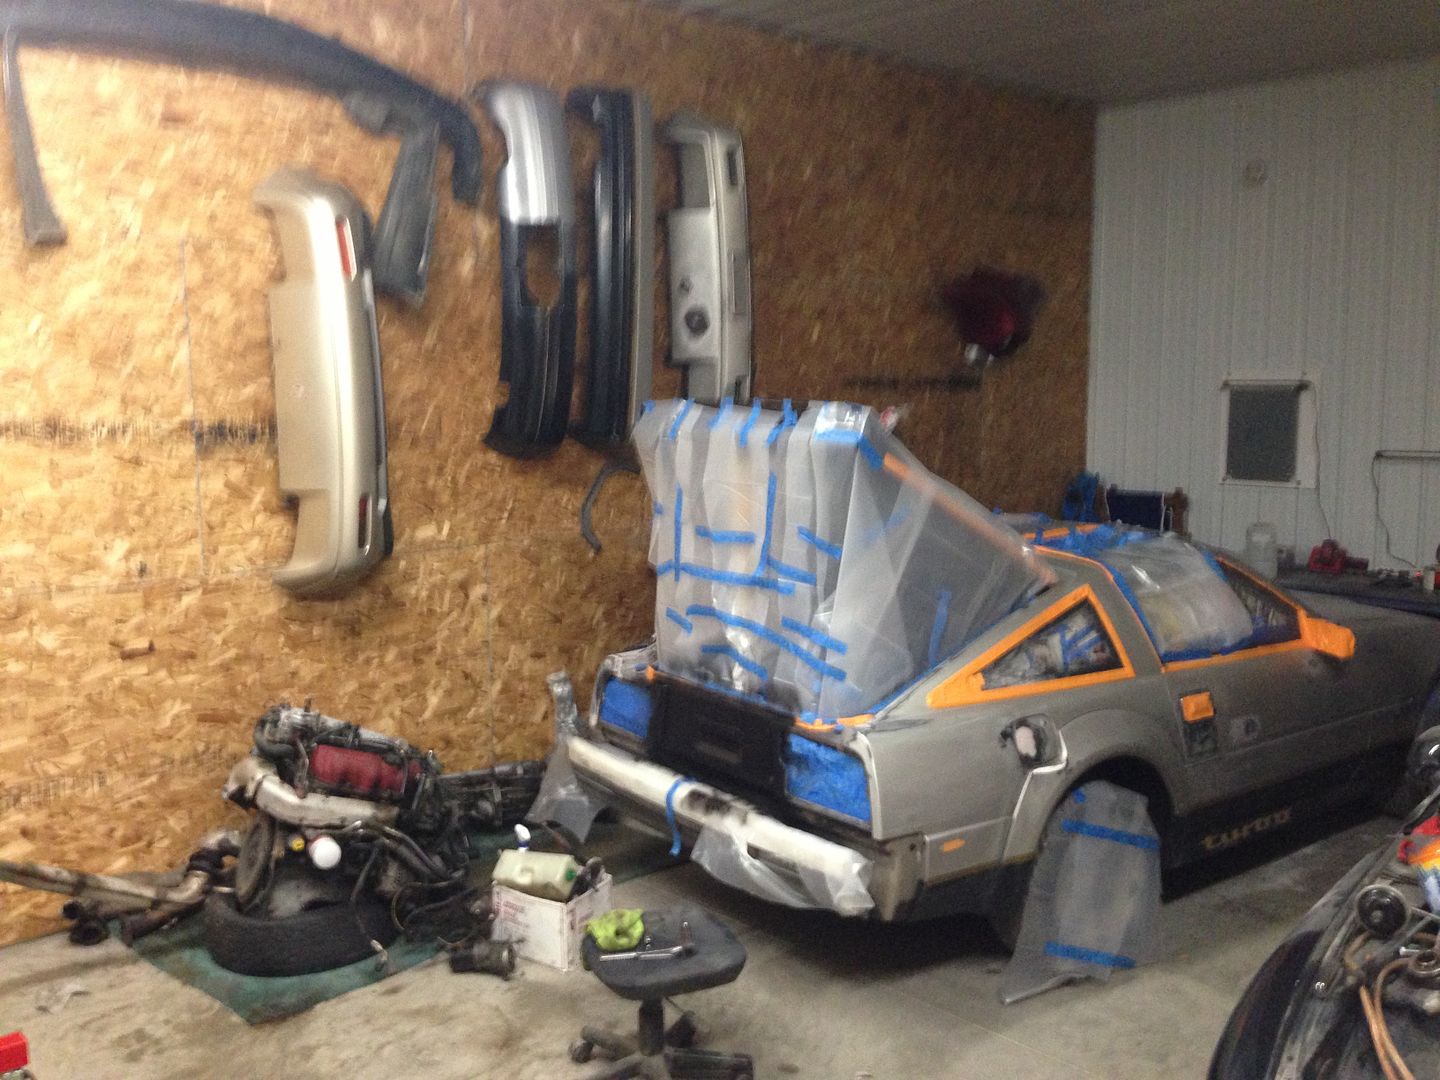
    So, how the car sits while I’ve been wrenching away at the motor:

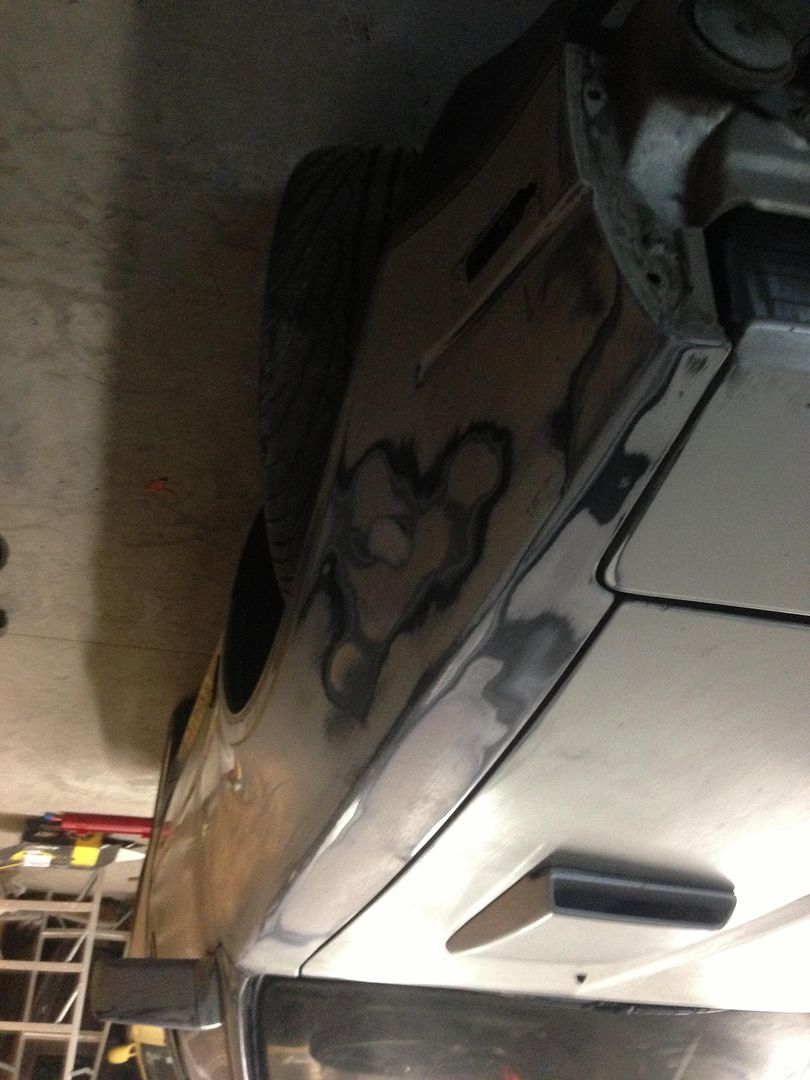
    dat bondo


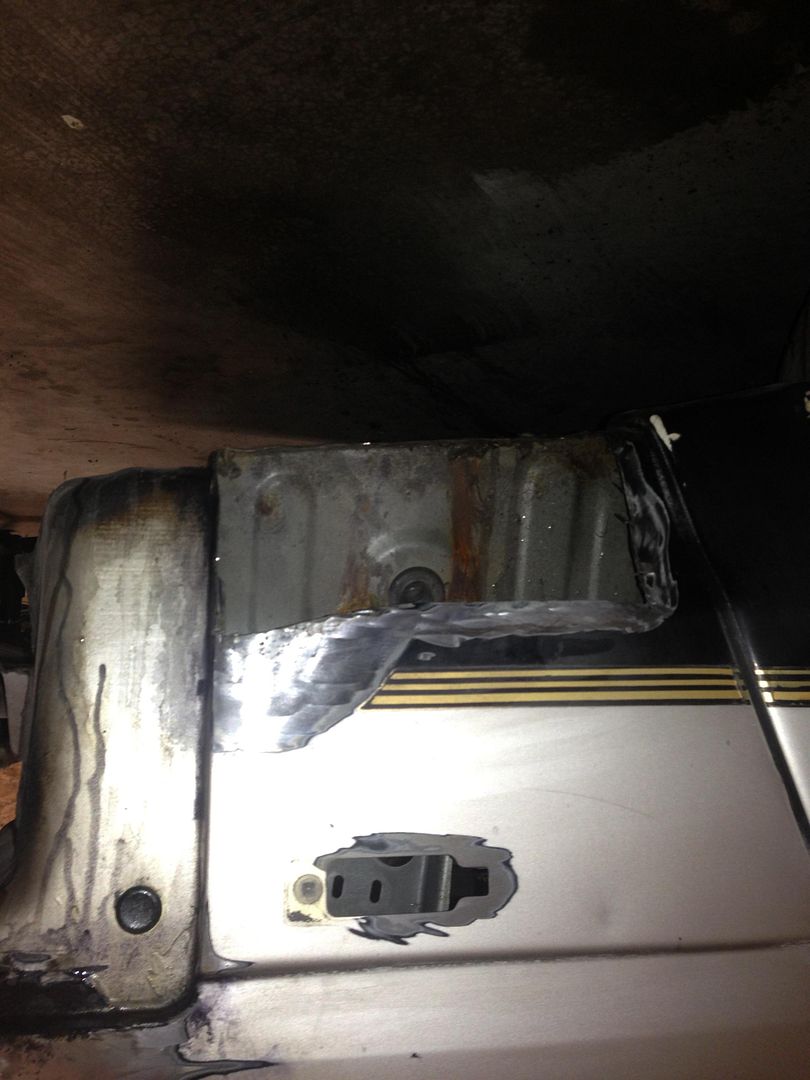
    cut out the rusty section. There was much less rust through the metal than I cut, but at least the rear valence covers this area :-/


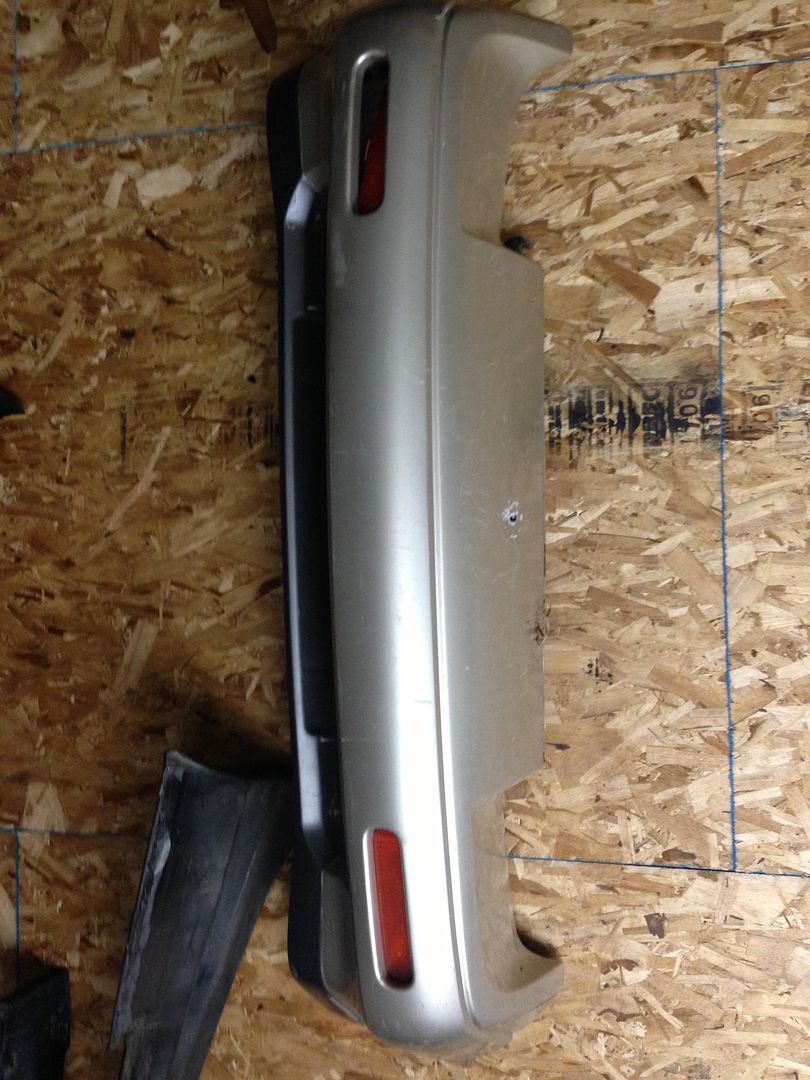
    kouki bumper:


    PERFORMANCE PLANS
    As far as plans for the car, popular upgrades are Holset HX35 turbos “relocated” to a top mount location for cooling / awesomeness. However, that’s another ~300 in piping (ss) then the downpipe needs to be altered, another ~$300. For now, I just want to get her running, so it may be best to use the factory turbo in the factory location and turn the boost up a bit with a manual boost controller. I have an intercooler for it (plus the oil cooler!) , so this should be good for ~9-13 safe psi now until I have the money to throw at aftermarket goodies. Plus the stock ECU map doesn’t really handle boosting over 13psi, - the car will run too lean. This should set me at approx. 275hp at the wheels with an open downpipe.

    The goal now is to do maintenance, drop the motor in, and get it running. The car needs to be running for the aftermarket goodies to do anything, anyway.

    So, this is where the project stands. Tearing down the motor, waiting for parts to arrive, but still trying to hurry this along to get it running very soon.
    Unfortunately, this week is a little busy at school so I’ll probably only get 1 day in besides the weekend. This gives all the parts time to arrive, however.

    Leave a comment:


  • jbaker1121
    replied
    Originally posted by DjGreggieP View Post
    http://manga.animea.net/wangan-midnight.html

    Has up to chapter 47, or book 47, I dunno, thankfully tho, its all in english
    Thanks man!

    Leave a comment:


  • DjGreggieP
    replied
    Originally posted by jbaker1121 View Post
    I've been resisting re-watching the movie/anime. Where can I read the series online? Link me!!


    Has up to chapter 47, or book 47, I dunno, thankfully tho, its all in english

    Leave a comment:


  • jbaker1121
    replied
    Originally posted by electricalbox View Post
    In for finished product, great work thus far!
    Thanks man. Can't wait to have it running, driving, and presentable.

    Leave a comment:


  • electricalbox
    replied
    In for finished product, great work thus far!

    Leave a comment:


  • jbaker1121
    replied
    Originally posted by Aitch View Post
    I think it would be wrong to NOT stick with the 50th color scheme. Looks great.
    I agree!!!

    Leave a comment:


  • Aitch
    replied
    I think it would be wrong to NOT stick with the 50th color scheme. Looks great.

    Leave a comment:


  • jbaker1121
    replied
    Originally posted by rice4life View Post
    wow, quite some progress made.

    Are you going to go for the small mirrors like Harada's car had, or keep the stock z31's?

    I bet that you could modify some s13 bomex mirrors to work.
    For now I'll likely run the oem mirrors. I don't actually love those style mirrors he has, although they are technically more aerodynamic. I'm not really building this car for maximum velocity, either.

    Originally posted by DjGreggieP View Post
    Because of this thread I have read thru to chapter 32 of wangan midnight online.

    In to see more!
    I've been resisting re-watching the movie/anime. Where can I read the series online? Link me!!


    Also,
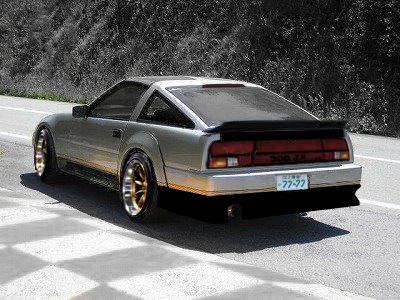
    Here's a render of how I would like the car to look eventually, with custom rear bumper, etc.


    MSA Xenon rear lip on 50th AE zenki rear bumper, with license plate recess I plan on creating from 240sx rear bumper (I got one) - Just need to cut rectangular hole in bumper, put recess in, and graft/bond them together. Not sure on exact height/location of plate recess compared to where the MSA lip attachs (I'll try to keep it clean!) but for the render let's hope for a clean straight line...
    The hatch is black because the hatch on my car happens to be black. I like it because it sort of flows well with the spoiler into the taillights without the break of body color silver.....
    I think it's going to look great.
    Now I just need to play with wheel ideas.....

    Leave a comment:


  • DjGreggieP
    replied
    Because of this thread I have read thru to chapter 32 of wangan midnight online.

    In to see more!

    Leave a comment:

Working...
X