 Tweet
Tweet
I've been browsing here for some time but now that my car is undergoing major surgery again I'll start a thread here! Stuff is moving pretty slow right now since I'm busy with school and an internship but it will get done!
About the car:
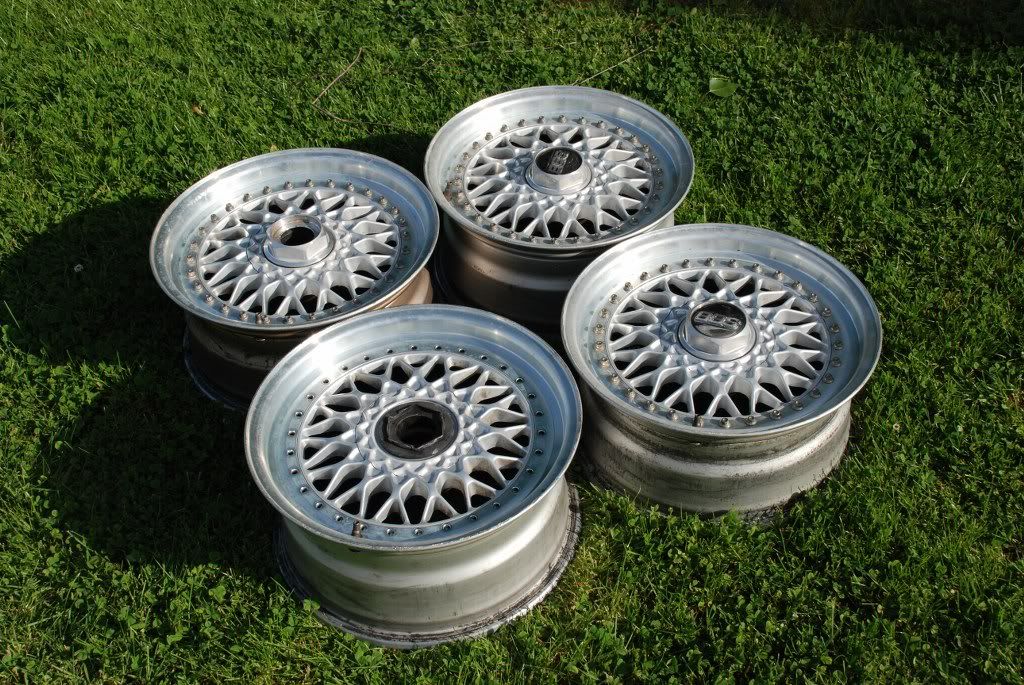
1970 BMW 2002 bought stock a year and a half ago. Did the complete suspension(coilovers + shocks, sway bars, bushings) and put it on some 15x7 et20 Enkei 92's. Those will be replaced by wider BBS RS, BBS RM or CCW Classics. When it's running again it'll be lowered some more too. So what's going on now? It's getting a new drivetrain, namely a turbo m10 and 5 speed. This thread is also on the 2002 forum so stuff is pretty detailed and BMW specific. Here are some pictures of the progression so far. I'm not pro photographer so give me a break The car is a bit lower now to the point where the rear tires are slightly under the fender but still not low enough. I have plenty of threads left in the front but I need to get an adjustable perch in the back and start cutting coils.
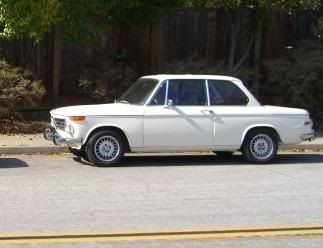
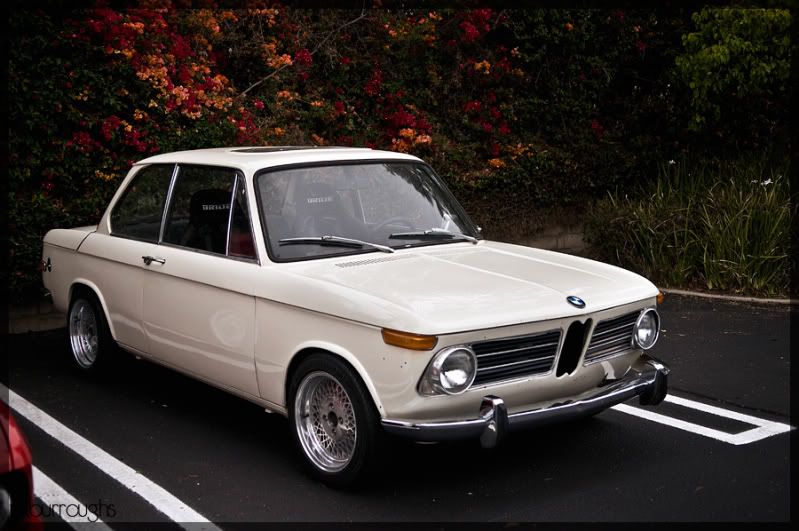
Stock
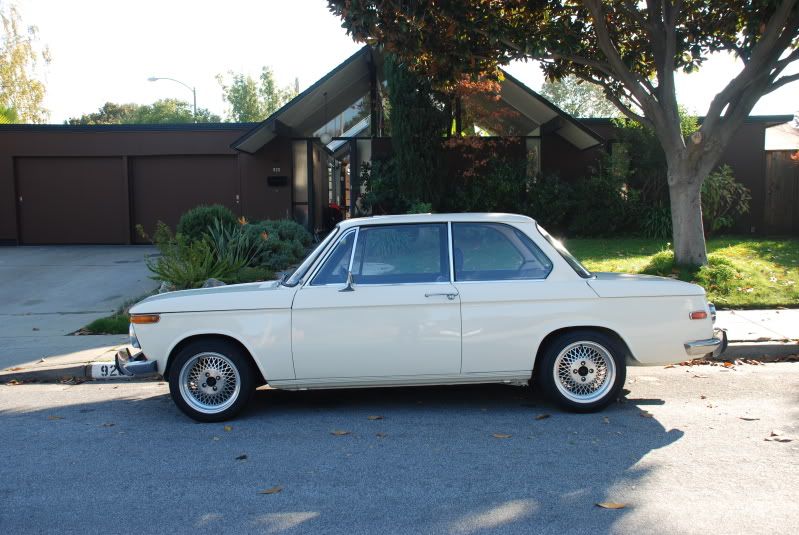
Wheels
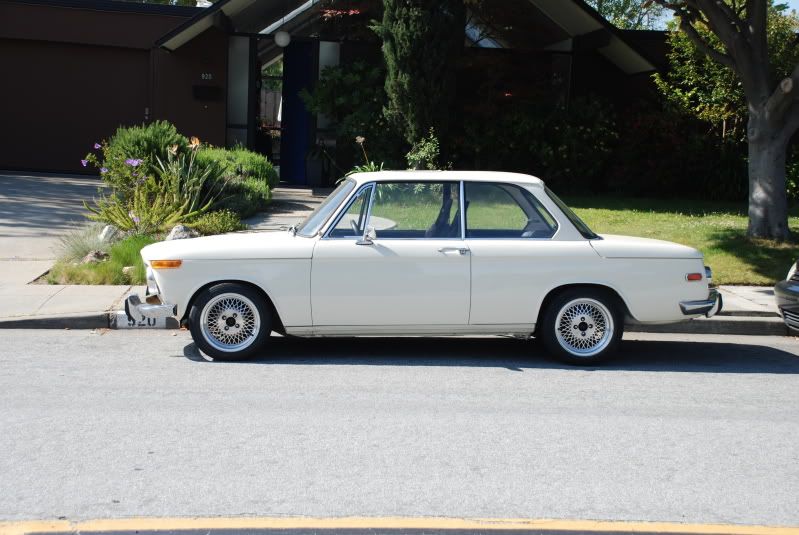
Lowered
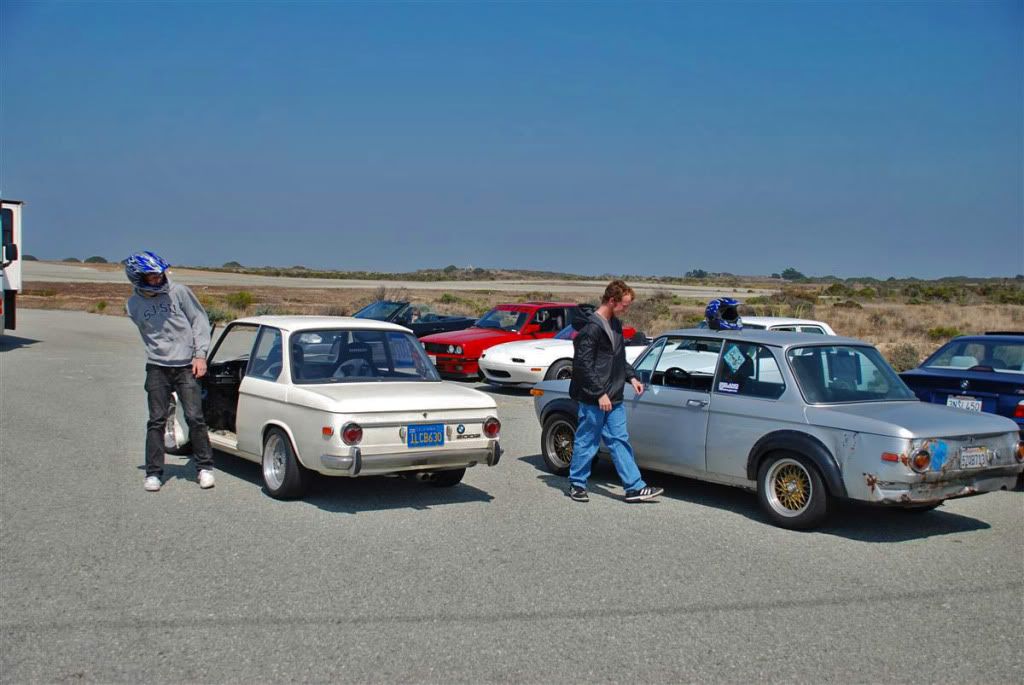
Ugly rear bumper over-riders are no longer there(not me in the pictures btw)
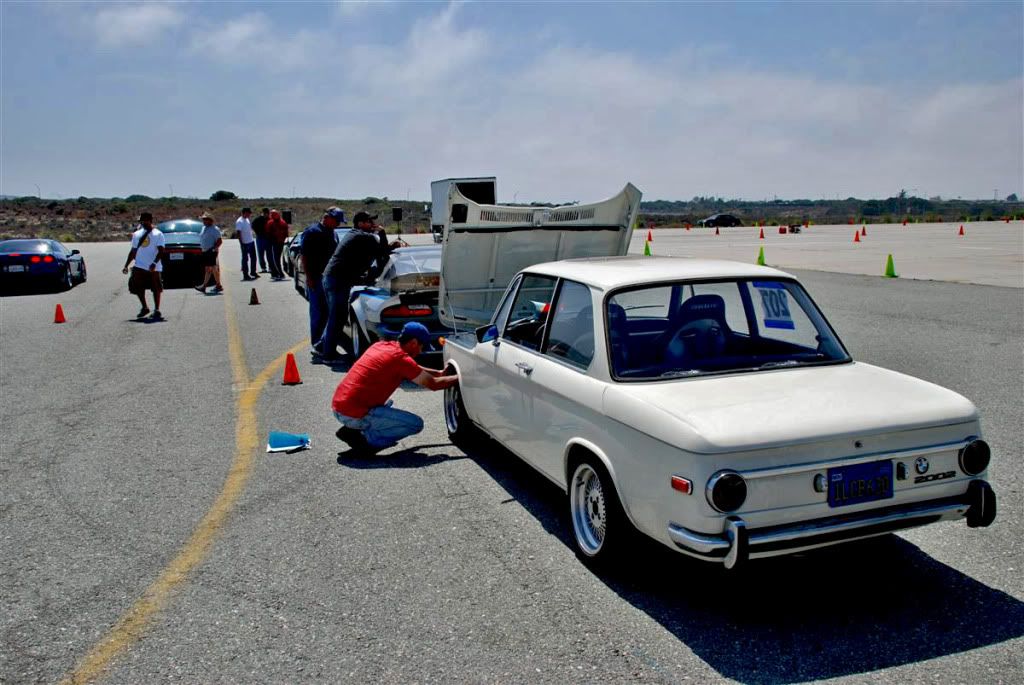
And lastly a picture taken by Mike B. himself last year at bimmerfest
Plans for the car:
-Shooting for minimum 250whp
-6 point cage after mechanicals
-Maybe a new color
-Wider wheels (got 15" Rs's Rm's or 16" CCWs? let me know!)
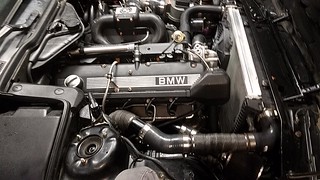
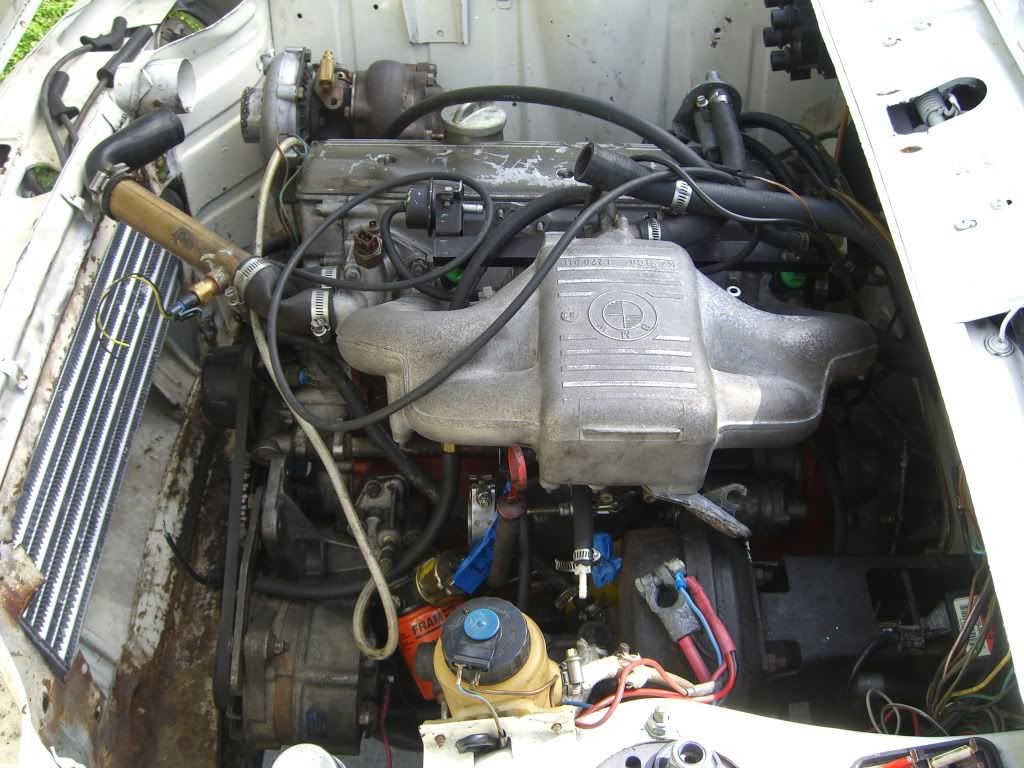
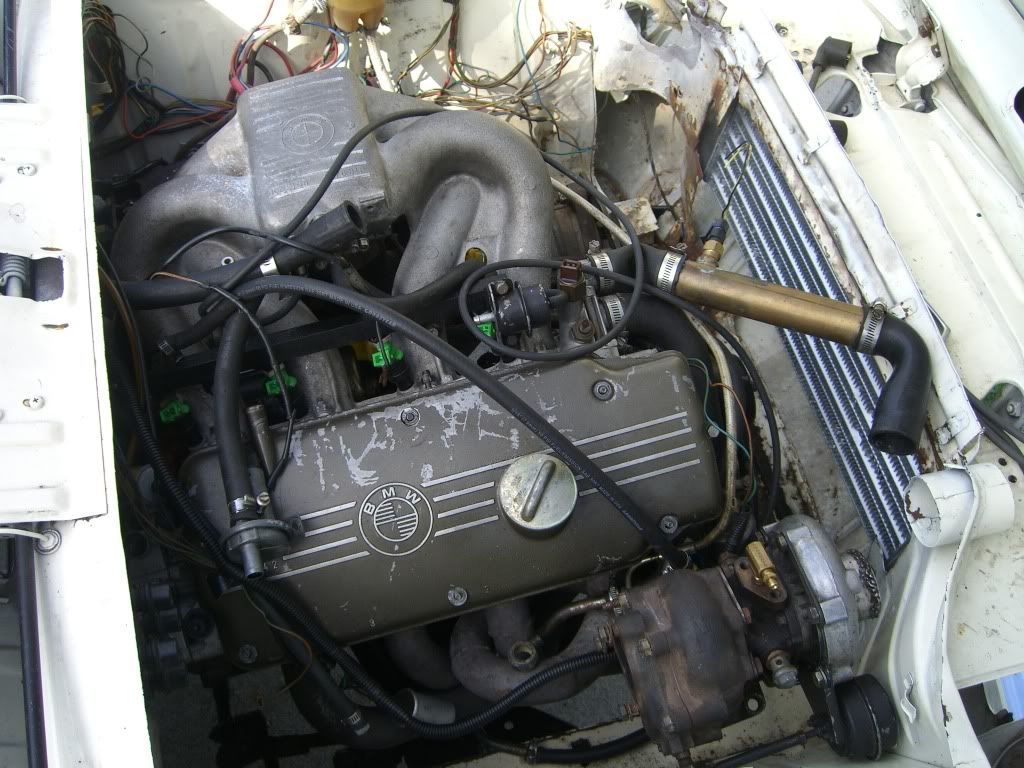
New Engine Mechanicals
-E21 1.8L m10 completely rebuilt 18,000 miles ago with new pistons, rods, bearings etc.
-stock internals in block and head
-ARP head studs
-MLS headgasket
-Good&Tight aka Otis manifold
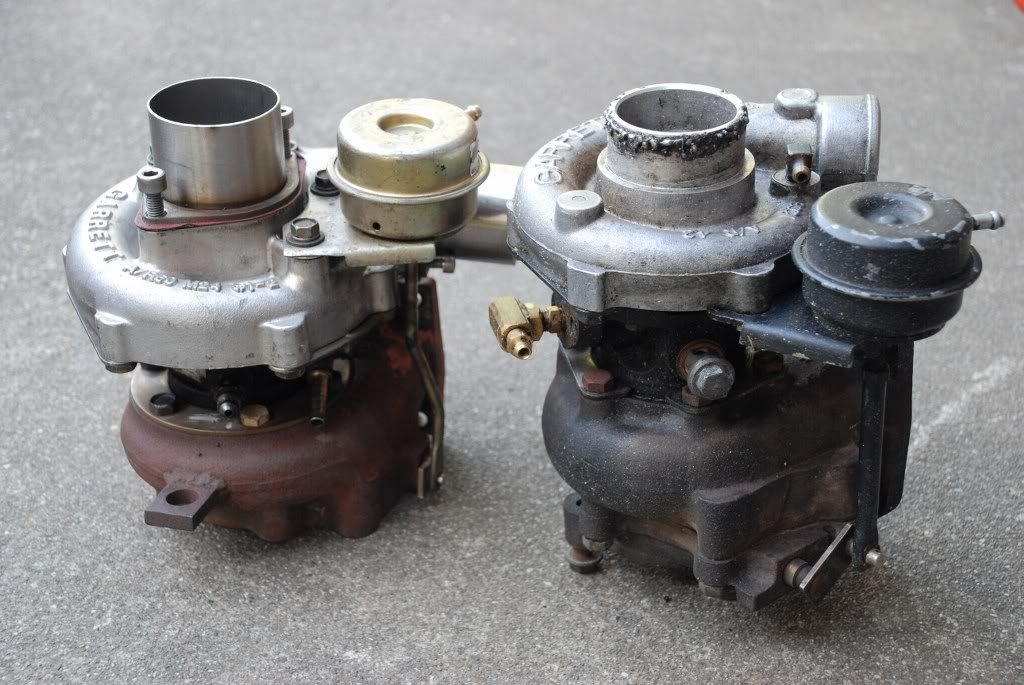
-Garrett T3 .42 A/R turbo off Saab (Garrett dual ball bearing GT2860r will be here next week )
)
-27"x7"x2.5" delta fin intercooler
-HKS SSQV blow off valve
-318i intake manifold
-M52 throttle body
-318i fuel rail
-Getrag 240 5 speed
Electrics
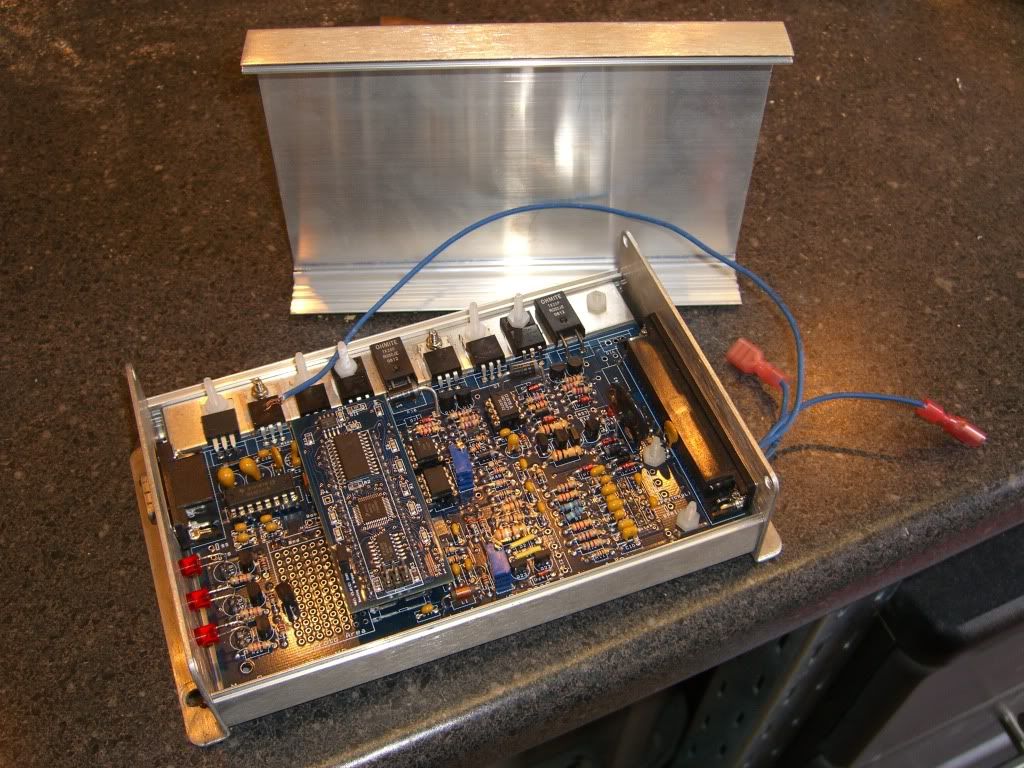
-Megasquirt II v3.57
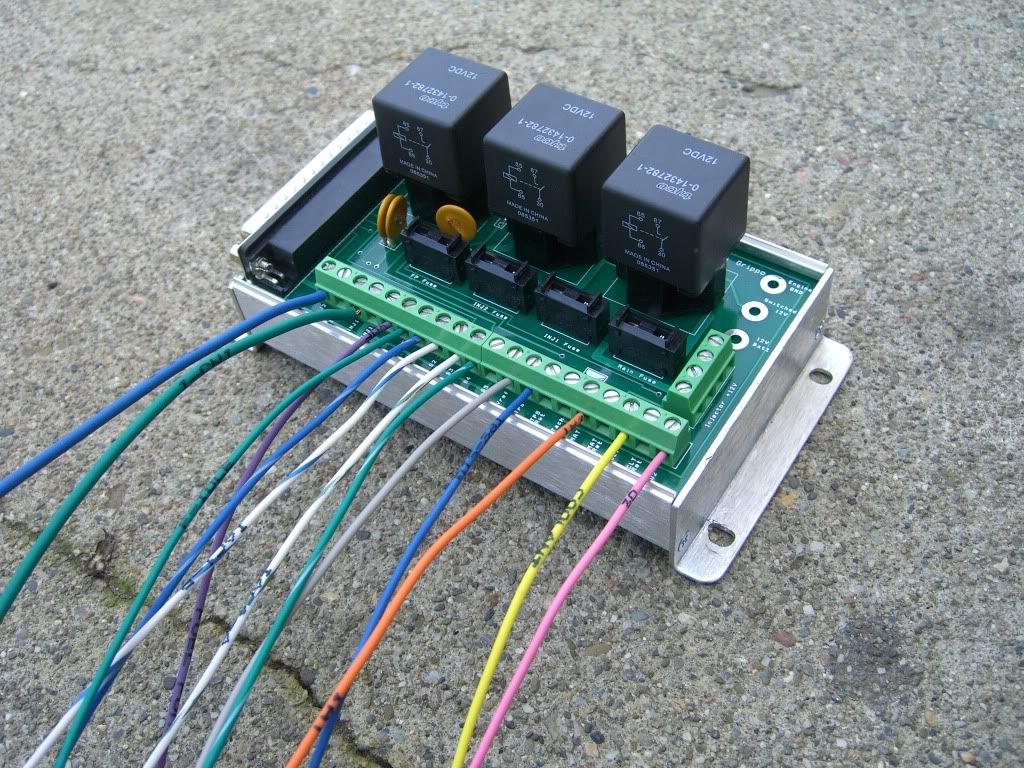
-Megasquirt relay board
-Ford EDIS
-Wideband o2
-Glowshift oil temperature gauge
-Glowshift oil pressure gauge
-Glowshift volts gauge
-Glowshift boost gauge
-AEM wideband o2 gauge
-Bosch 42 lb/hr Greentop injectors
Here is what I have completed so far or am in the process of making:
-Engine bolted in
-Transmission in
-5 speed mounting bracket
-Mounted EDIS brain and coilpack, and Megasquirt ECU and Relay board
-Mounted Intercooler
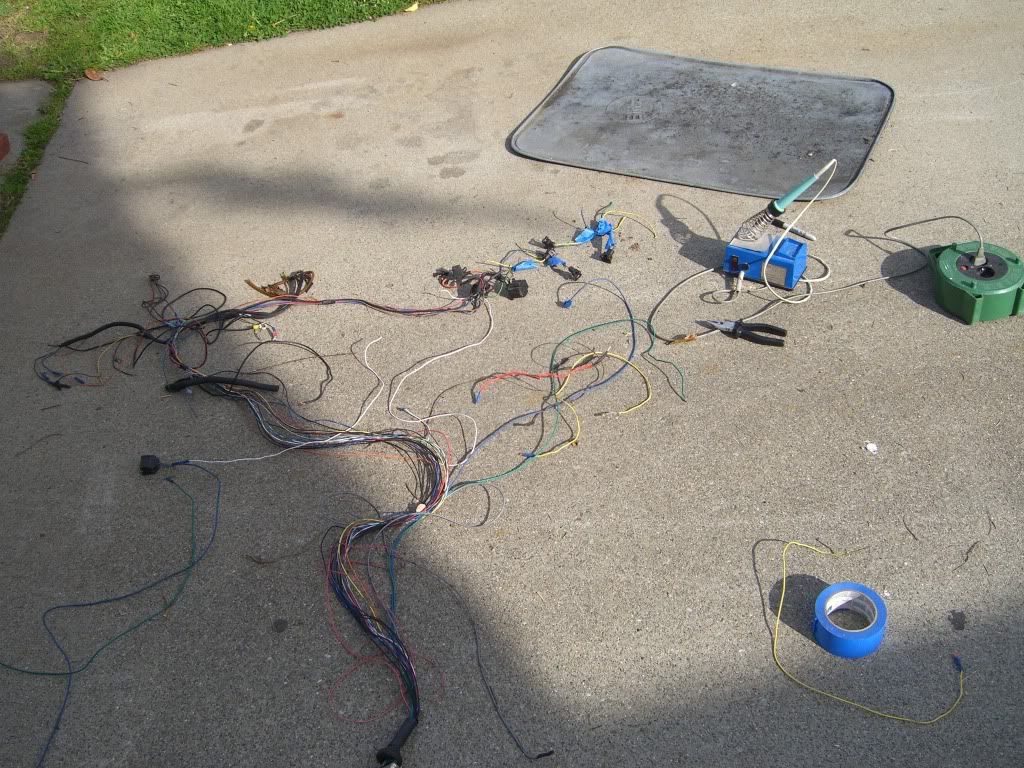
-Started wiring
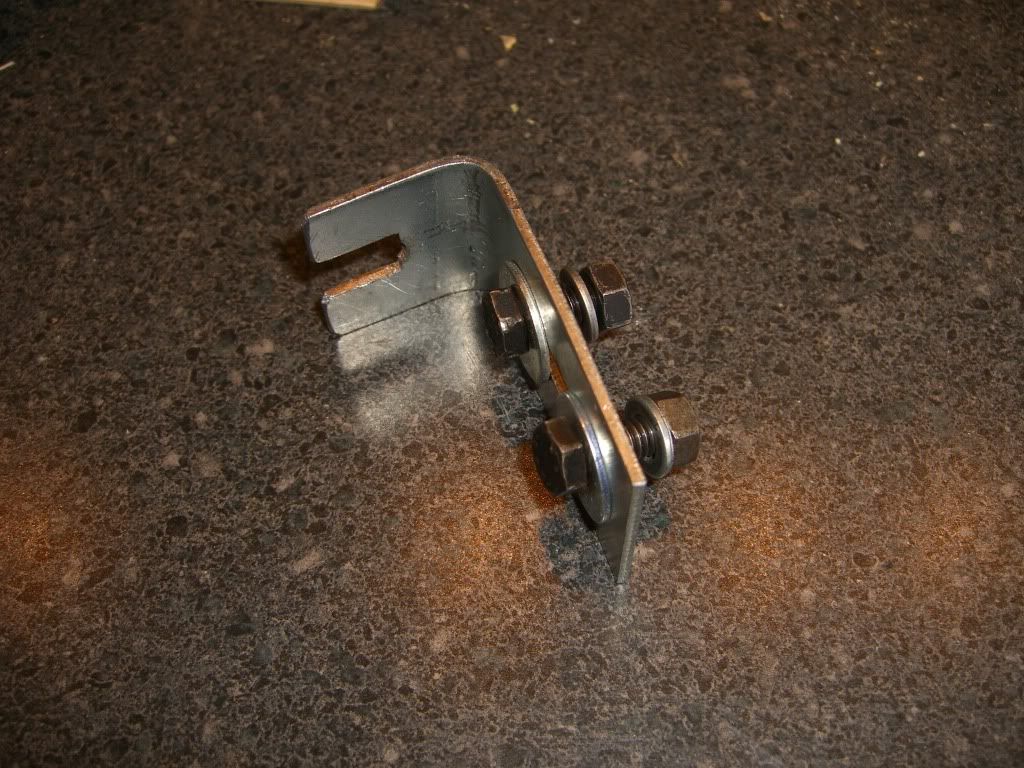
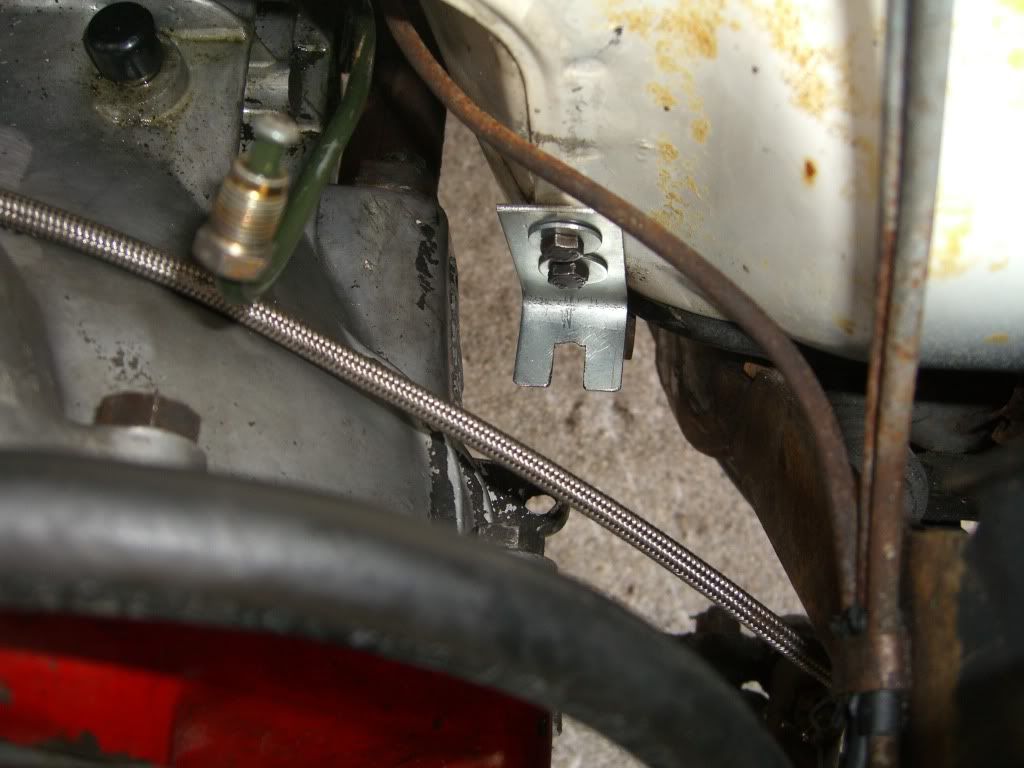
-Shortened the shift platform for 5 speed
I used the e21 3-series platform. All I did was cut off the length needed from the mounting place on the tranny and drilled 2 new holes.

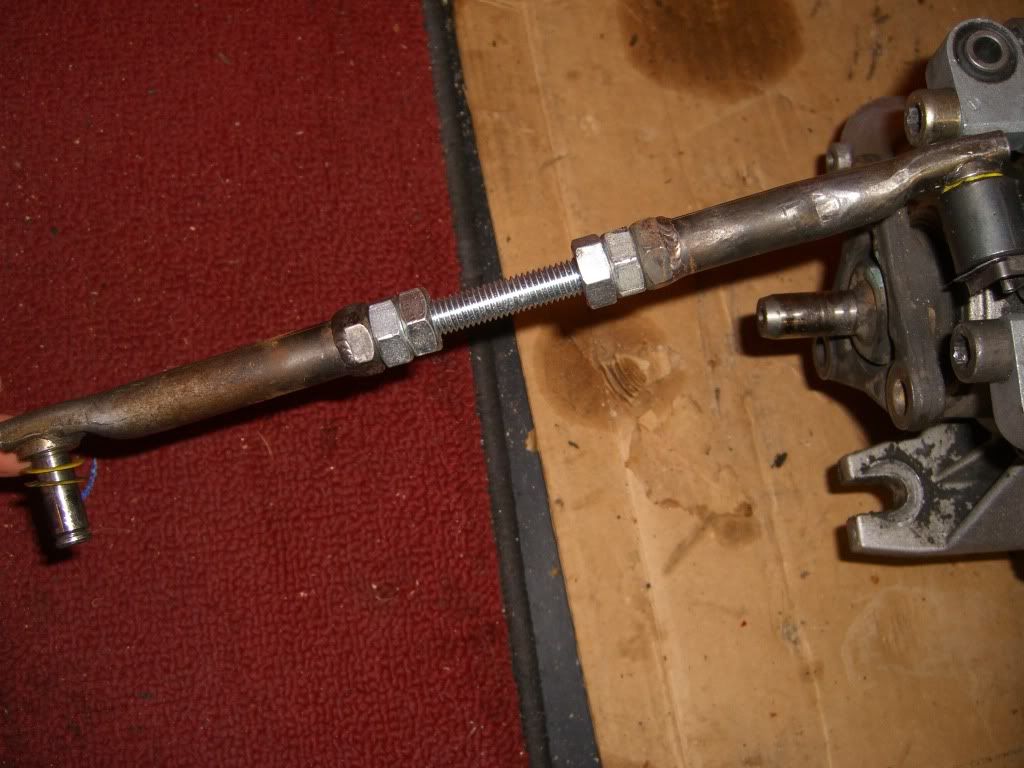
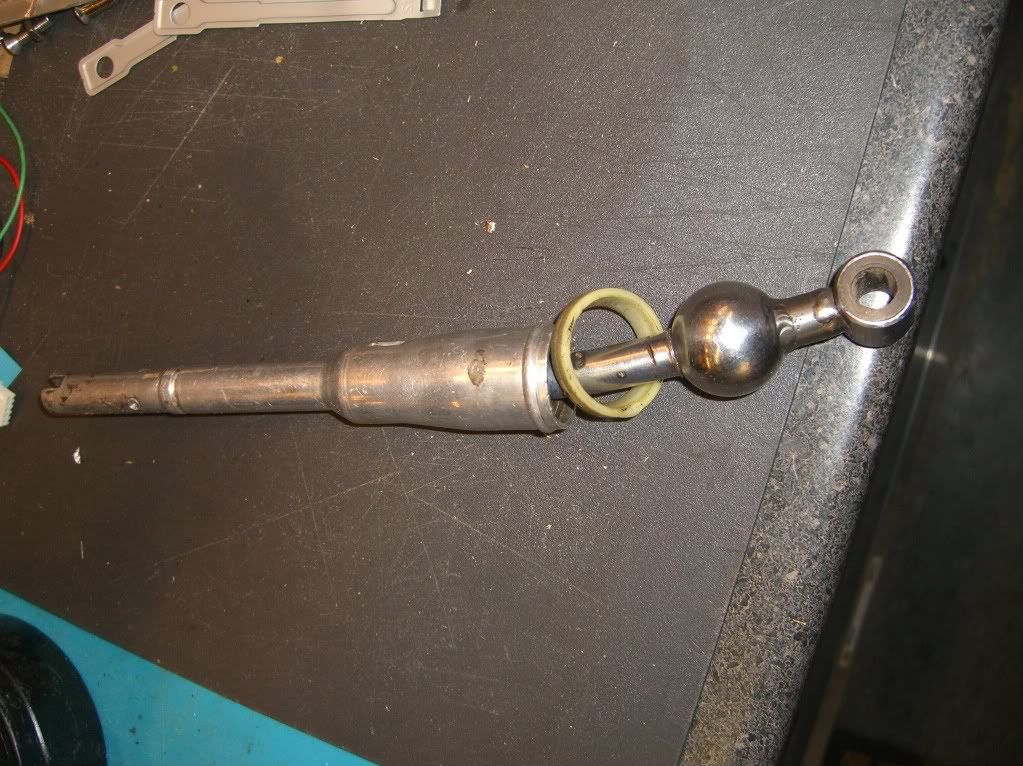
-Shortened shift linkage
Here I cut out a section of the linkage and welded 2 nuts on each side. I put a threaded rod inside so I can adjust it to be exactly in the center. While the shifter was out I had my friend weld a small piece of metal between the ball and the bottom of the shifter to make the throws shorter. This also means the center would have been off a bit so the adjustability will account for this.
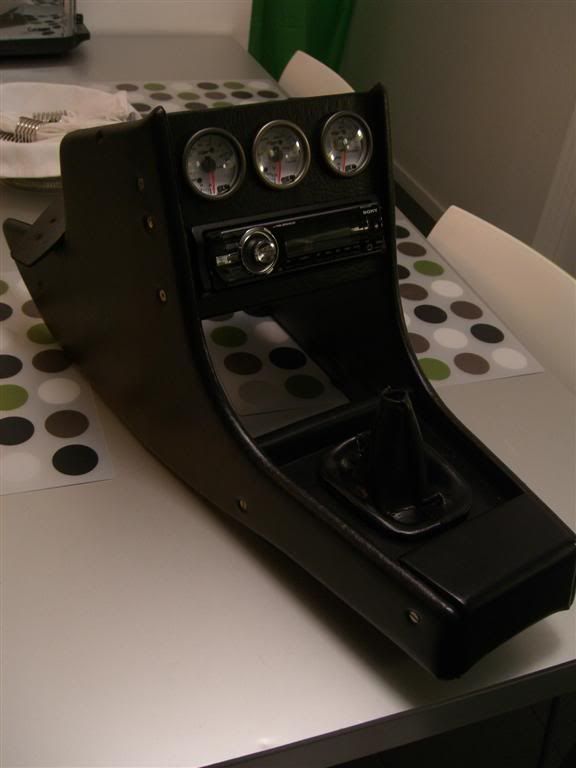
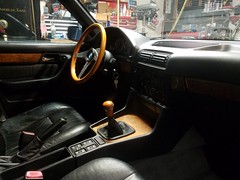
-Console
It's the original console but I took out the ash tray piece and the radio piece and made my own out of wood to house 3 gauges and my radio. I have the outline of the piece on paper if anyone wants to duplicate it. I wrapped it in vinyl I got from Jo-Ann fabrics. It was cheap and matches the pattern pretty well.
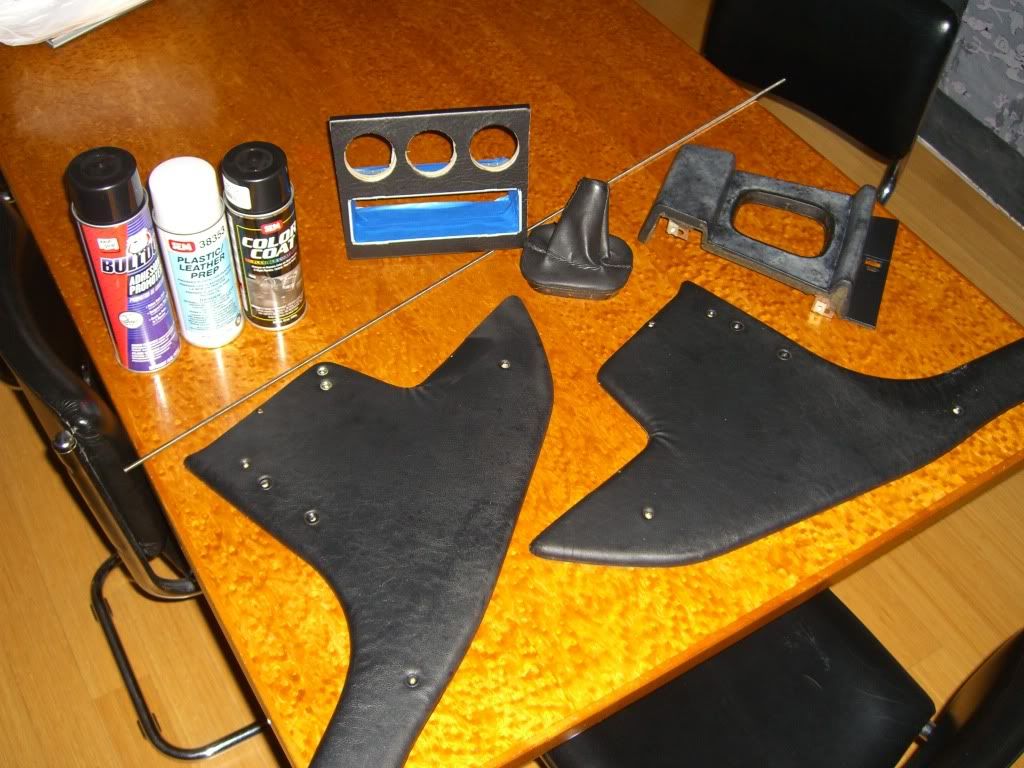
I followed the steps on the online guide posted below and the dye worked very well. I did however run into one problem. The shifter base platform was extremely faded where some parts were turning white, as you can see in the pictures. This meant that when I applied the "landau black" dye, it had absolutely no shininess and looked like flat black. To add a little shine so it would match the rest of the panels I bought some SEM gloss black dye as well. They did not have anything in between. I sprayed a layer over the landau black and let it dry. It turned out TOO shiny so I put a final very thin layer of landau over it again and it turned out a perfect match. By the way, the radio and the gauges both light up in a subtle green color so it doesn't look all riced out.
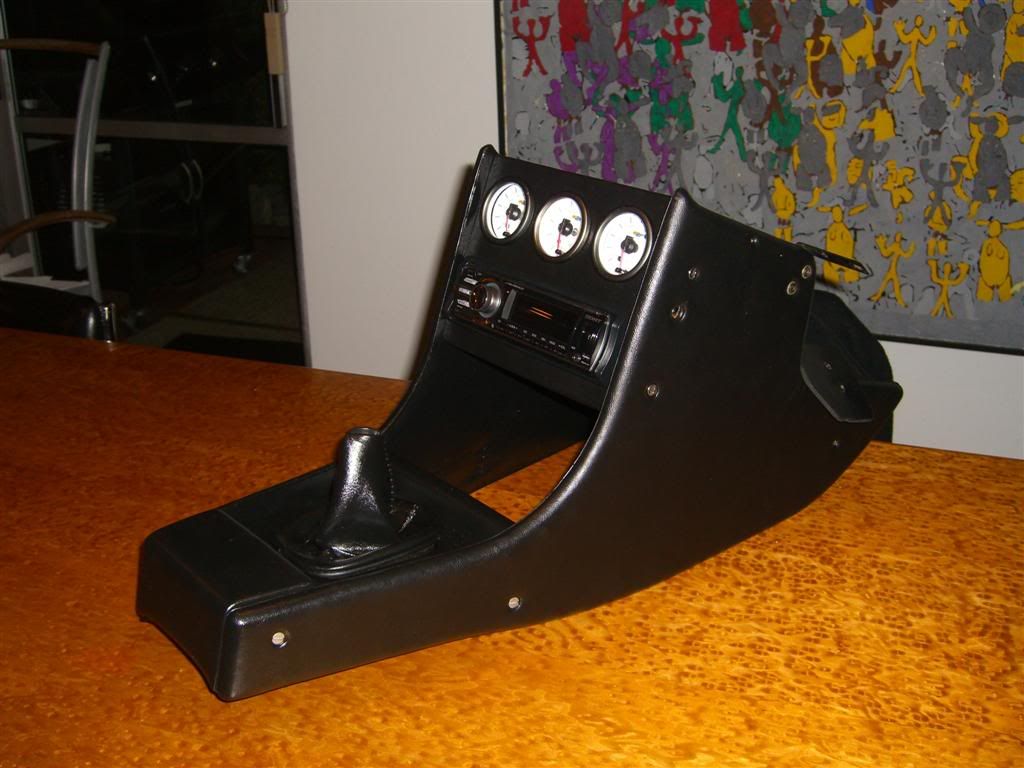
Here is how I attached my faceplate to the console. I screwed some aluminum angles into the existing holes. Then to keep the faceplate from moving around I got a threaded rod with matching screws and sort of clamped everything together. This means no visible screws in the front of the vinyl (yay) and it makes it possible to remove the faceplate without taking out the entire console (double yay).

Dye guide:
1. Clean panels thoroughly with warm soapy water. Do not soak the panels rather dampen a rag and wipe them until they are very clean. This will not be done quickly.
2. Remove any soap residue using another rag with clean warm water using the same method as above.
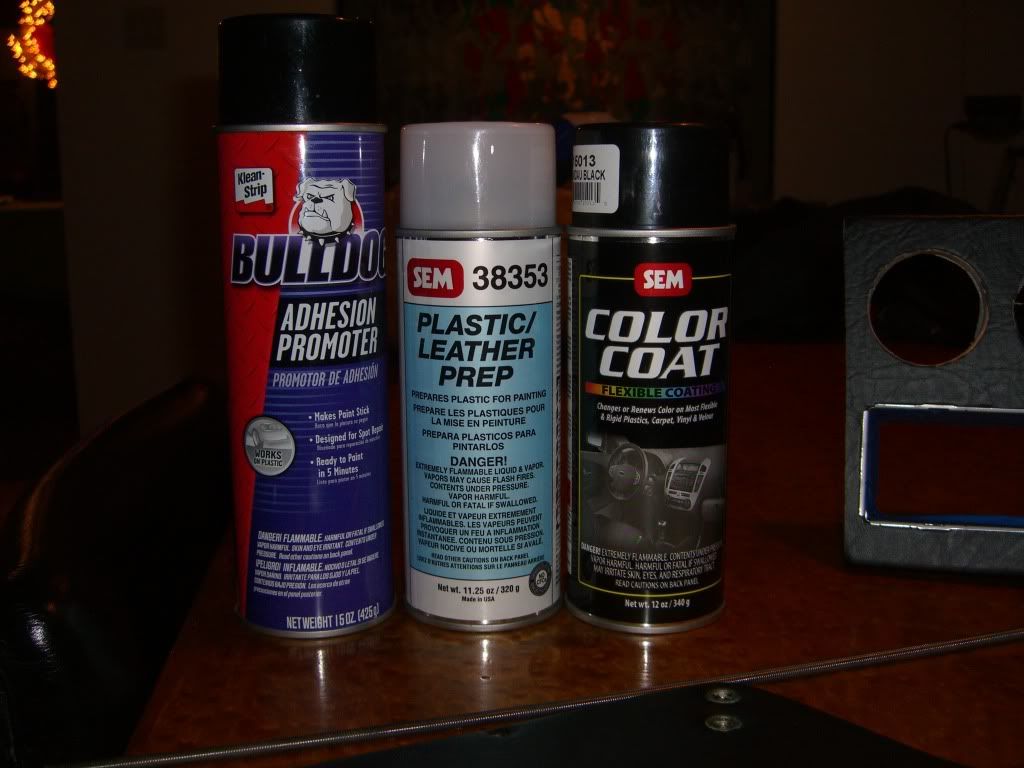
3. Spray the part you plan on dying with SEM brand vinyl prep which can be found at any paint store. Once you spray it, let it sit for about 5 minutes and wipe any remaining residue away.
4. Spray water from a water bottle in a mist in the area you are going to dye and if water beads and runs move on to step 5. If water streams or soaks go back to step 3.
5. Apply a product called bulldog plastic prep. This will help seal cracks in the surface. Yes it will work on your vinyl. Apply as if you are painting the piece you plan on dyeing. I may not fill the crack completely and cracked leather/vinyl is still cracked, but this product acts as a bit of a primer and your dye will adhere to it like nothing else on the market.
I put 2 layers of this since the vinyl absorbed it completely the first time. Let each layer dry for about 15 min.
6. Apply chosen color SEM dye. Someone above mentioned satin black as a perfect match for OEM black, that is incorrect information. The exact black interior color match is called Landau Black. Its between satin and semi gloss.
I sprayed everyone once, let it sit for about 10 minutes and then sprayed everything a second time.
7. Let the panels sit in a warm environment for at least 24 hours before thinking of attempting to reinstall them. Then spend another 24 hours thinking about installing them. Then go ahead and install them. (48 hrs. to completely cure).
To do list:
-battery box
-mount battery cable with plastic cover
-cut nose to fit turbo and wastegate (easy with new turbo)
-throttle cable bracket
-mount radiator and fan
-shorten driveshaft
-downpipe + exhaust
-fuel pump + sender + run new fuel line
-second gauge mount
-Intake piping
-WIRE IT ALL UP
About the car:
1970 BMW 2002 bought stock a year and a half ago. Did the complete suspension(coilovers + shocks, sway bars, bushings) and put it on some 15x7 et20 Enkei 92's. Those will be replaced by wider BBS RS, BBS RM or CCW Classics. When it's running again it'll be lowered some more too. So what's going on now? It's getting a new drivetrain, namely a turbo m10 and 5 speed. This thread is also on the 2002 forum so stuff is pretty detailed and BMW specific. Here are some pictures of the progression so far. I'm not pro photographer so give me a break
The car is a bit lower now to the point where the rear tires are slightly under the fender but still not low enough. I have plenty of threads left in the front but I need to get an adjustable perch in the back and start cutting coils.Stock
Wheels
Lowered
Ugly rear bumper over-riders are no longer there(not me in the pictures btw)
And lastly a picture taken by Mike B. himself last year at bimmerfest
Plans for the car:
-Shooting for minimum 250whp
-6 point cage after mechanicals
-Maybe a new color
-Wider wheels (got 15" Rs's Rm's or 16" CCWs? let me know!)
New Engine Mechanicals
-E21 1.8L m10 completely rebuilt 18,000 miles ago with new pistons, rods, bearings etc.
-stock internals in block and head
-ARP head studs
-MLS headgasket
-Good&Tight aka Otis manifold
-Garrett T3 .42 A/R turbo off Saab (Garrett dual ball bearing GT2860r will be here next week
)-27"x7"x2.5" delta fin intercooler
-HKS SSQV blow off valve
-318i intake manifold
-M52 throttle body
-318i fuel rail
-Getrag 240 5 speed
Electrics
-Megasquirt II v3.57
-Megasquirt relay board
-Ford EDIS
-Wideband o2
-Glowshift oil temperature gauge
-Glowshift oil pressure gauge
-Glowshift volts gauge
-Glowshift boost gauge
-AEM wideband o2 gauge
-Bosch 42 lb/hr Greentop injectors
Here is what I have completed so far or am in the process of making:
-Engine bolted in
-Transmission in
-5 speed mounting bracket
-Mounted EDIS brain and coilpack, and Megasquirt ECU and Relay board
-Mounted Intercooler
-Started wiring
-Shortened the shift platform for 5 speed
I used the e21 3-series platform. All I did was cut off the length needed from the mounting place on the tranny and drilled 2 new holes.
-Shortened shift linkage
Here I cut out a section of the linkage and welded 2 nuts on each side. I put a threaded rod inside so I can adjust it to be exactly in the center. While the shifter was out I had my friend weld a small piece of metal between the ball and the bottom of the shifter to make the throws shorter. This also means the center would have been off a bit so the adjustability will account for this.
-Console
It's the original console but I took out the ash tray piece and the radio piece and made my own out of wood to house 3 gauges and my radio. I have the outline of the piece on paper if anyone wants to duplicate it. I wrapped it in vinyl I got from Jo-Ann fabrics. It was cheap and matches the pattern pretty well.
I followed the steps on the online guide posted below and the dye worked very well. I did however run into one problem. The shifter base platform was extremely faded where some parts were turning white, as you can see in the pictures. This meant that when I applied the "landau black" dye, it had absolutely no shininess and looked like flat black. To add a little shine so it would match the rest of the panels I bought some SEM gloss black dye as well. They did not have anything in between. I sprayed a layer over the landau black and let it dry. It turned out TOO shiny so I put a final very thin layer of landau over it again and it turned out a perfect match. By the way, the radio and the gauges both light up in a subtle green color so it doesn't look all riced out.
Here is how I attached my faceplate to the console. I screwed some aluminum angles into the existing holes. Then to keep the faceplate from moving around I got a threaded rod with matching screws and sort of clamped everything together. This means no visible screws in the front of the vinyl (yay) and it makes it possible to remove the faceplate without taking out the entire console (double yay).
Dye guide:
1. Clean panels thoroughly with warm soapy water. Do not soak the panels rather dampen a rag and wipe them until they are very clean. This will not be done quickly.
2. Remove any soap residue using another rag with clean warm water using the same method as above.
3. Spray the part you plan on dying with SEM brand vinyl prep which can be found at any paint store. Once you spray it, let it sit for about 5 minutes and wipe any remaining residue away.
4. Spray water from a water bottle in a mist in the area you are going to dye and if water beads and runs move on to step 5. If water streams or soaks go back to step 3.
5. Apply a product called bulldog plastic prep. This will help seal cracks in the surface. Yes it will work on your vinyl. Apply as if you are painting the piece you plan on dyeing. I may not fill the crack completely and cracked leather/vinyl is still cracked, but this product acts as a bit of a primer and your dye will adhere to it like nothing else on the market.
I put 2 layers of this since the vinyl absorbed it completely the first time. Let each layer dry for about 15 min.
6. Apply chosen color SEM dye. Someone above mentioned satin black as a perfect match for OEM black, that is incorrect information. The exact black interior color match is called Landau Black. Its between satin and semi gloss.
I sprayed everyone once, let it sit for about 10 minutes and then sprayed everything a second time.
7. Let the panels sit in a warm environment for at least 24 hours before thinking of attempting to reinstall them. Then spend another 24 hours thinking about installing them. Then go ahead and install them. (48 hrs. to completely cure).
To do list:
-battery box
-mount battery cable with plastic cover
-cut nose to fit turbo and wastegate (easy with new turbo)
-throttle cable bracket
-mount radiator and fan
-shorten driveshaft
-downpipe + exhaust
-fuel pump + sender + run new fuel line
-second gauge mount
-Intake piping
-WIRE IT ALL UP


Comment