
-
Currently saving hard for new rims and colour change so shot some pics after a quick detail. Need some 215/35/18 fronts so I can go lower as it rubs badly on full lock if I go lower
So much to do hopefully by Sept Santa pod show it will all come together for me... Wish I had more money lol


And us running light mod

Sorry if this project isn't up to some on here not really got loads of cash just enjoy messing around with cars.
My old e36 built on a strict budget


AndyLeave a comment:
-
Sorry dirty car due to the crap weather but here she is with how im currently running so enjoy the pics as the pace slows for a while due to saving hard for new rims and a colour change before sept santa pod schedule:thumbsup:thumbsup:thumbsup


Thanks for looking and of course i have other plans up my sleeve so stay tuned
AndyLeave a comment:
-
Change of direction going on
eBay: http://pages.ebay.com/link/?nav=item...365181&alt=web
Yes I've won these things plus got a mint set of amber rears already at homeLeave a comment:
-
Pretty bummed out atm due to work messing wages up again so new rims put on the back burner for now. Decided the mv1s needed a colour change so went for Halfords anthracite wheel paint and freshened them up. Just came off the axel stands so haven't settled yet so it's lower than pics suggest.
New rims and colour change decided so hopefully by Sept Santa pod show it will all be done.


Really need some proper pics done so it will happen soon. Thanks for looking.
AndyLeave a comment:
-
Update time
Had a day off and hooked up with mr kevin atkin and stuff on the 330 progressed so here we go............first things first rear camber std arms got maxed out by kev seeing as kev bans me from spanners when hes about

Bought some brand new rear coilover adjustment collars of a local lad then the e36 lowered springs i had got shoved back in pronto:thumbsup:thumbsup

Rear height im happy with and will not be going lower as im still running 8.5 18s with 255/35/18 rears still with 15mm spacers on top and will not ruin the arches any more just for scene points

Headed back home and seeing as us norfolk crew are having a get together beer tonight at 7pm i quickly washed her with just zipwax only and she came up a treat so heres current pics


Front ive dropped 4 turns and basically i will not risk damage to the front arches or underneath as im at the absolute limit of safety with 225/40/18s on(215/40/18 would be much better)as i run 13mm spacers on top and natural camber atm for now as ive not got camber plates yet up front...yes i cant even get my foot under


As far as im concerned its a 330 so a performance car in many ways and i intend to keep it driveable everyday so this height it stays and if anything with more agressive wheels on i might even slightly raise he if need be.the grills ive still not plasti dipped yet but will happen and kev very kindly gave me some replacement rear lights as mine has a hairline crack in a rear one so fit them also
Cheers for looking
AndyLeave a comment:
-
Sorry only update is this for now due to hectic work schedule and family duties and waiting to get paid end of the month. Nearly contemplated selling her due to my lack of interest but I am slowly getting more back now. No rush in anything I can wait maybe do some very soon touching bodywork up in places. Have rear coilover adjustment collars now so will be lowered out back again and will be going for neg 3deg camber with the 255s still on.
Like I said things will happen but plastidip the grills first as stone chipping galore happening atm.

Leave a comment:
-
Right back on track on my thread lol here we go more updates and still using my crappy camera phone(mental note must get a better camera)
Rear arches are now desealed and rolled and pulled inc the infamous now de-lipped plus fronts are rolled and pulled a little bit,sorry no pics as it looks like Armageddon on the lips and bits as the paint was shit and cracking so i will work on bringing that back up to my standards and will inc the pics then not now as i was in a hurry to crack on today.sounds worse than it actually is plus some twat in asda has clipped the drivers arch a bit and dented it.tried to pull it out with the roller after but no joy will need to sort that out later.
Anyway cut the shit lets go
front indicators gone from clear to smoked courtesy of hycote tint spray-anyone who uses this shit shit shit total waste of money but the fronts came out ok


As you know my main beam bowls are yellow so the fog lamps got the same treatment

Rear lights went badly wrong as the tint spray started bubbling on pass three and this was the third attempt as the other two did exactly the same way,confused me as the fronts i did exactly the same way and didnt bubble at all so if anyone has some spare tinted lamin x going spare give me a shout as im not happy at all with the rears but running with it due to work commitments .


Front end view now

And the new led rear numberplate bulbs courtesy of@mekas buddy who sorted me a set for a fiver inc first class delivery within a day i might addvery very bright in real life its like Blackpool
illuminations

As always thanks for looking and i move on with my other plans i have for her
AndyLeave a comment:
-
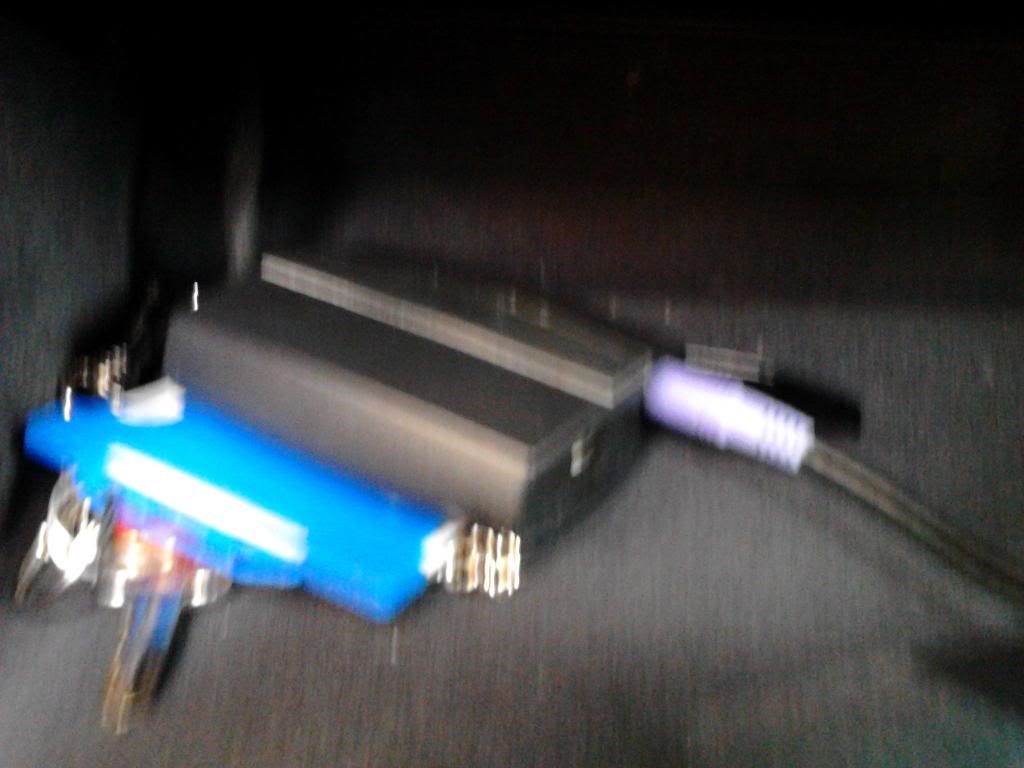
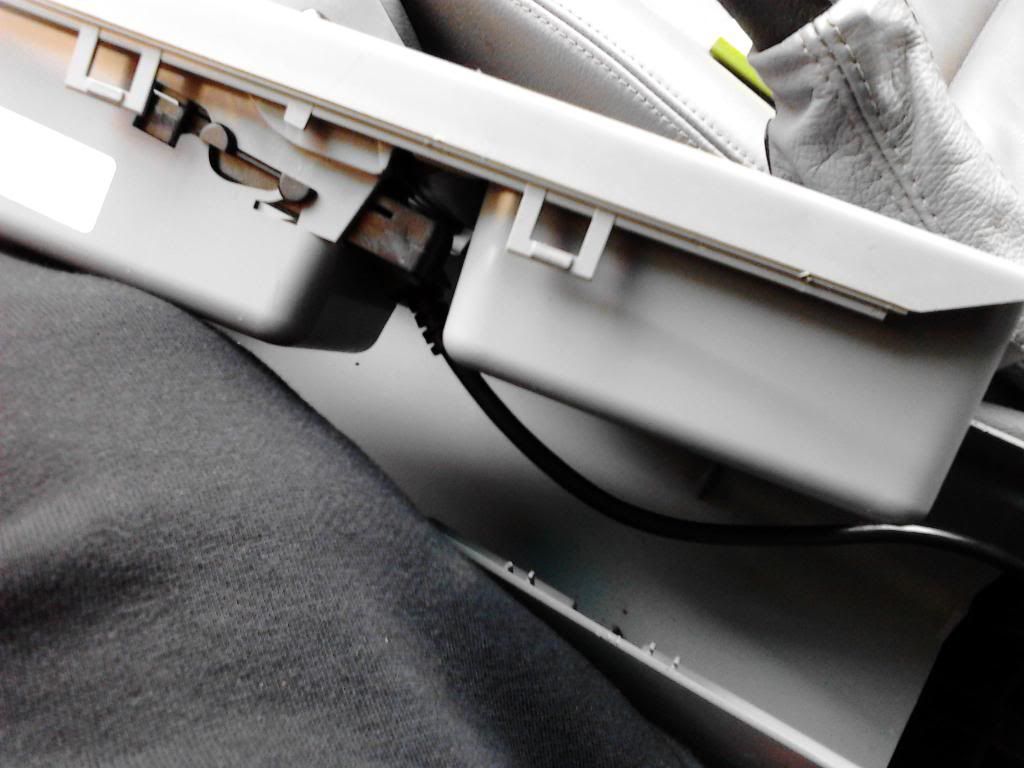
Did this today on mine so took a fare few pics along the way so hope it helps.didnt take pics of behind my headunit or my control box as i had already had that in so basically ive moved the location of my ipod for ease of use now than having it in the glovebox before.
sorry for the poor pics my usual phones died and im using a shitty 50 quid alcatel pop thingy atm
Glove box media bridge
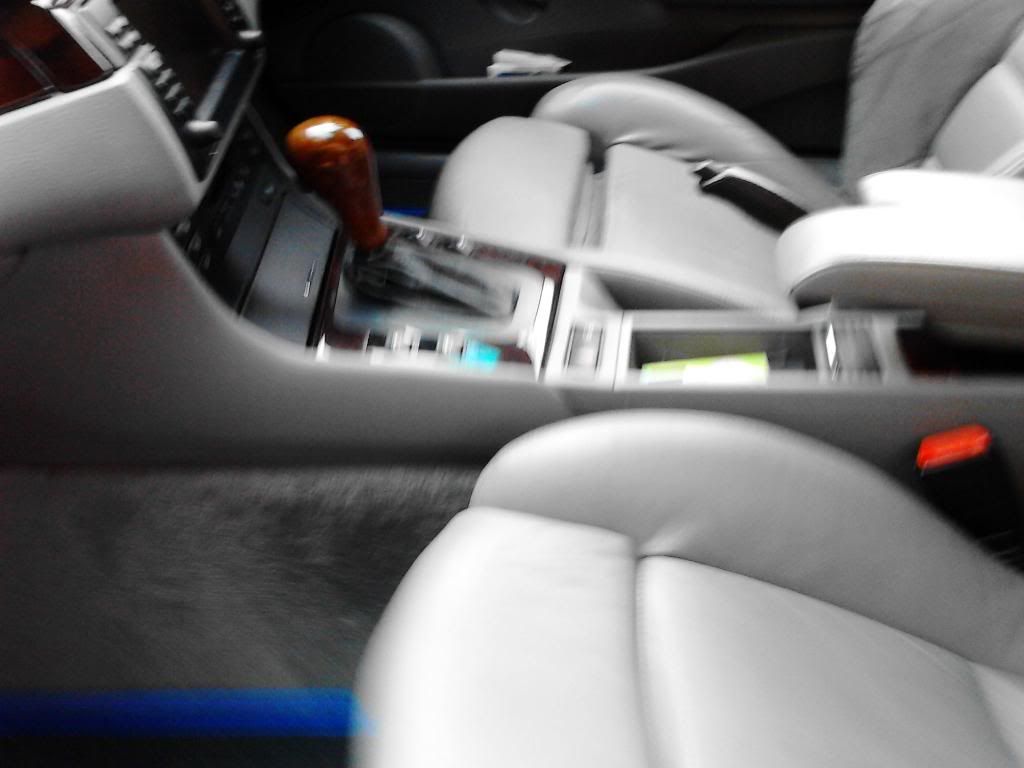
Rear dvd screen i ran through my seat but basically its all hidden wiring along the trim then cut a slit in the carpet than up through the guts of the seat

Right really sorry didnt get a pic of this bit but run your lead from your glovebox behind it and head the cable towards the centre panel(there is a black trim section that joins the centre trim like this
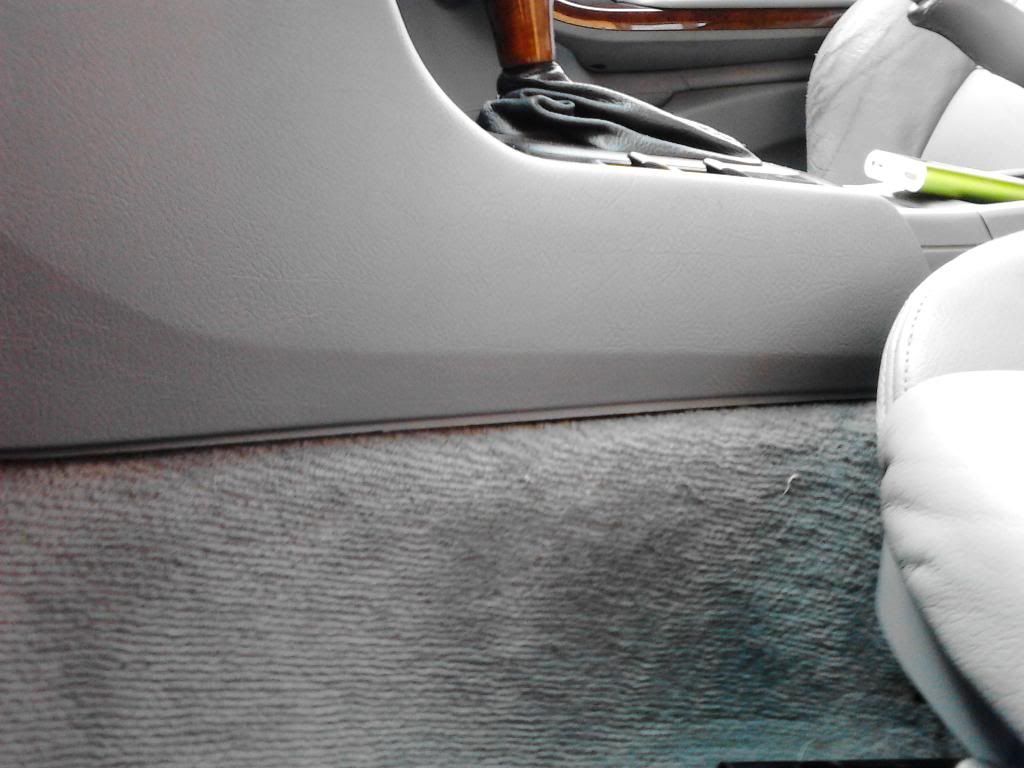
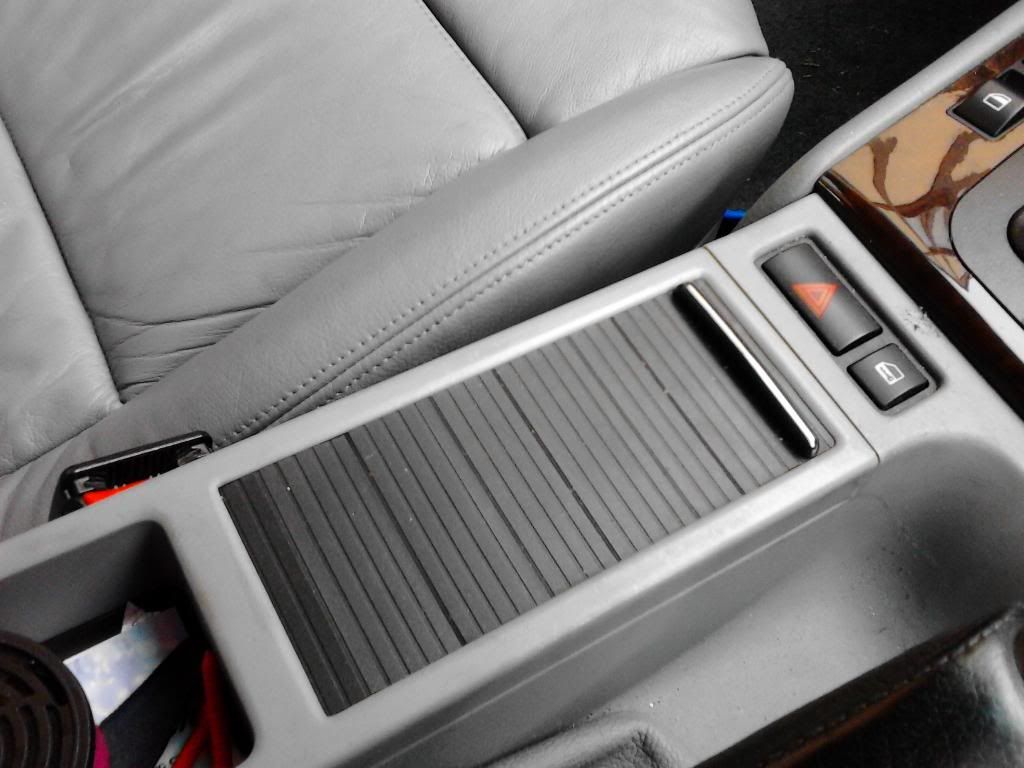
What i did was use a large flat head and very carefully lift the trim out and tuck the wire along the tunnel so its hiddenthen remove the top part very carefully of your panel under your arm rest(i used a very small flat head and pried up until the clips released.
I used the gap just behind the seatbelt clip to then go underneath so its tight but carefully lift trim towards the passenger door then fee the cable up to this point,bend the metal inner tab down to allow the cable enough room to pass through
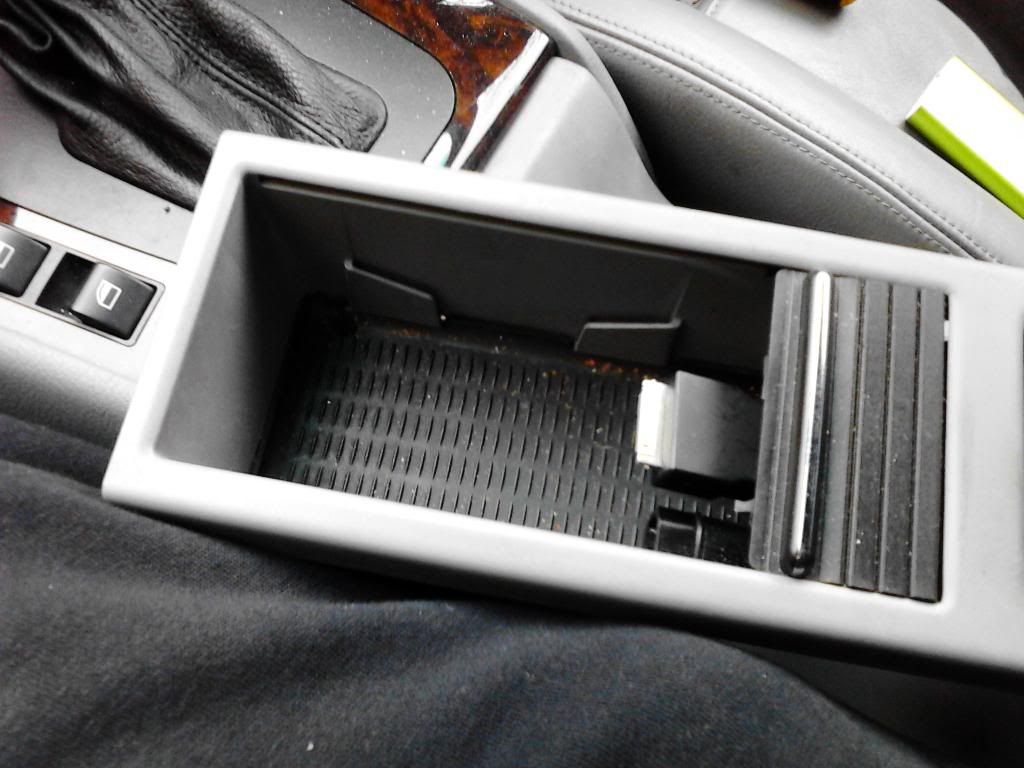

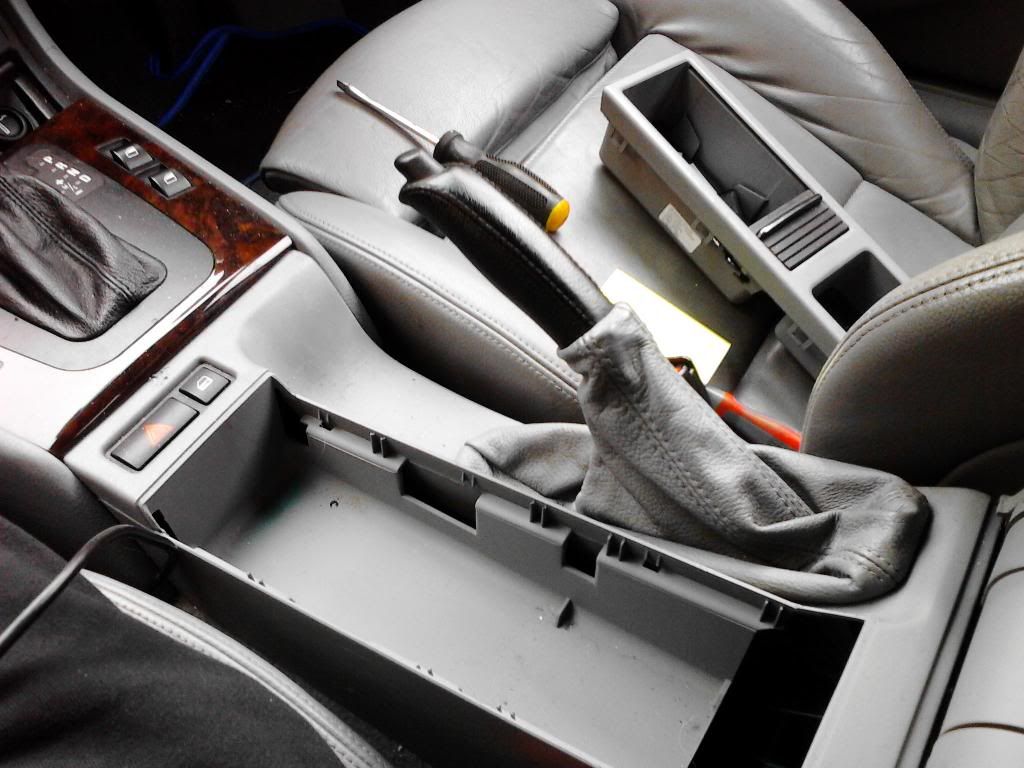
And basically refit it all carefully to be left with this:thumbsup:thumbsup:thumbsup:thumbsup
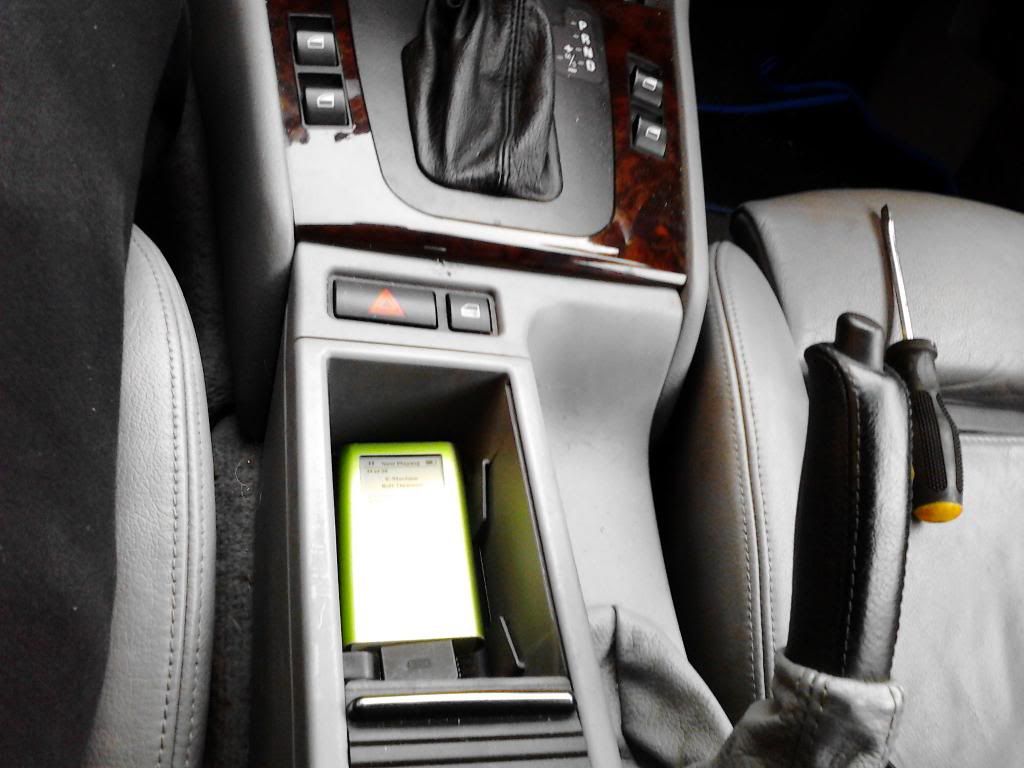
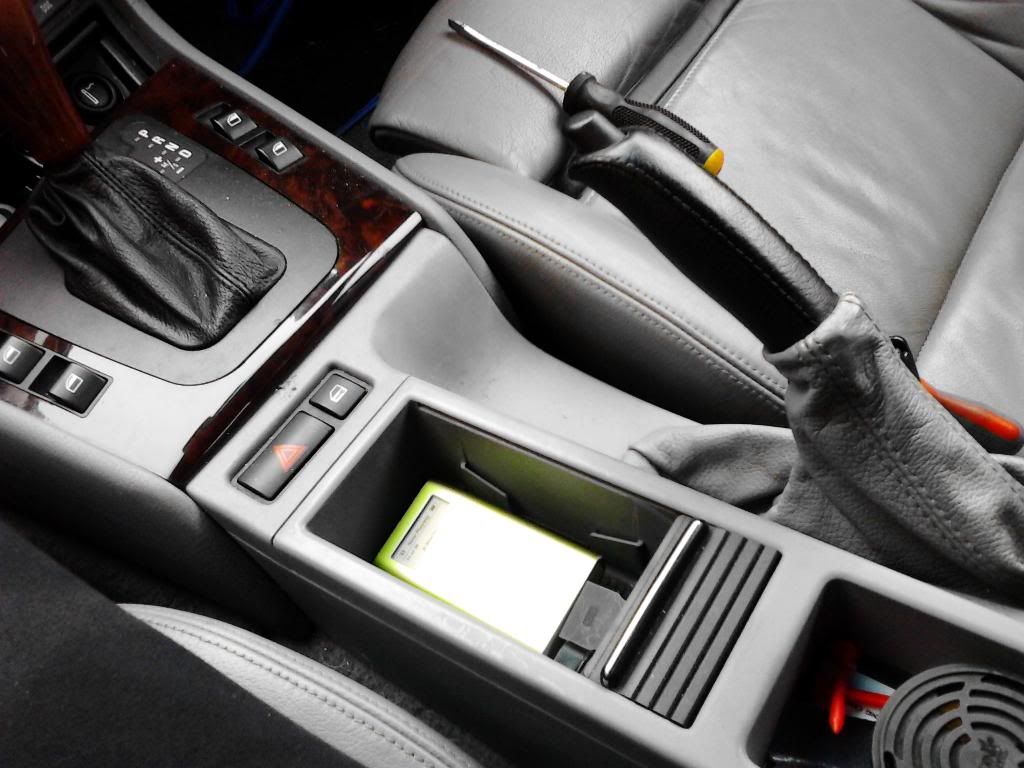


And when parked up close the hatch for safety
YEAH YEAH THE CAR NEEDS A CLEAN INSIDE TOO SO STAY TUNED FOR OTHER MINI GUIDES
AndyLeave a comment:
-
Right all will be revealed why later in the project but due to technical trouble in rolling the rear arches due to a crazy amount of rear sealant and unable to dig it all out as per usual and roll n flair as i usually do i ran into other issues so this happened as my solution to it and i will show more detailed pics as i overcome it


Yep the rear arches inside lip got cut royally out and i will show you where and why later once i start on phase 2 of the work........dont worrry there was a very good reason for this:thumbsup:thumbsup:thumbsup:thumbsup
To be continued
Andy
And first proper clean and polish for 2014


Leave a comment:


Leave a comment: