-
Hood stuff continued
Final test fitting before paint

Scuffed all parts and cleaned for paint

Primed

[url=https://flic.kr/p/2msjh5J]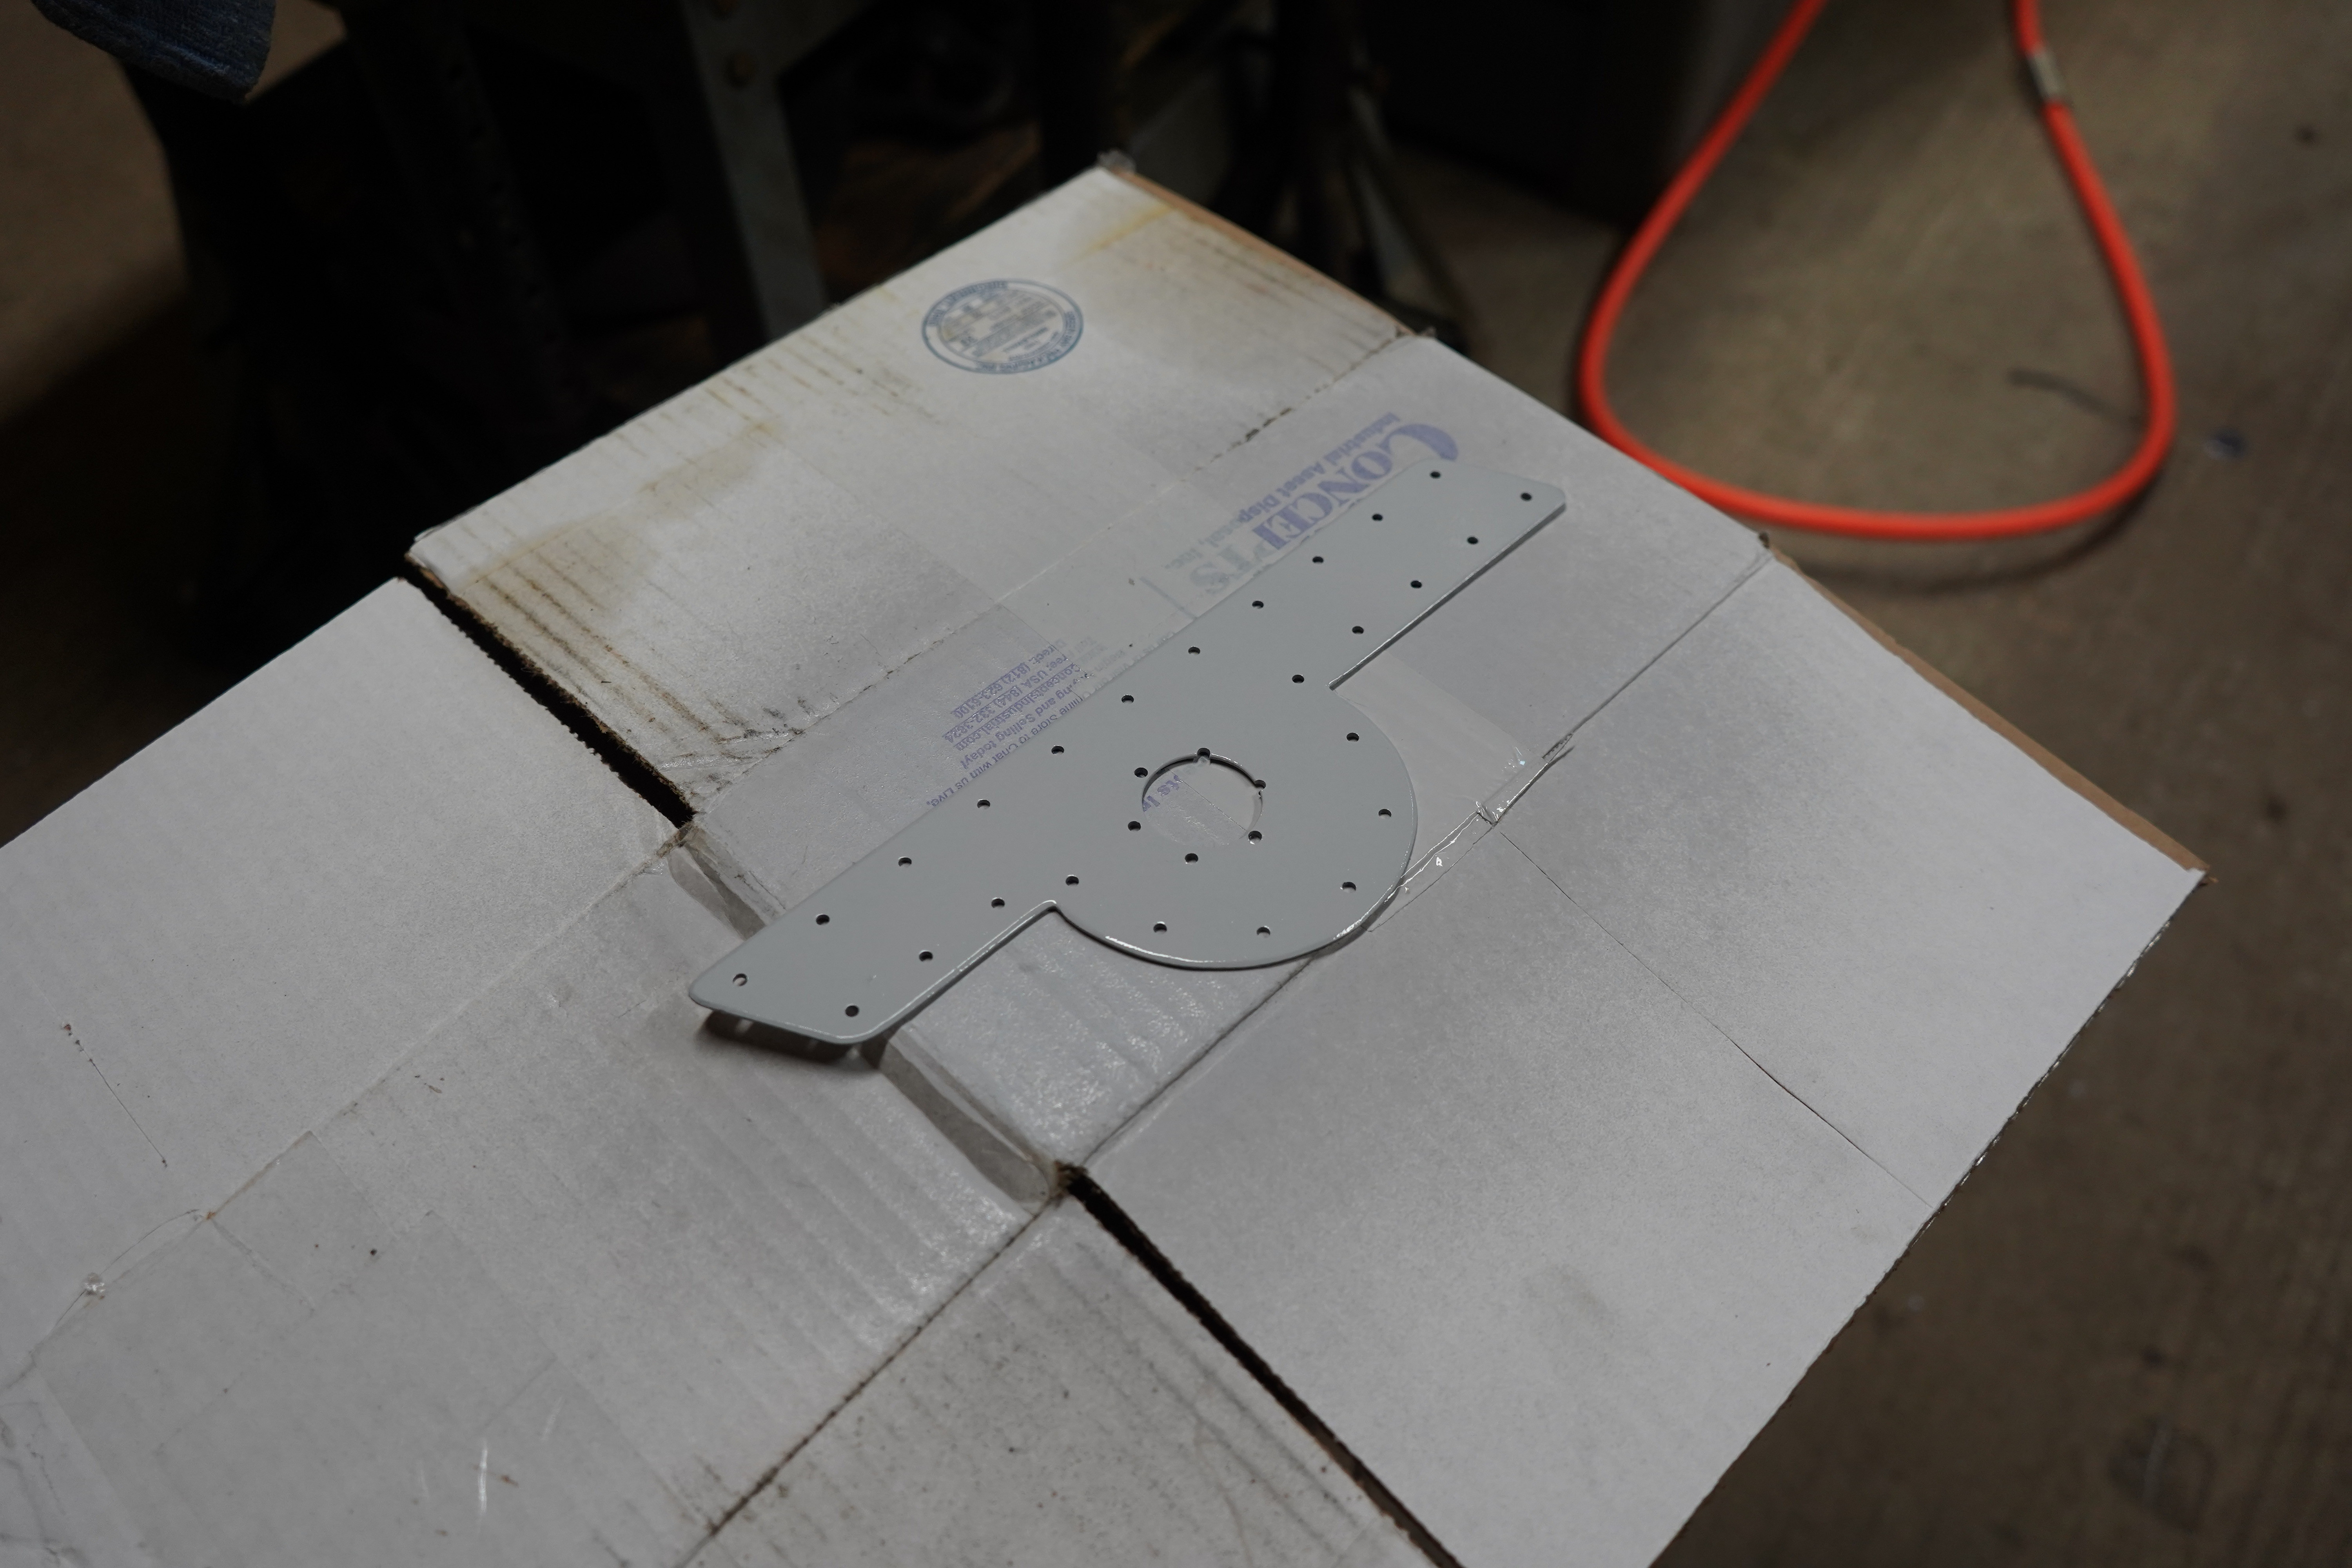
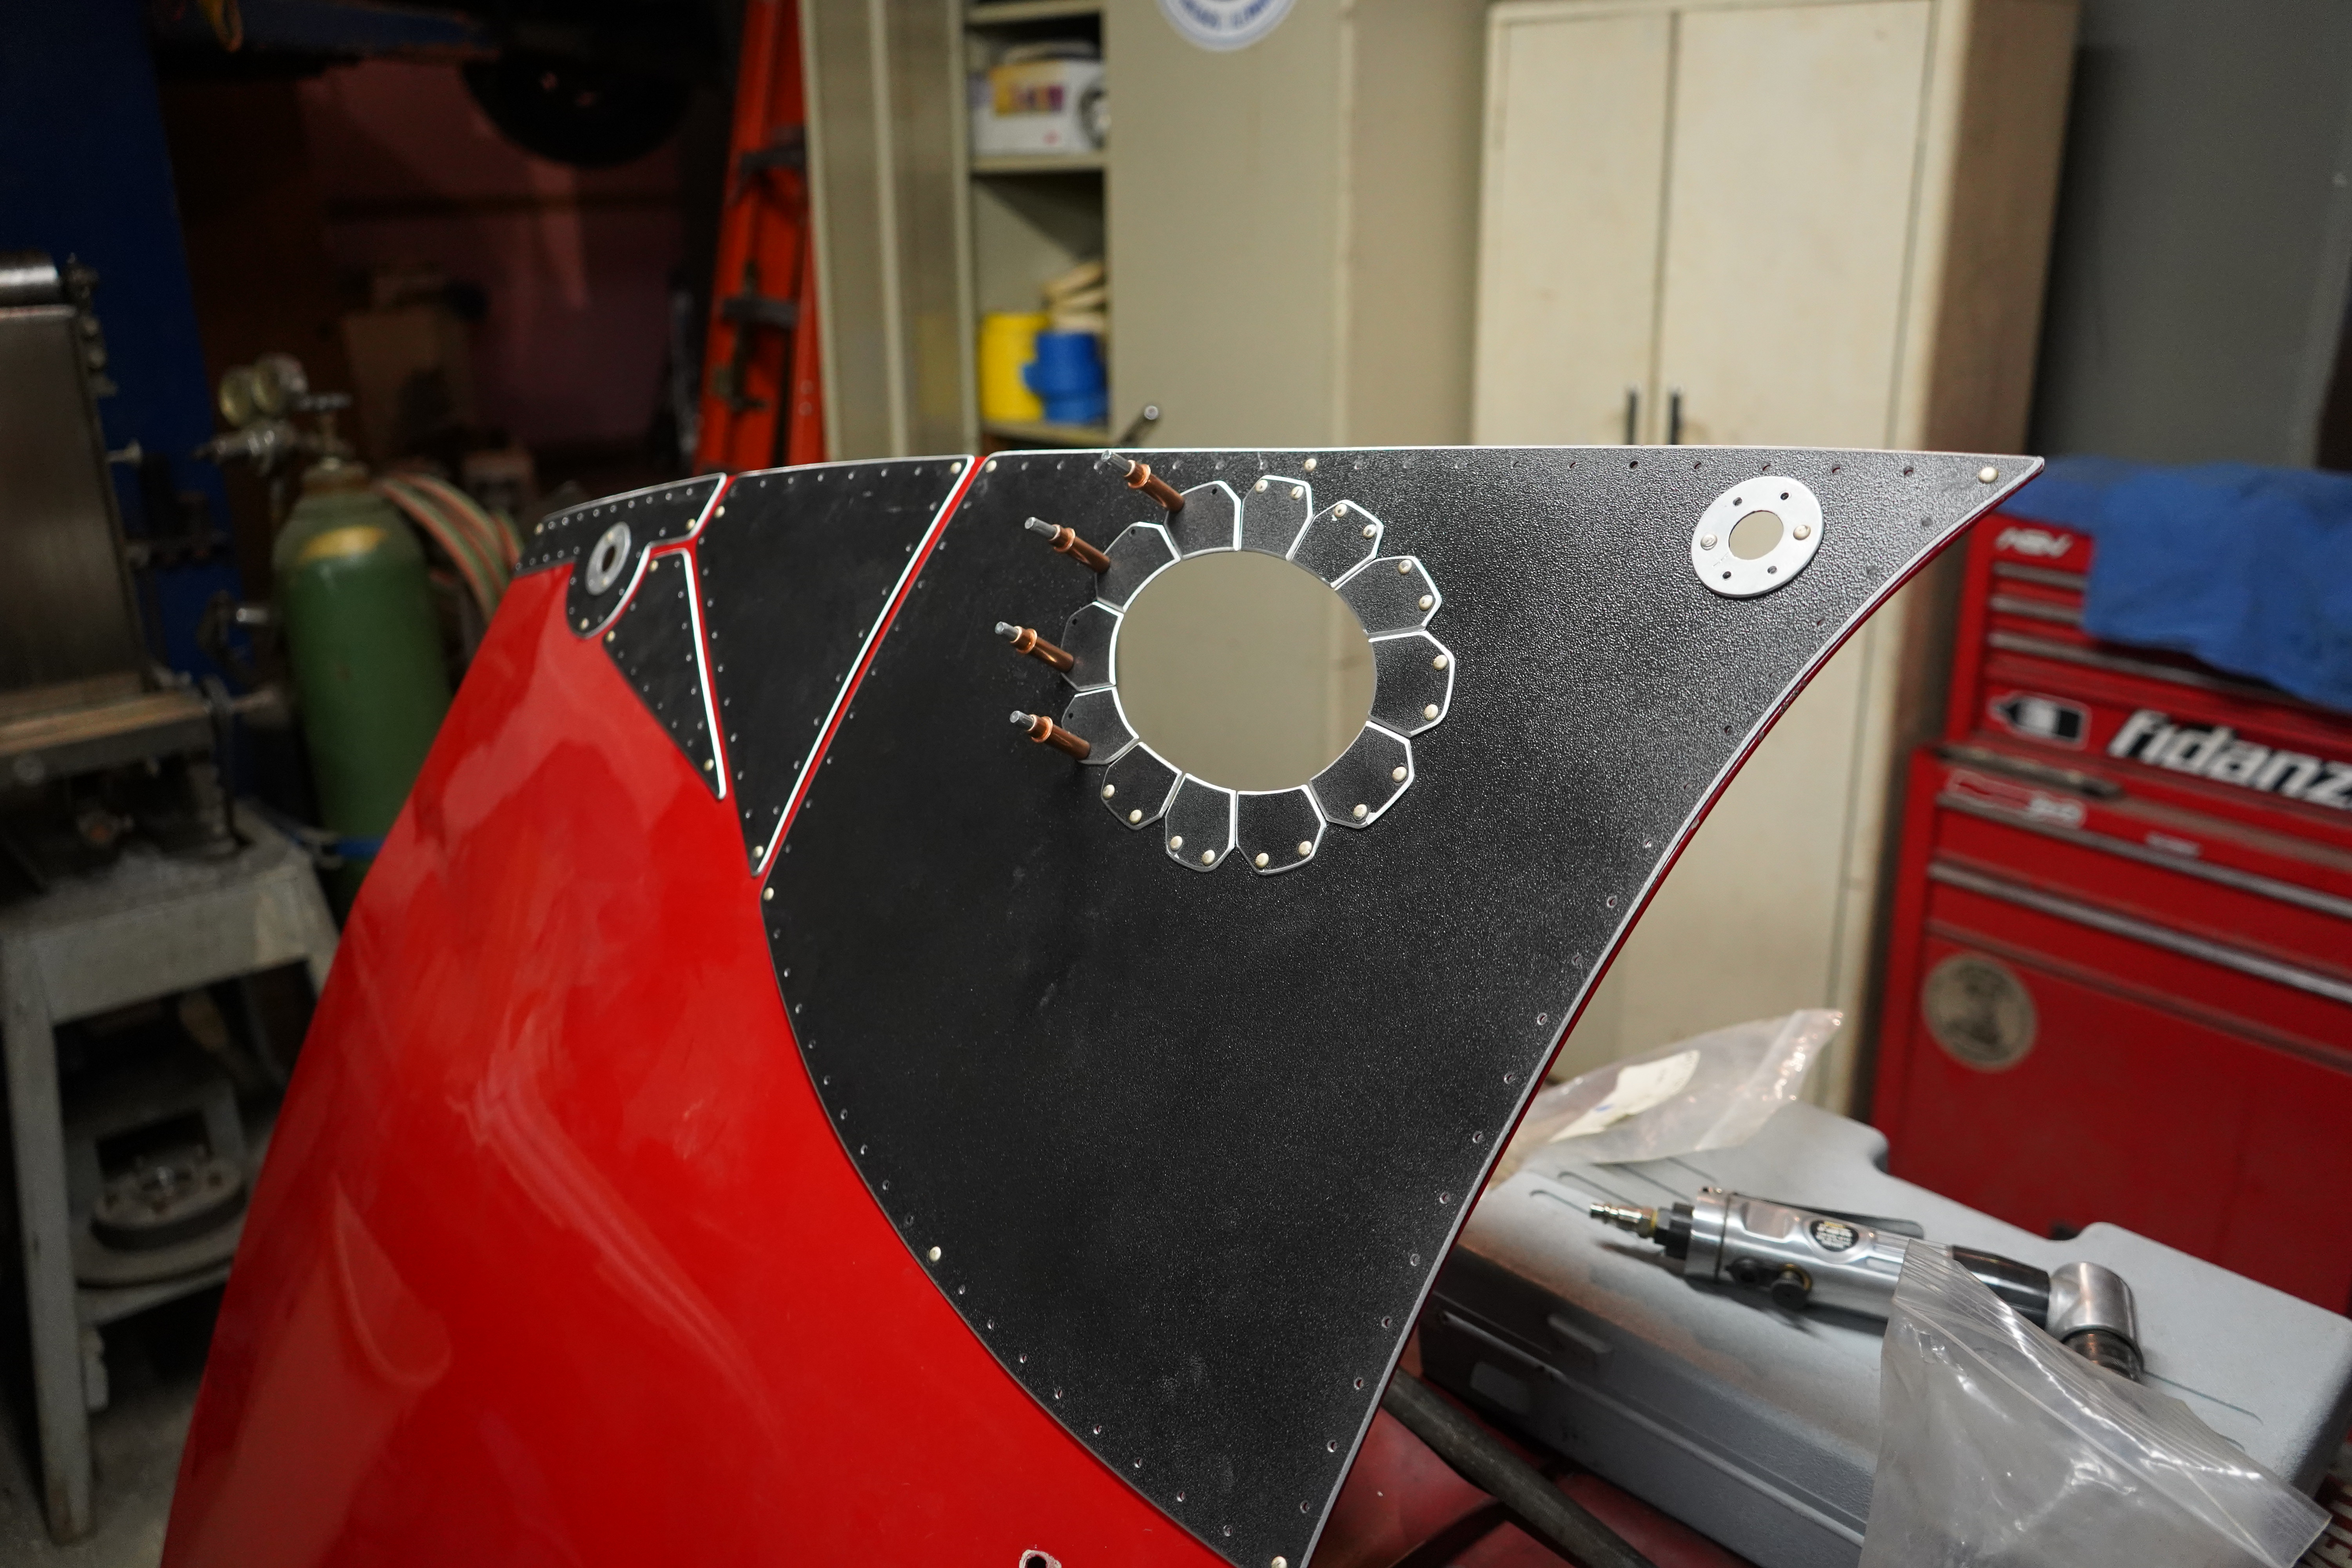
Sprayed everything with a rubberized coating


About ready for them rivets
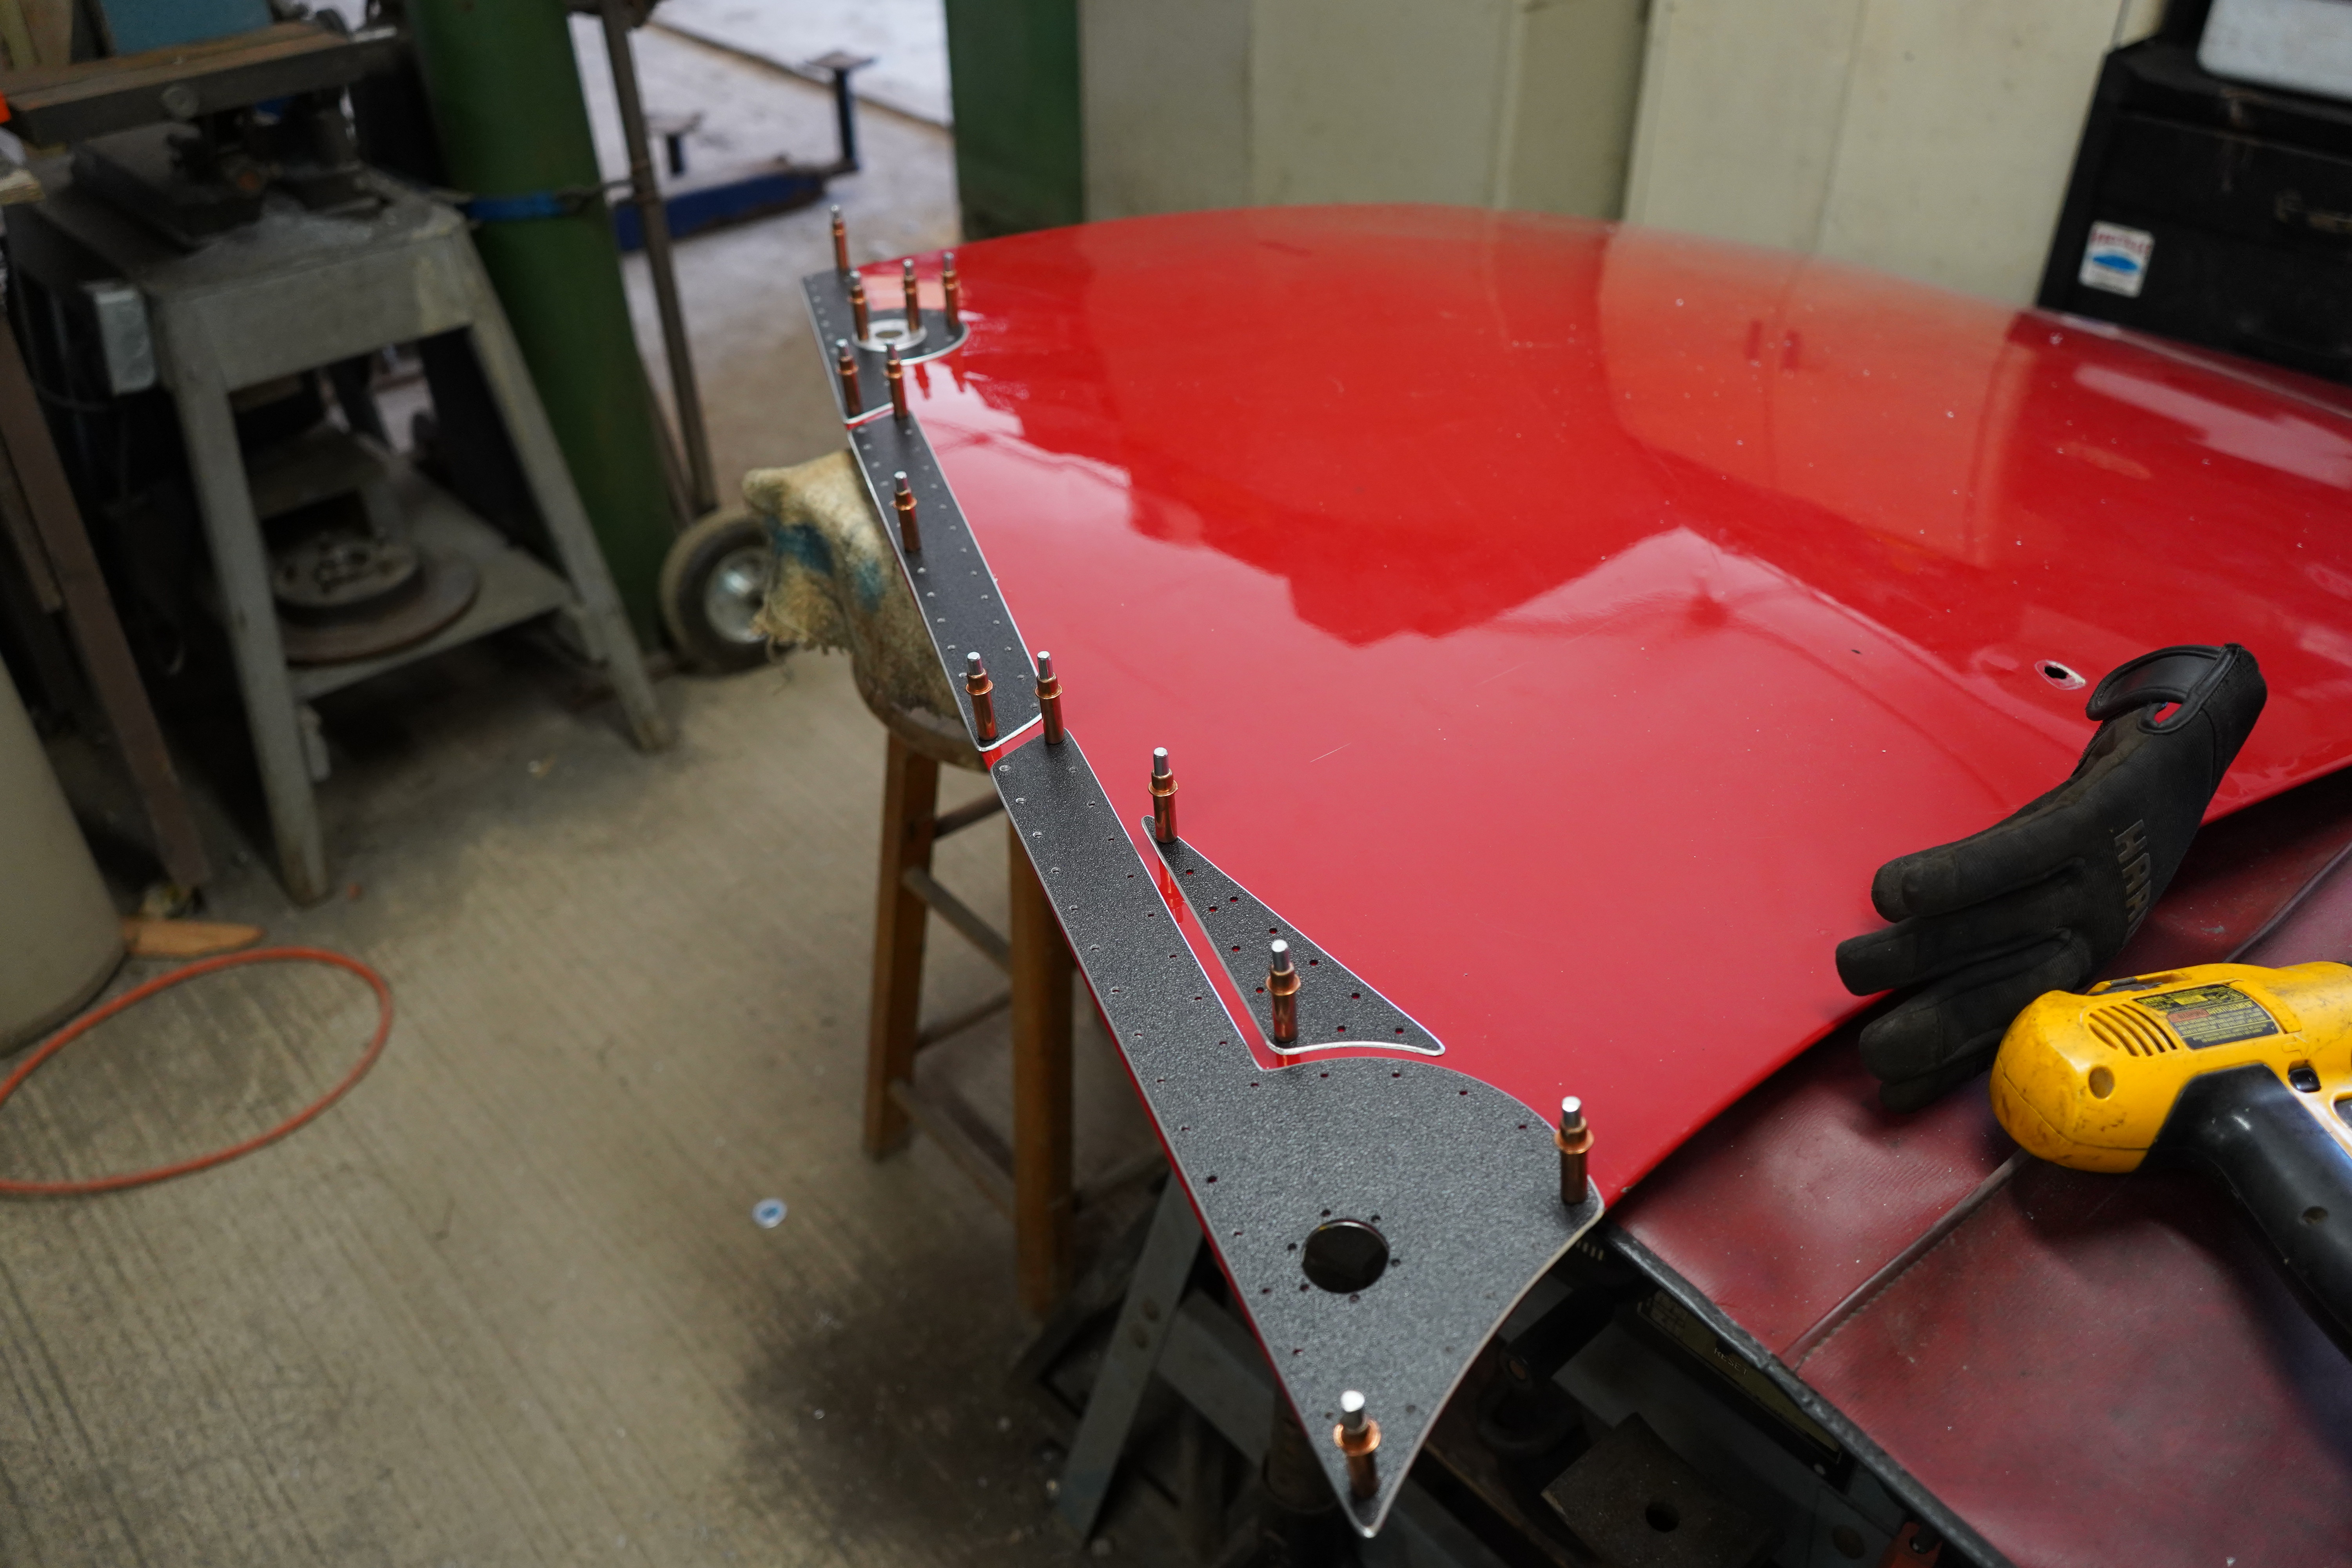

First of many

Ending it here, till next timeLeave a comment:
-
Nothing like logging on here and seeing your favorite build has an update, luckily there is tons of great builds on this forumOriginally posted by Yezzz View PostLeave a comment:
-
Updates a plenty
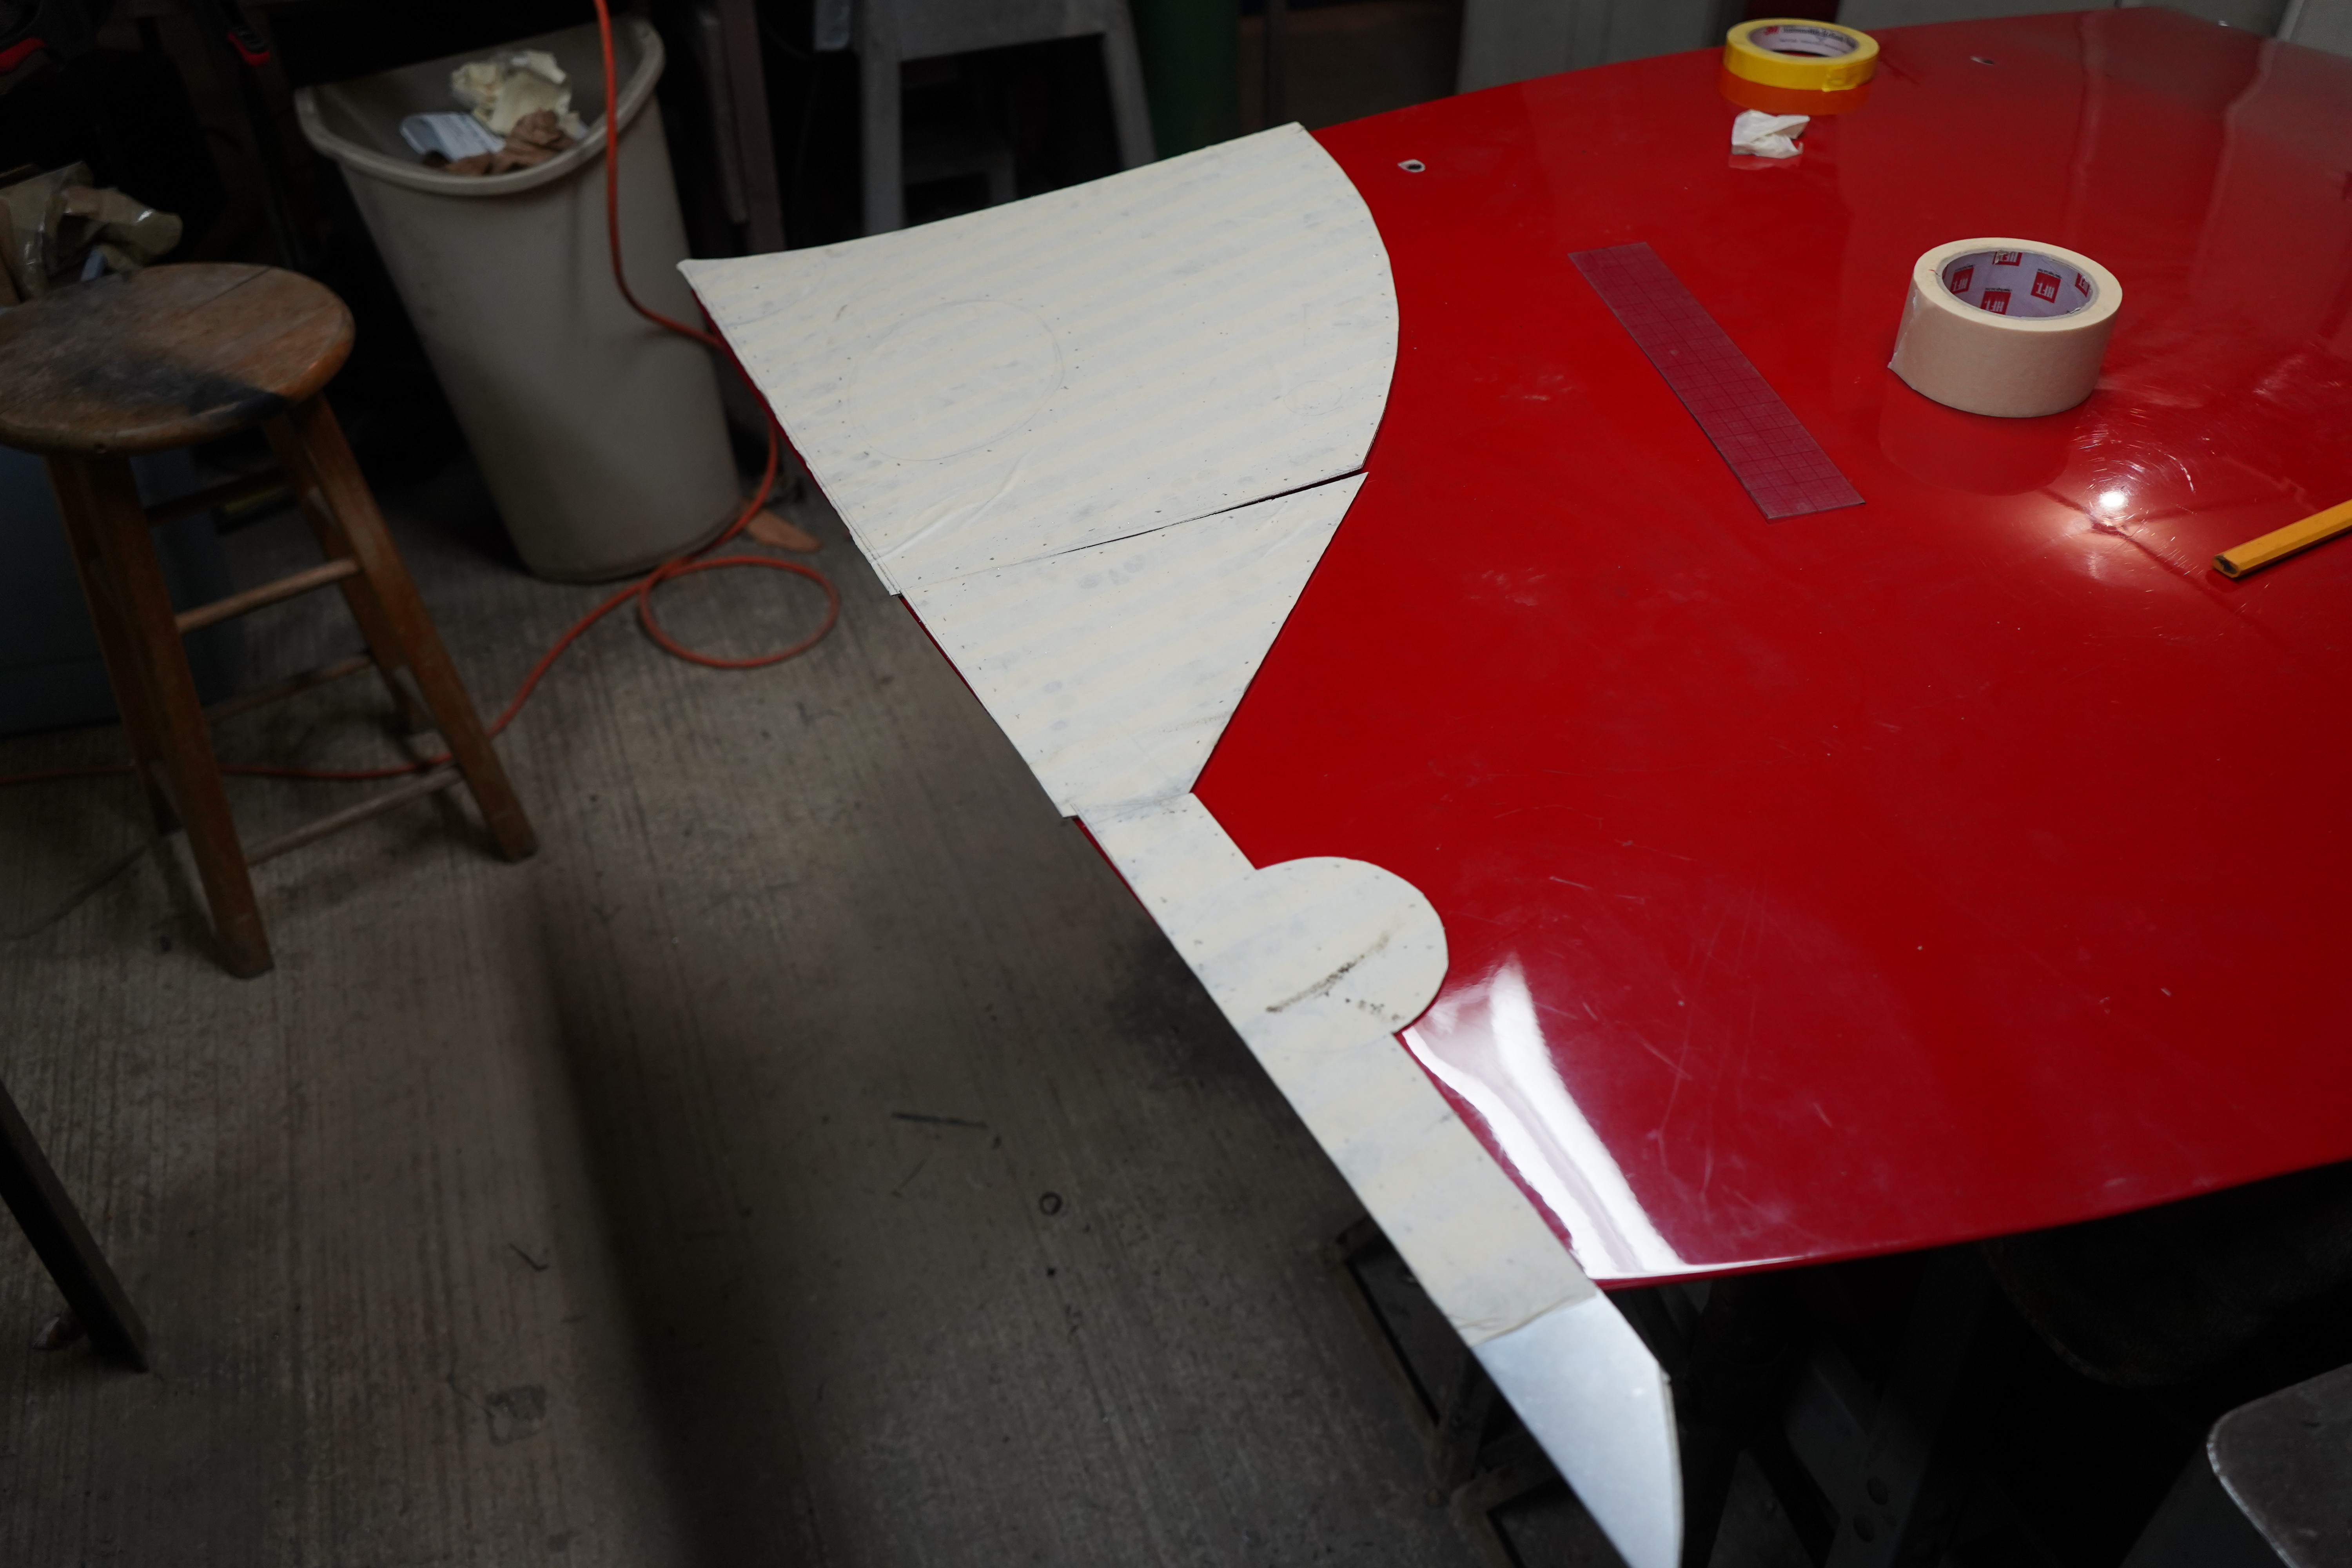
Hood exit surround, rough cut of whats coming
Kind just cutting away and playing with a few ideas

Softening the edges
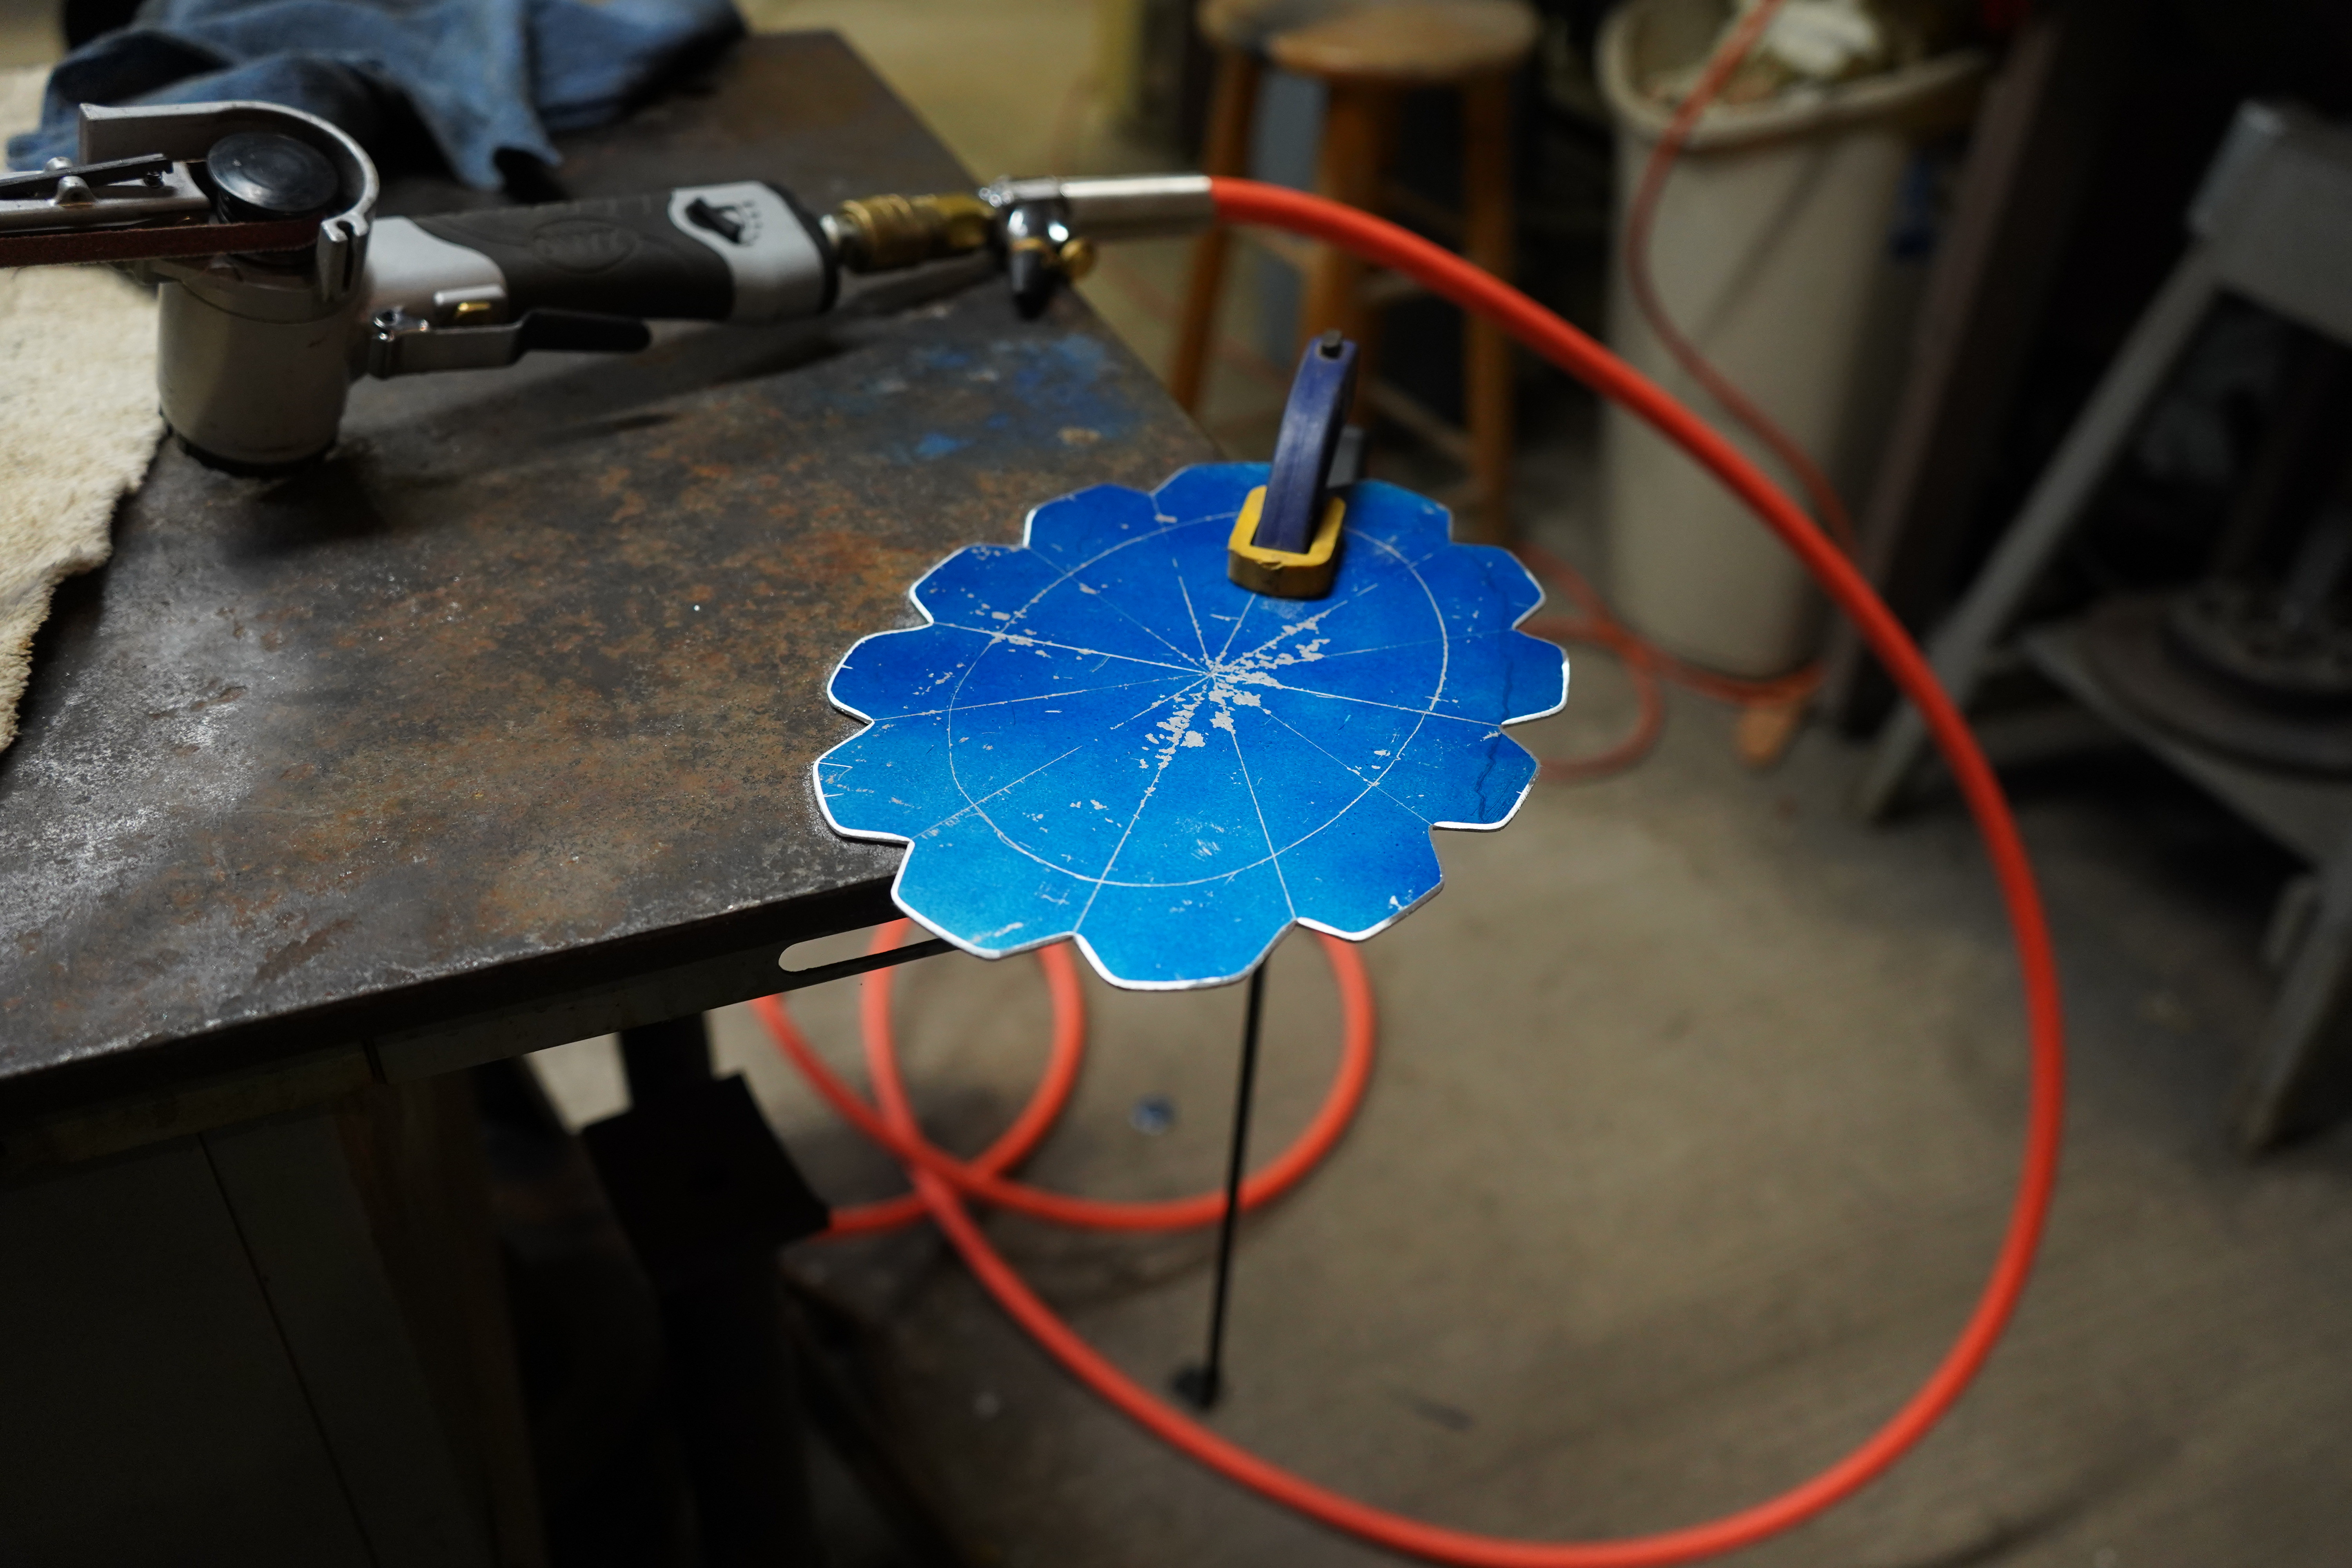


Cutting some slots
Shoved a light under the hood to illuminate the section that will be cut

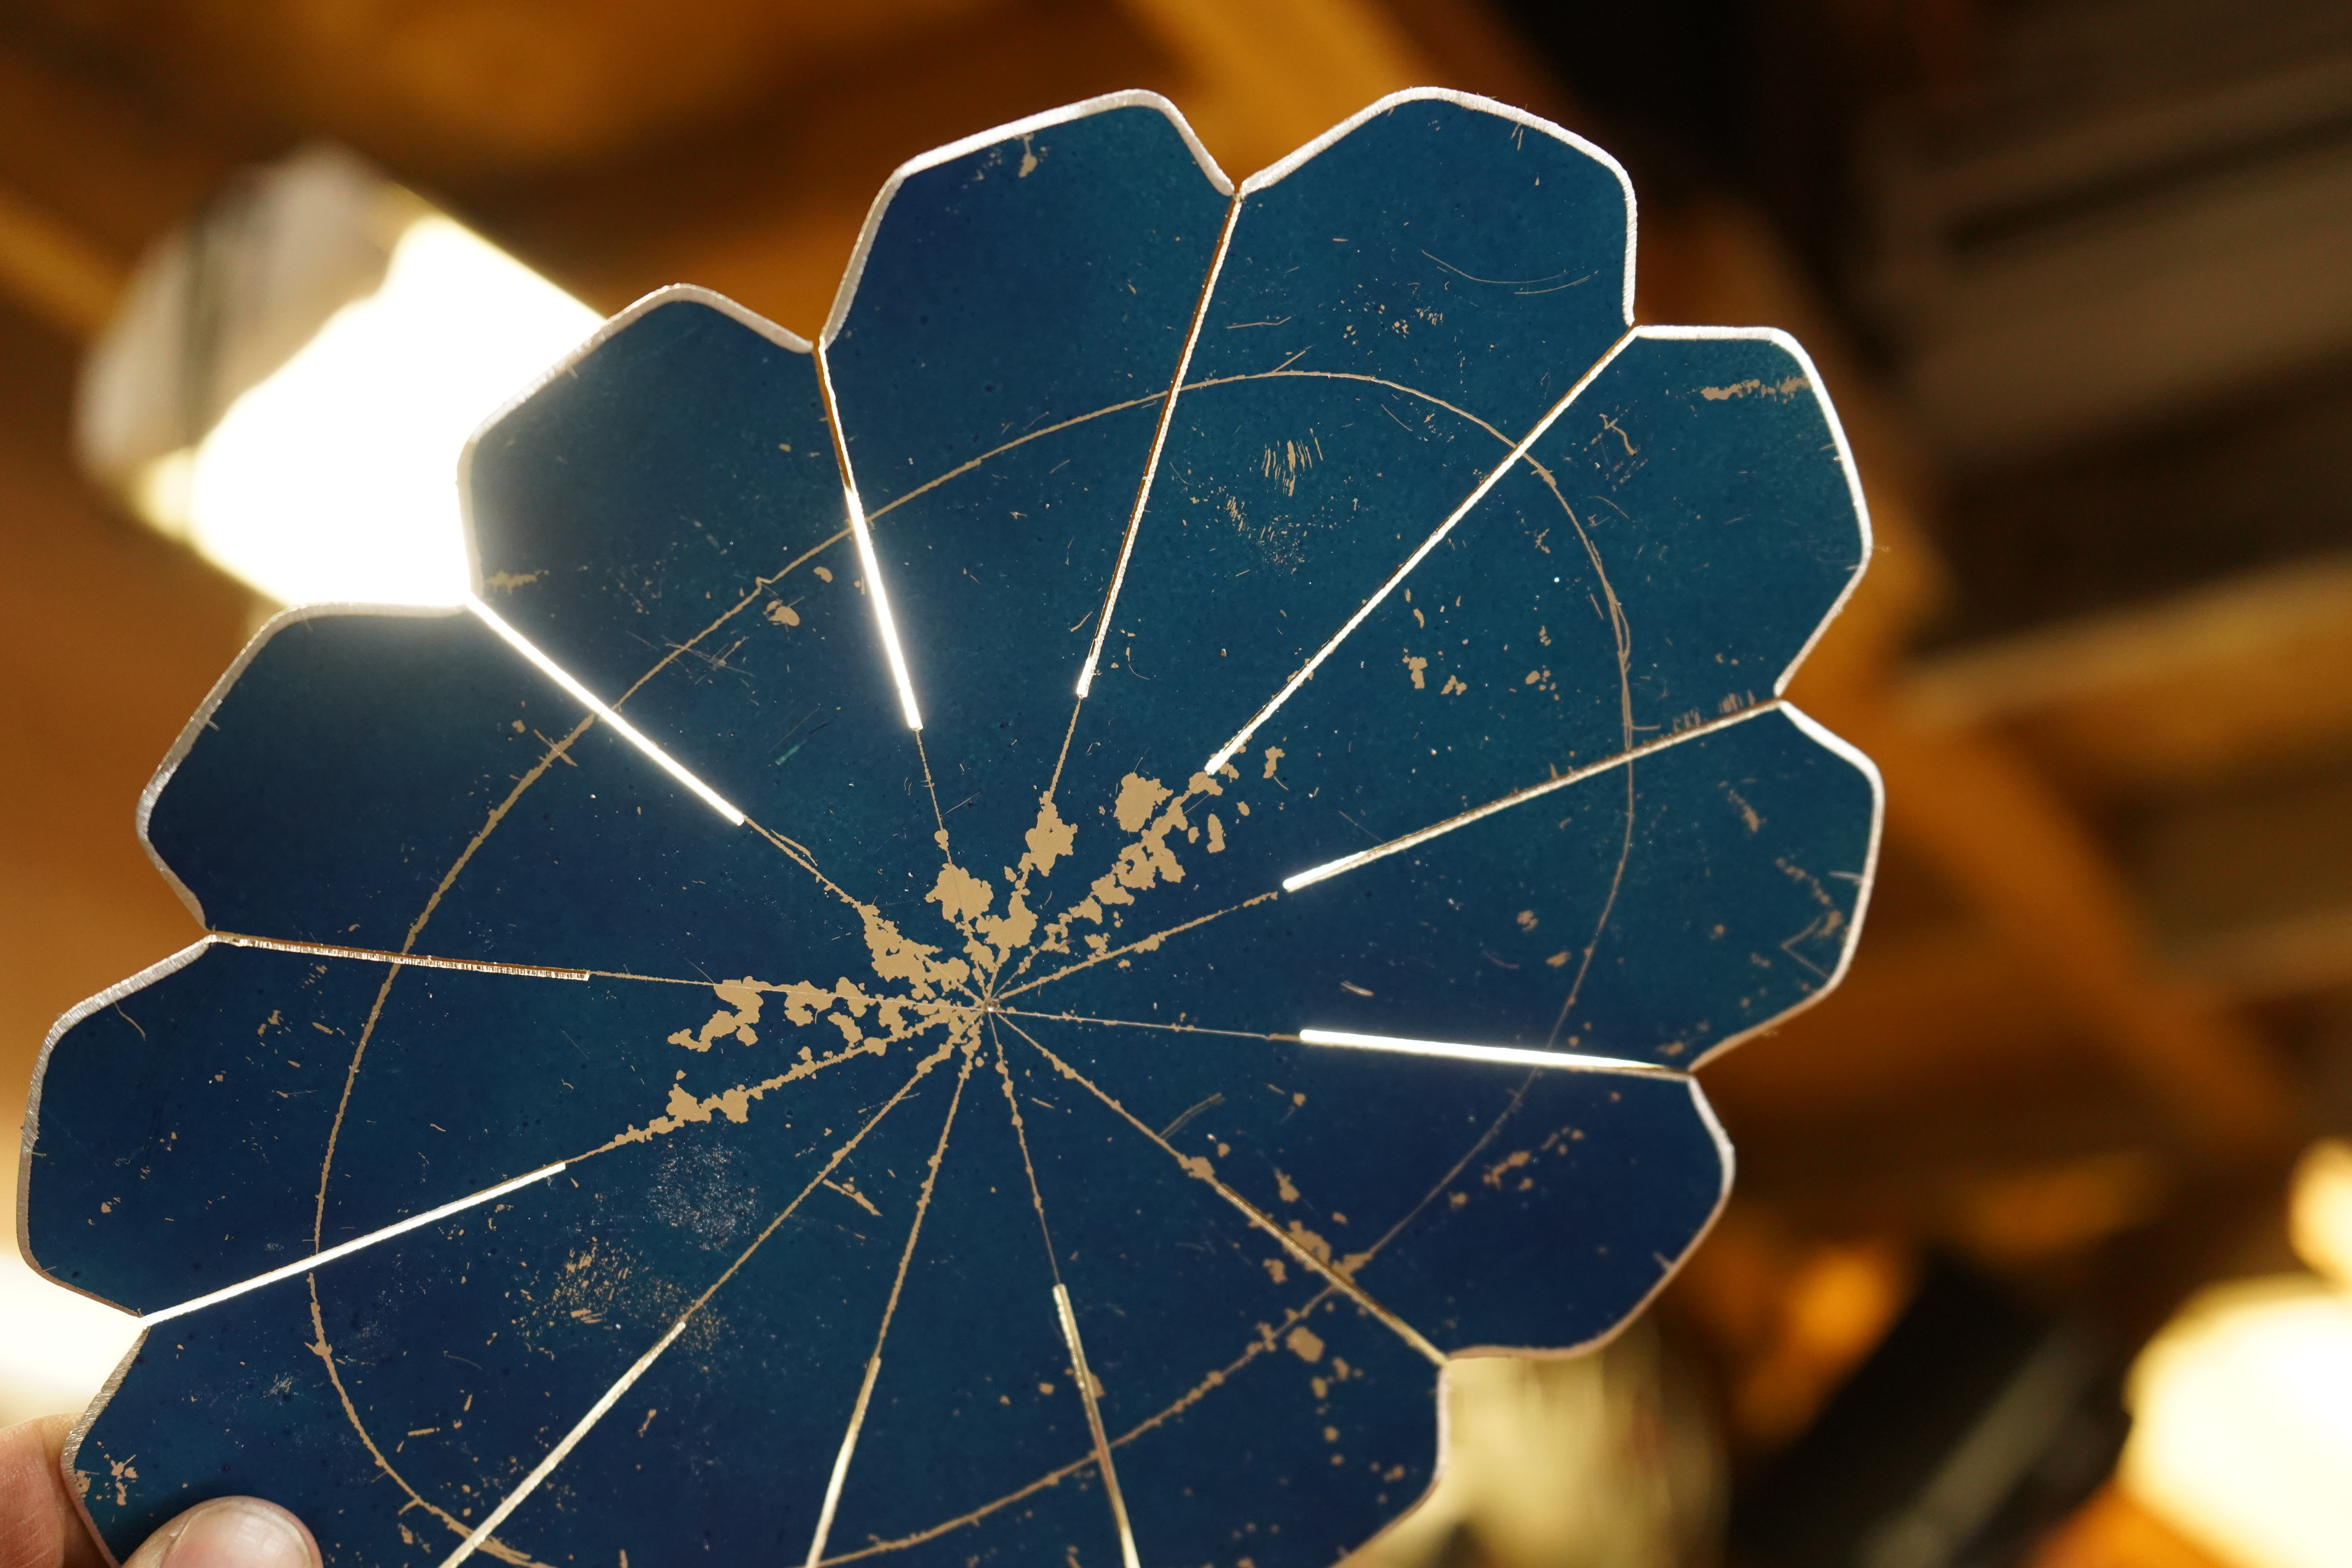
Not fully cut apart yet, needed to mark out where the hole in the hood was located relative to the hood exit surround

Laying out the rivet holes for attaching to the hood

Insert holes

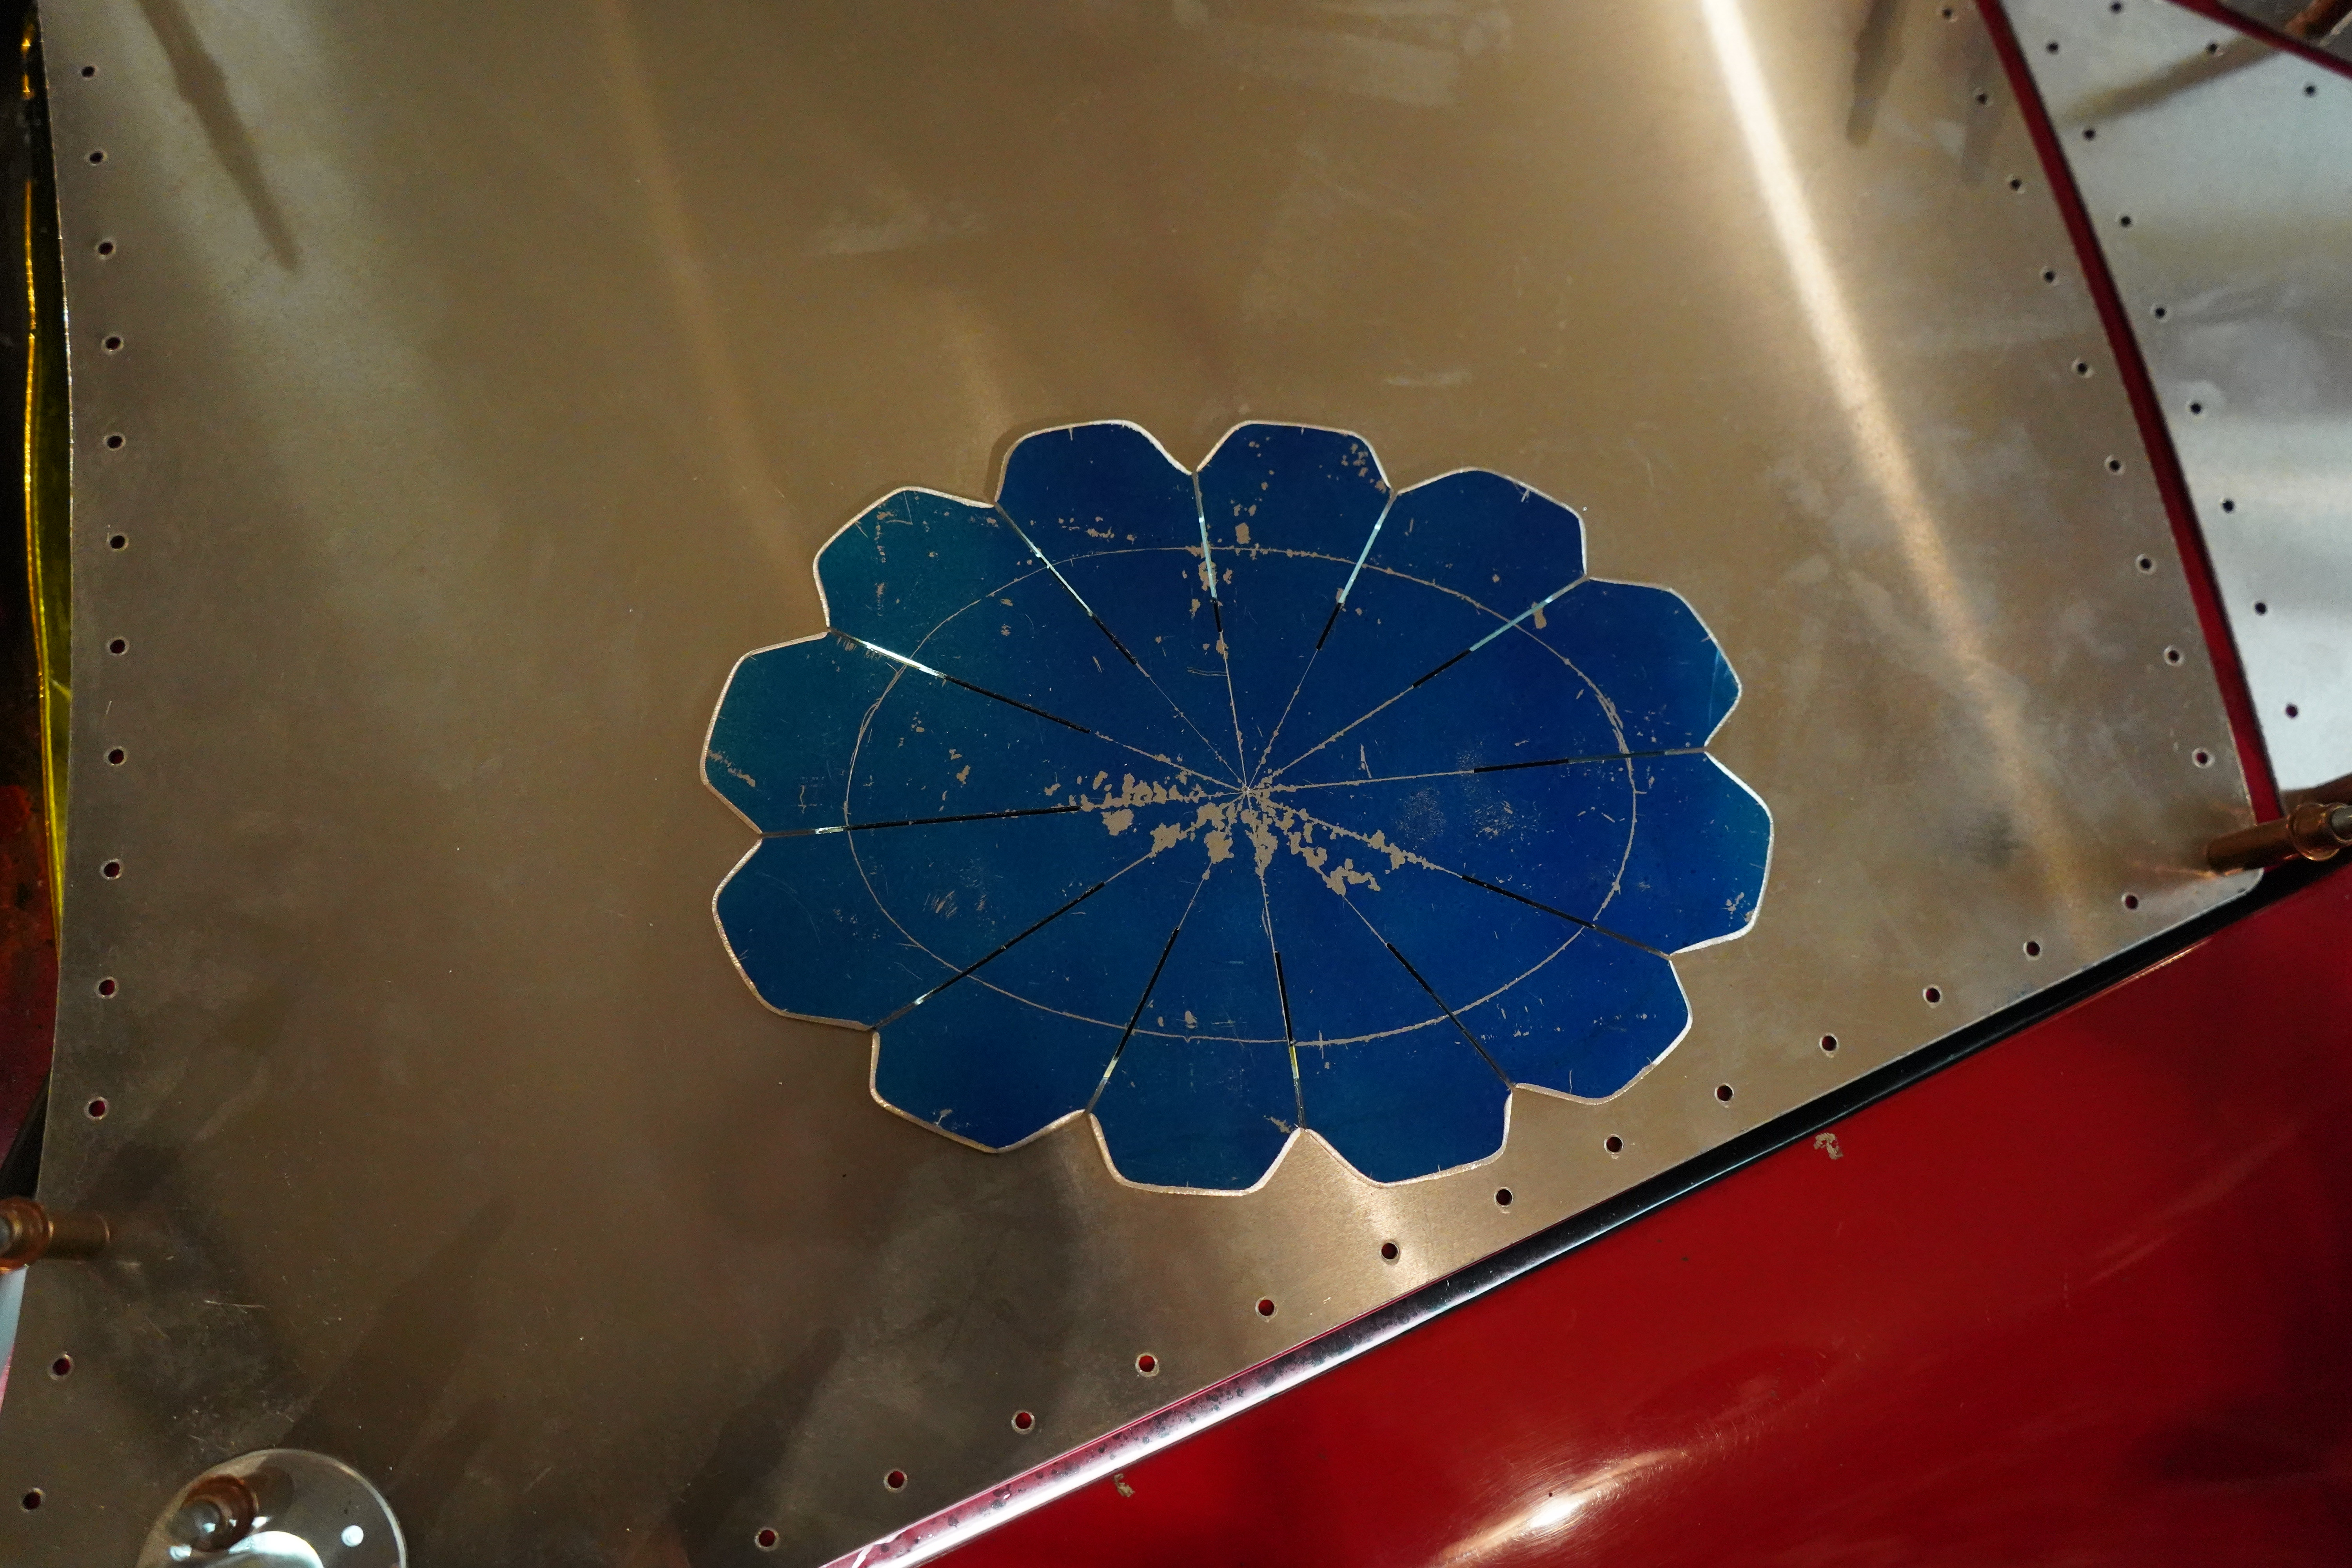
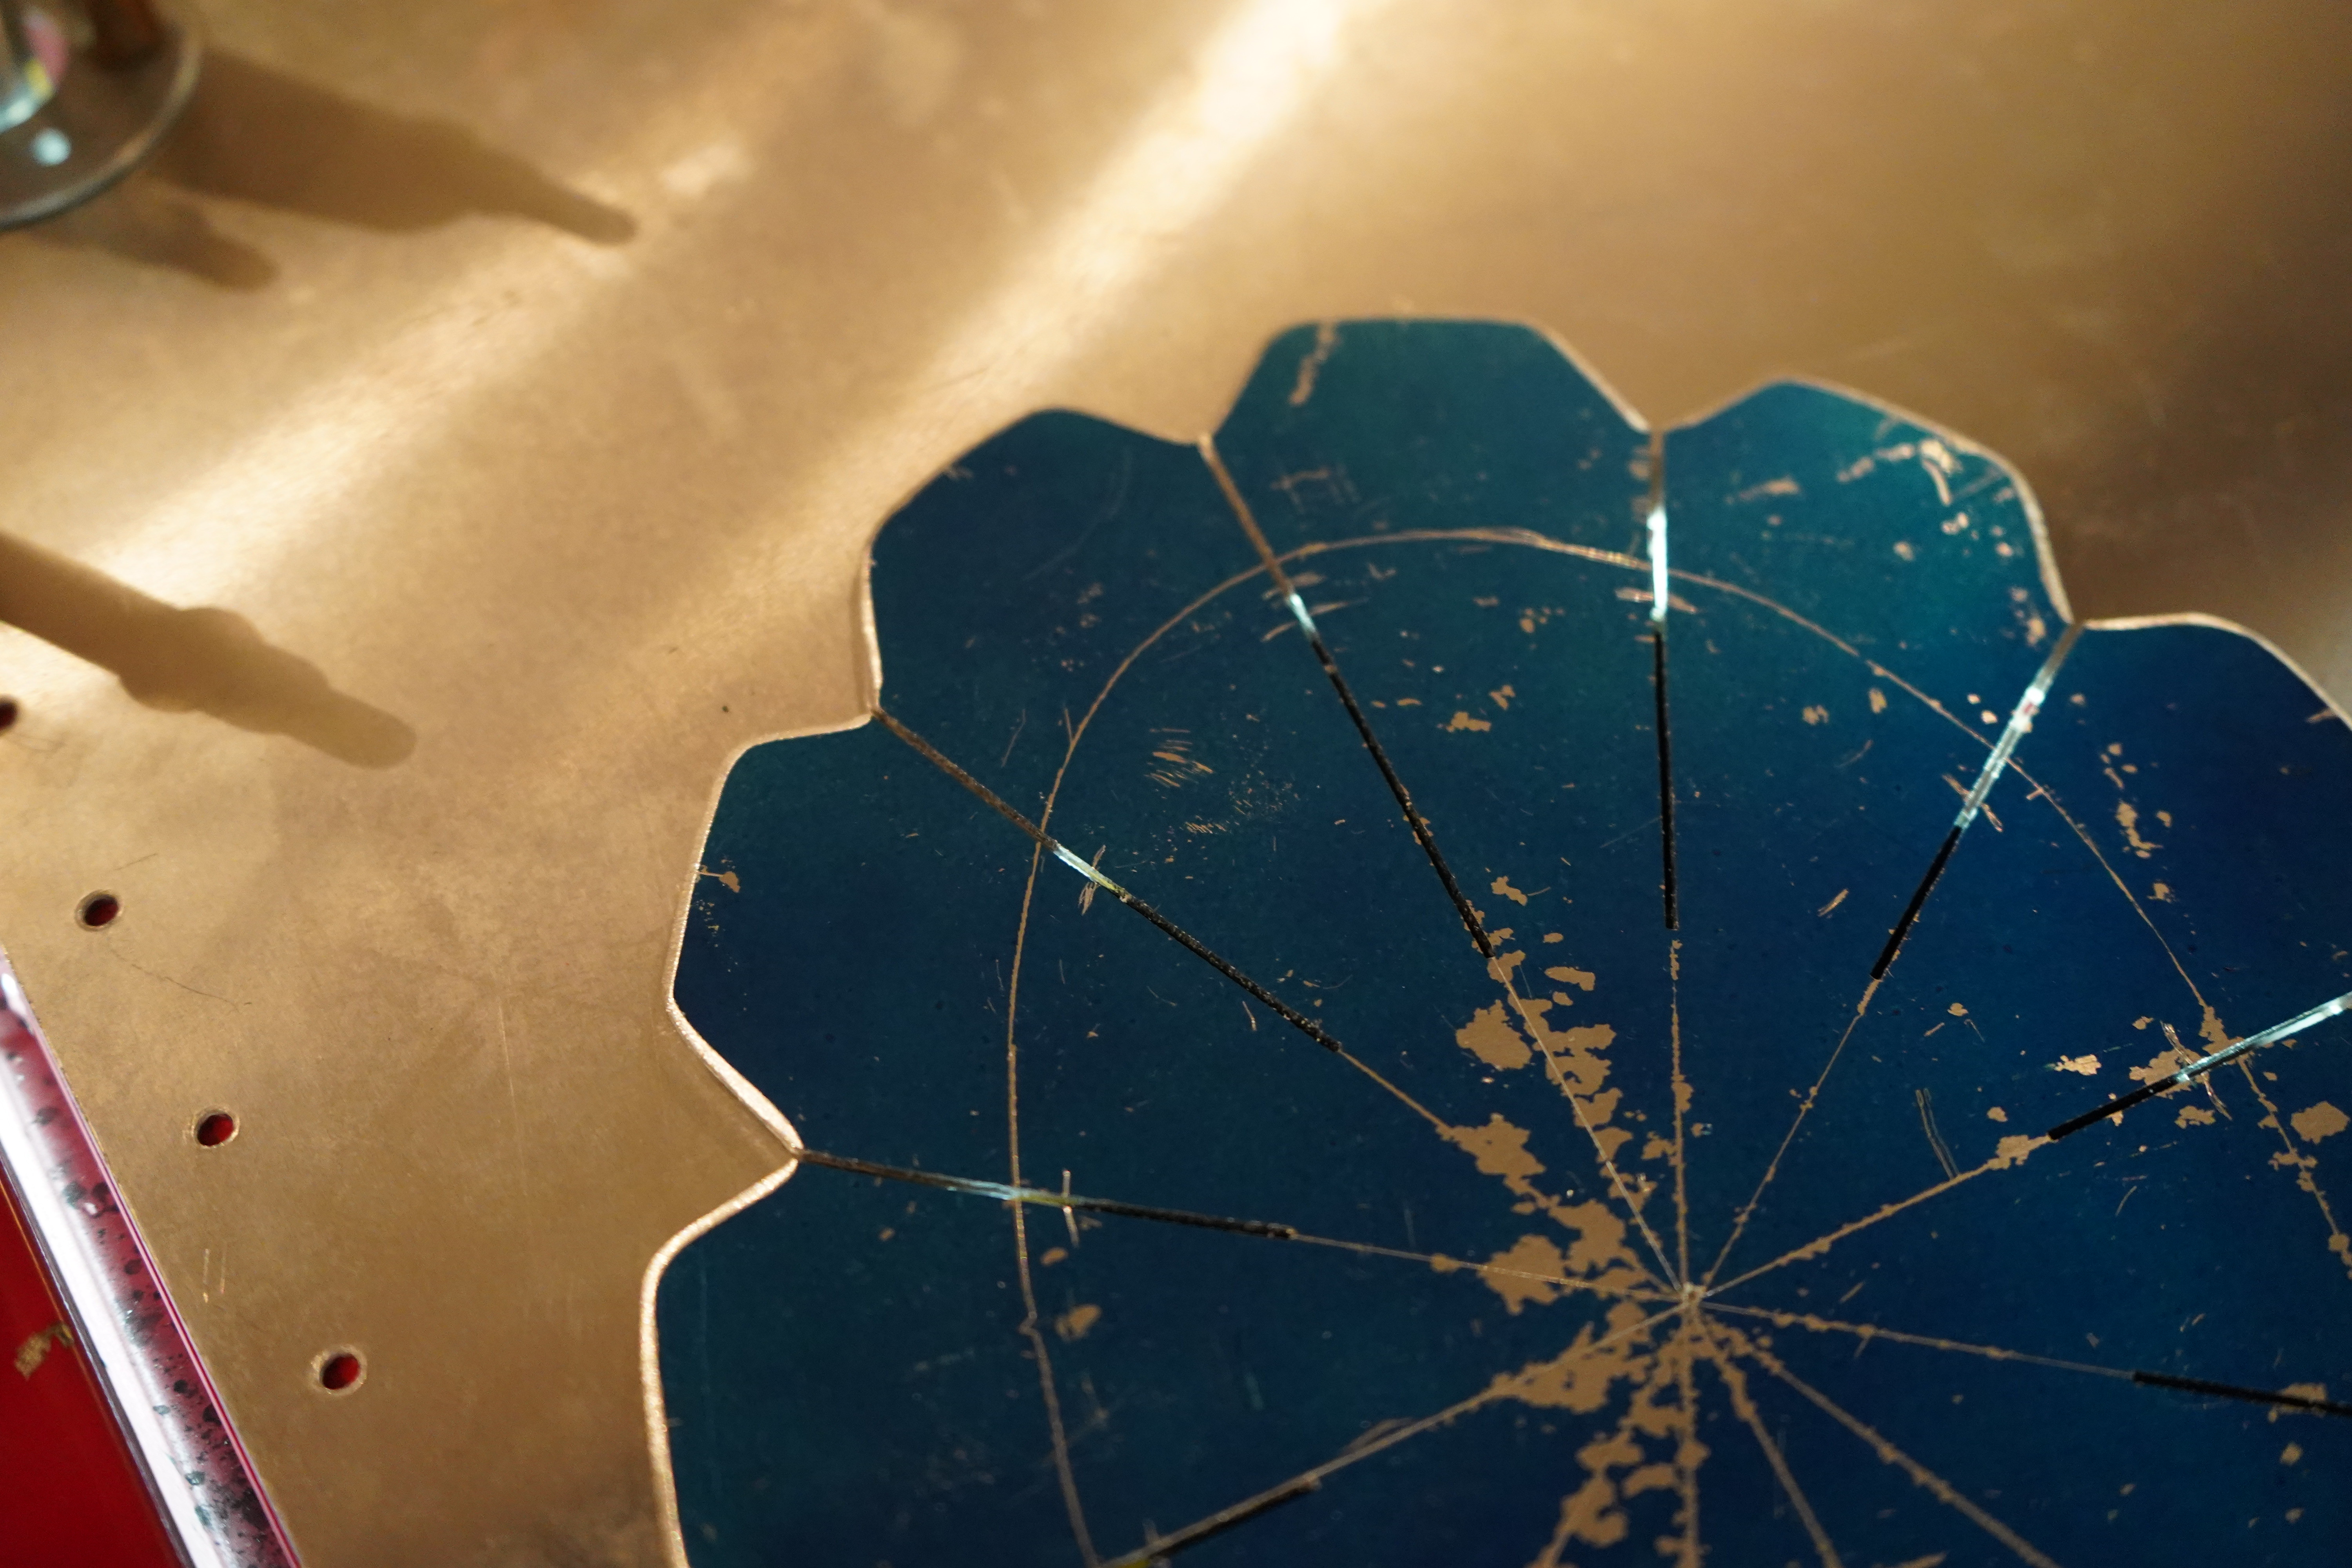
Cleco time for test fitting!

Now to cut apart

Coming along nicely

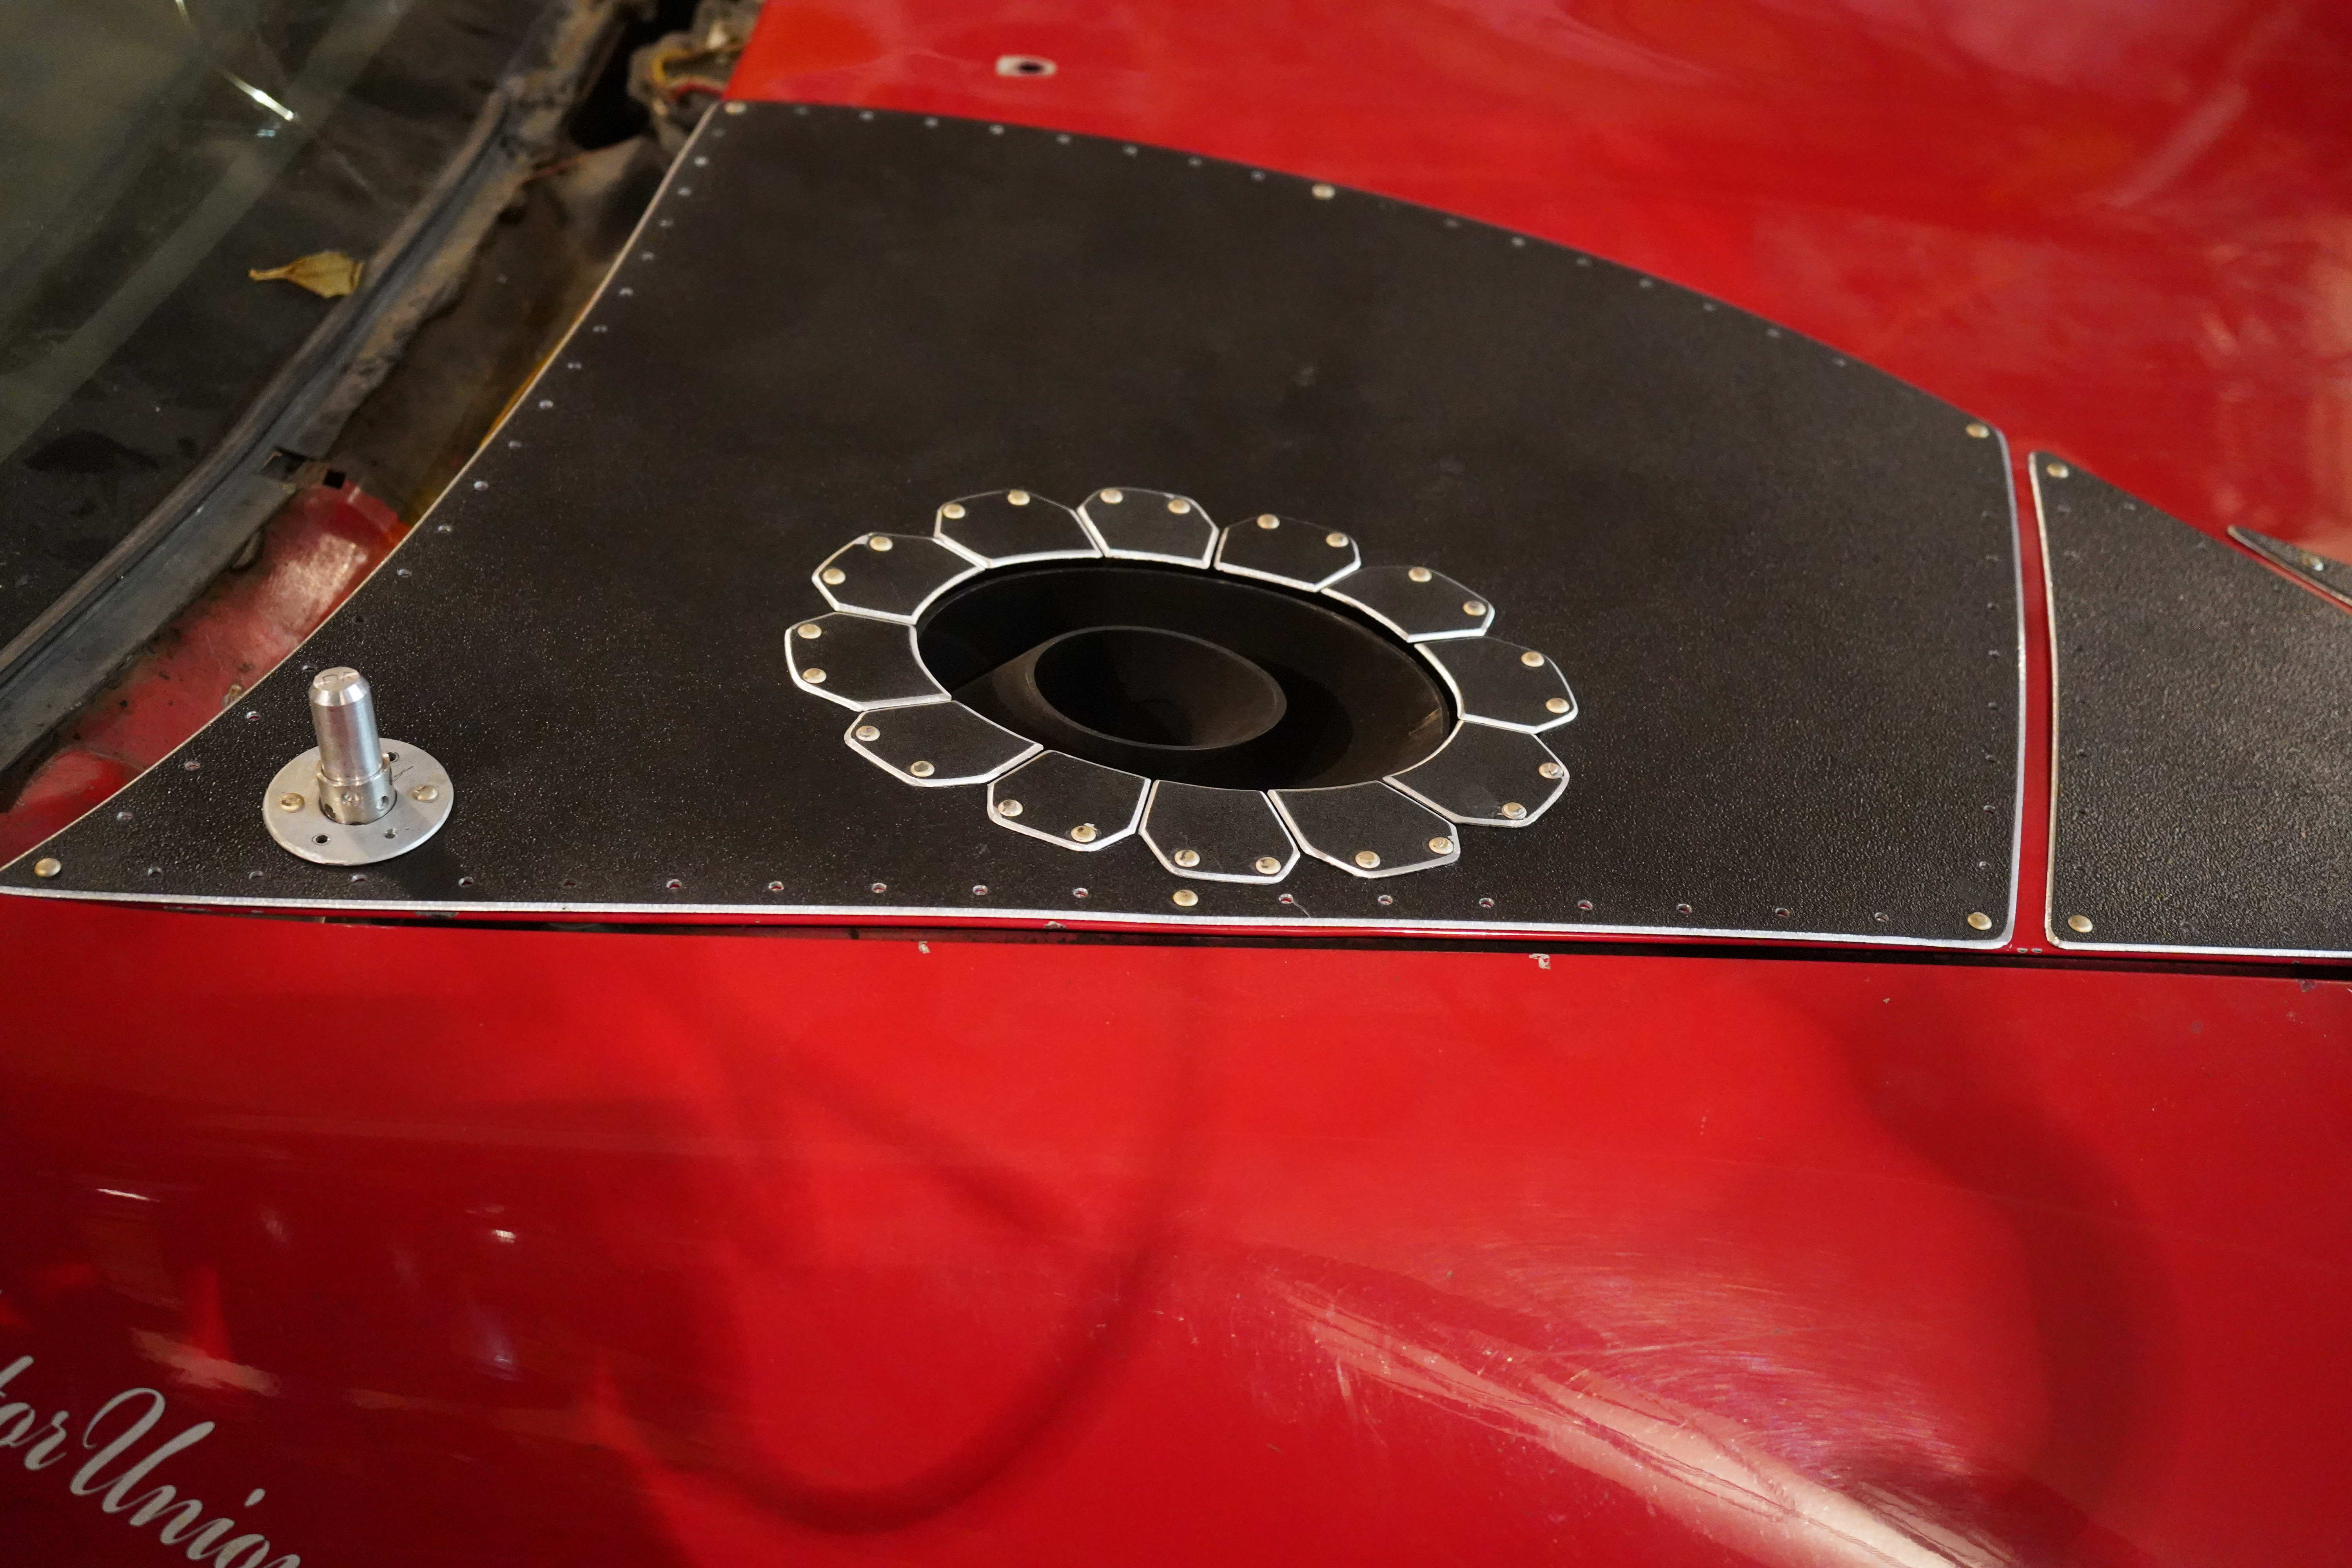
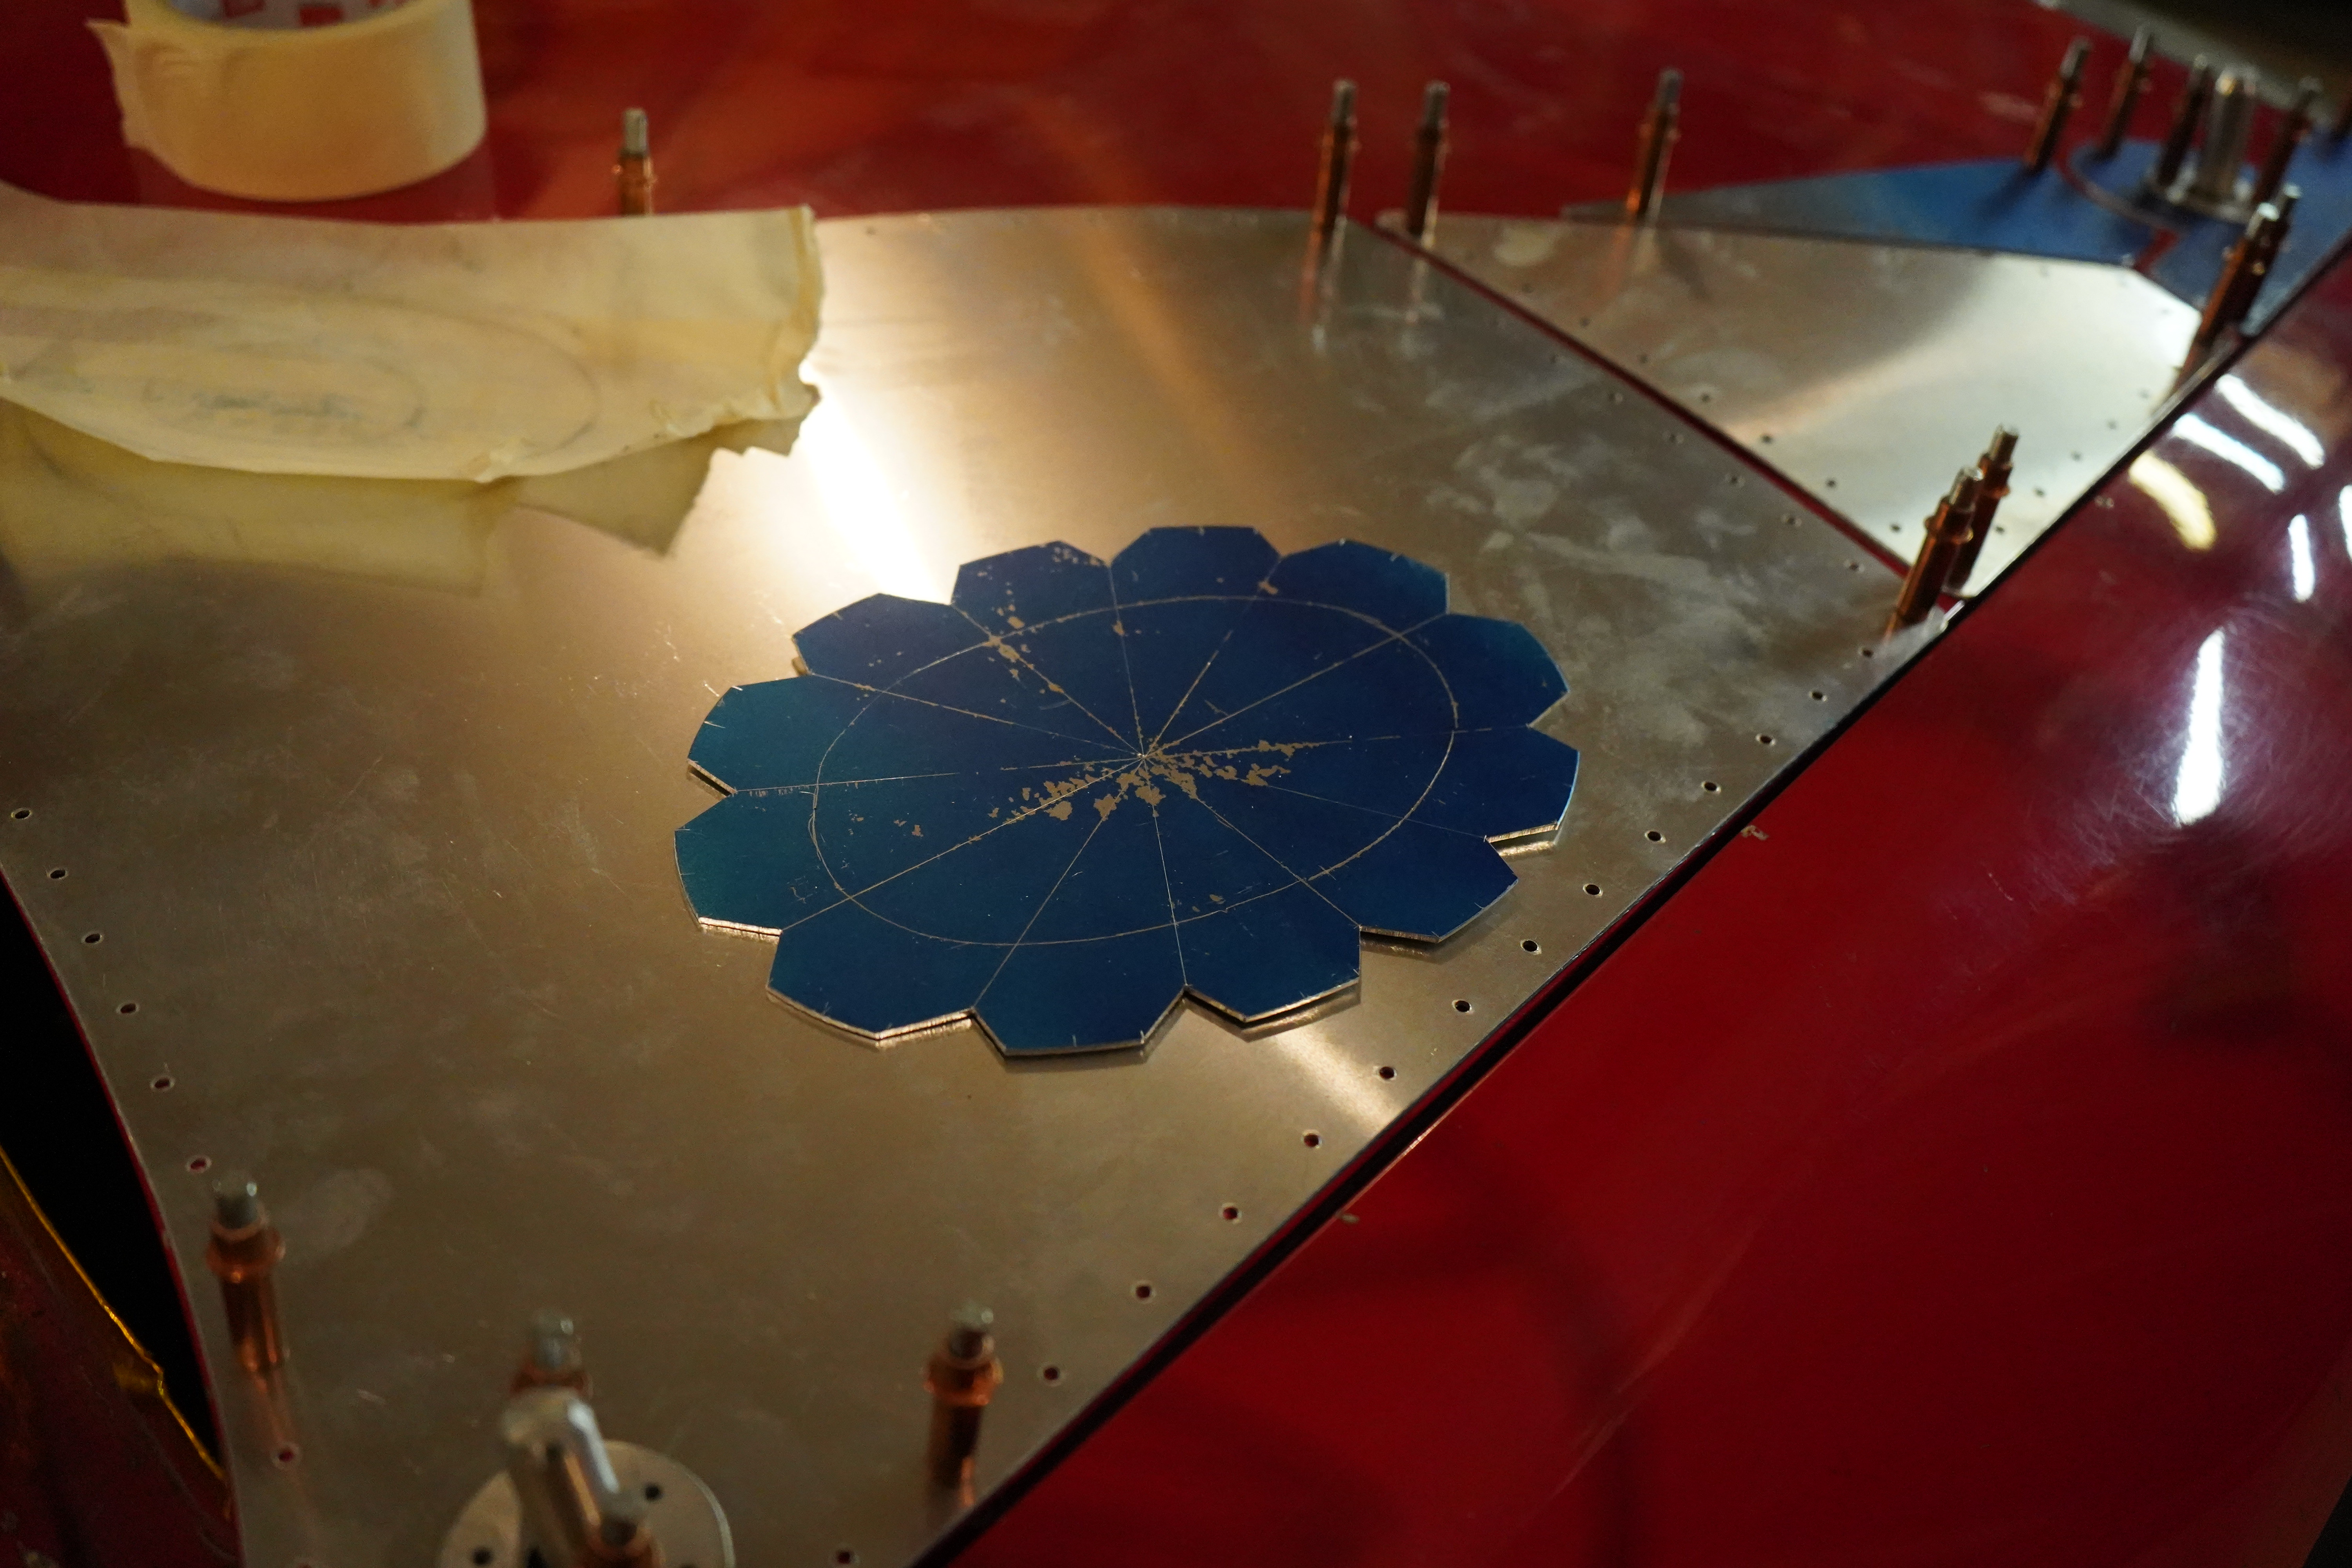
This is one of my favorite types of projects, no real rule book to making a hood exit "shield" you can just run with it and make damn near anything you want
I was kinda going for a gear shape look but its more in the sun flower spectrum I think not my original intention but I like it either way
Going to leave it here, laterLeave a comment:
-
-
Hood project continues

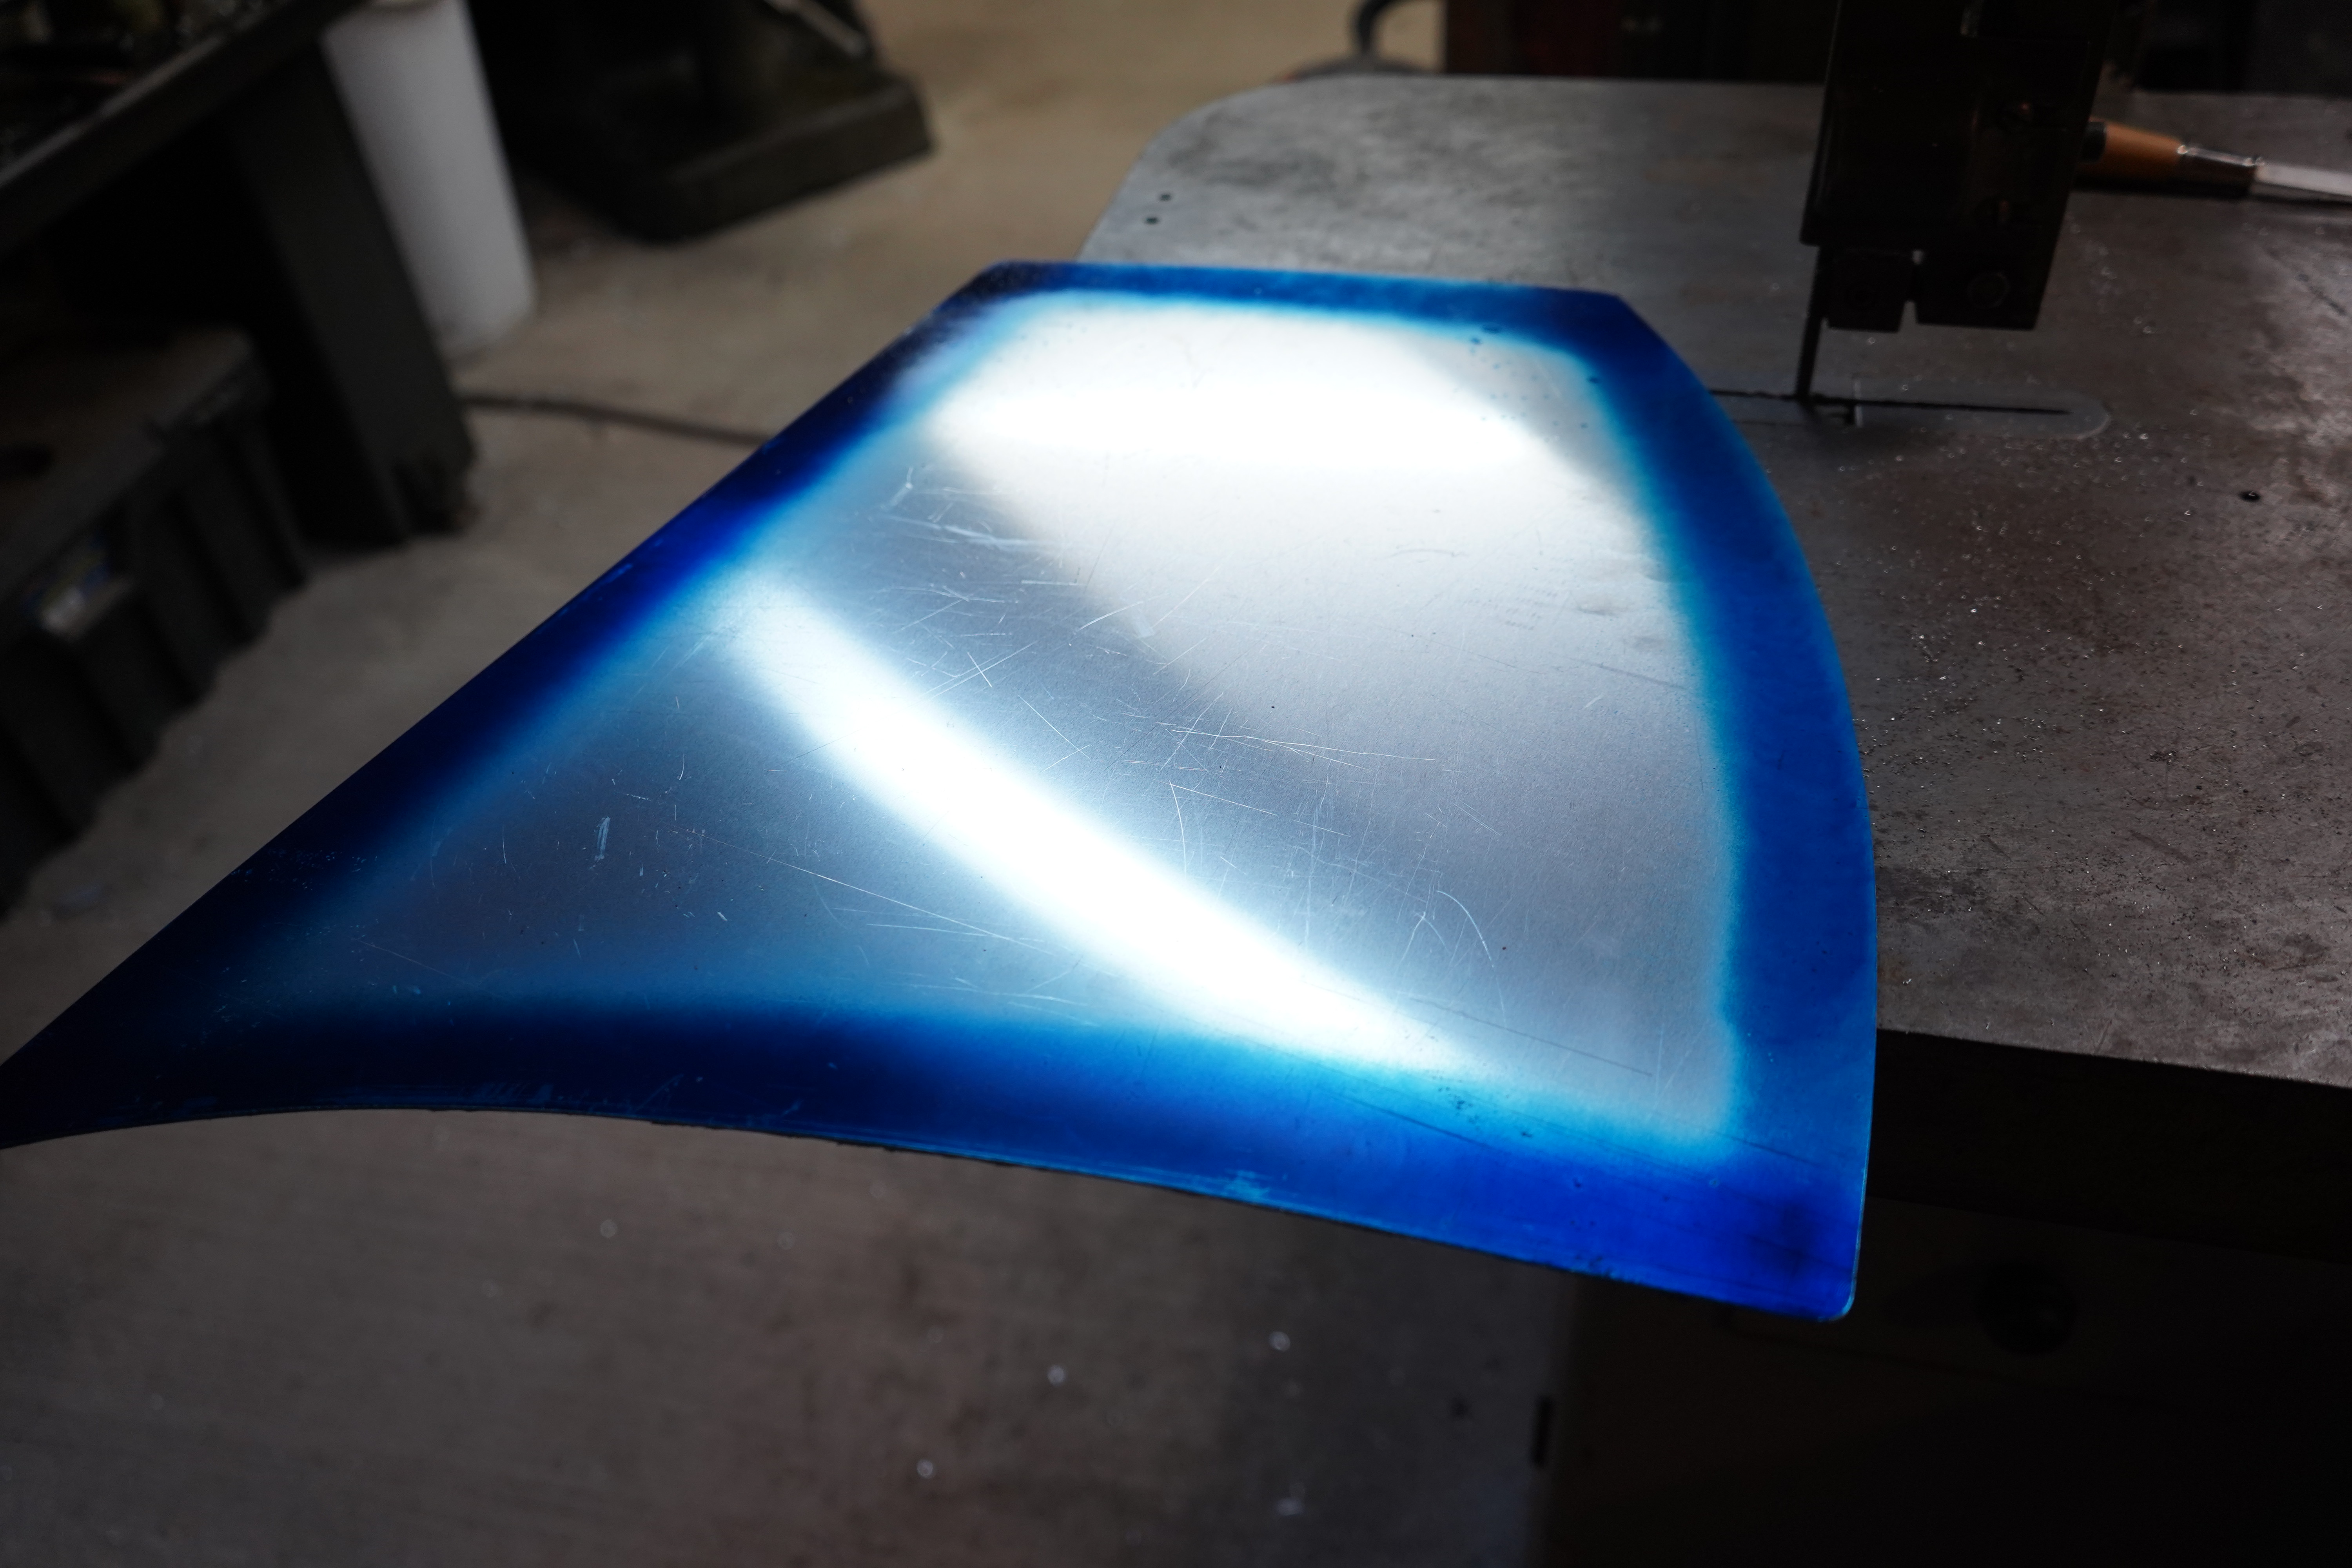
Overall rough look

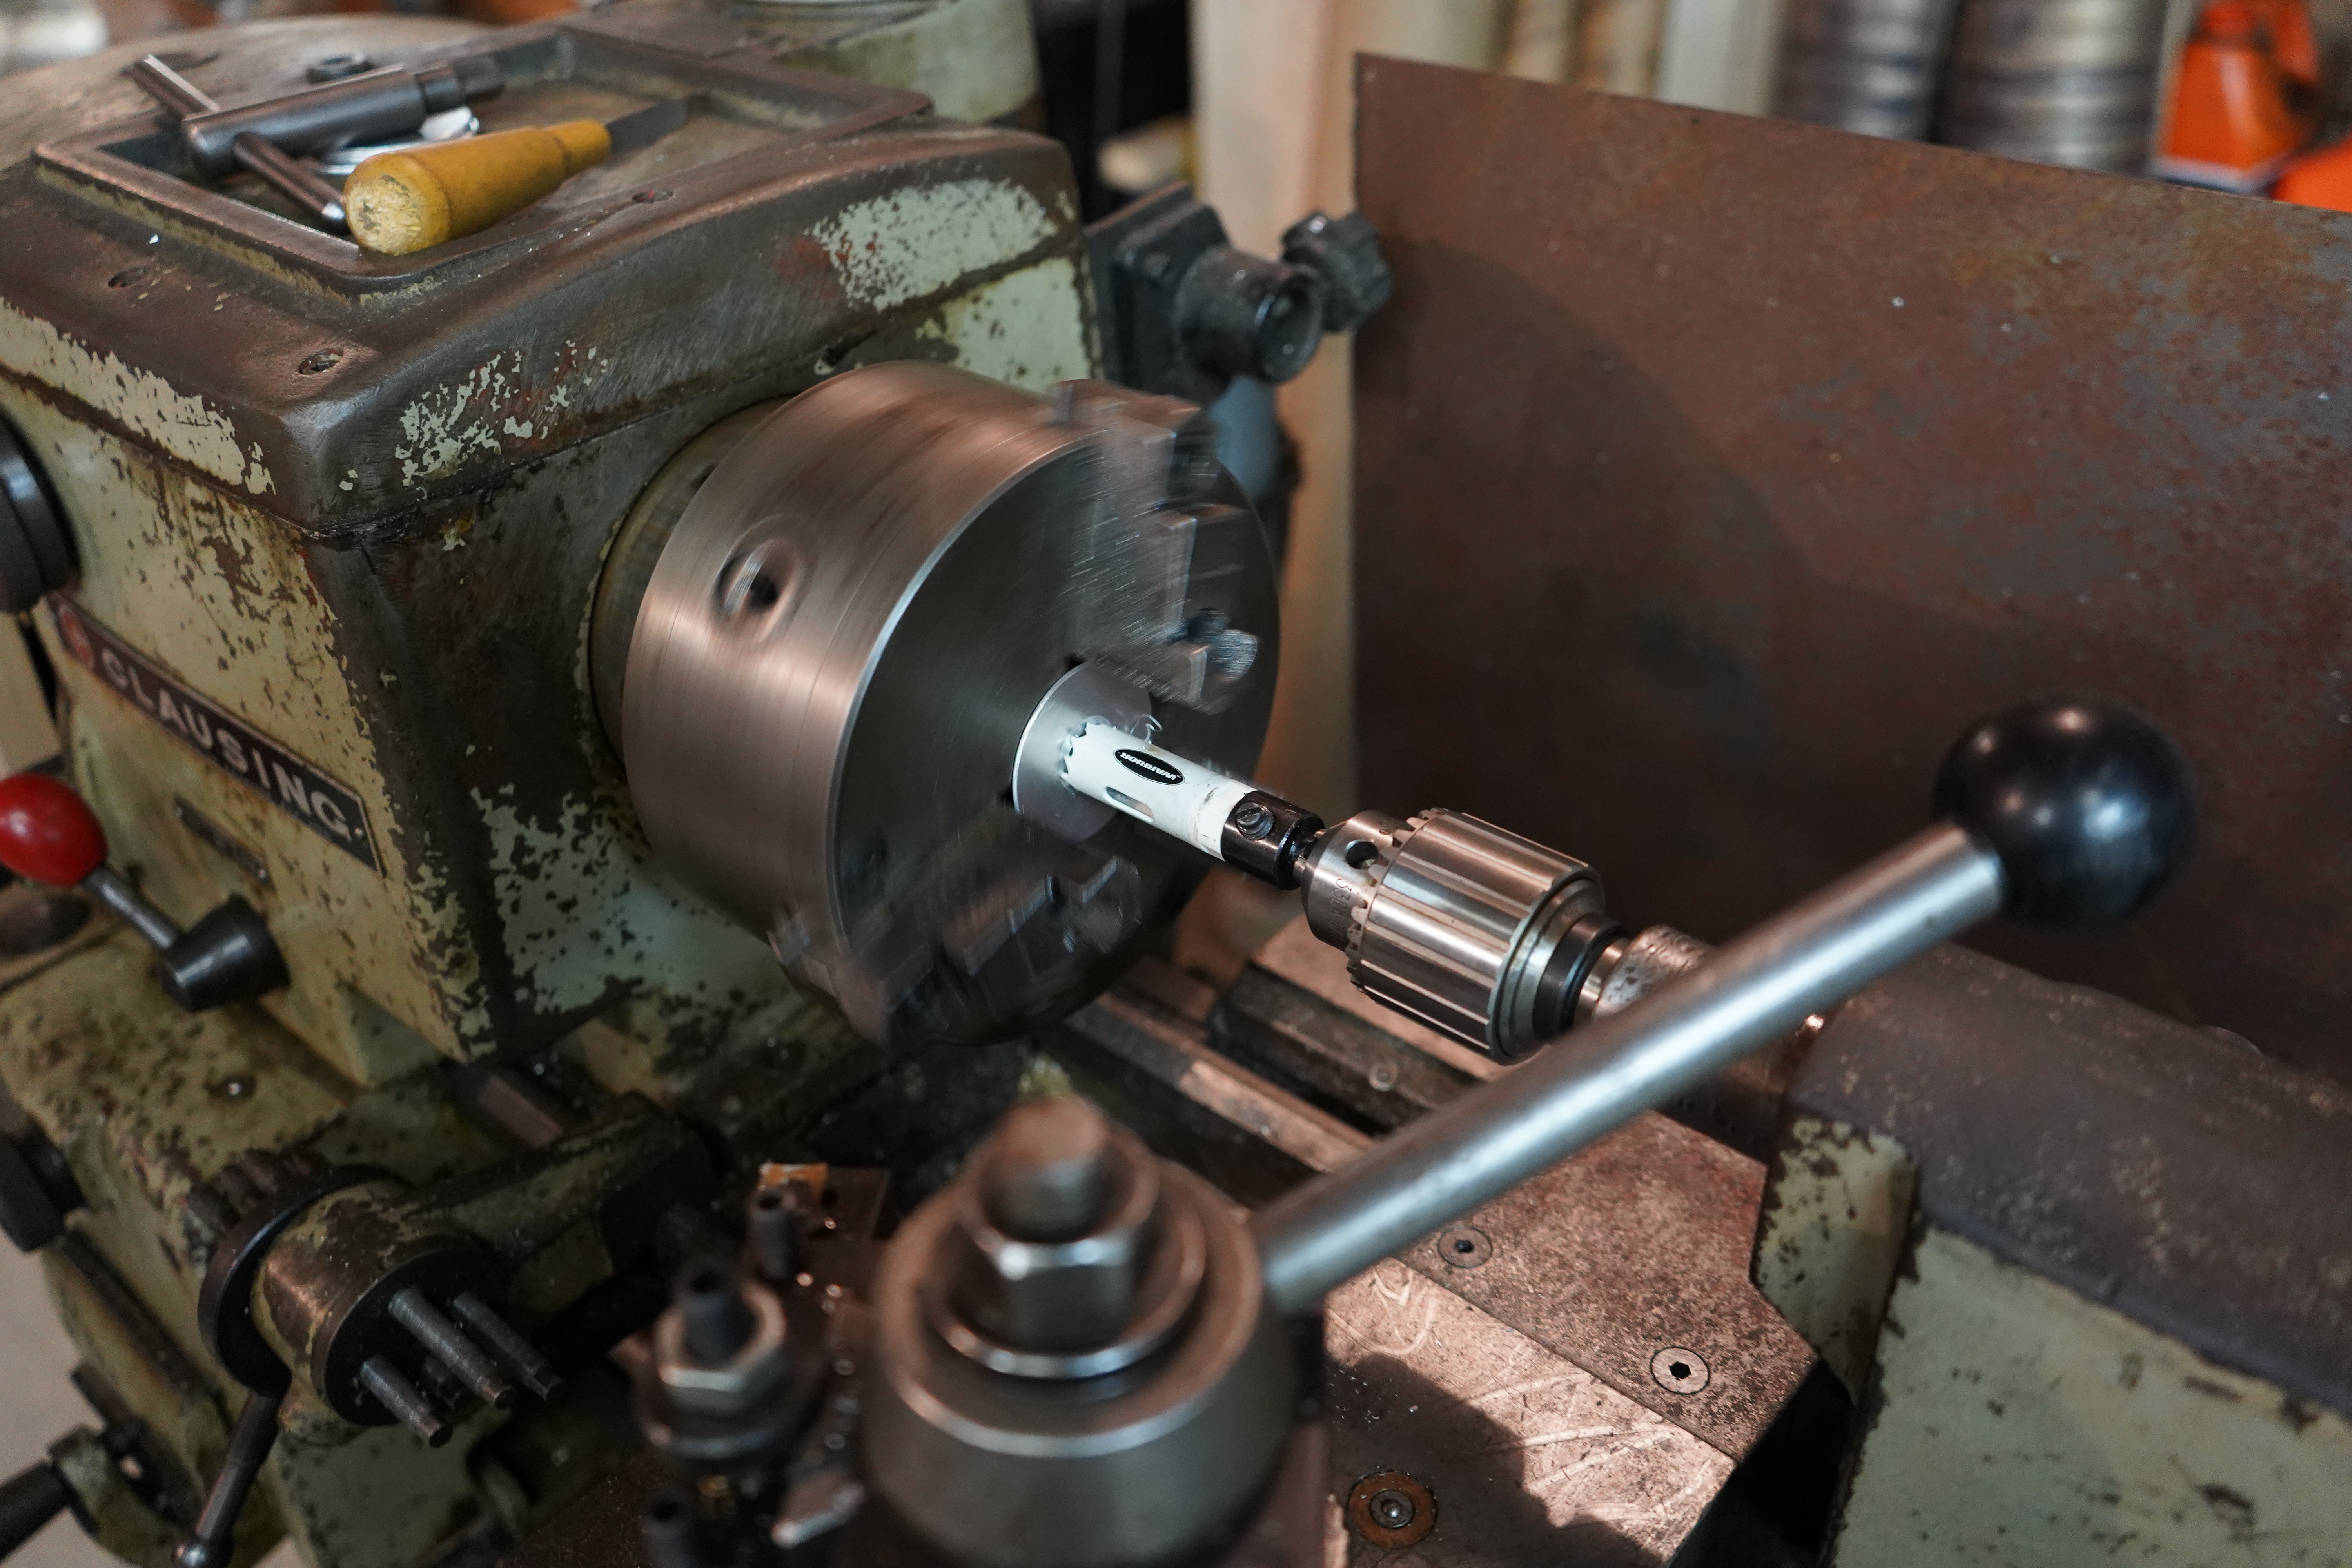
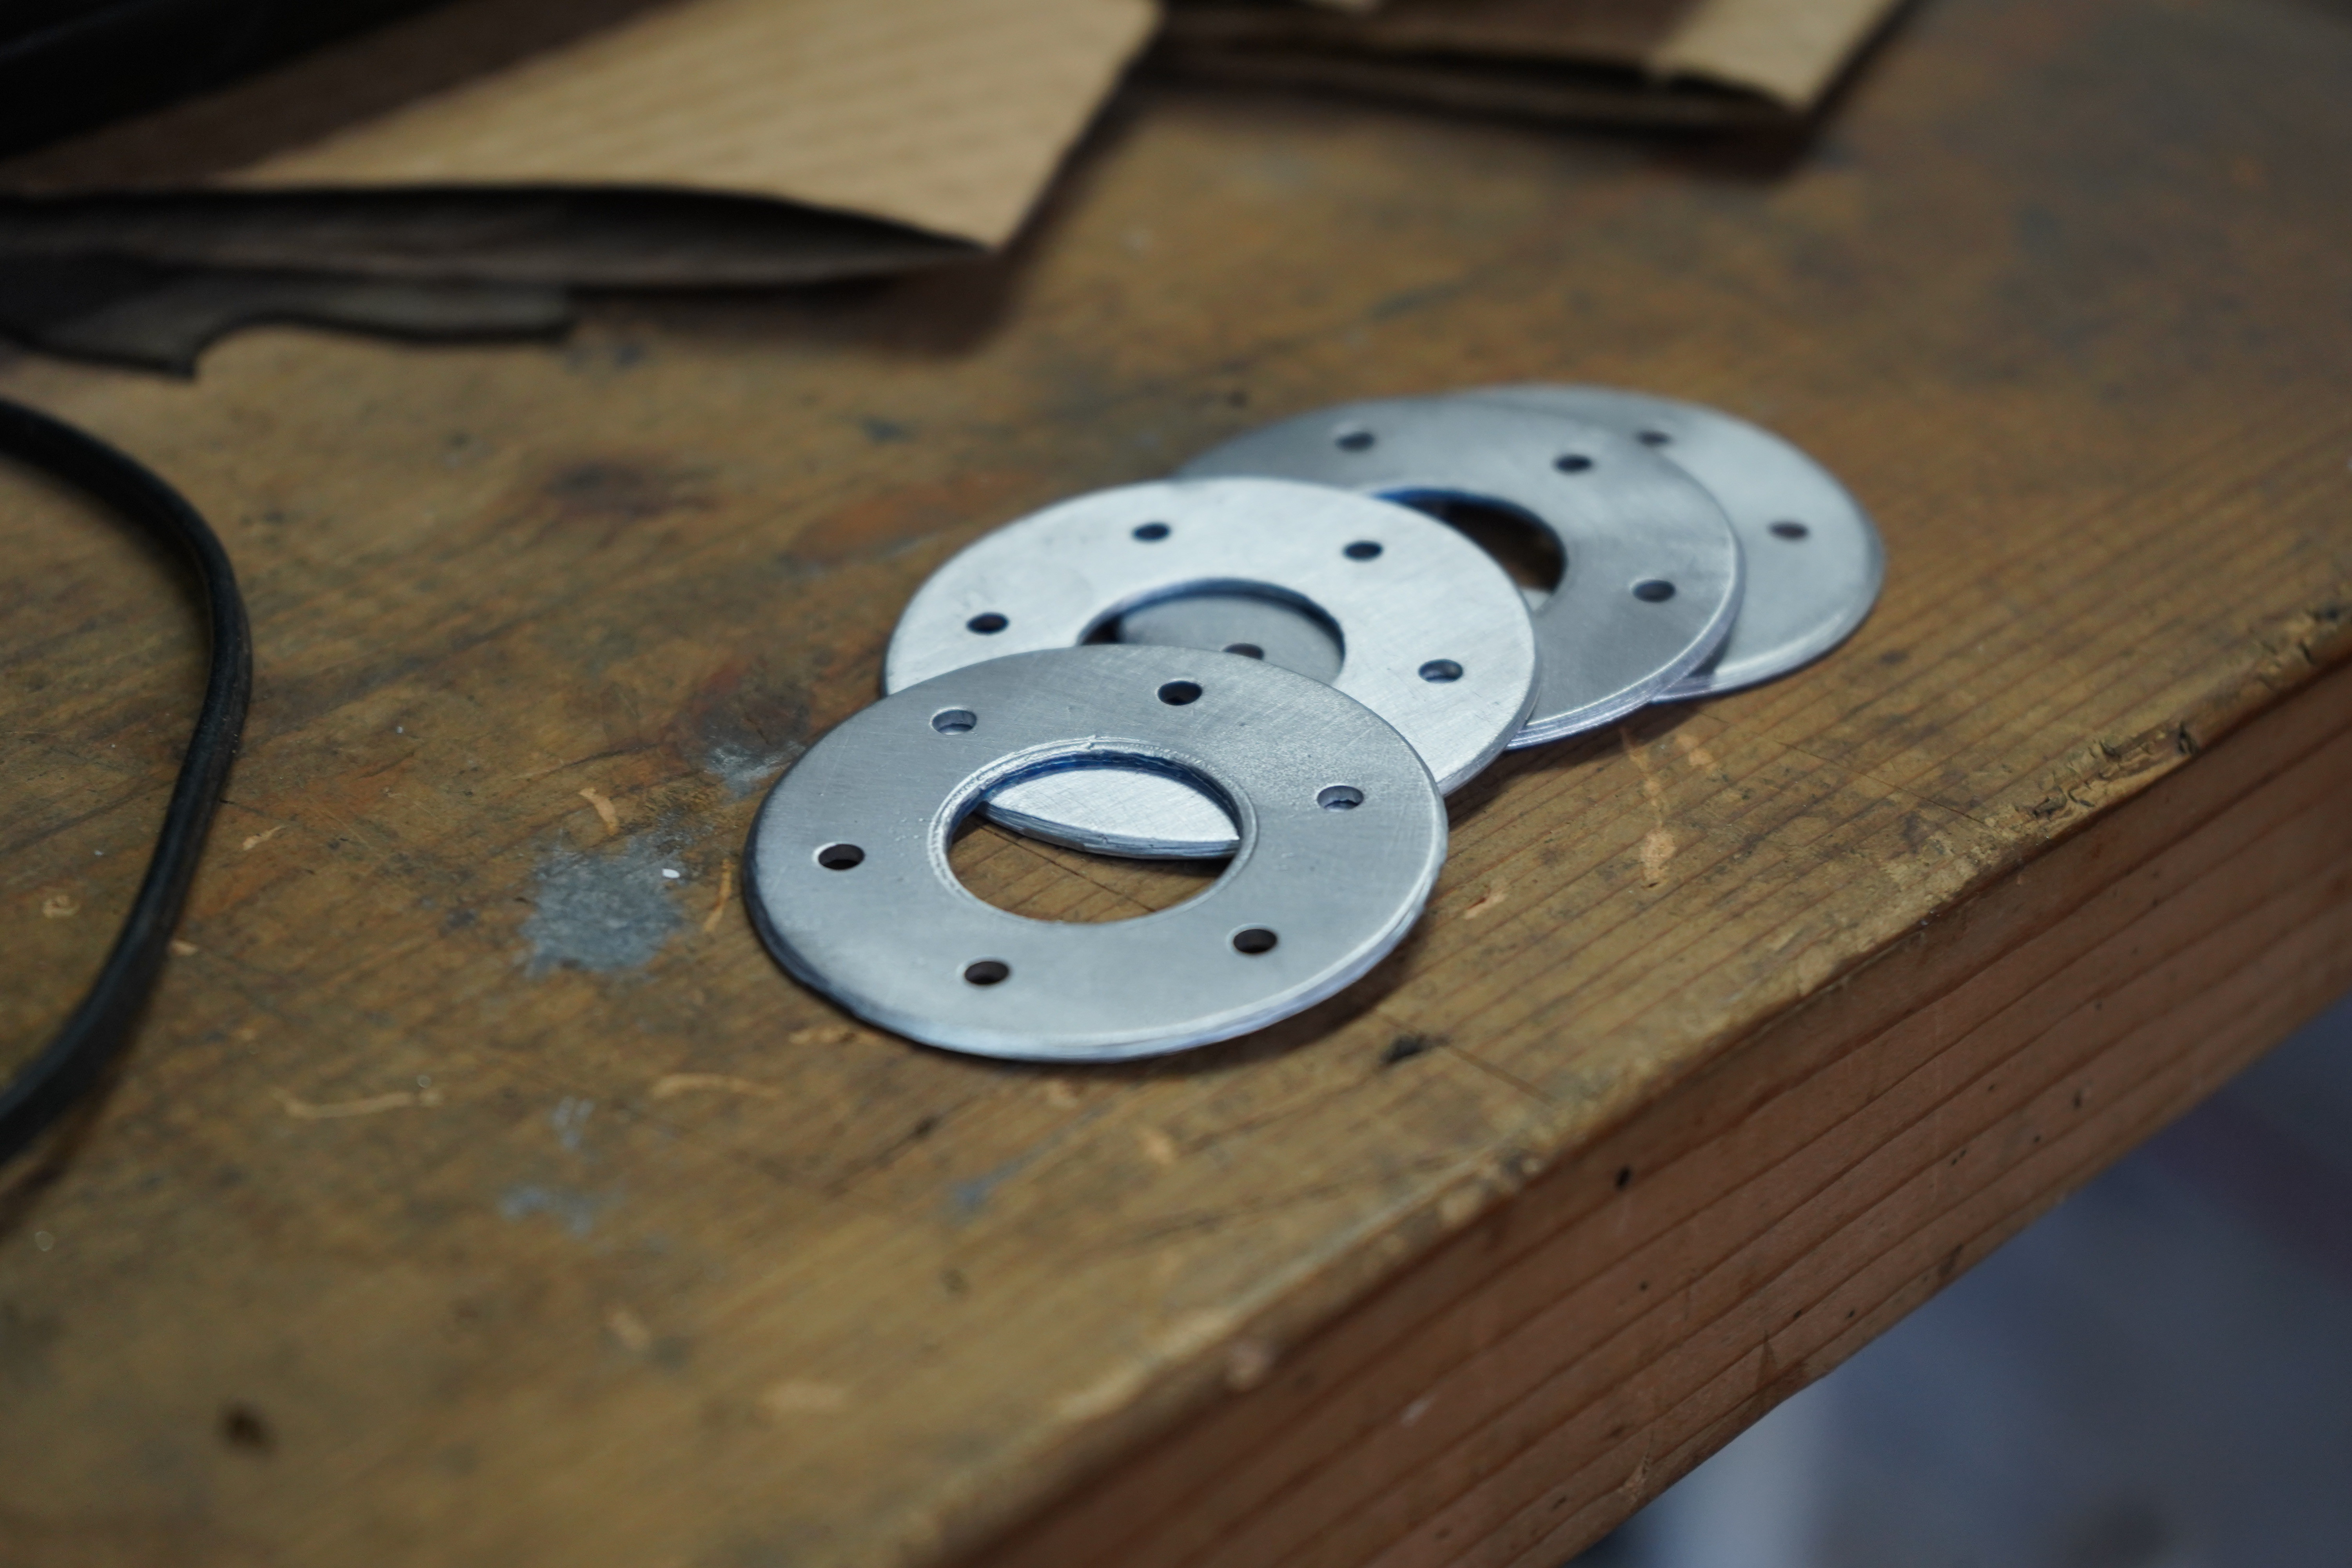
Making the rings for the hood pins

Machining the thru holes one the hood pin rings


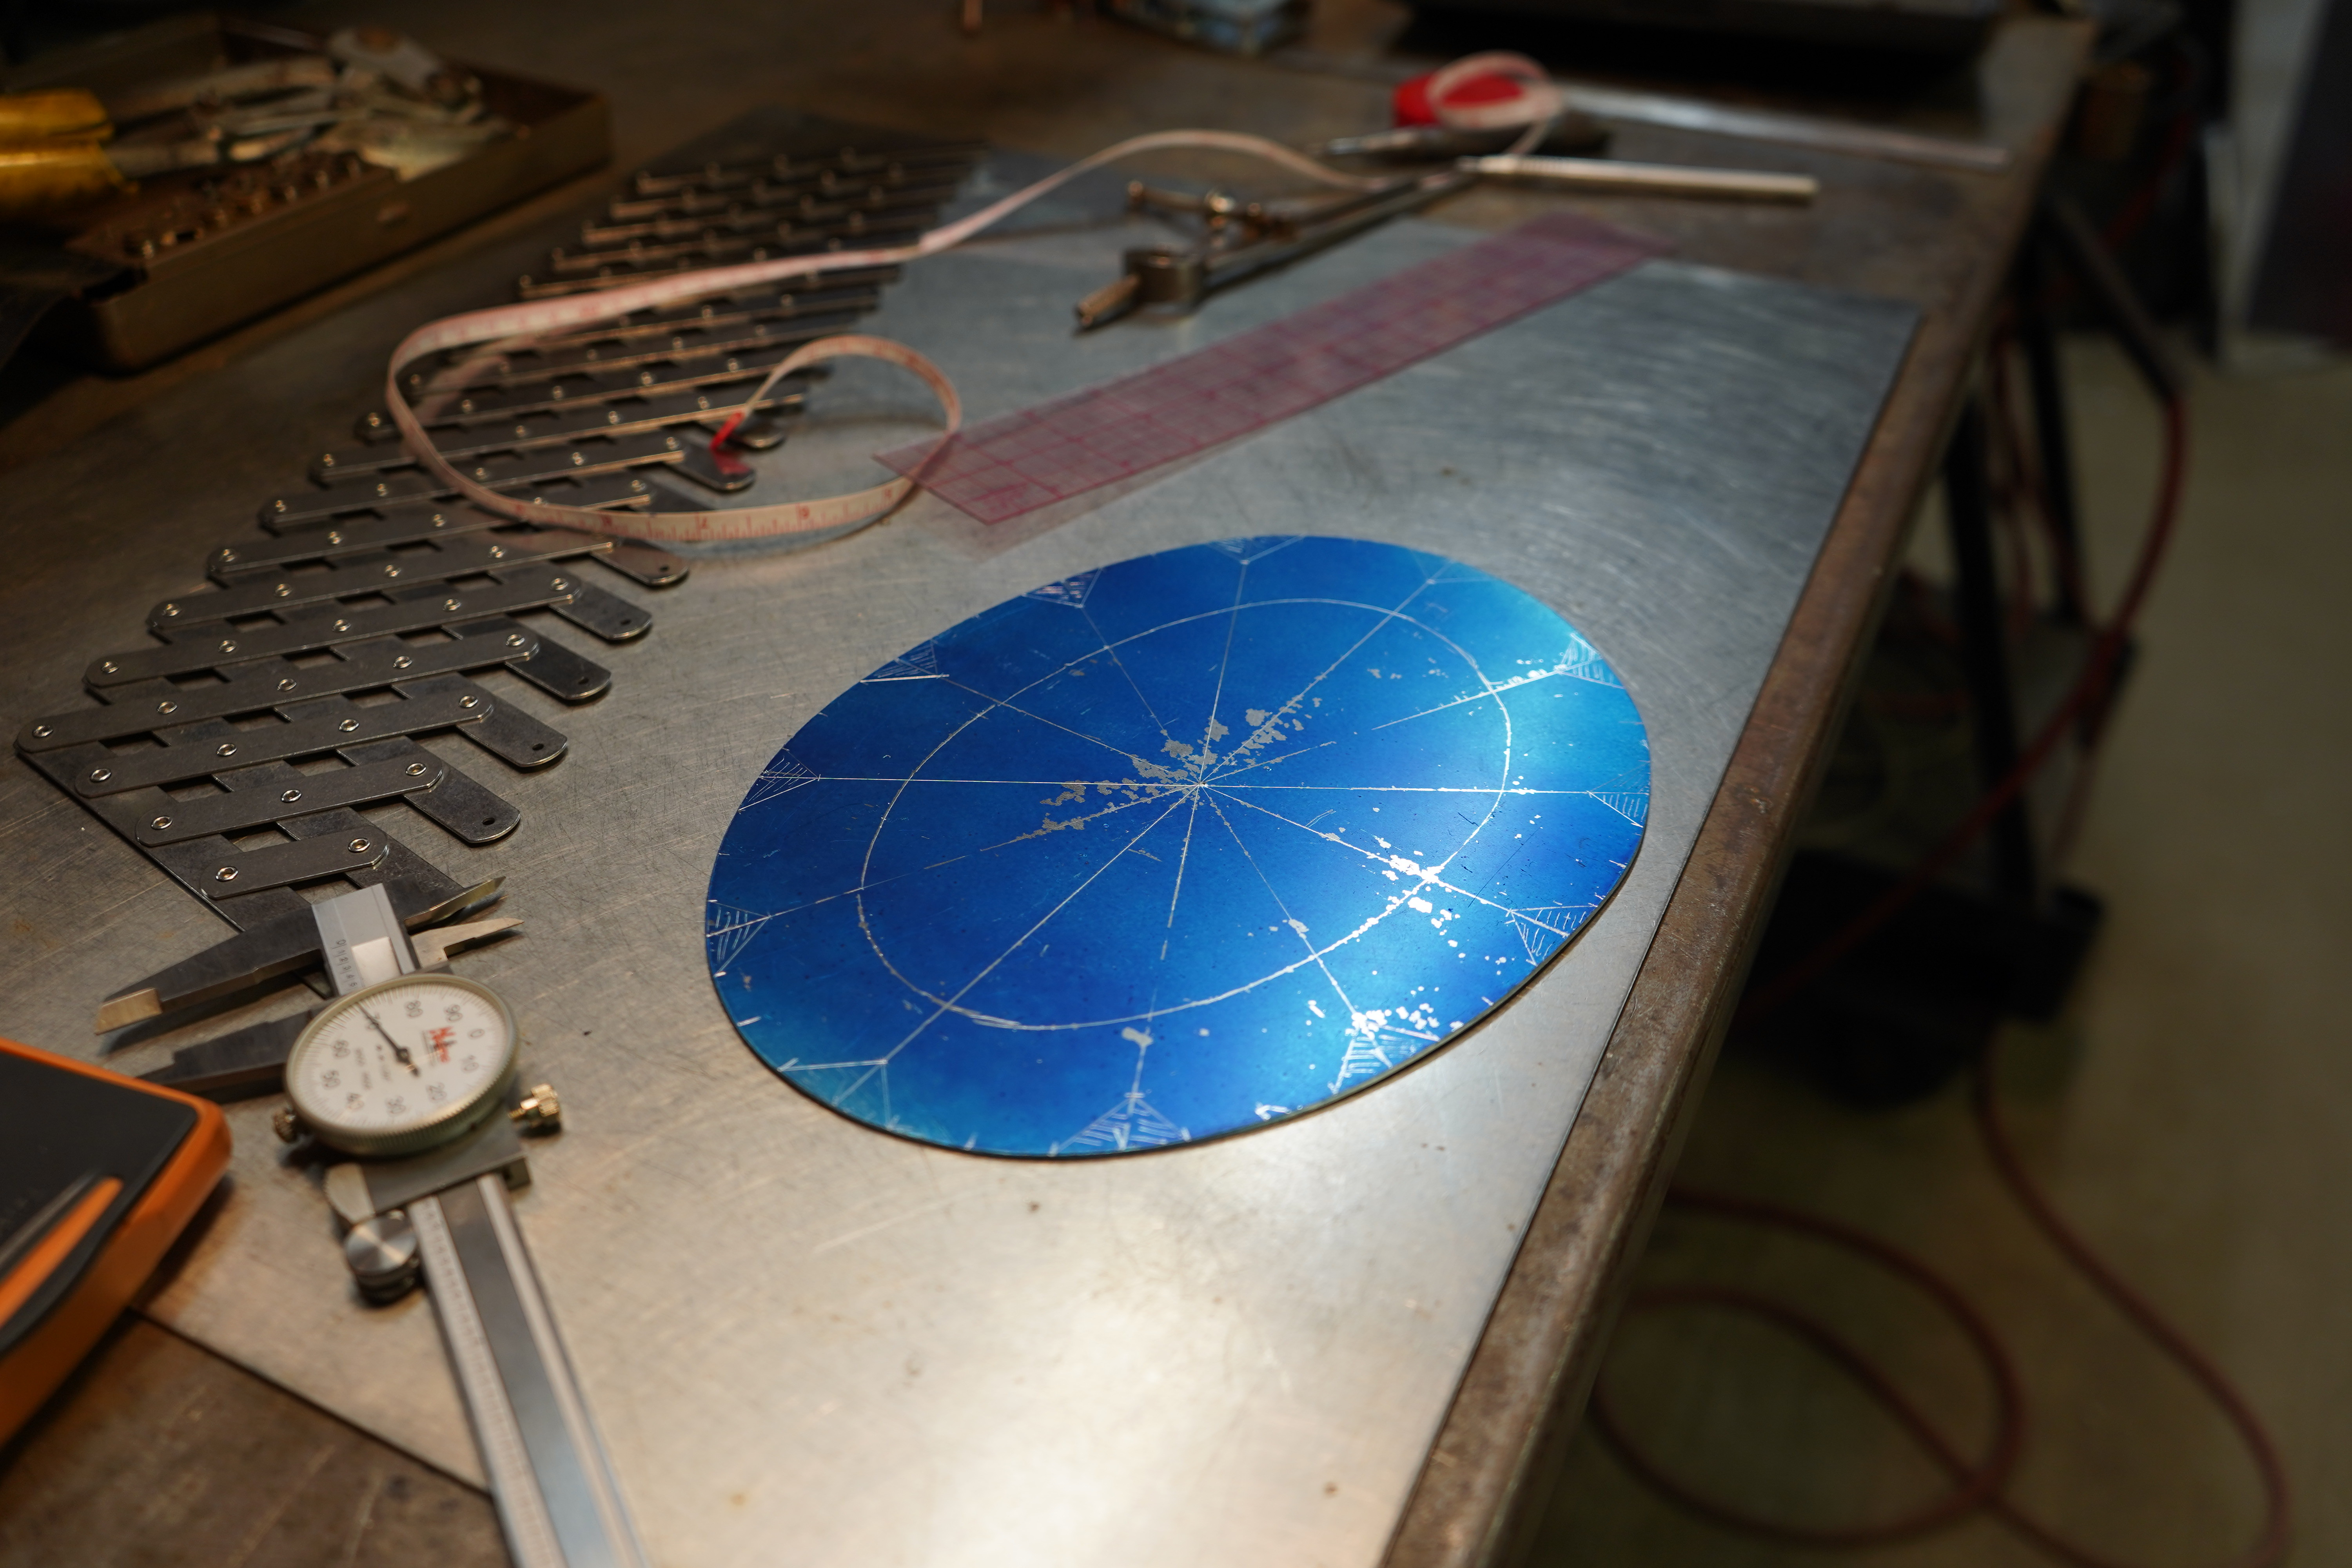
Sketching out the exhaust dump surround


Experimenting with some designs, rough sketching it all in

Leaving it here for nowLeave a comment:
-
So excited to see an update on this, sucks about the hood but cant wait to see what all you end up doing with those panels.Leave a comment:
-
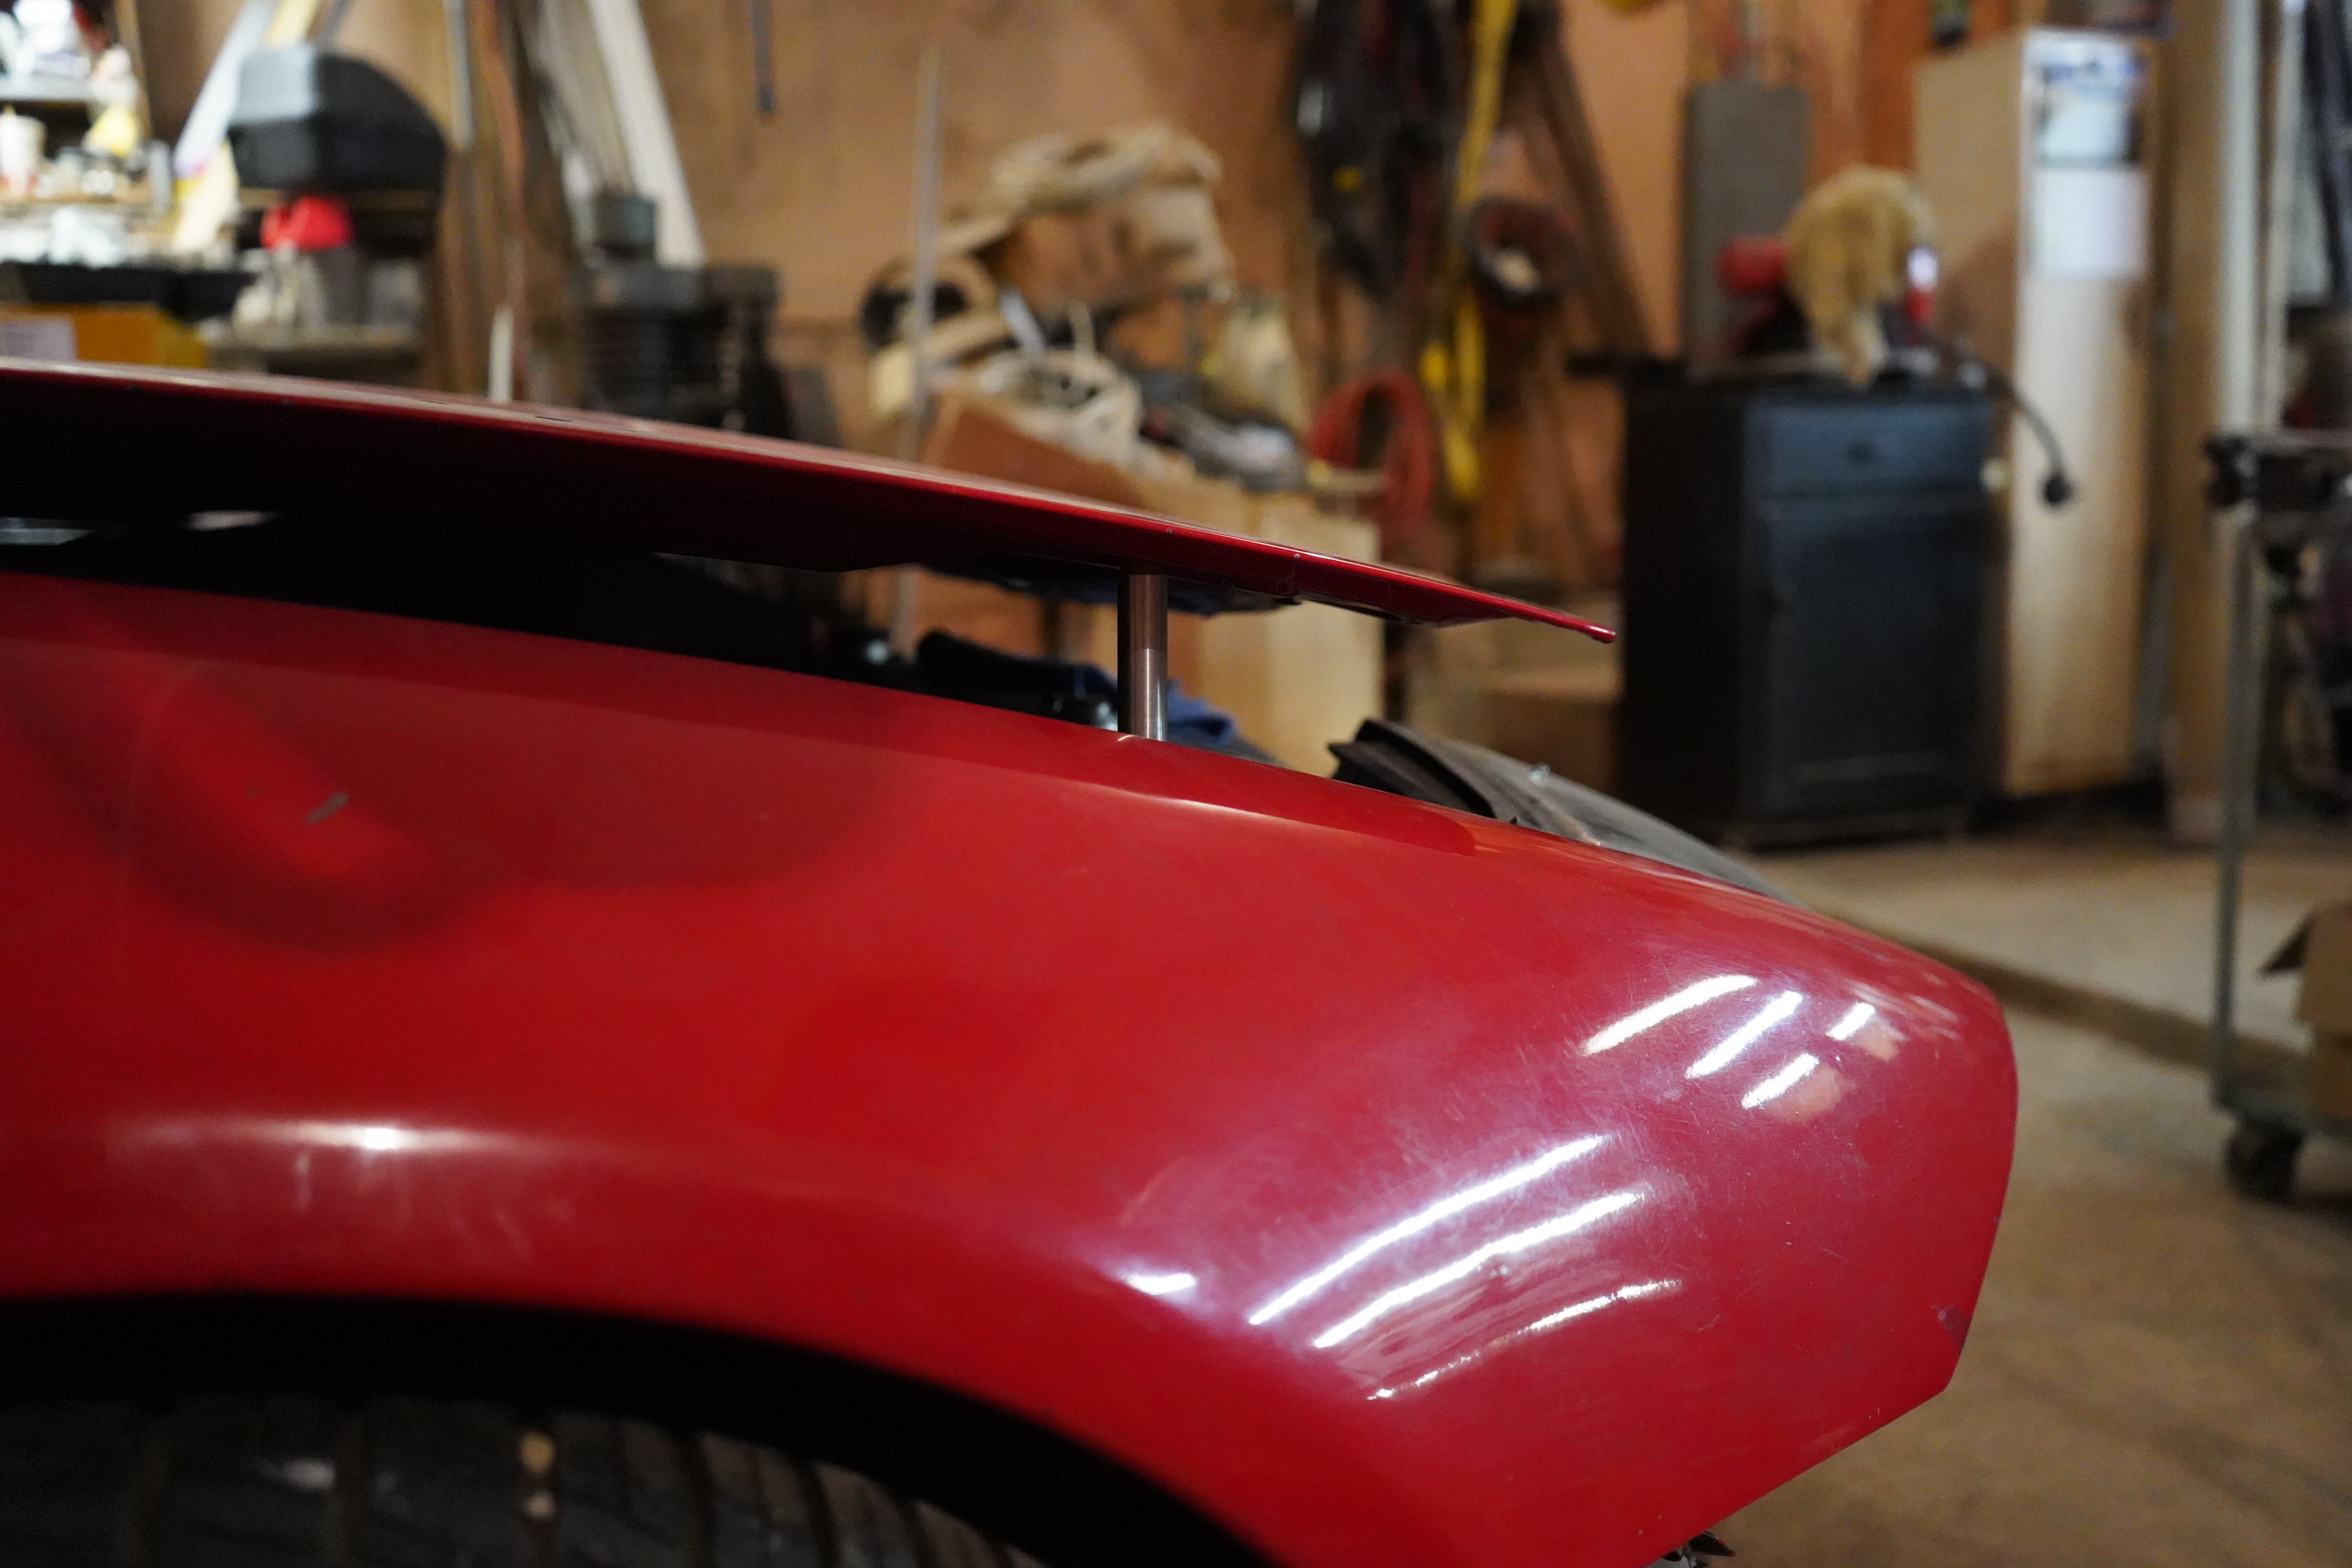
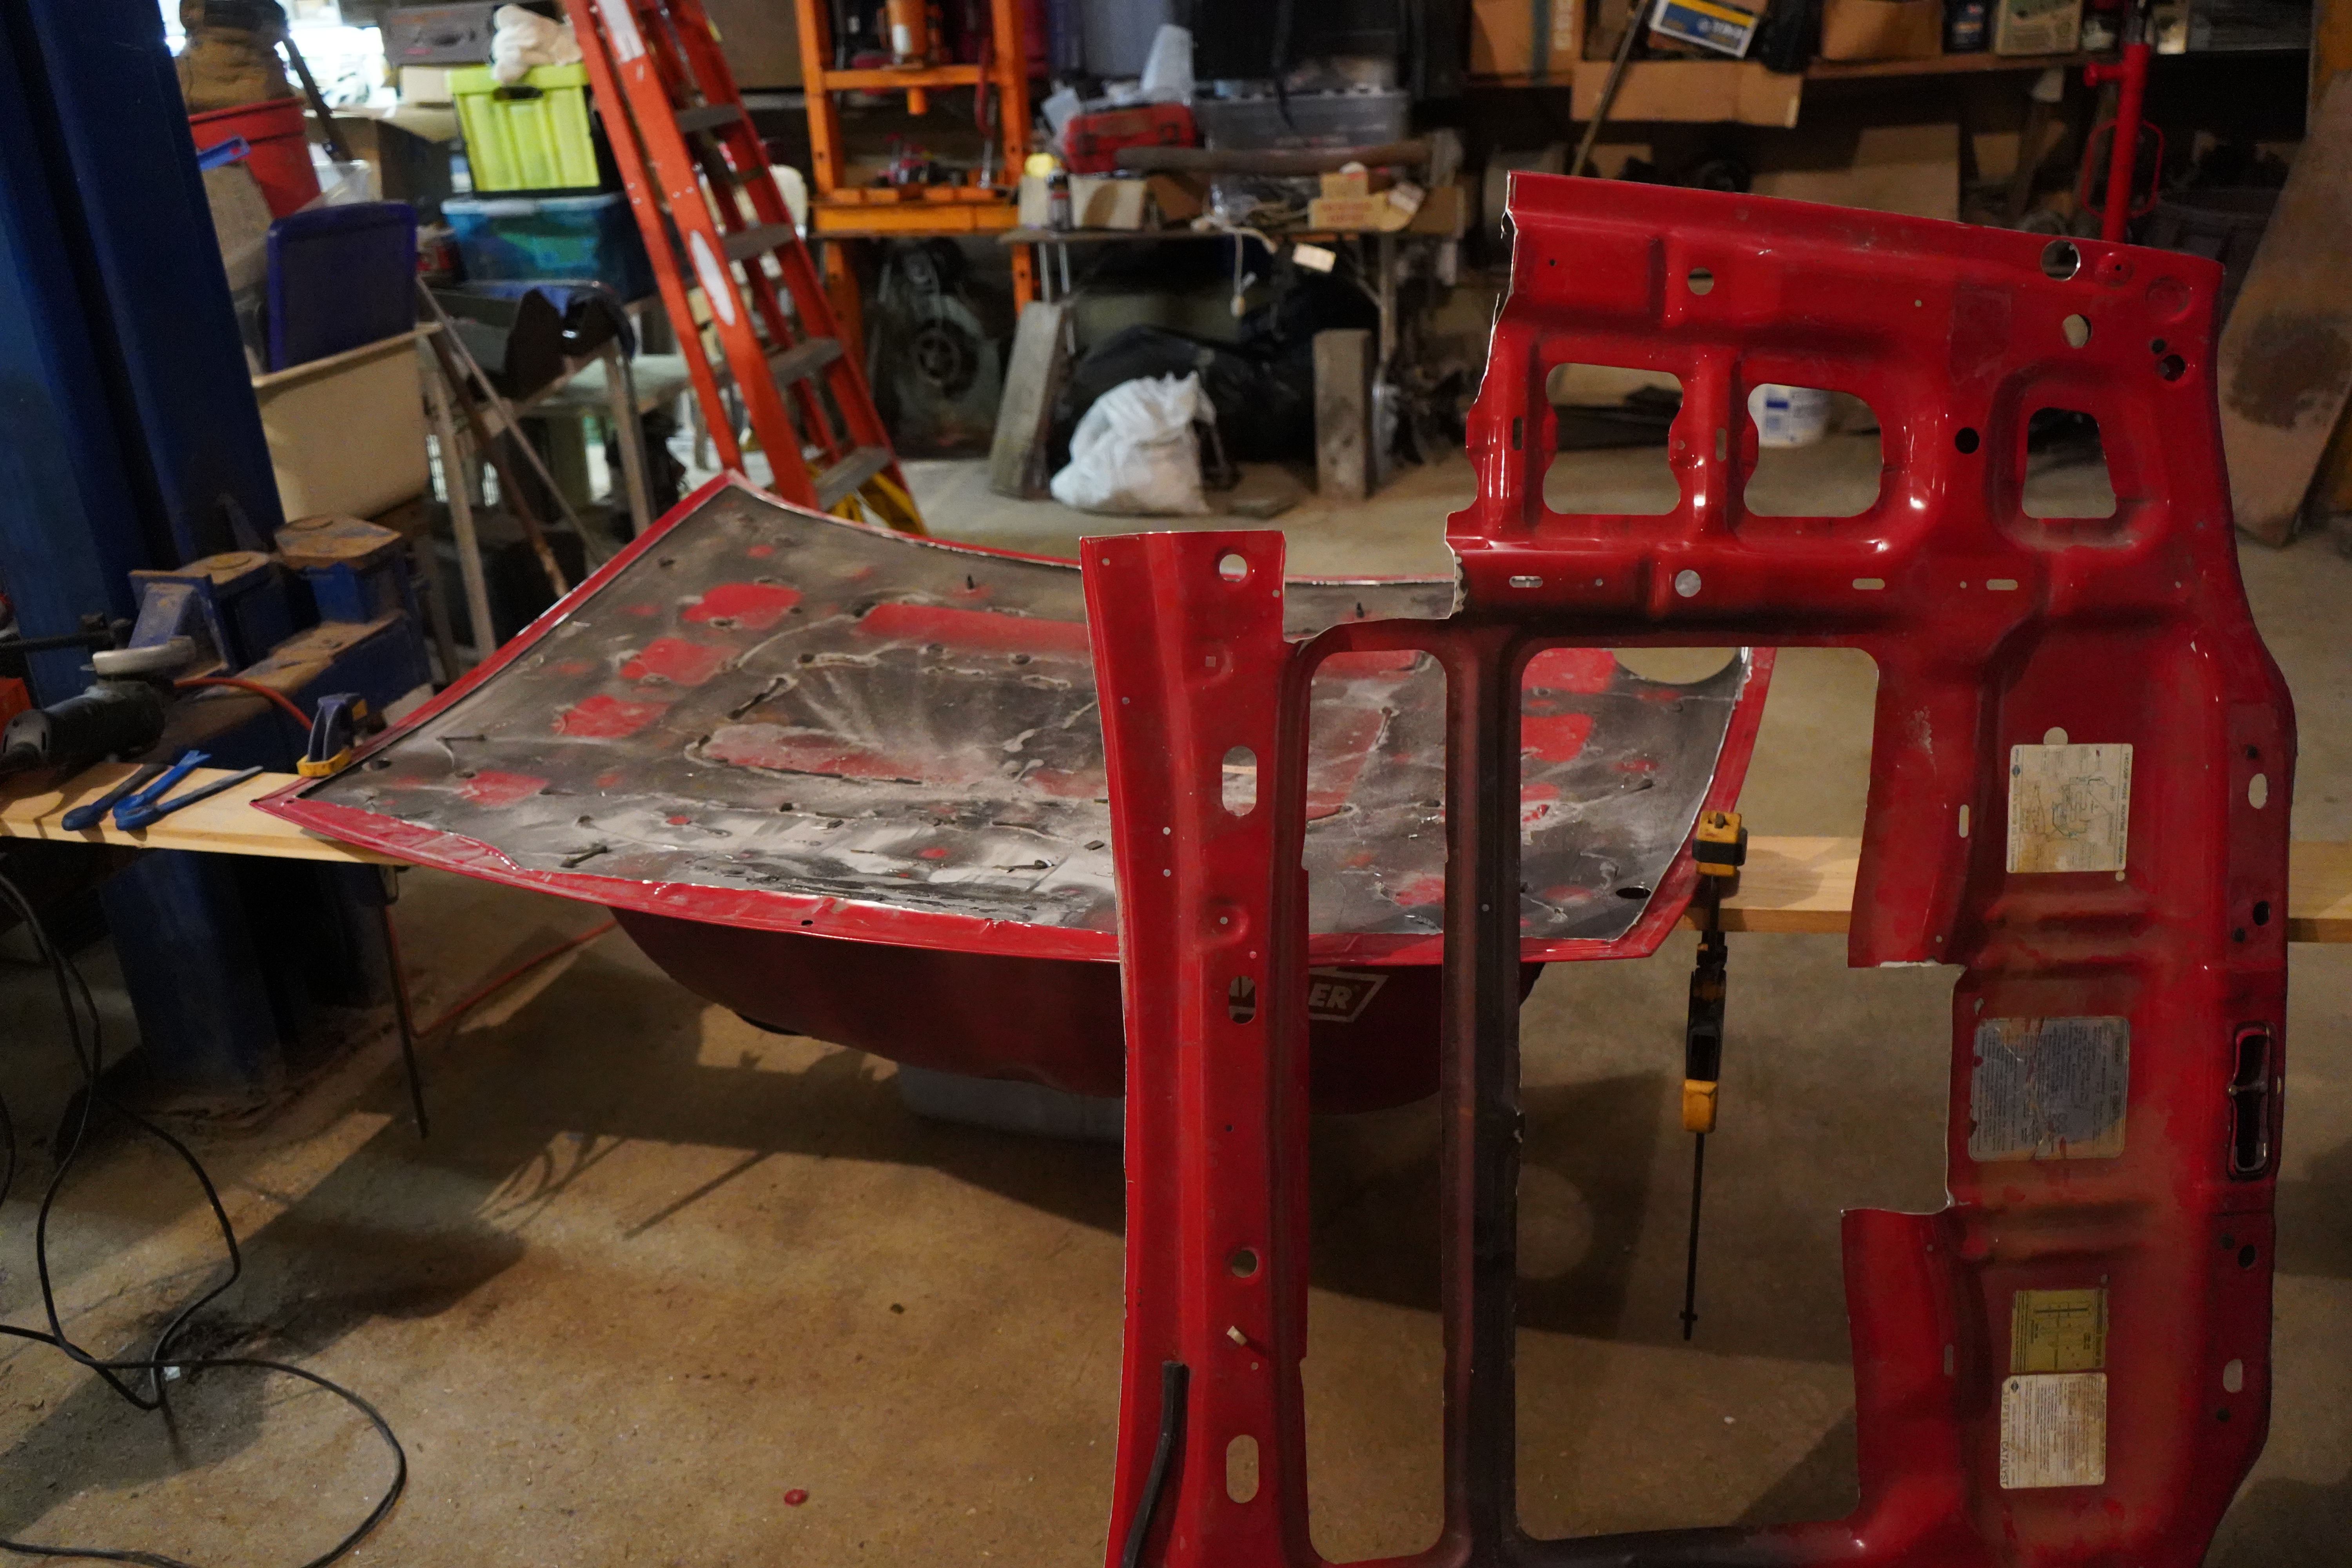
Before I can continue with hood pins the hood needs some addressing
I actually completely ruined my hood not that long ago in a spectacular fashion, while test driving it for one of the first times the hood decided it was no longer happy being held down with a cheap mostly broken bungee cord(stupid idea to drive it like this I am completely aware)
Anyway you can see here its really mangled, and this was after lots of gentle persuasion

I sure as hell was not going to buy another hood, so I decided to "repair" in the most unreasonable way I could think of

If you have been following me for awhile I think you can see where this going. hint:rivets


This is going to be a lot of rivets

Radius/finishing edges


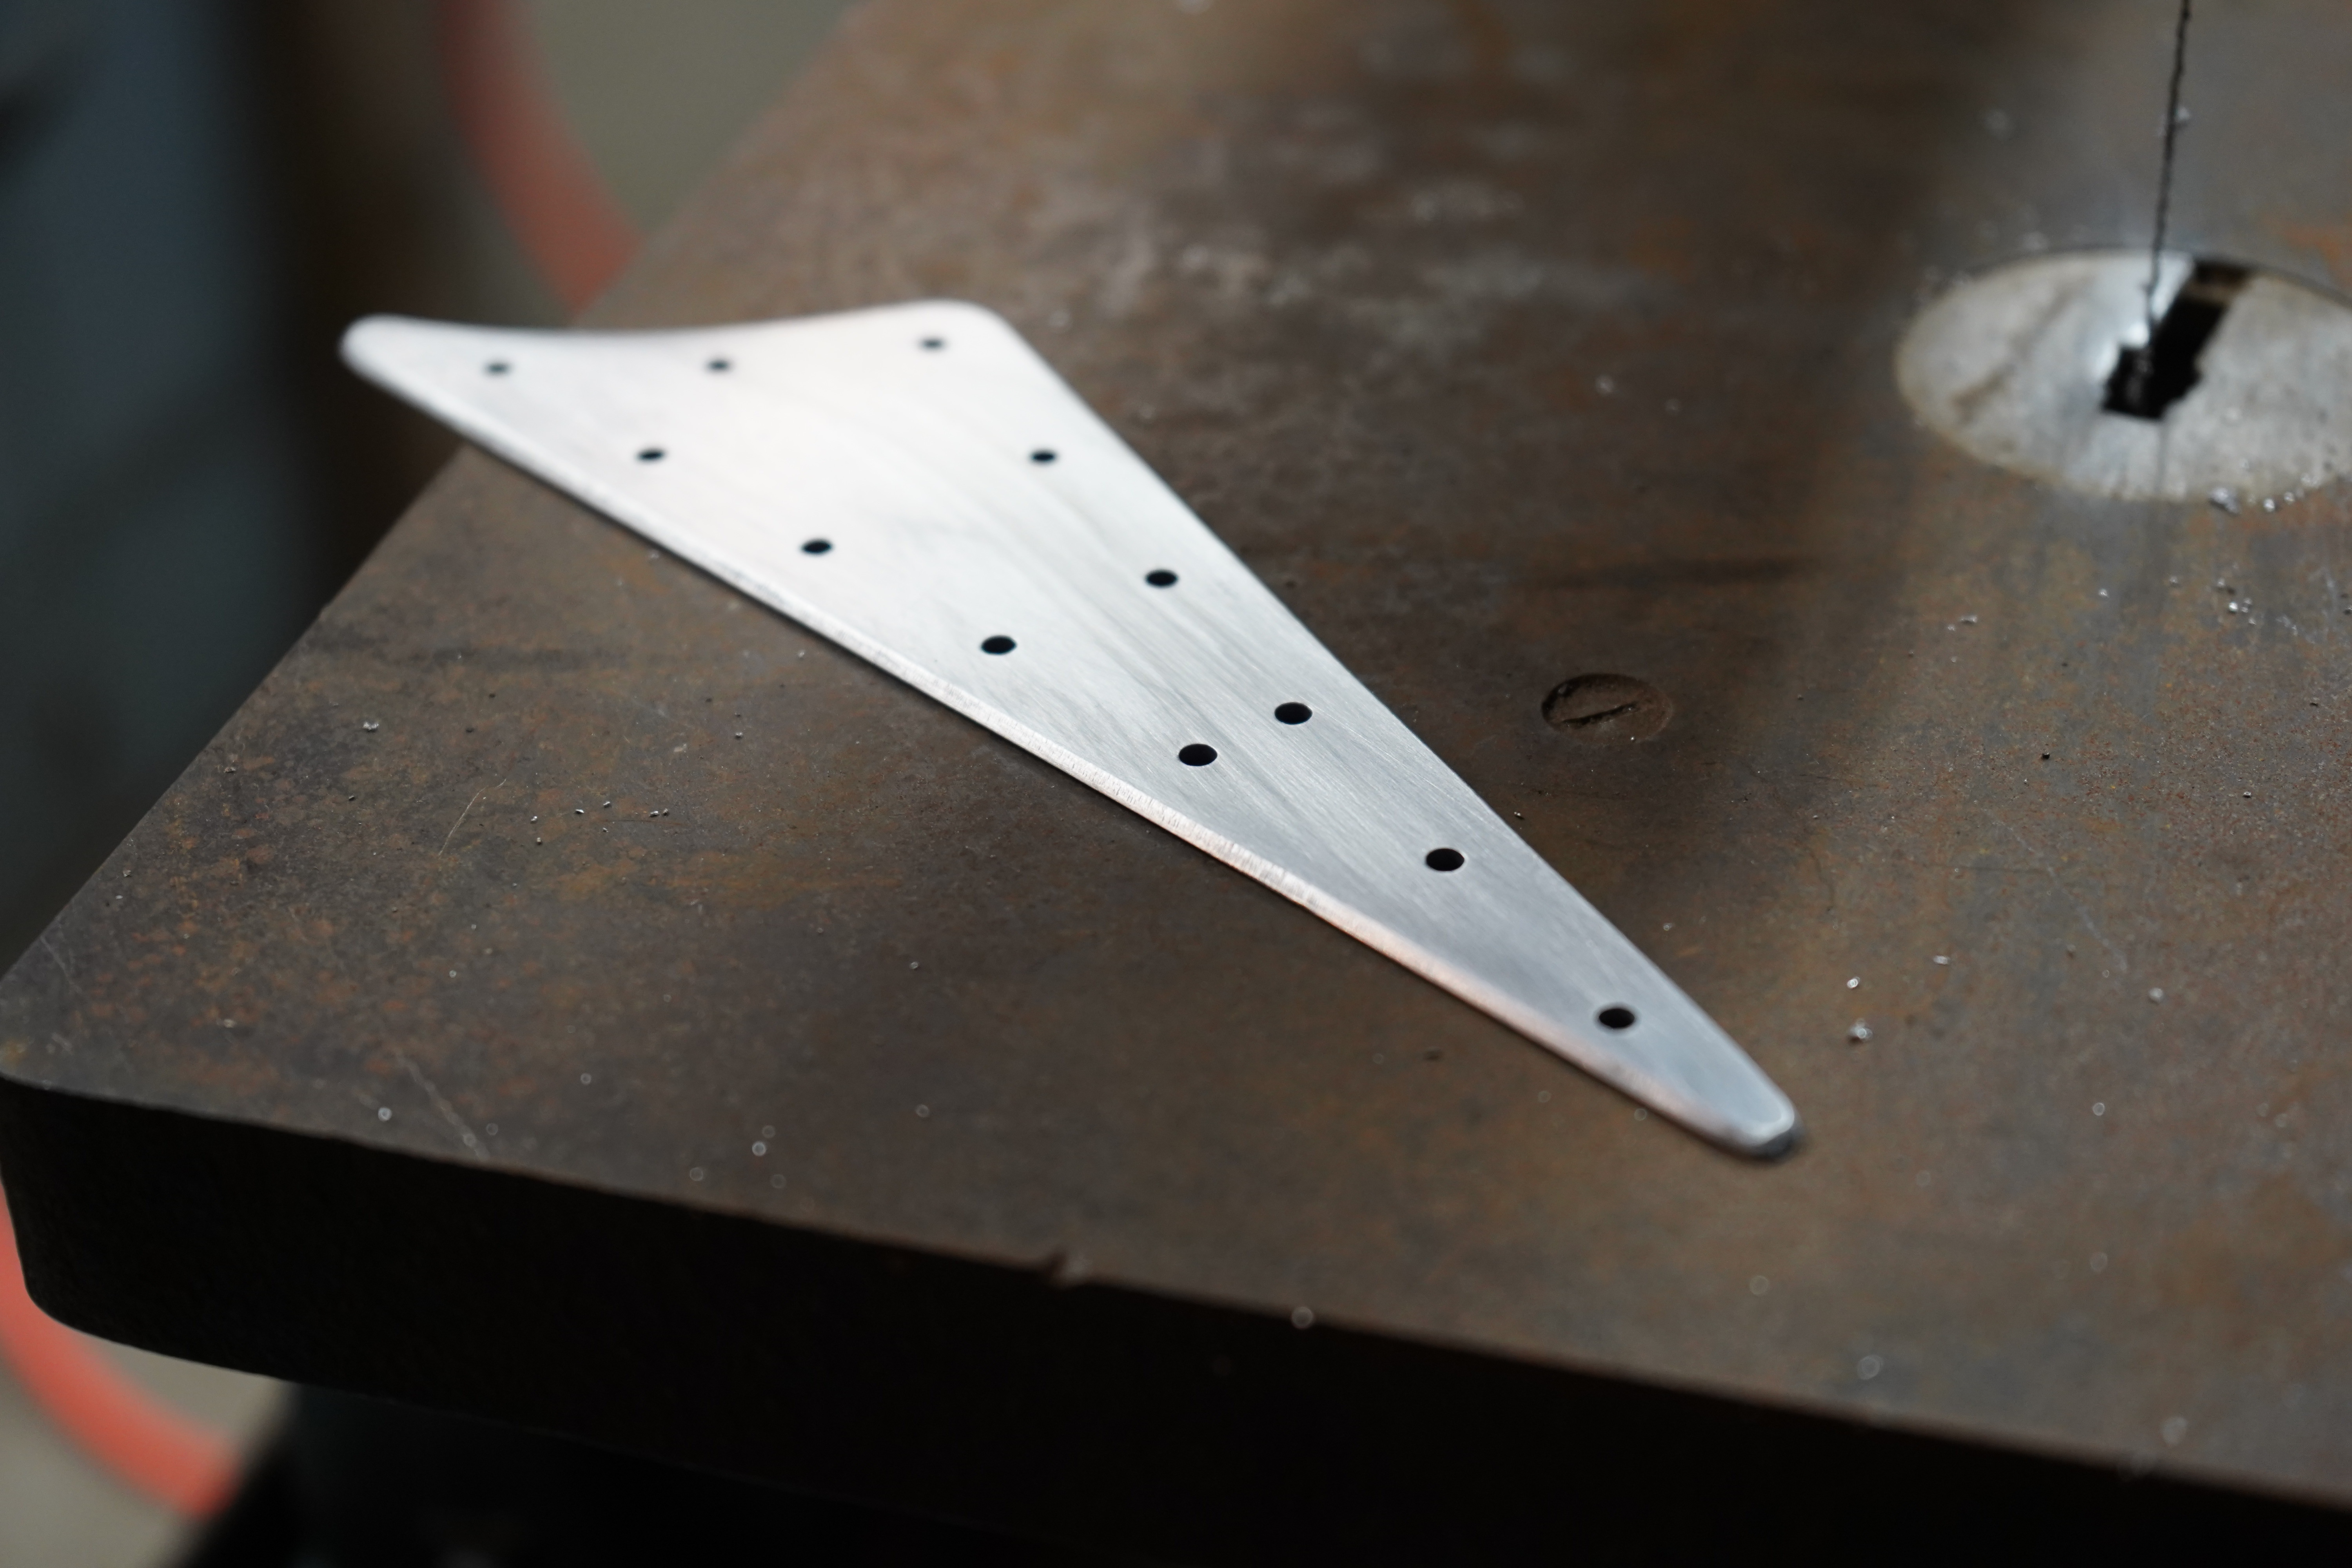
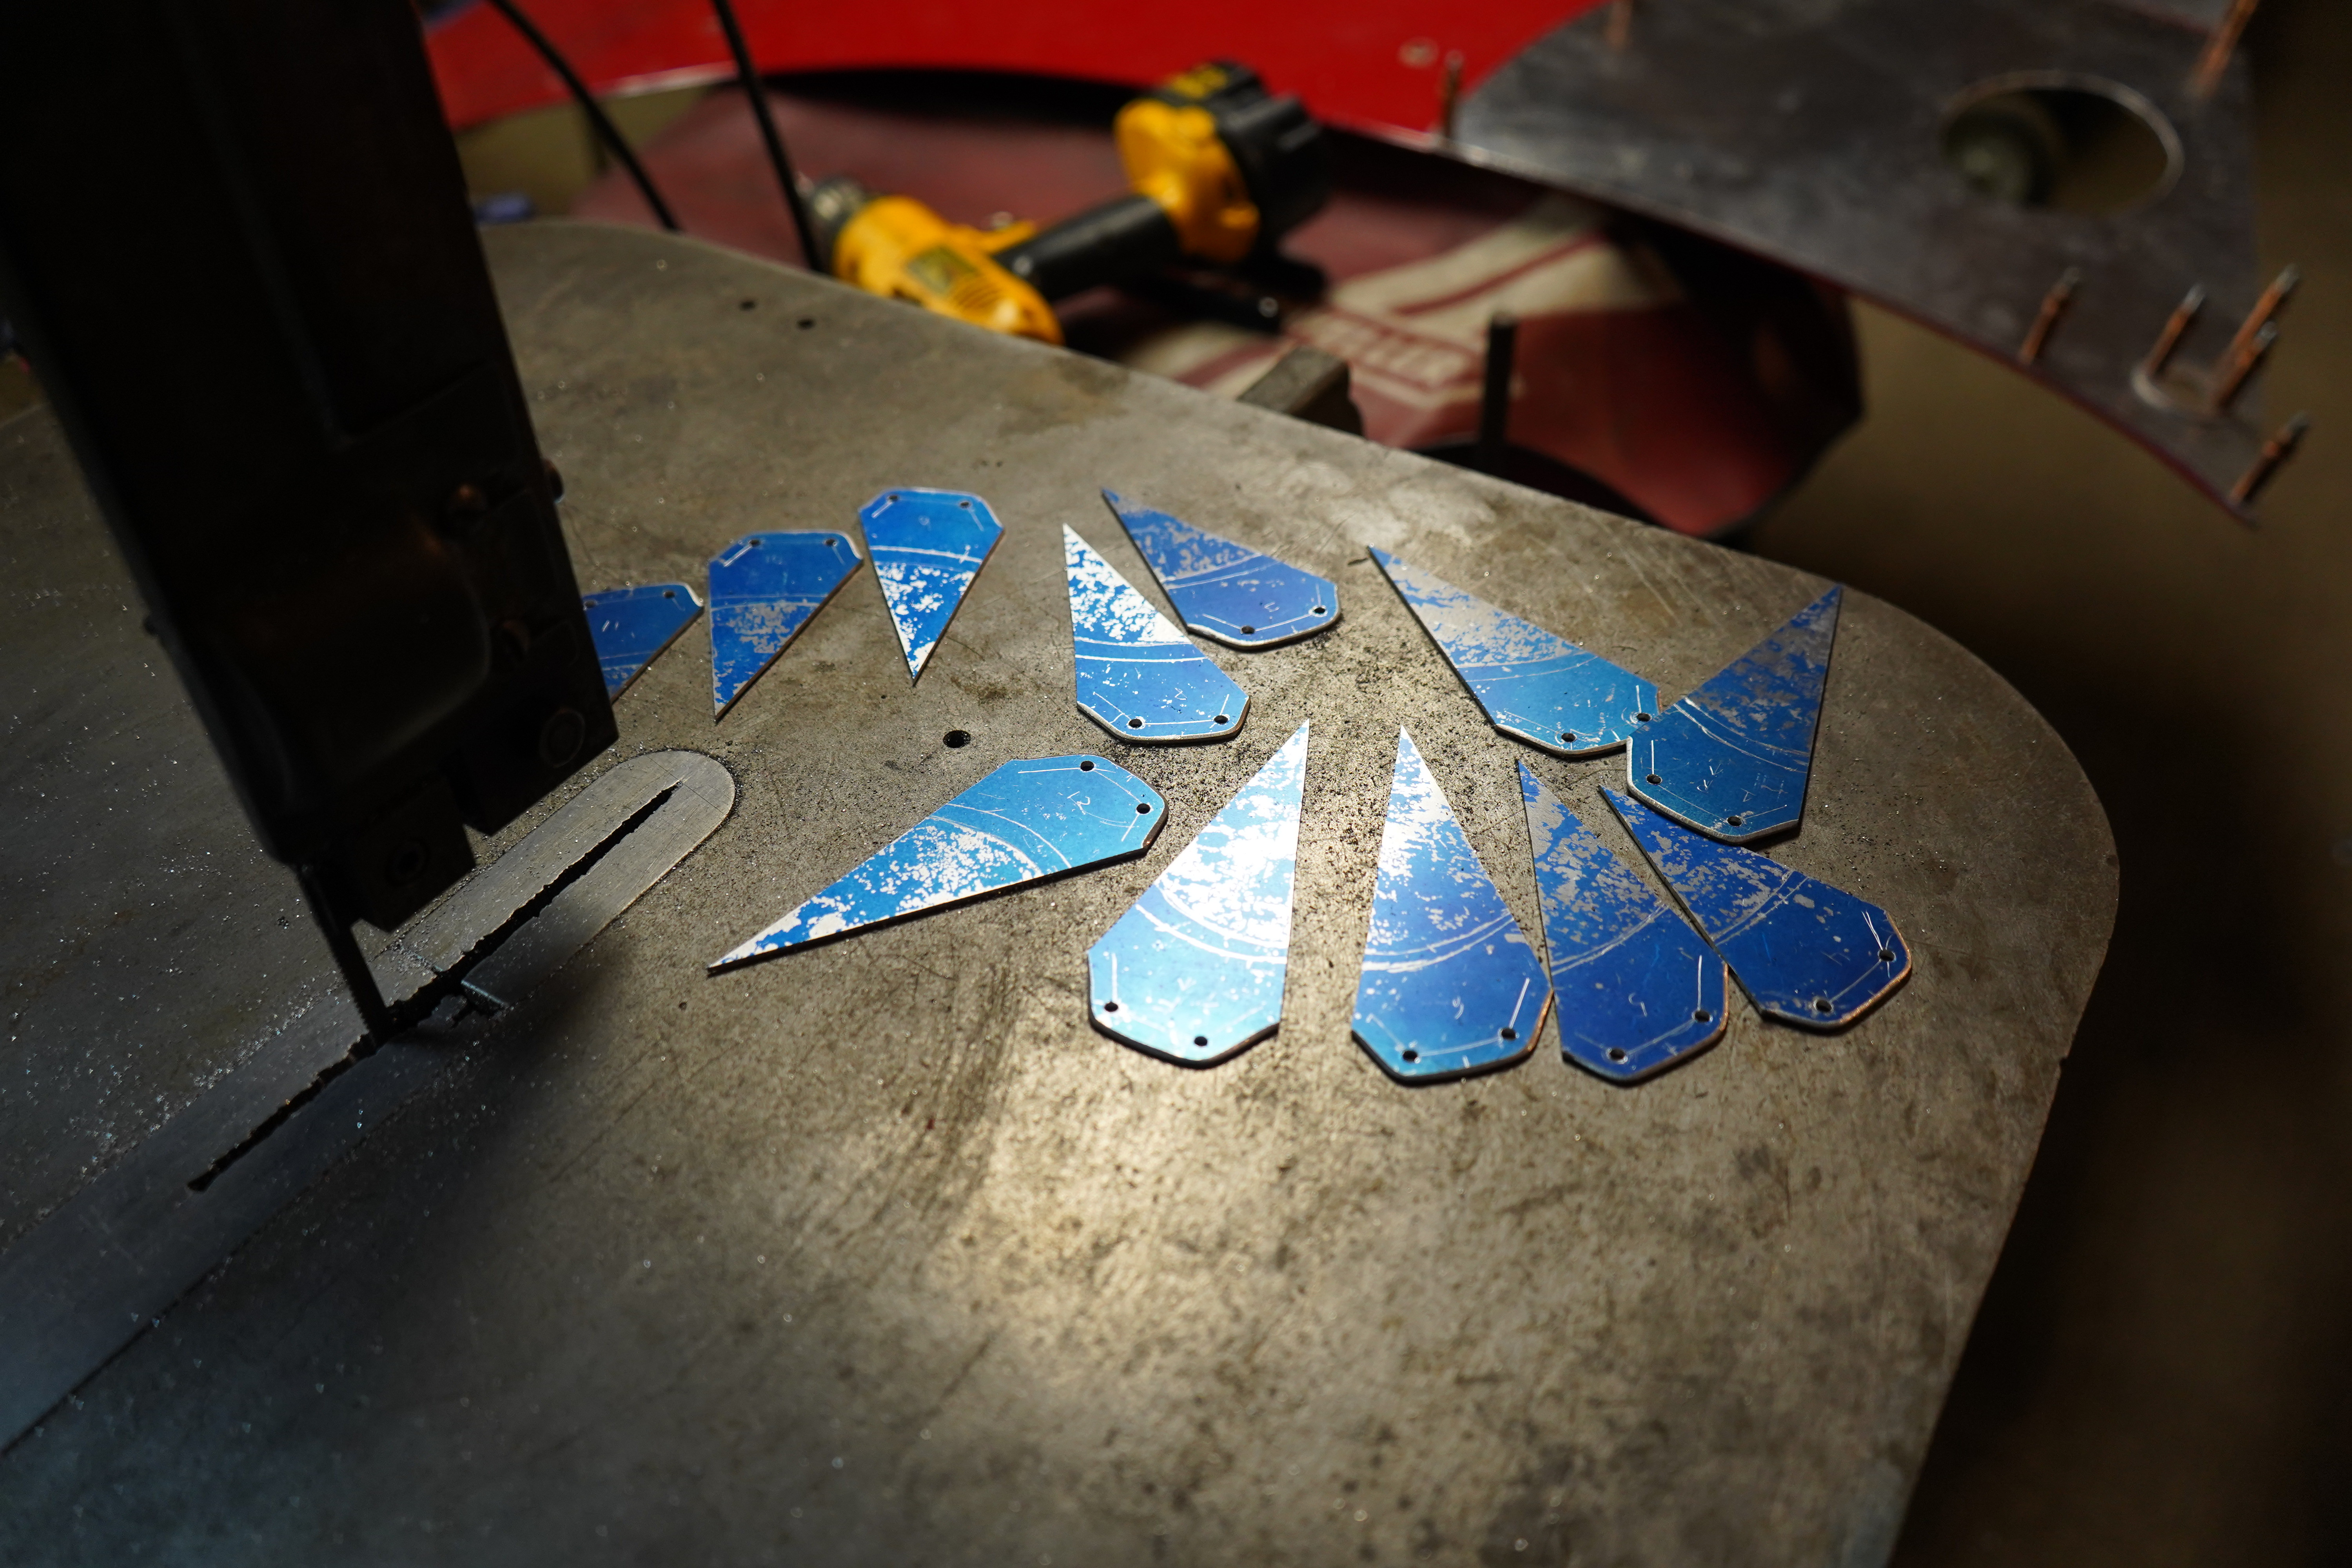
Blue dye for spacing rivets
These layout fans make creating equal spaces a breeze

I think its 1" spacing if i remember correctly

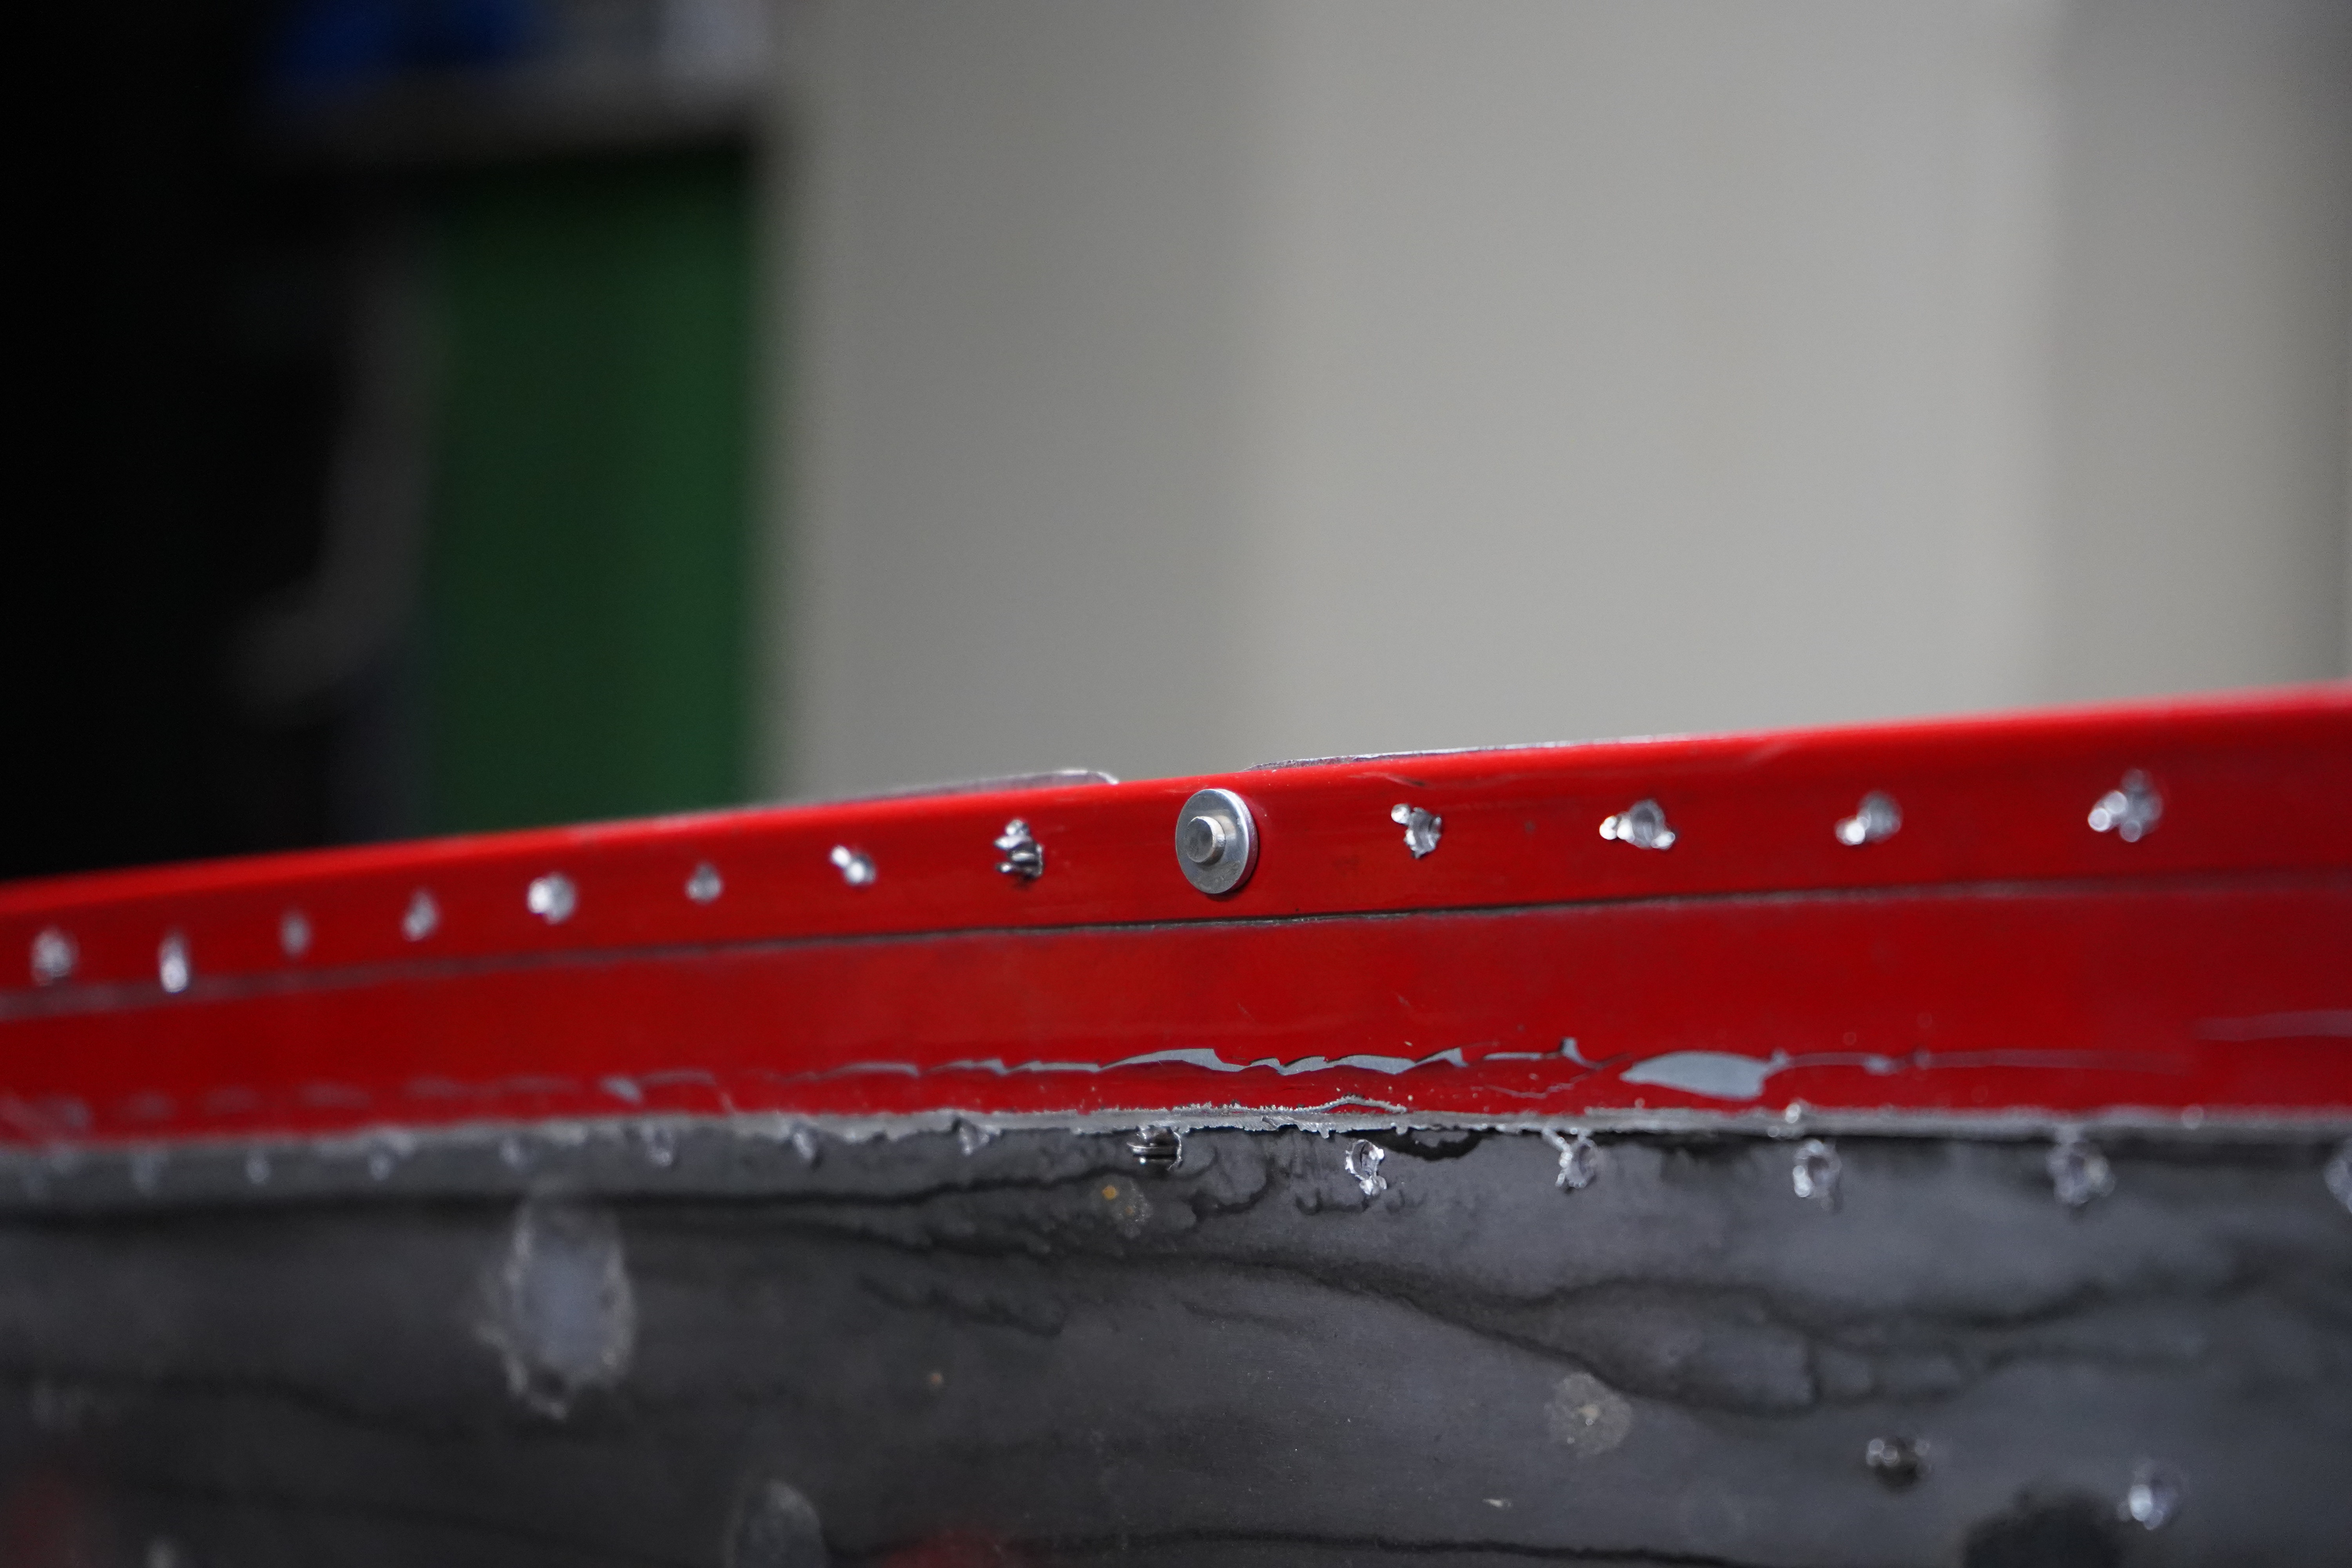
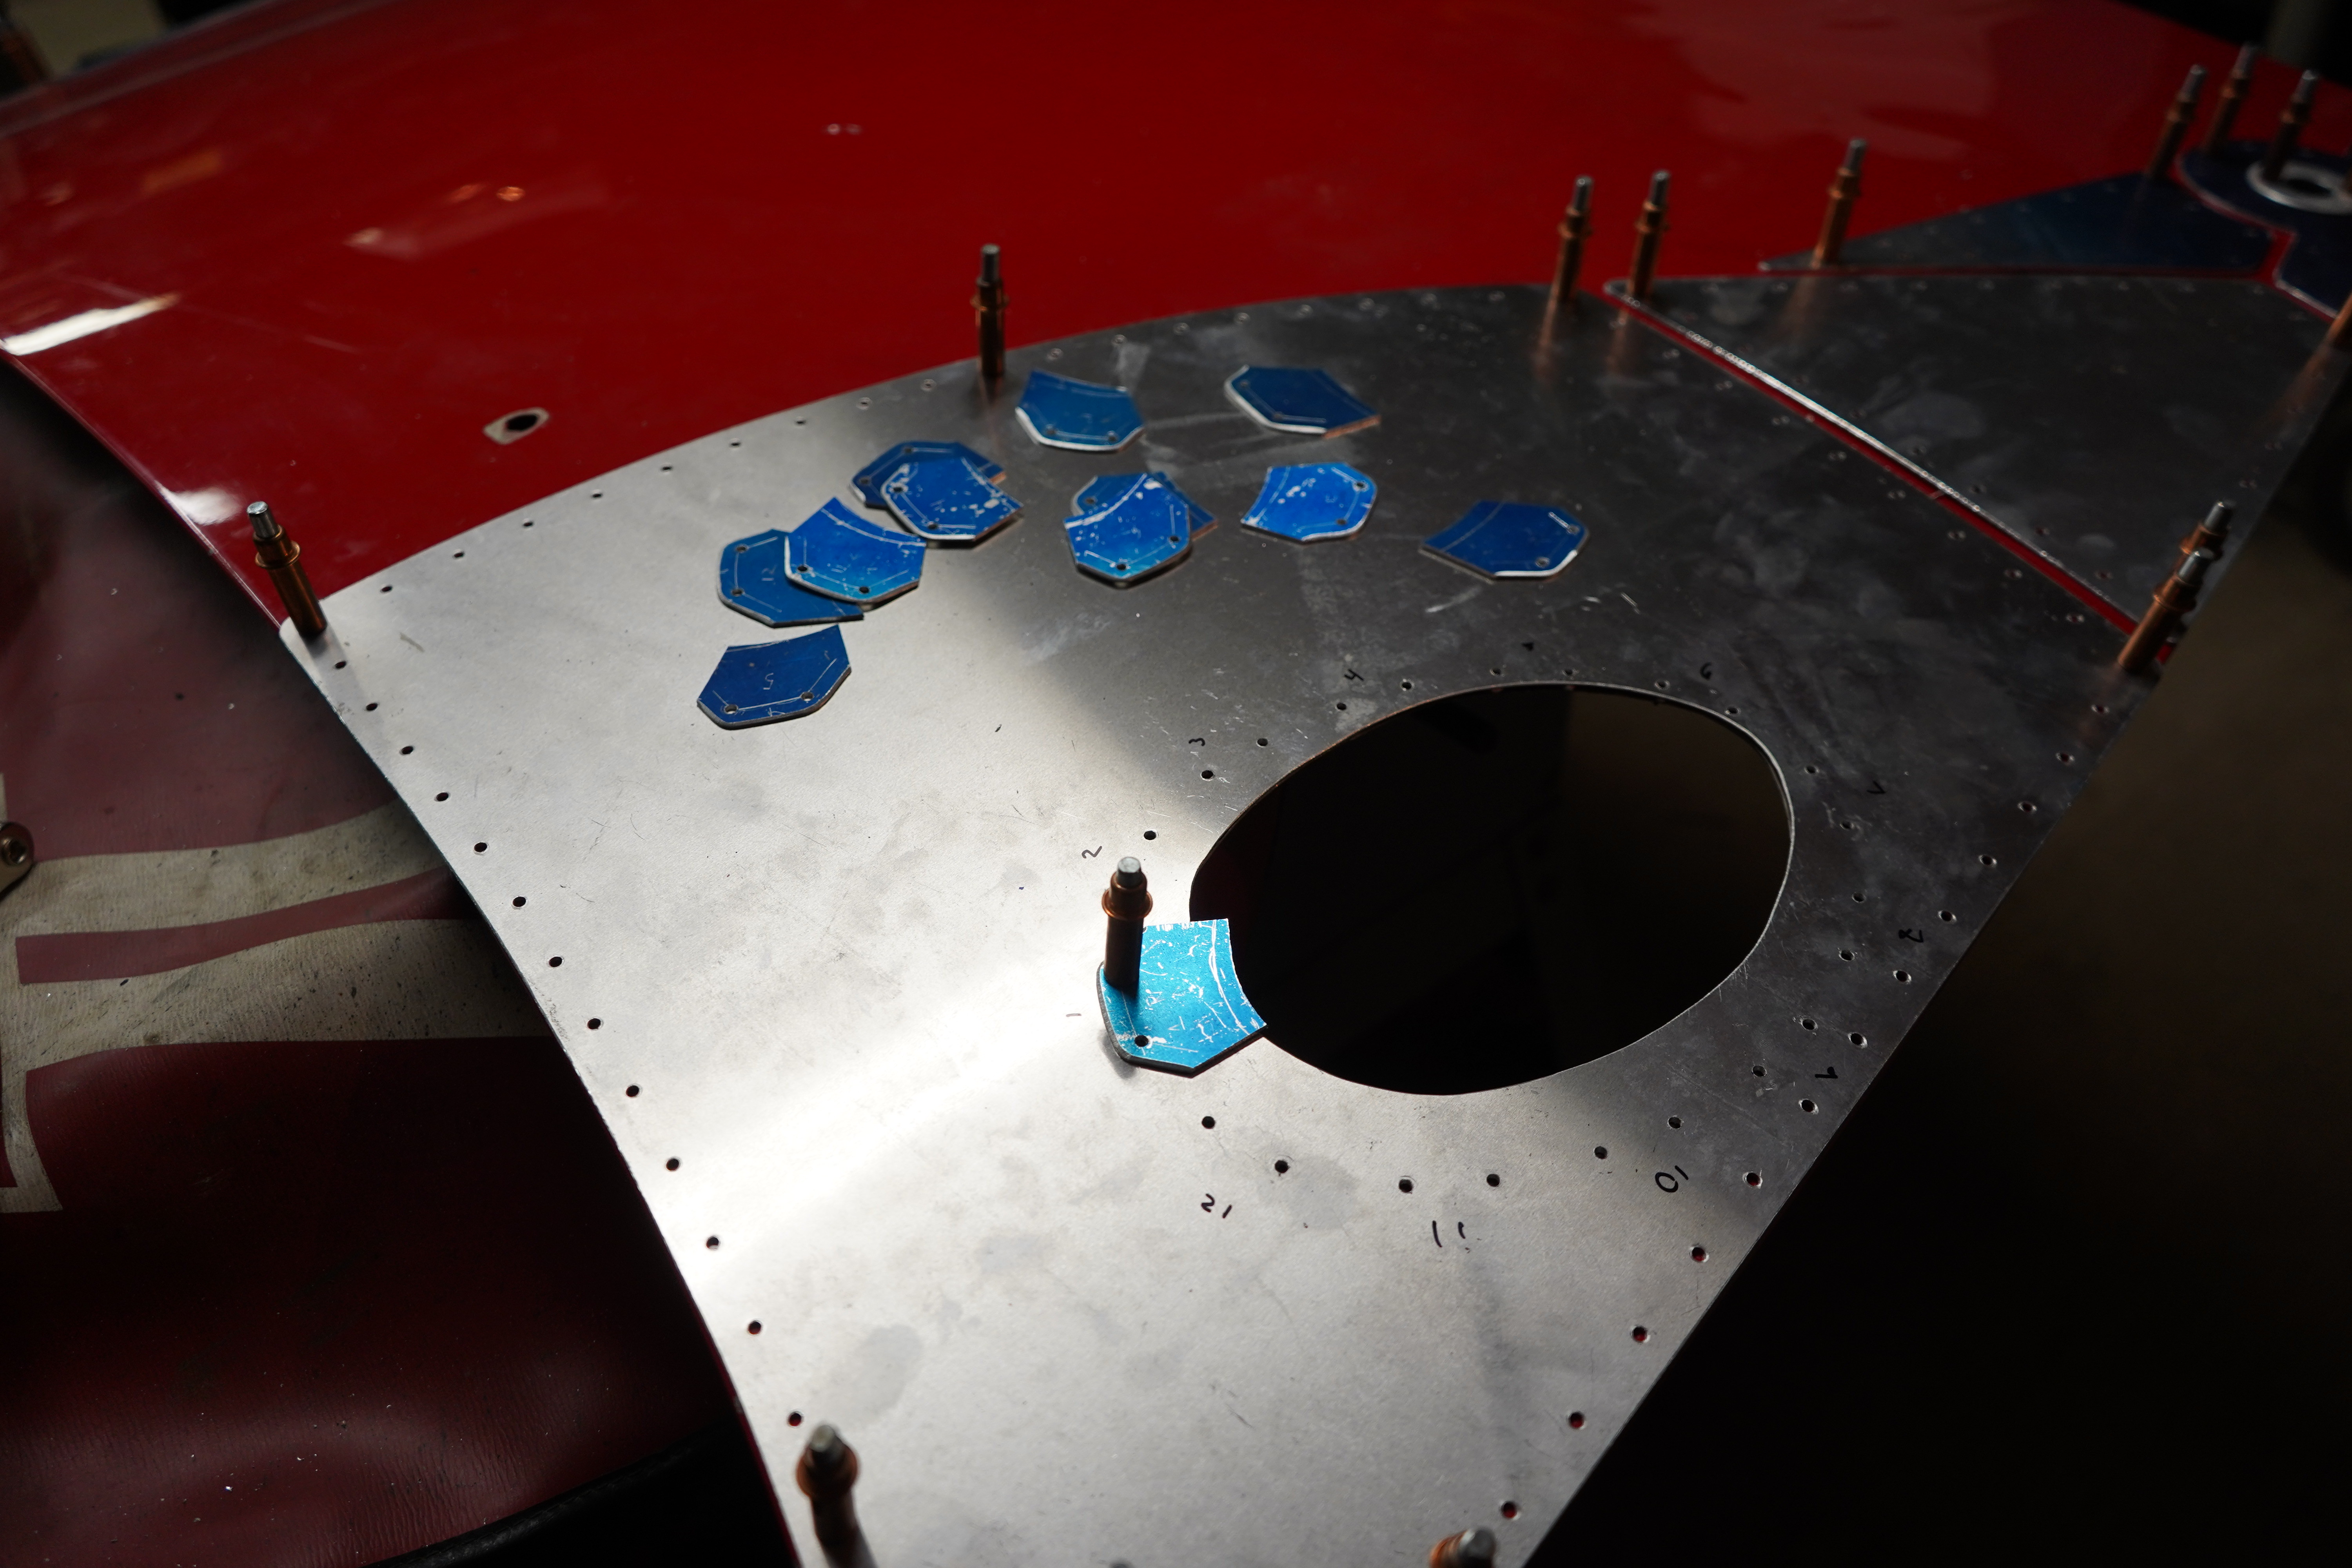
Feels good to be using the punch and cleco pliers again

1st of many

One side roughed in

The good news is the hood was far from mint, it had tons of hail damage and other issues, but this is all I got for right nowLeave a comment:
-
Loving your work as always! Really enjoying watching the creativity of making your own parts up.Leave a comment:
-
This thread revival is the best thing 2020 has to offer.
In for more updates, its been so long!Leave a comment:
-
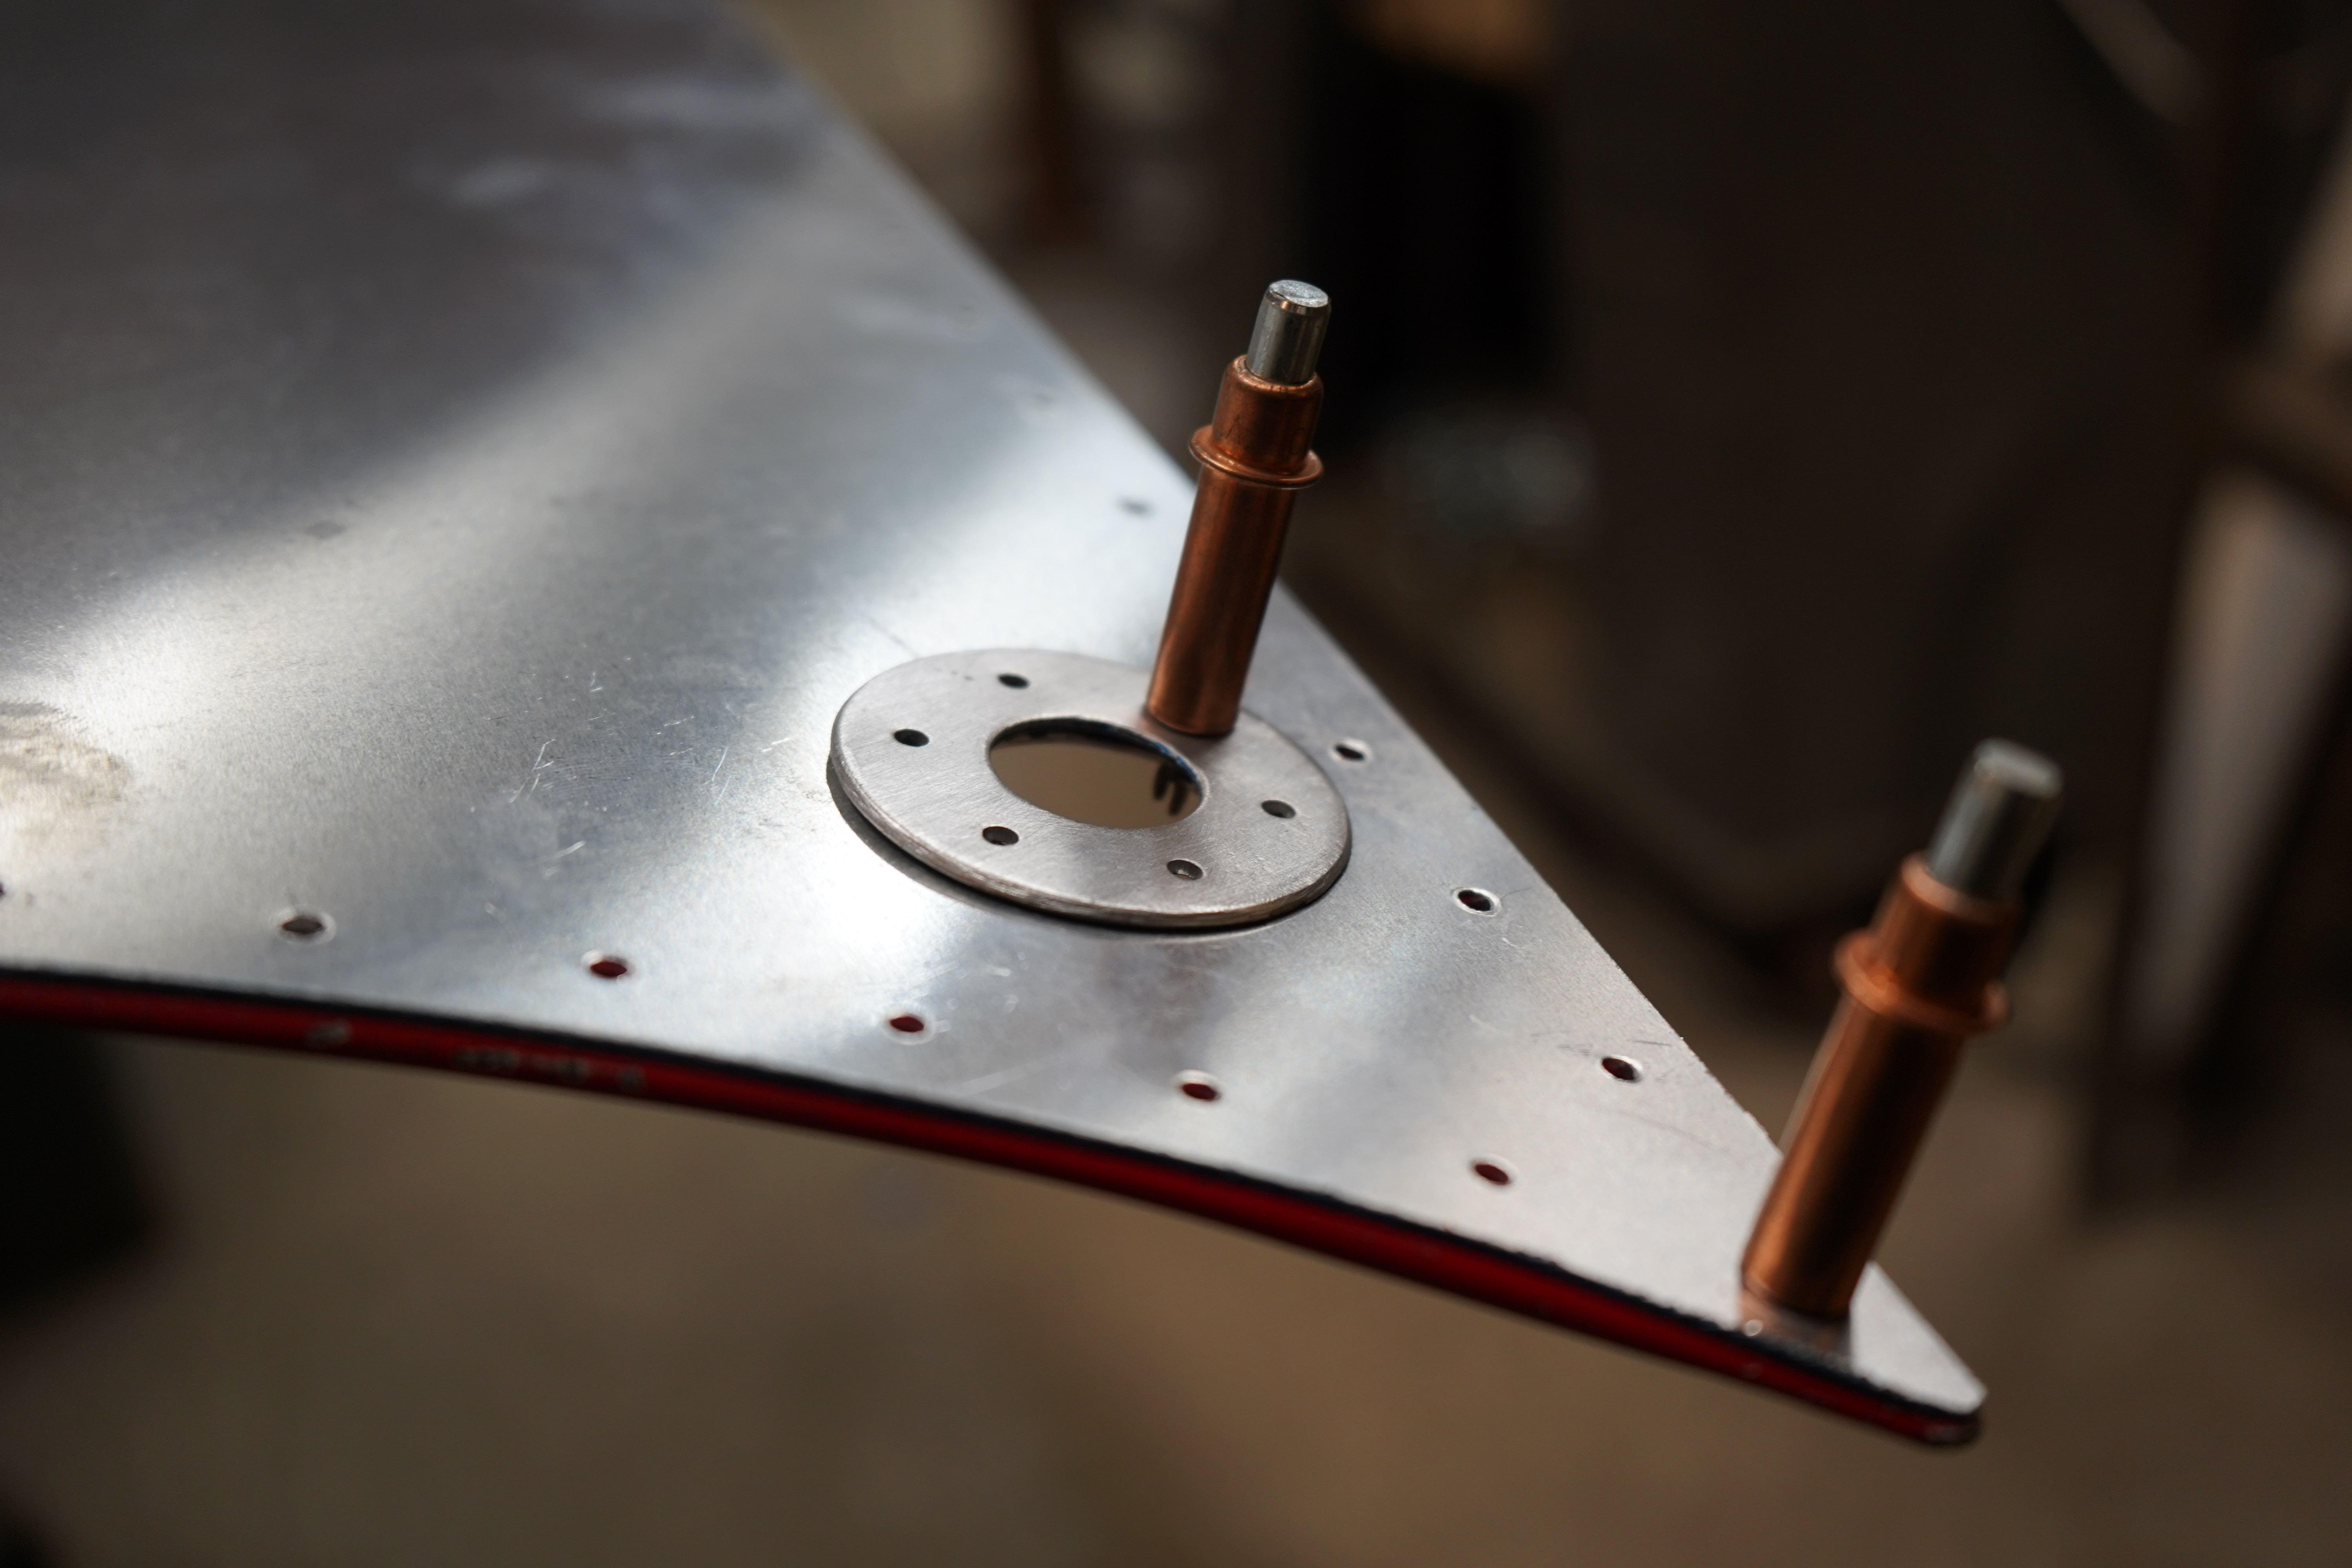
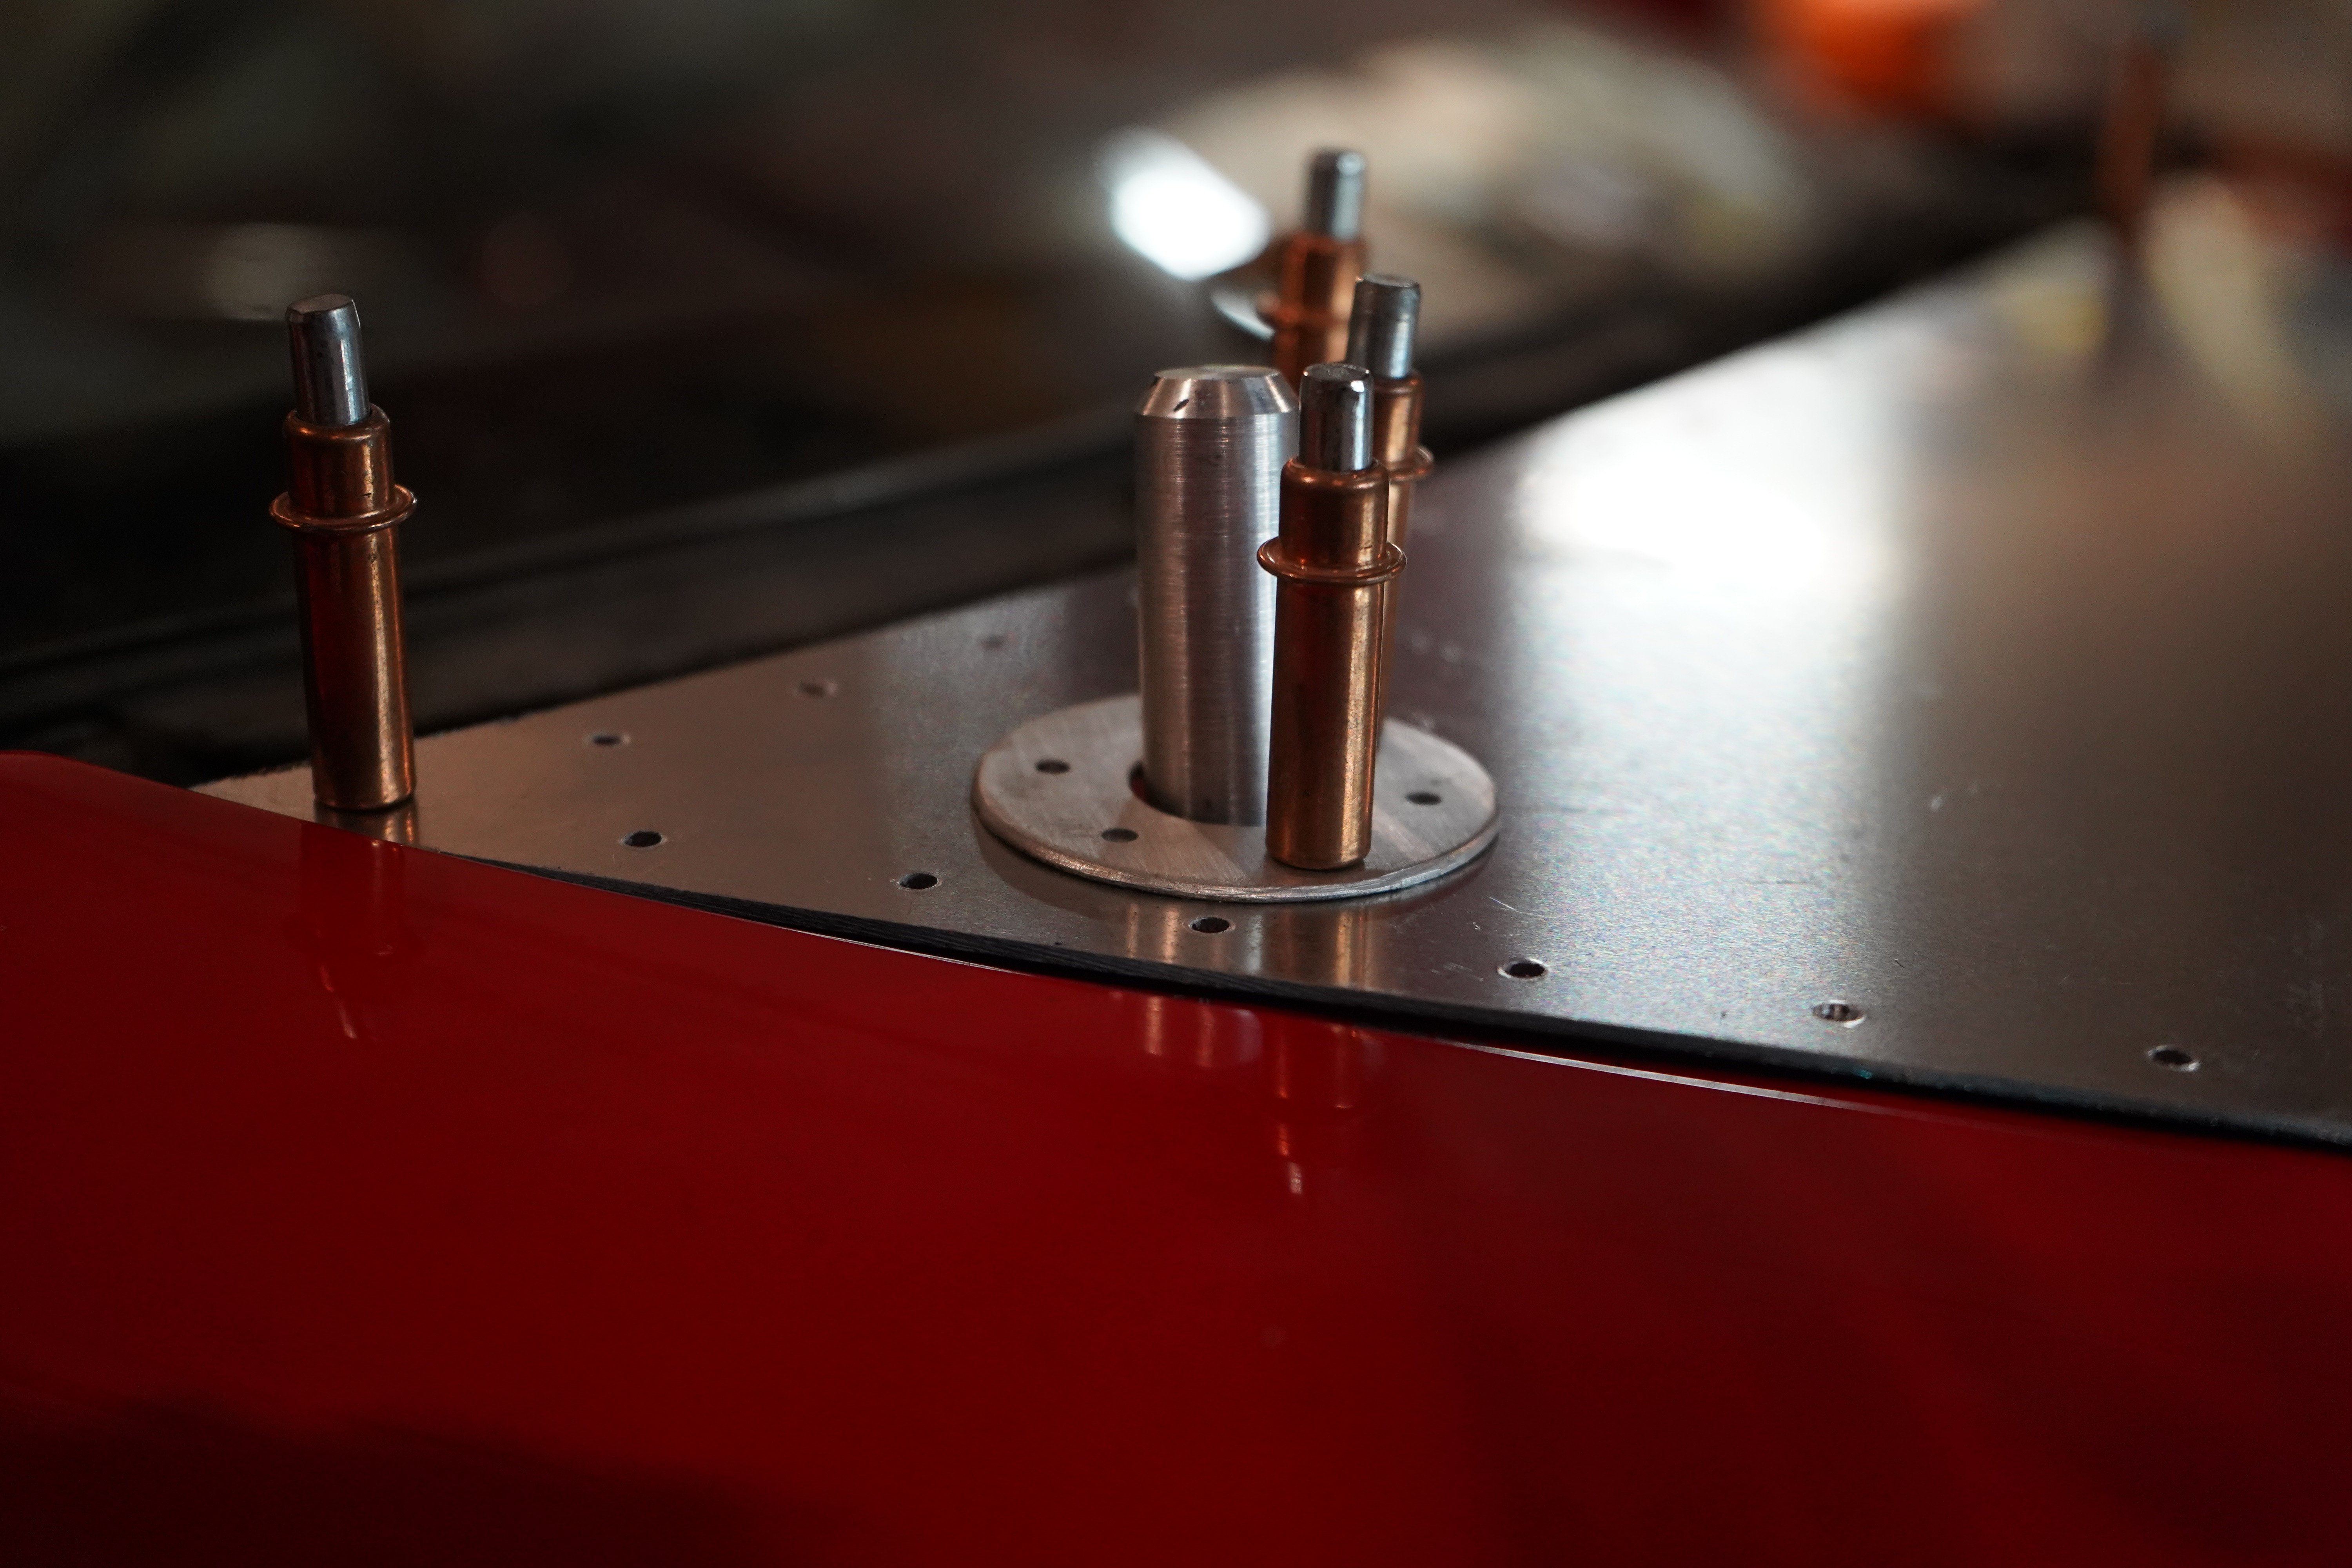
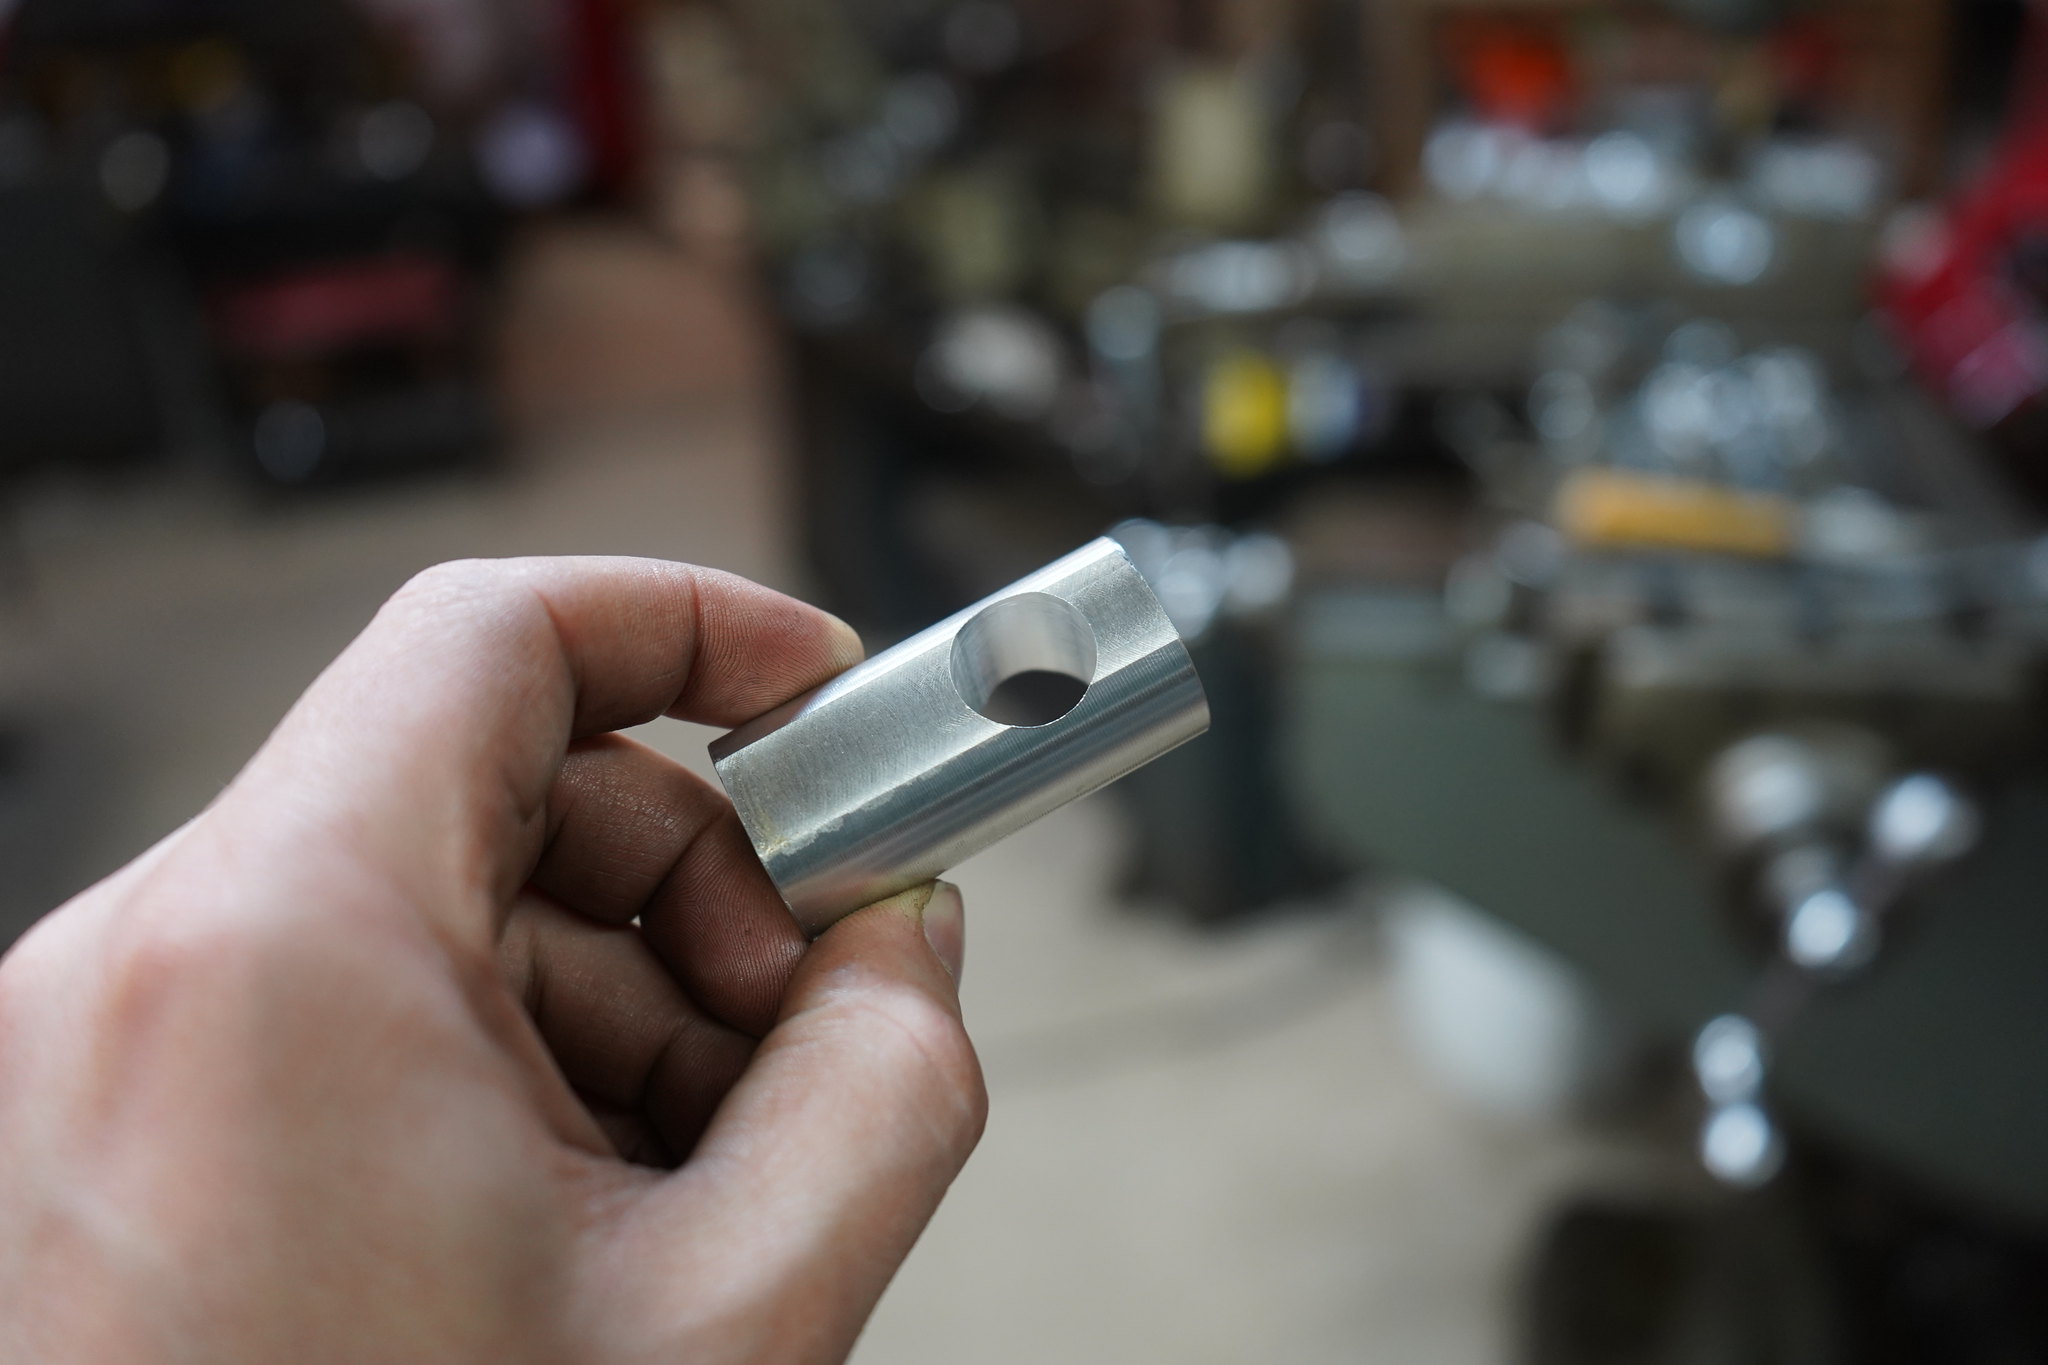
Part 3 of the hood pins
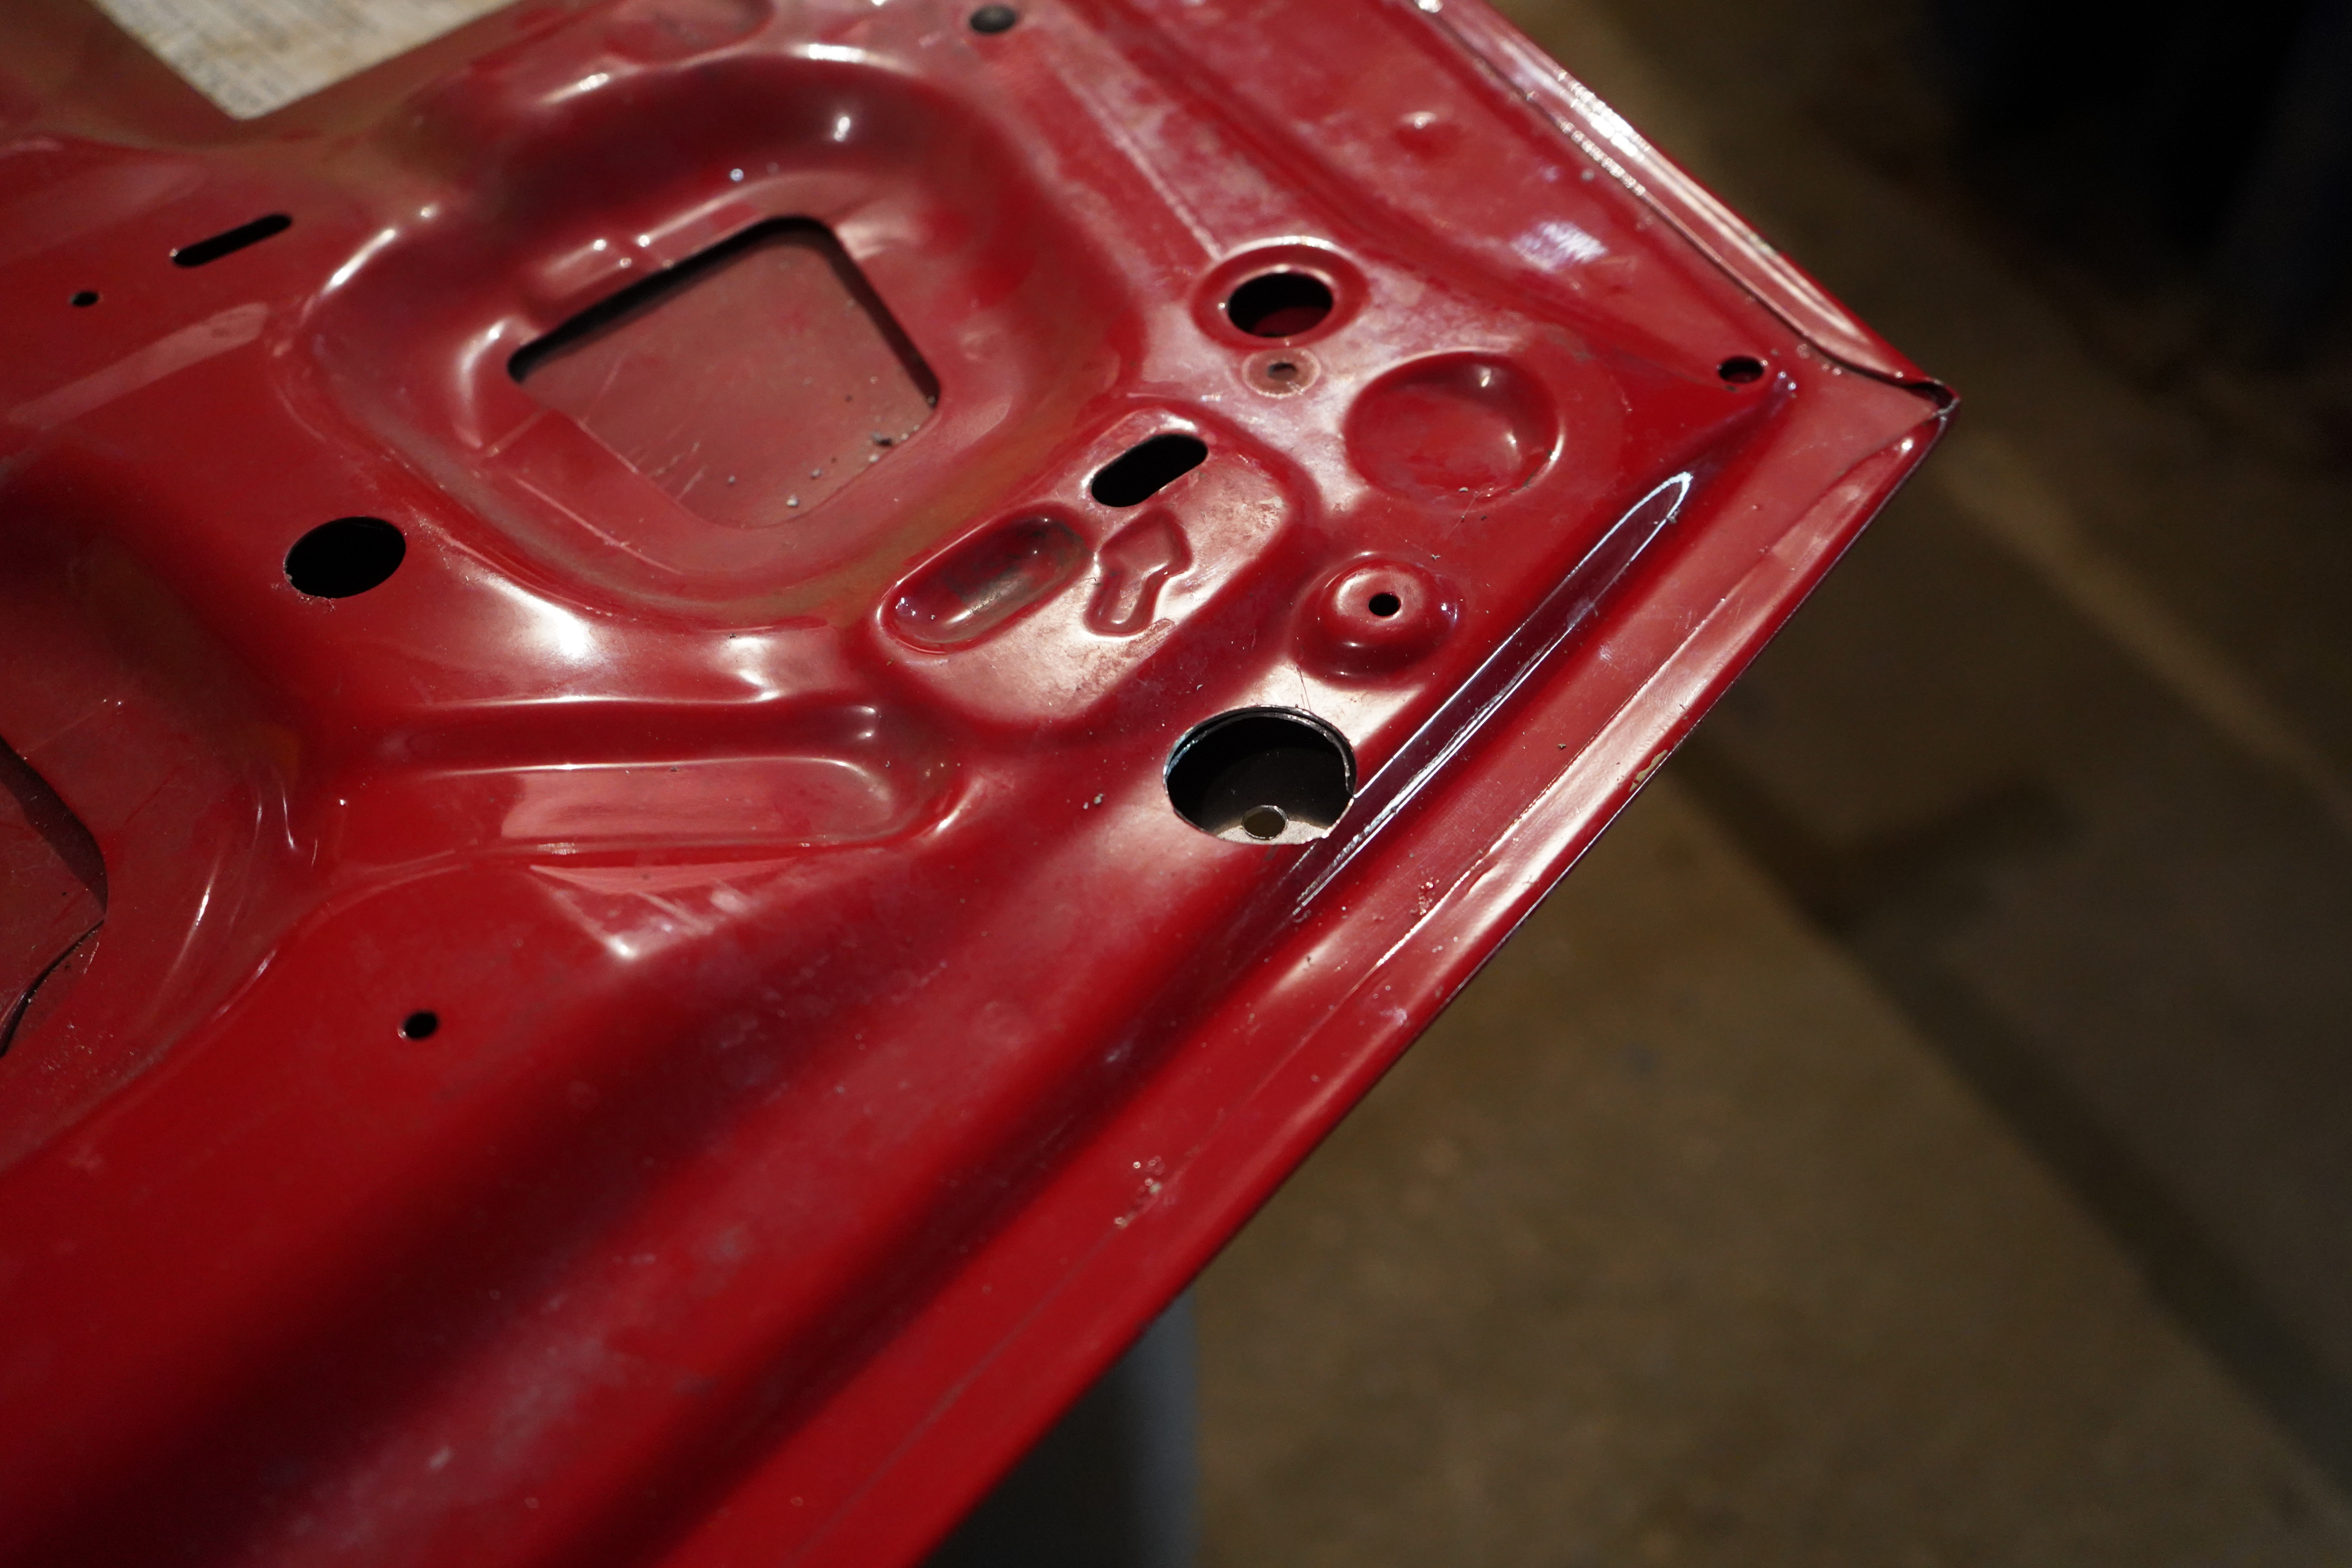
A hole
 DSC02559 by tom maloy, on Flickr
Hand model, booked for the next year
 DSC02566 by tom maloy, on Flickr
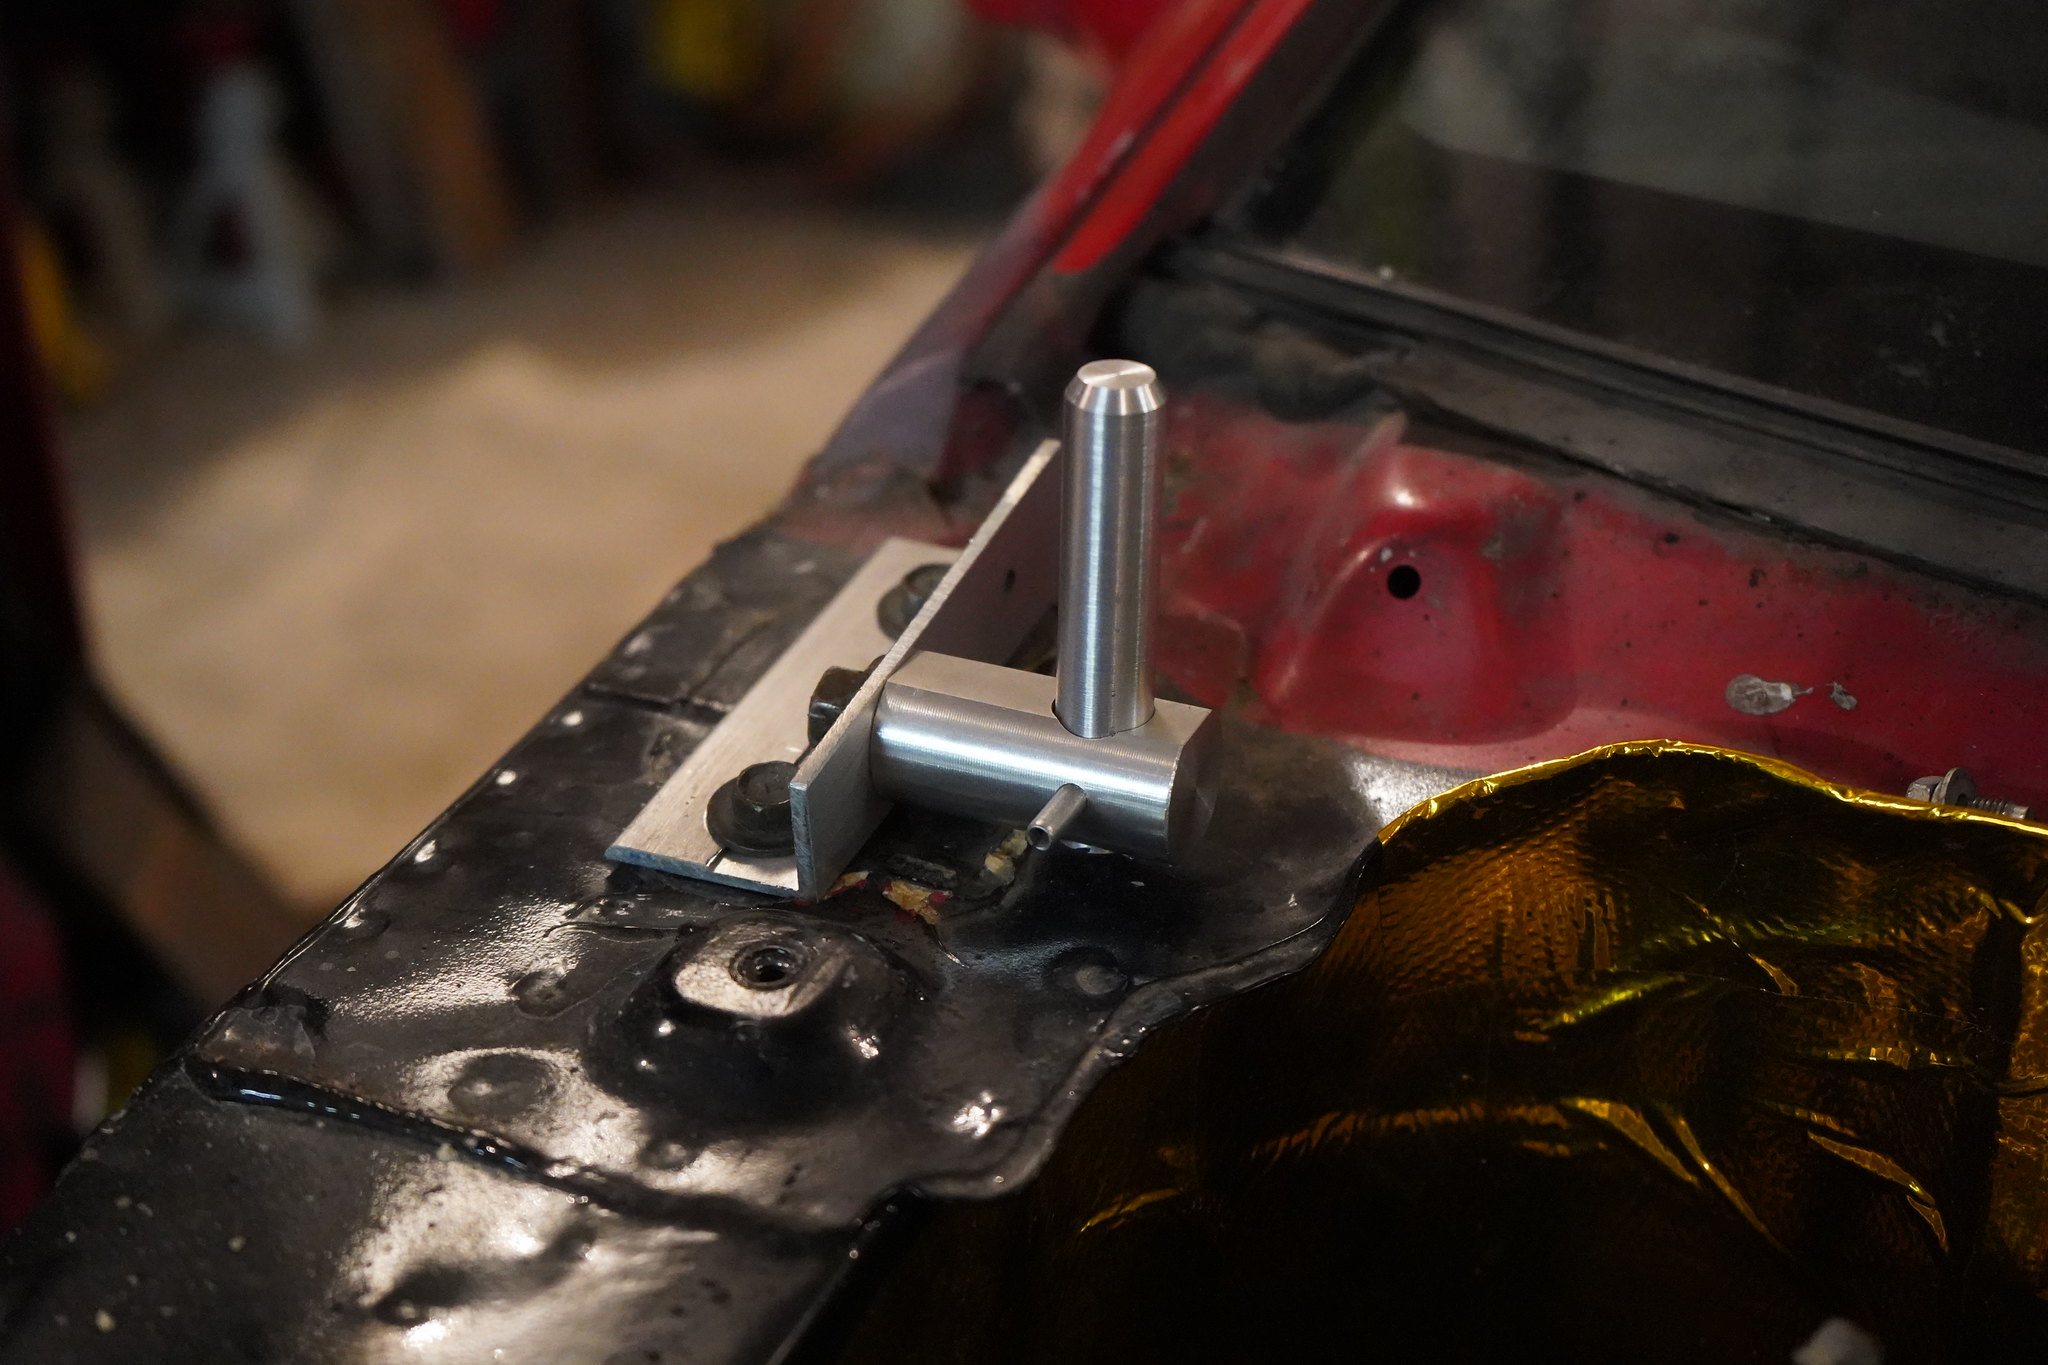
Rear anchors, these are mounted to the old hood hinge mounts and will complete the set of four
 DSC02578 by tom maloy, on Flickr
I used roll pins(double shear) here to attache the pins to the anchors
 DSC02582 by tom maloy, on Flickr
 DSC02589 by tom maloy, on Flickr
 DSC02611 by tom maloy, on Flickr
Hood fits! first try!
 DSC02612 by tom maloy, on Flickr
Diglets is what I call them
 DSC02632 by tom maloy, on Flickr
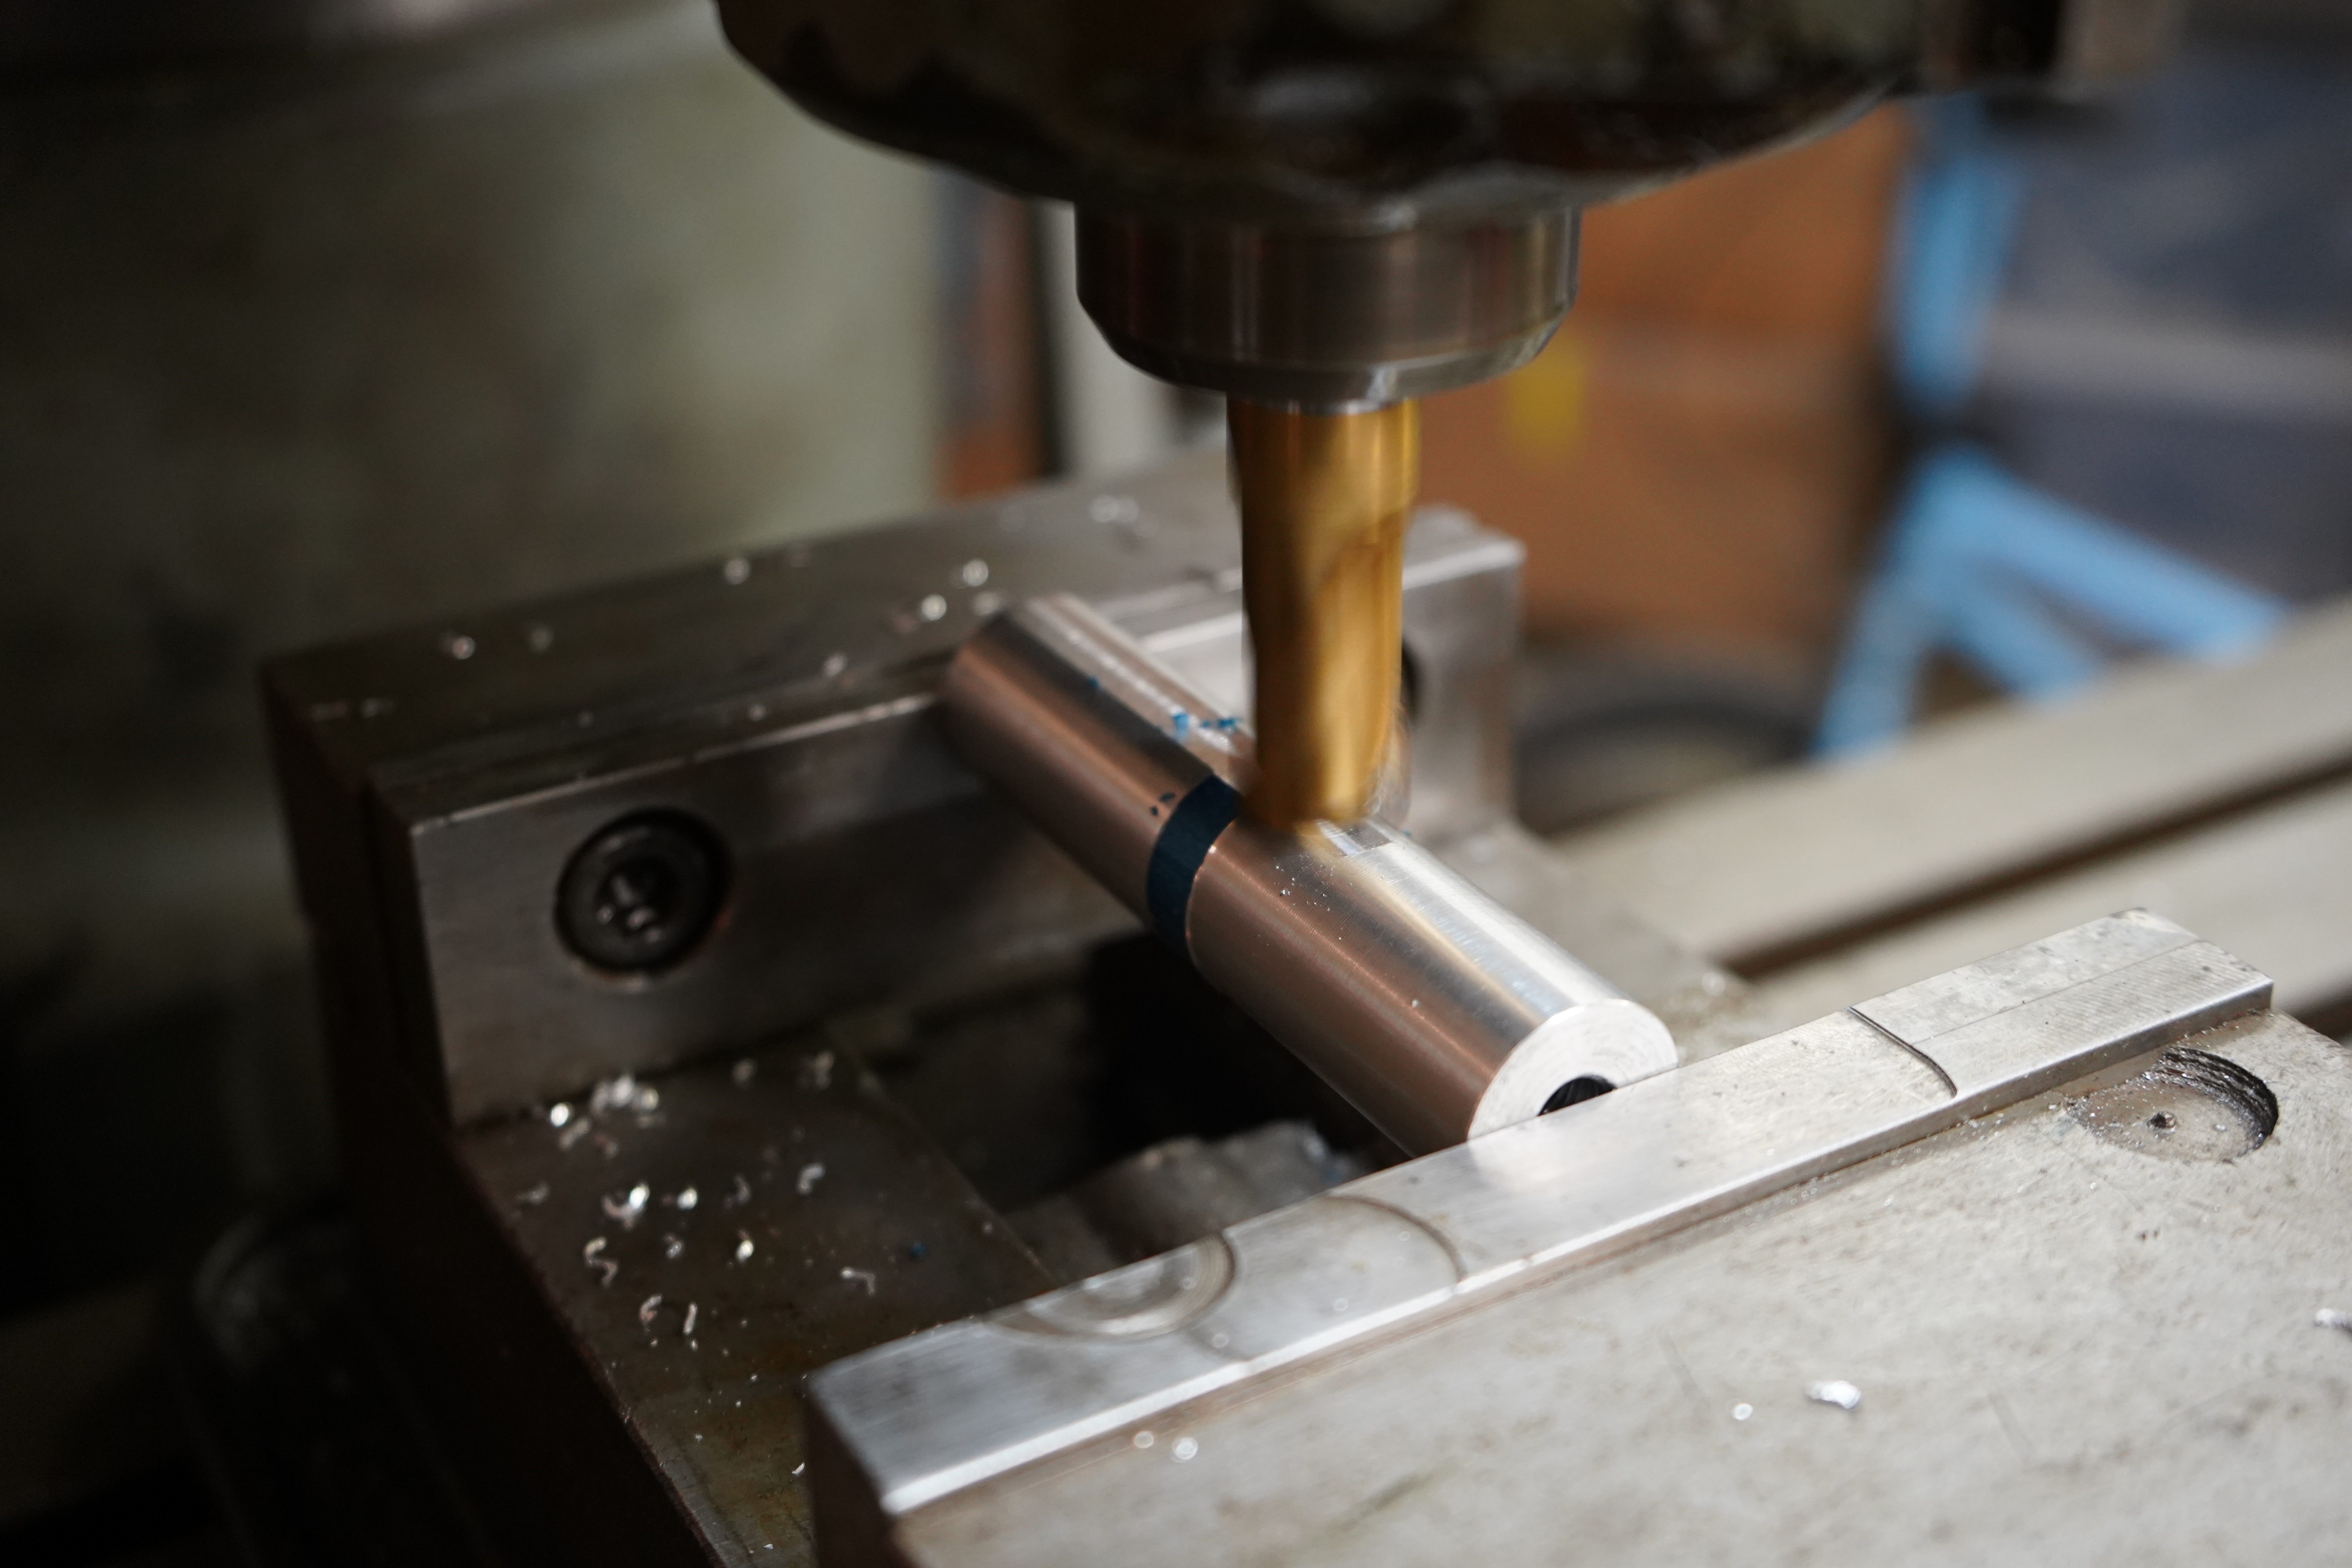
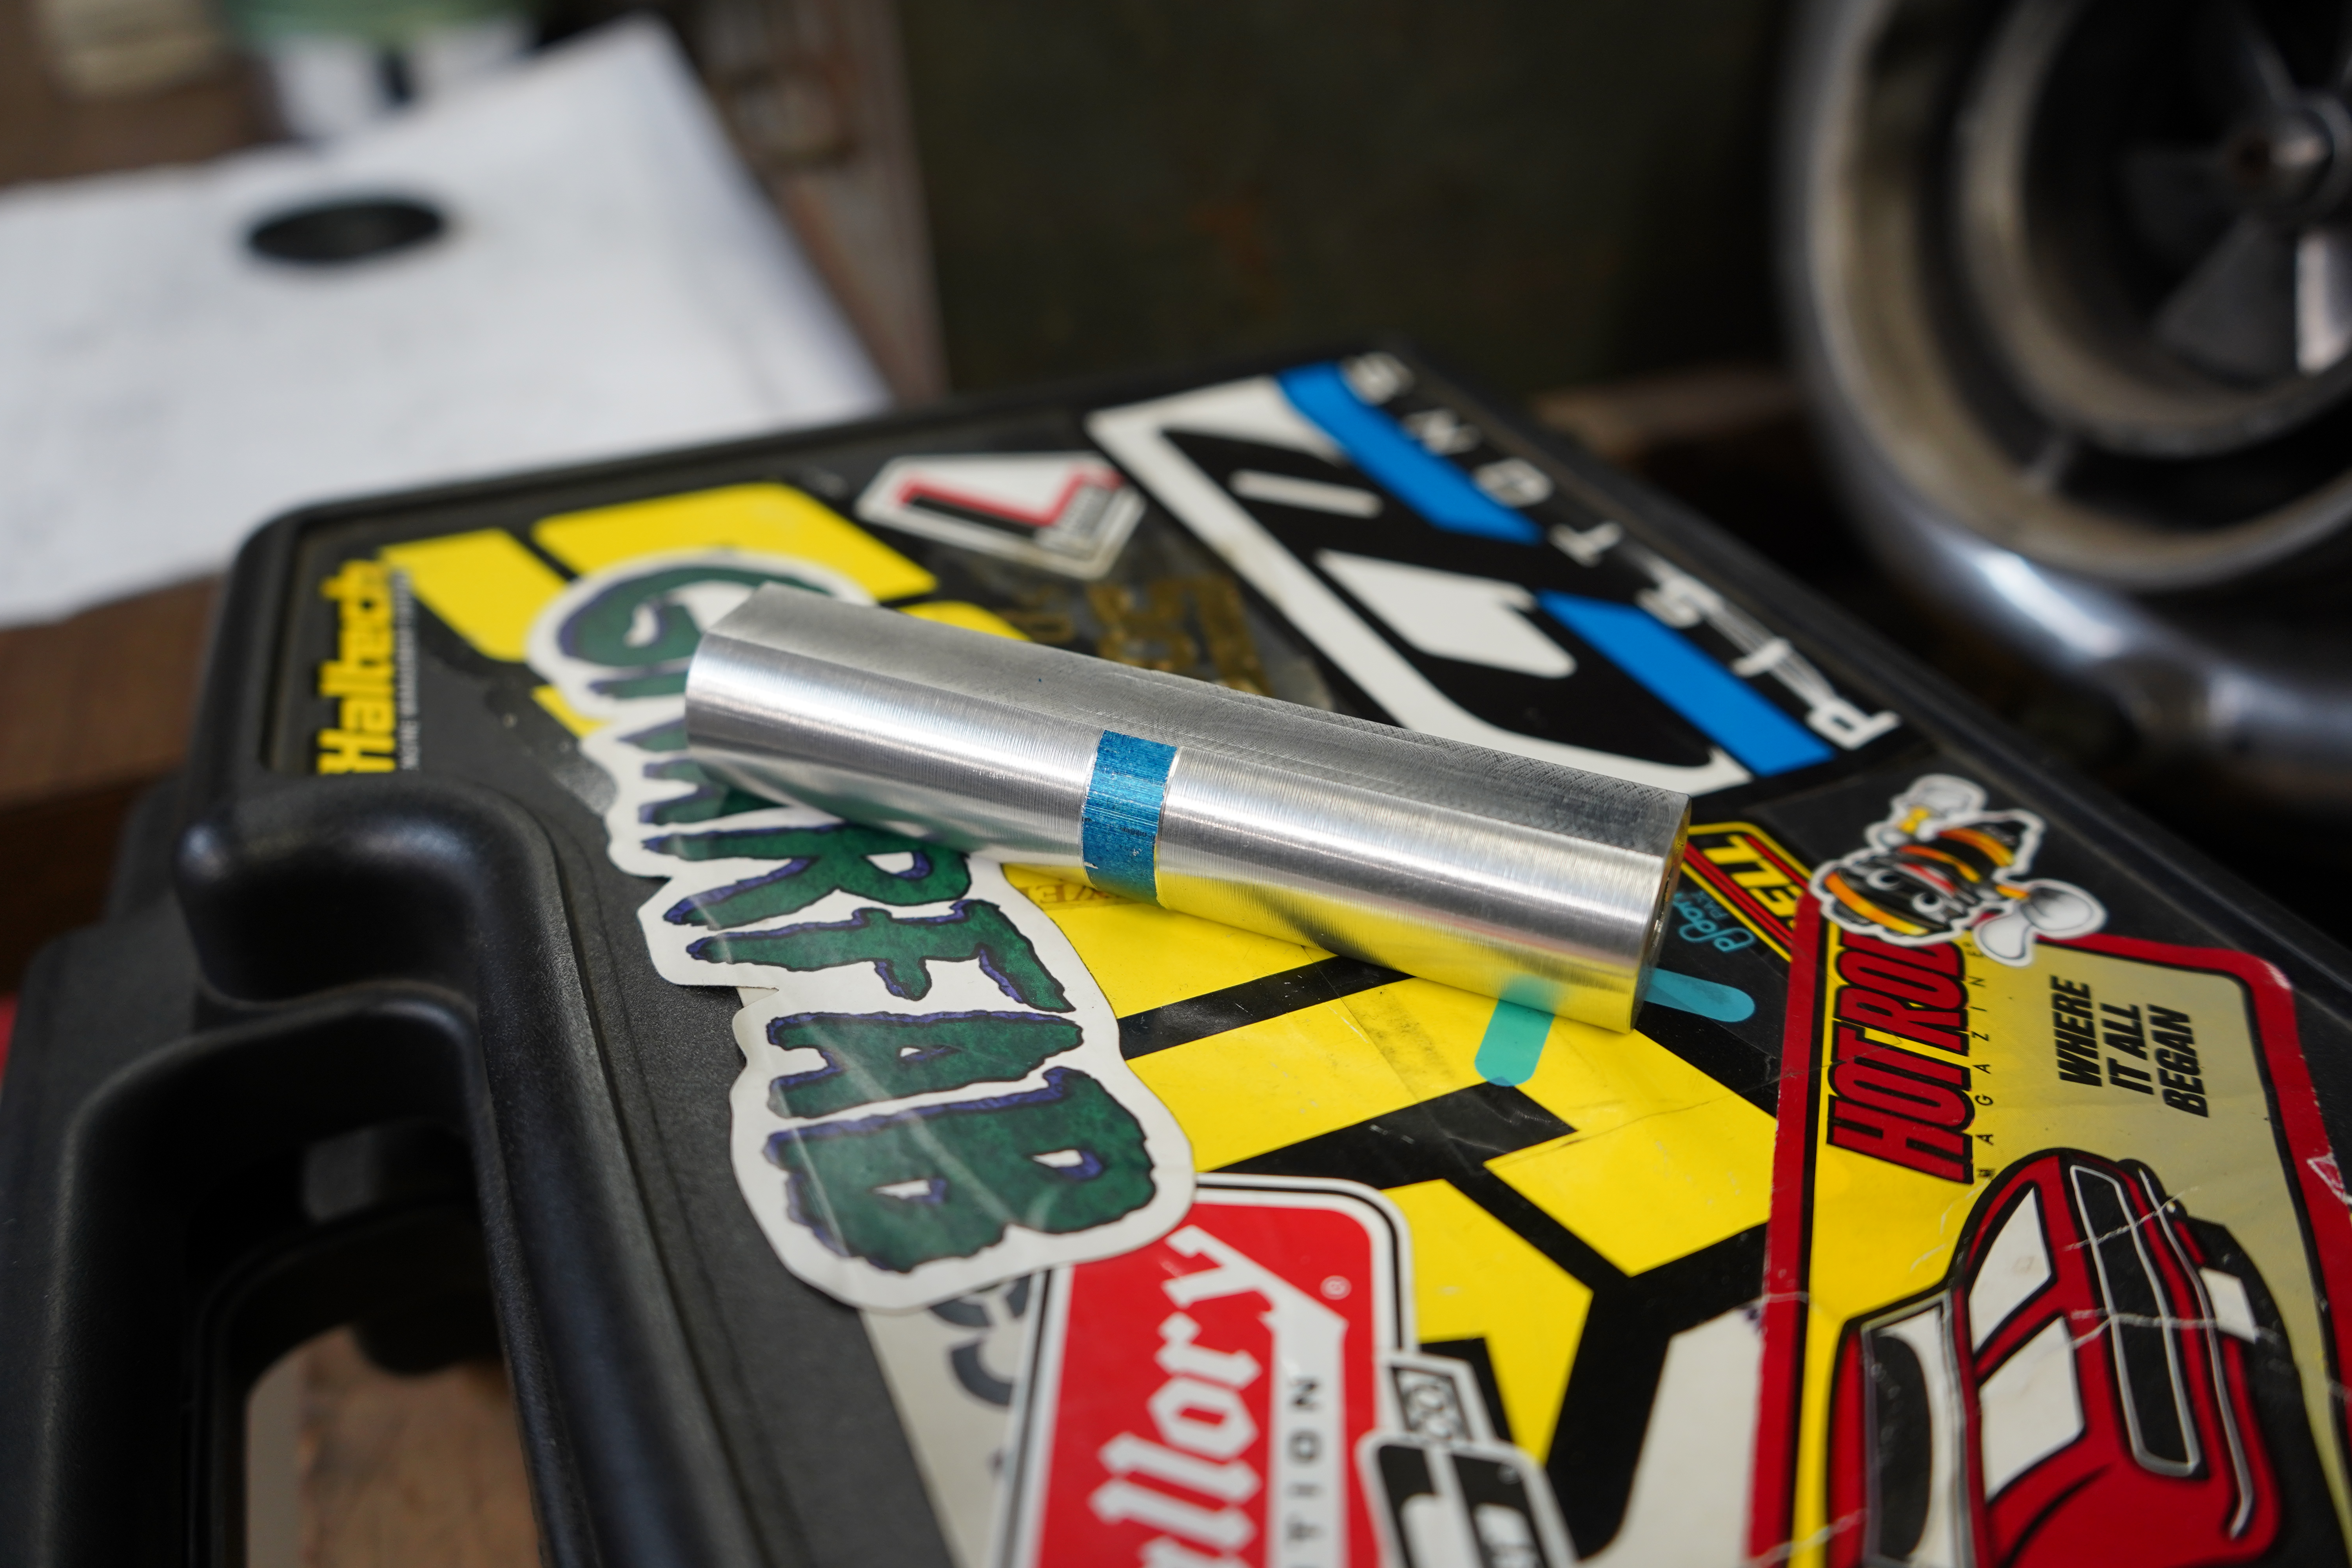
A humble stainless tube
 DSC03914 by tom maloy, on Flickr
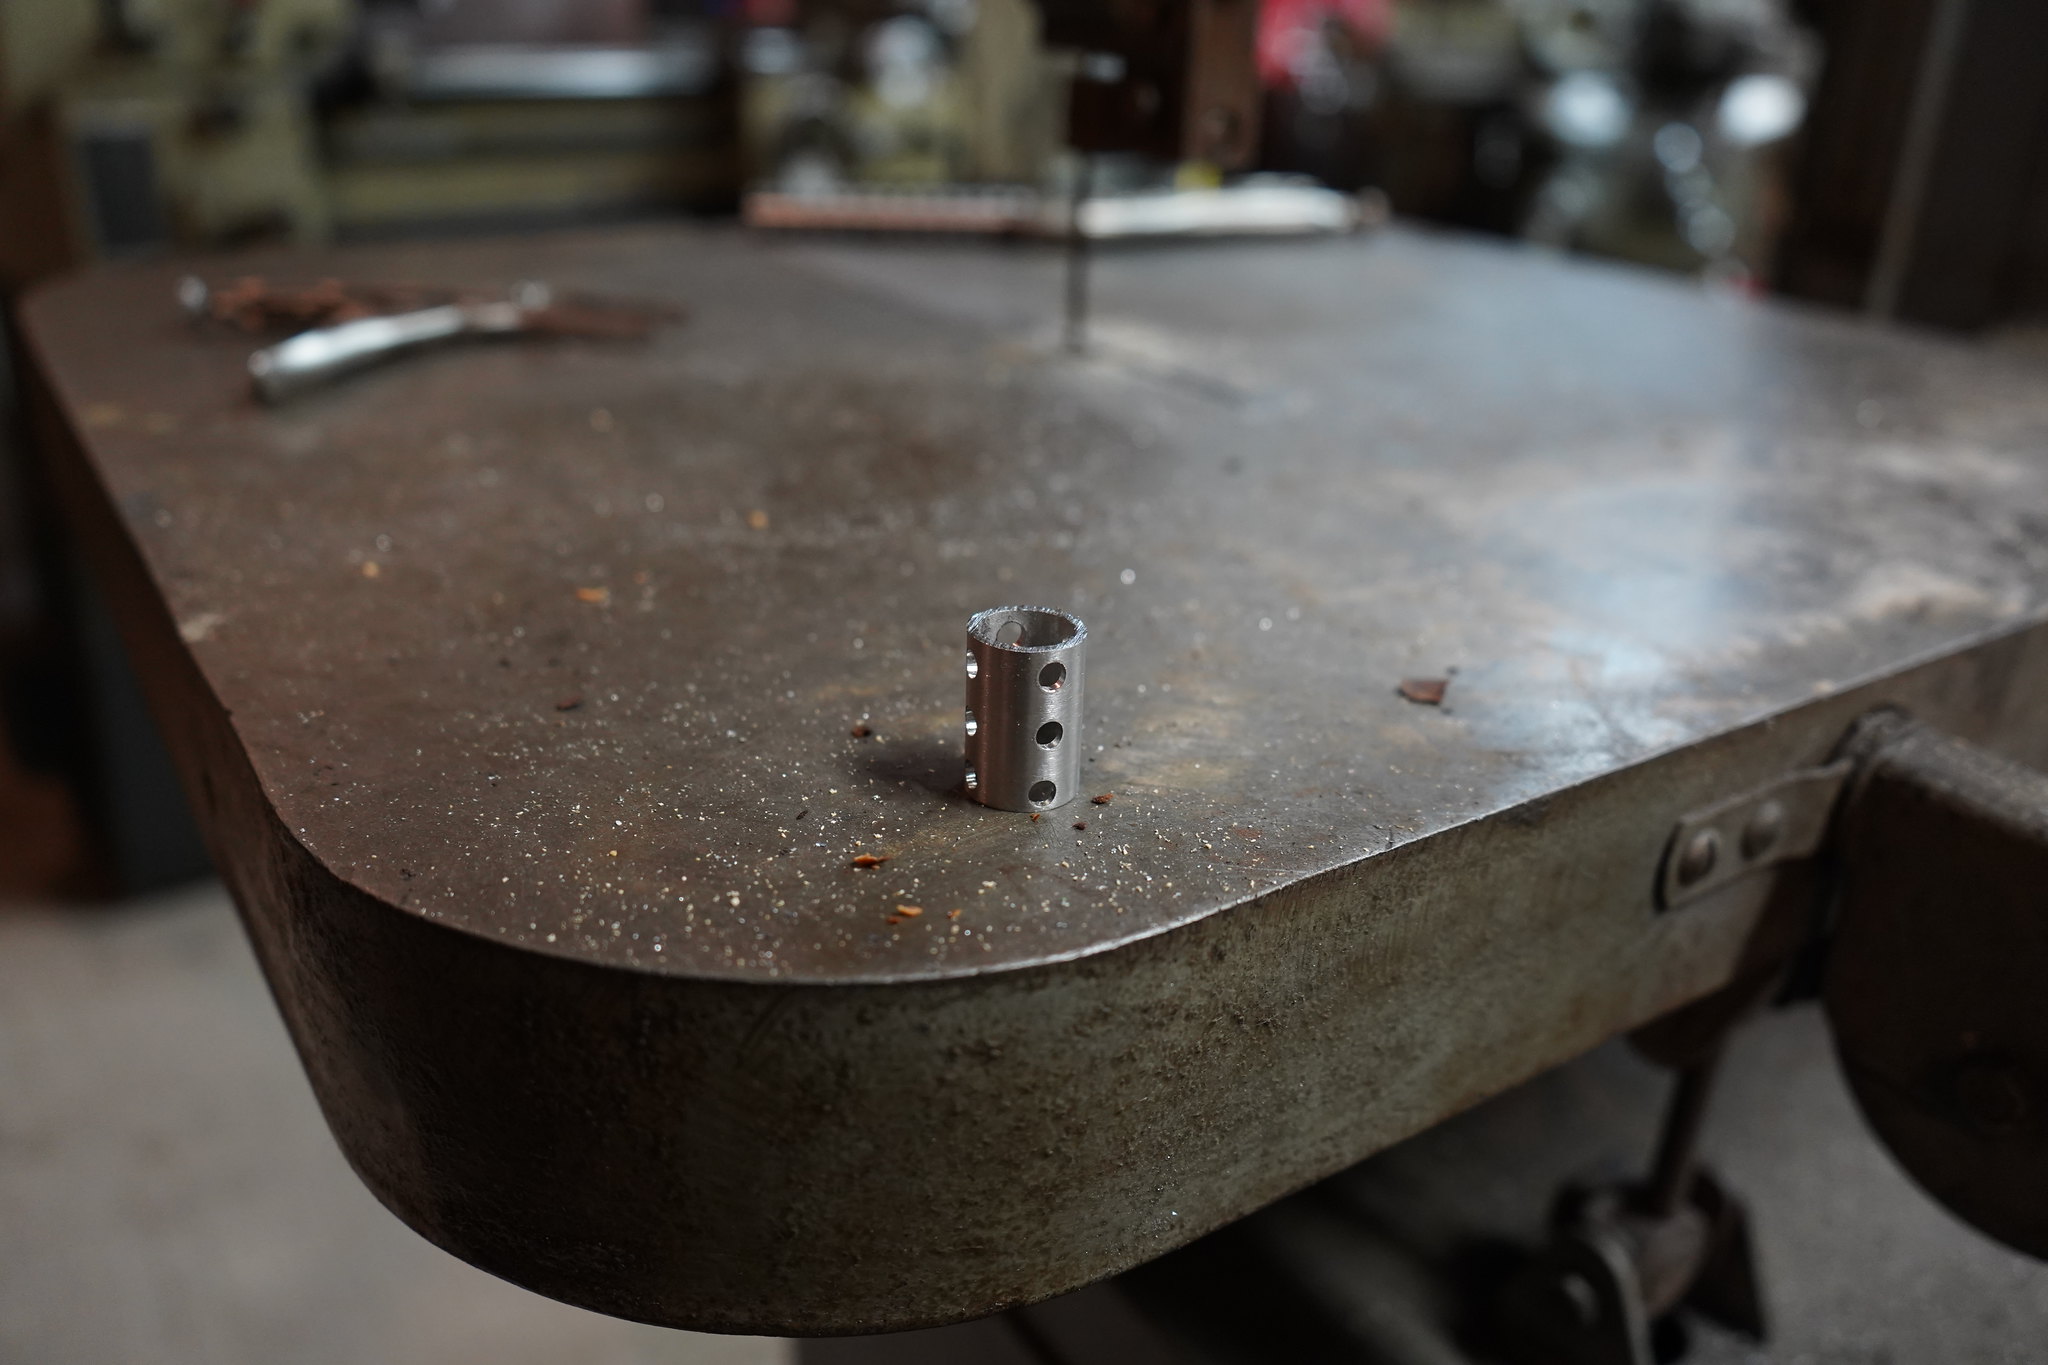
A bunch of holes
 DSC03921 by tom maloy, on Flickr
Cut into 4 smaller tubes
 DSC03941 by tom maloy, on Flickr
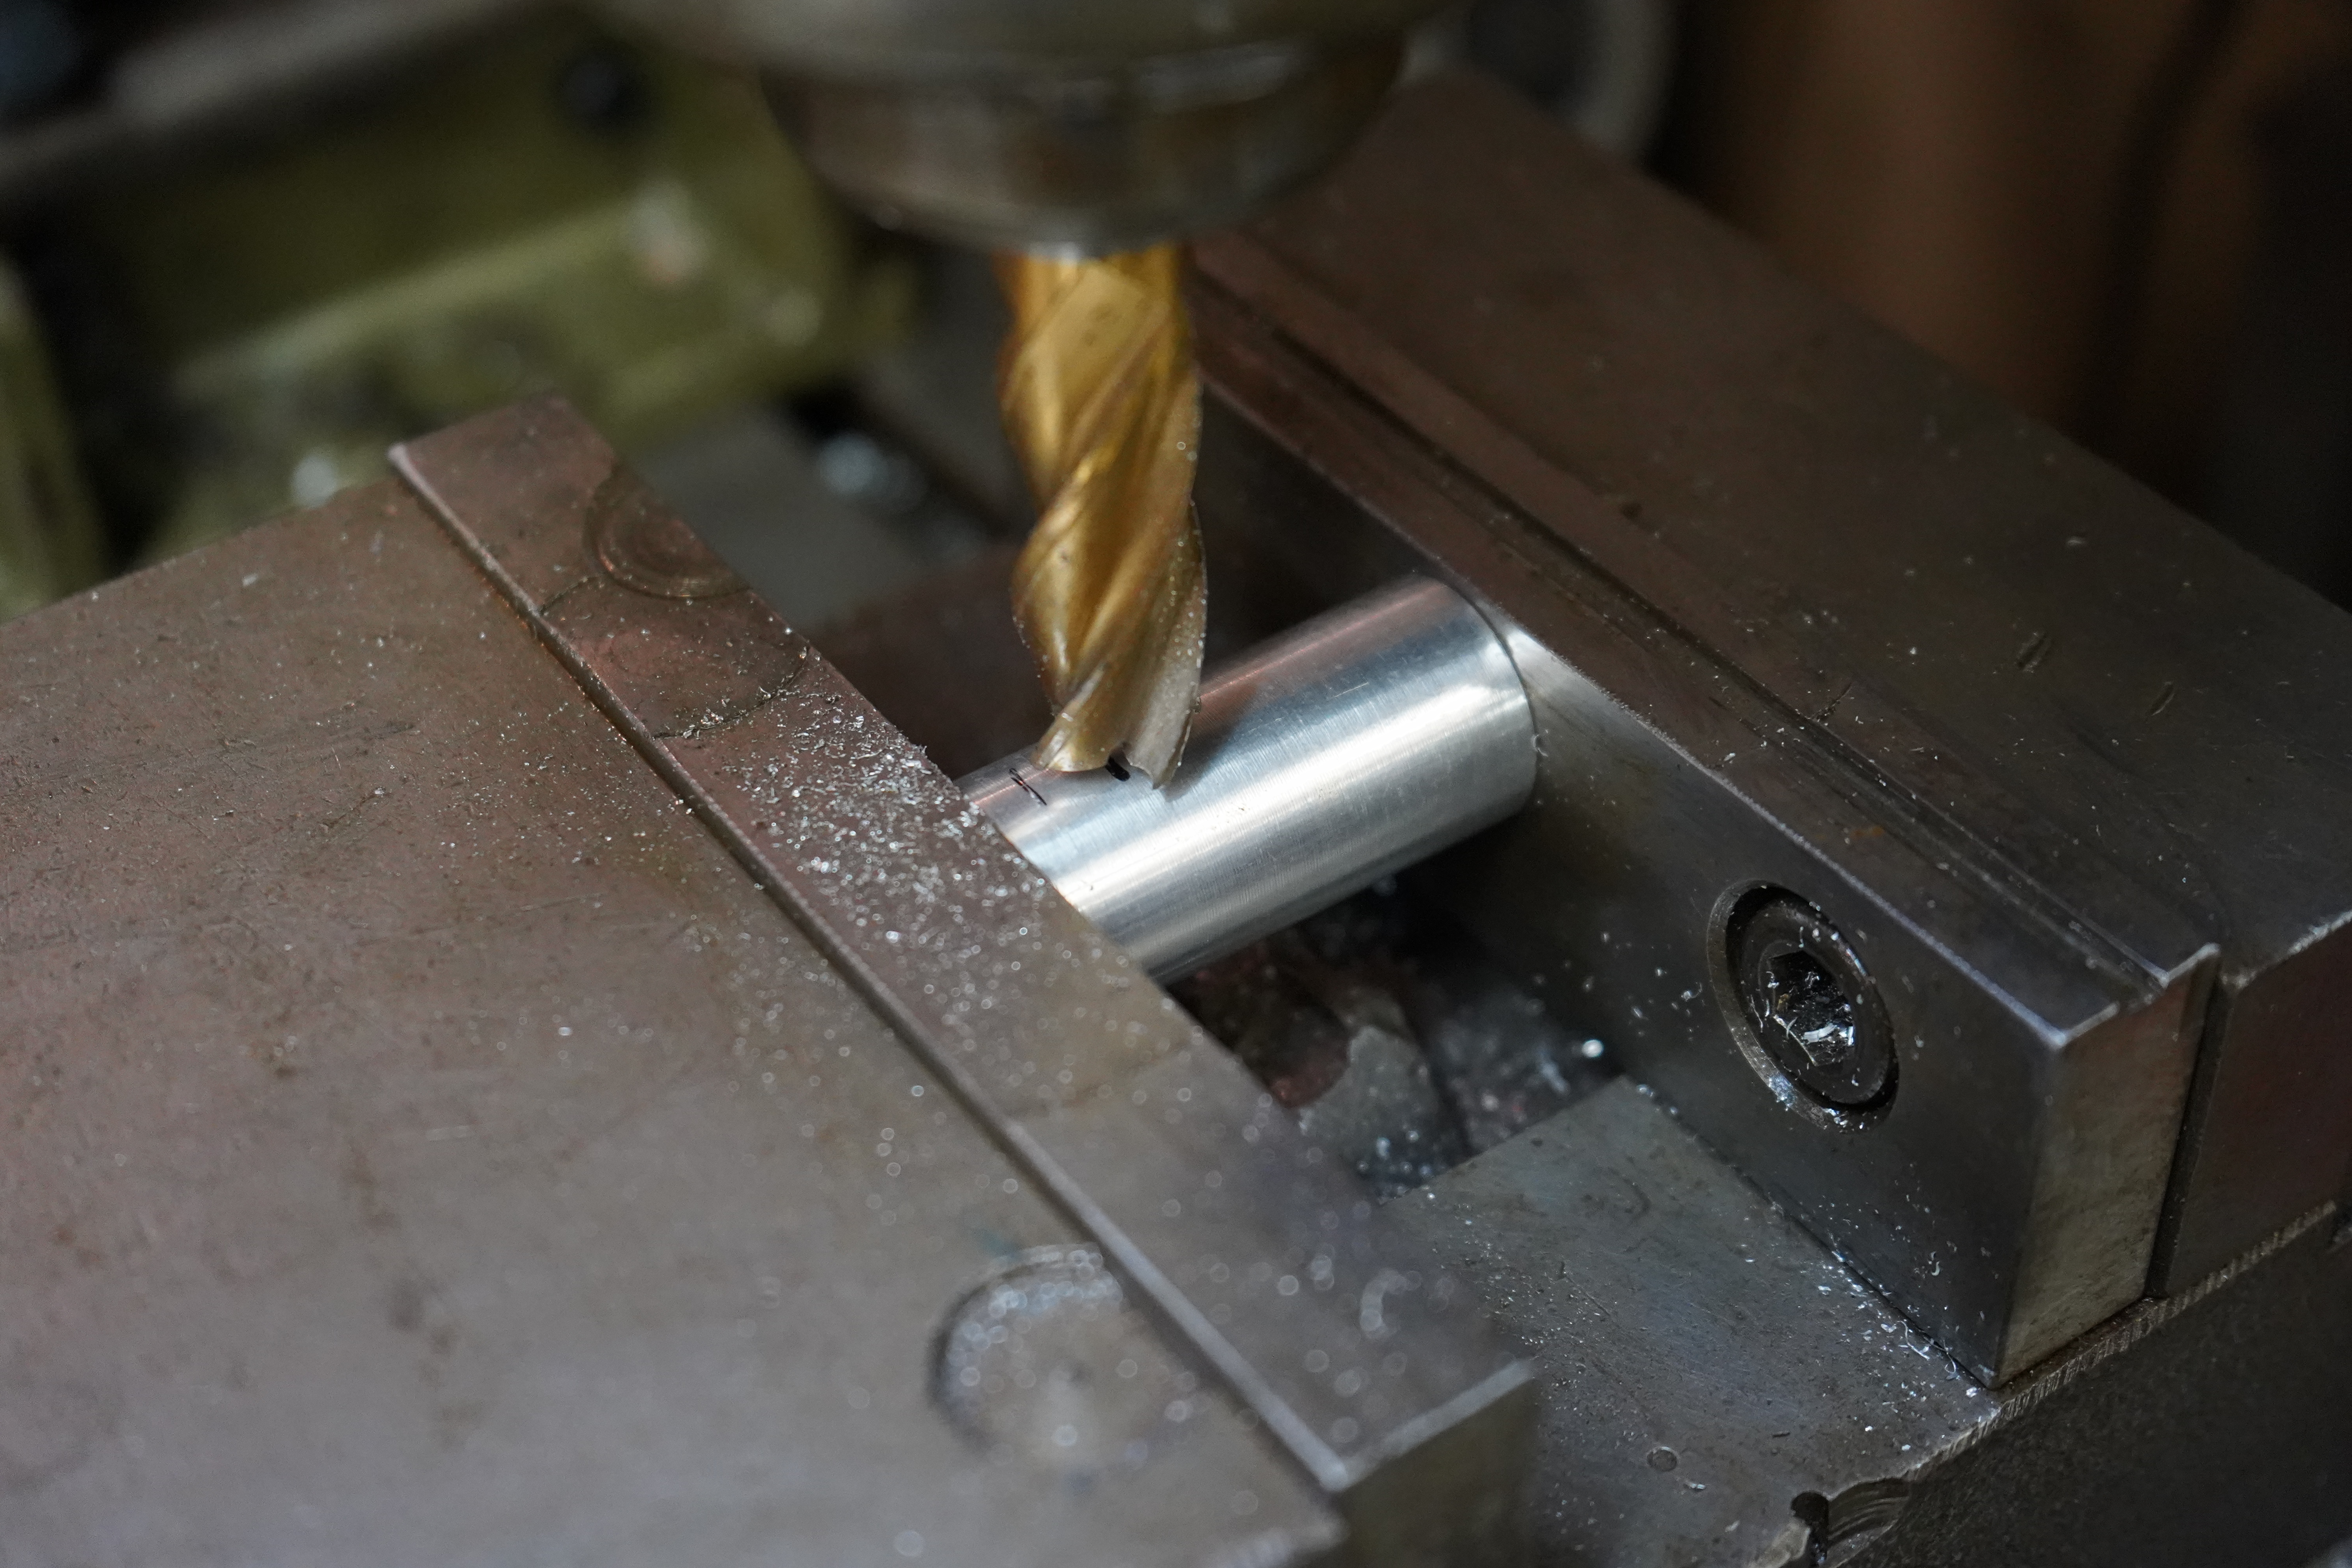
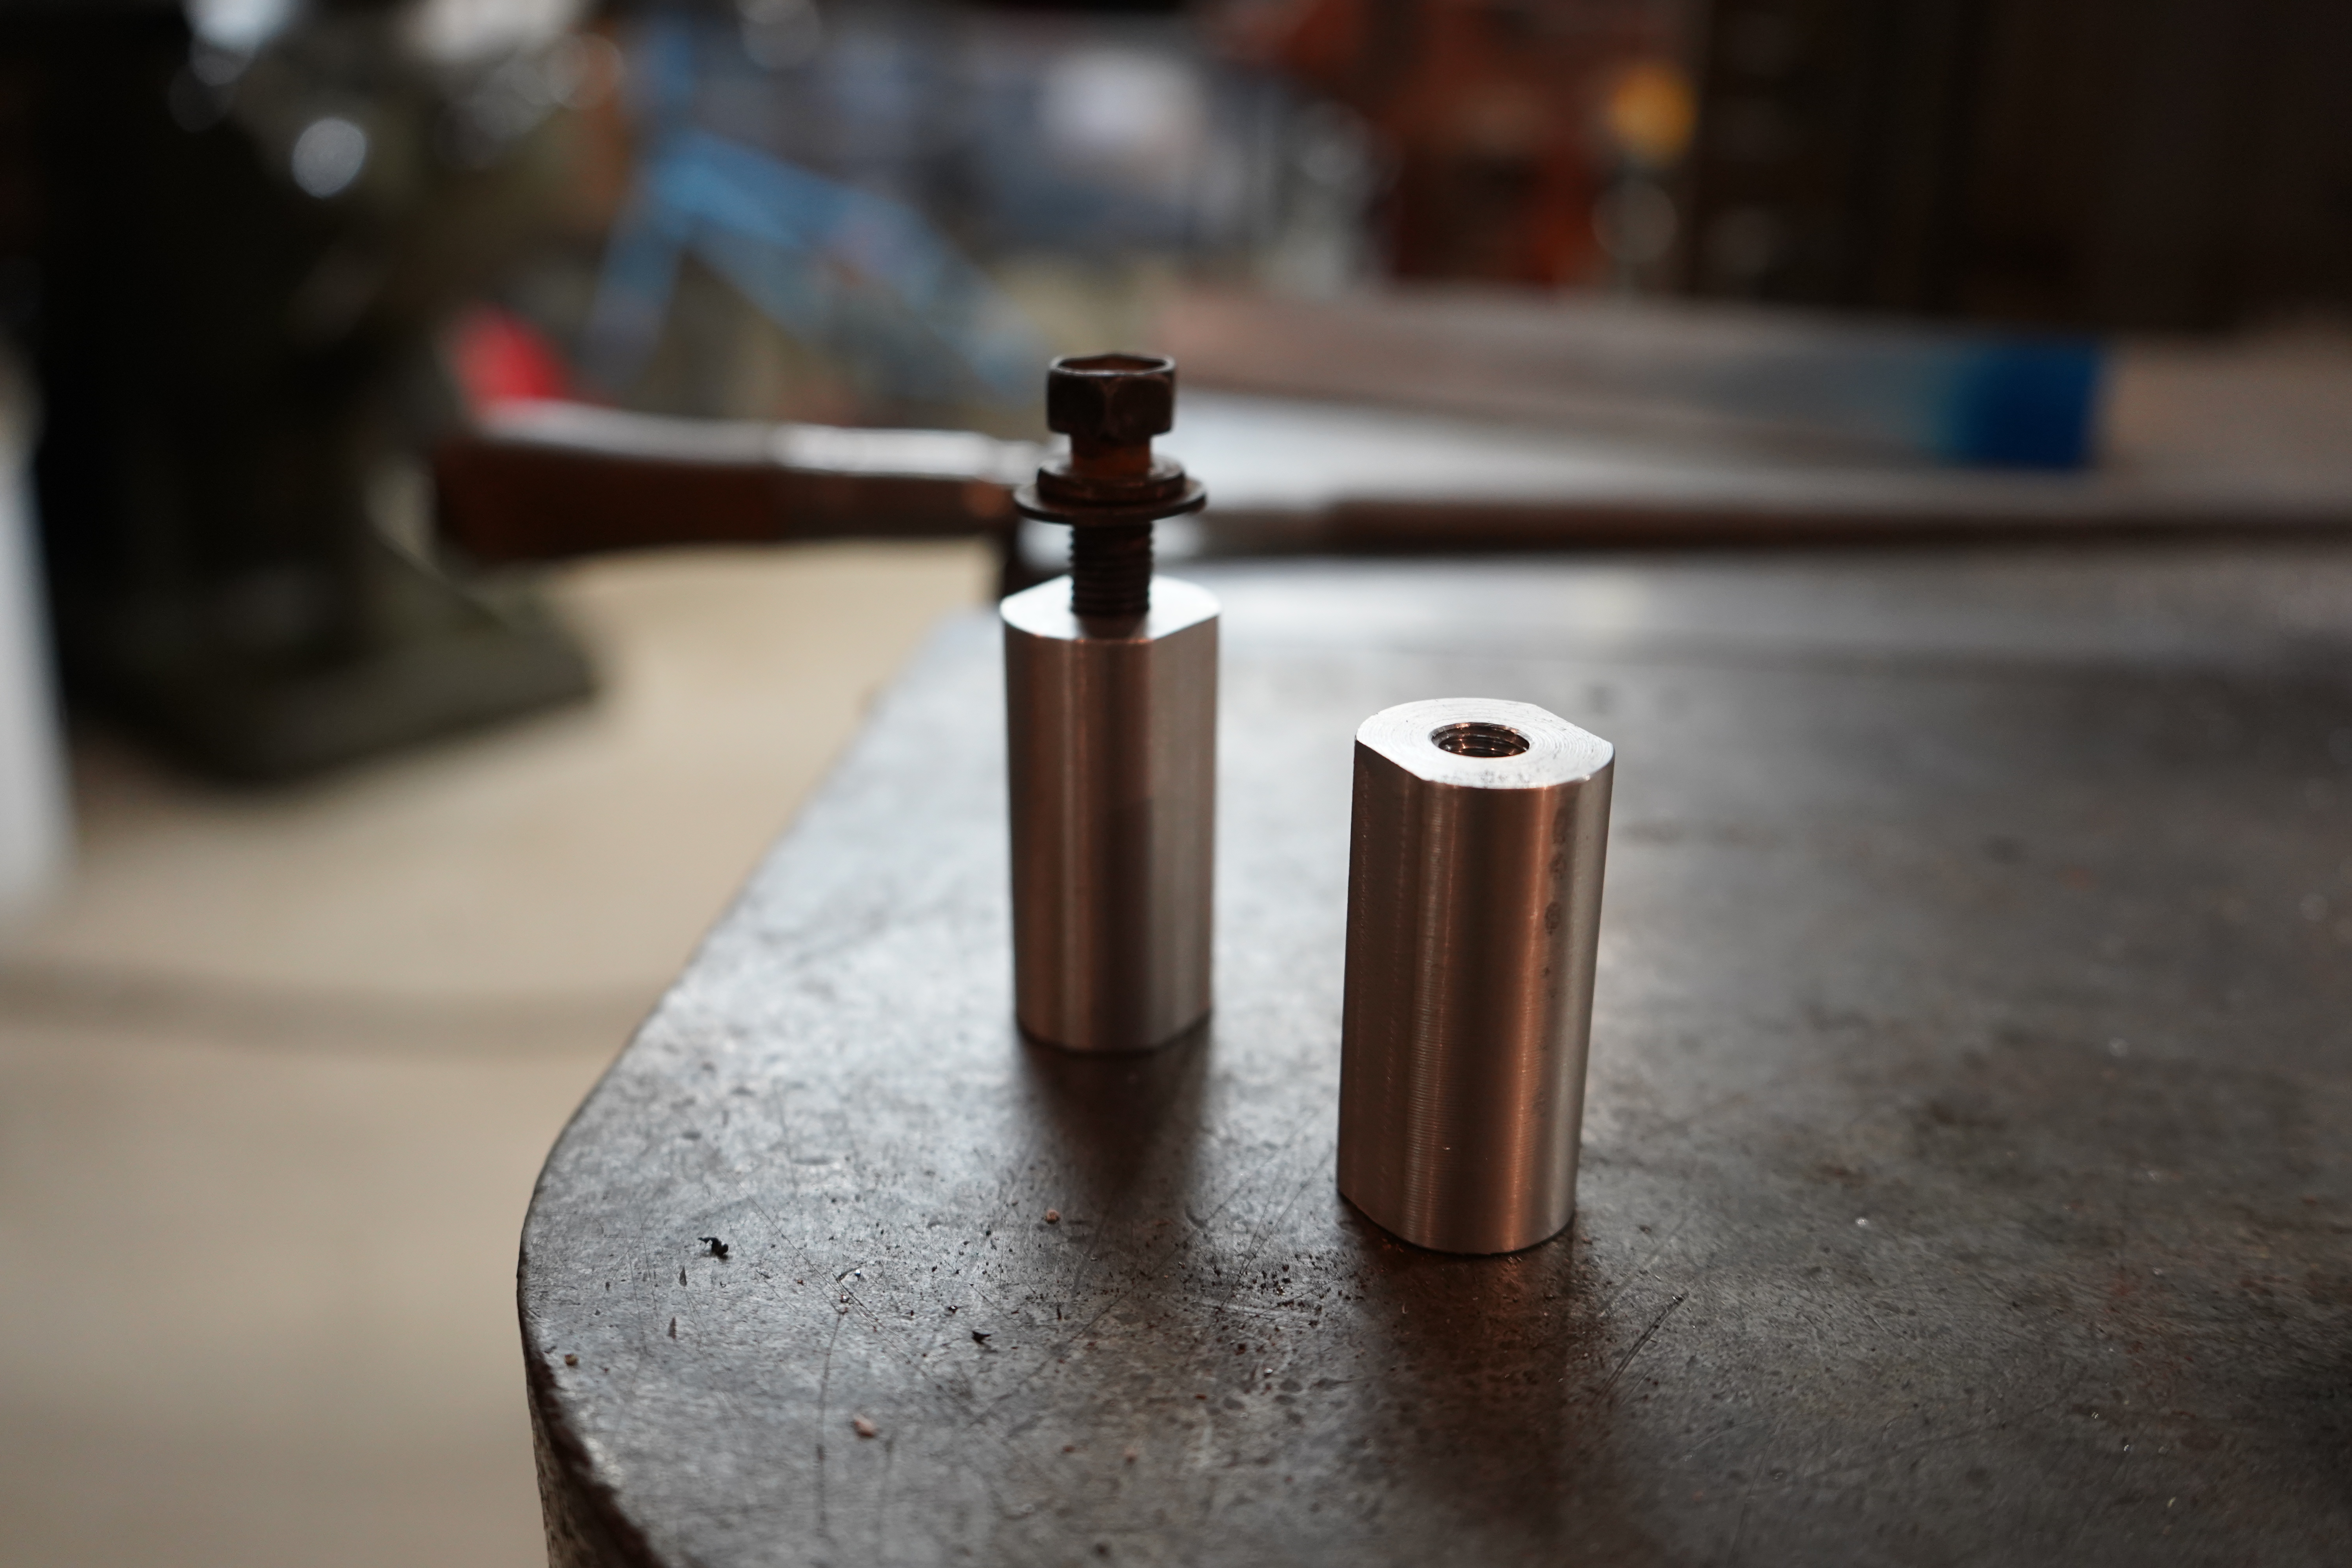
Machined I.D. to fit snugly over the hood pins
 DSC03989 by tom maloy, on Flickr
All I got for today, hood pin part 4 will show it all coming togetherLeave a comment:
-
Leave a comment:
-
Hood pins part II
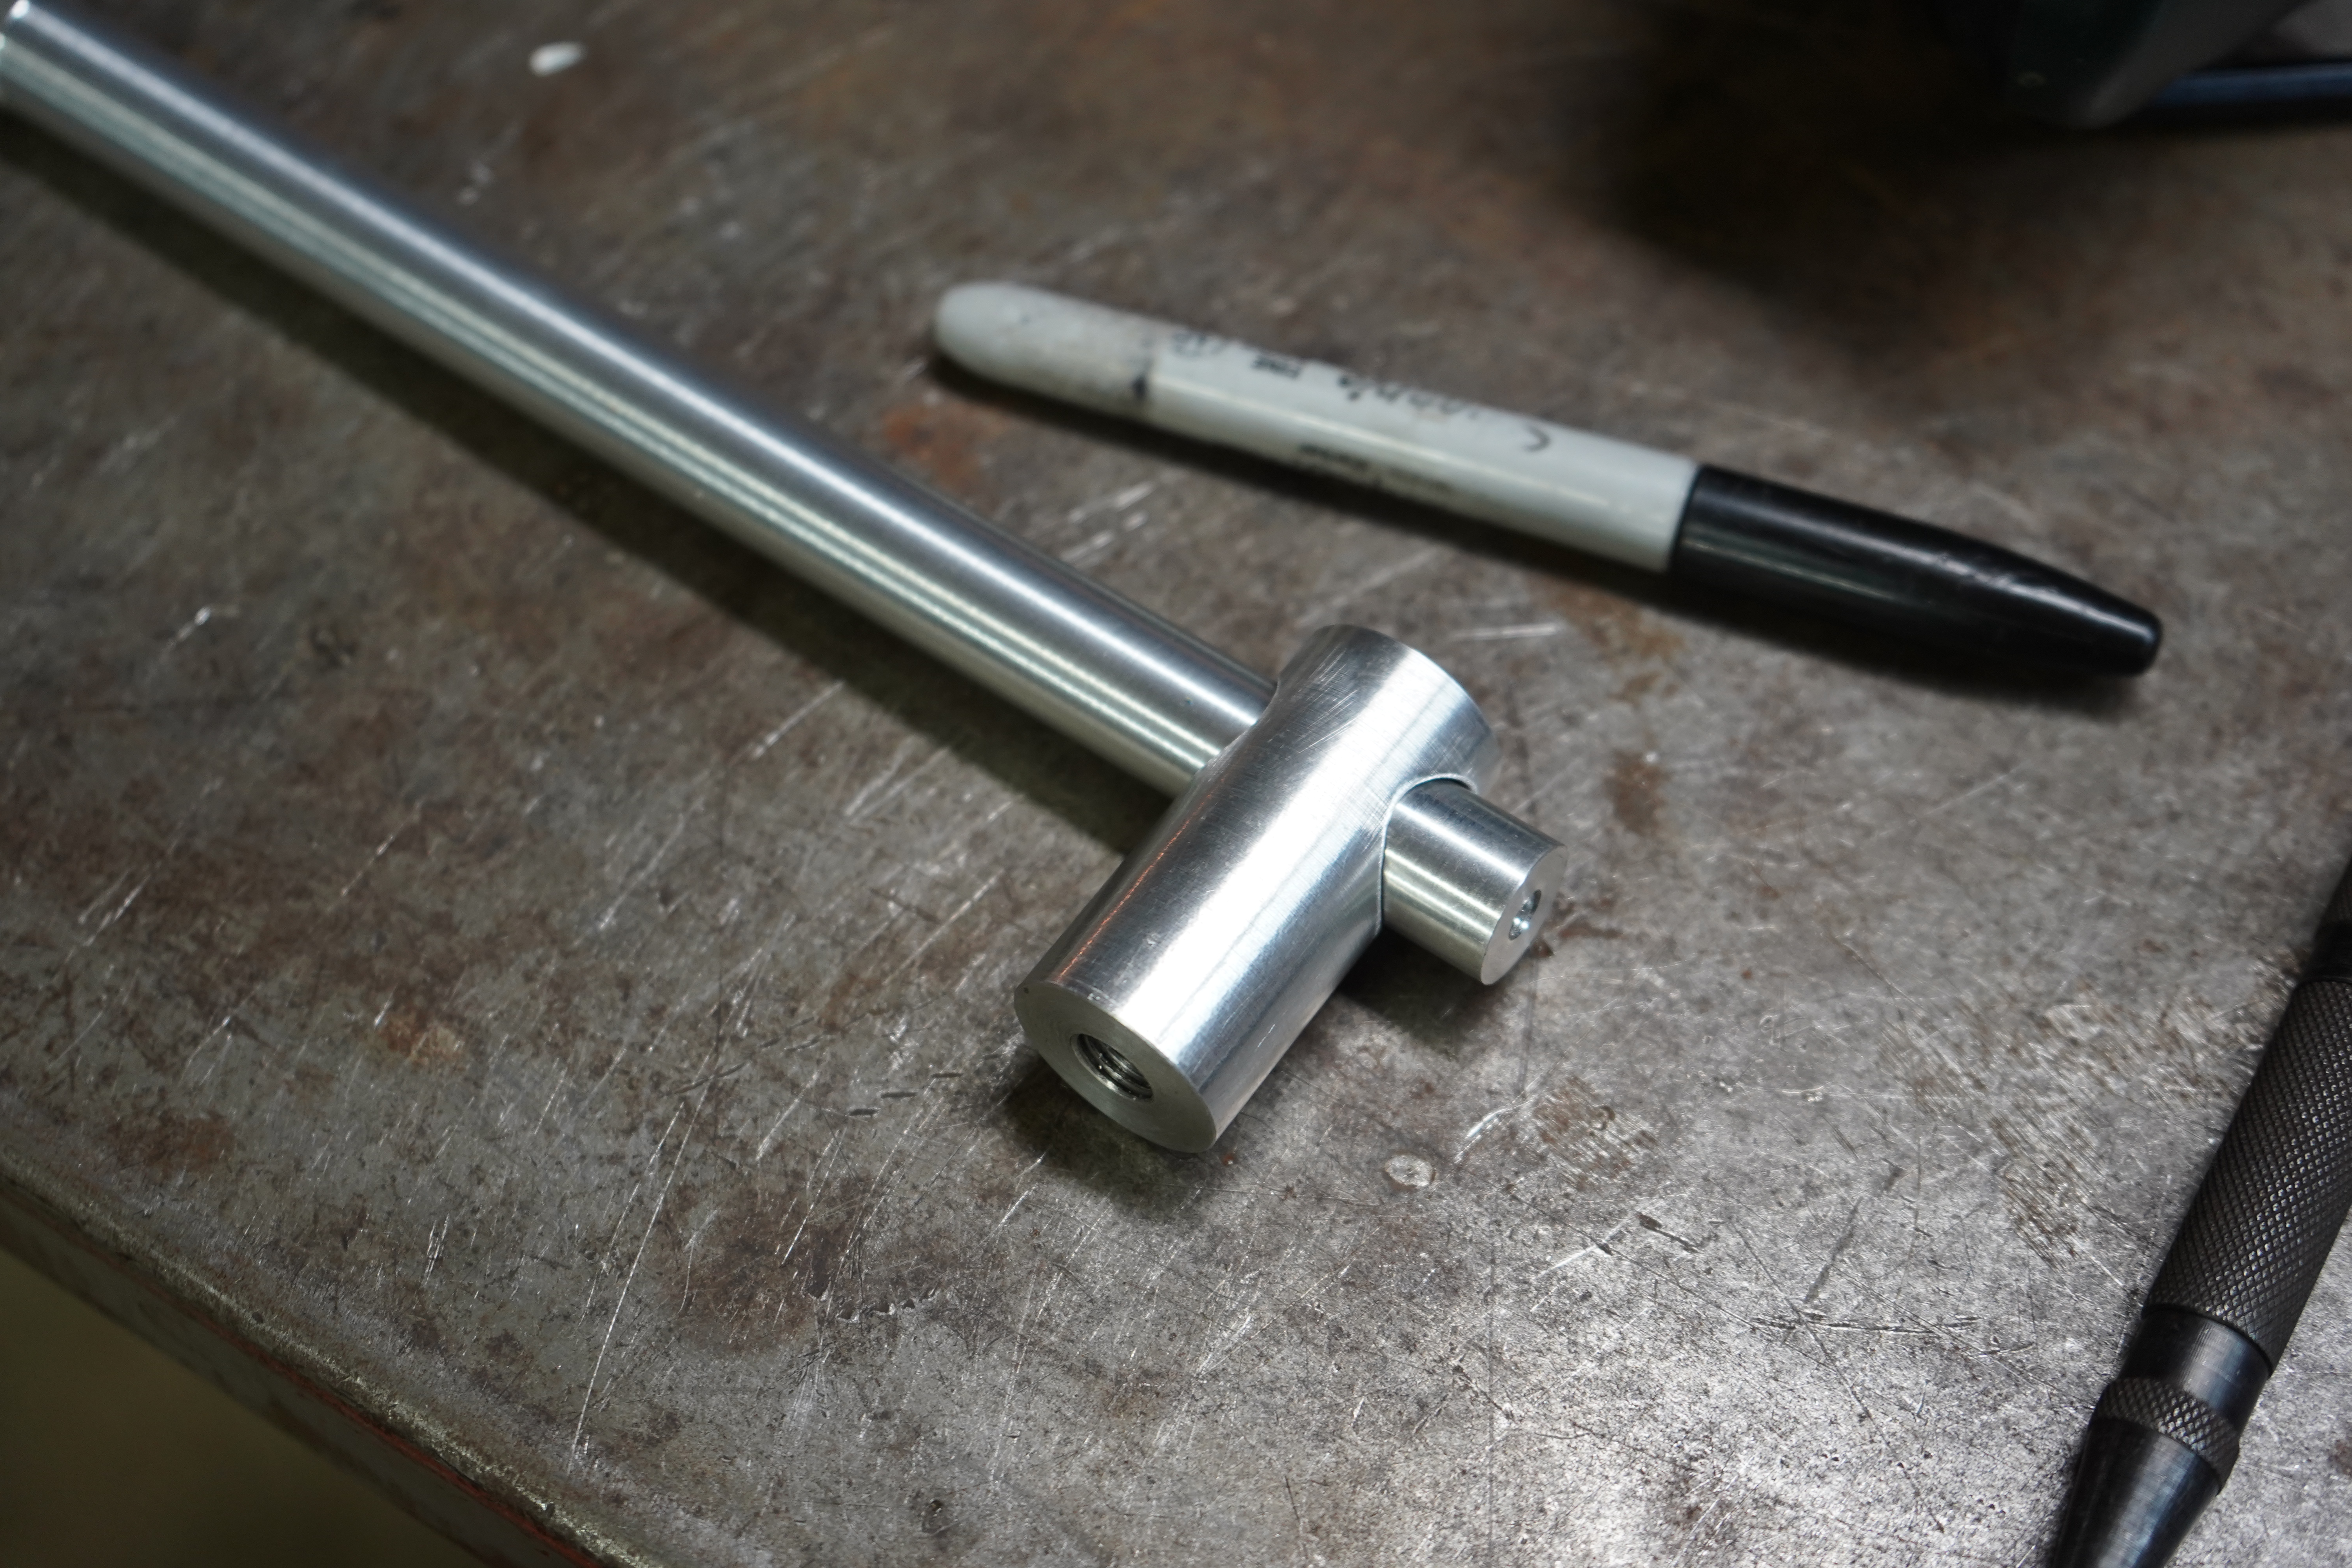
Roll pins for days

Made a slight taper on the pin head
The thing with roll pins is never cut them flush until your 100% done, much easier to press out

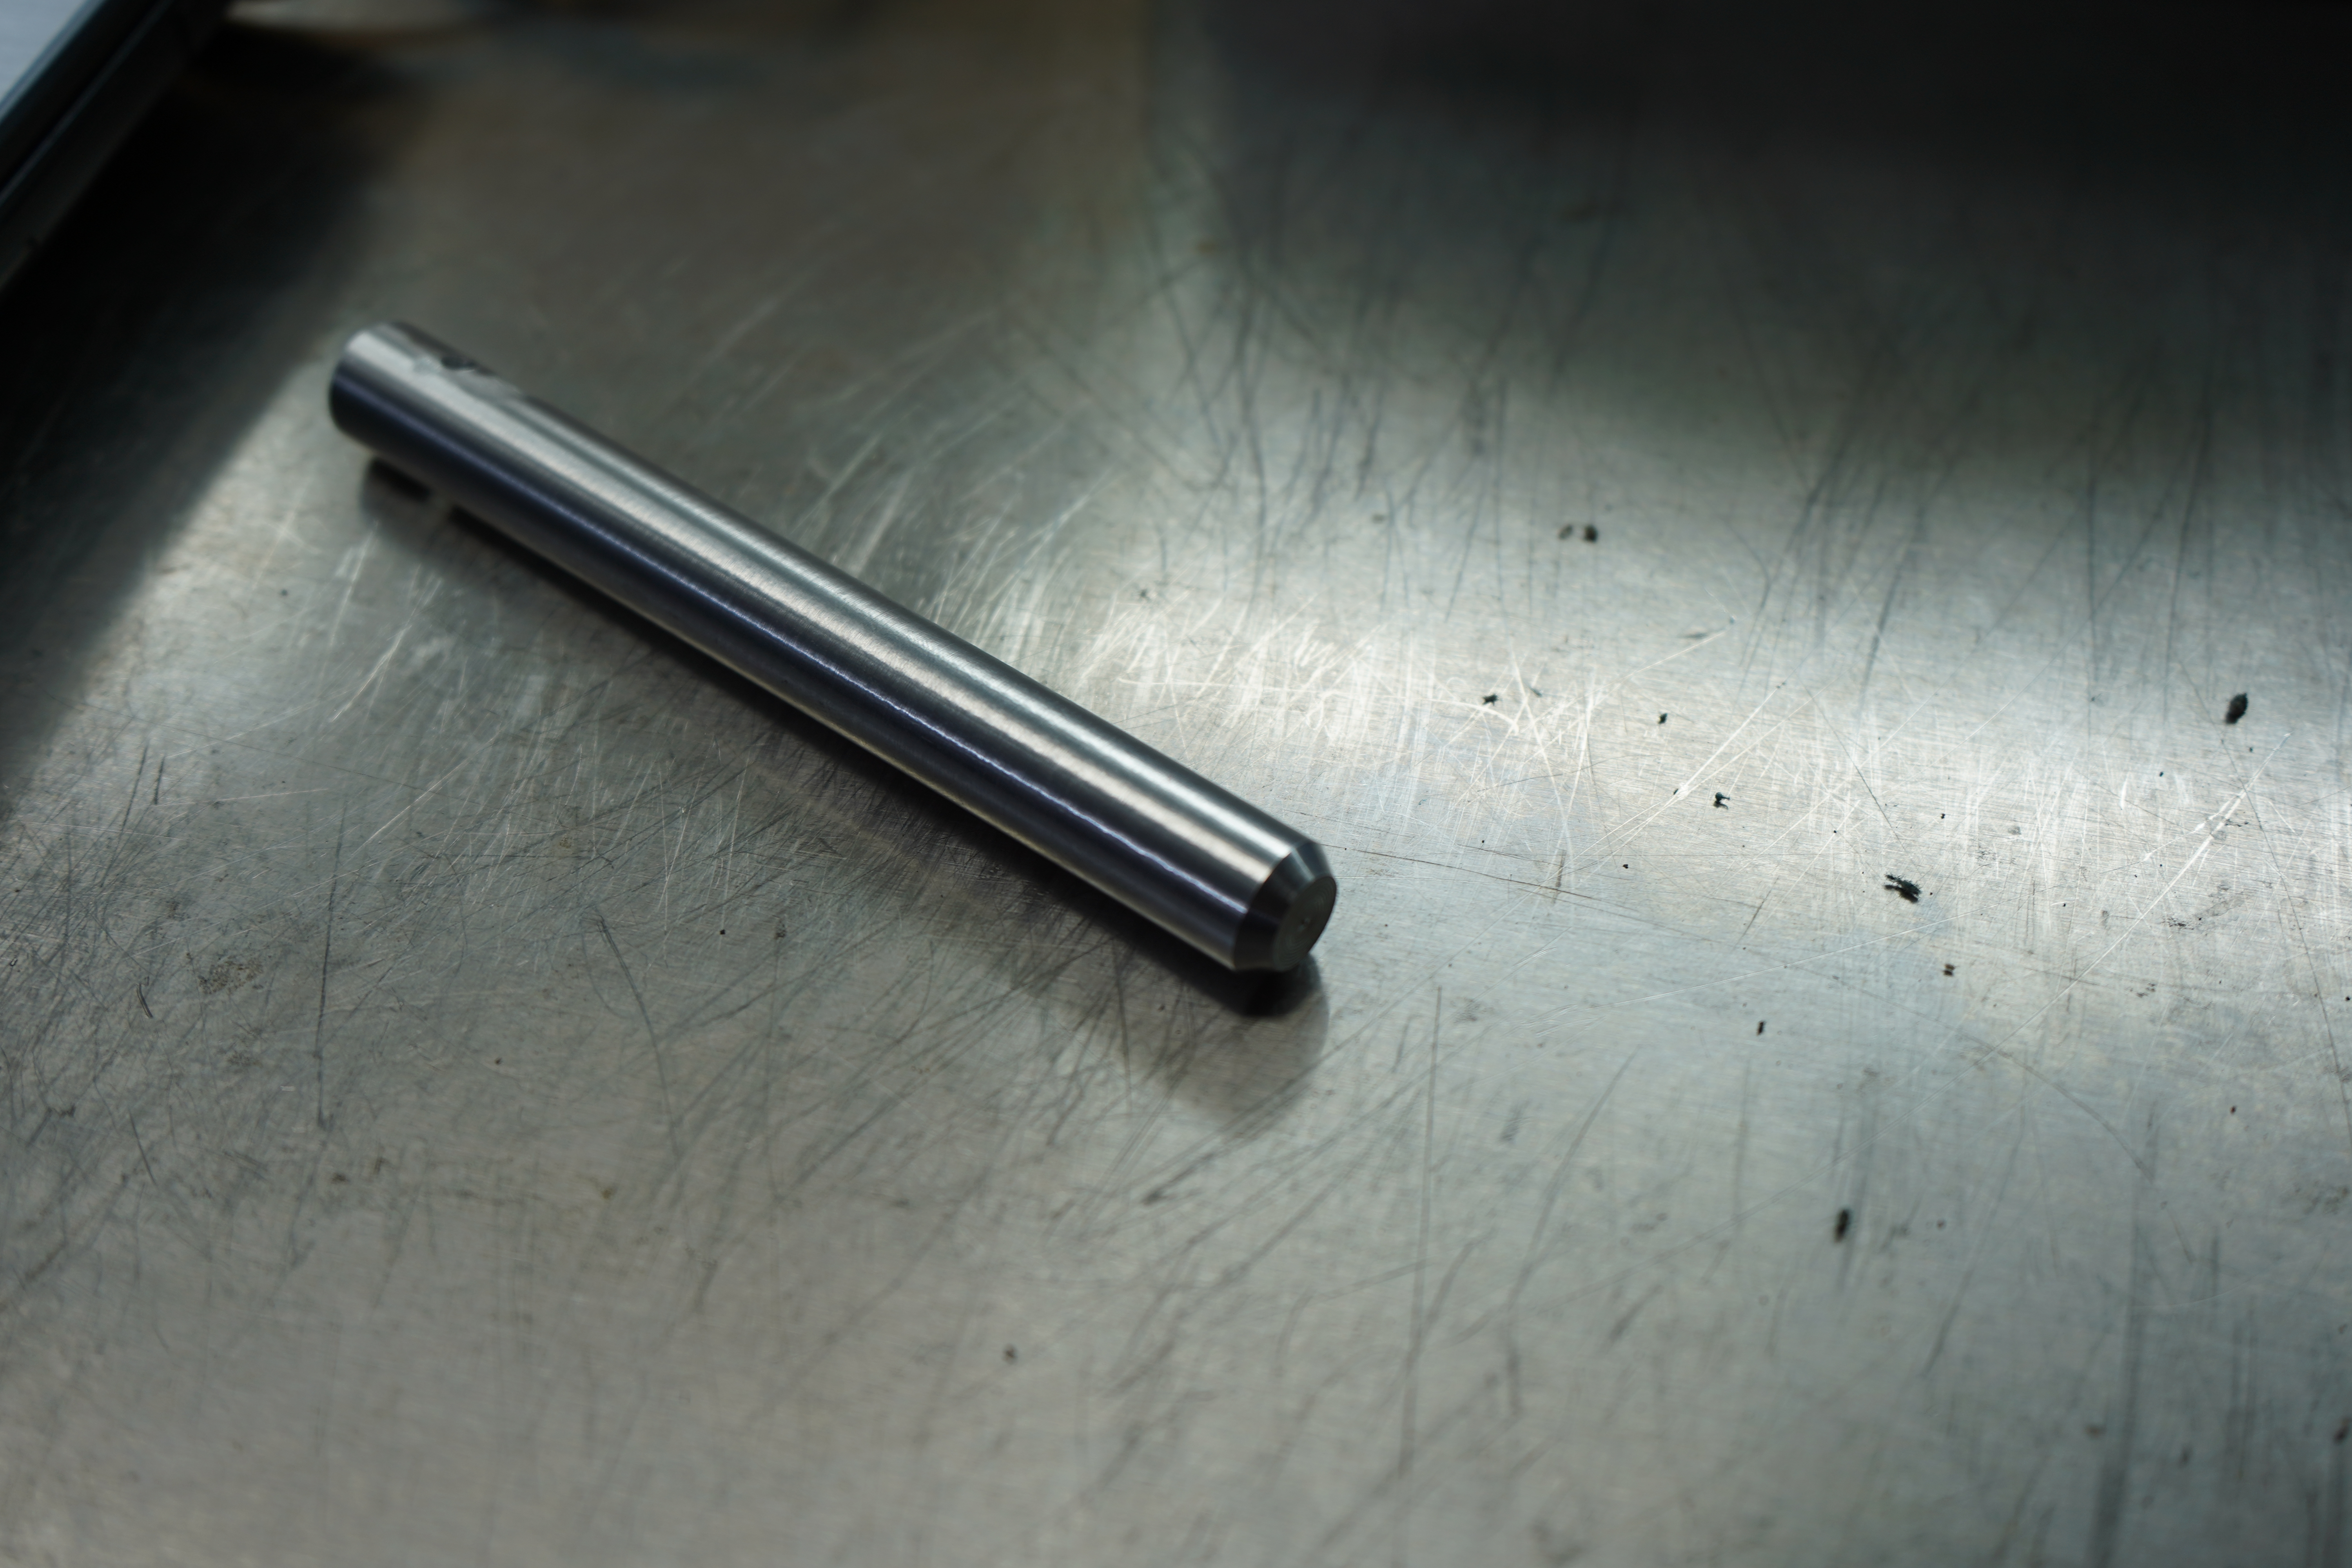
Longboi
Peekin
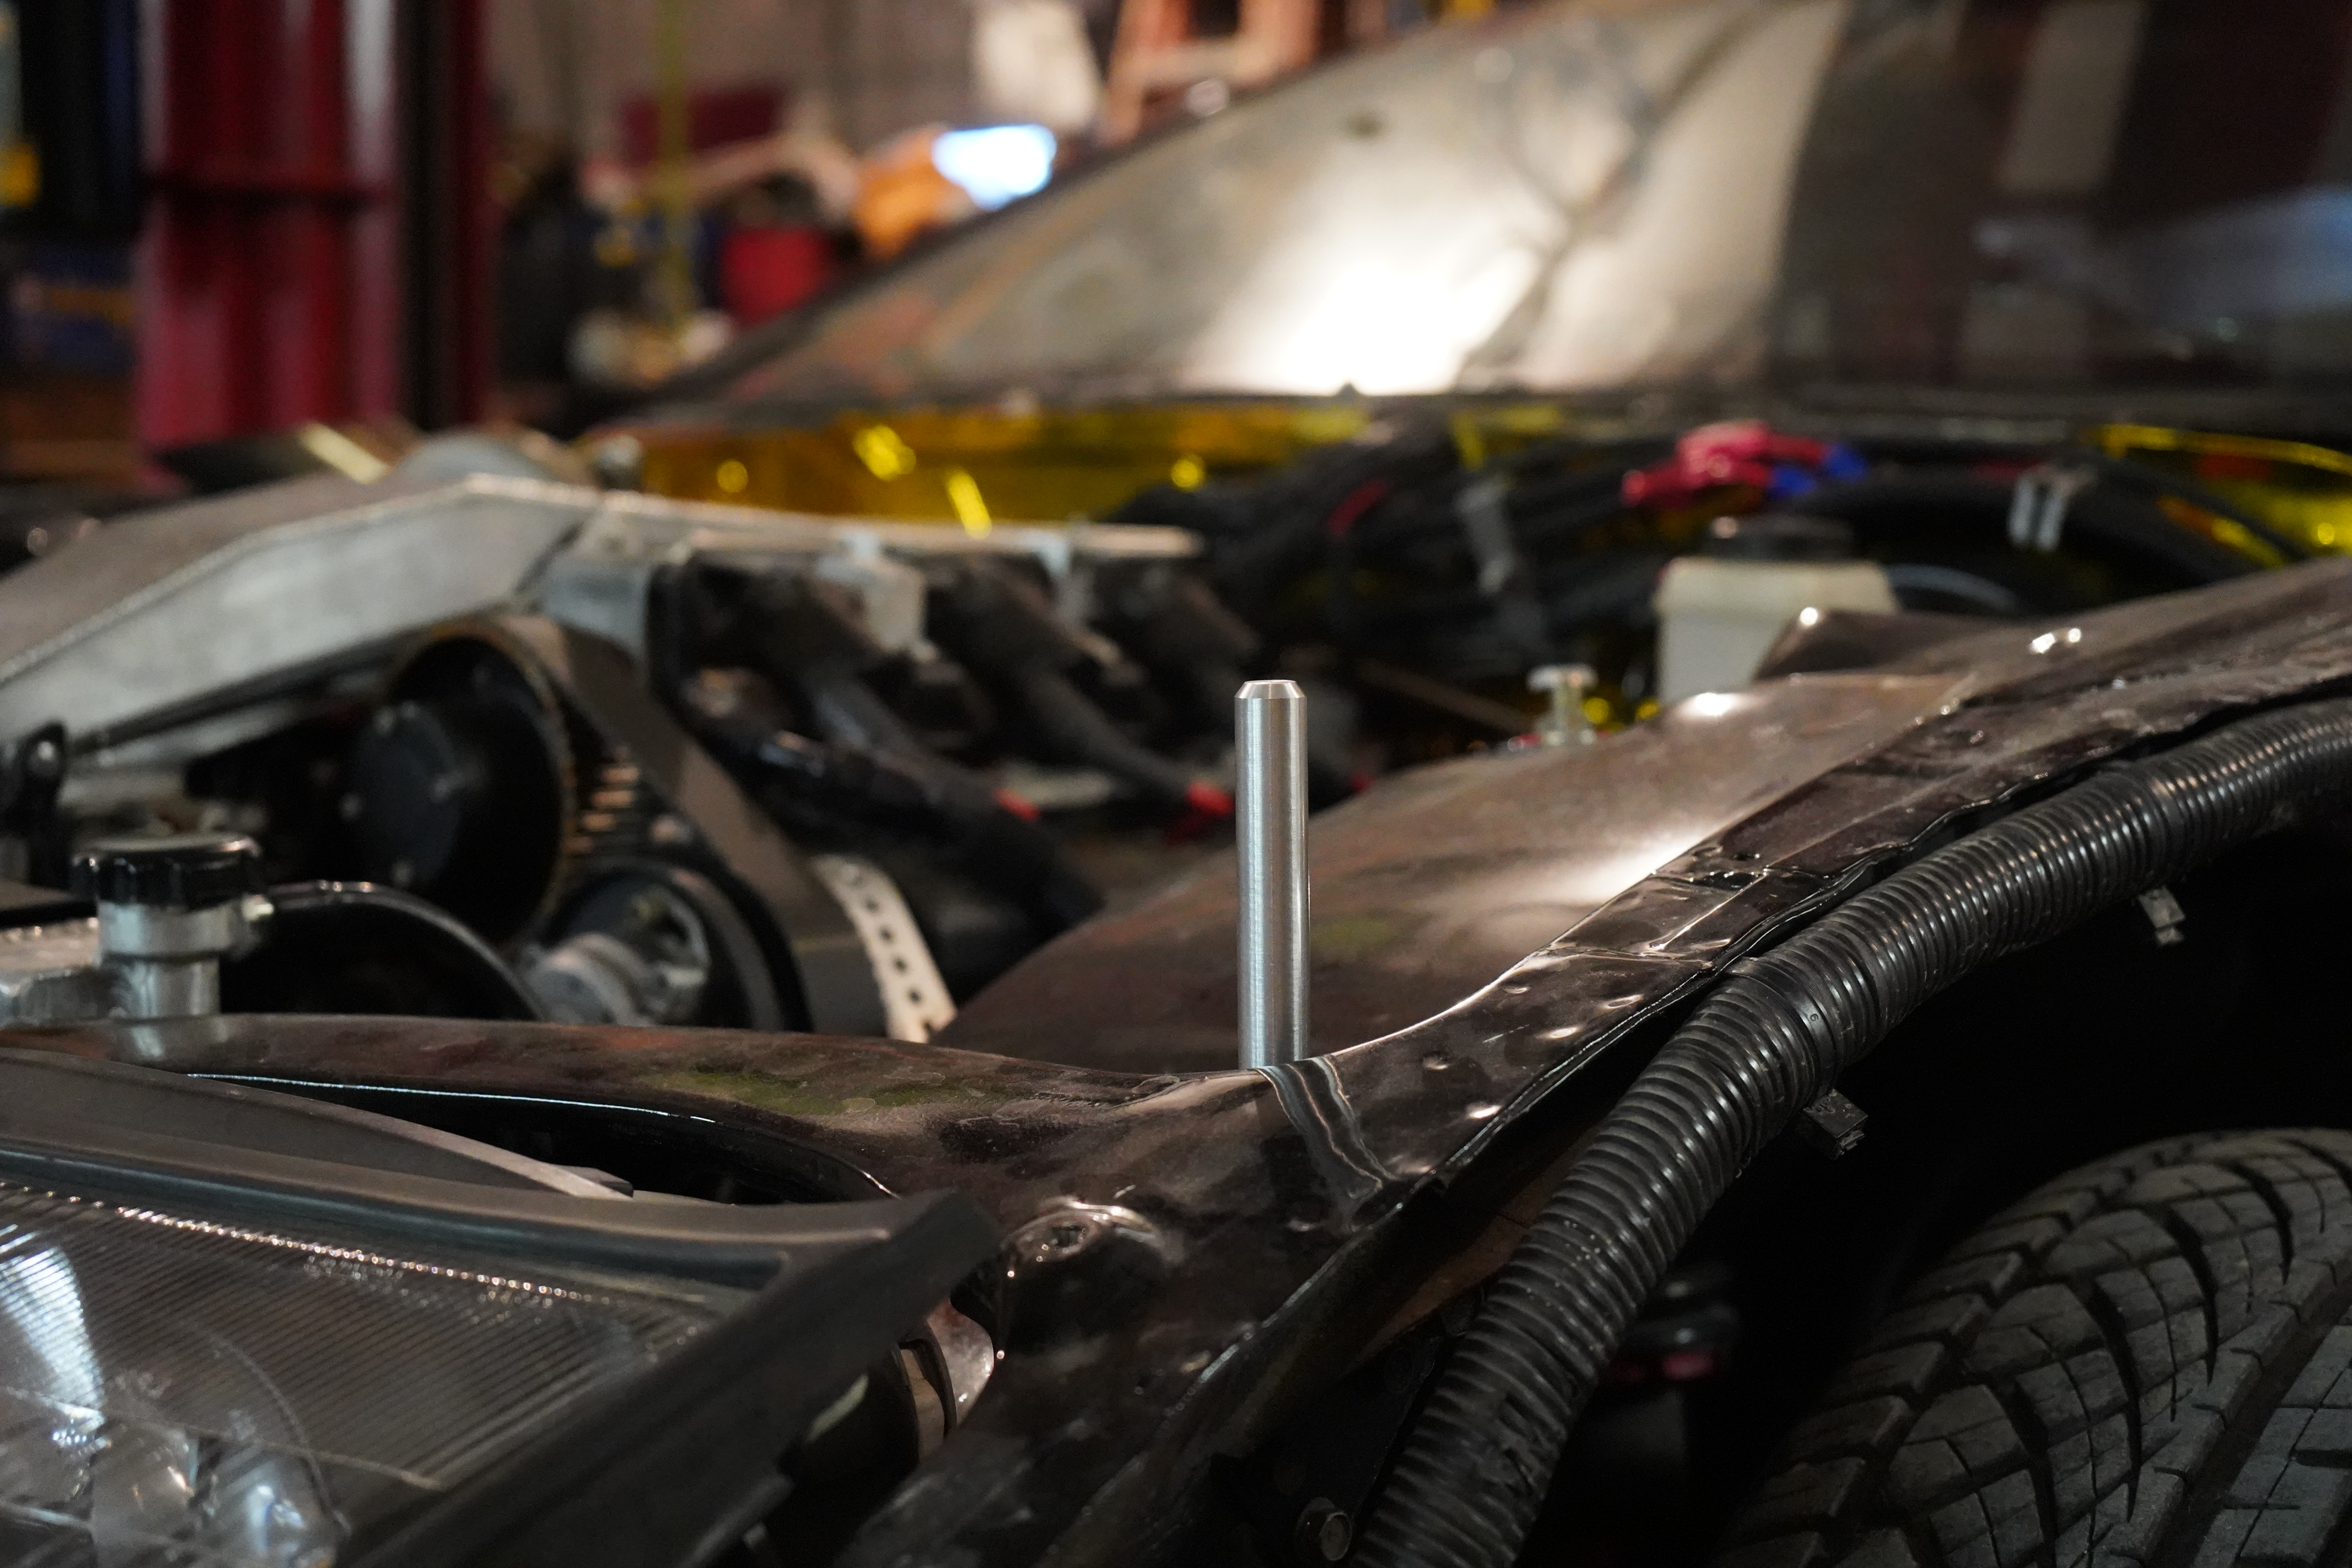
Oh how I love a cheap simple hole saw
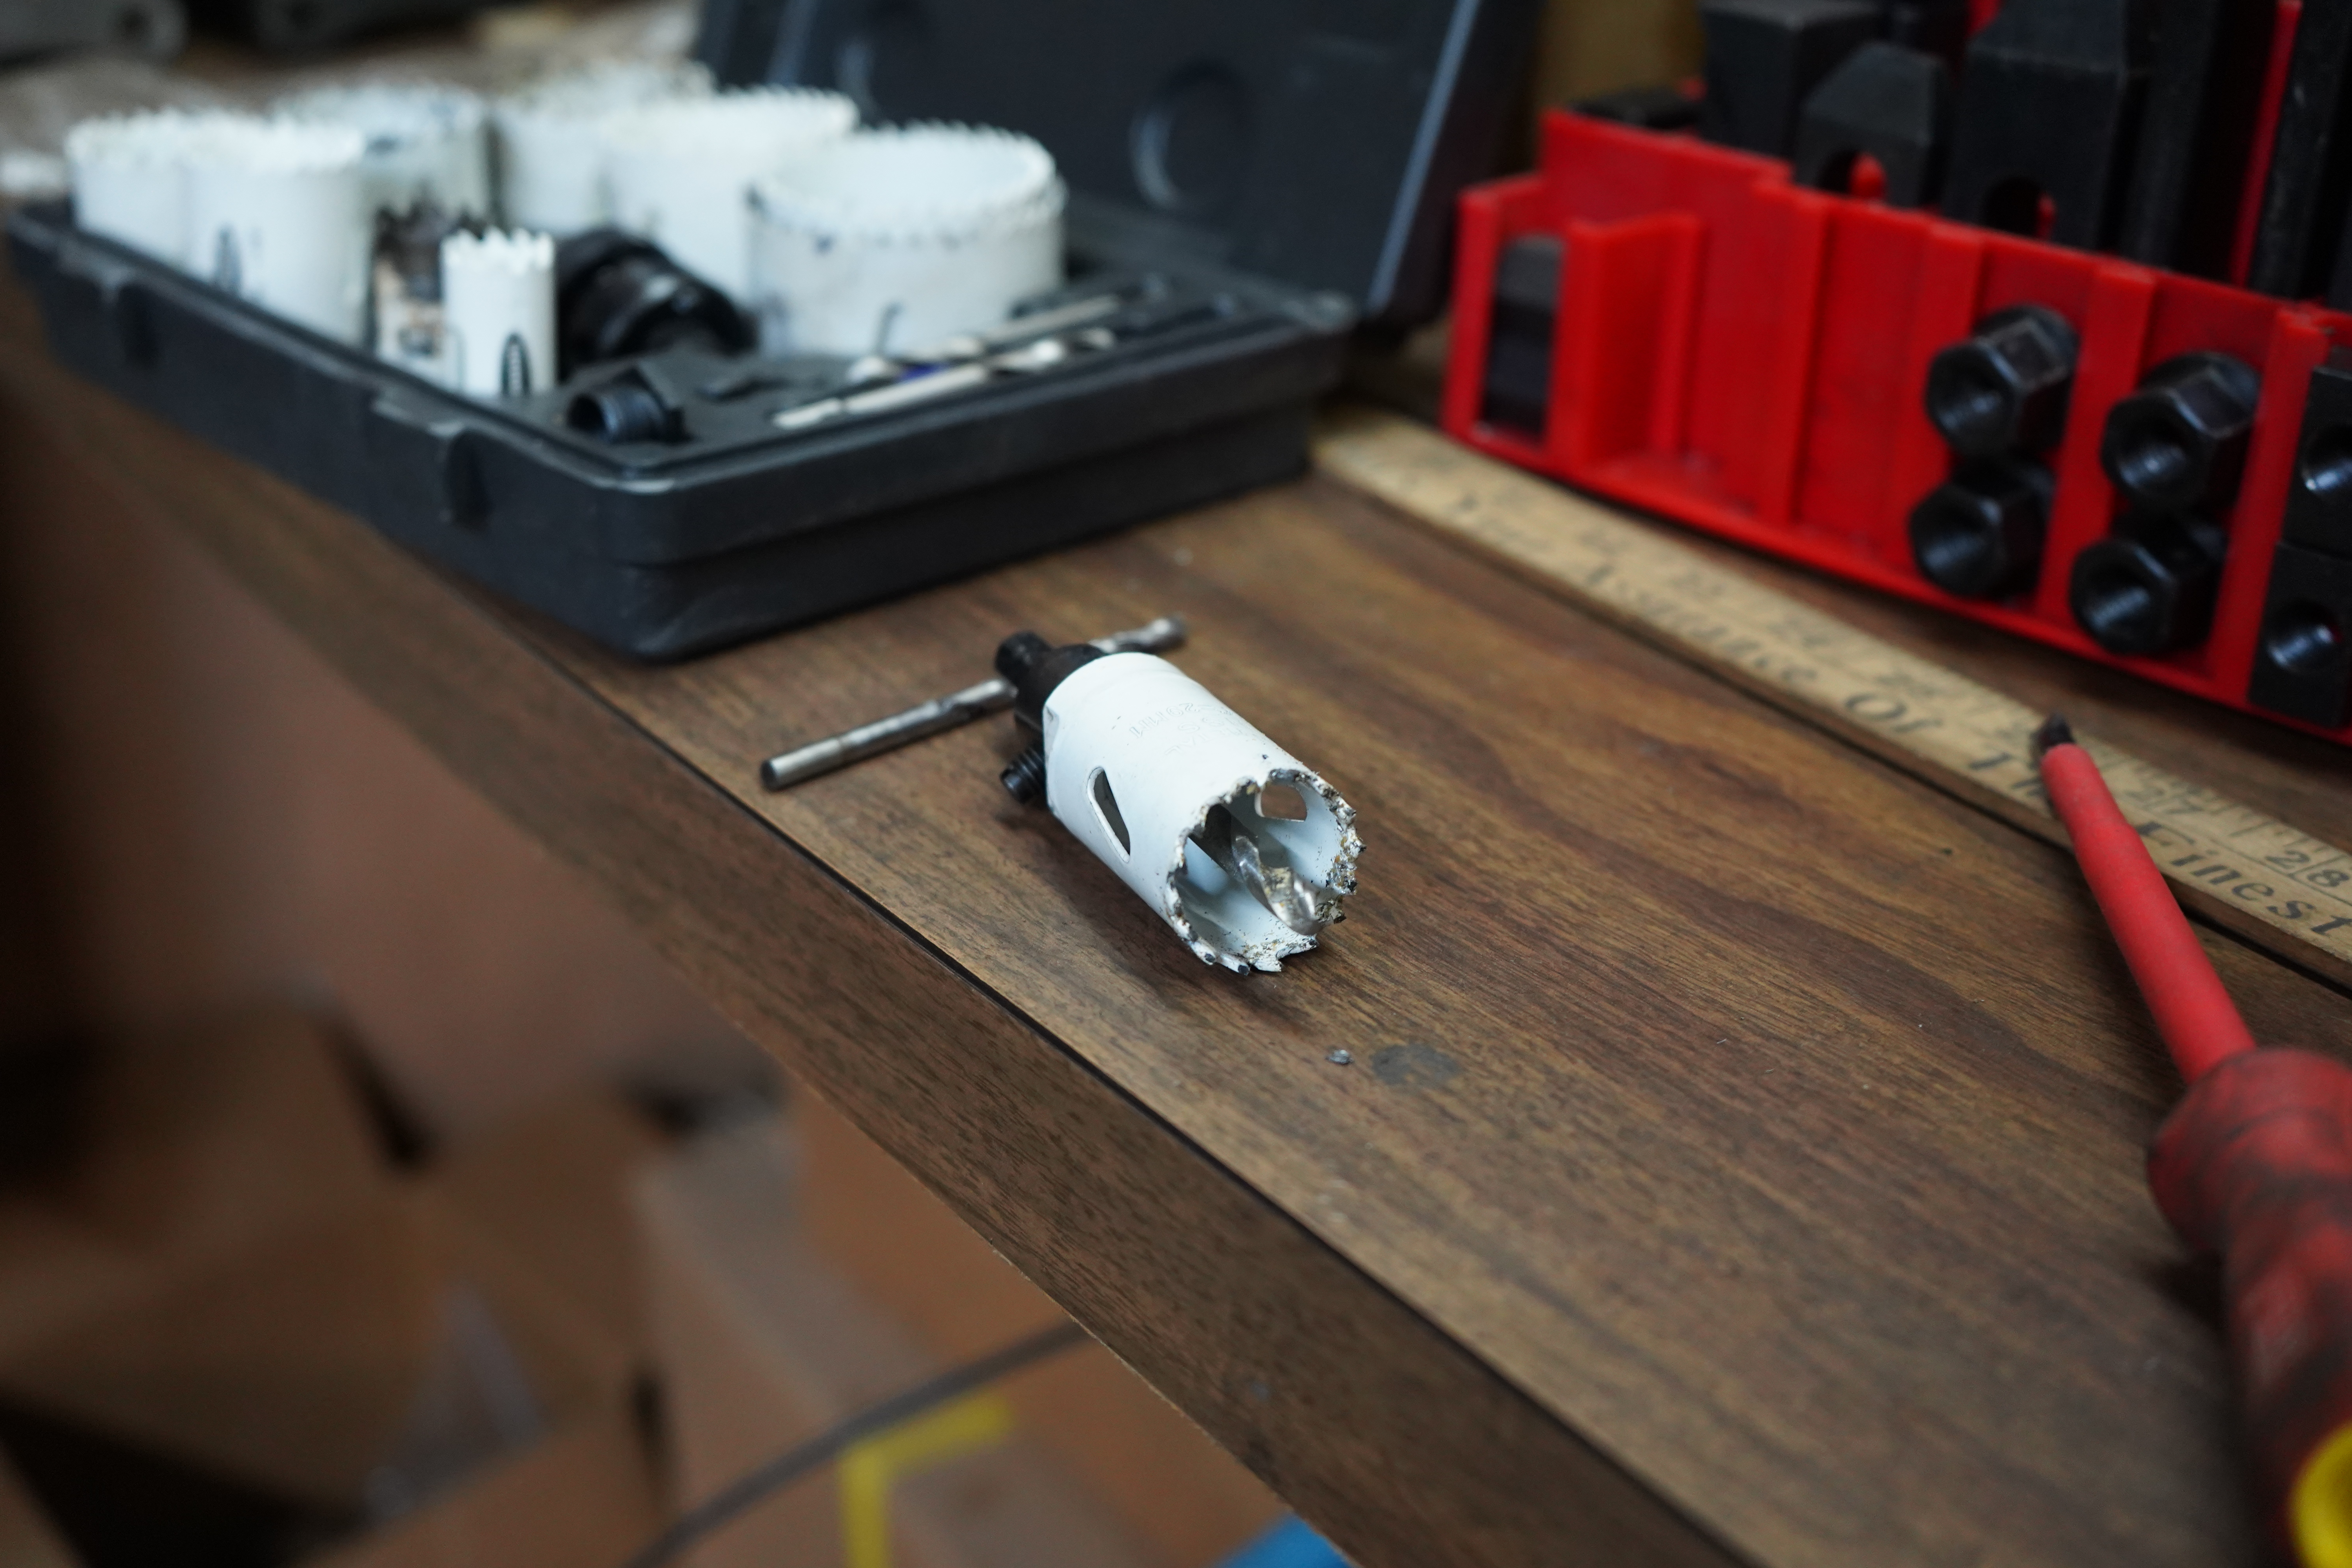
Aluminum hood 0 harbor freight hole saw 1
I decided that I don't need this
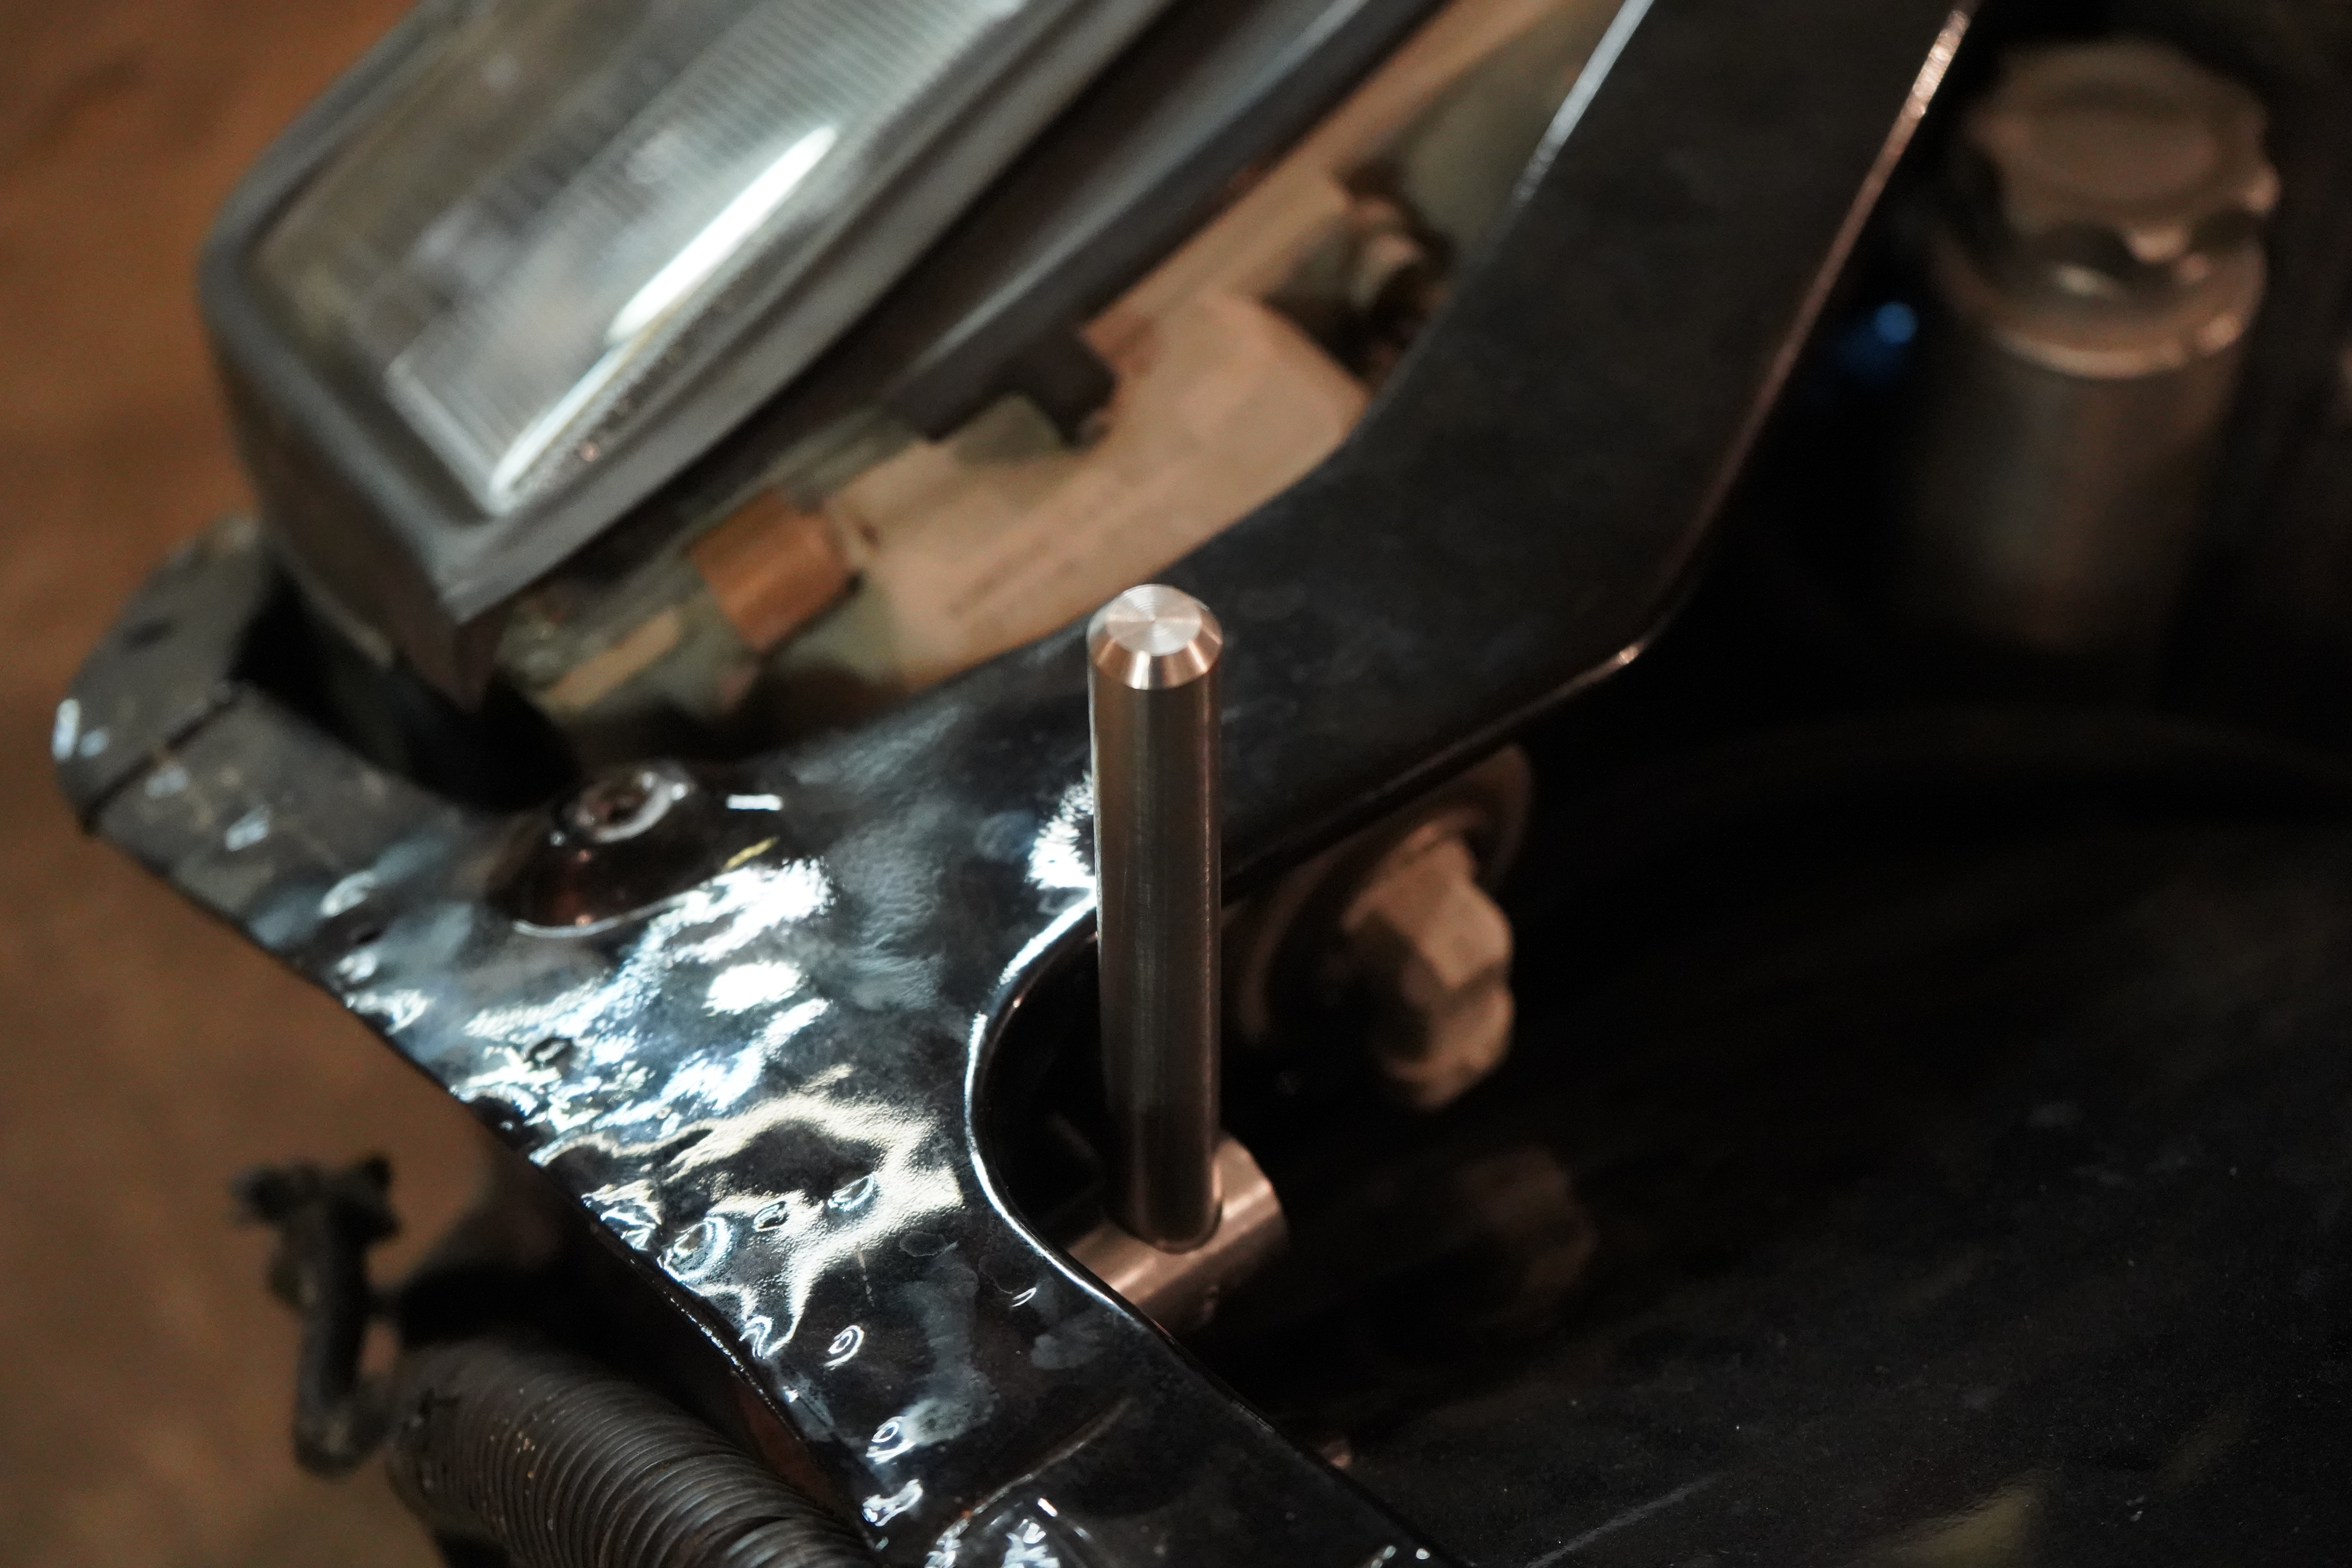
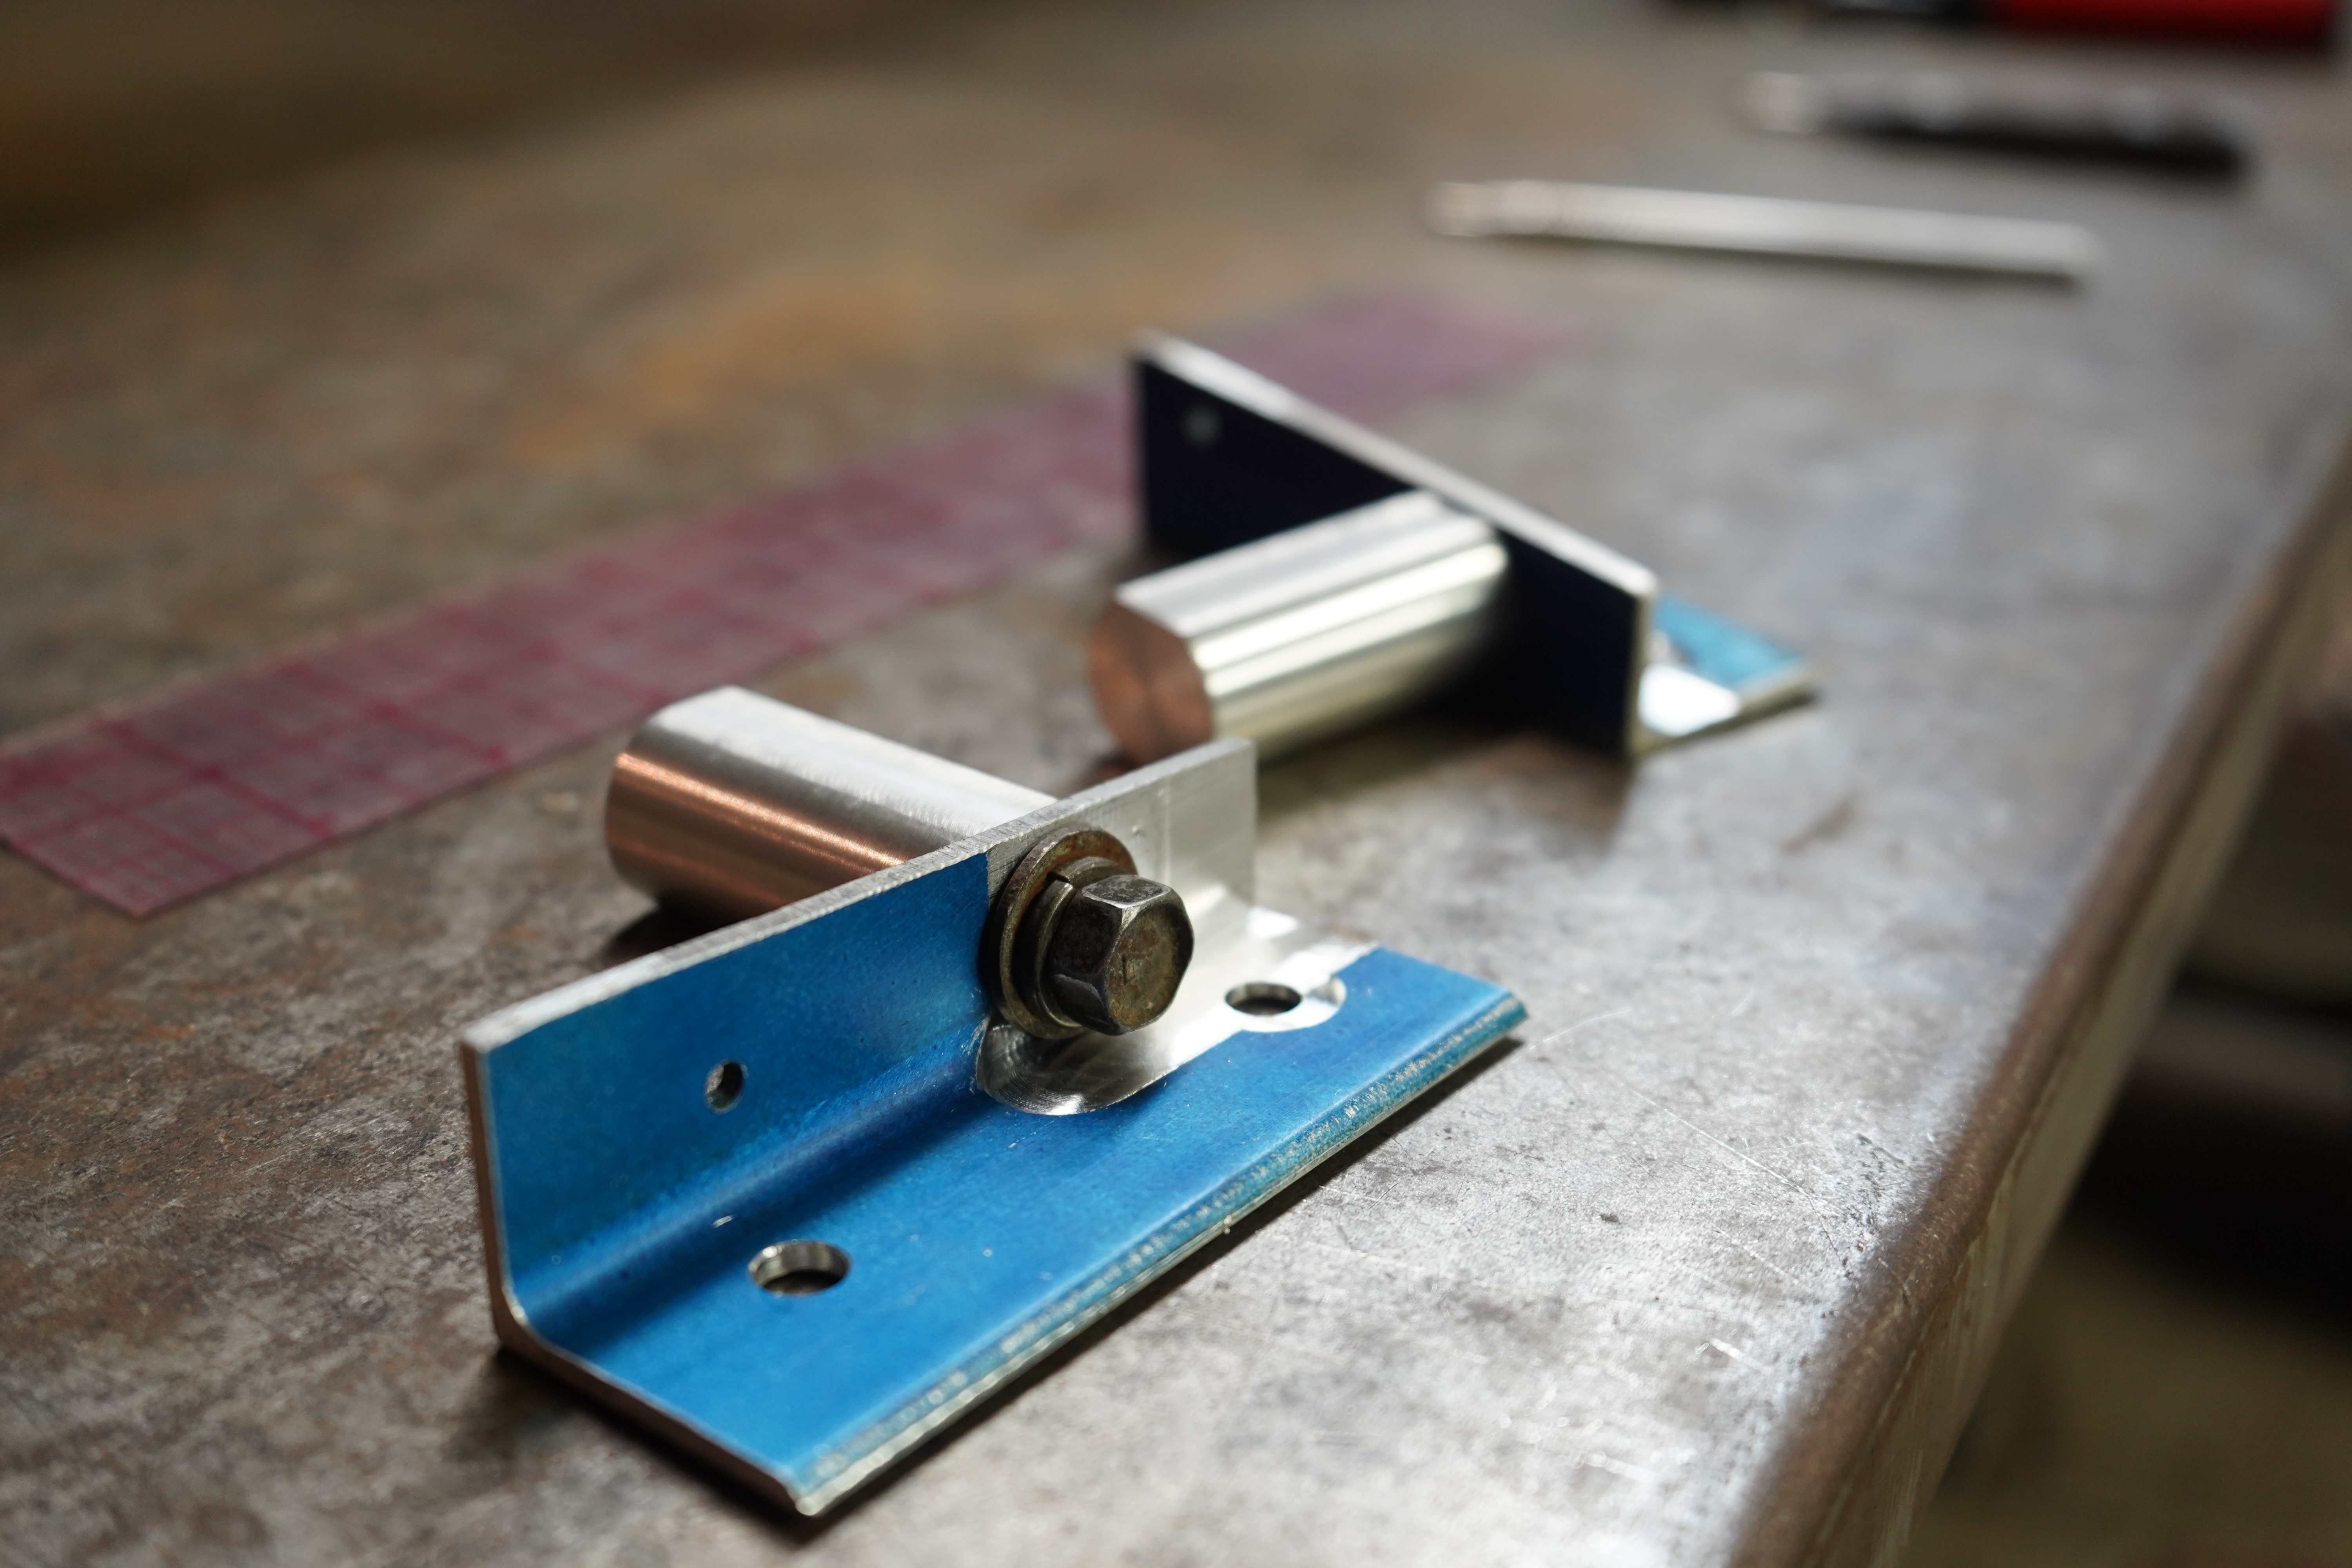
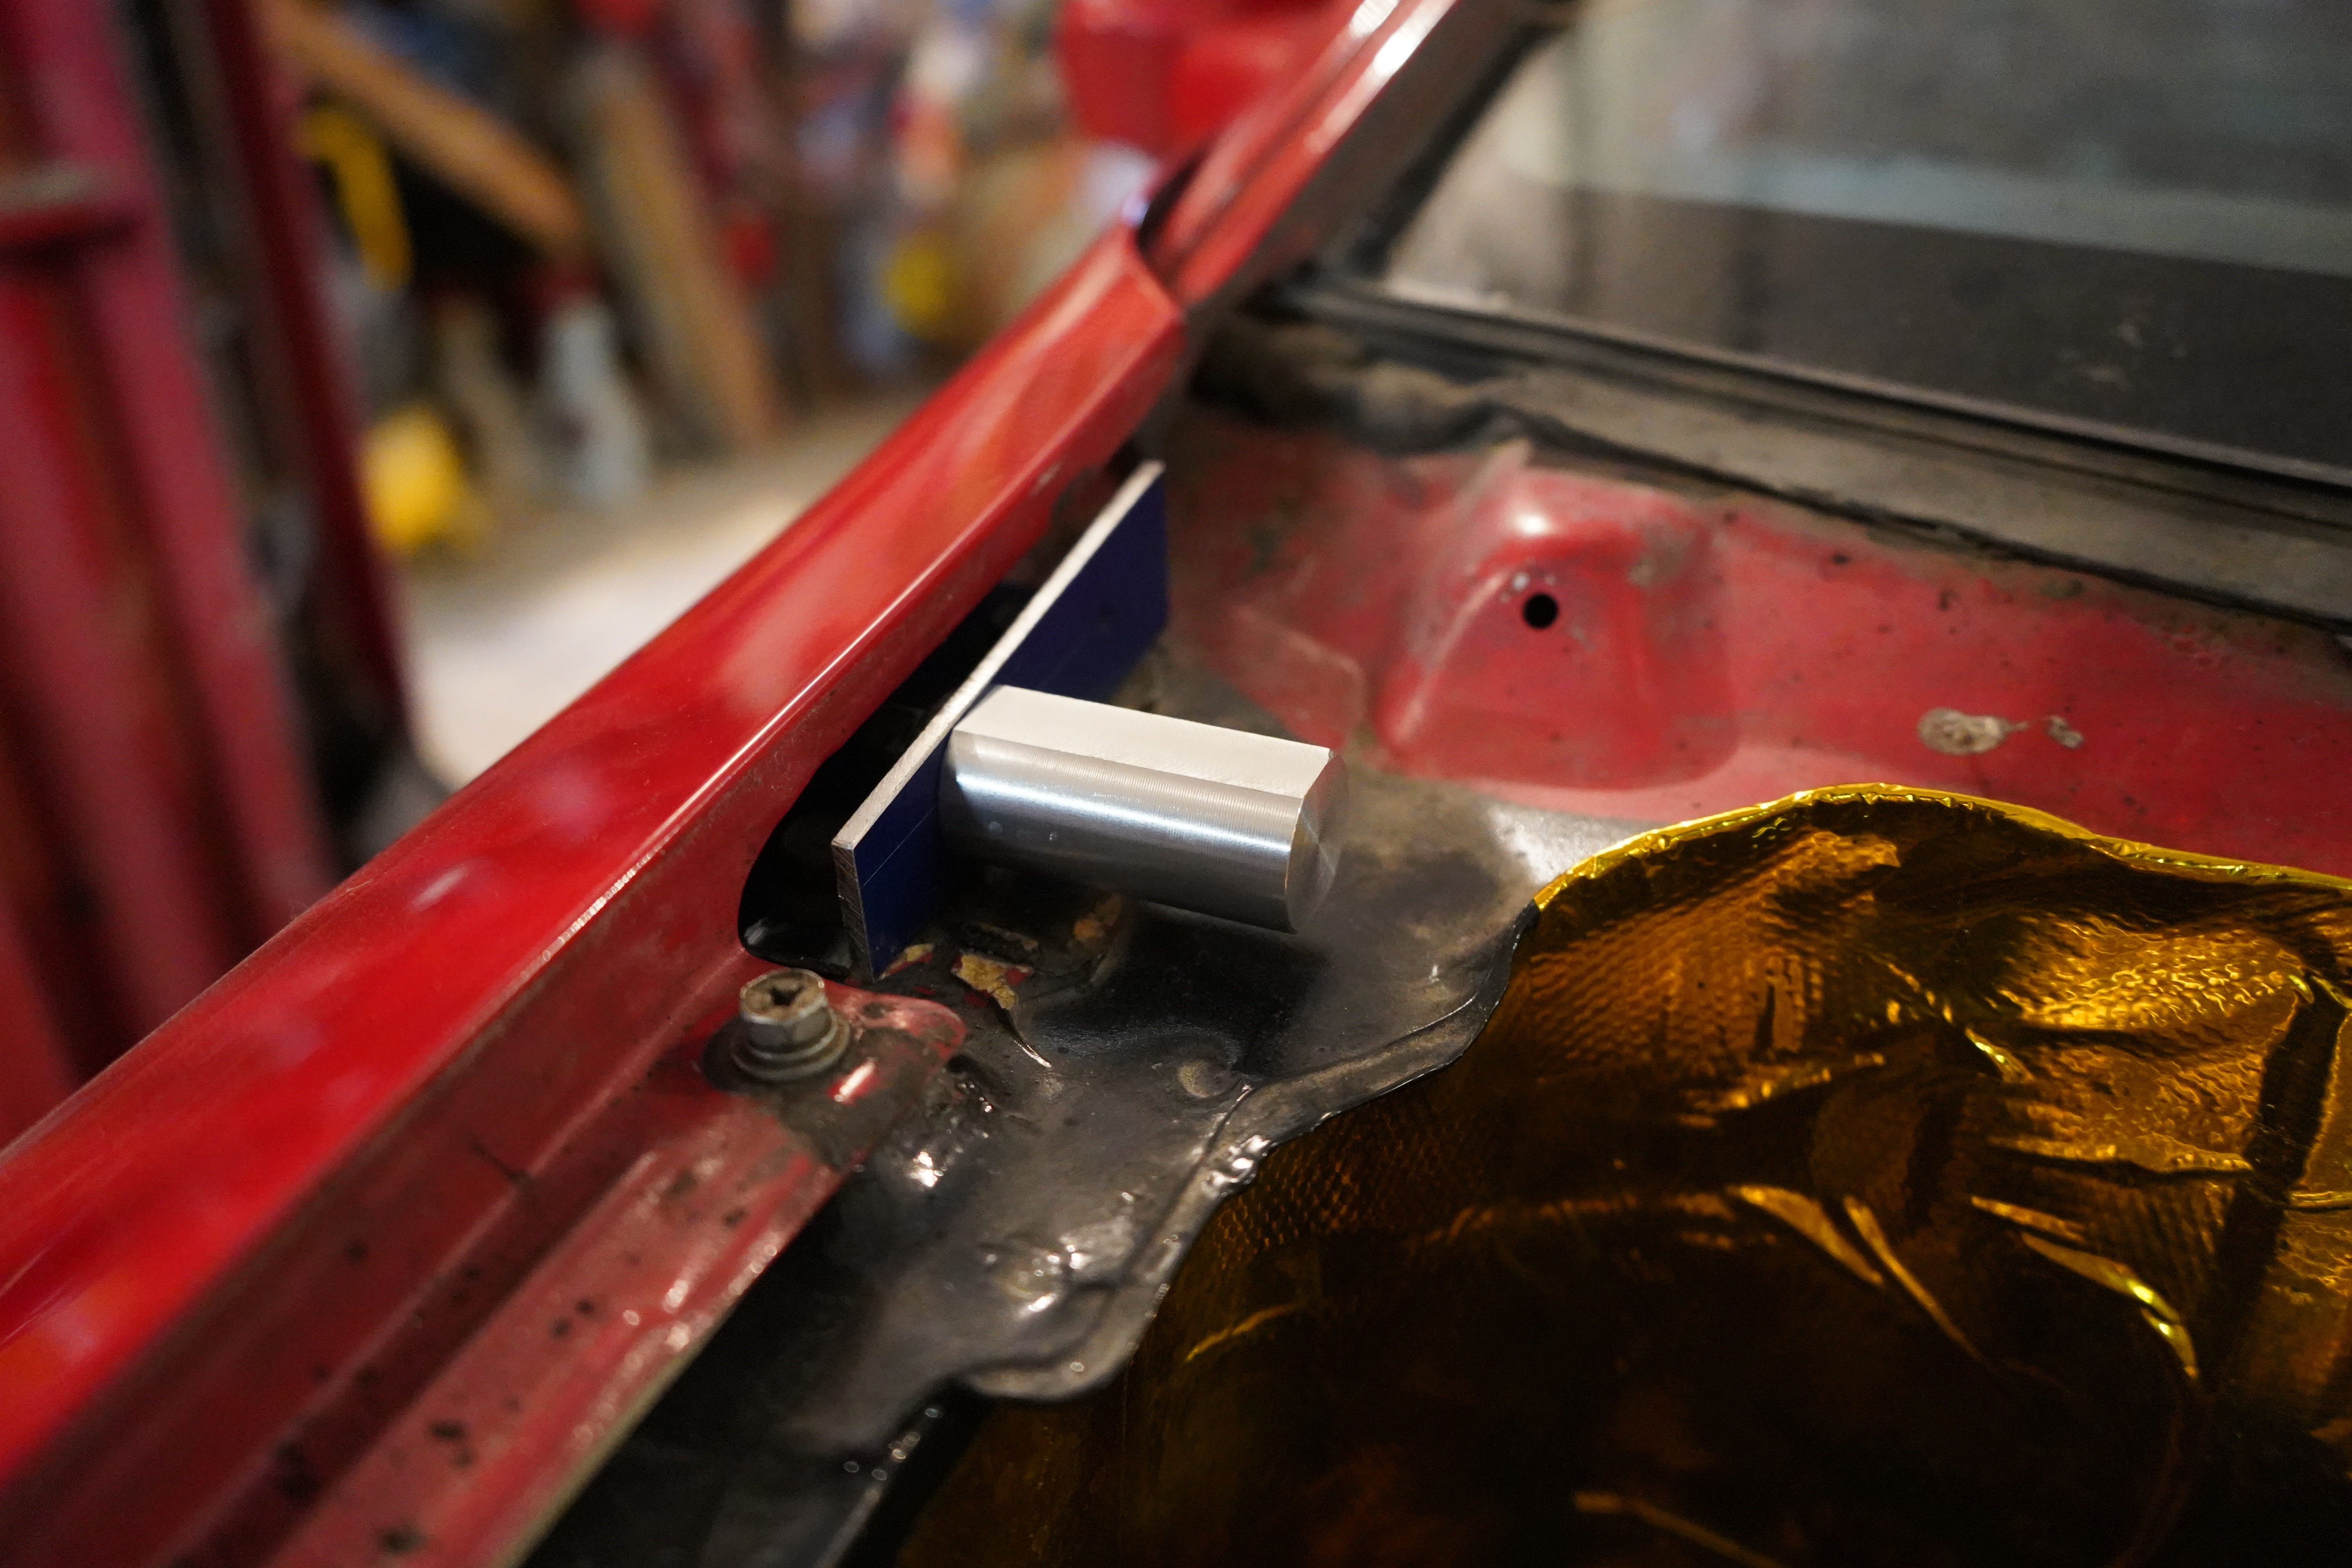
Next up is the back 2 pins

Raw usefulness a.k.a aluminum angle
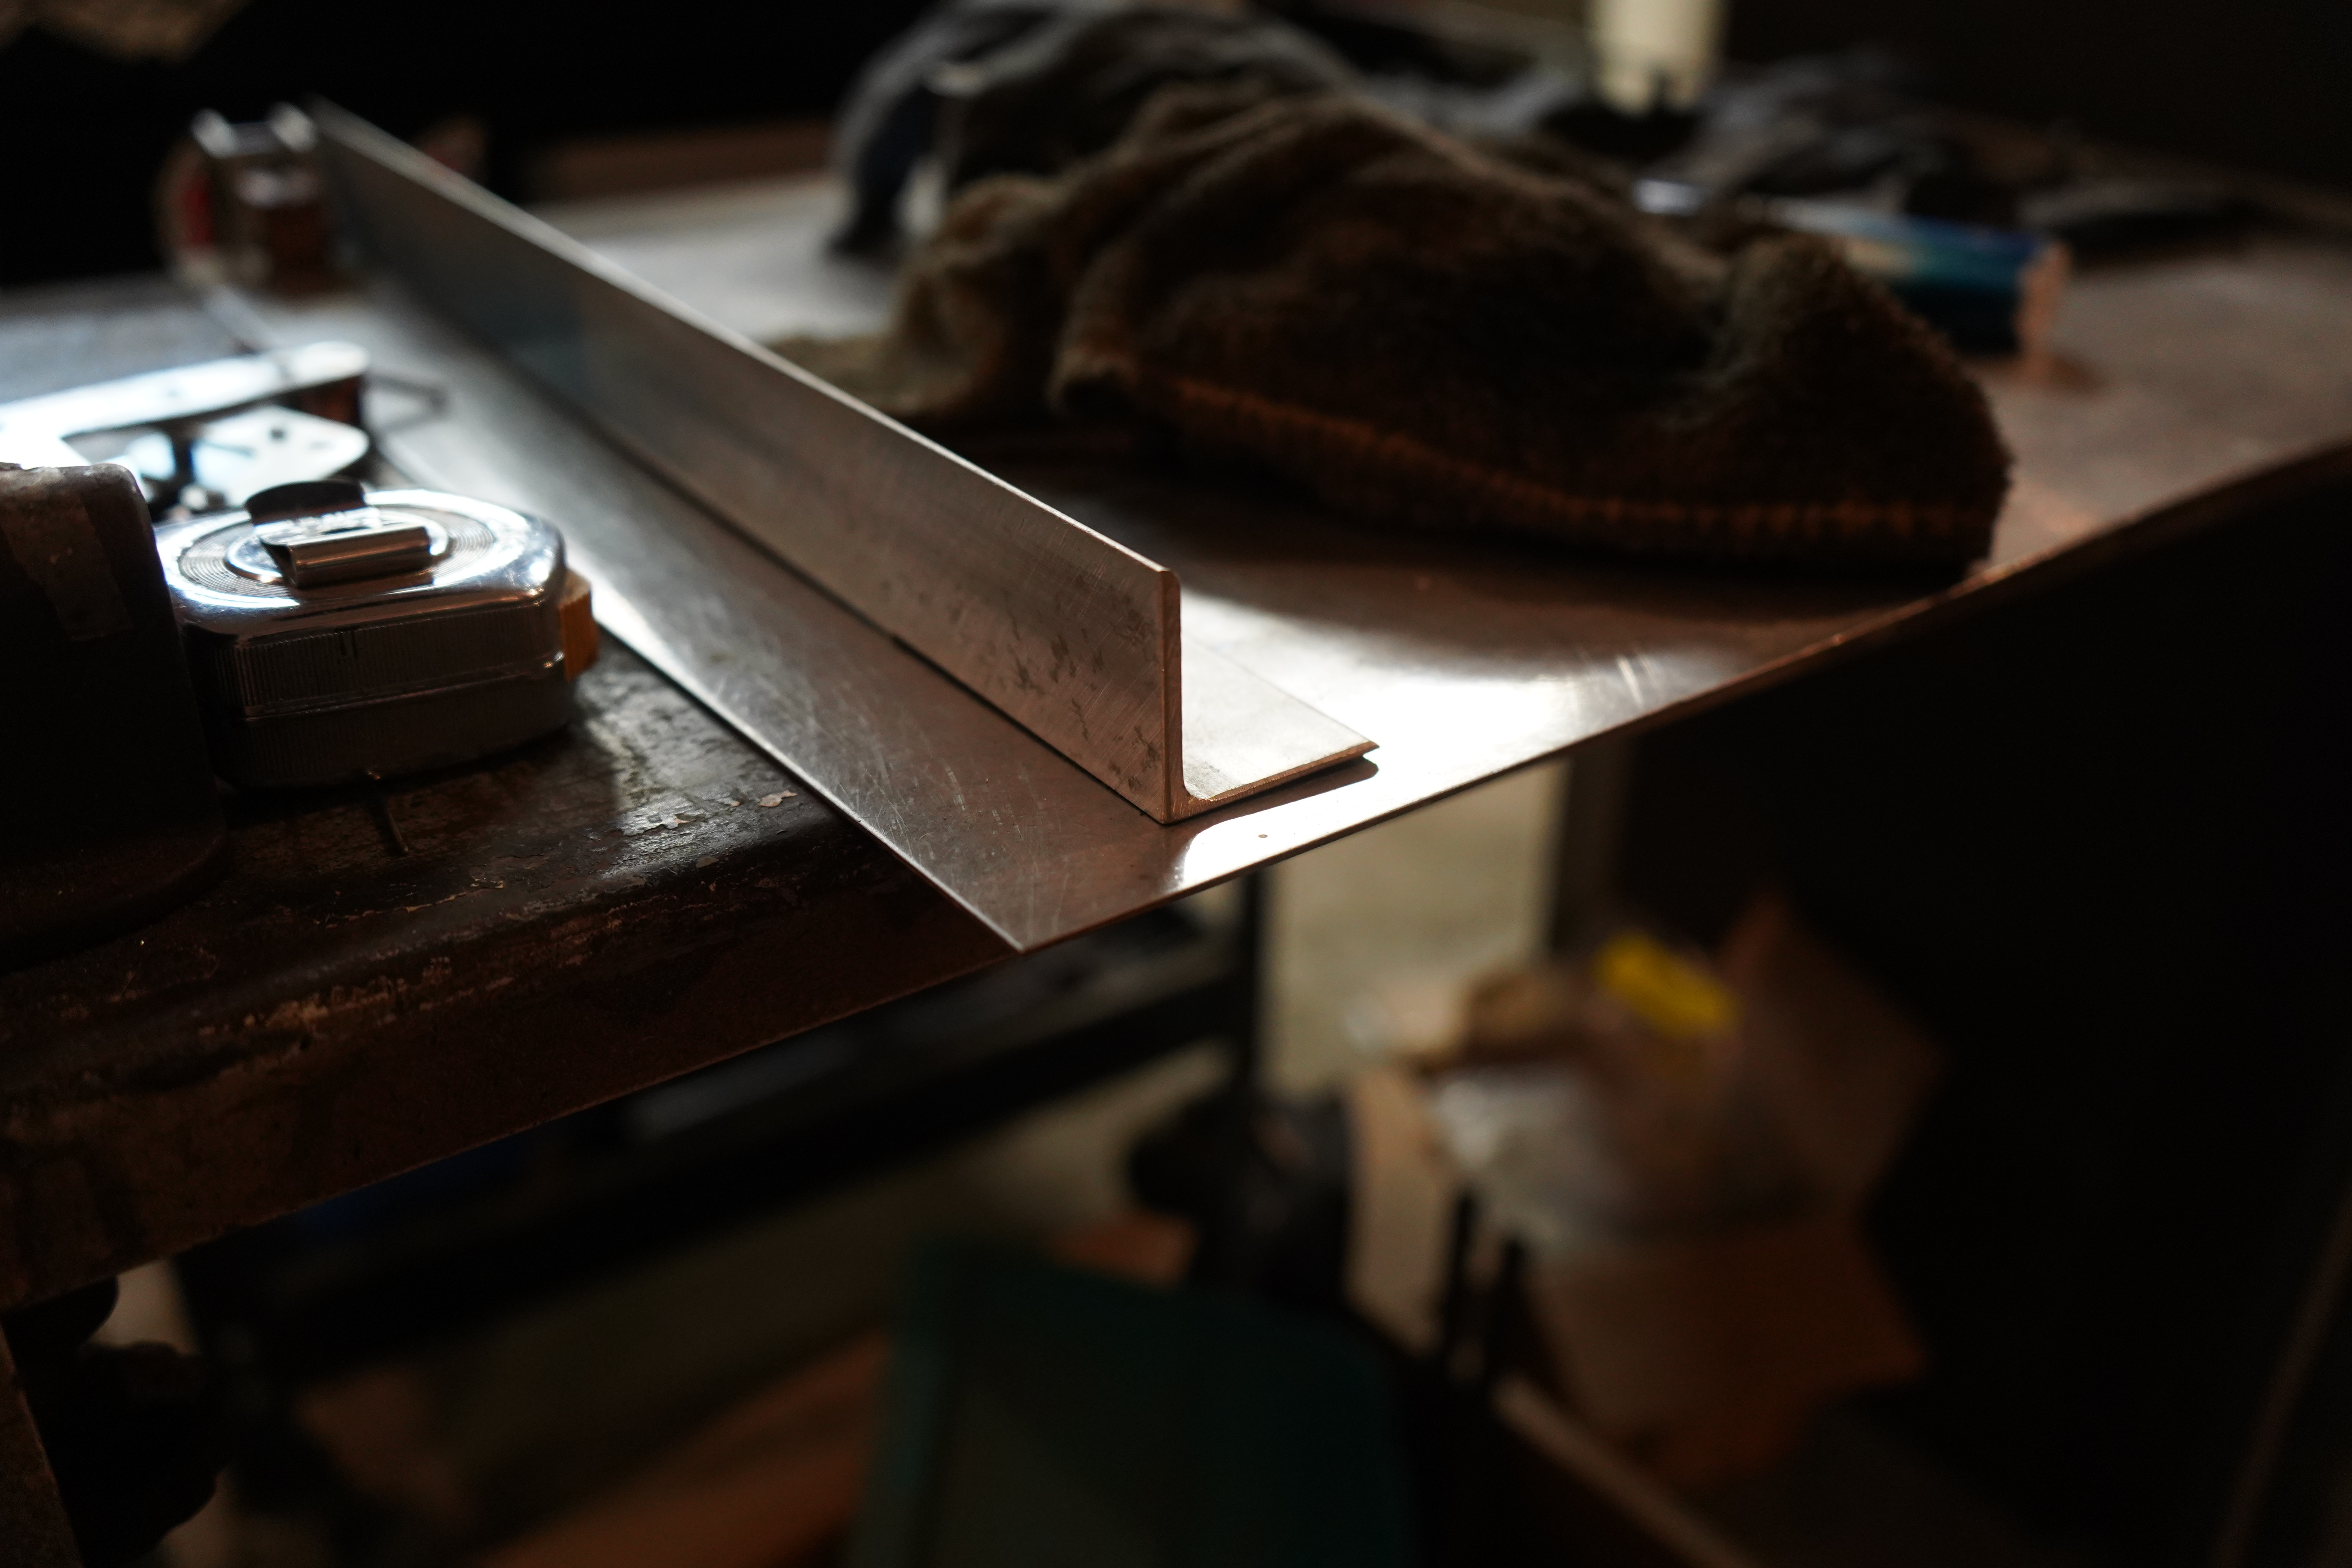
Like it was meant to be

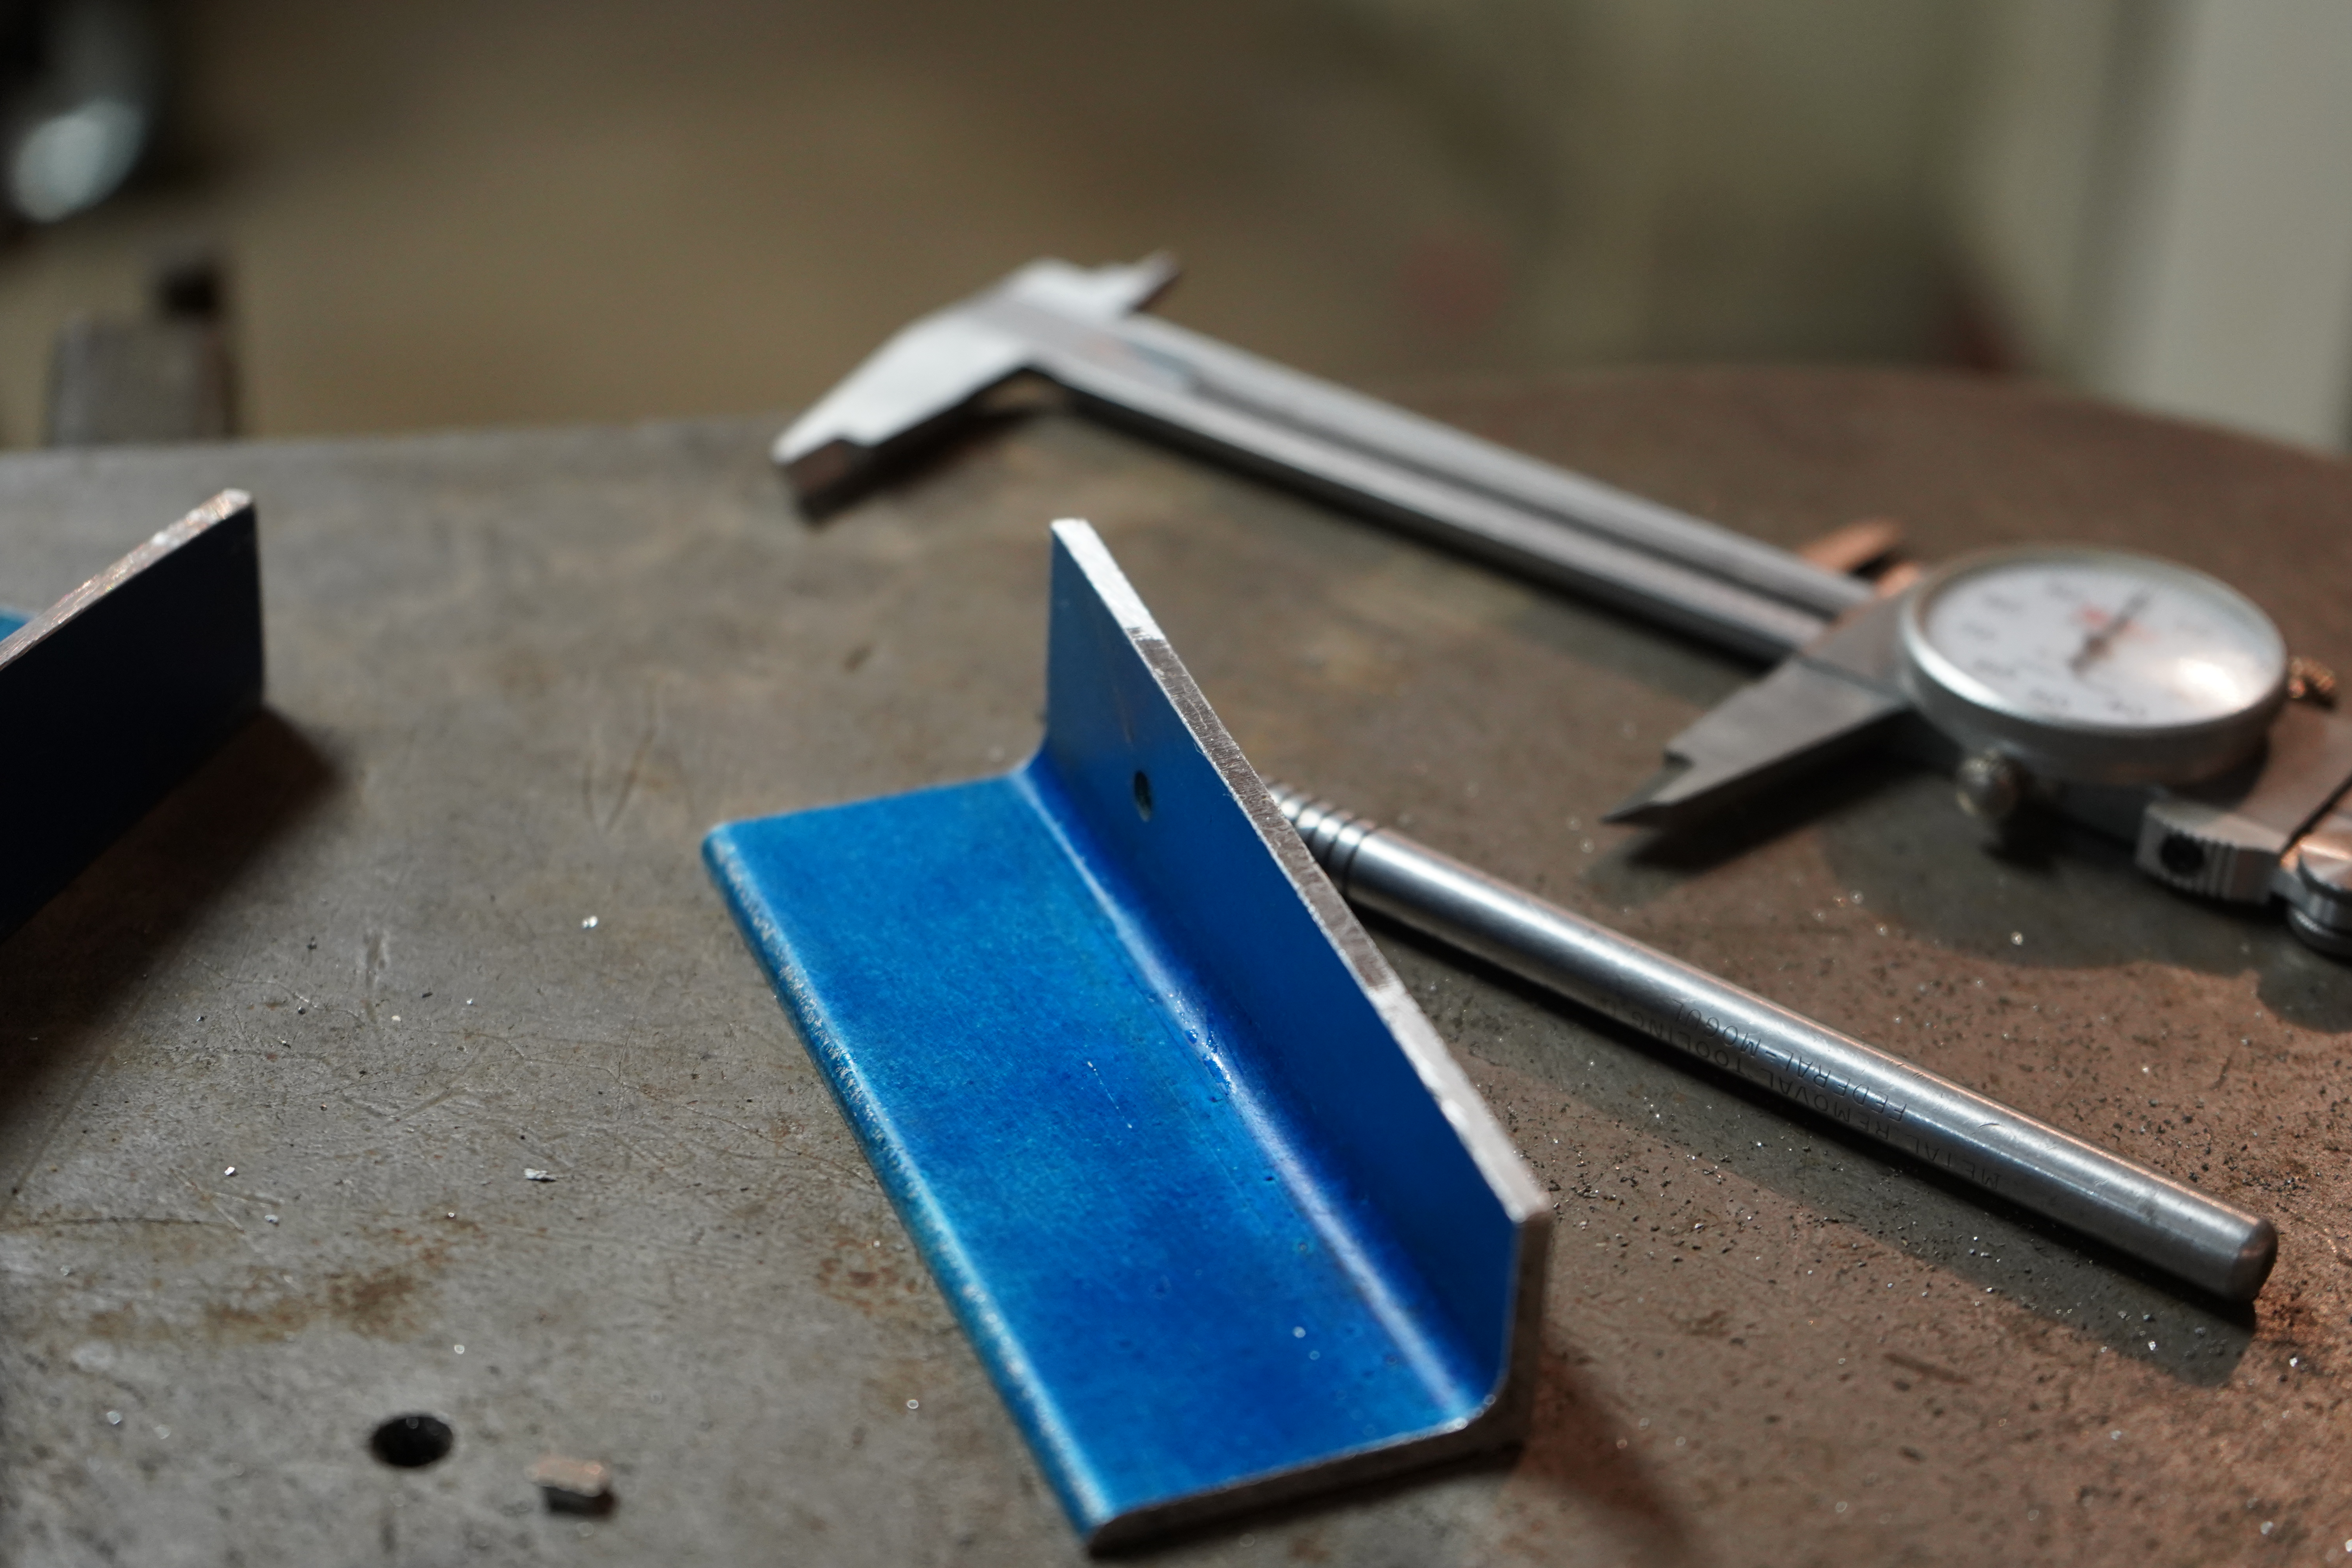
Much the same as the front 2 mounts

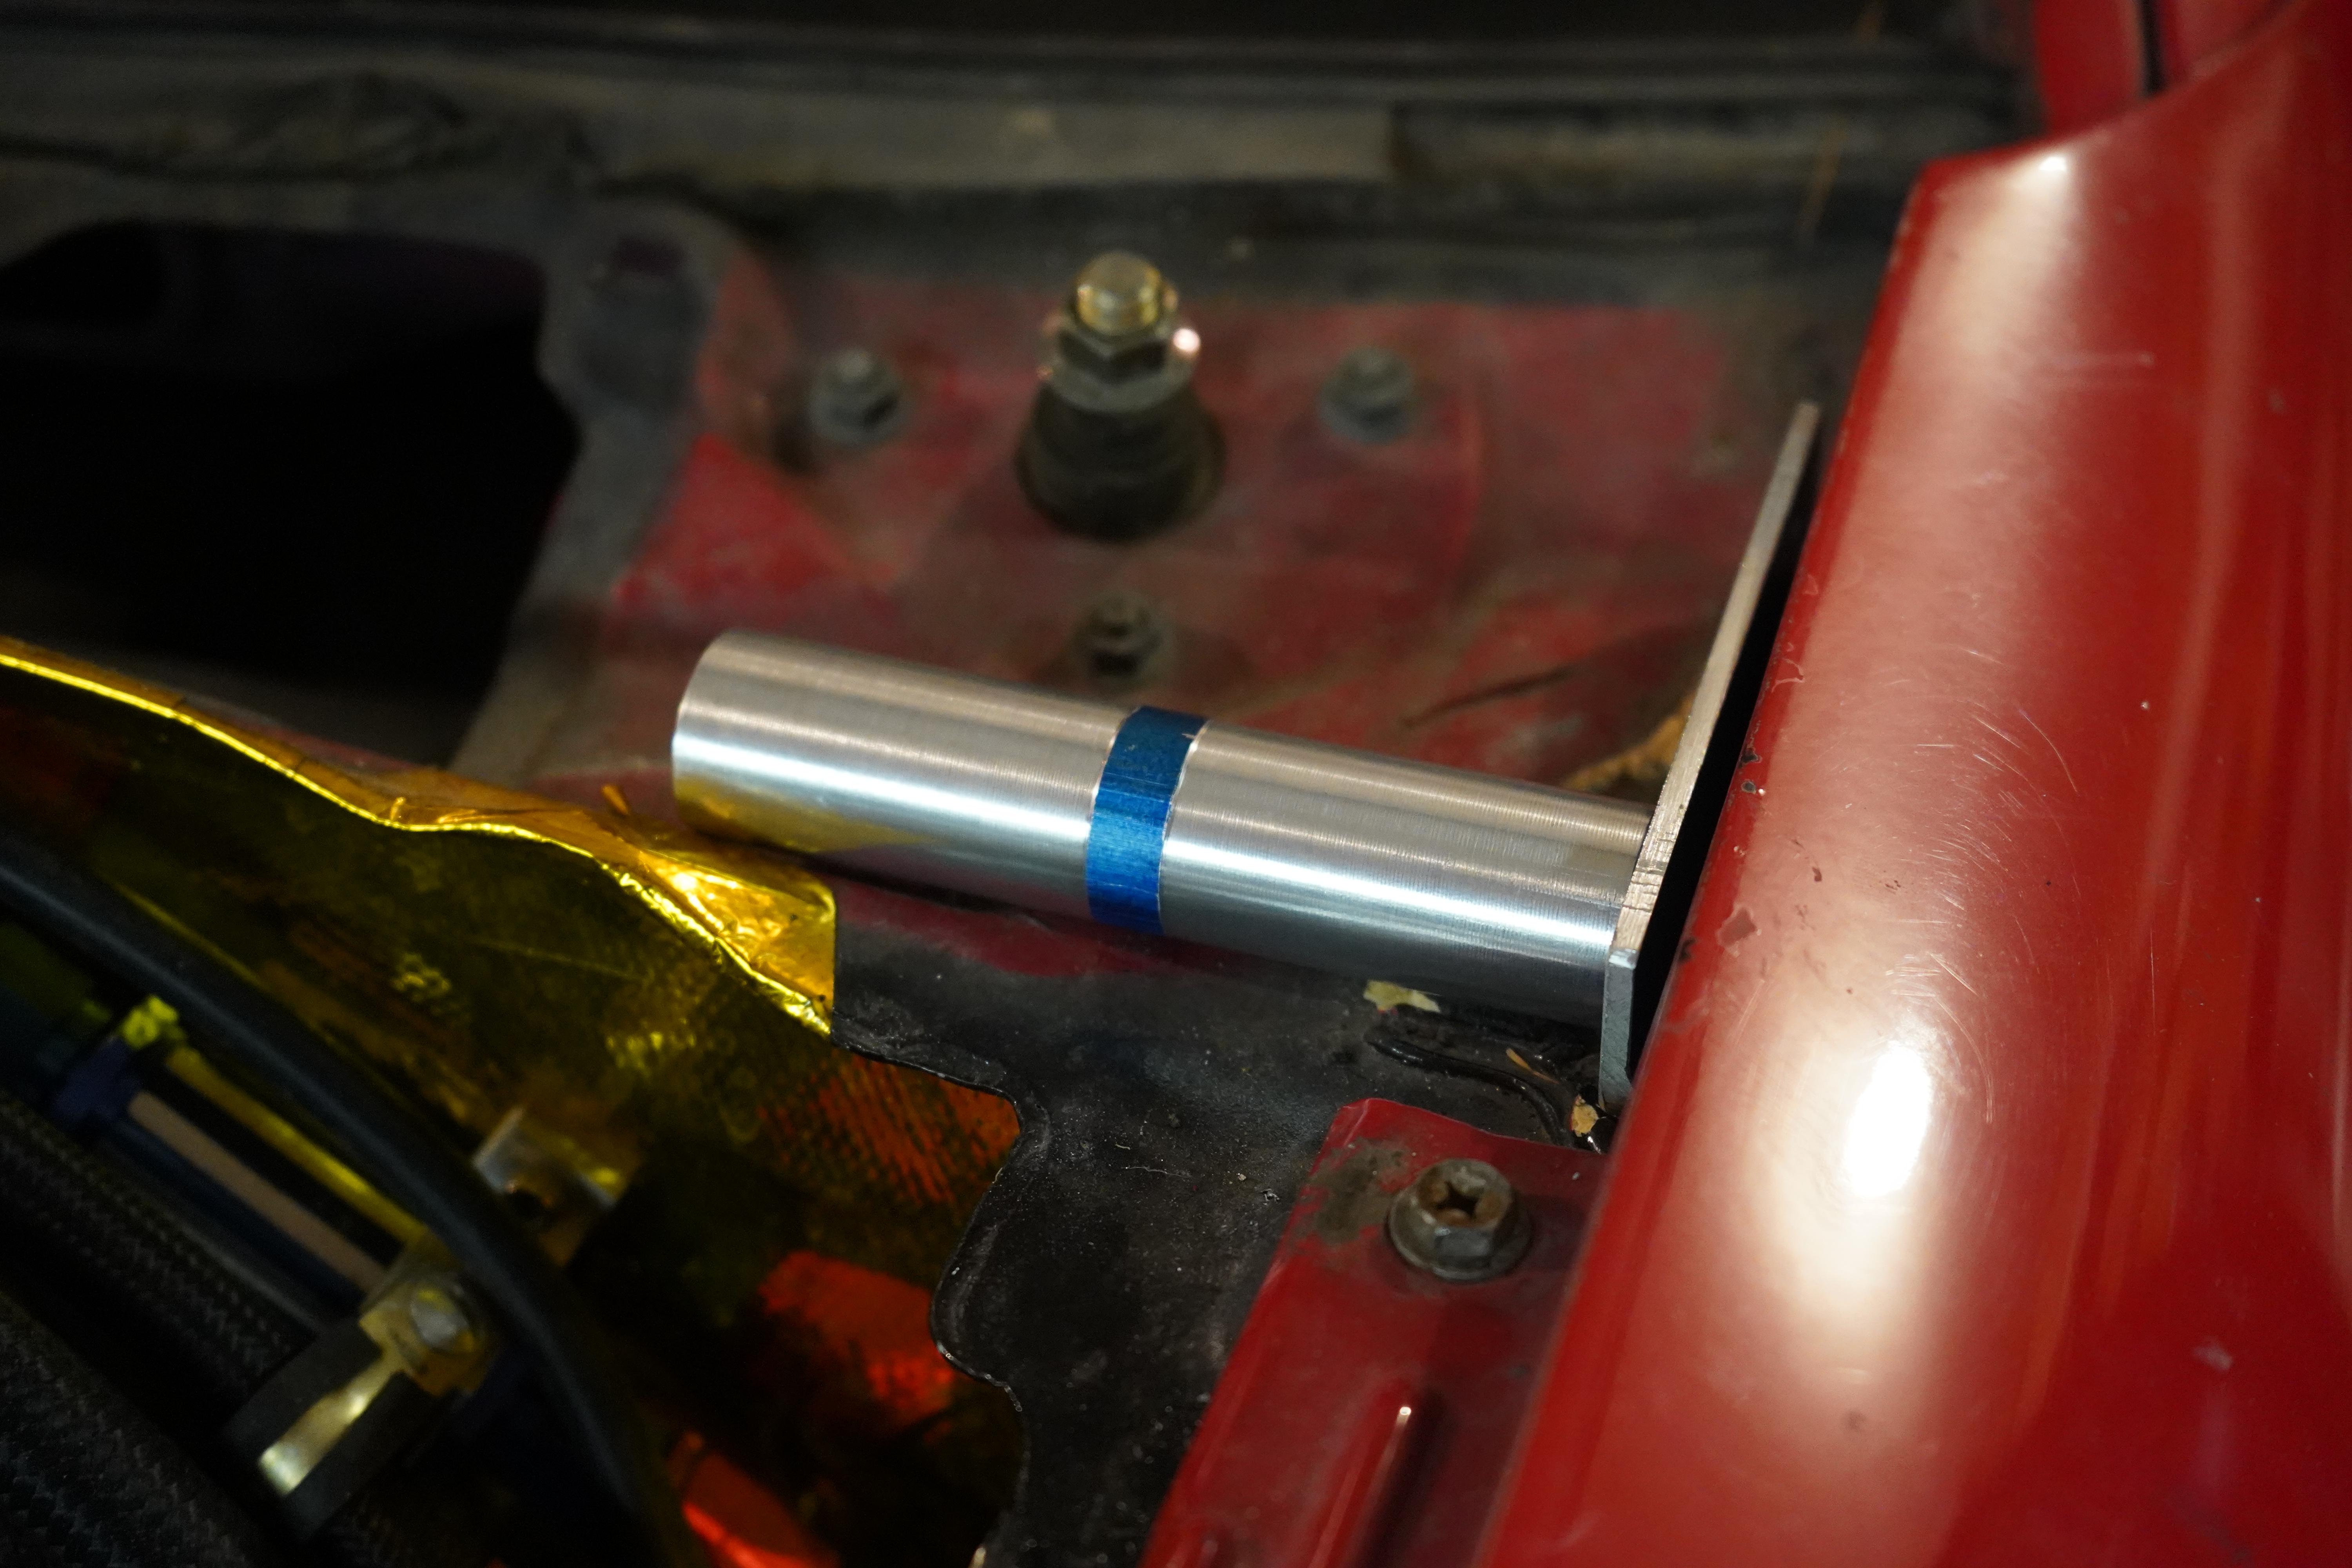
Needed a bit of clearance
Yes I have a sticker problem, and yes its flat on both sides
I am really hungry and out of photos
Peace.Leave a comment:

Leave a comment: