 Tweet
Tweet
I thought I had no room for a down pipe... Gnarly execution
-
-
Incredible work.Comment
-
-
holy fuckComment
-
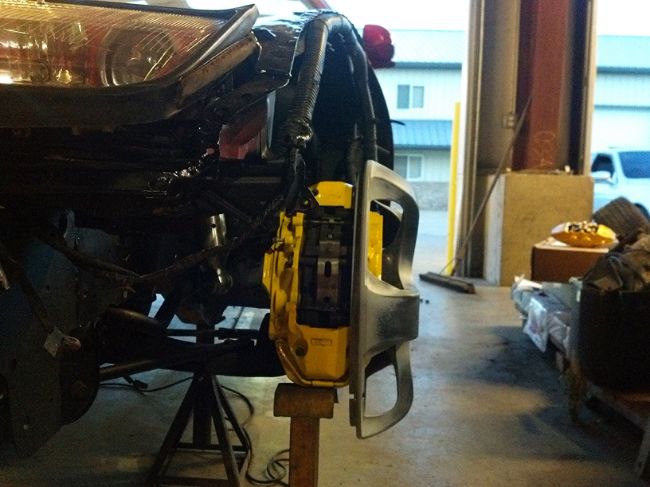
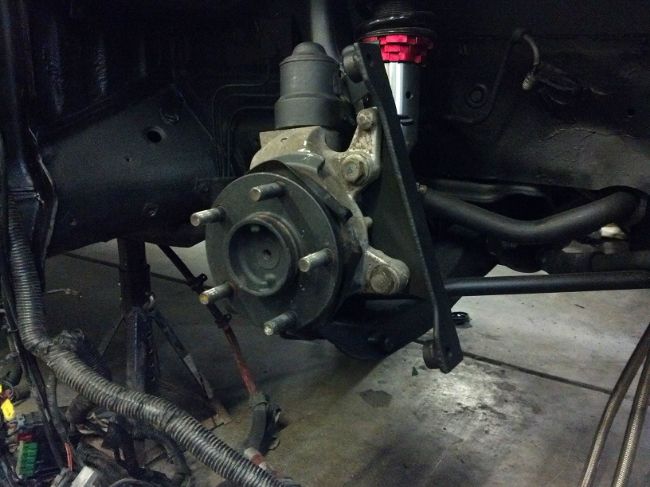
Picked up these bad boy Brembo's from a Mercedes clk black series a couple months ago, now the time has come to hang them!
Mocking up the brakes, making sure everything clears
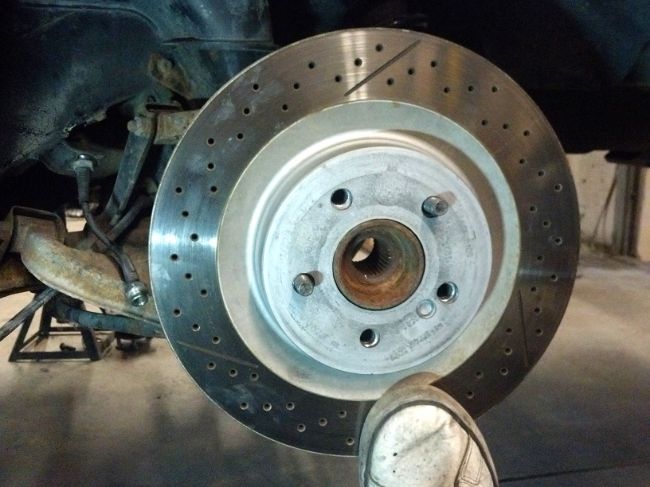
Rear rotor and everything looks good so far
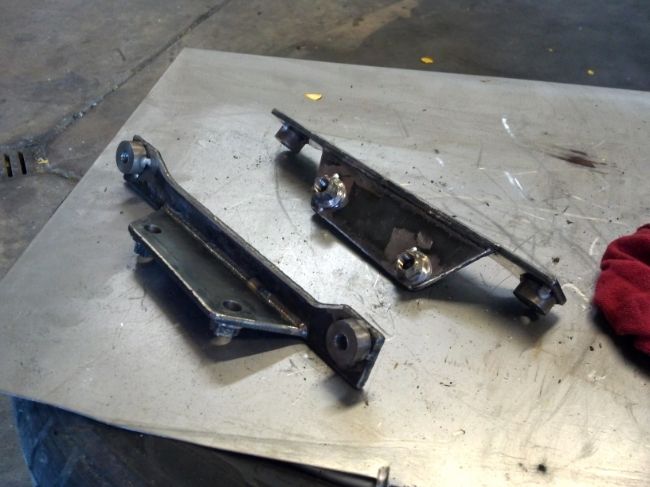
Front caliper mounts, just a few welds left and its complete
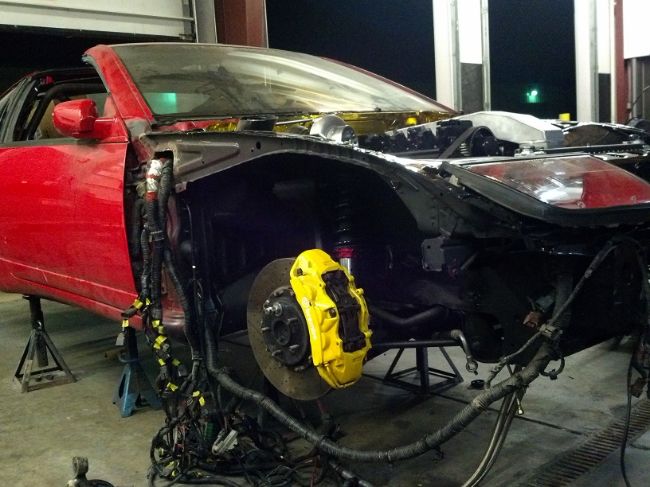
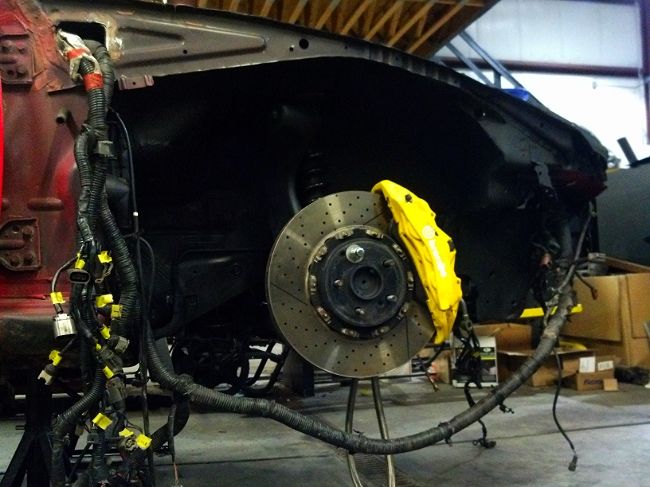
Mounted and complete, rears still need some work
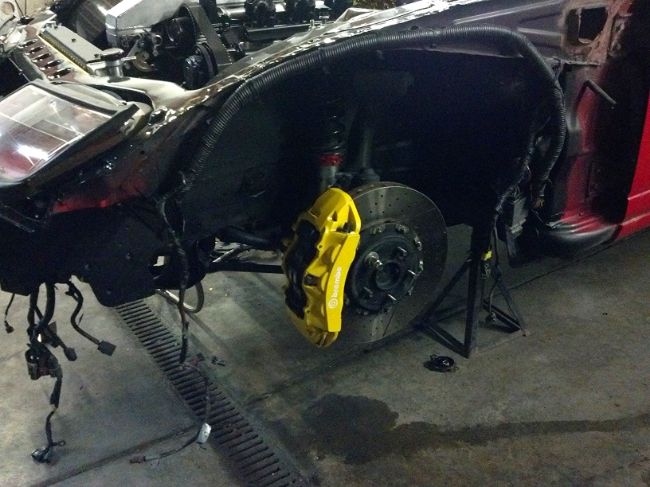
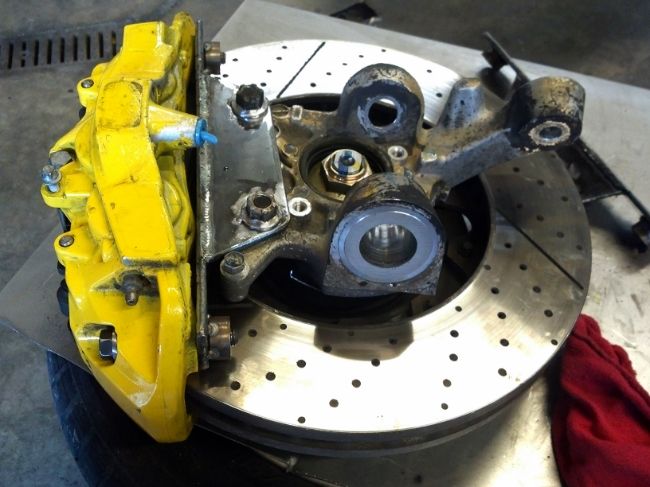
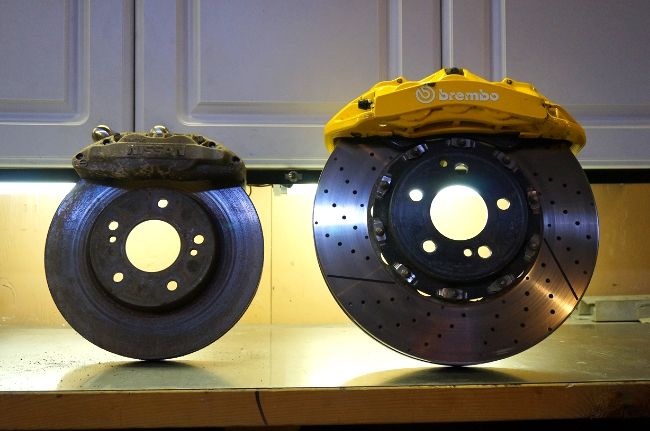
Just for size comparison here are the factory front brakes compared to the Mercedes black series Brembo's
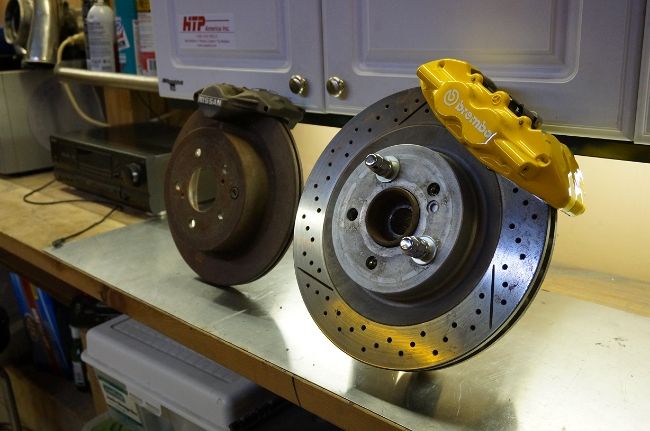
The rears
There will be more when I finish the rear mounts. The yellow is not staying, McDonald theme is so played out.Last edited by EasySpeed*Inc; 04-25-2014, 10:41 PM.sigpicComment
-
THose are gonna look sick...-Christian.
'91 318iS AW2/blk slow garage queen/build...
'02 ///M3 carbonschwartz 6MT daily beast
'37 Chevy pickup-garagequeen...Comment
-
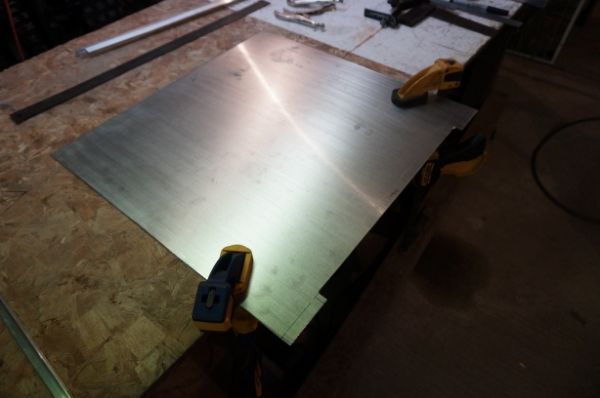
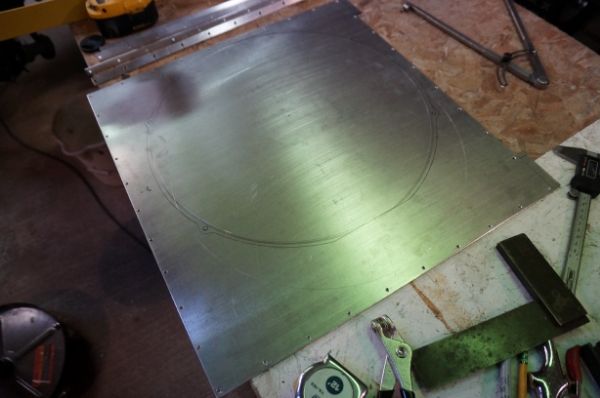
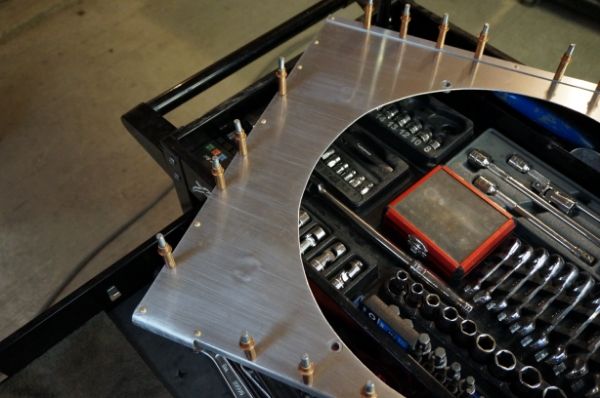
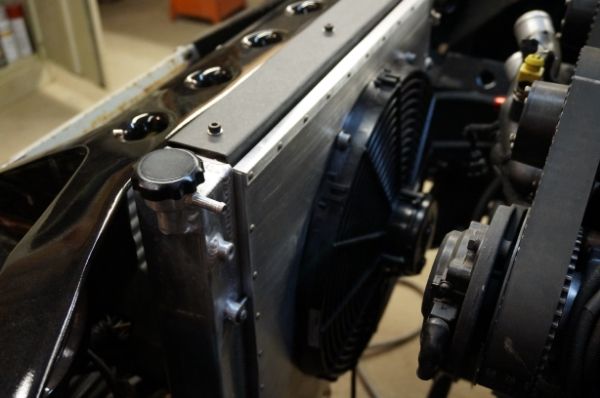
Its time to build a radiator shroud, Lets check it out
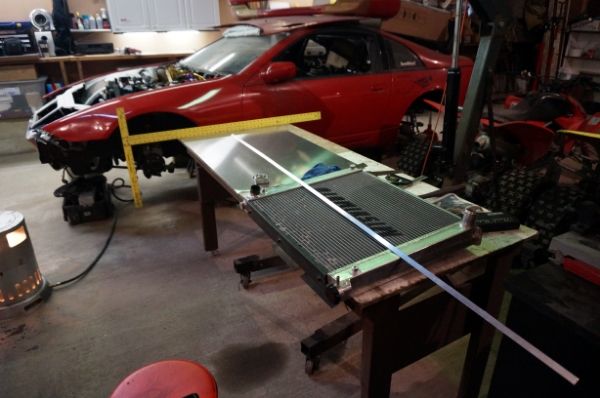
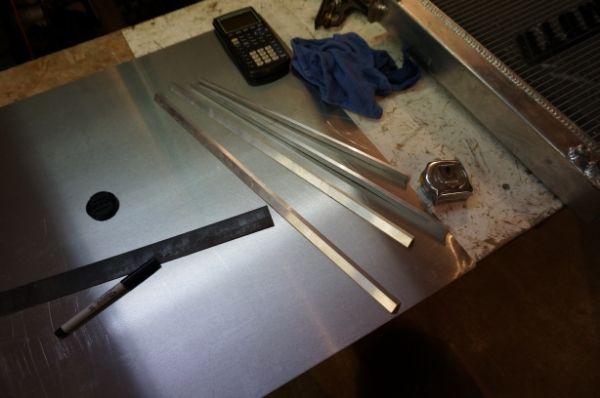
.065 aluminum sheet coupled with .065 aluminum angle
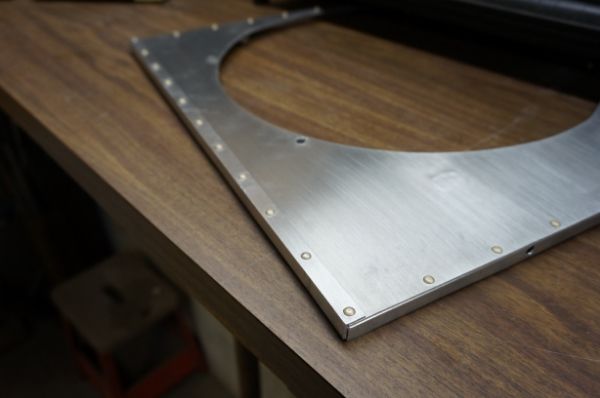
All edges will get the full attention to detail
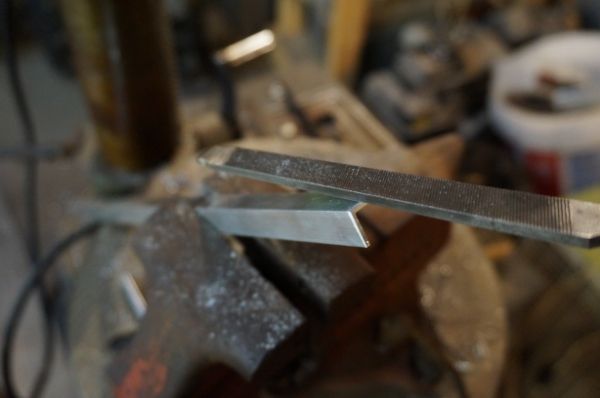
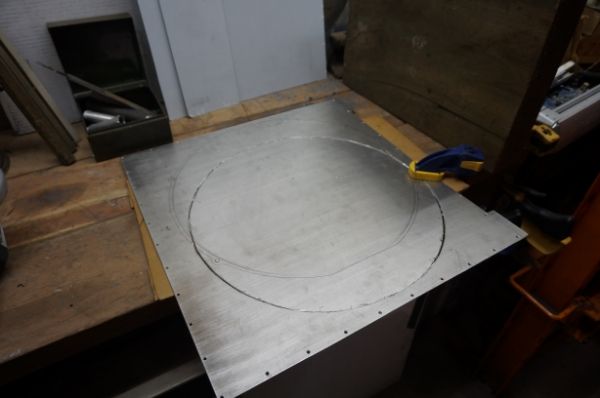
love my cheap ass electric shears, best $15 ever spent
I scuff pad everything

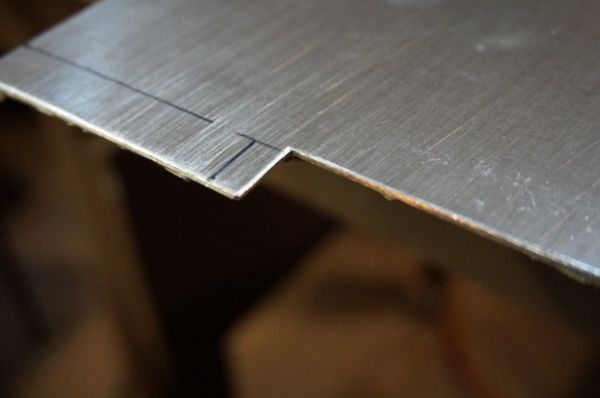
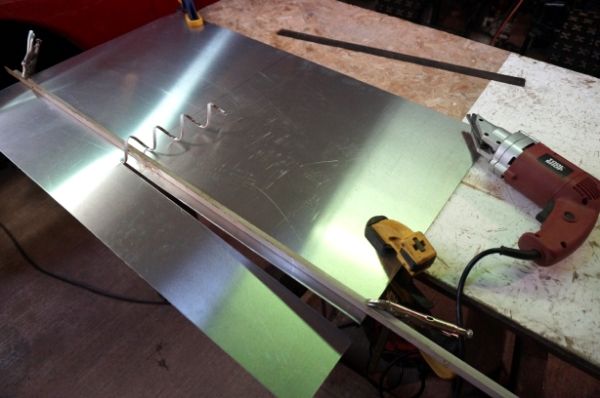
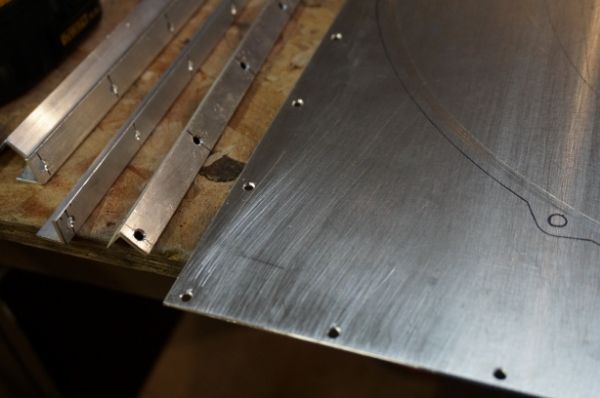
Framed

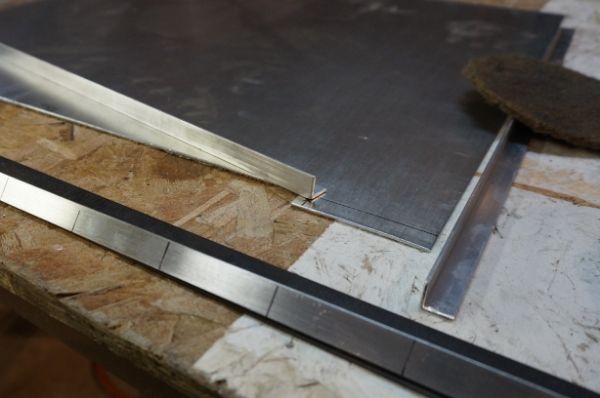
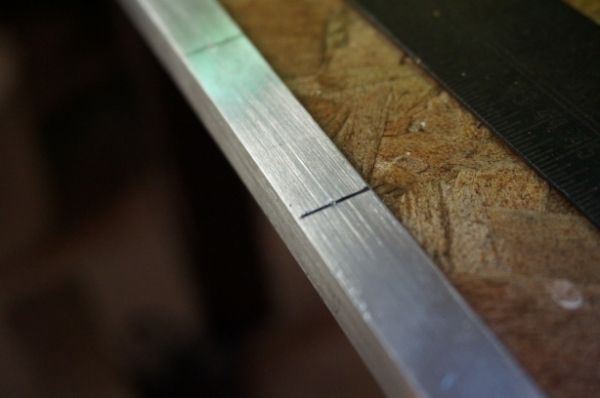
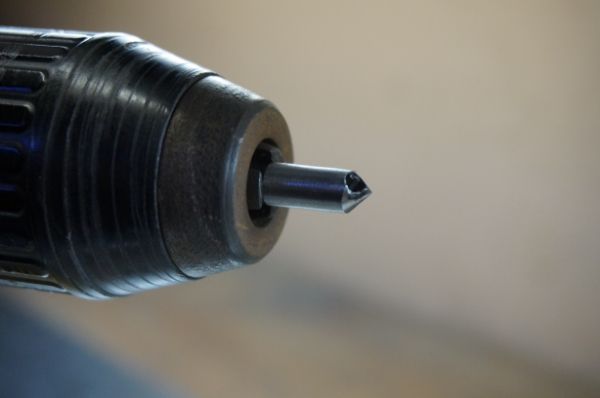
Center then center punched
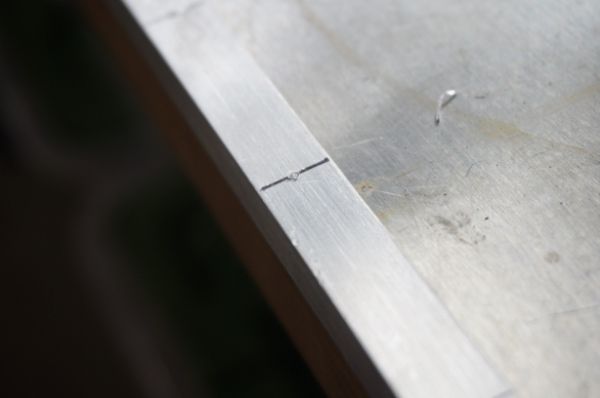
Center drill bits work wonders on thin shit like this
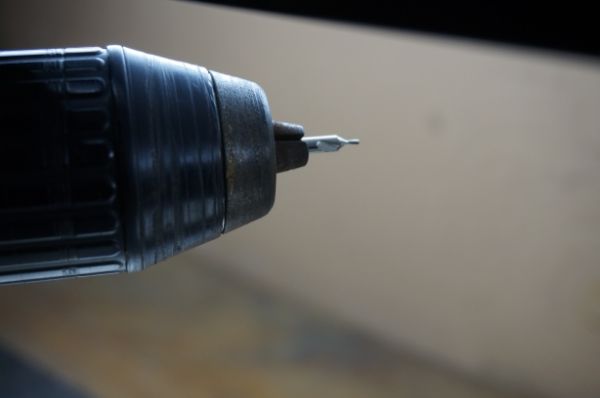
Now drill
Yes it will all be riveted, because rivets are badass
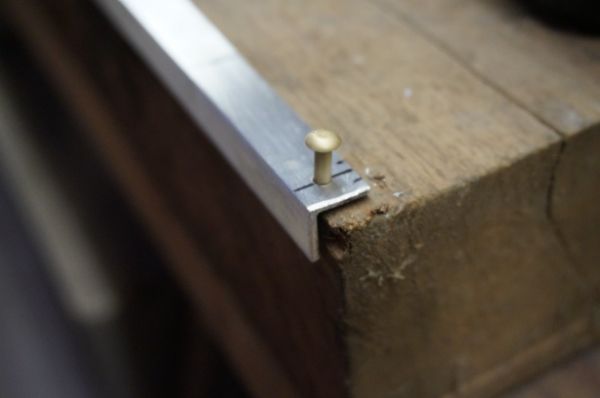
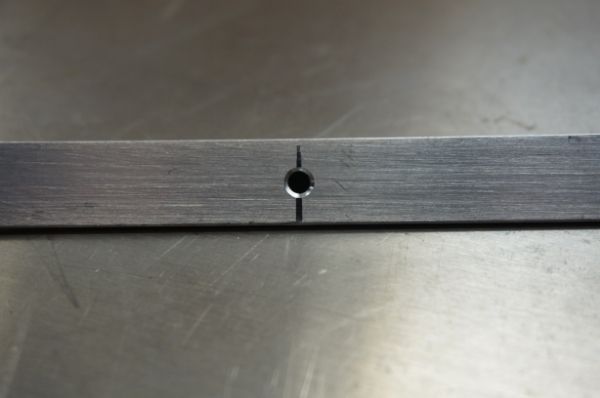
This is my favorite deburring style bit
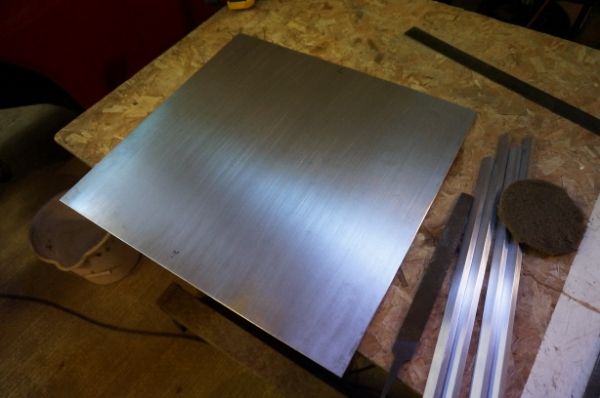
Look at how damn nice that looks
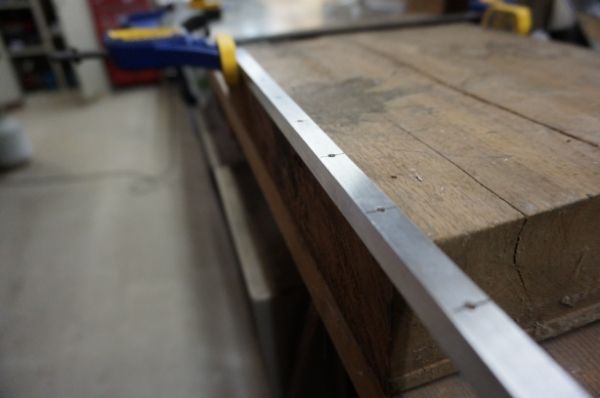
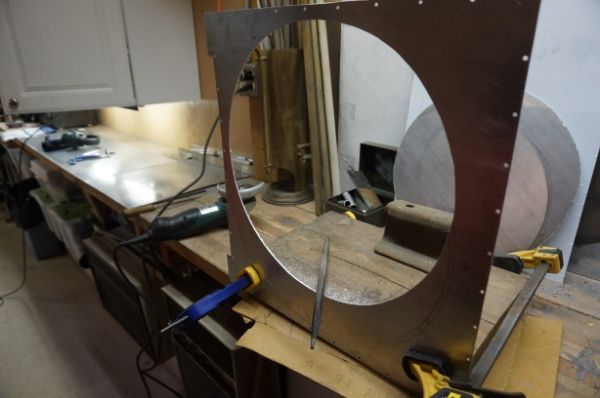
More drilling
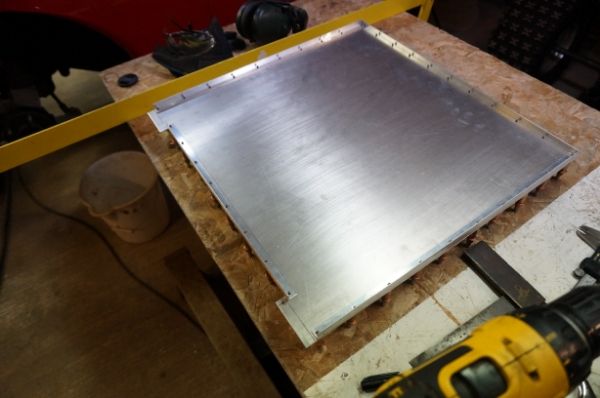
Mocked up for a visual
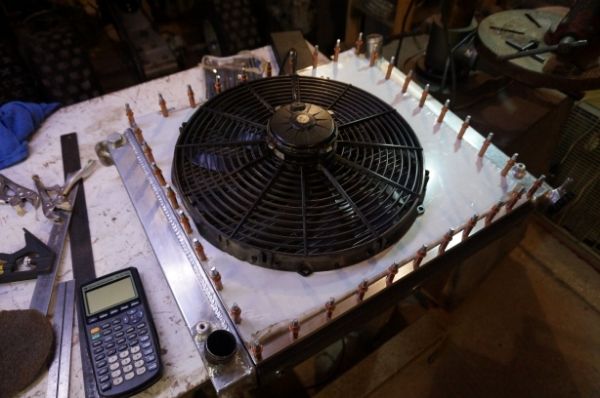
Electric fan has been marked and ready to be cut out

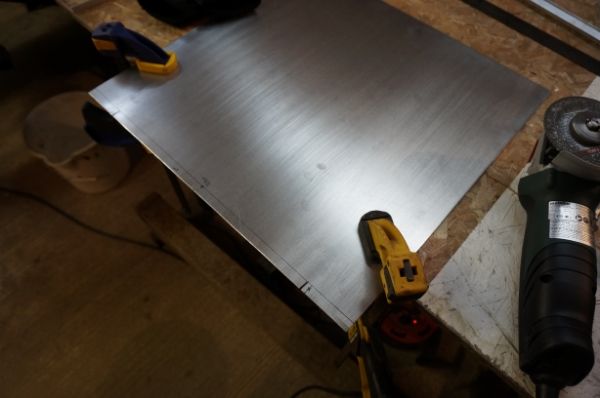
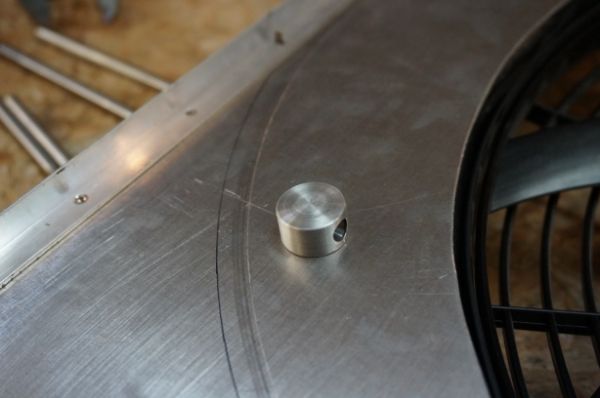
Machining threaded inserts for the electric fan to bolt to
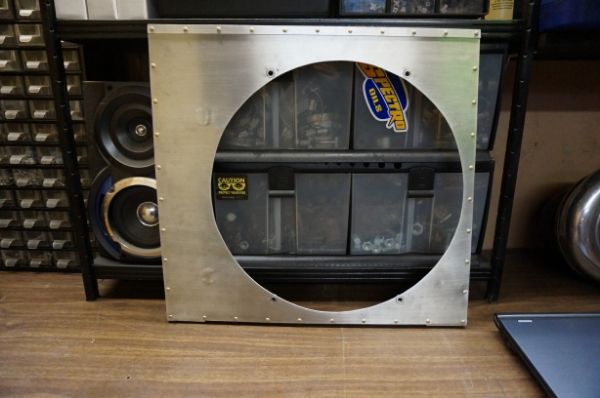
Left the white protective film on to protect the outside
There will be more much moresigpicComment
-
I love this thread.-Christian.
'91 318iS AW2/blk slow garage queen/build...
'02 ///M3 carbonschwartz 6MT daily beast
'37 Chevy pickup-garagequeen...Comment
-
WOW.
Those brakes, holy shit.Originally posted by electricalboxComment
-
Awesome car, beautiful work. Will you be painting the entire car that same color or is it going to remain just a feature of the bay?Comment
-
I will be keeping the exterior paint OG, if I do decide to paint her there will be a color change. Thanks for the props and interest!Originally posted by acidlips242 View PostLast edited by EasySpeed*Inc; 05-08-2014, 08:08 PM.sigpicComment
-
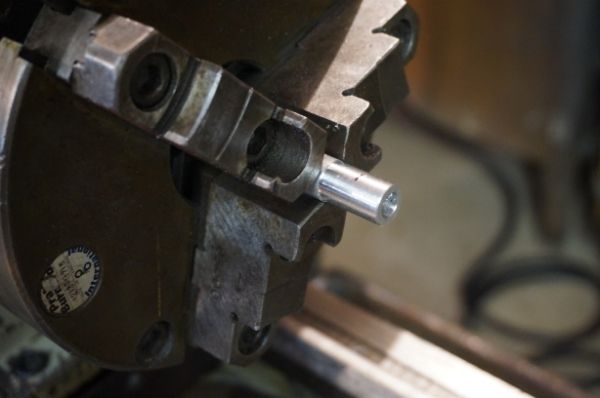
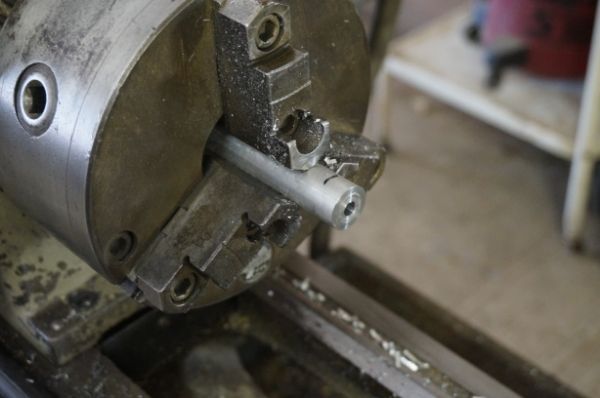
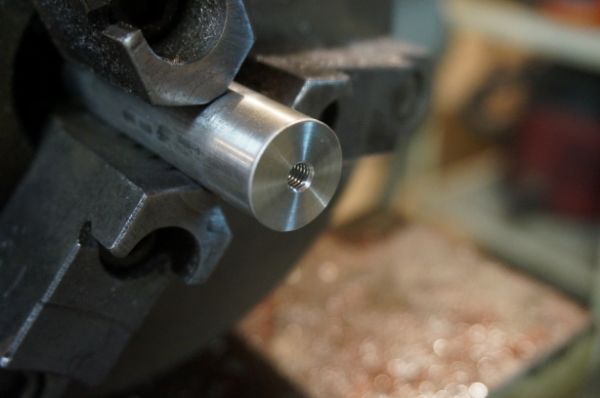
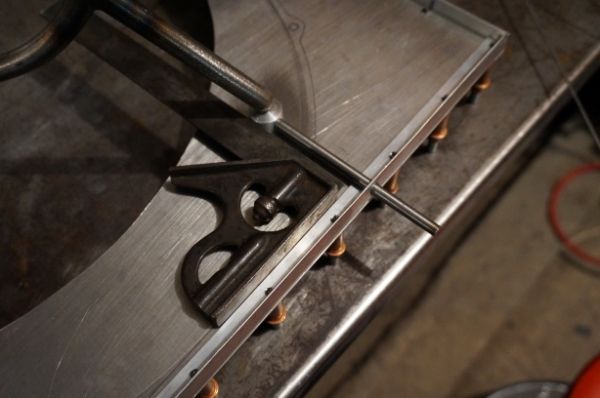
More lathe! Cutting threaded lugs for the mounts that will attach the shroud to the radiator.
Tap that shit
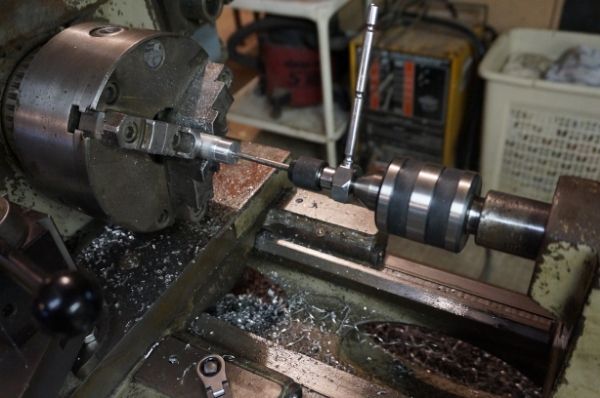
Drilling all the way through the side
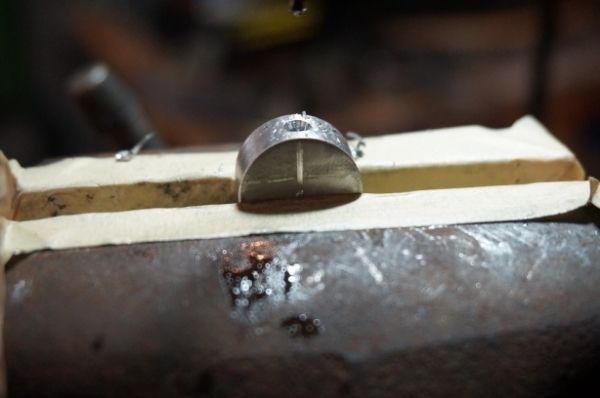
1/4 stainless bar
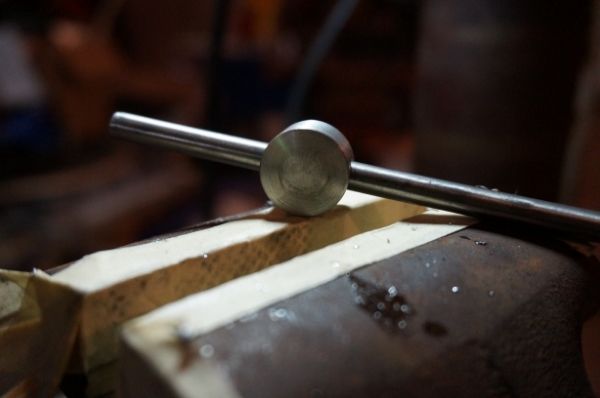
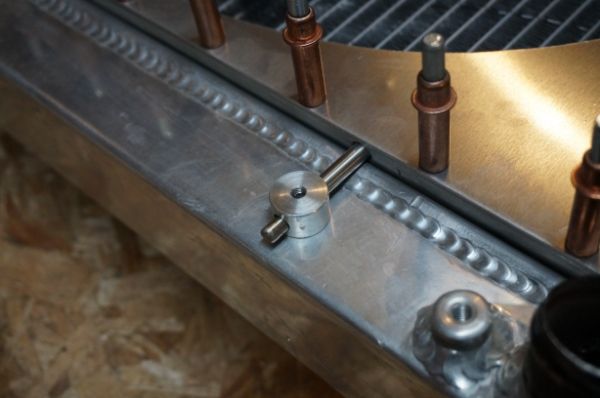
Here they are all lined up and look pretty close, not bad for just a drill press
All 4 lugs for the shroud and all 4 lugs for the radiator cut and ready to be welded on
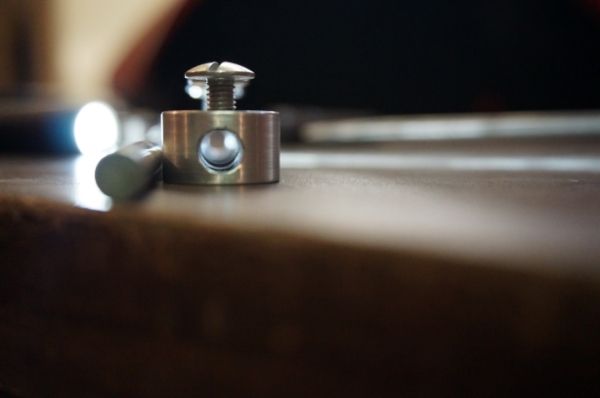
Fan shroud lug
These will be welded on the inside of the shroud
And the lug for the radiator
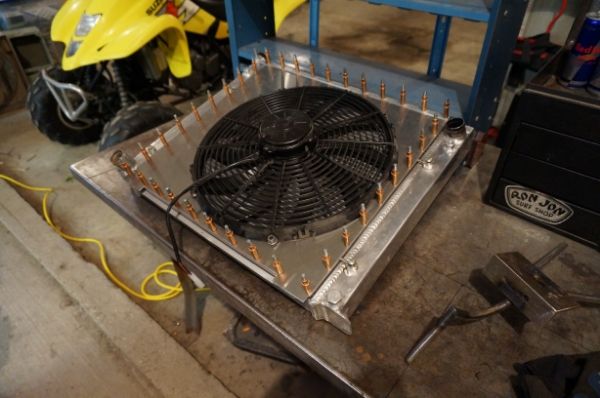
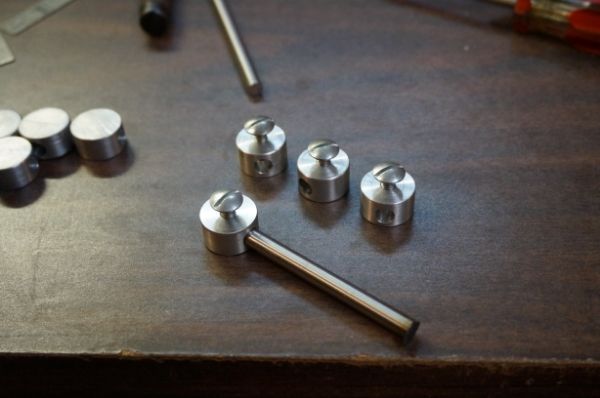
Time for rivets
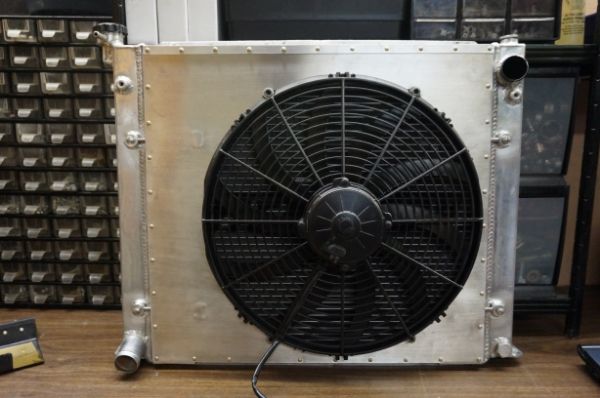
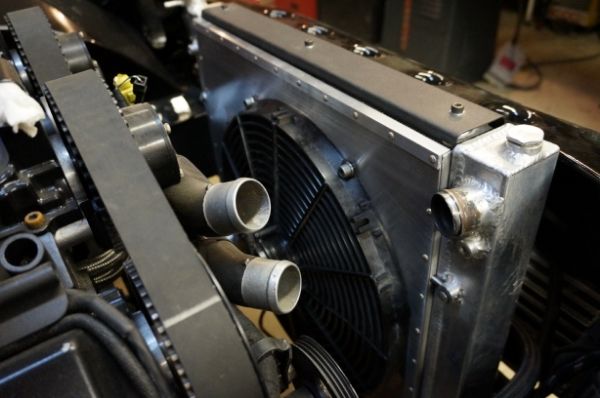
That is about it for the shroudsigpicComment
-
Wow.. Talk about attention to detail!!! Shroud looks great man!! Love the car too
Comment
-
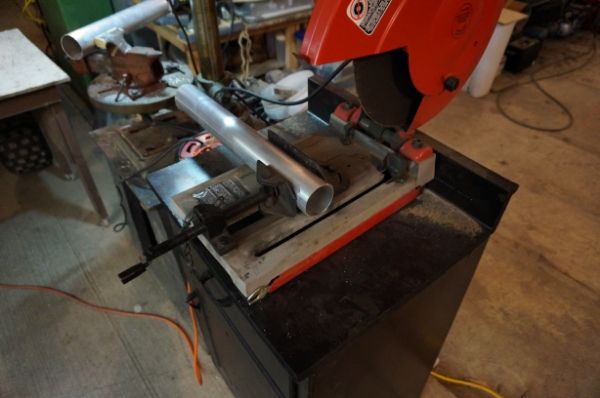
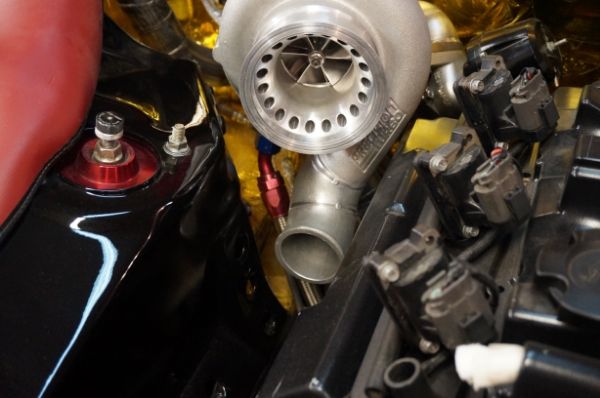
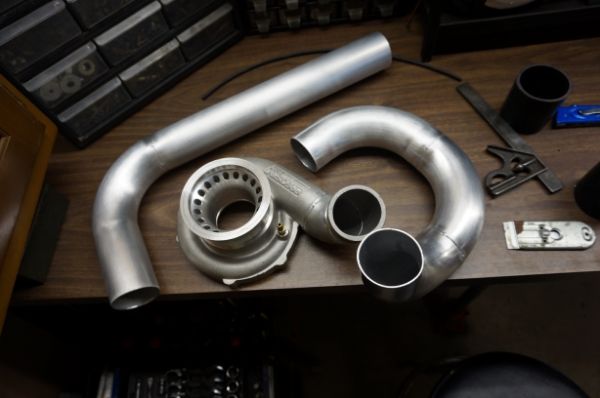
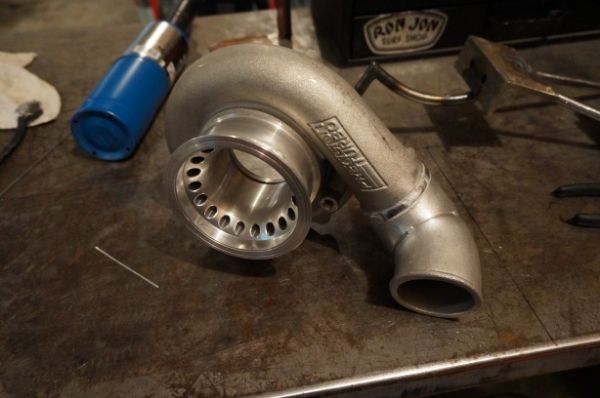
It's charge piping time
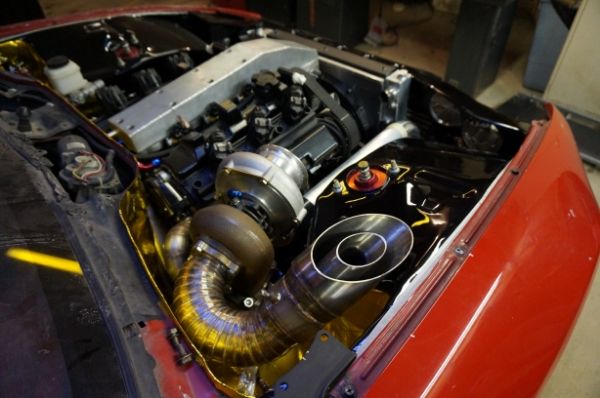
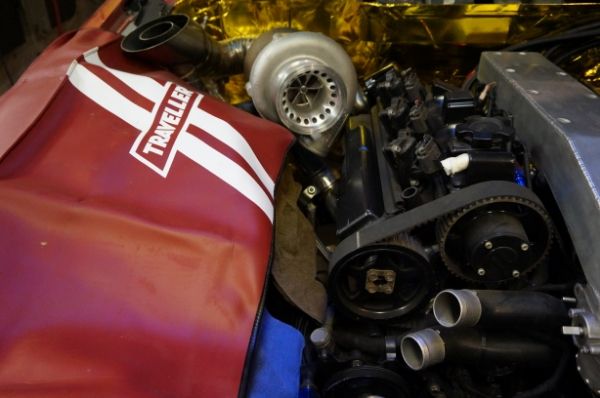
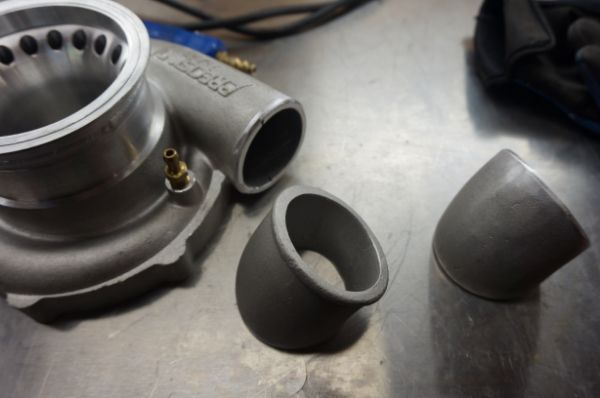
Modified the snout of the turbo and added a tight 90


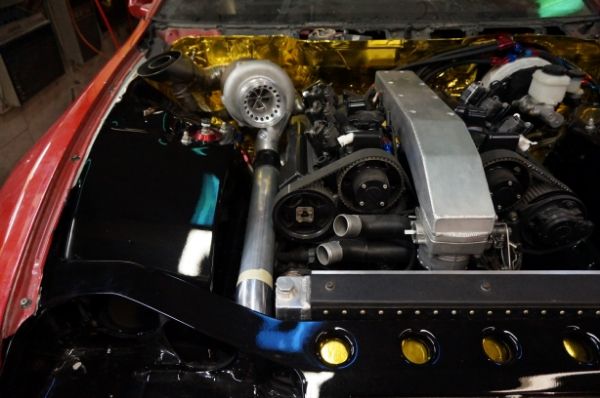
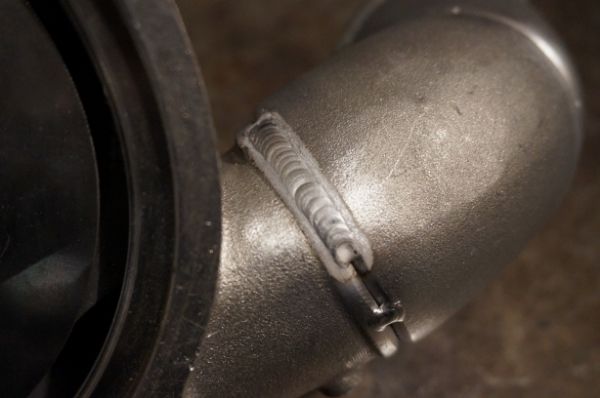
Tacked
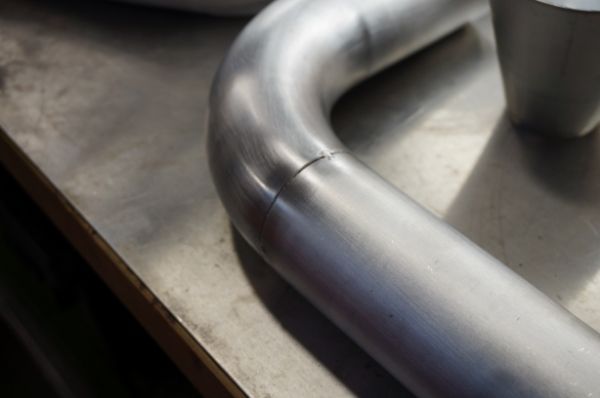
Tube connecting cold side to intercooler
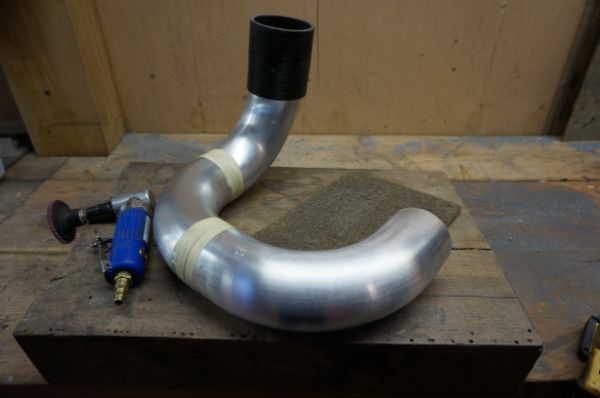
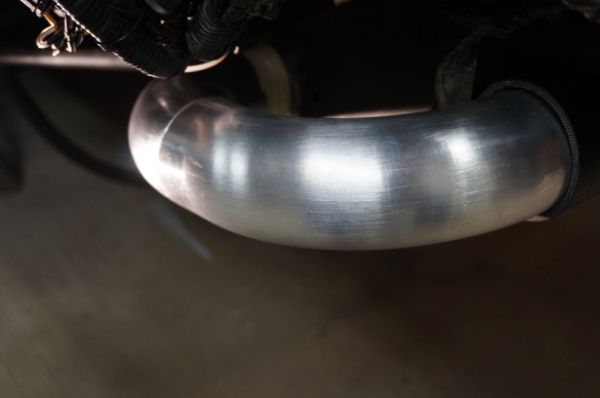
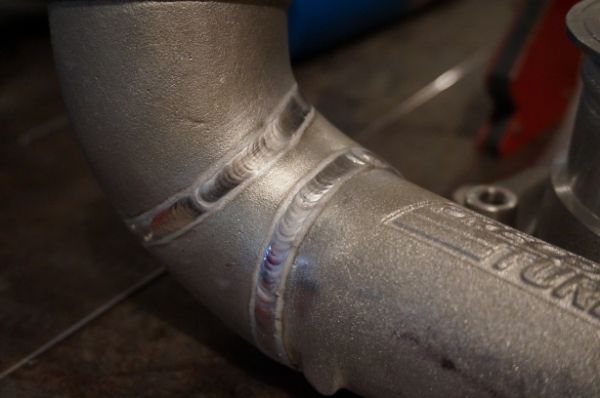
All tacked and ready to be welded
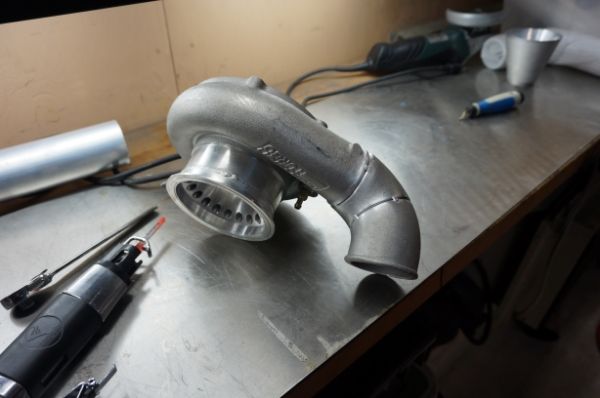
Preheating this snail
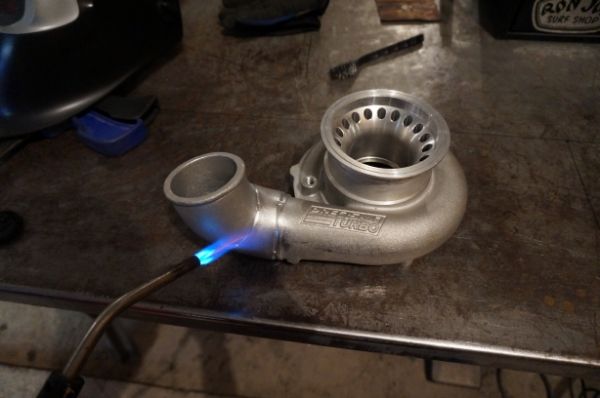
It's meh worthy
 sigpic
Comment
-
very slutty, keep it going, its looking fantasticComment


Comment