 Tweet
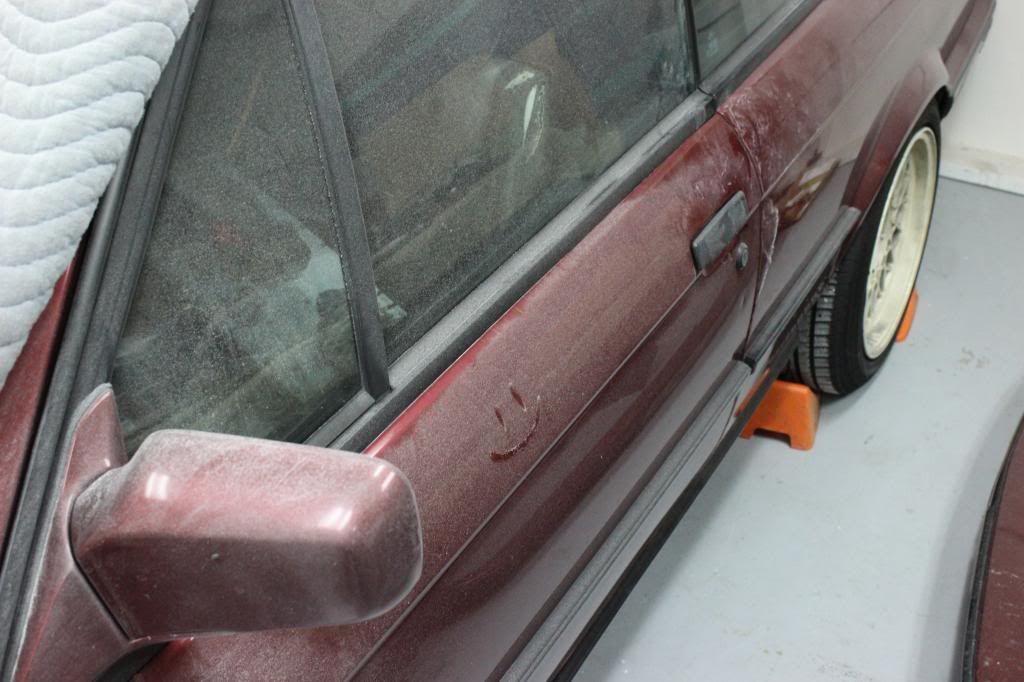
Tweet
Good progress, just keep the momentum ...
-

Zacne on facebook: www.facebook.com/ZACNEWheels
Zacne on instagram: @zacnewheels
Website: www.ZacneWheels.com -
Shit I forgot about this...
I should update. Be ready for a huge update. Remember these are copy and pasted...
Well, let's start off with, I got in a motorcycle accident so that slowed me down for a bit... CAUTION: SLIGHT GORE
Well. Nothing to update from this weekend except this.

The end of my weekend was spent in the ER after a motorcycle accident. So as a result, nothing got done. Hopefully I'll feel alright soon so I can get some work done.
Lots of welding was had today. Some progress was made
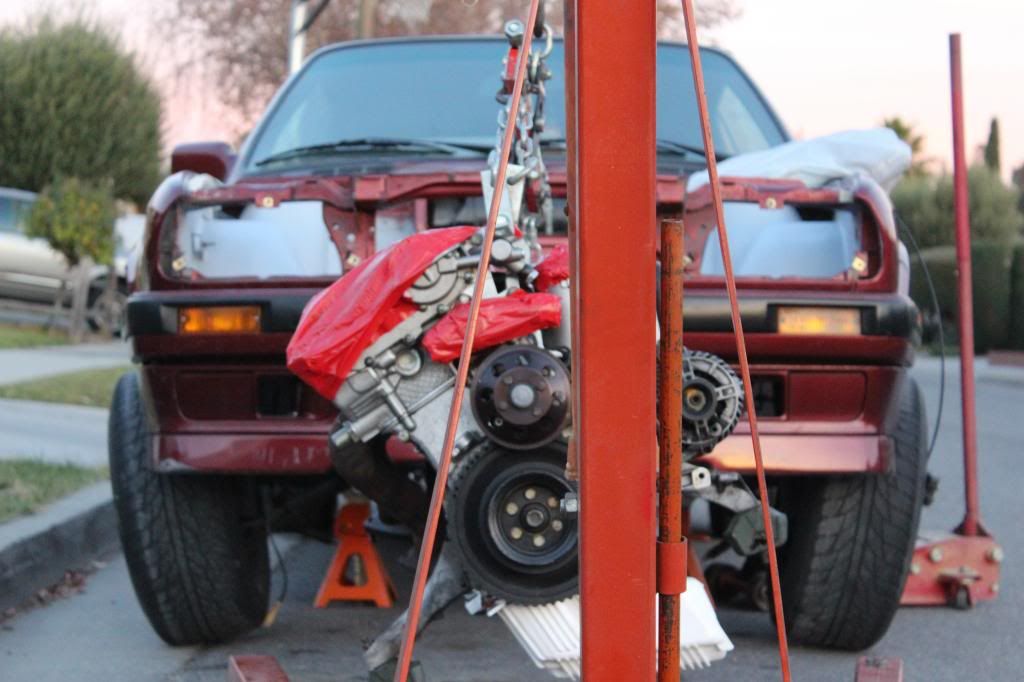
Before working on the e30, i worked on this bad boy.
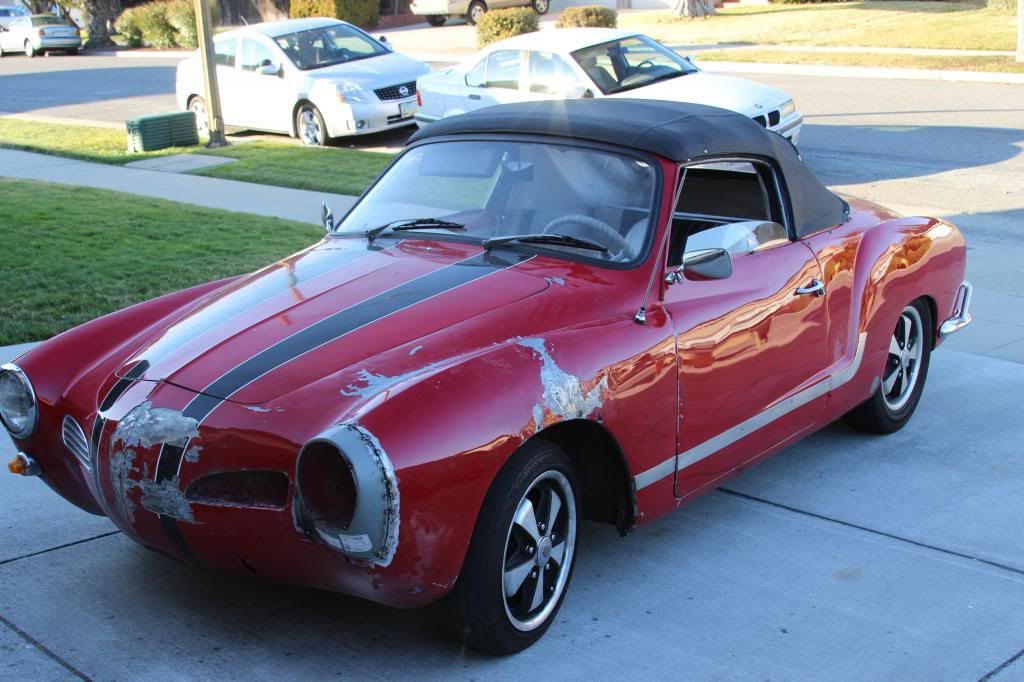
Front end crash. Friend wanted me to spot weld him a new healight thing on fo him.
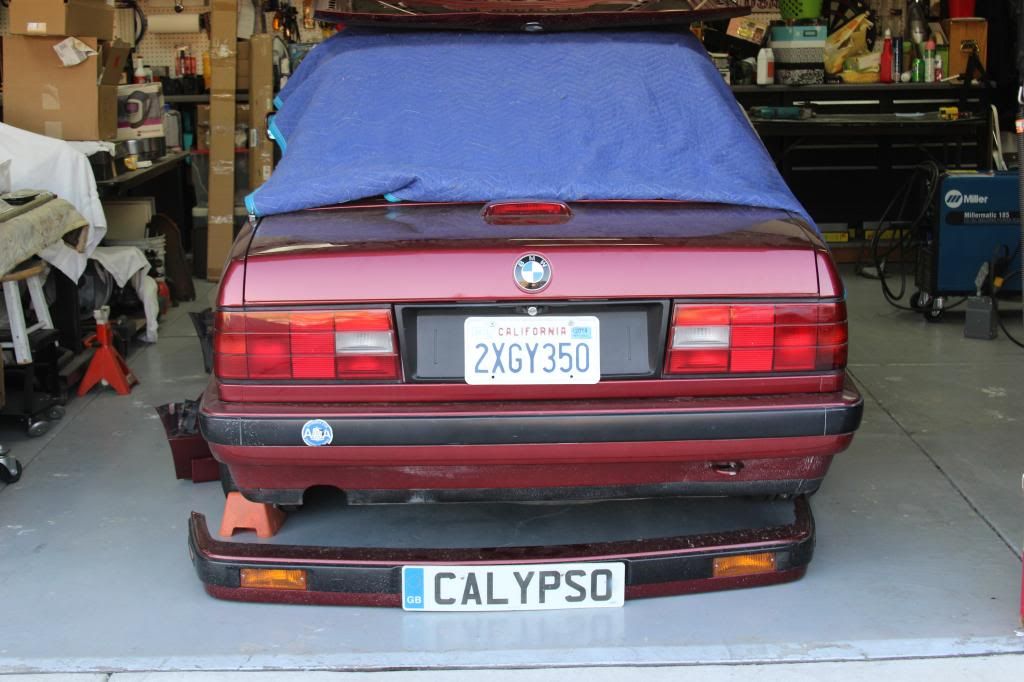
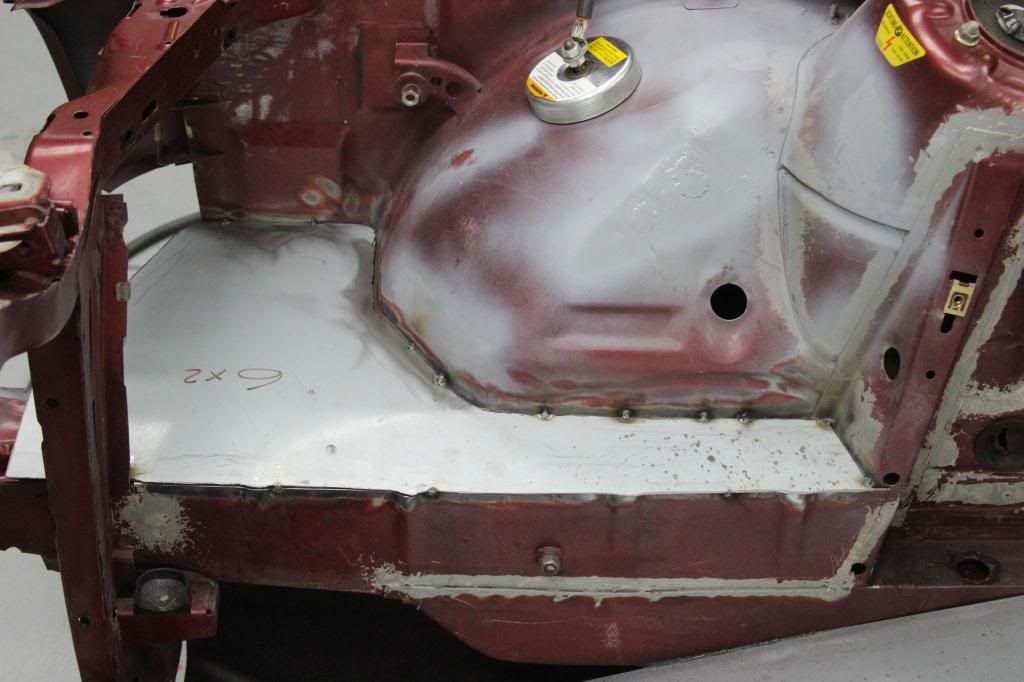
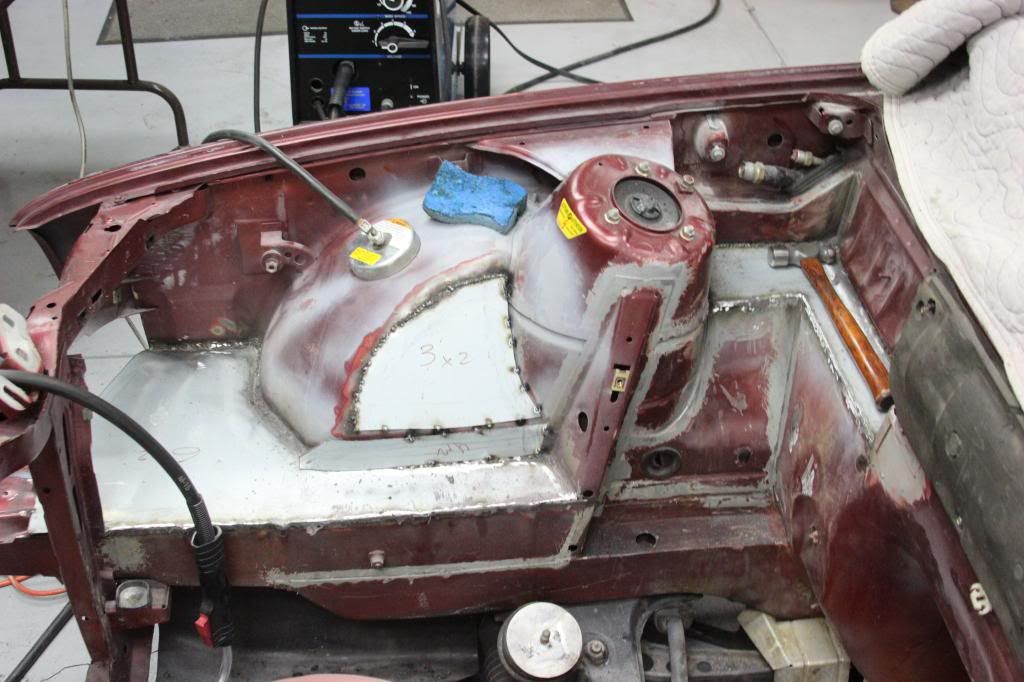
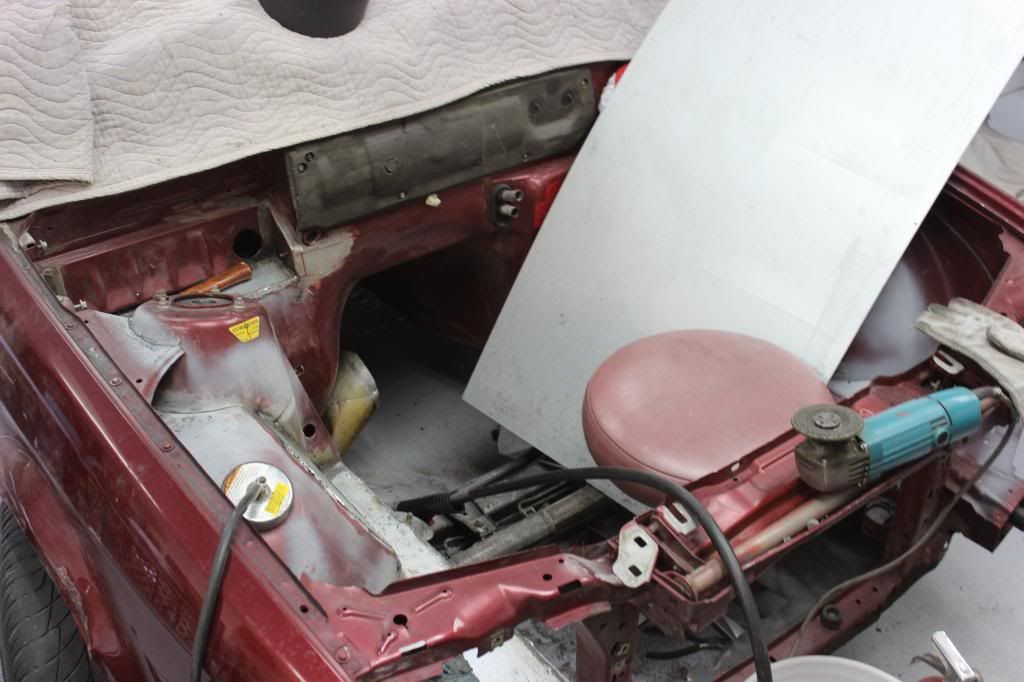
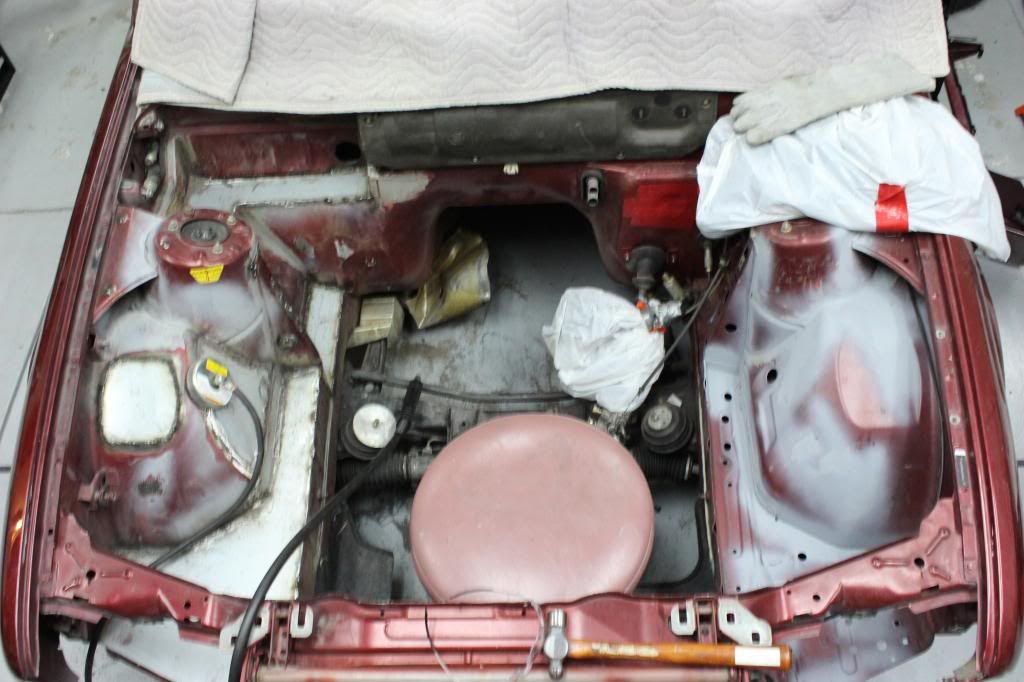
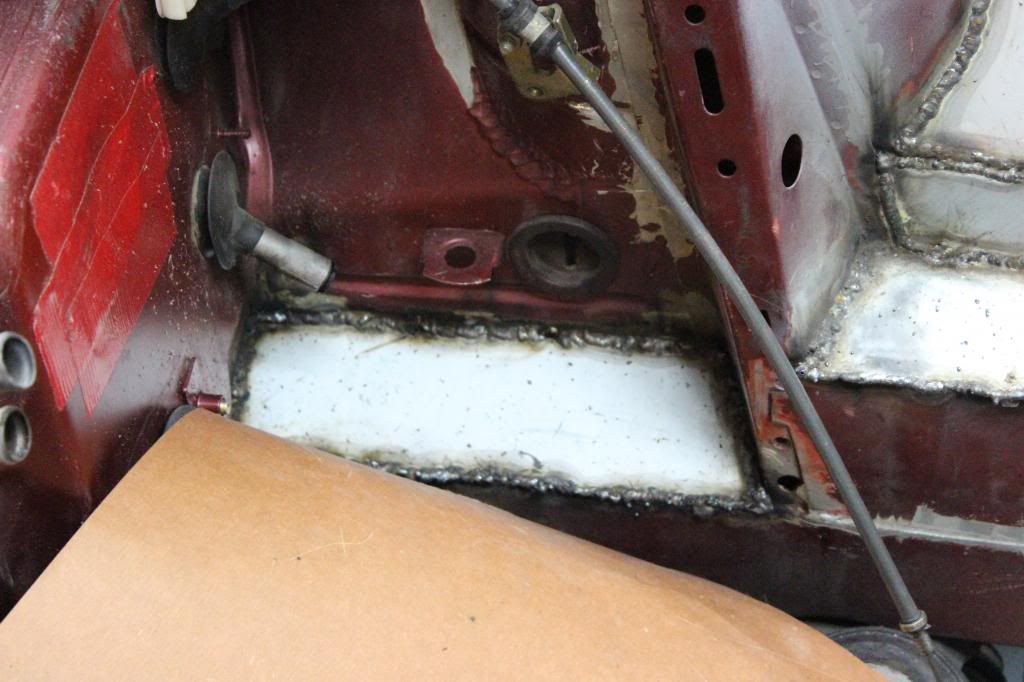
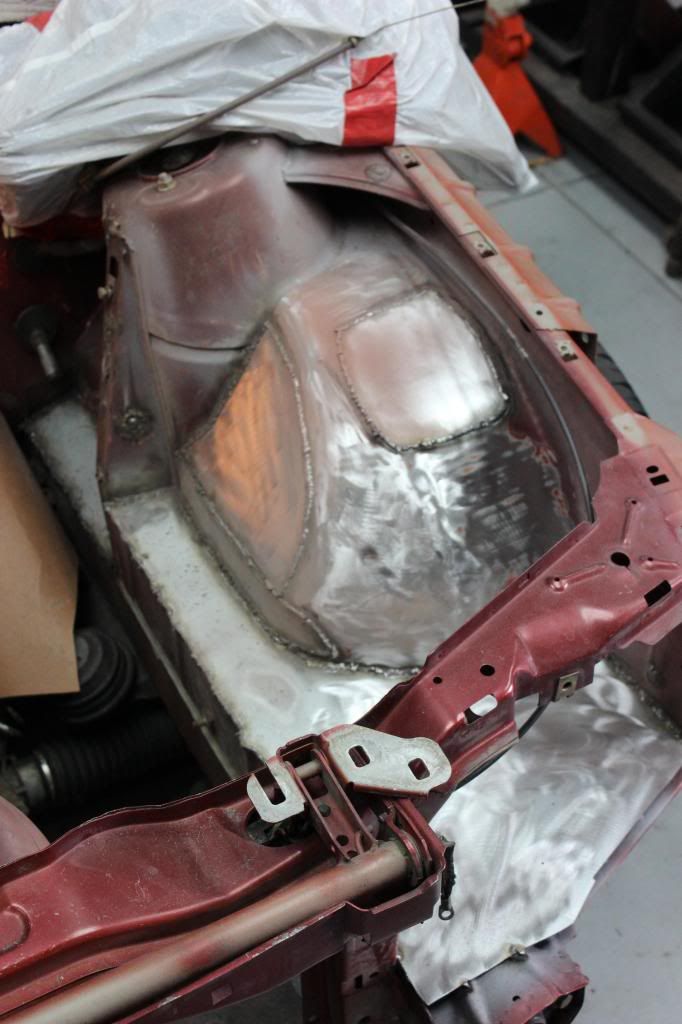
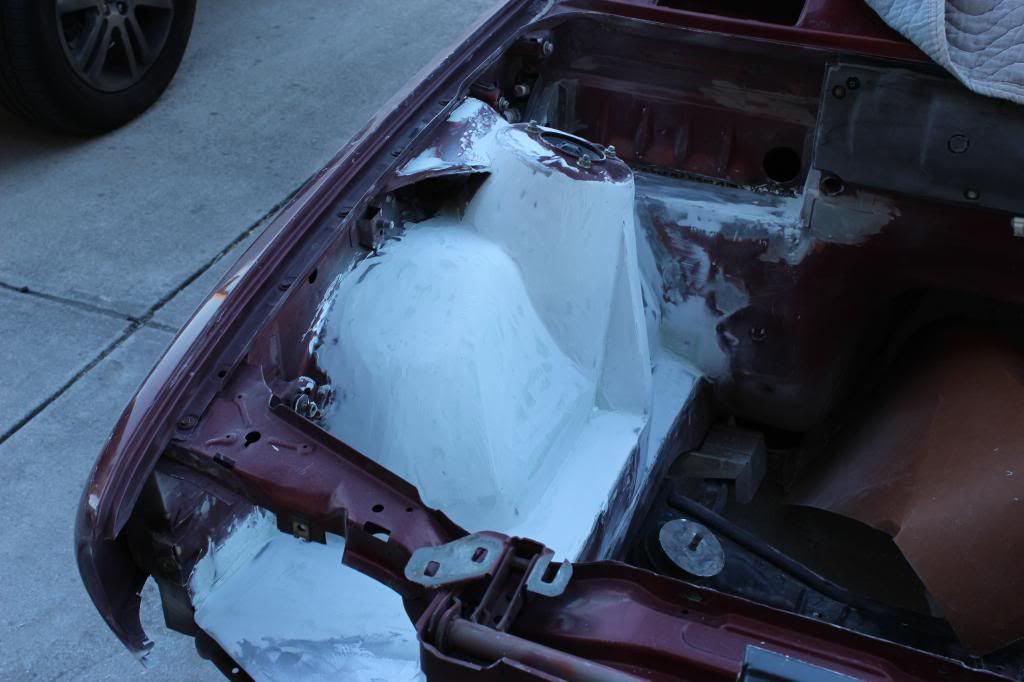
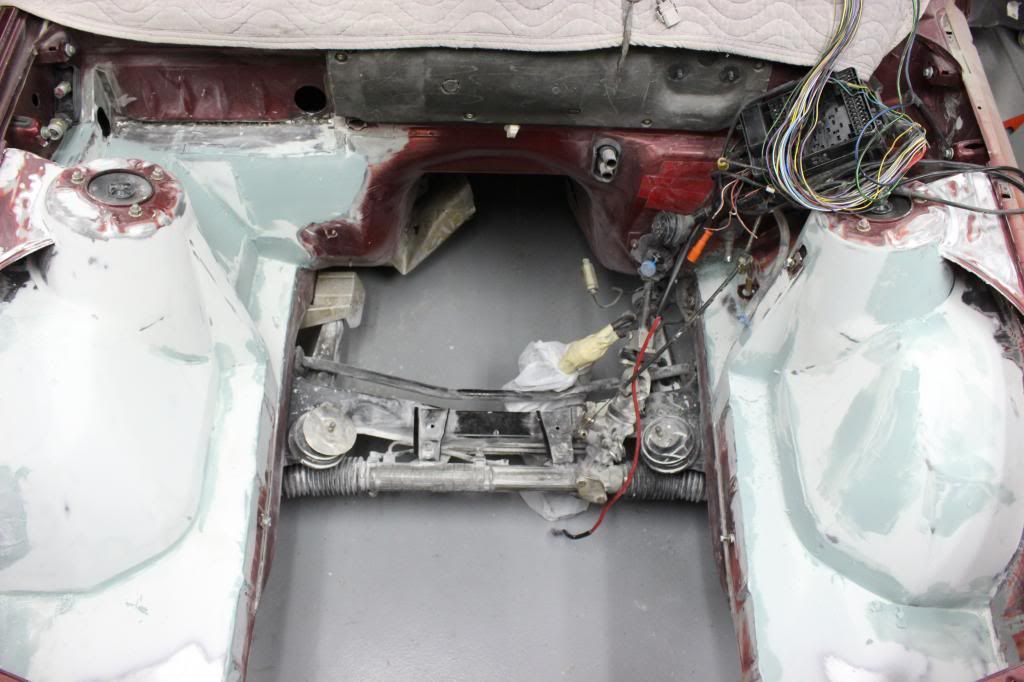
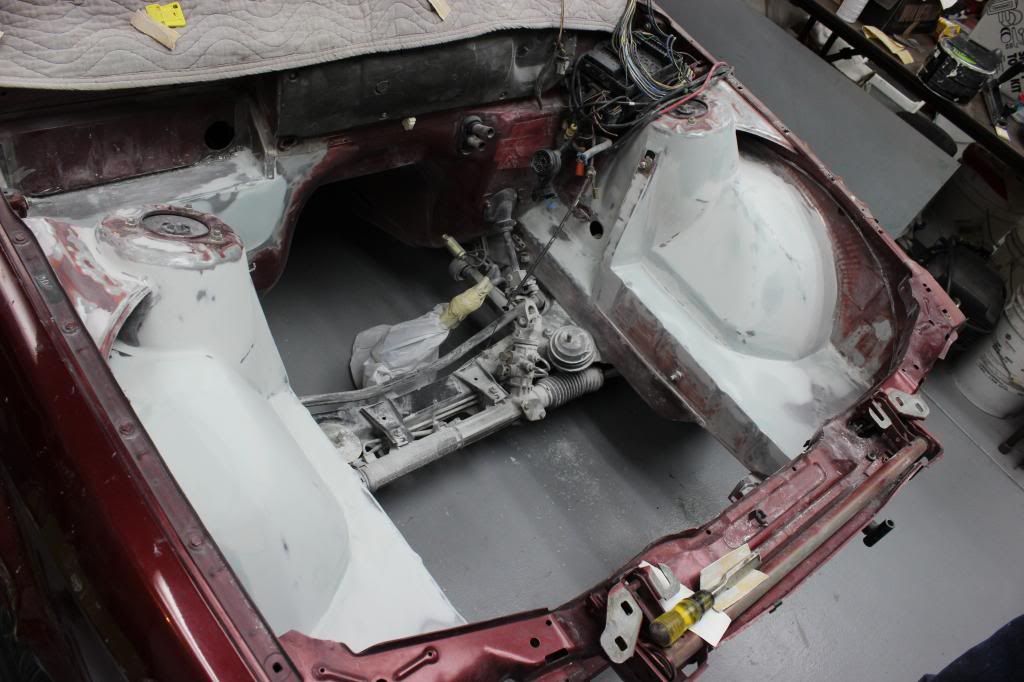
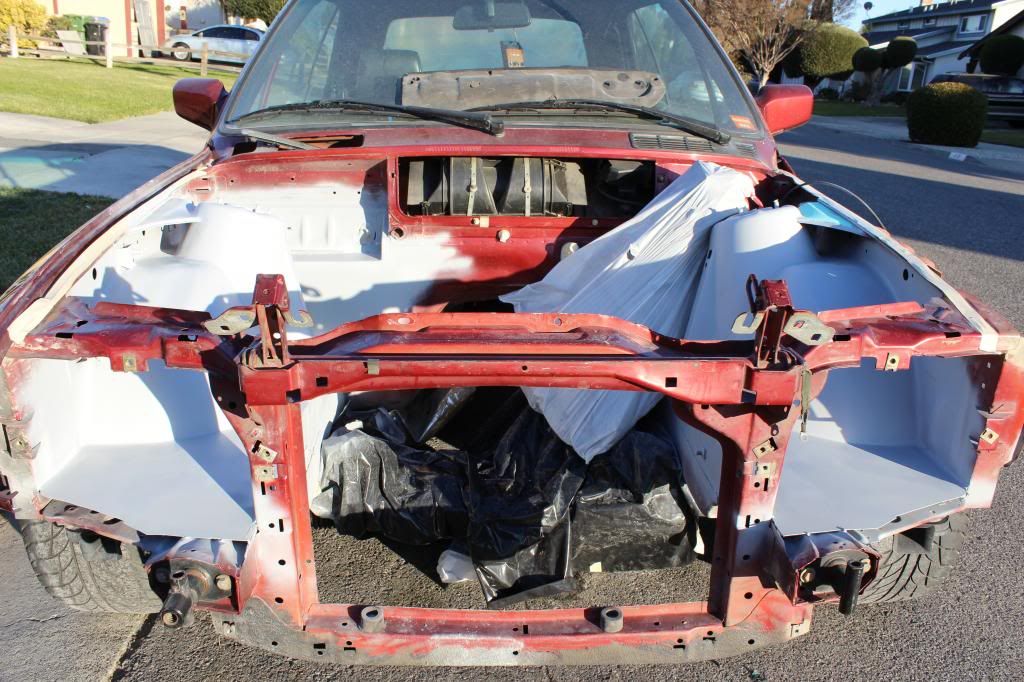
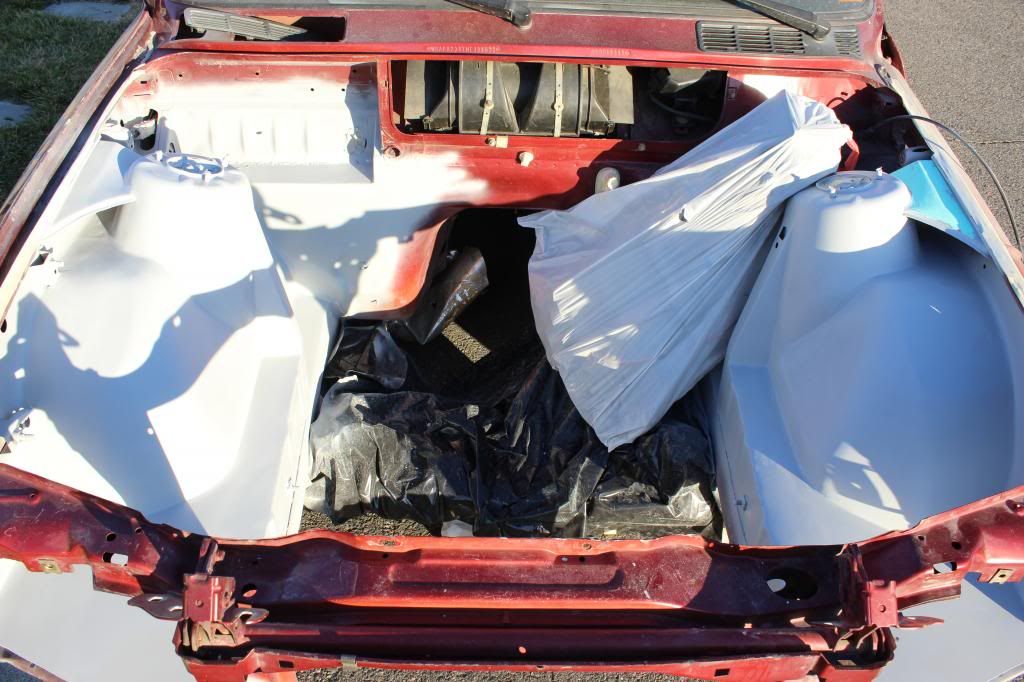
Then it was on to power washing the bay. Once that was done, I rolled it over to the garage
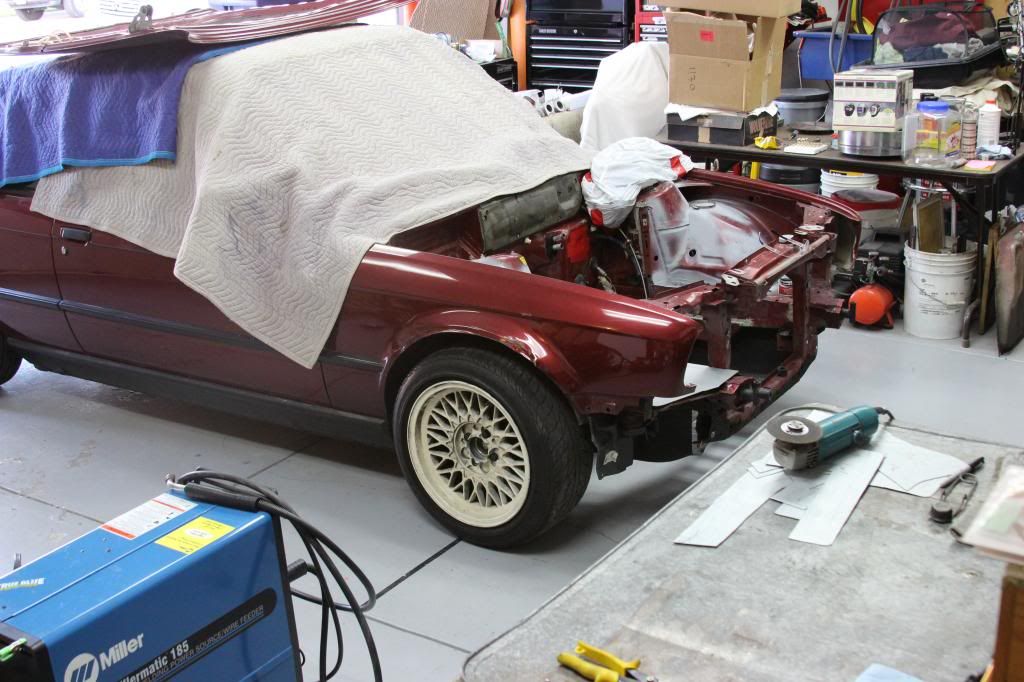
Started to line up the first piece
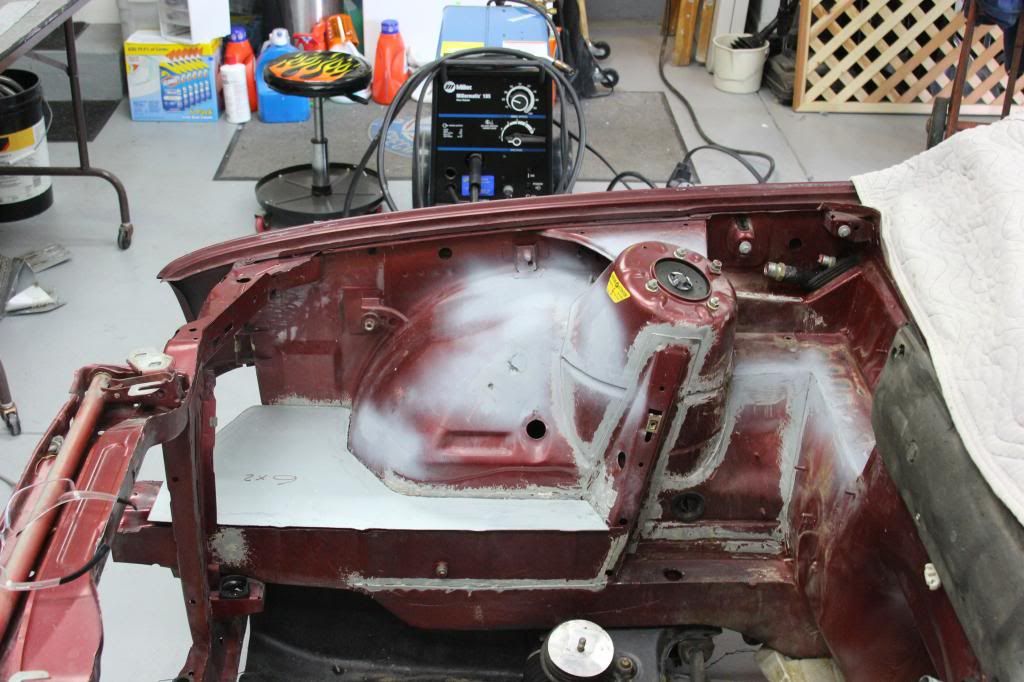
Got distracted and filled and primed this.

Tacked it in.
More tacks
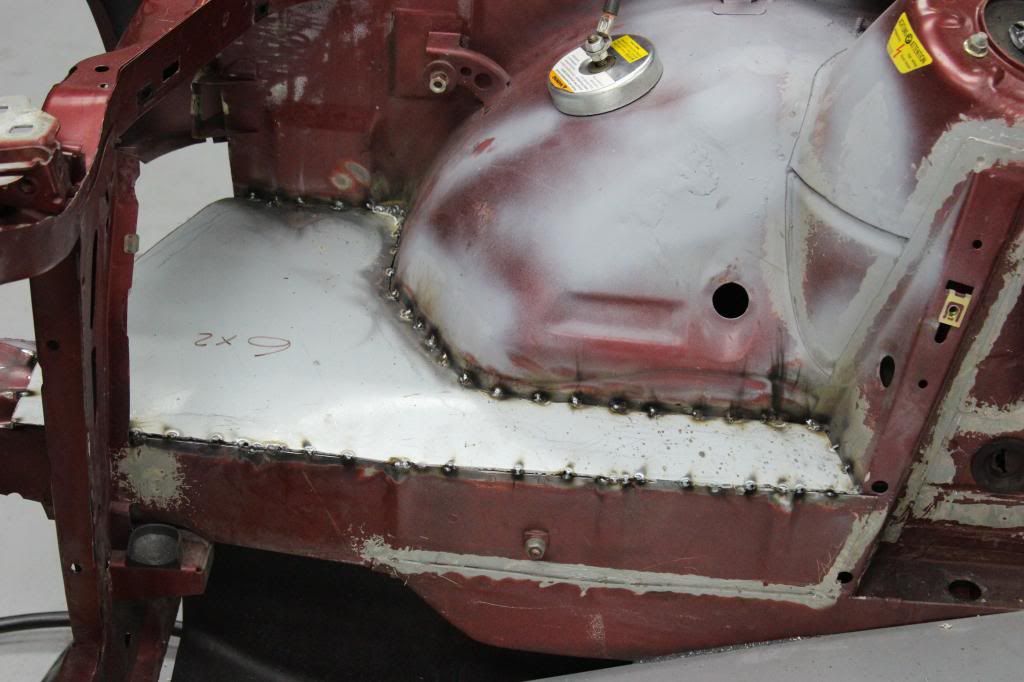
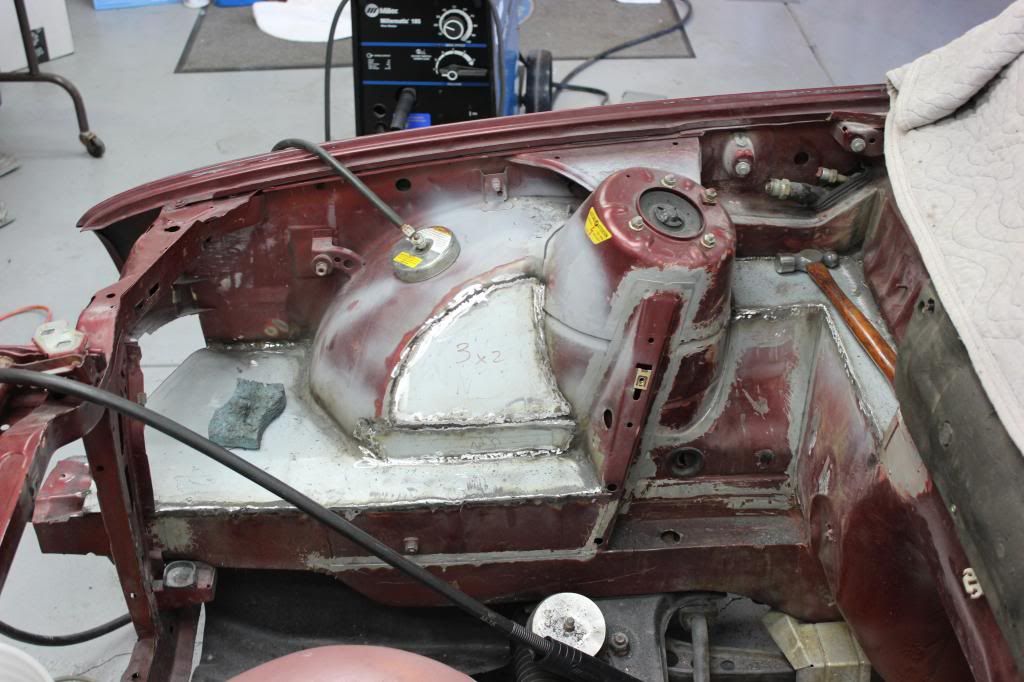
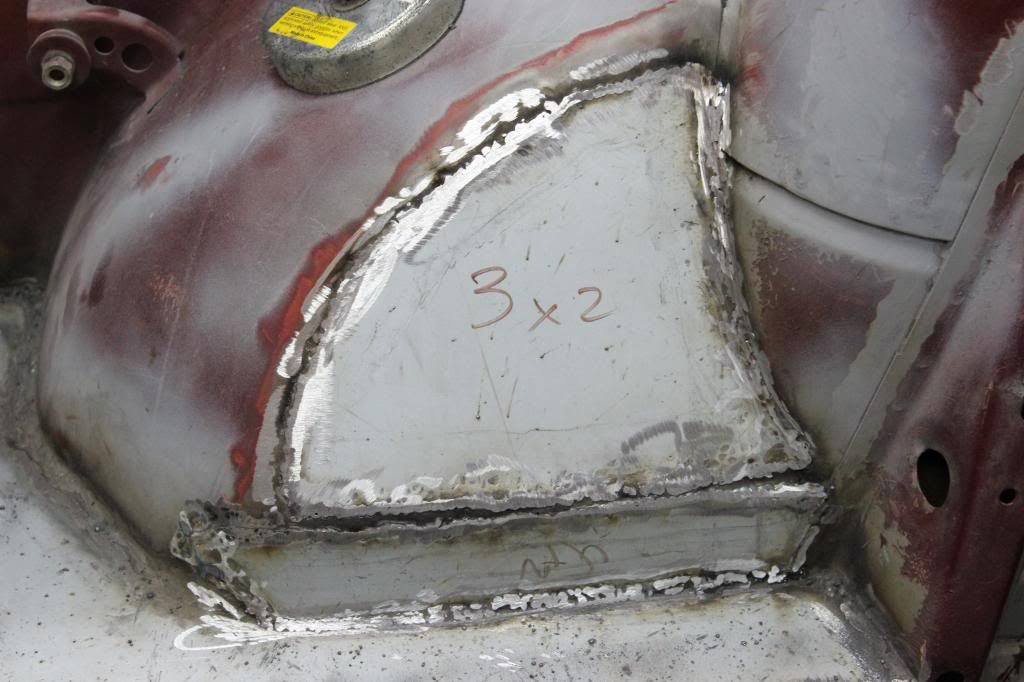
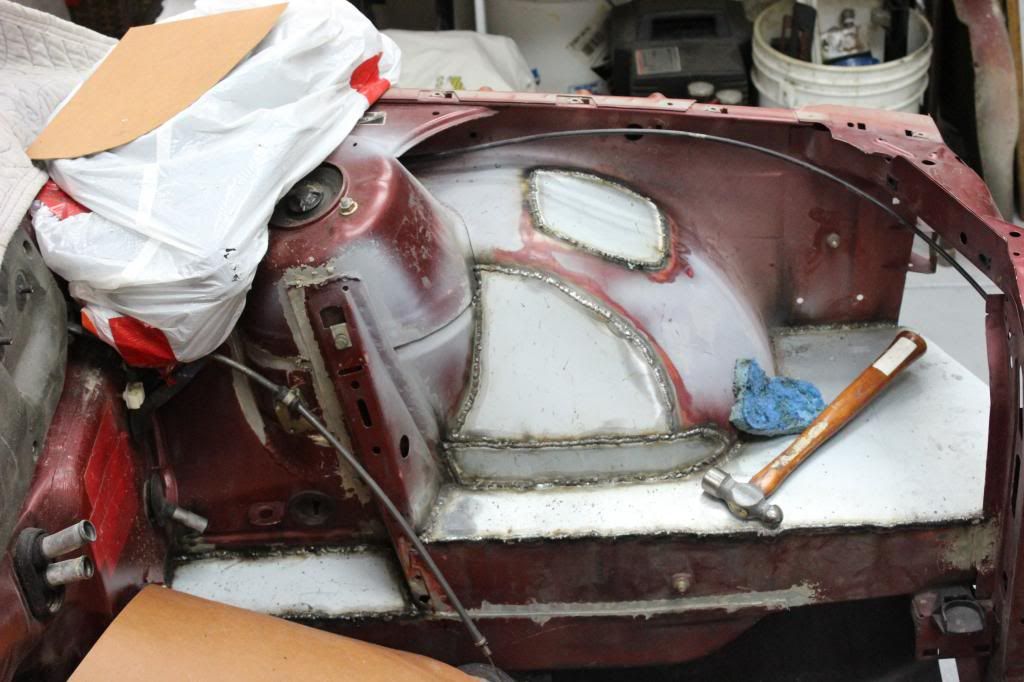
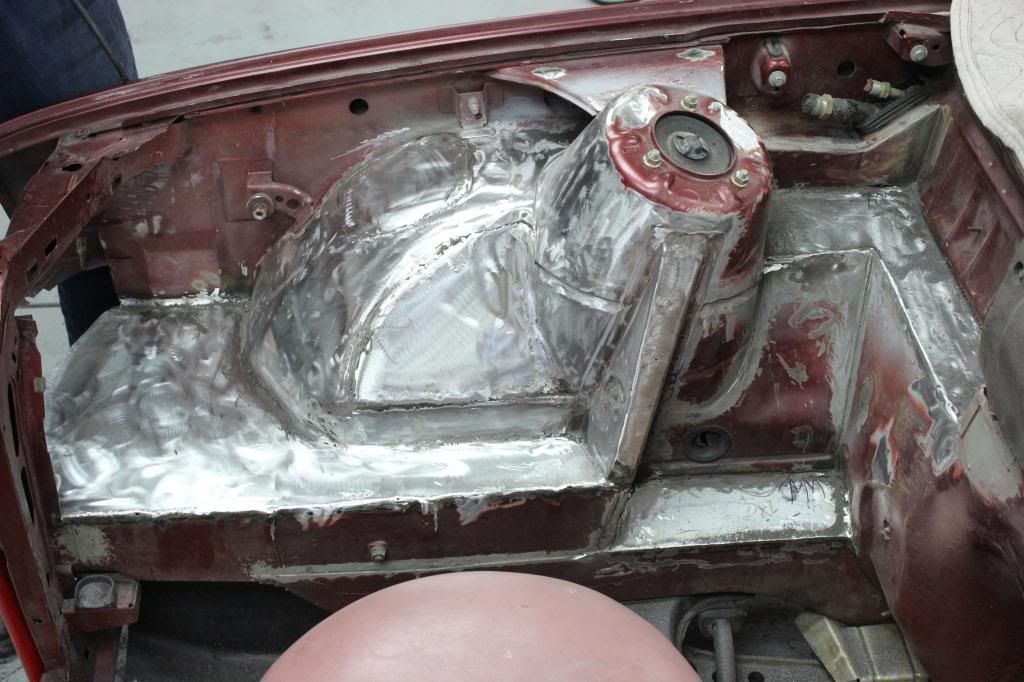
Welded and ground down.

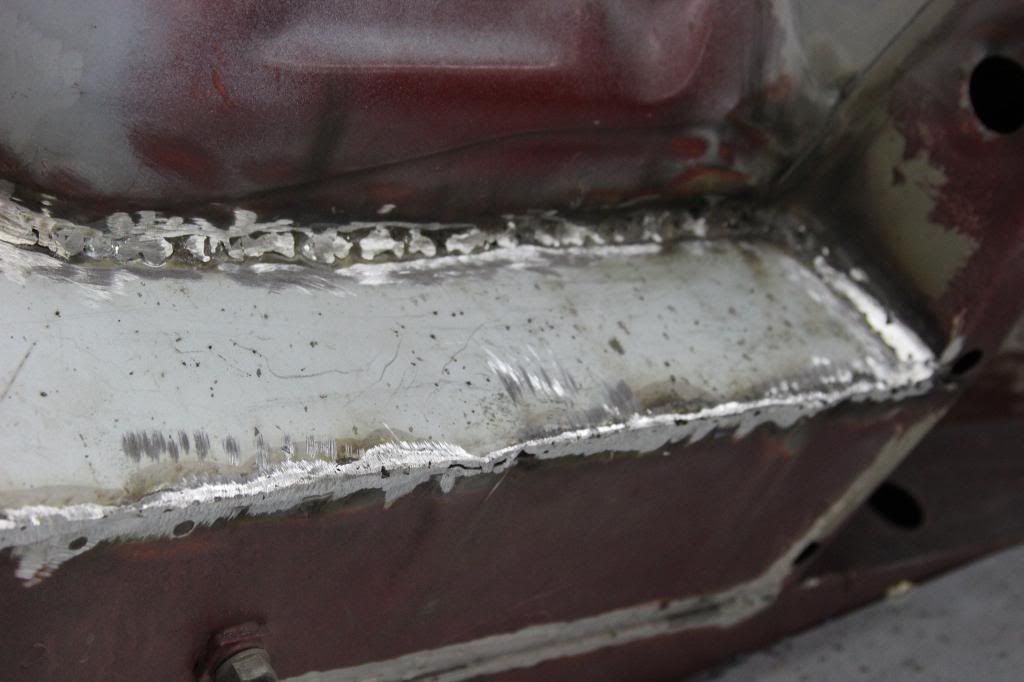
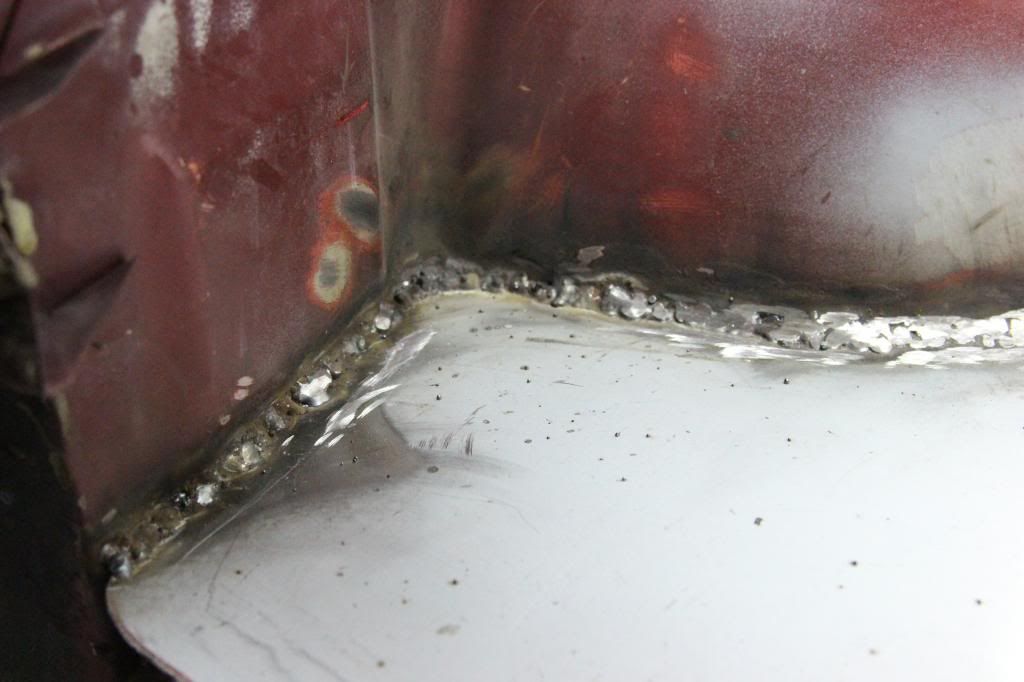
Partially... Need to figure out a way to get in the corner...
I started taking less pictures toward the end so I could get on with stuff.
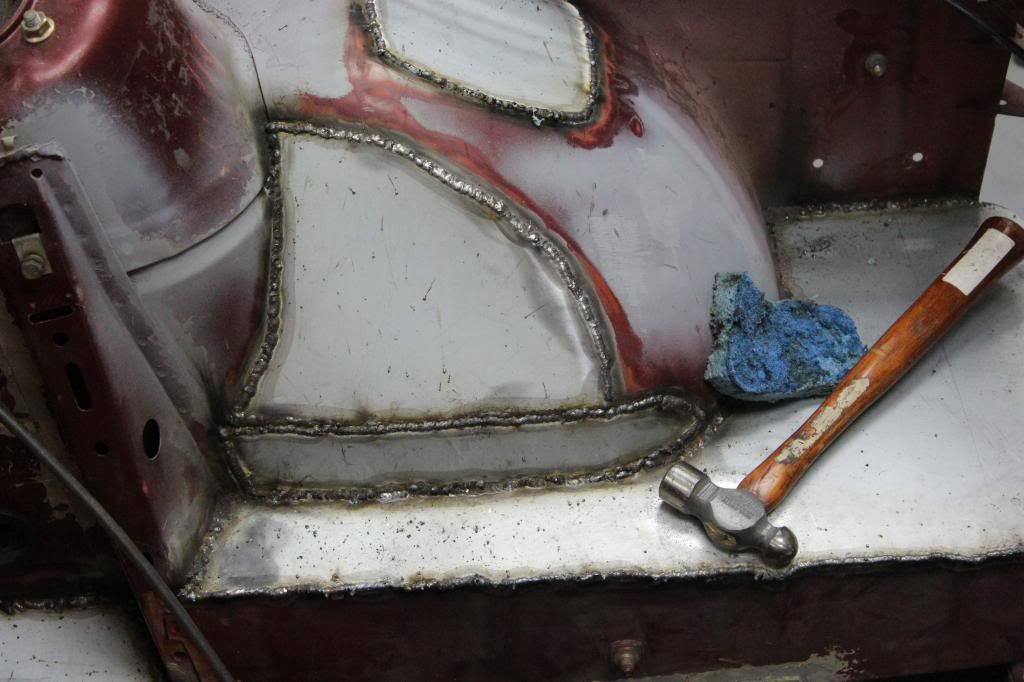
Welded and ground.

Tacked up.
Done for the night.
I also learned a lesson in fire extinguishers today. I forgot to check what we behind the firewall at the battery tray area and was welding it up when all the sudden i saw a bunch of flames. Yay. That was a mess and a half to clean up and no pictures because... Shame.
Other wise it went good. Might do a tad more work tomorrow, but most likely another update will be had next weekend.
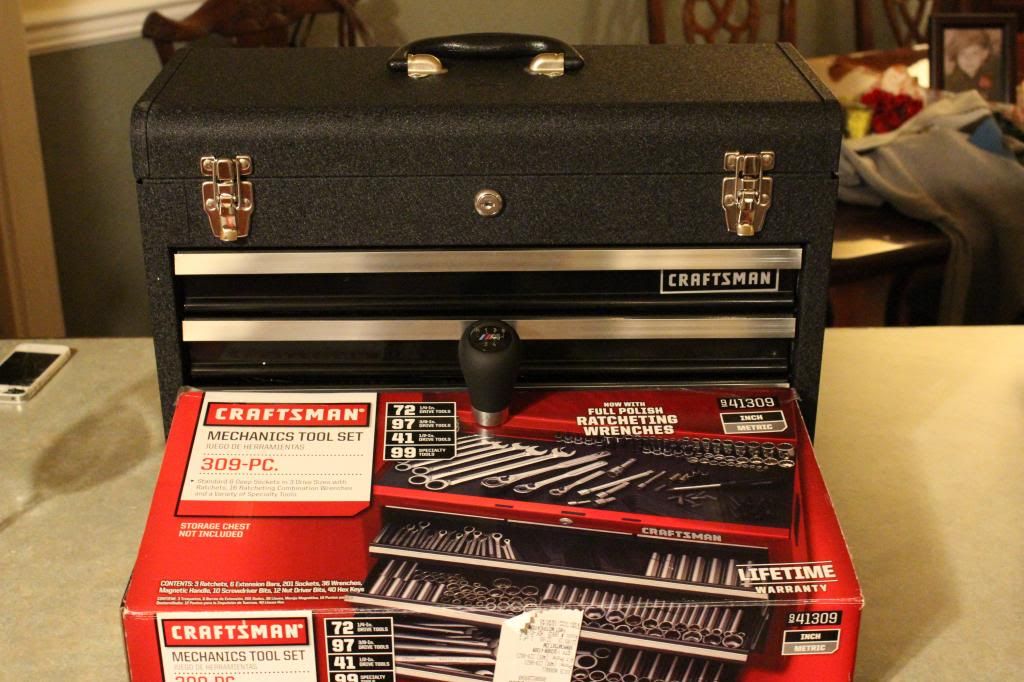
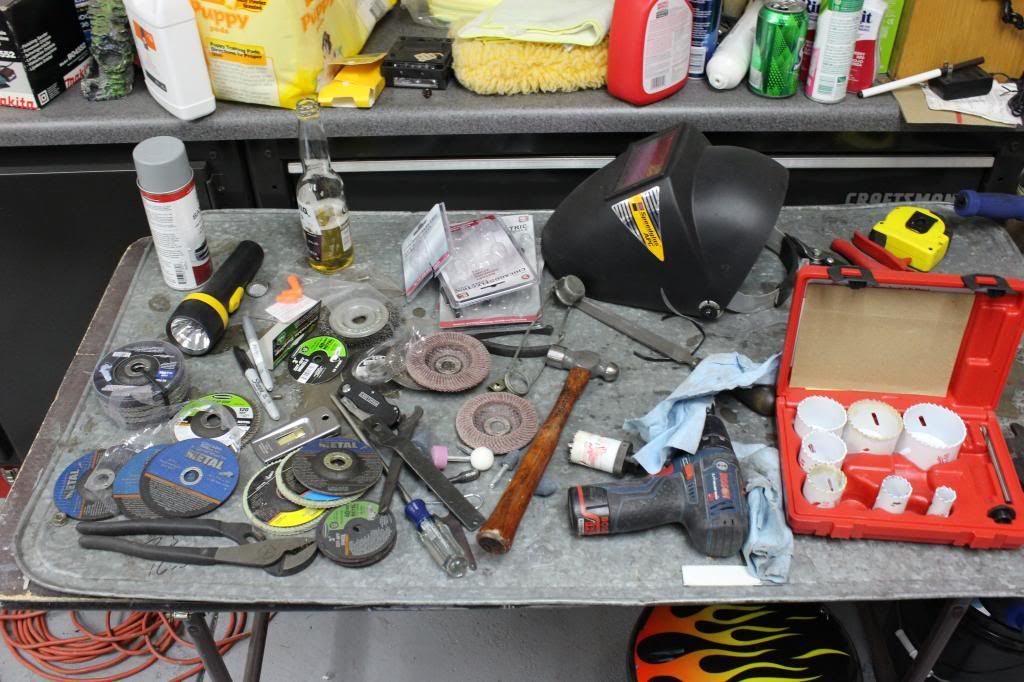
Well tomorrow is my 18th birthday and since I have to wake up early for finals week, I opened presents tonight. Looks like I'll be doing some more wrenching. (Not pictured: Xbox One, plus some extras, a sweatshirt, and some money). I got spoiled this year. But the craftsman stuff was on serious sale when my parents got it so they got the stuff dirt cheap compared to regular retail price.

So this will be an update on the last couple of days. Reason being two days a ago I left my camera with my friend so I couldn't update. There's a little bit of a gap where I had no camera to take pics but its nbd. Didn't miss much.
So lets start! I'll let the pics do most of the talking.
Where I started off:

This is where I finished for that night:
Started the next day:
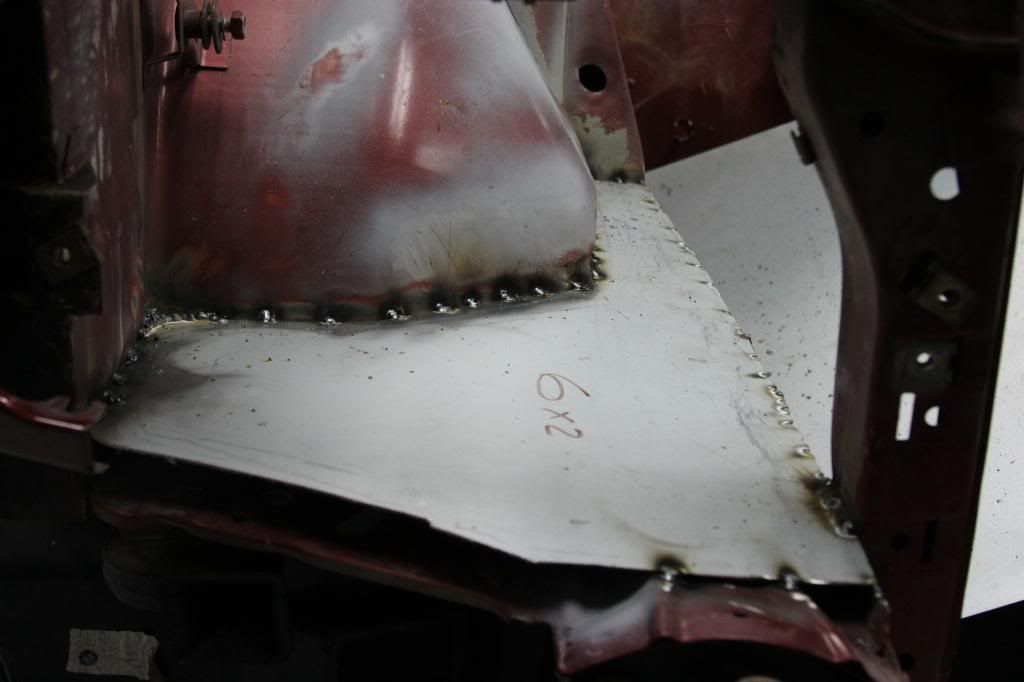
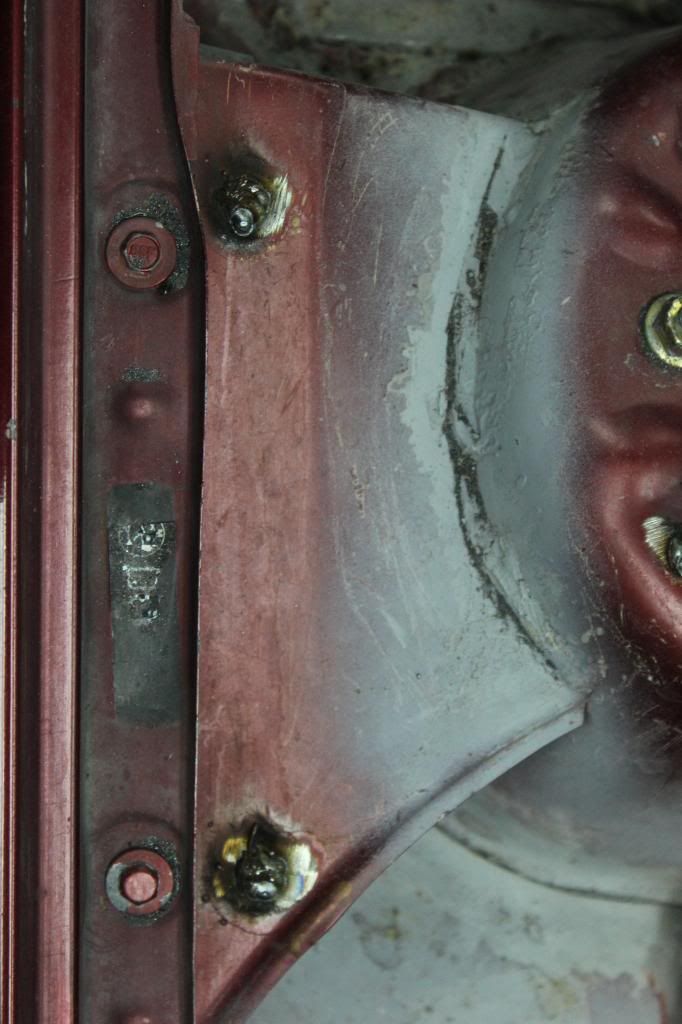
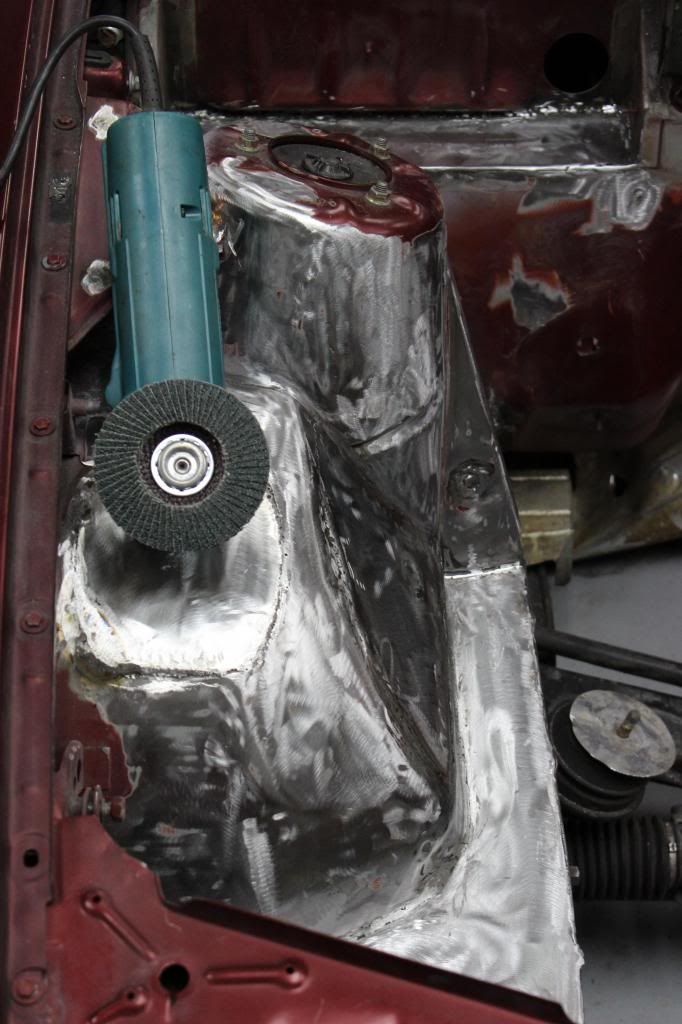
Hard af to reach in there with the welder.
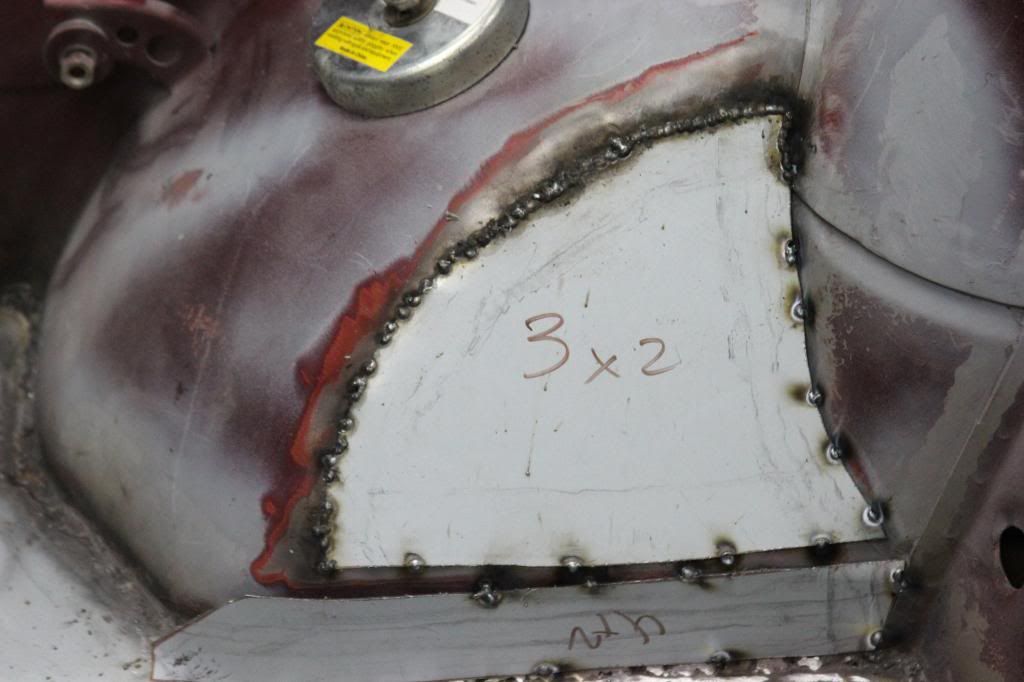
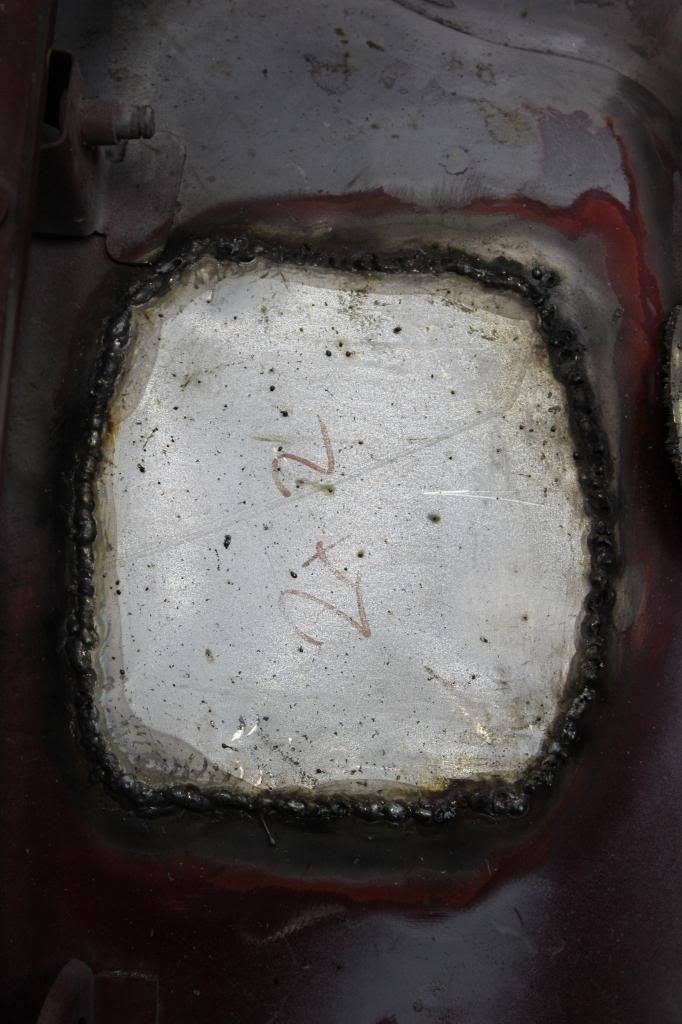
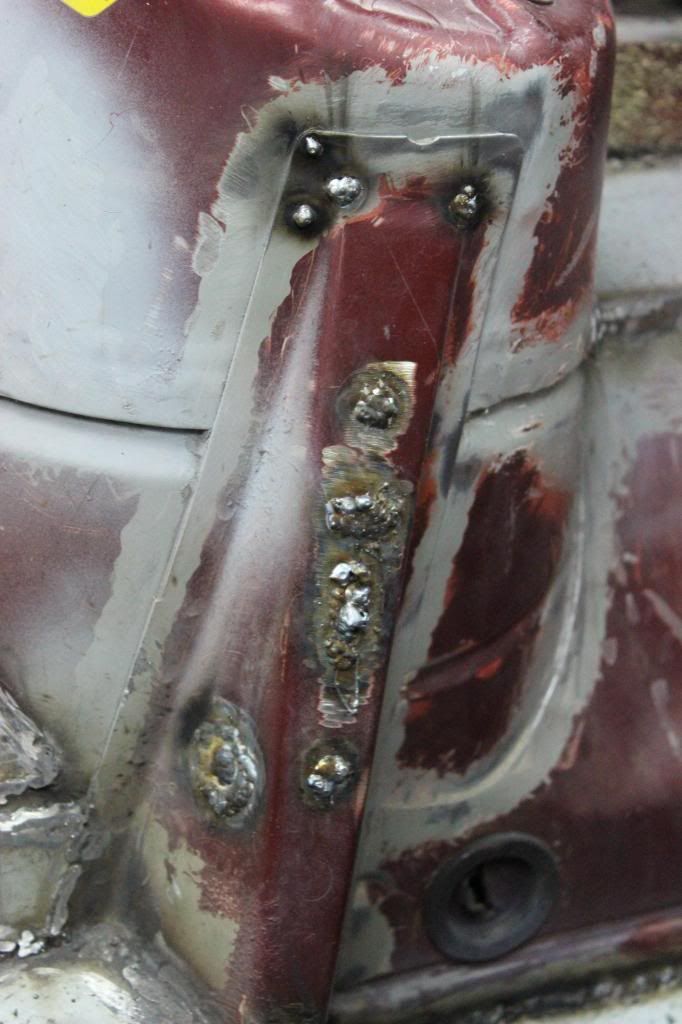
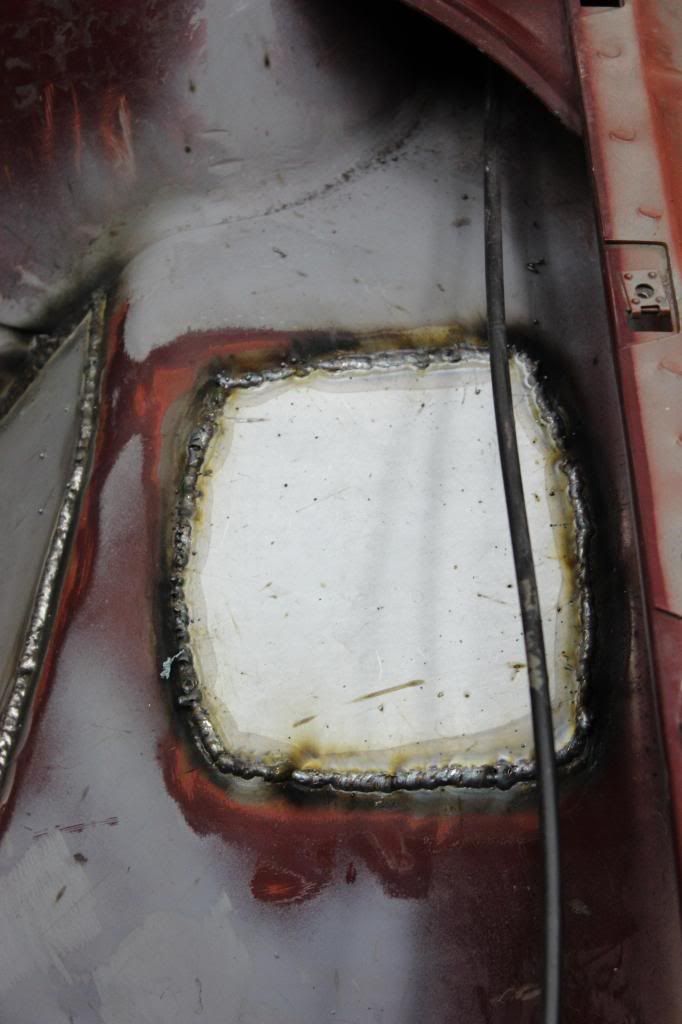
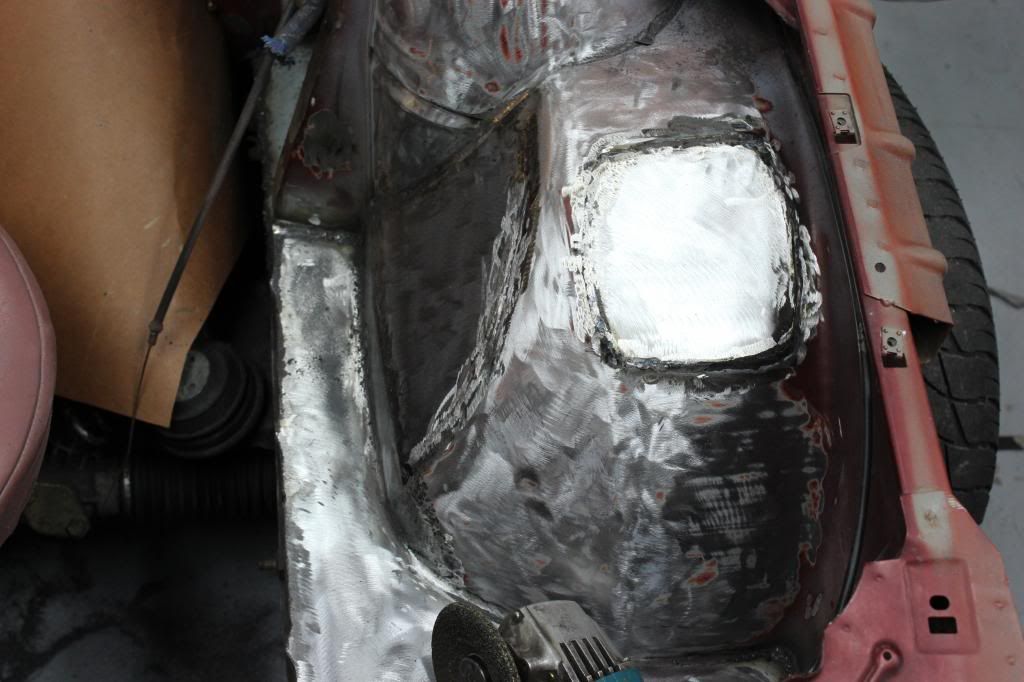
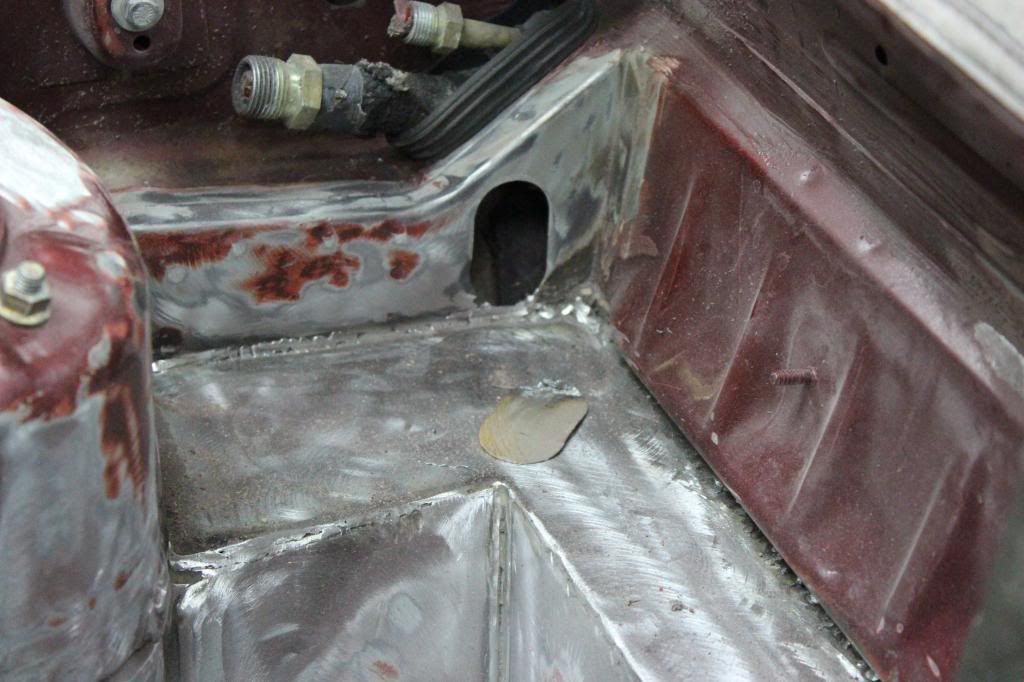
How I plugged holes:
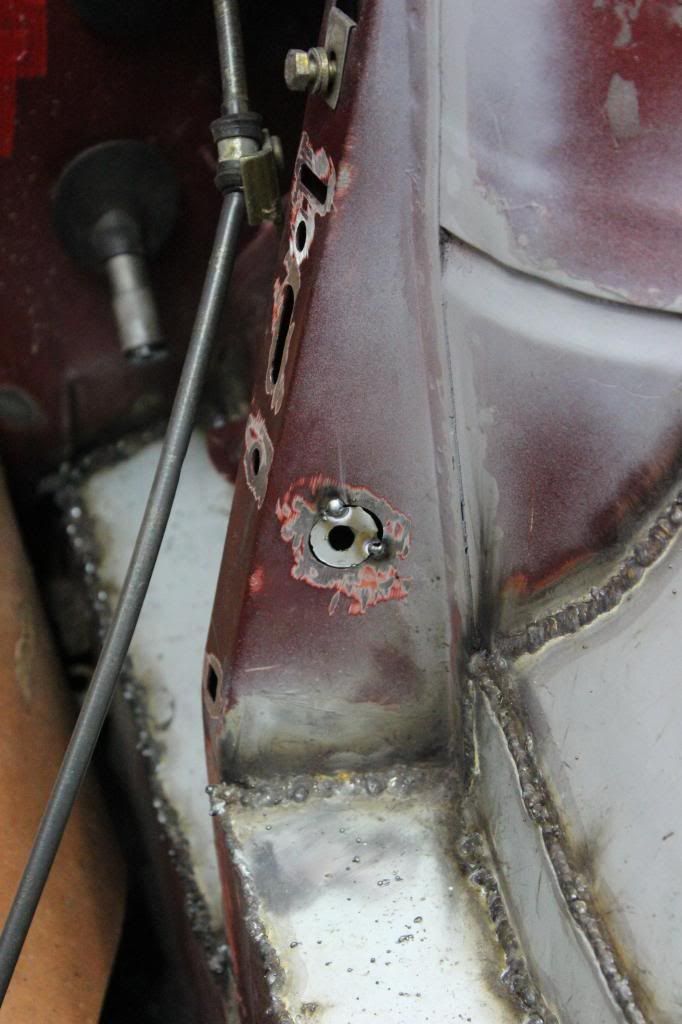
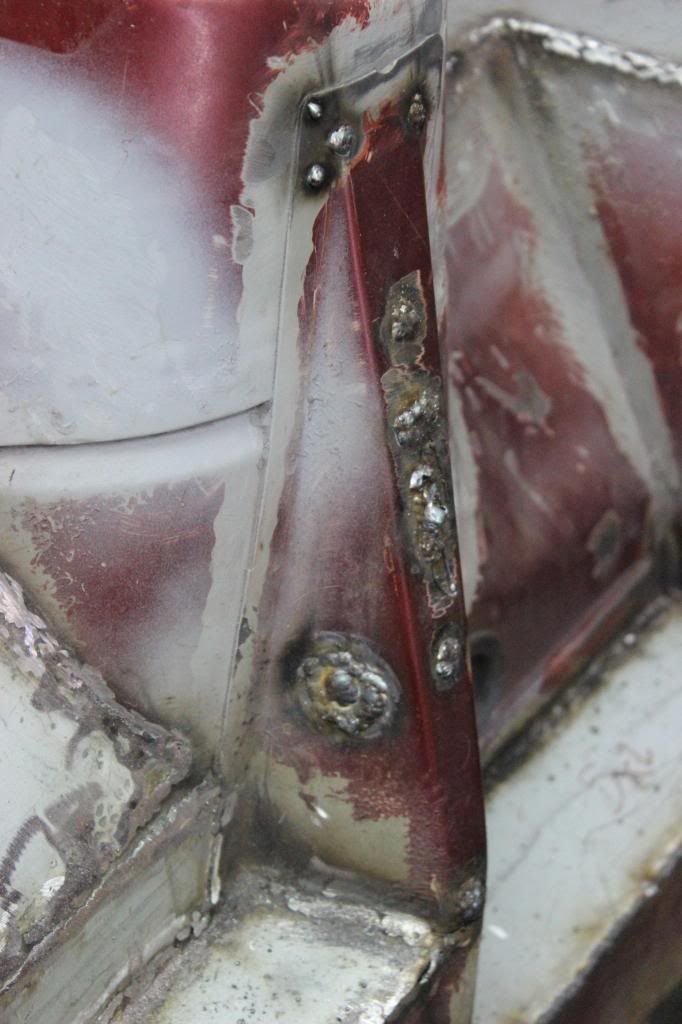
Plugged:
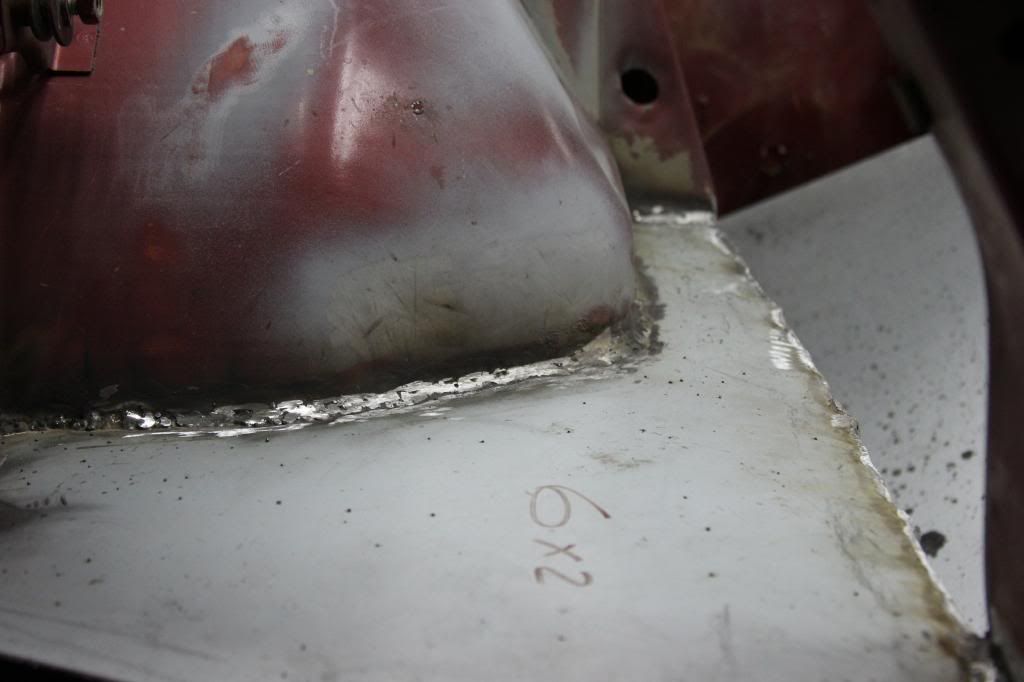
Let's start grinding:

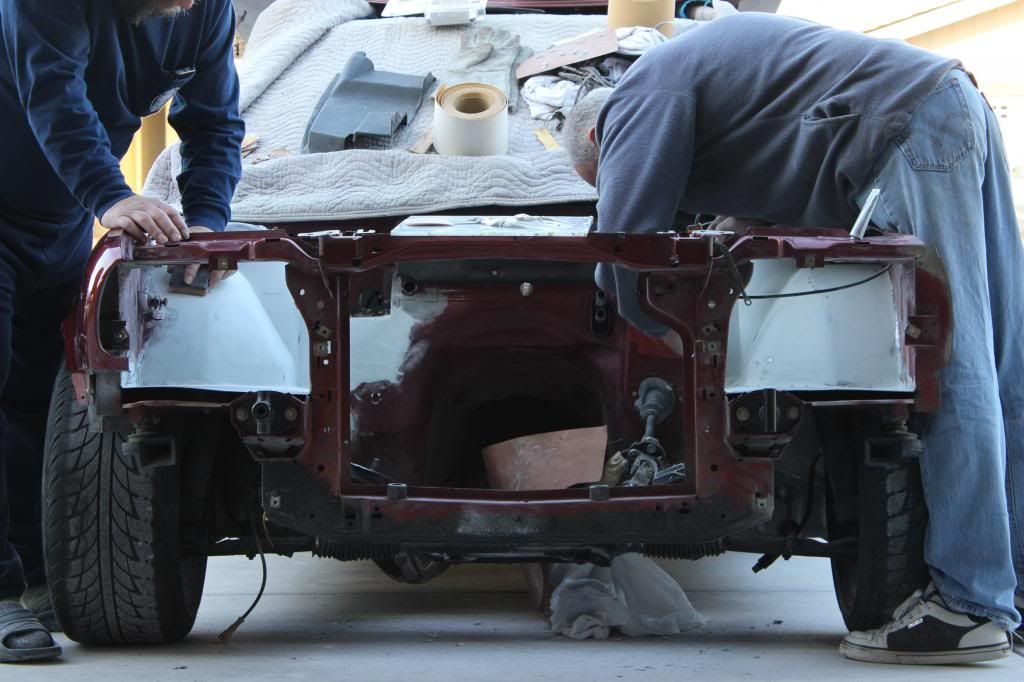
Neighbor giving me a hand. He's been great this whole time. Couldn't have done any of this without him!

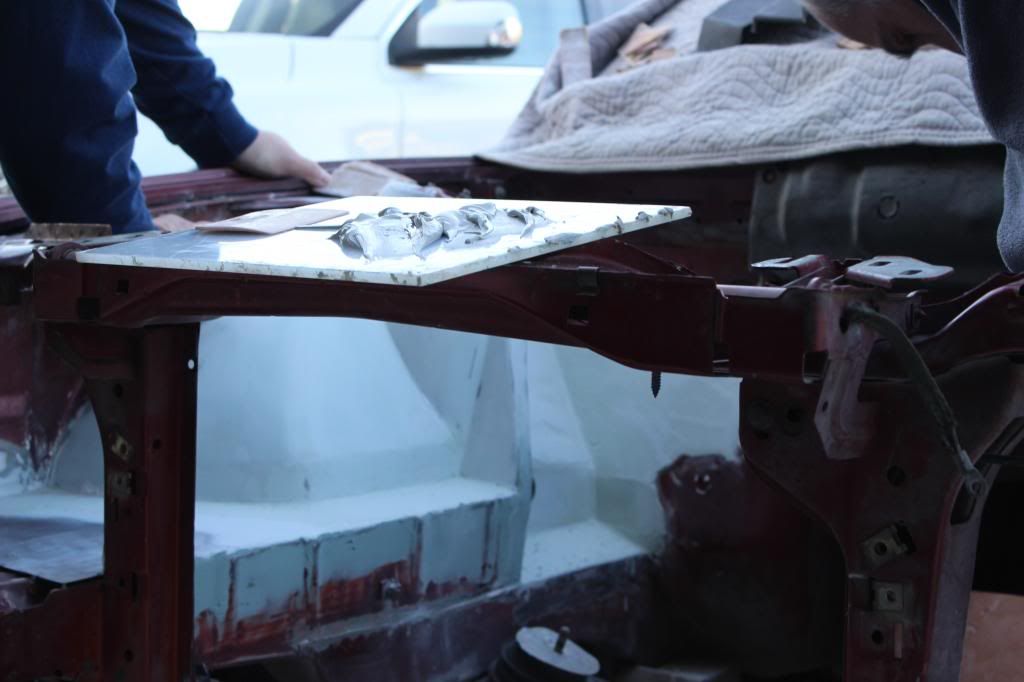
EEk the table:
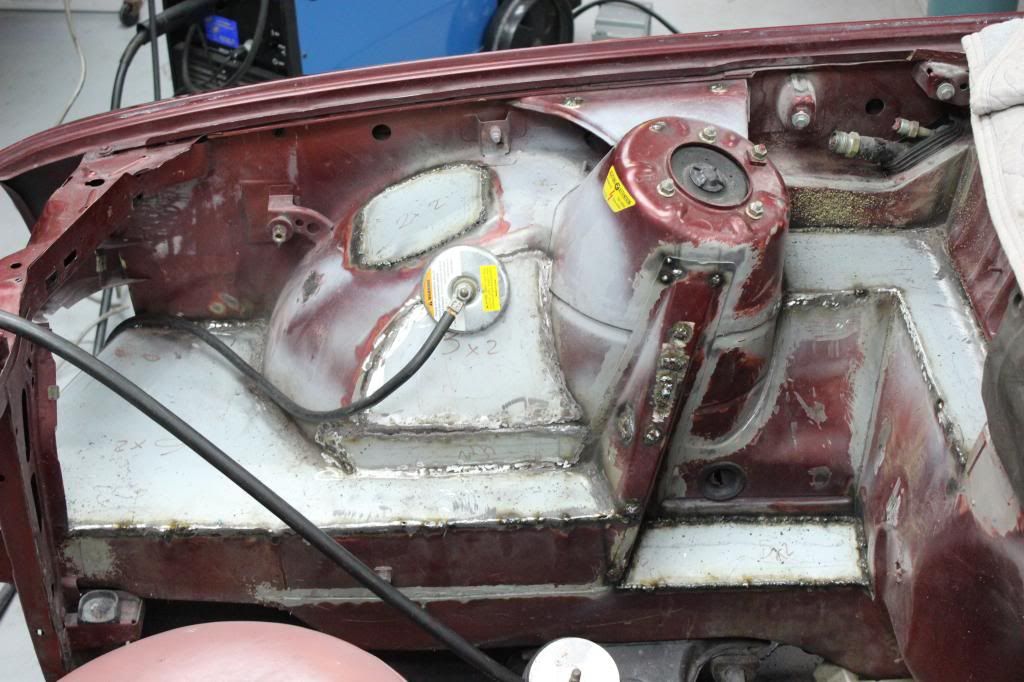
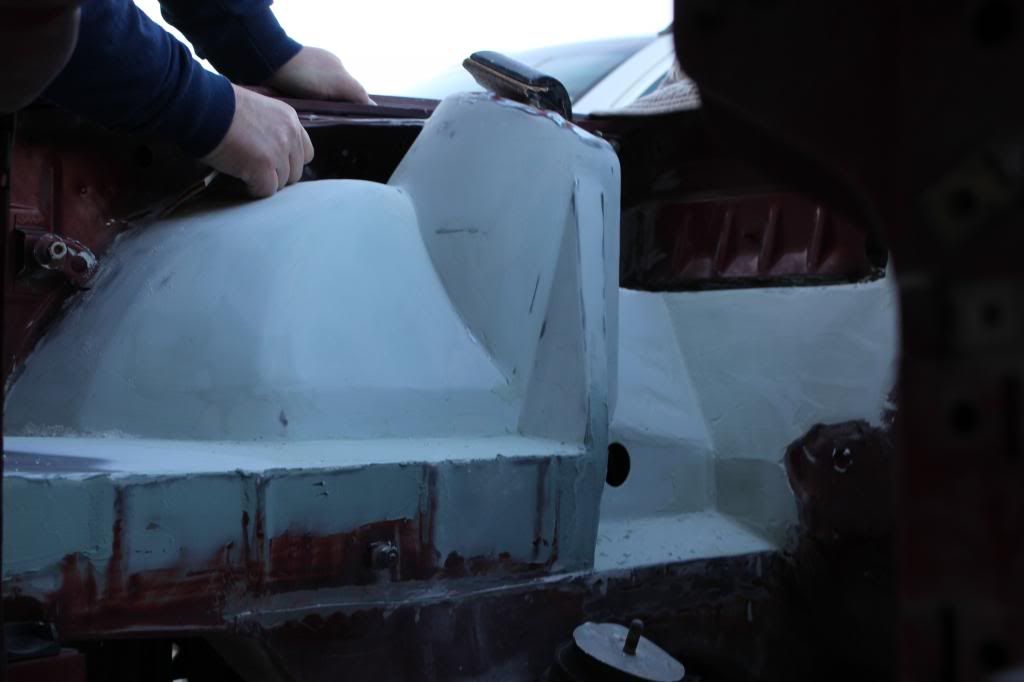
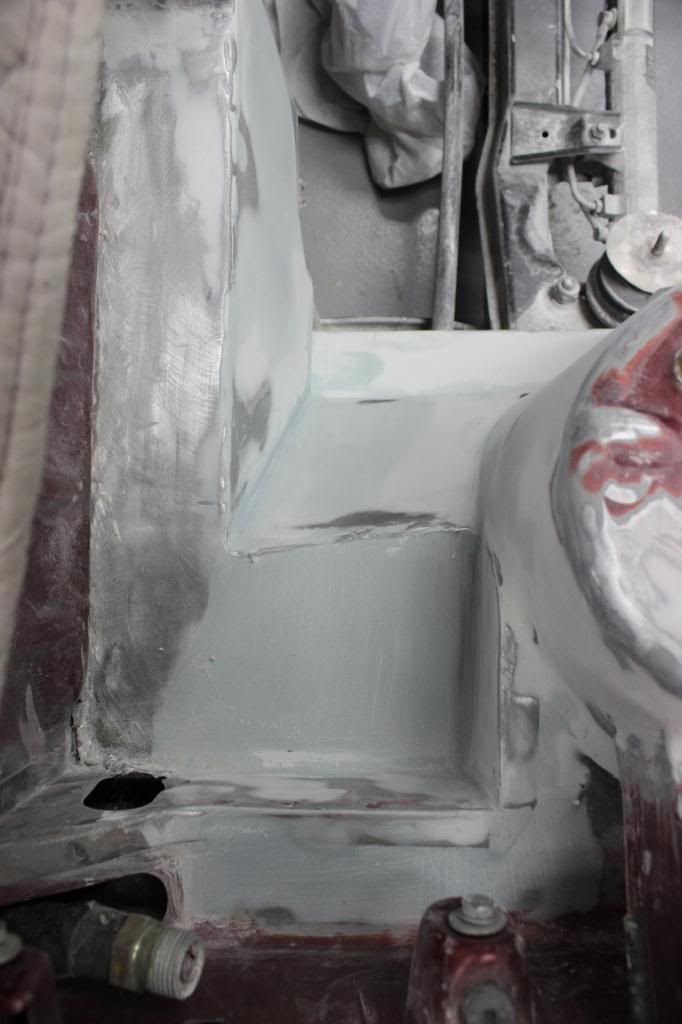
Getting there:
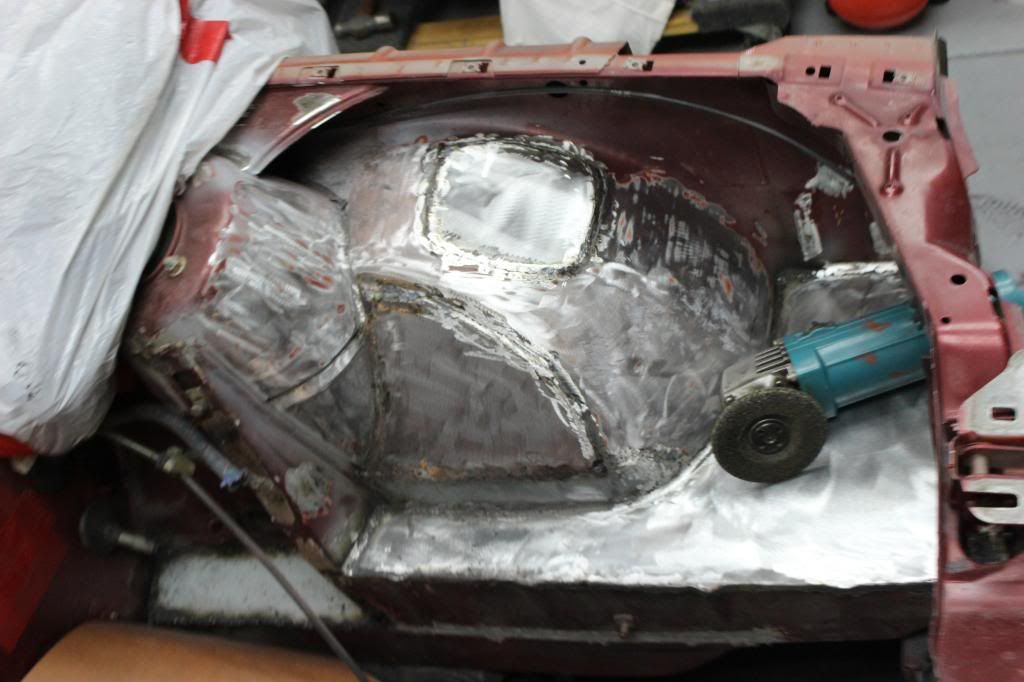

Done for the night:

Just waiting for filler to arrive then I can start smoothing everything out! then I'll do a dry fit and make sure everything fits before final painting.
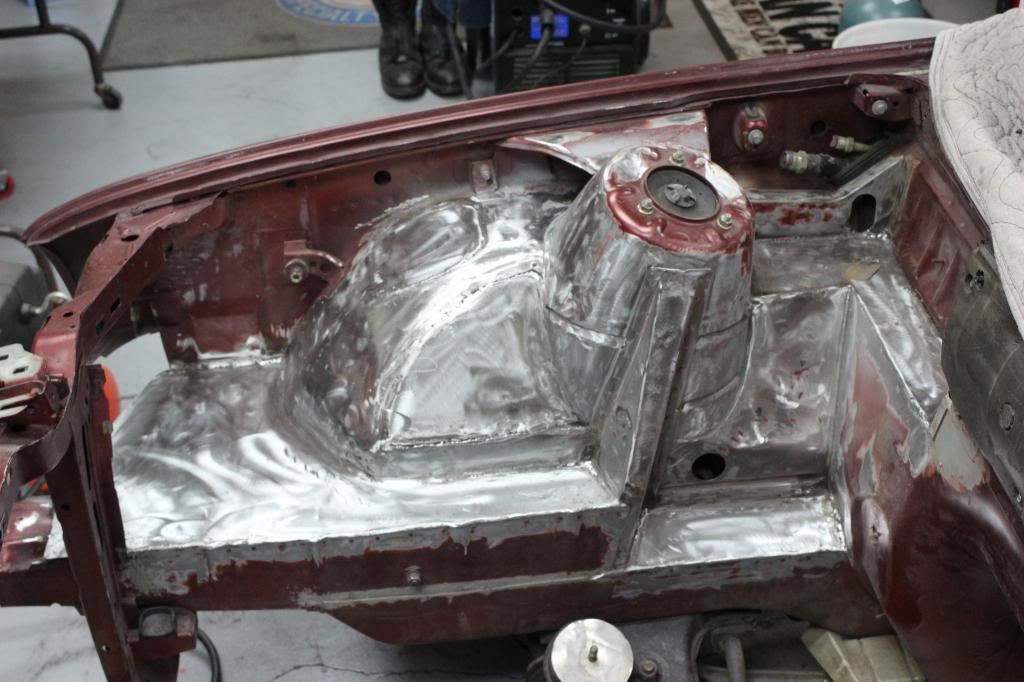
So lately I've been working on the car a lot, and haven't gotten around to some much needed updating... So here we go. Lots of pictures so I'll let them do the talking for the most part.
A day before this I had ground down and welded a bit more to prep for filler and such.
I started by grinding everything down with a "flap" disc. 40 grit.
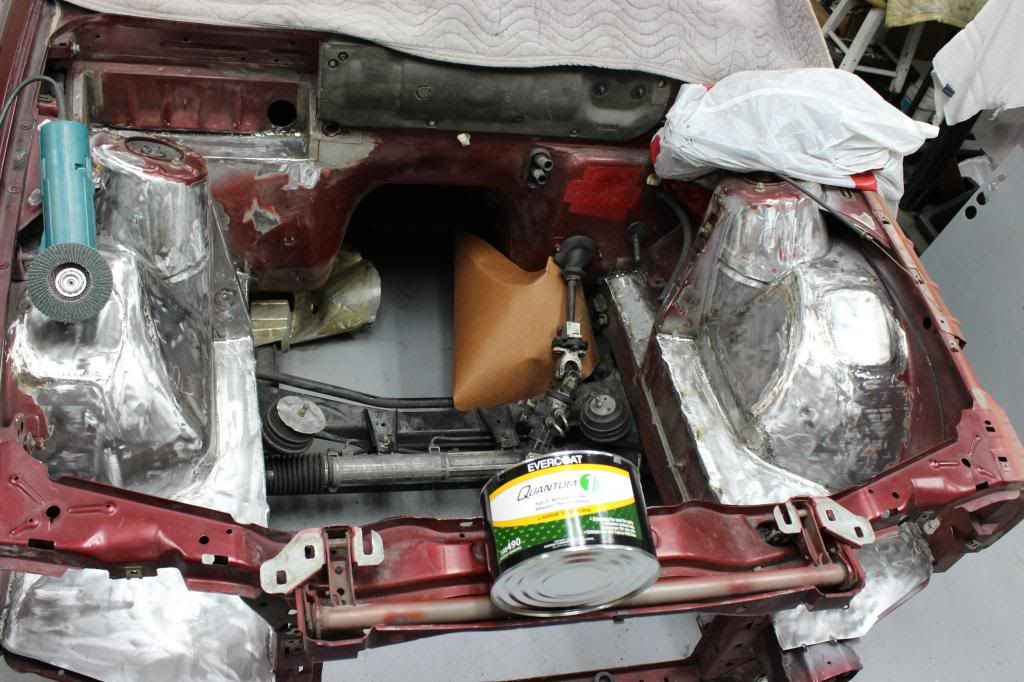
Popped this out for later
Sanding done.
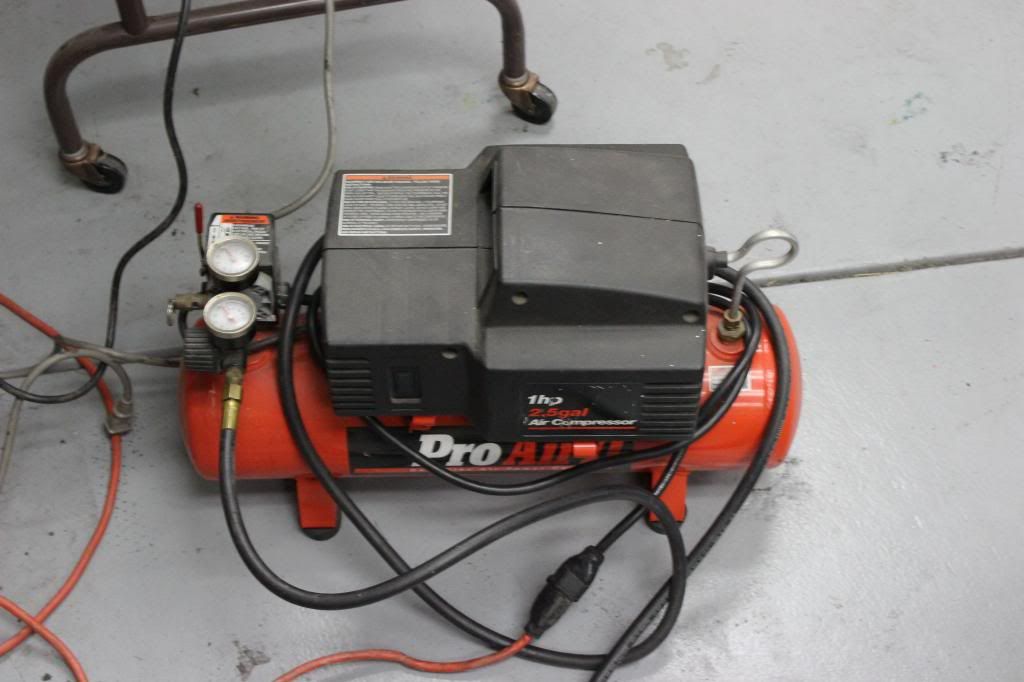
Lets blow it all down with this!
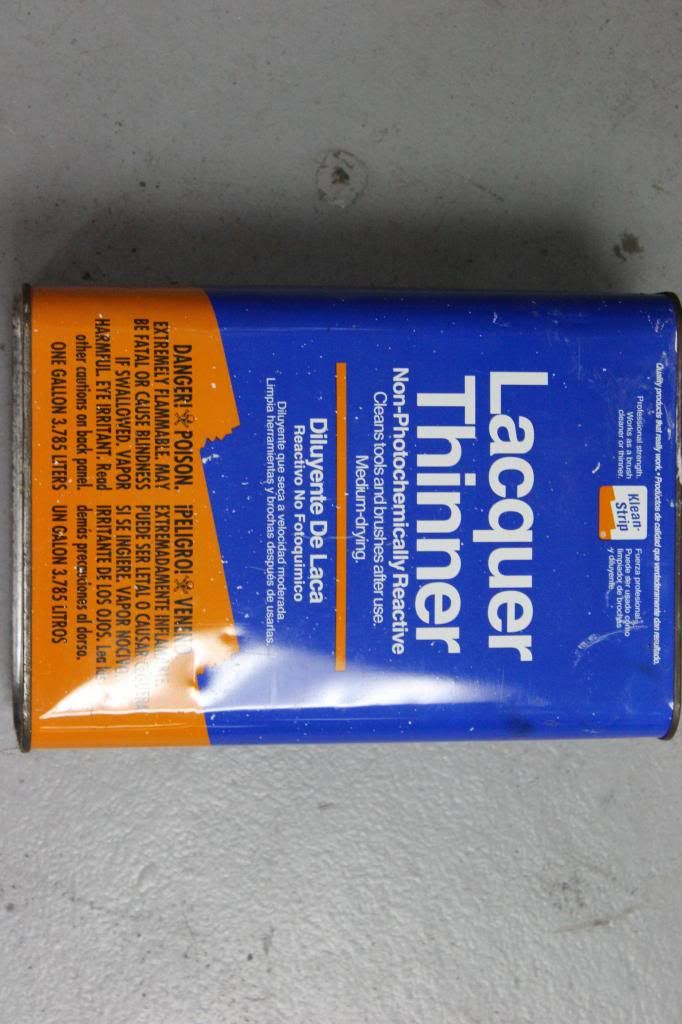
And use thinner and lint free clothes to wipe it all down!
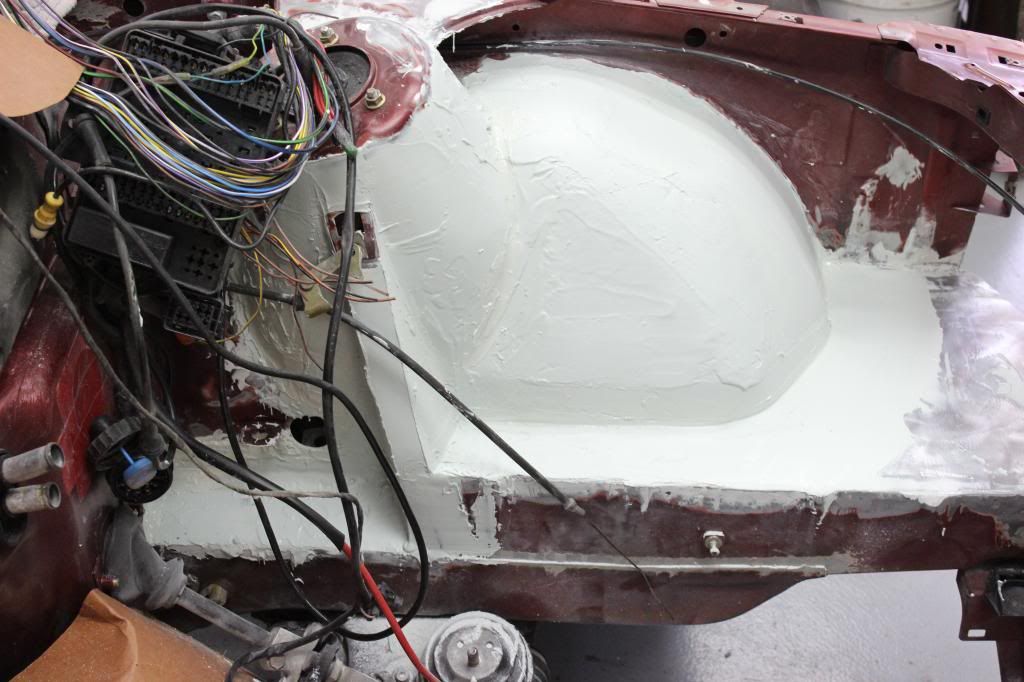
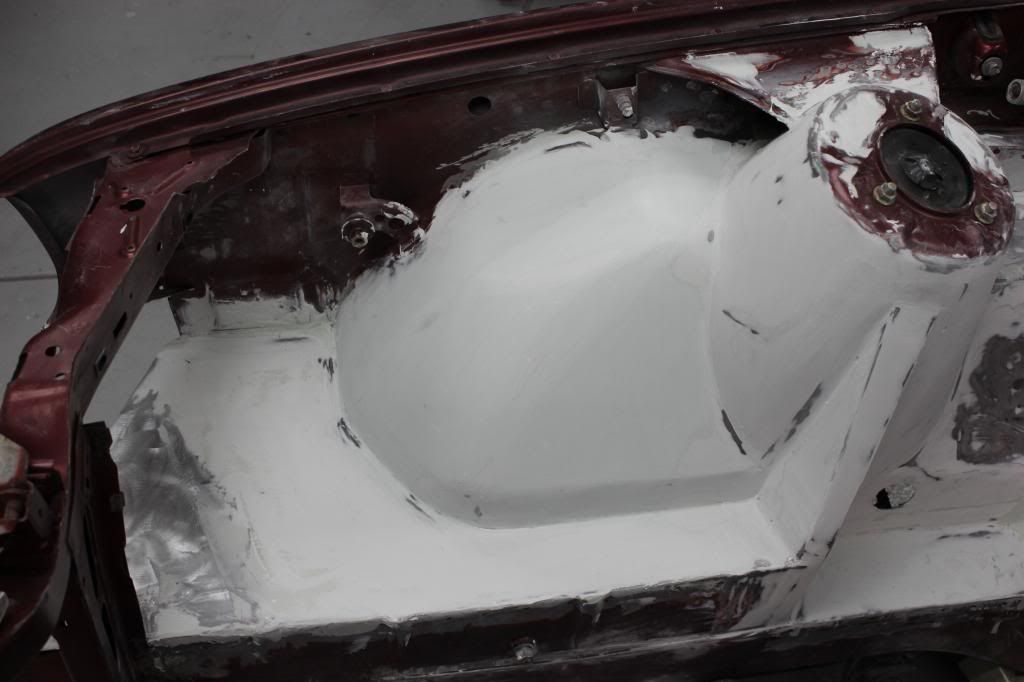
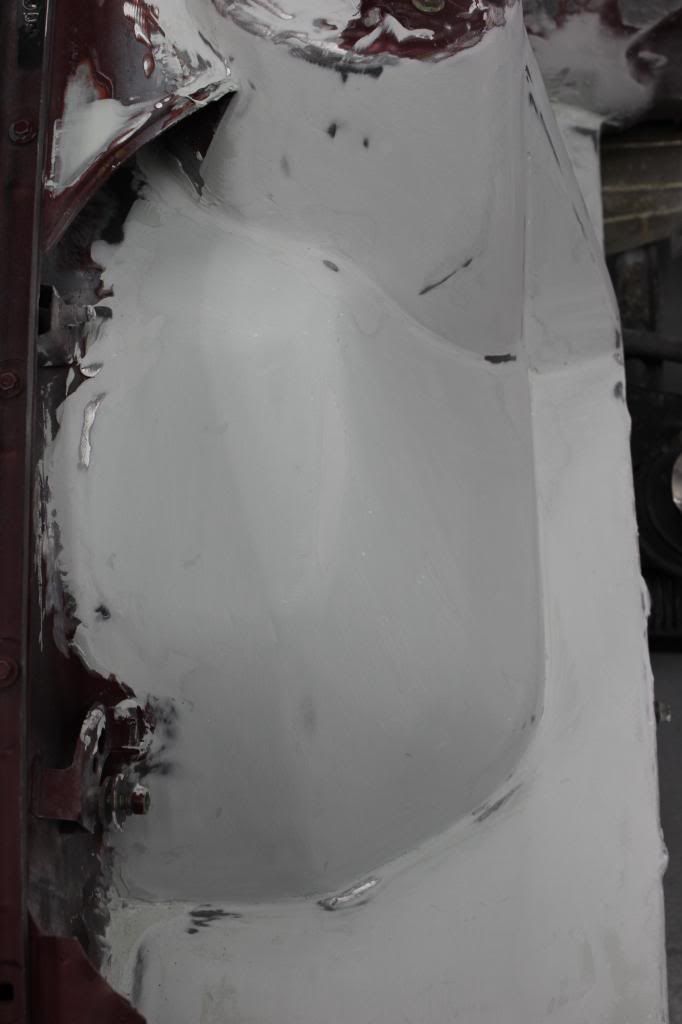
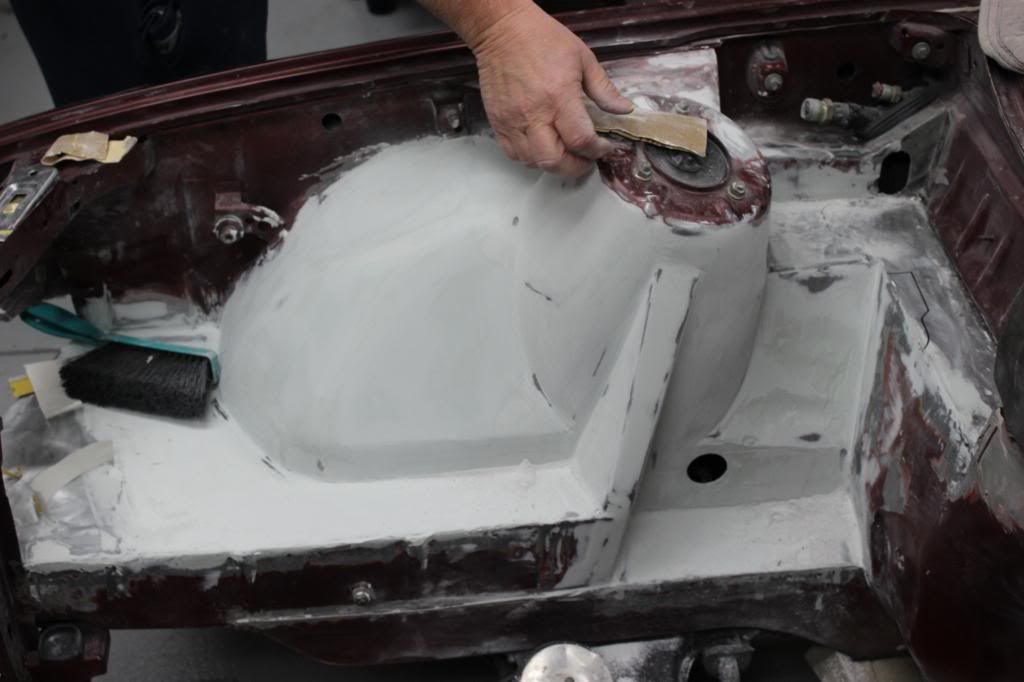
First layer. This stuff was hard to get used to at first and there was definitely a learning curve compared to regular bondo bran filler.
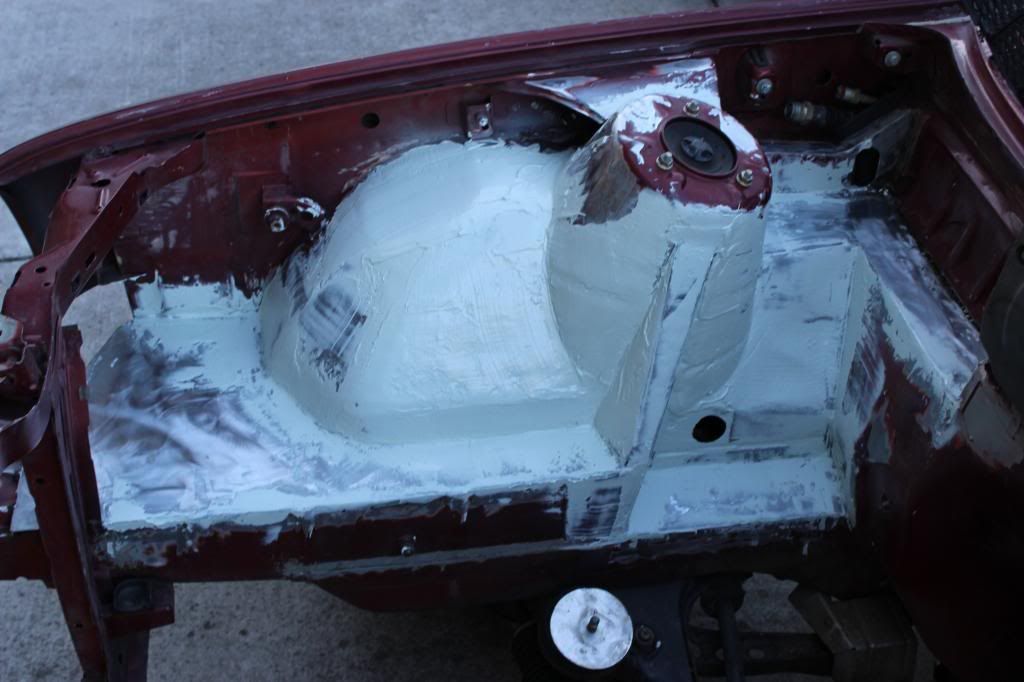
Sanded
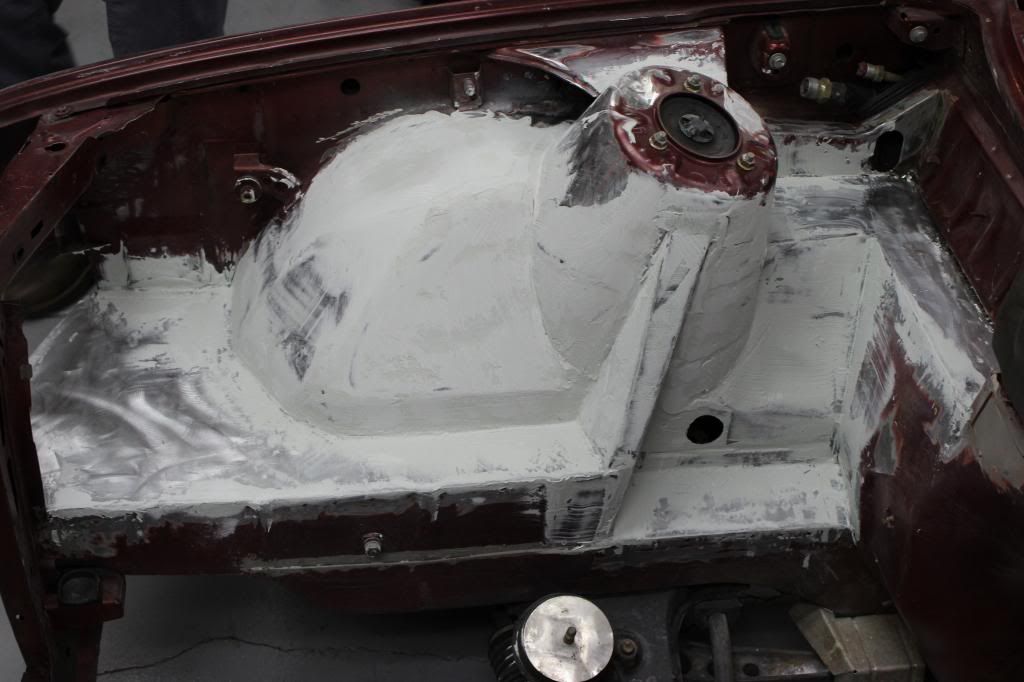
Second coat
Done for the night.
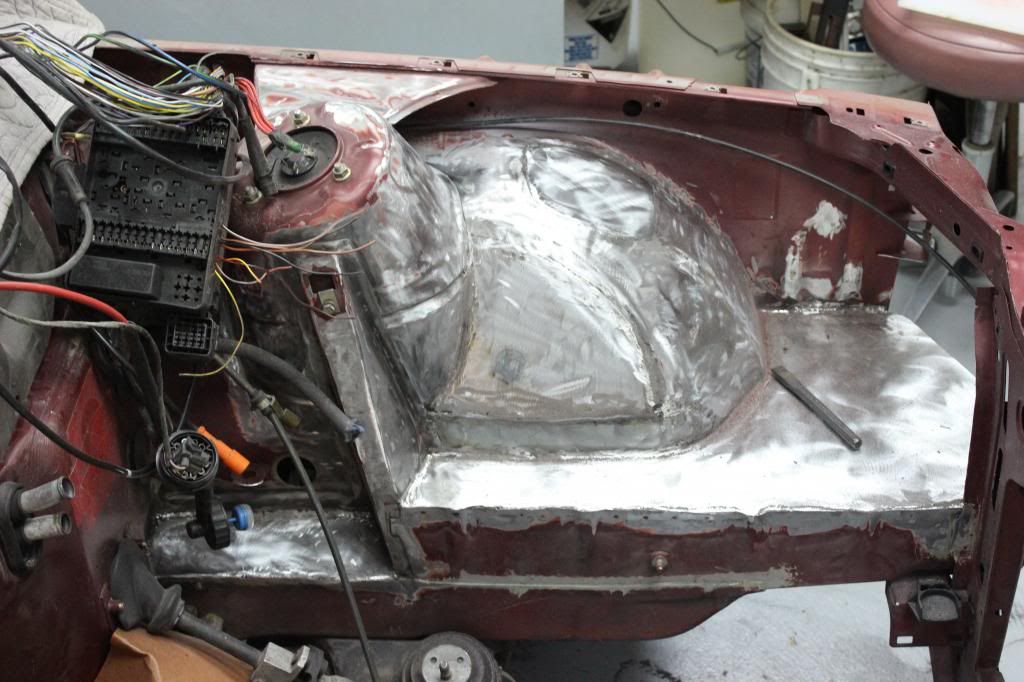
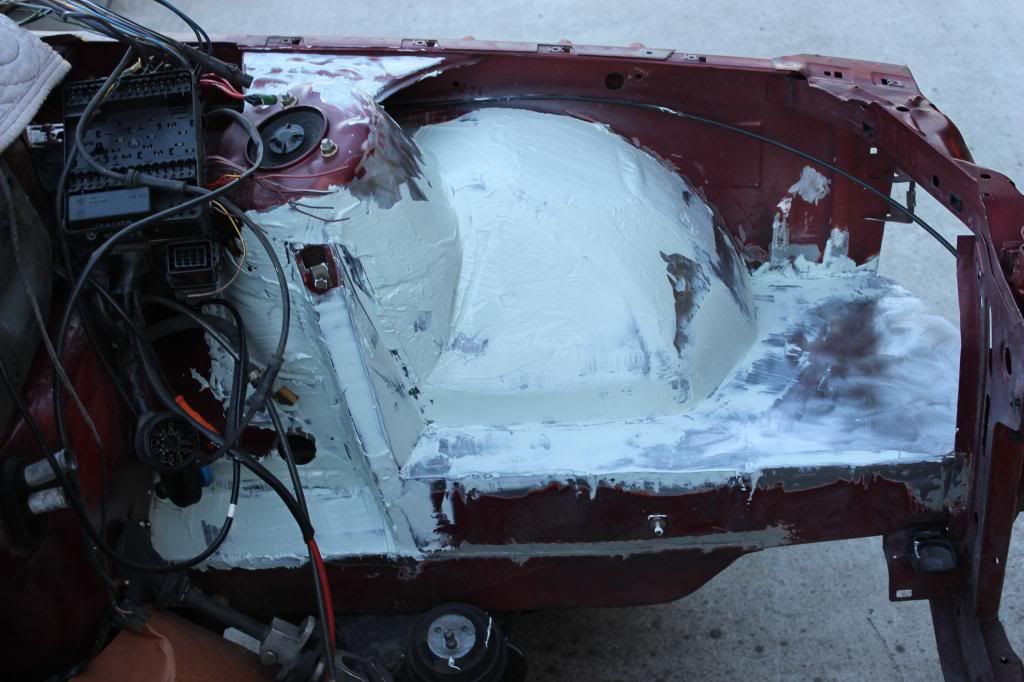
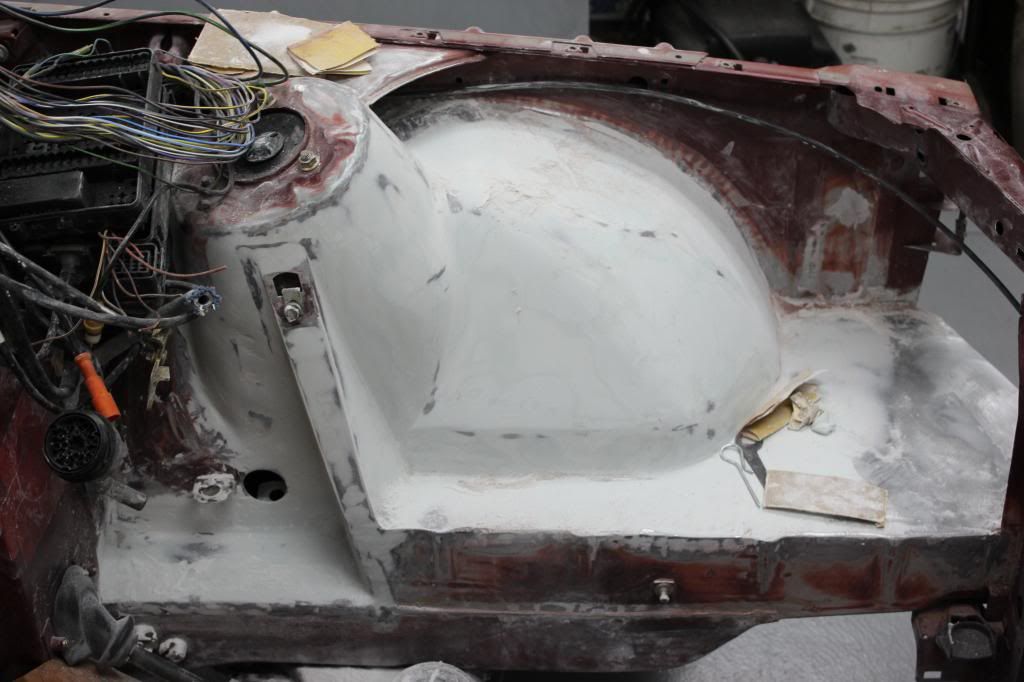
Big stuff taken down..
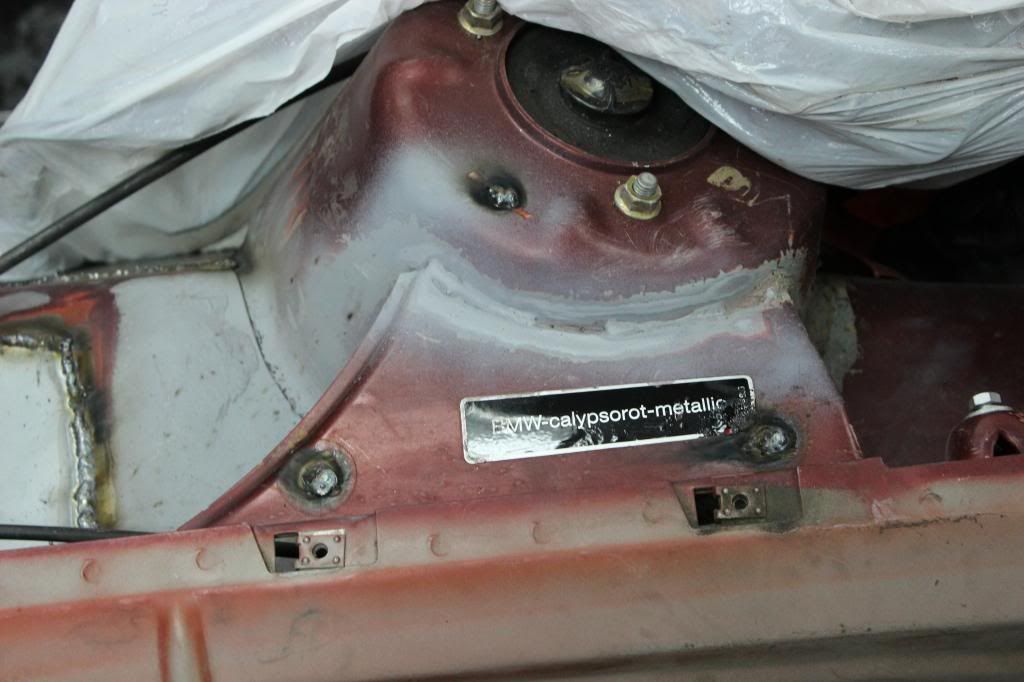
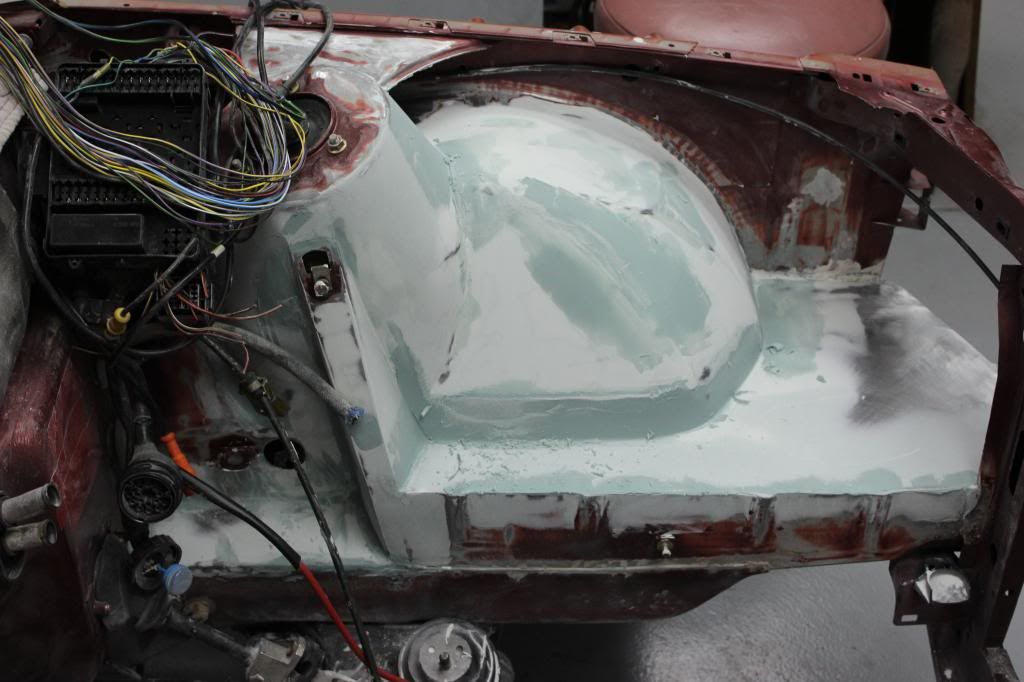
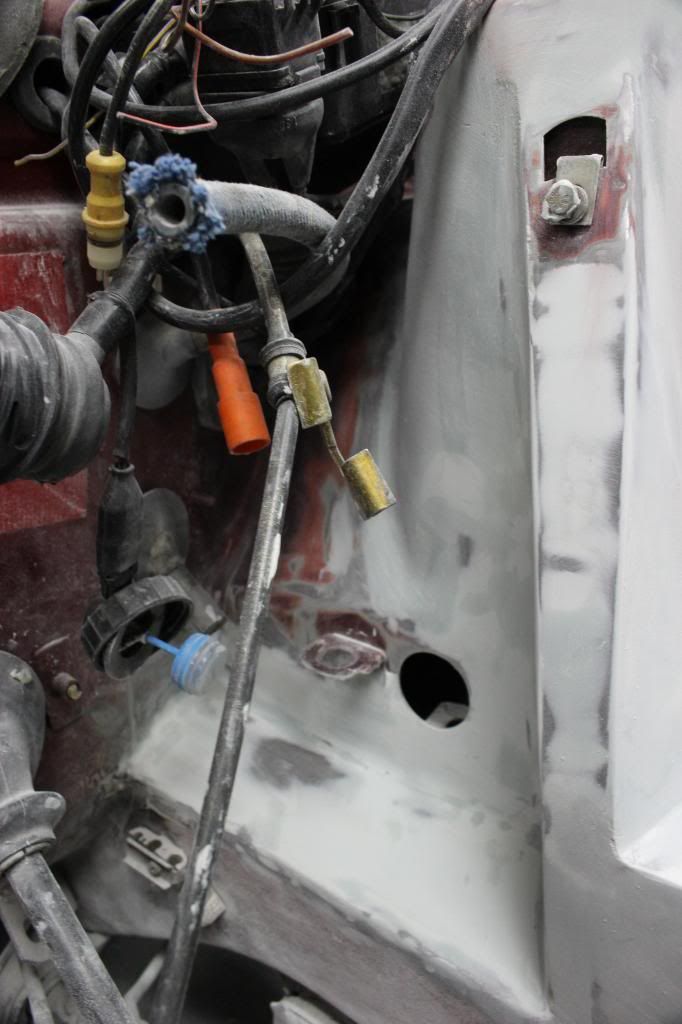
filled behind fuse box
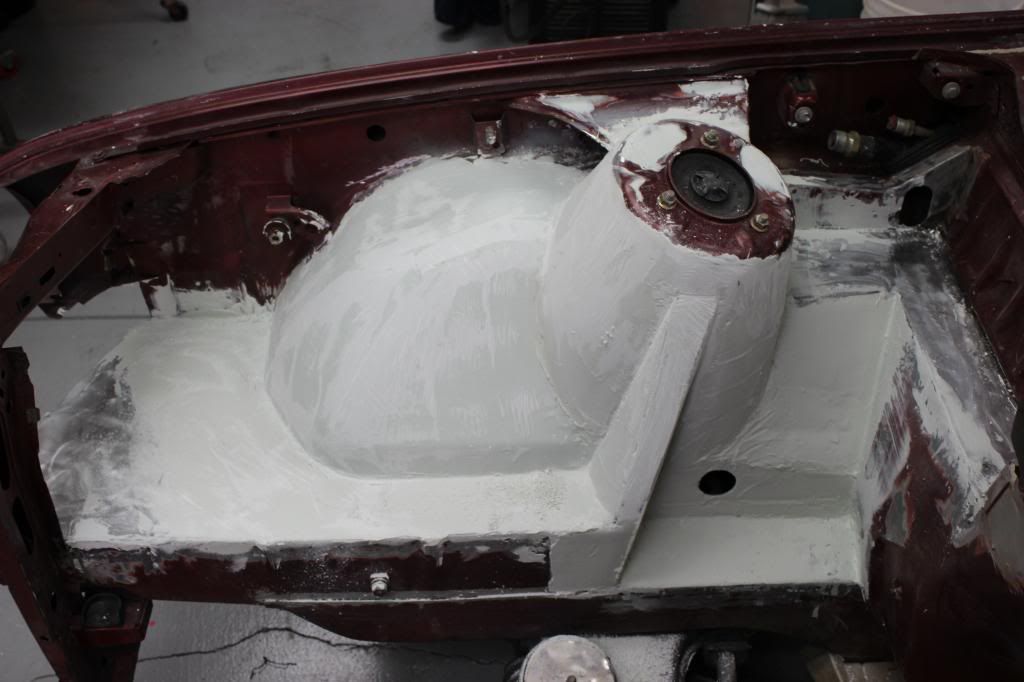
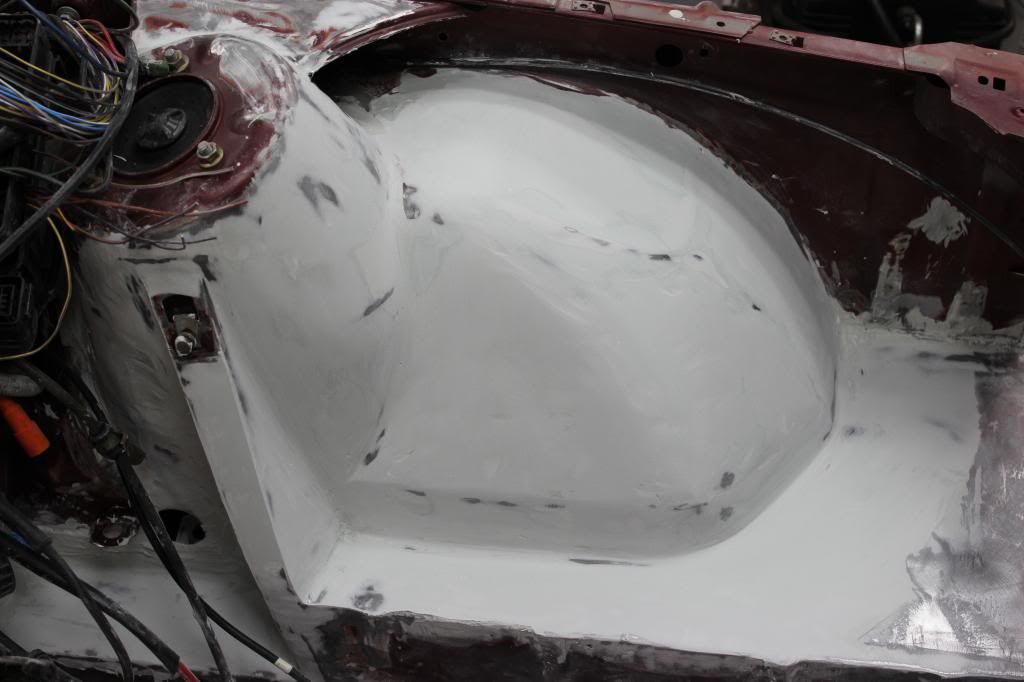
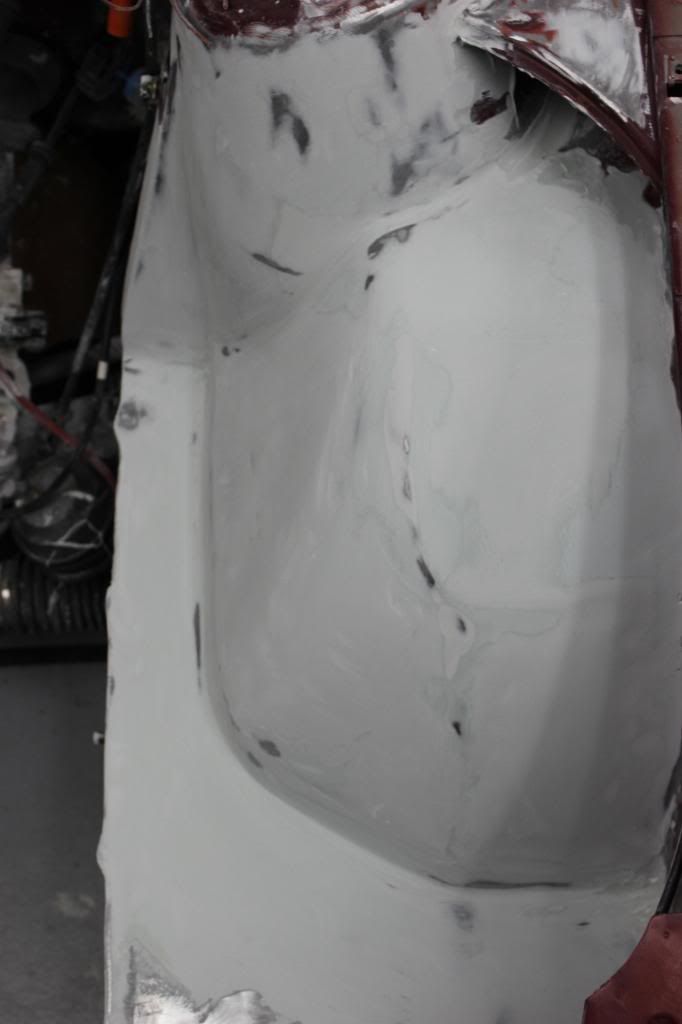
Coat on drivers side
Sanded
Bad picture
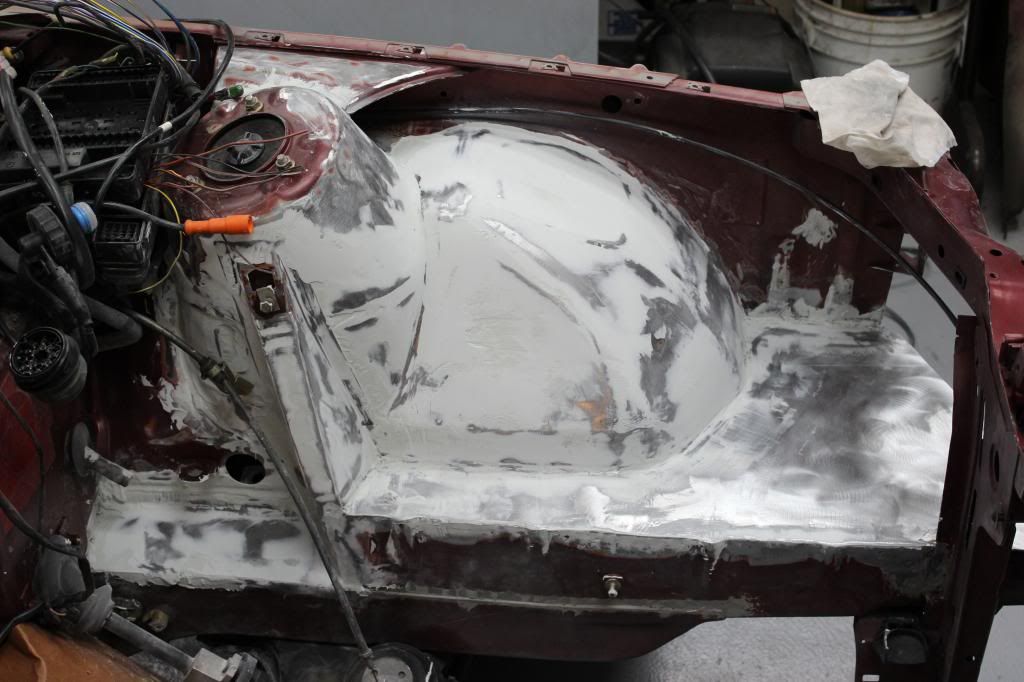
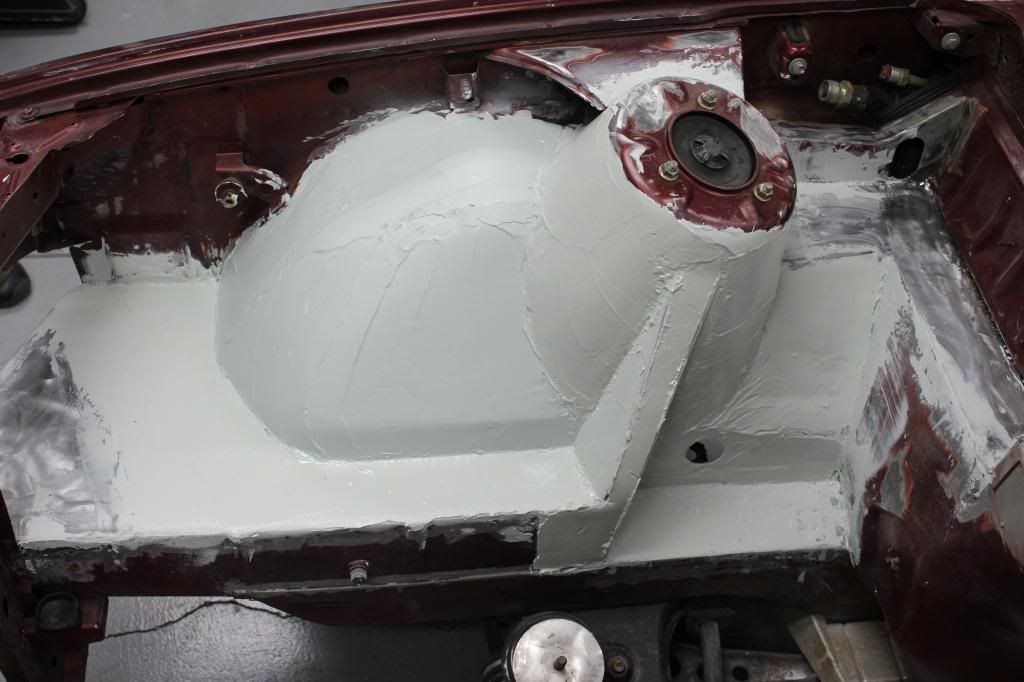
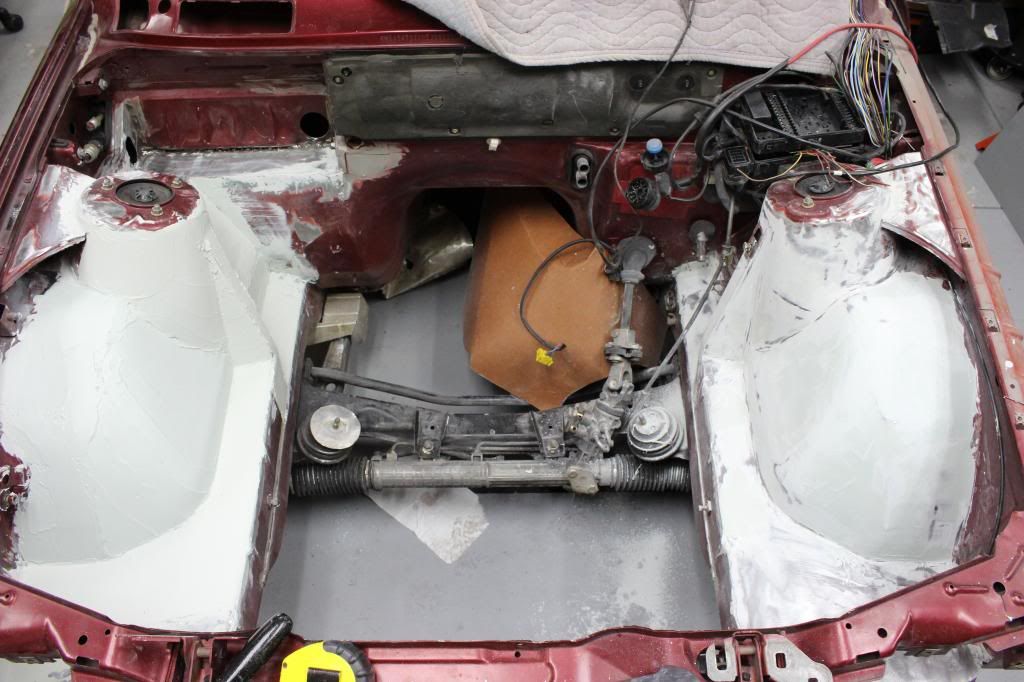
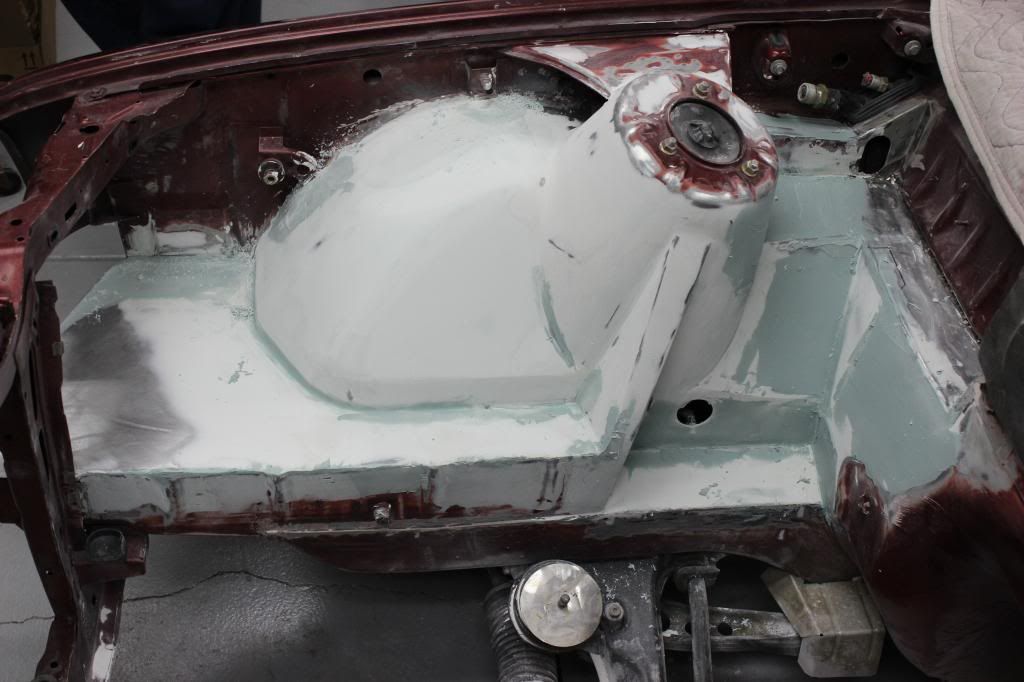
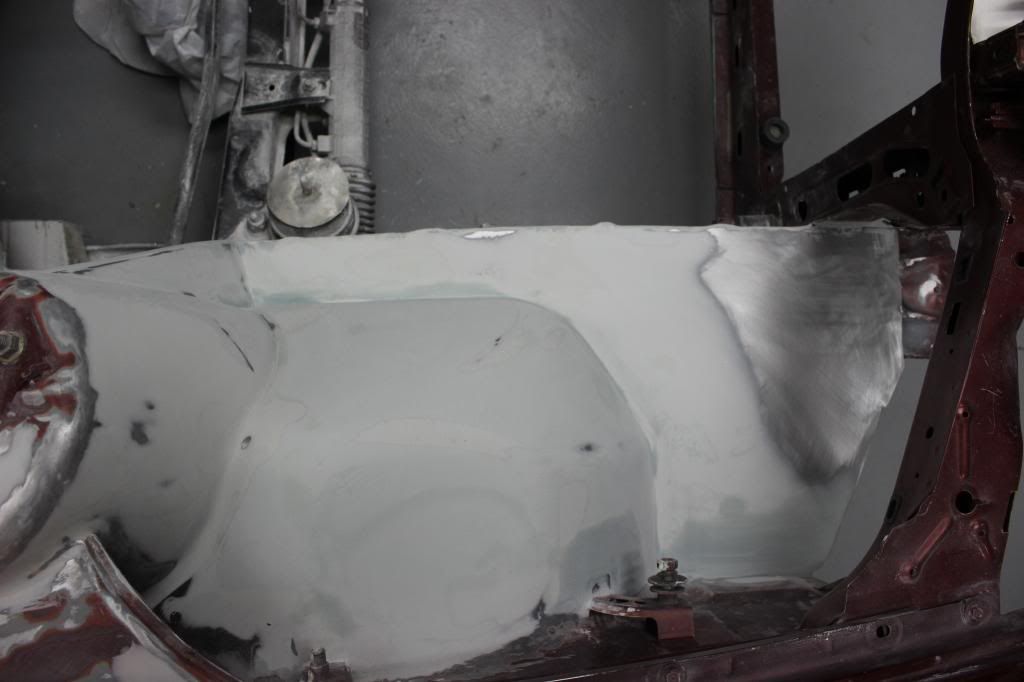
Blocked both sides
Added filler to touch things up
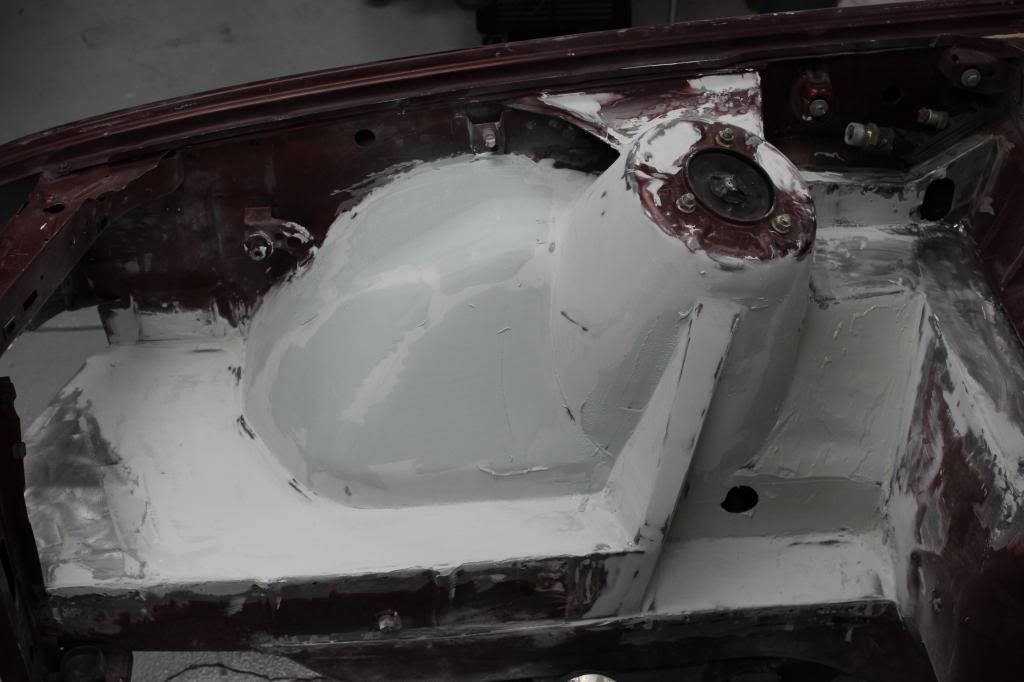
Messy.
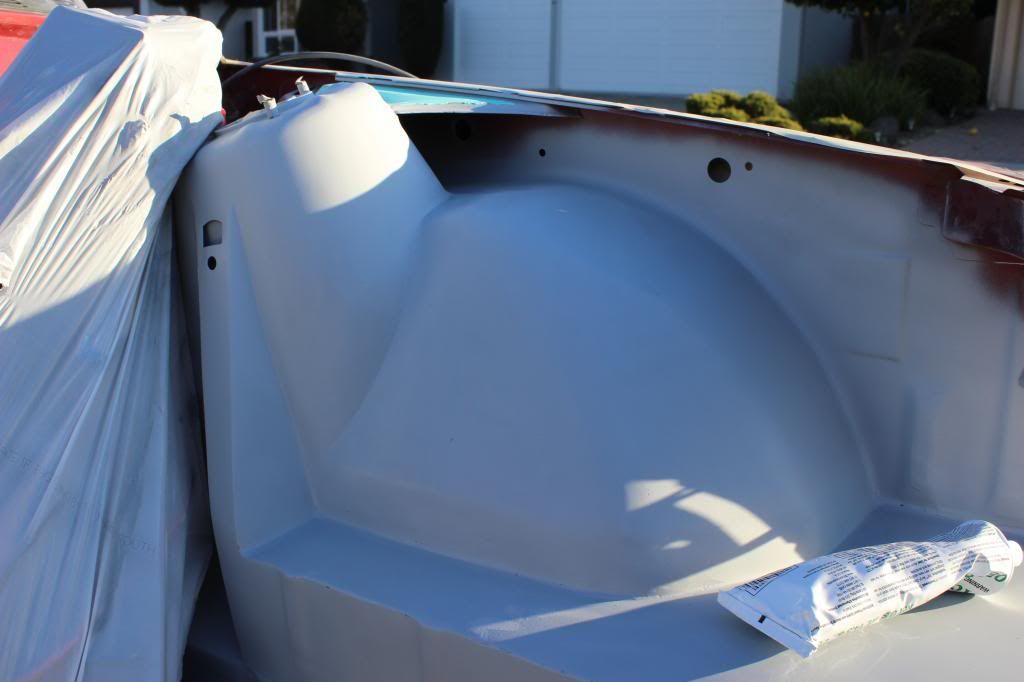
That's where I'm currently at. I ran out of filler so I'm on the hunt for some right now and hopefully can work on it more tomorrow. The plan after that is to get it all done, primer it, then dry fit the engine in the bay before it's painted. That way once it's painted there's no fussing around, and I'm less likely to fuck up the new paint.
Happy new year fuckers!
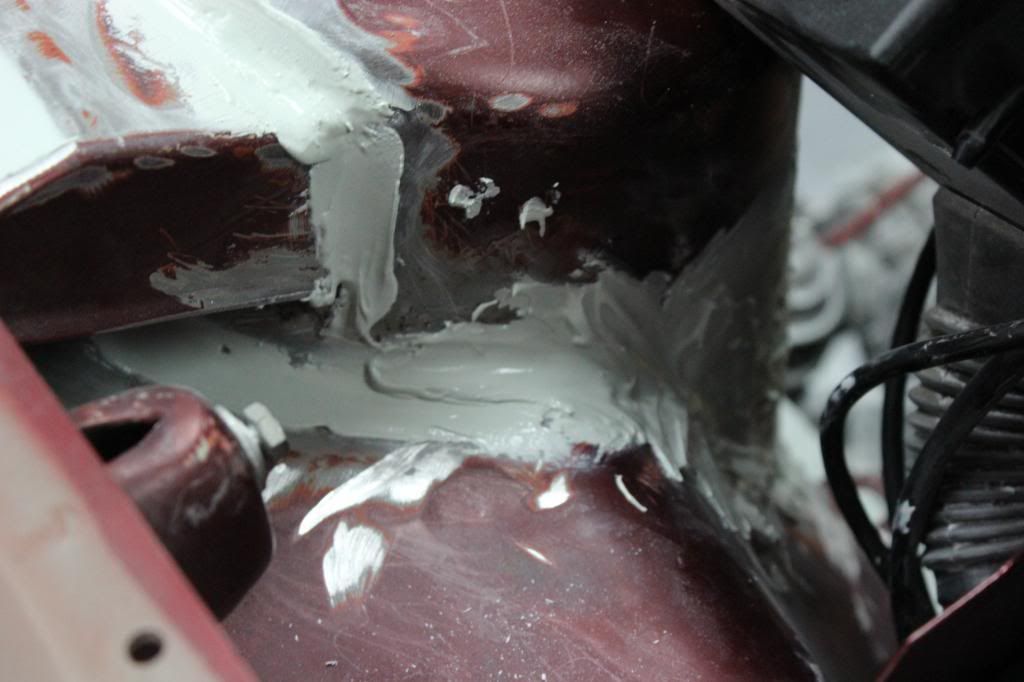
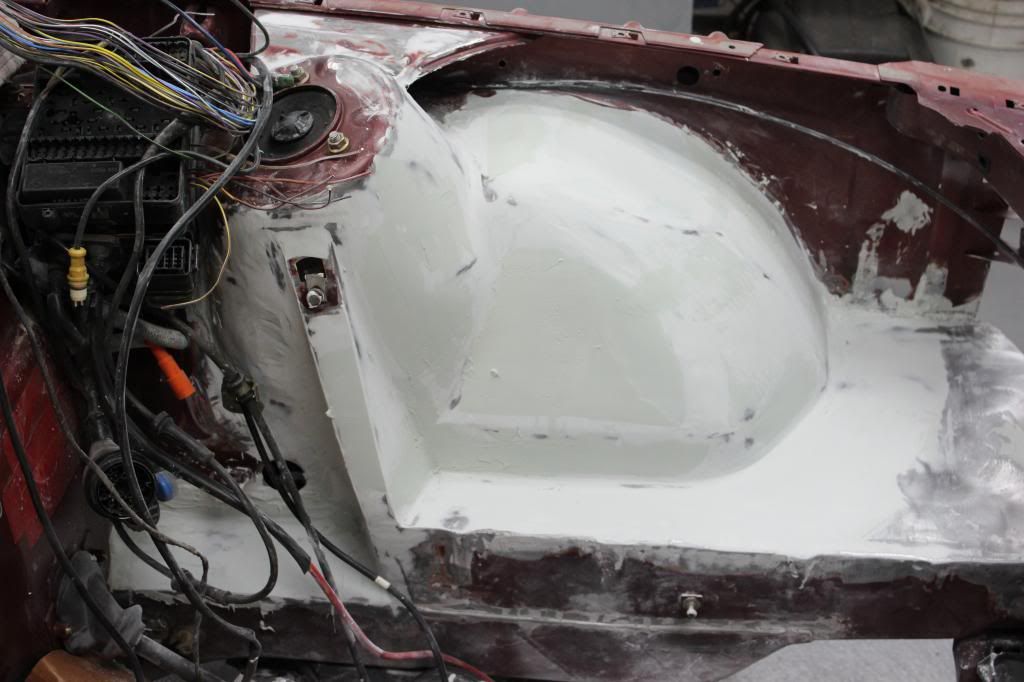
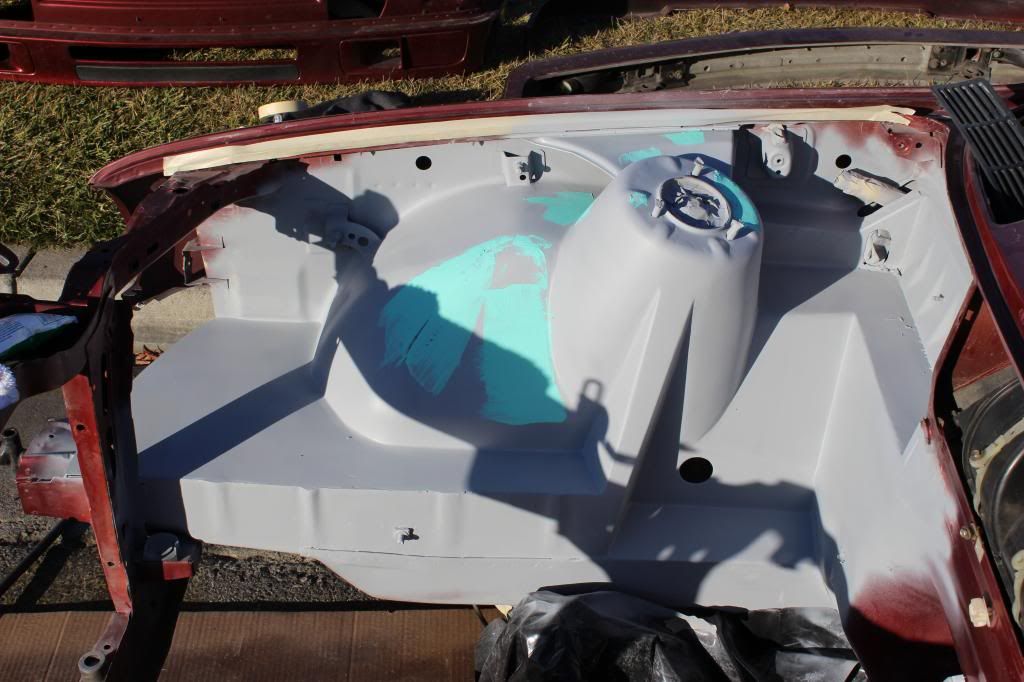
Progress has been made on the bay, but not much of that I can actually show on pictures. It's mostly just painstaking sanding and filling low spots. Either way I'll leave you guys with new pictures.
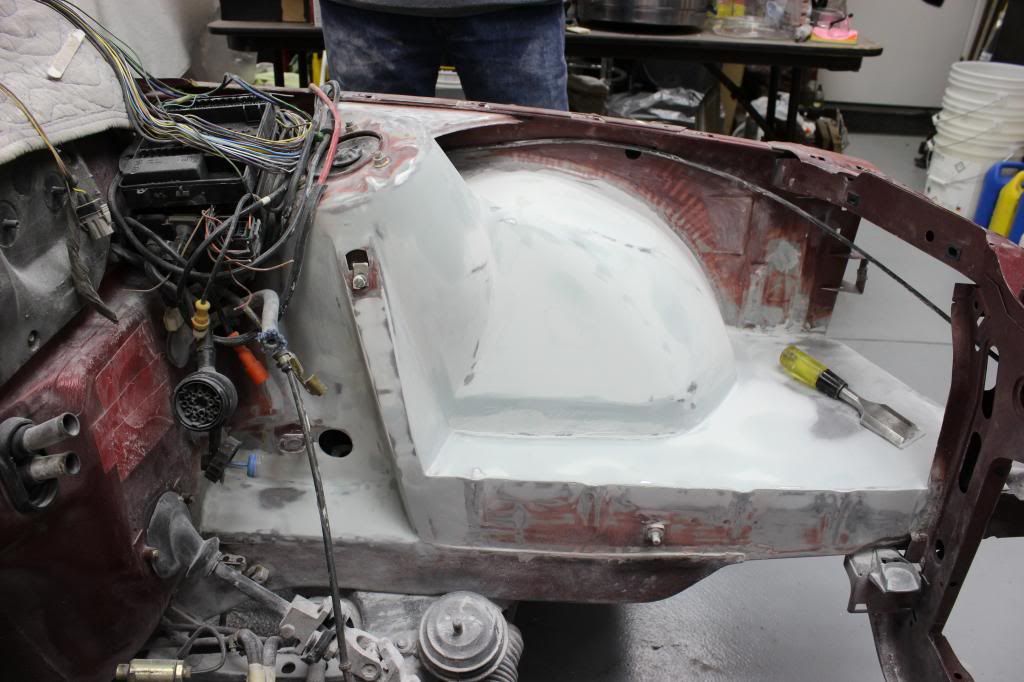
I've been working on this section, but it's quite hard to get in there.

I went to cooks automotive and bought some more filler and spot putty yesterday, so I'll be able to finish up bondo soon hopefully.
This will be an update for the last two days.
Just some sanding. Pictures speak for themselves mostly.
In the garage that night...
Overexposed but oh well.
That was the end of 1/2/2014
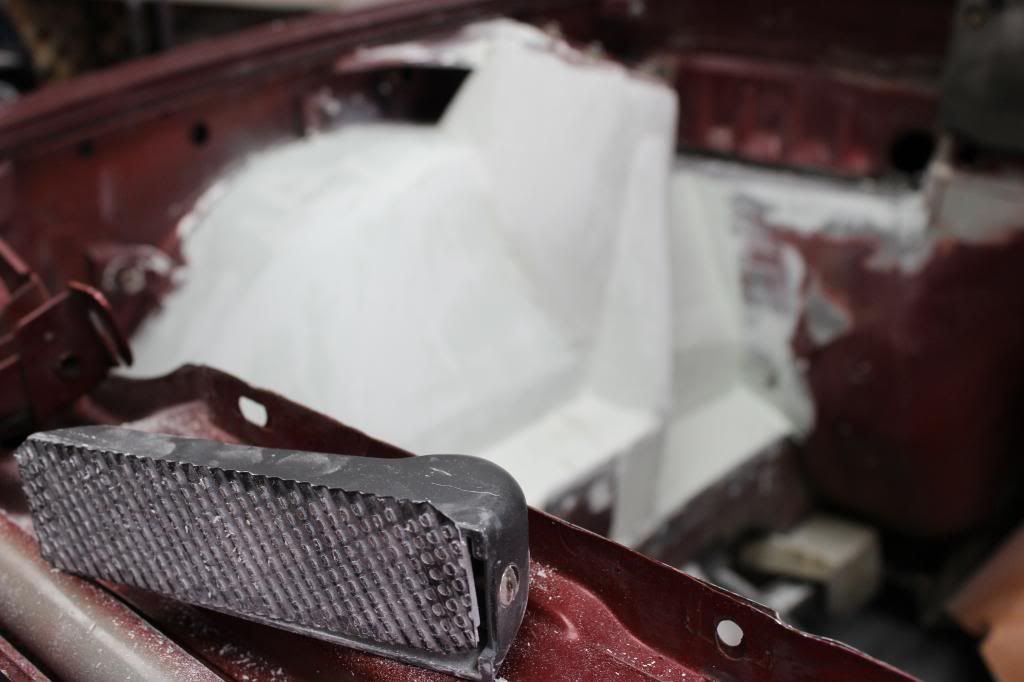
Then came today. At the end of a long day that consisted of finish sanding with 220 grit sandpaper.

Had to take some filler out to make the sides even that I saw once the light was better.
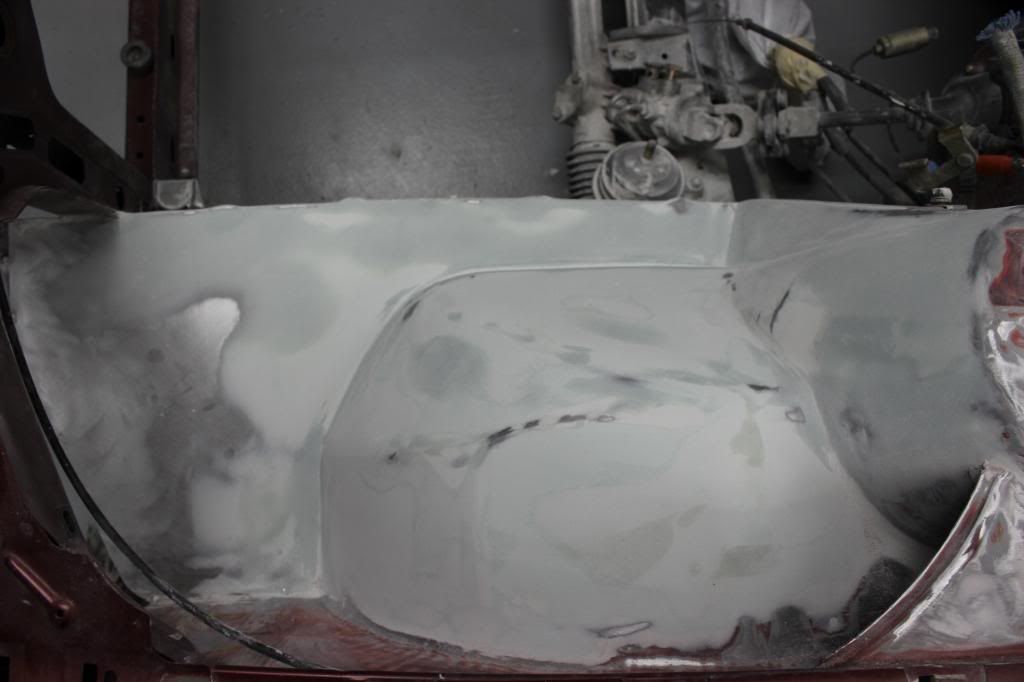
So close!!

Then guess what showed up?

First I have to tell the story about this label.
The delivery guy comes to my house, so being anxious, I go up to the truck. The delivery guy just looks at me with a huge grin and says, "What's so dank about this box that they had to write it on it?"
I cracked up laughing.
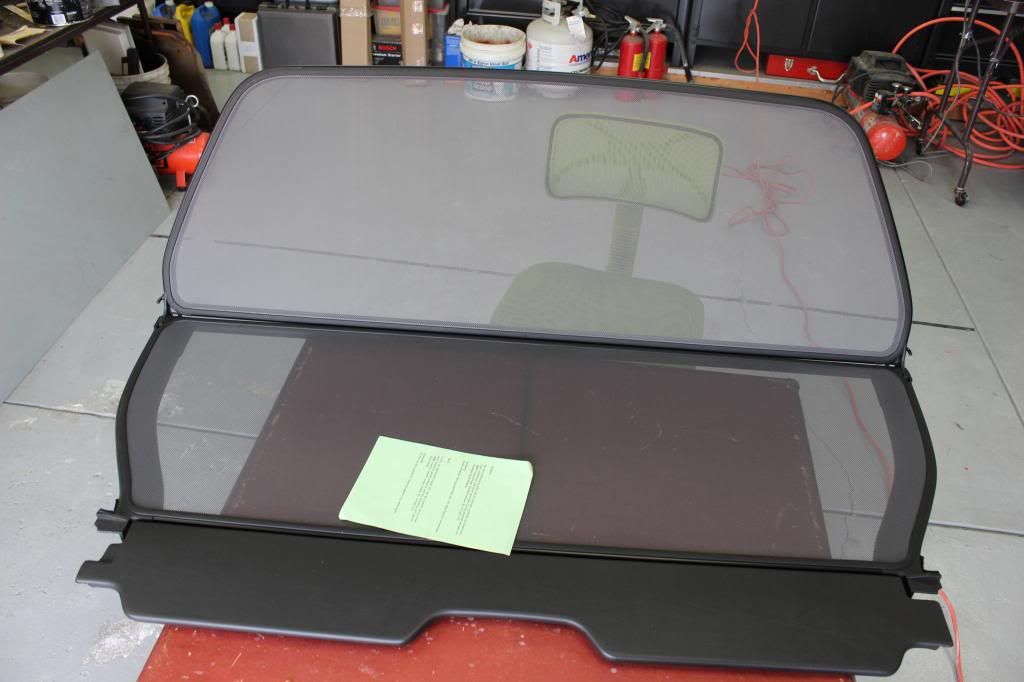
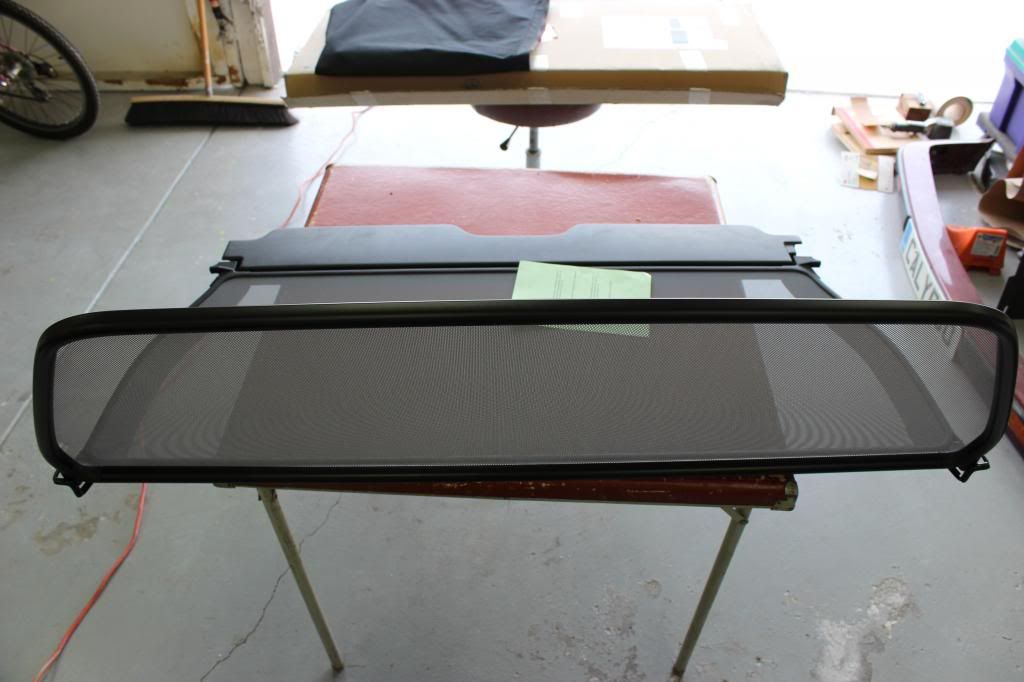
Anyways. This is what was in it. A new in box, from BMW, wind deflector. Fucking so nice.
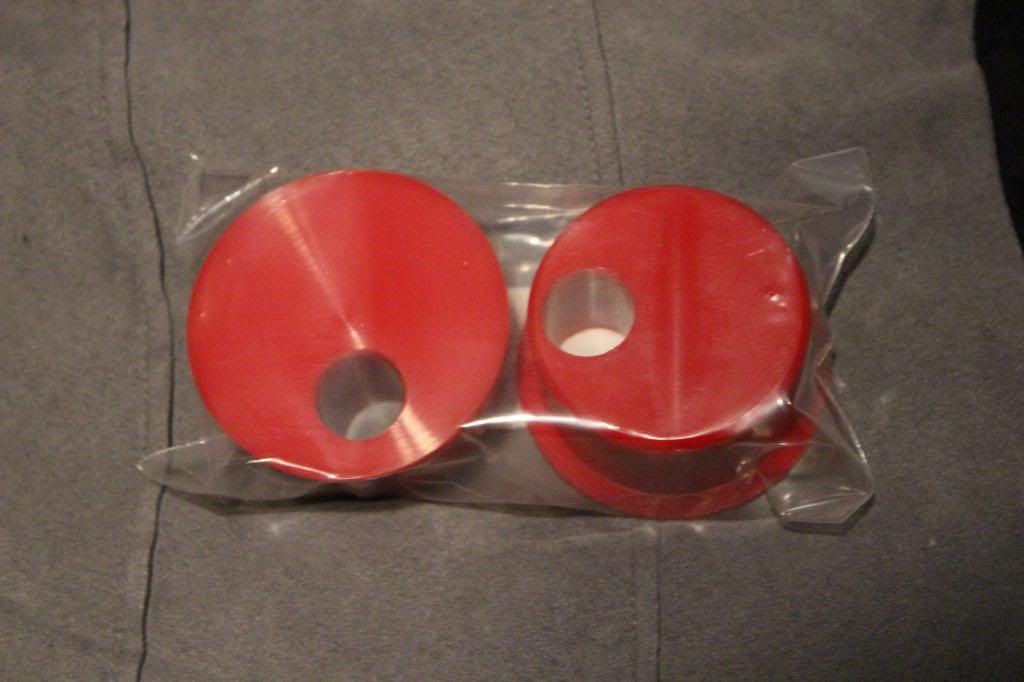
Anyways also got these in the mail the other day:
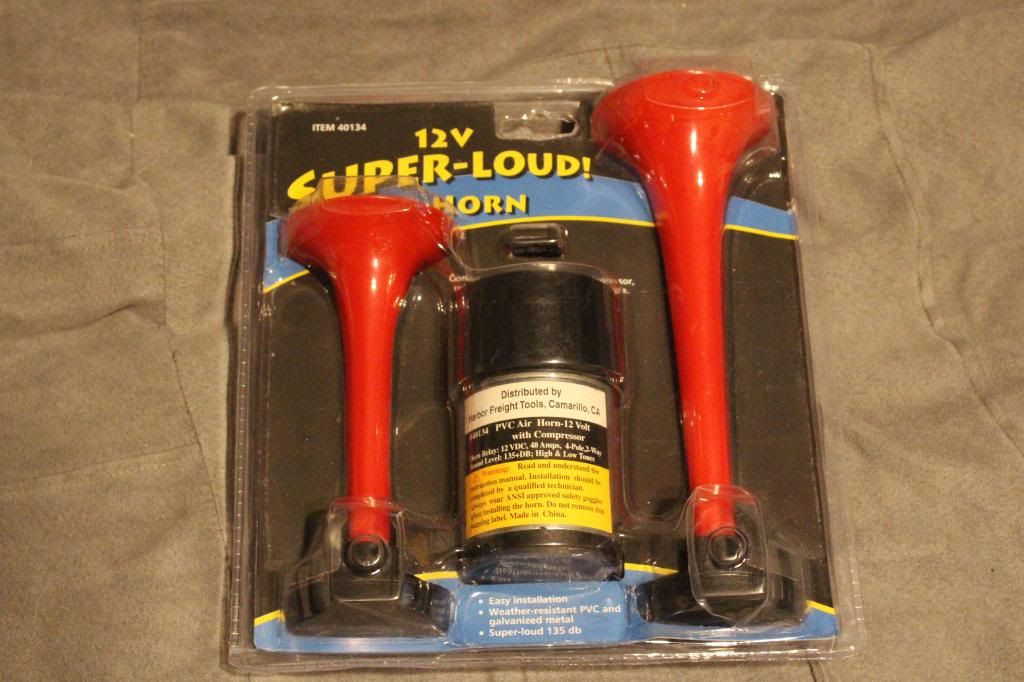
And when I was at harbor freight today I saw this and had to have it for only $15. It will be a good laugh.
Anyways that about wraps it up. Tomorrow I'm hoping to get primer on it, then I can test fit everything in before I paint it. Stay tuned for bay and engine updates!!
I didn't post this yesterday, because a friend came over, and after that, I was wayy too tired to update the thread.
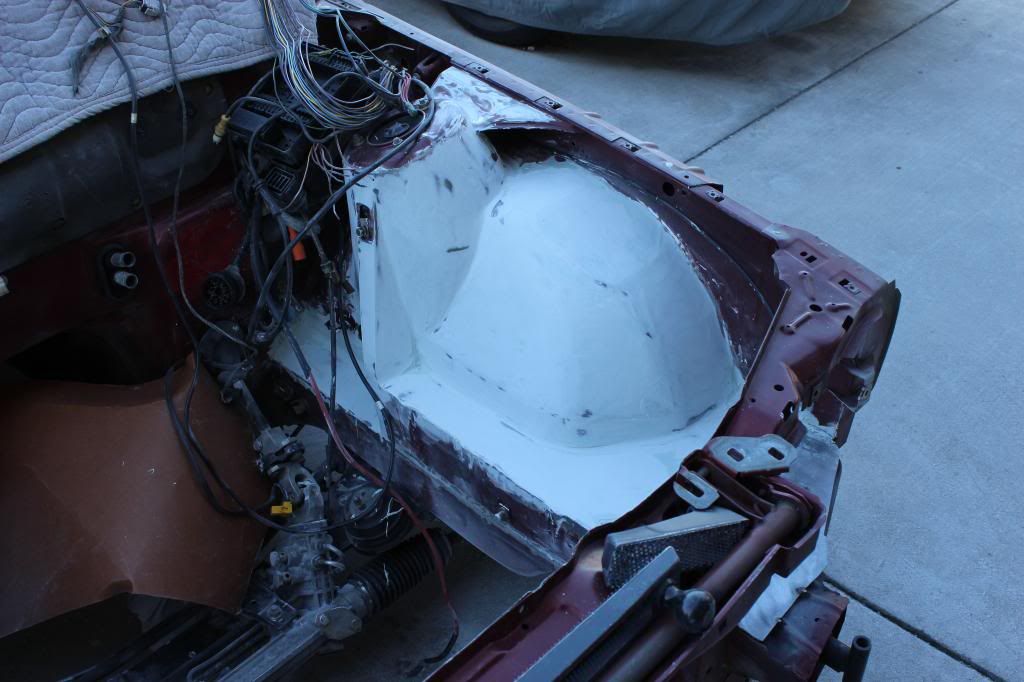
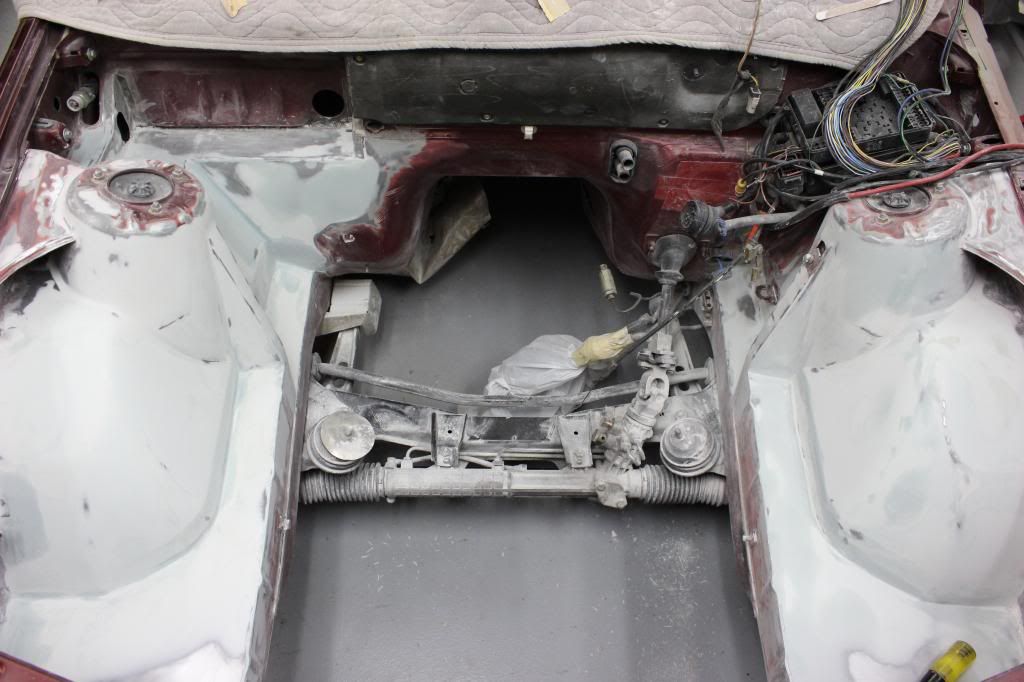
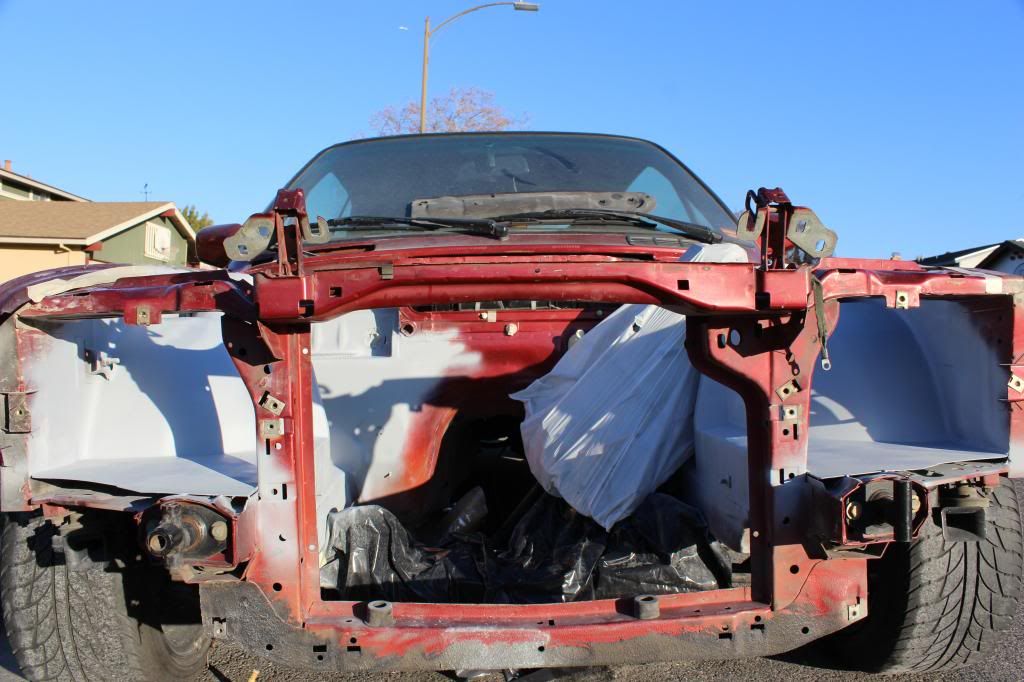
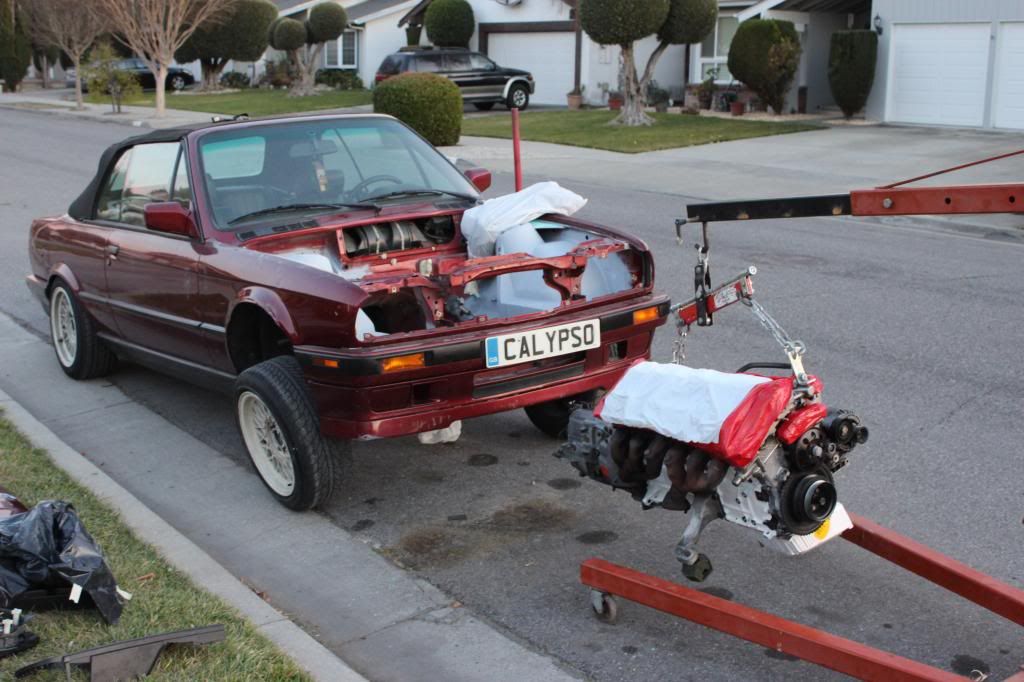
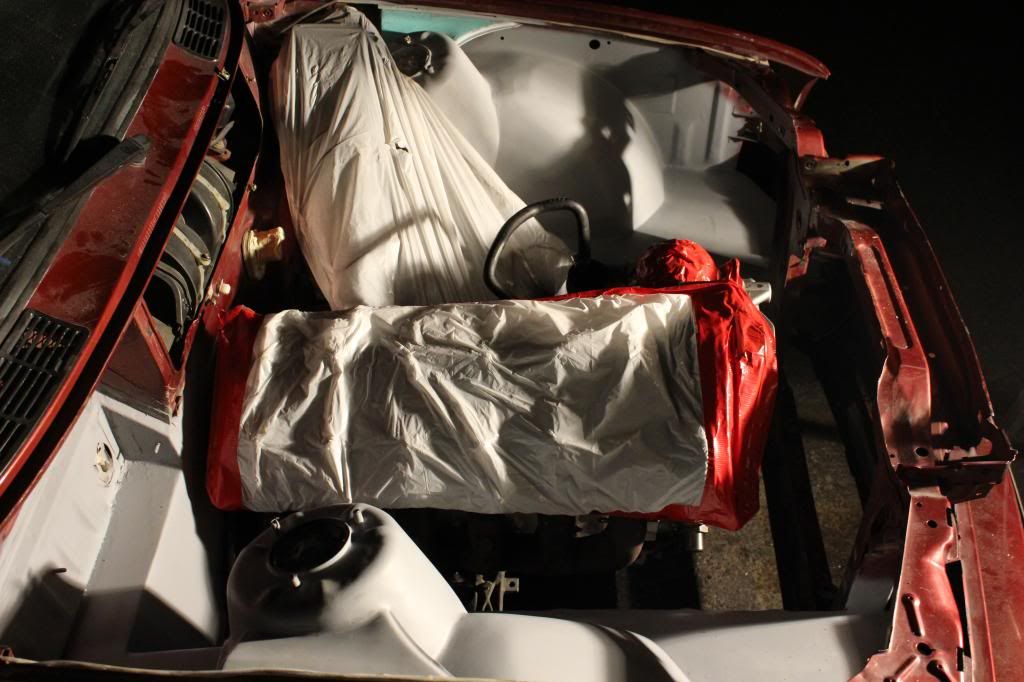
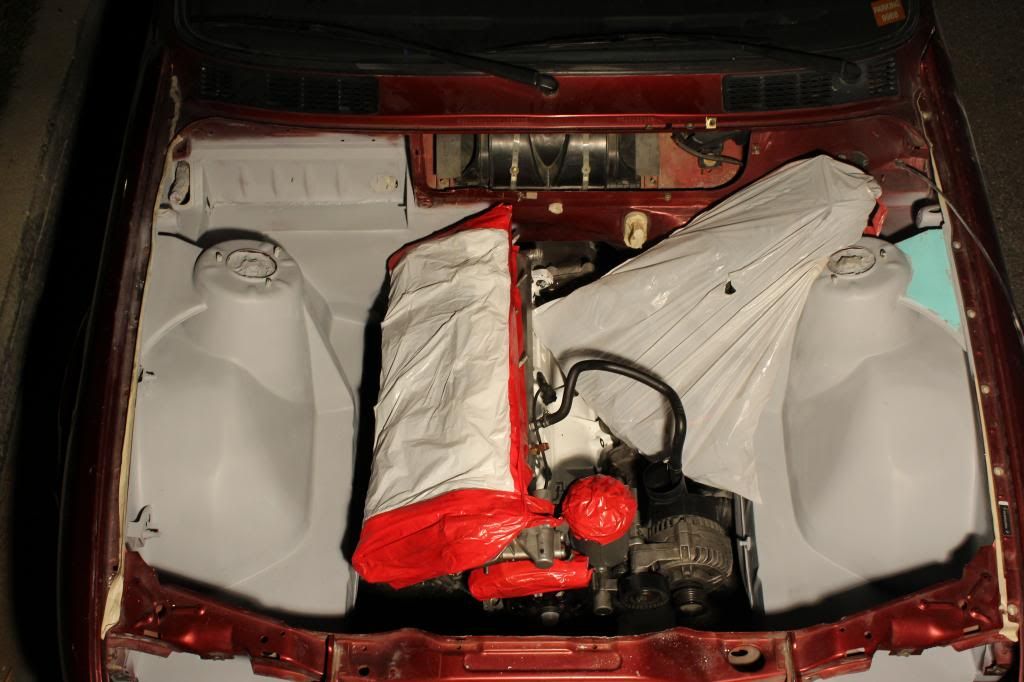
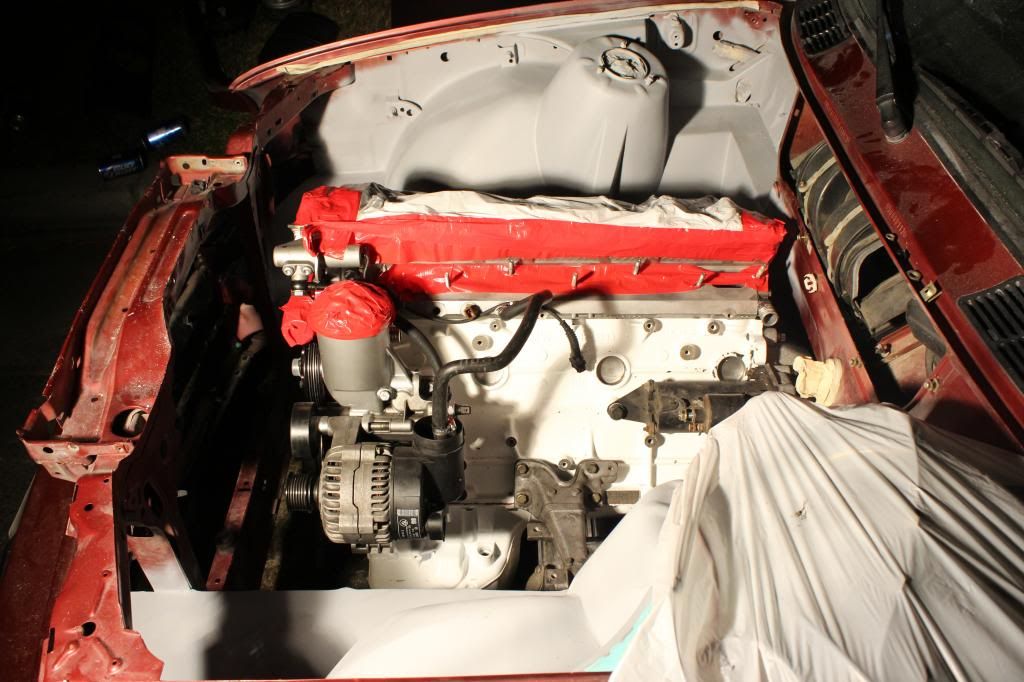
It's in primer. Needs a fuck ton more work though. Today I'm making a trip to the yard for some things I need, then I'm taking the engine out to do some last minute things to it before it gets dropped in.
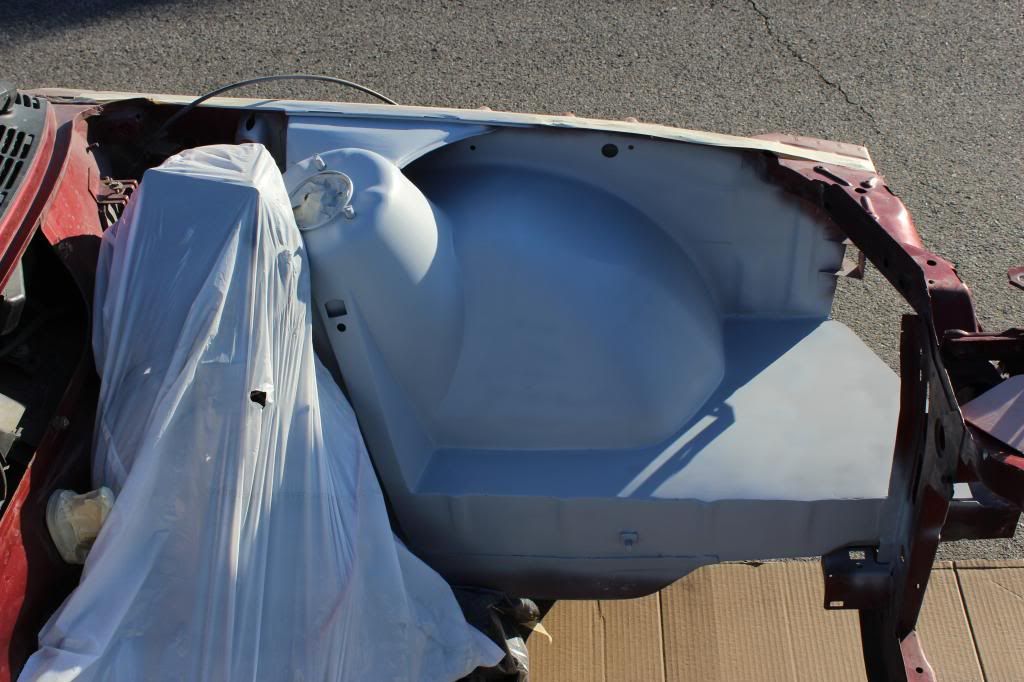
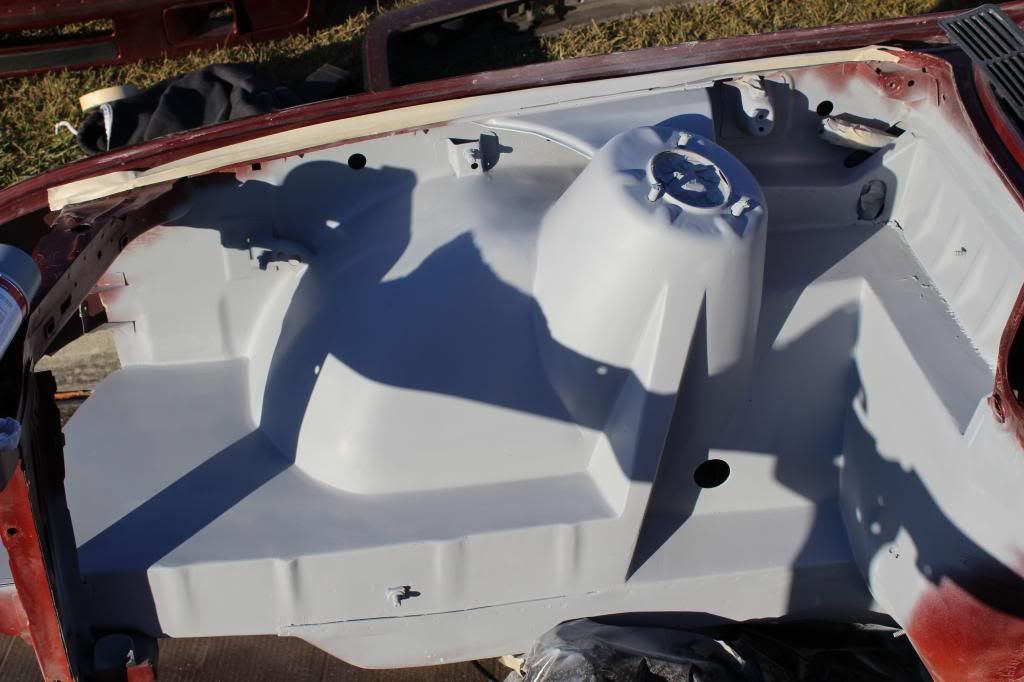
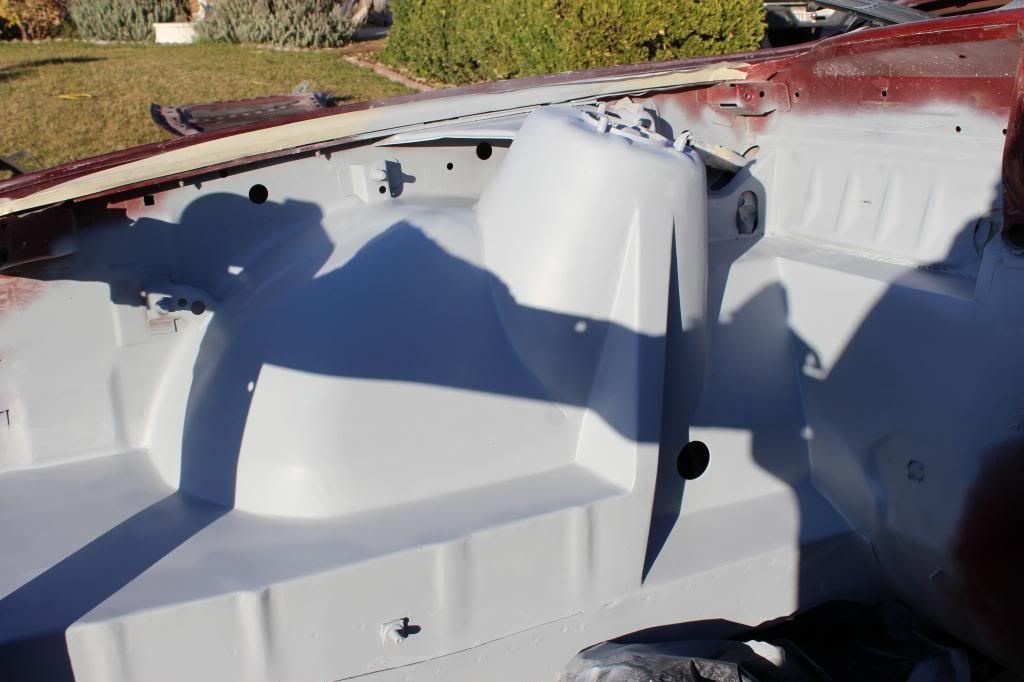

Looks bad IRL, but with some more work, I think I can make it look great.
Updating for yesterday.
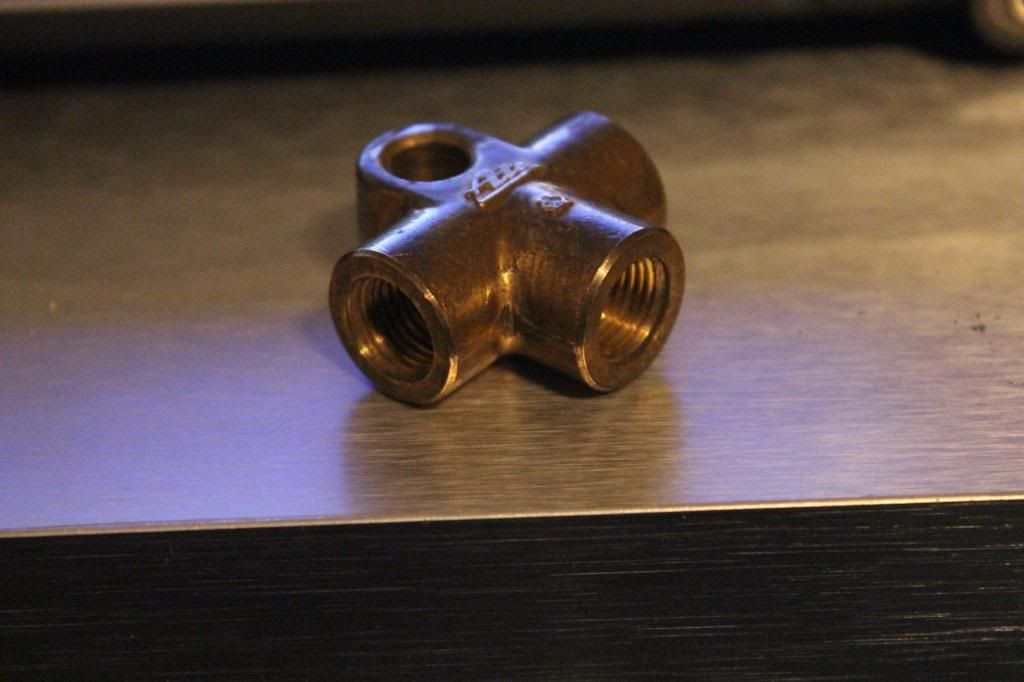
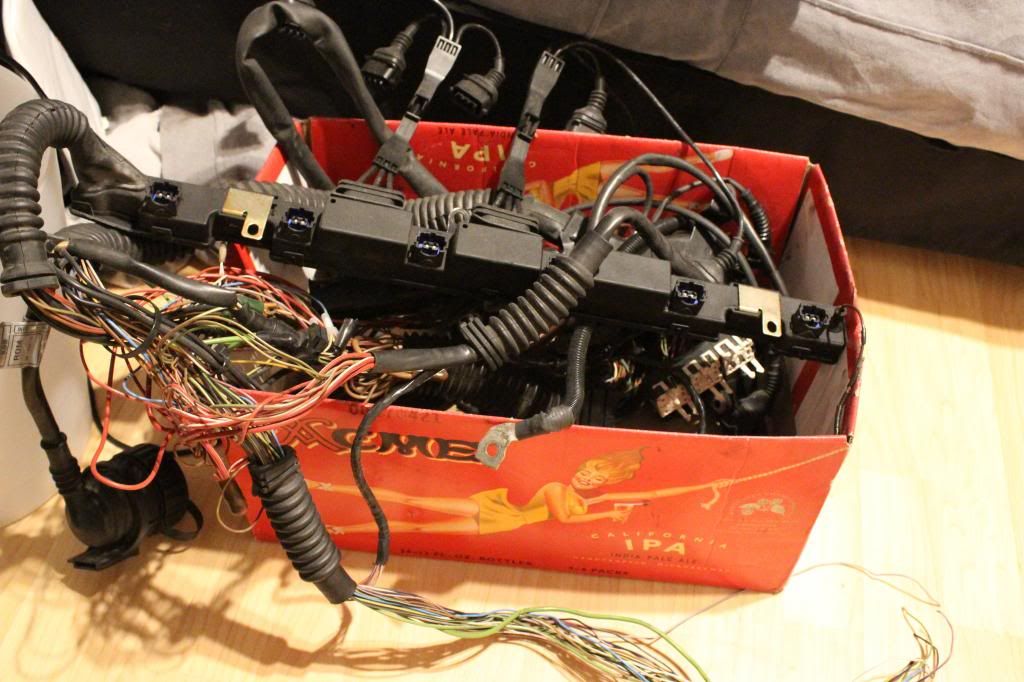
Went to the yard and picked up these:
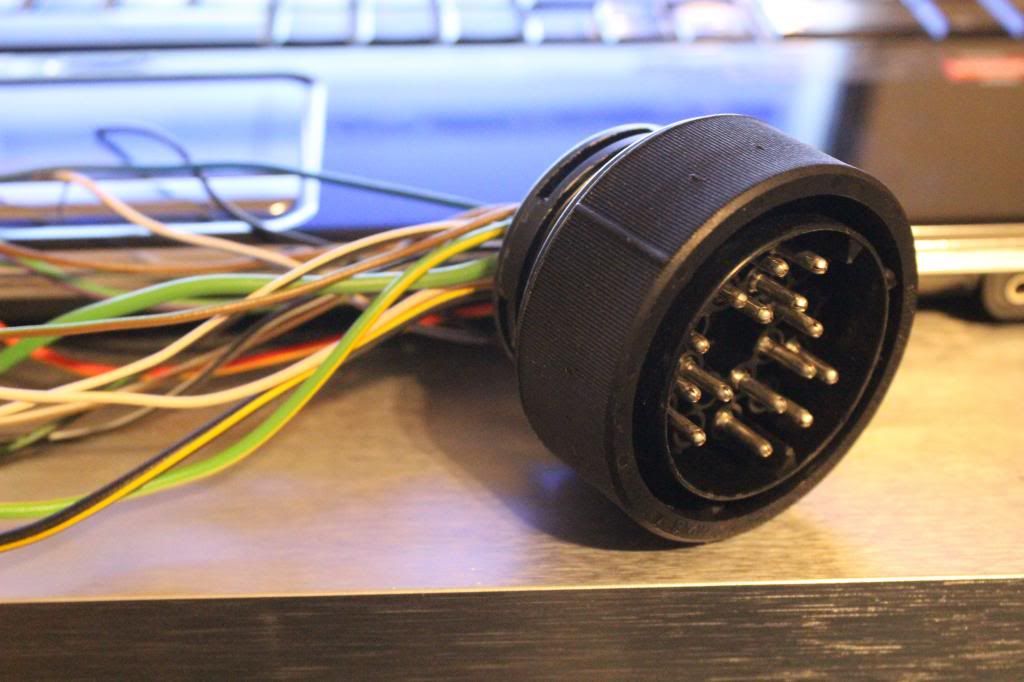
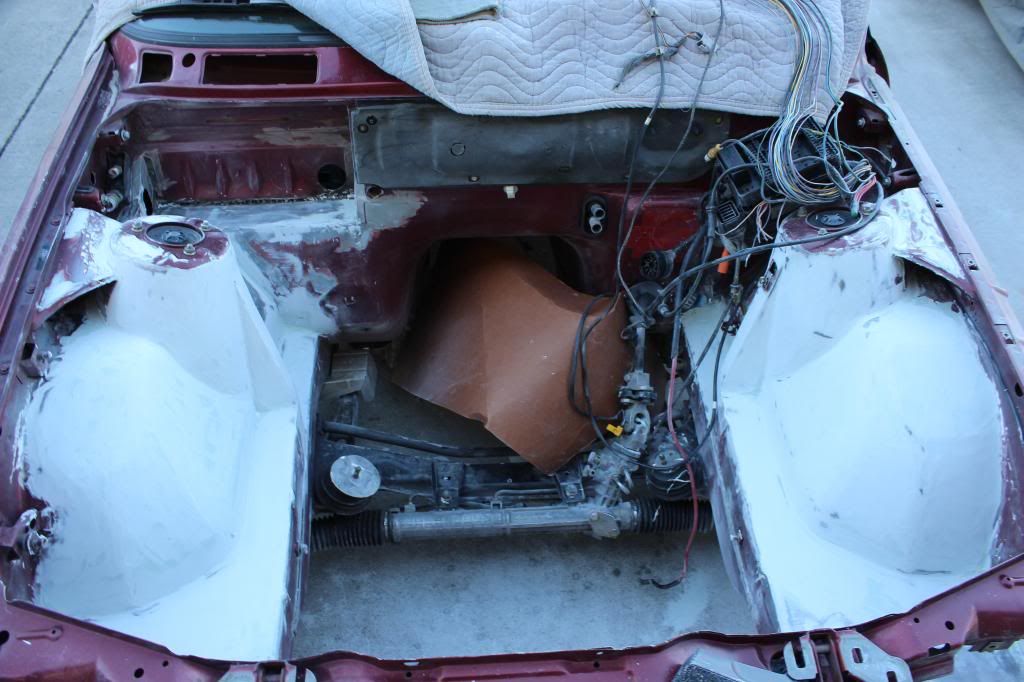
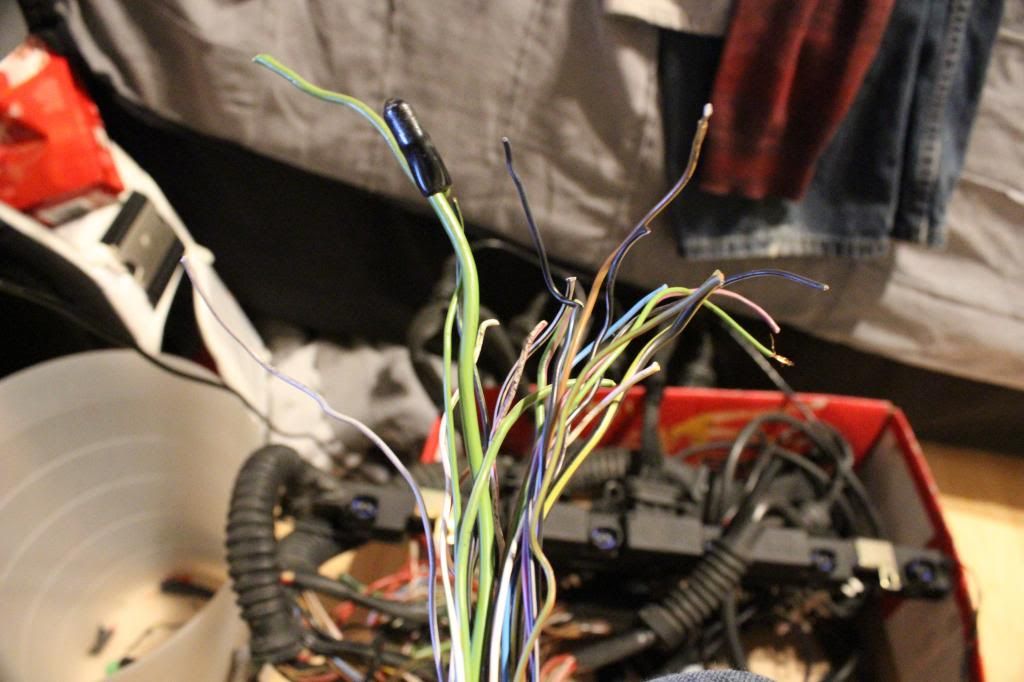
Then I started on trying to figure out the wiring.
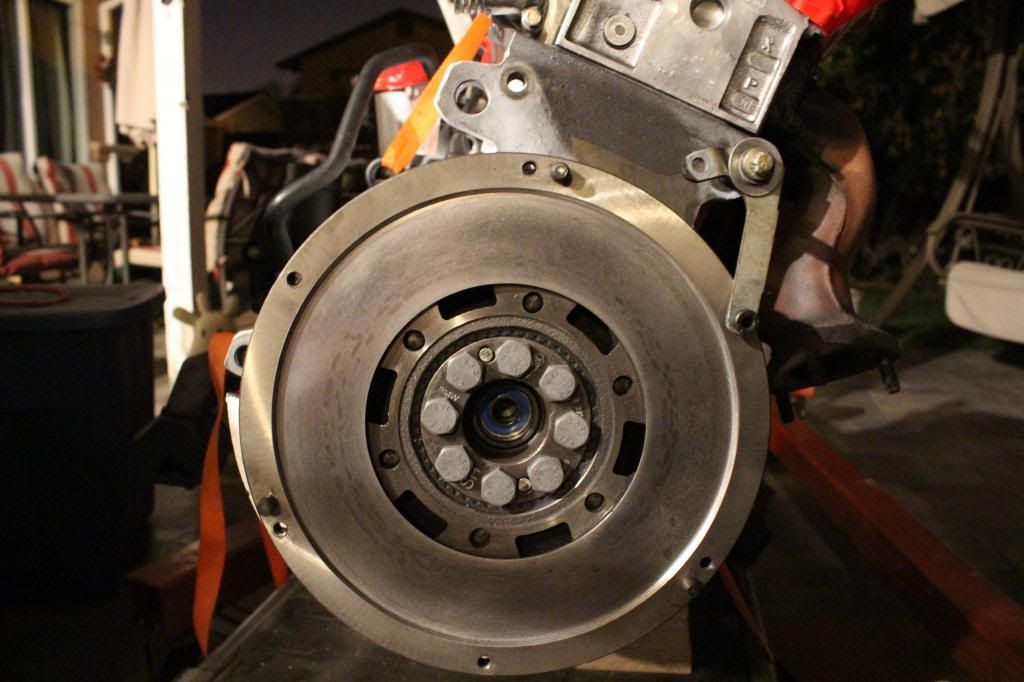
Then I pieced together the transmission to do a dry test of it shifting.
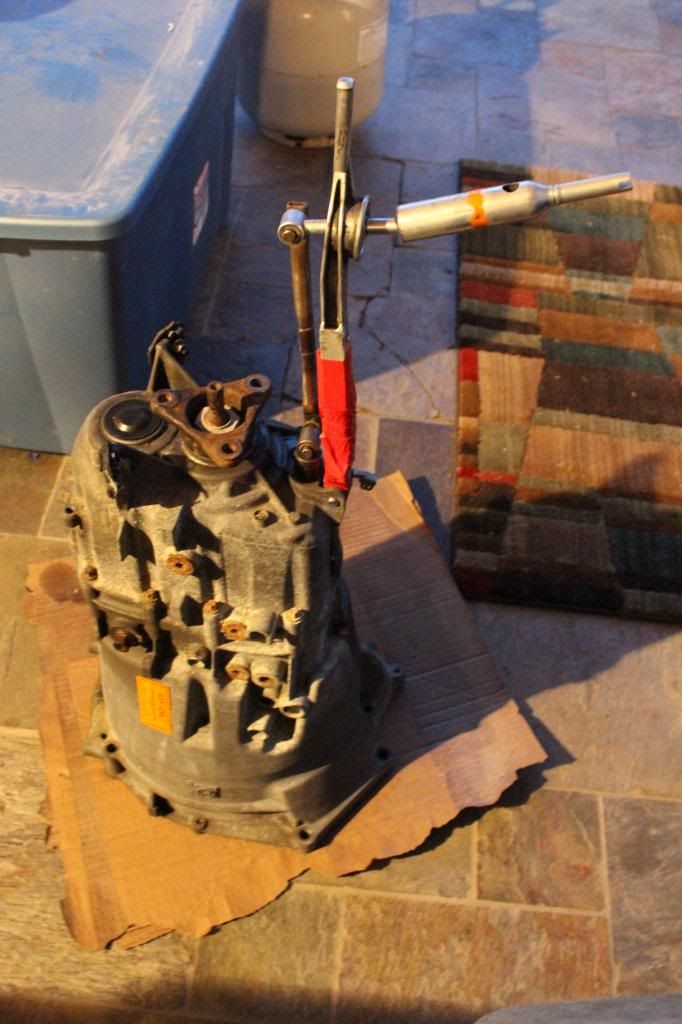
I need to clean the transmission up :hitler: more work
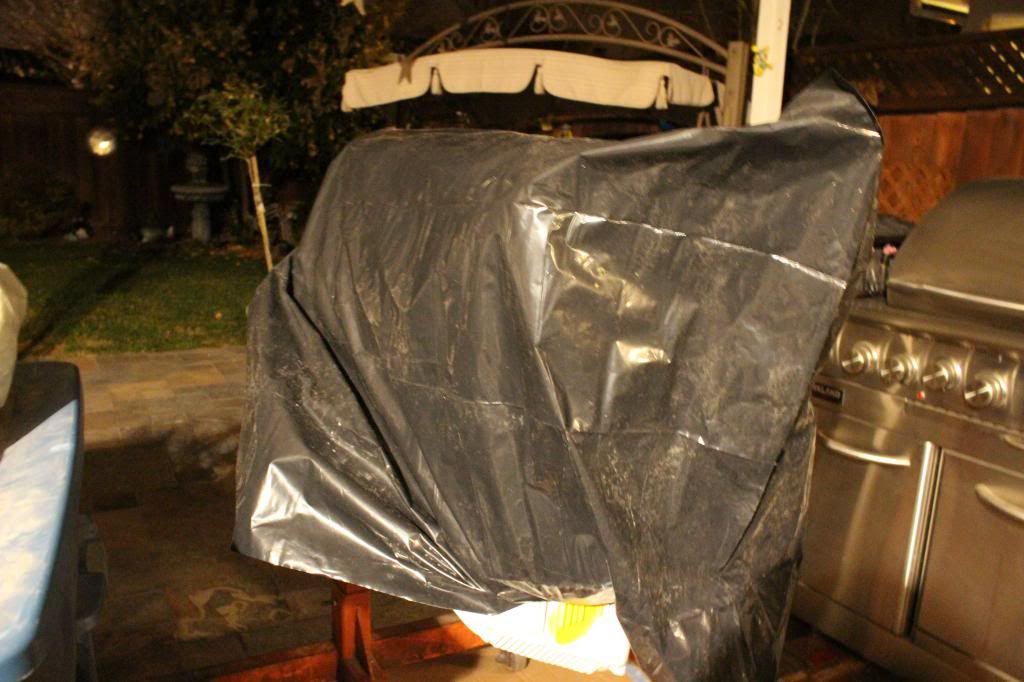
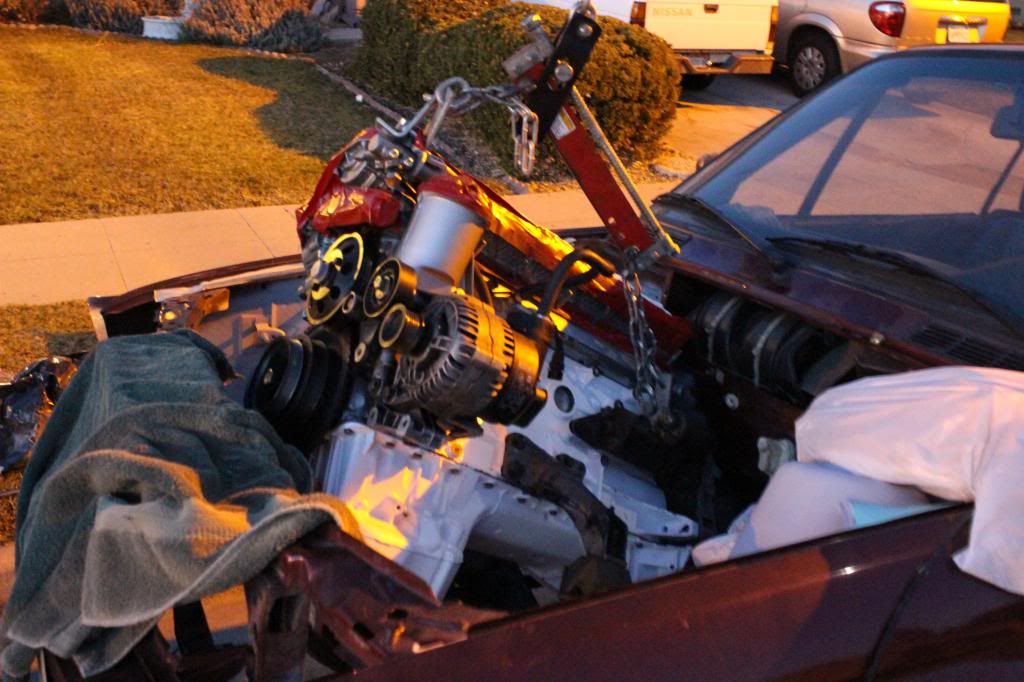
I haven't updated because I've been slowly putting stuff onto my engine after school. I have to go to the yard tomorrow and pick up some stuff but after that I'm hoping to get it dropped in!
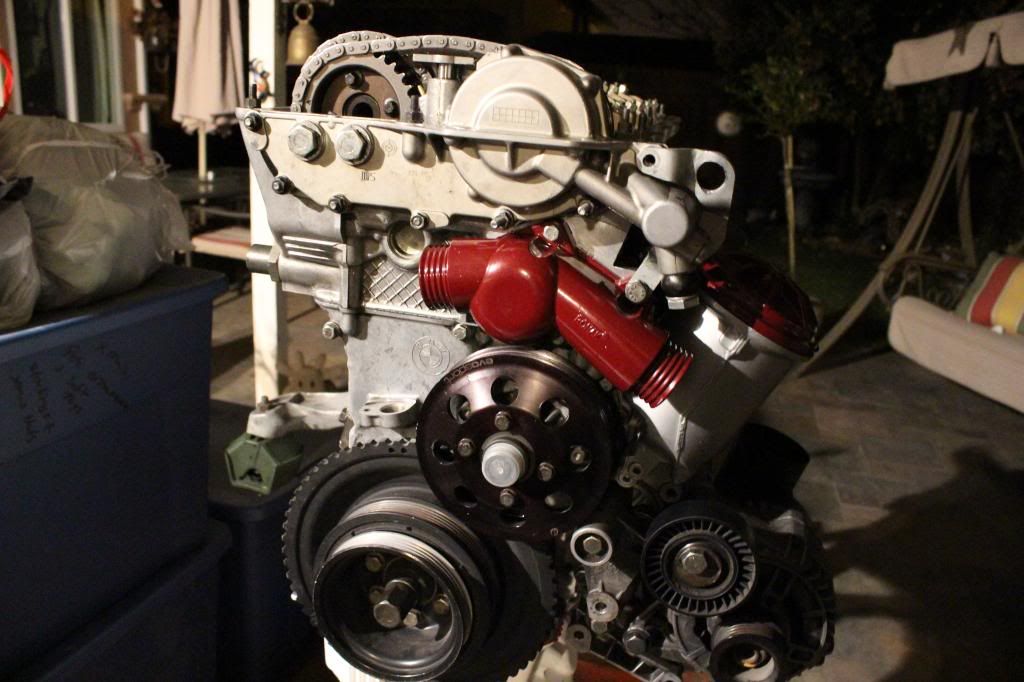
Before anyone says anything, the valve cover will come back to me from powdercoating next week and for now, I'm covering it up good at night.
That's it for now!
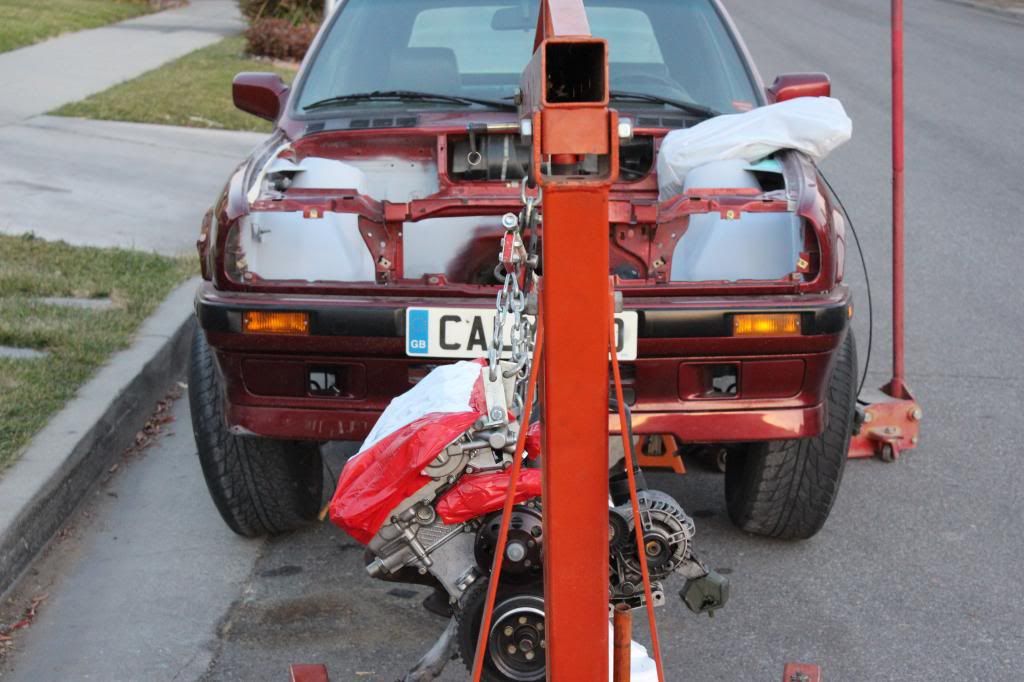
Progress was made today. Hoping to get a tonnnnnn of work done this weekend. There is a meet on the 18th and I'm hoping to make it to it, even if I'm still in primer. The engine and tranny are mated and I'm hoping to get it in the car tomorrow. That will leave me with finding a drive shaft and battery cable, finishing the wiring and hooking everything up all in a bit over a week. Hopefully (knock on wood) nothing goes wrong and it starts well.
I'M IN THE MARKET FOR A DRIVE SHAFT THAT MATES WITH A ZF310. PM ME.
On to pics.
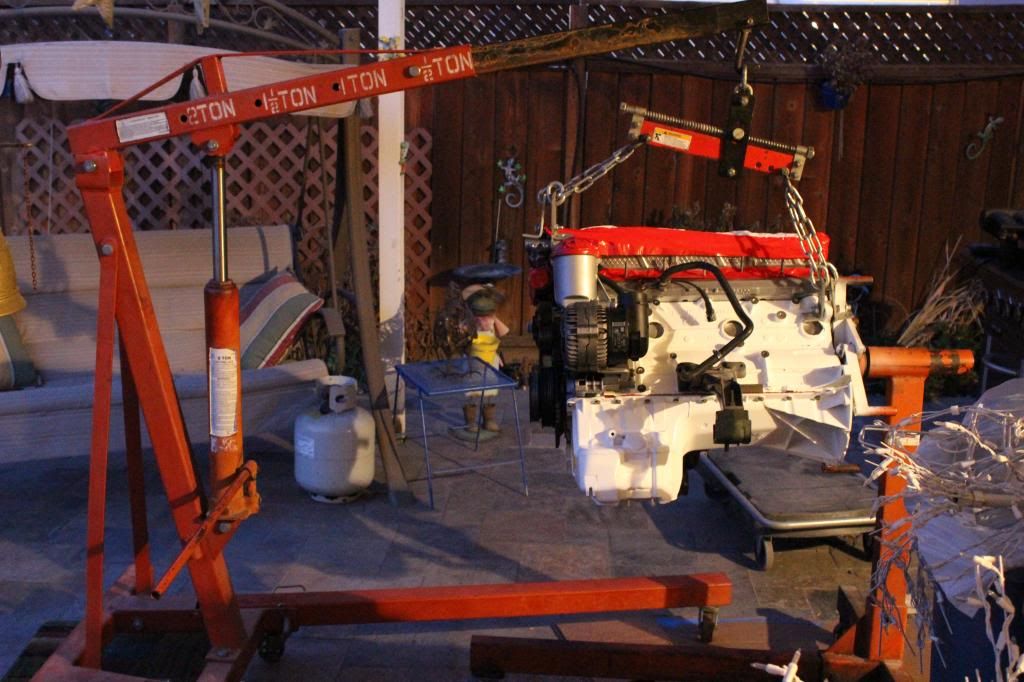
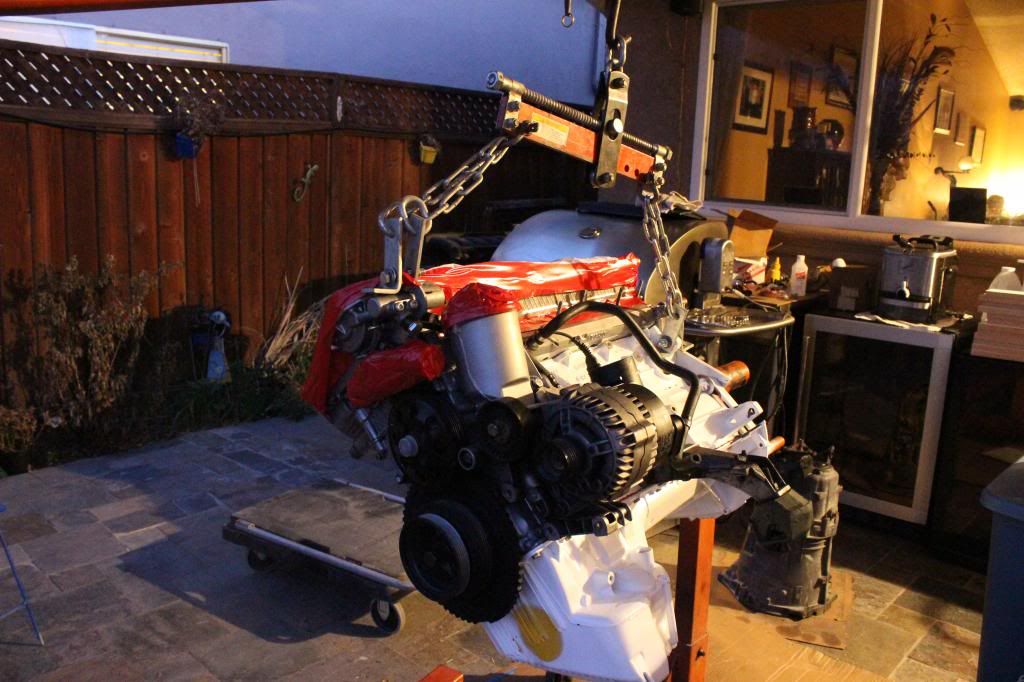
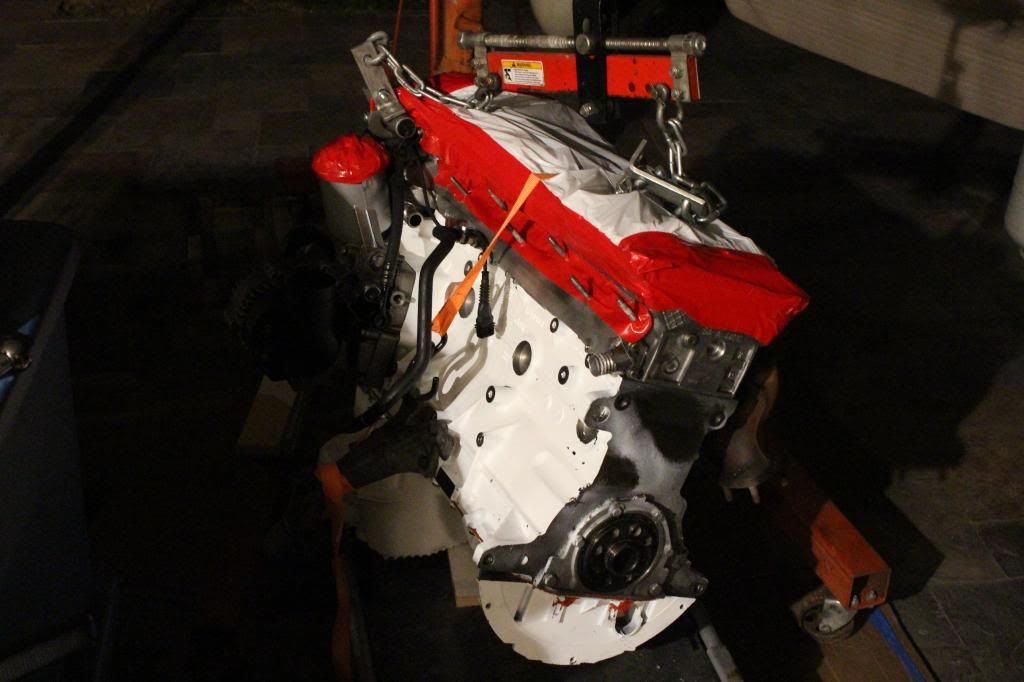

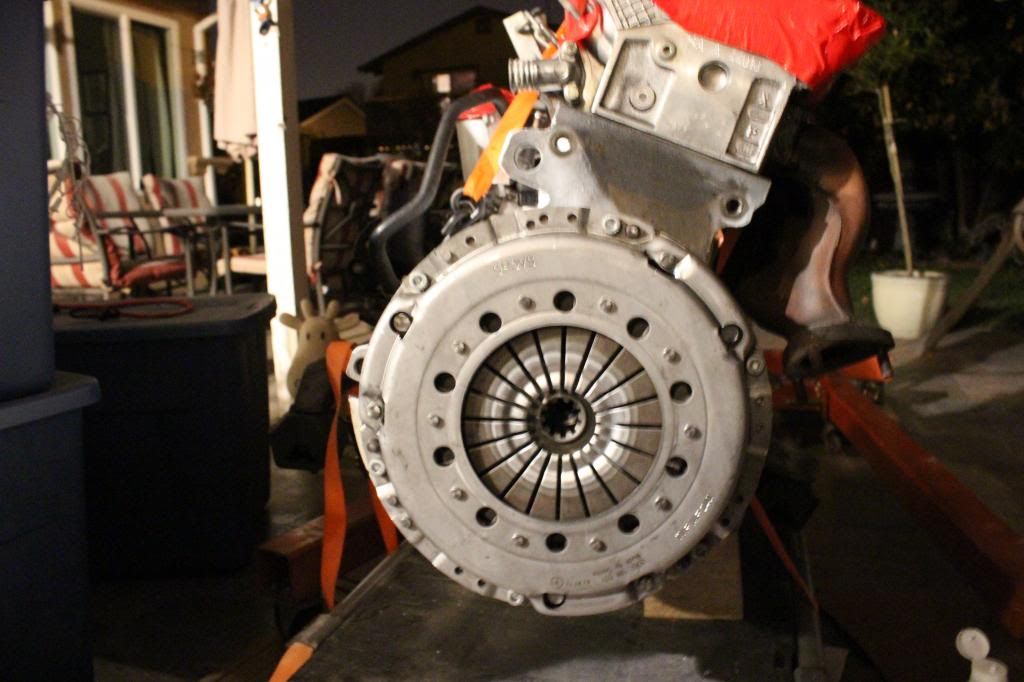

Starter got mounted up too, and almost everything is mounted on the engine. I also need to pickup a tensioner and a Mini Cooper S belt... Hmm
So much to do and so little time.
Well it's in! Although it looks very slanted towards the rear and idk why? Oh well. I got the trans brace bolted up and called it quits because it was 8 PM. Ill get up earlier tomorrow and start piecing things back together.
That's it guys!
I'll update again soon, but she's almost running!Comment
-
The problem with it not starting at the moment is that I'm getting fuel and spark and occasionally it with fire but dies immediately...Comment
-
holy bondo
good work on the build overall, looks like you're getting a lot done.
Comment
-
Nice progress, looks really good
Comment
-
I didn't post this yesterday, because a friend came over, and after that, I was wayy too tired to update the thread.
Congrats on the sex, also sweet bayComment
-
-
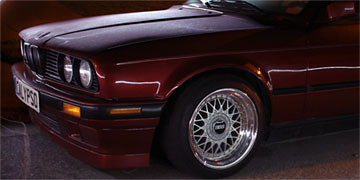
clean build so far, and i love the color
Comment
-
awesome progress so far manHit me up for all your quality used bmw parts needs! http://properperformance.com/ IG: Lowlygent
Comment
-
-
My hat off to you with that engine bay. I would love to fill all those nonsense holes one day in my car.2013 Shelby GT500 on AirLift and Rotiforms - Build Thread
Instagram: @gallopingfordComment
-
Wow, flawless work. Inspiring me towards my S5x swap one day!Comment
-
Yes, but why can't this build be completed so i can see the result! Well done so far.
Comment
-
HahahahaOriginally posted by axelillo_PR View Post
Also thanks for all the positive comments guys... It keeps me goingComment
-
Okay well here I am with a no start video wondering what my problem is... I'm getting both fuel and spark
Comment


Comment