Announcement

Collapse
No announcement yet.

Brickhouse VK56 240SX Build

Collapse
X
 
  • Filter
  • Time
  • Show
Clear All
new posts

  • irritatedmax
    replied
    Where did the last month go?!?! I was trying to stay on top of updating.


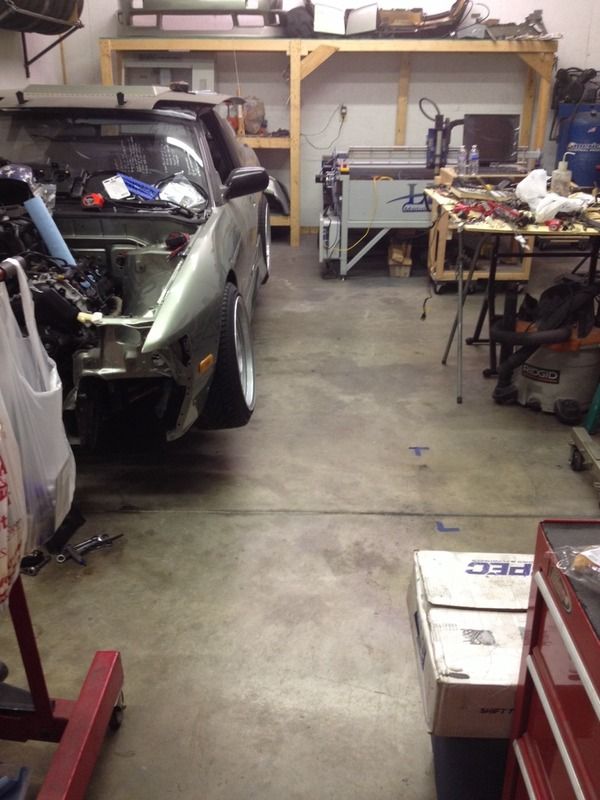
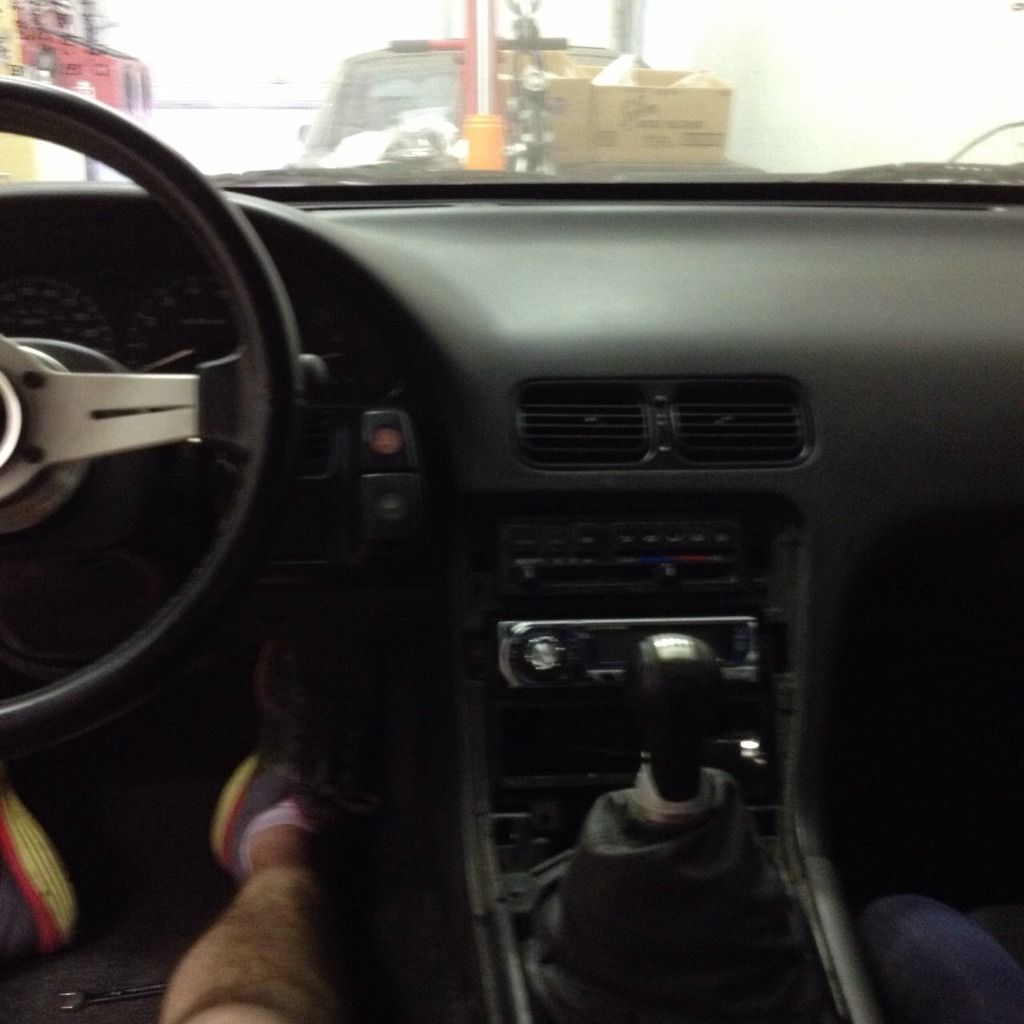
    The shop got tiddied up a bit - love that wheel poke.


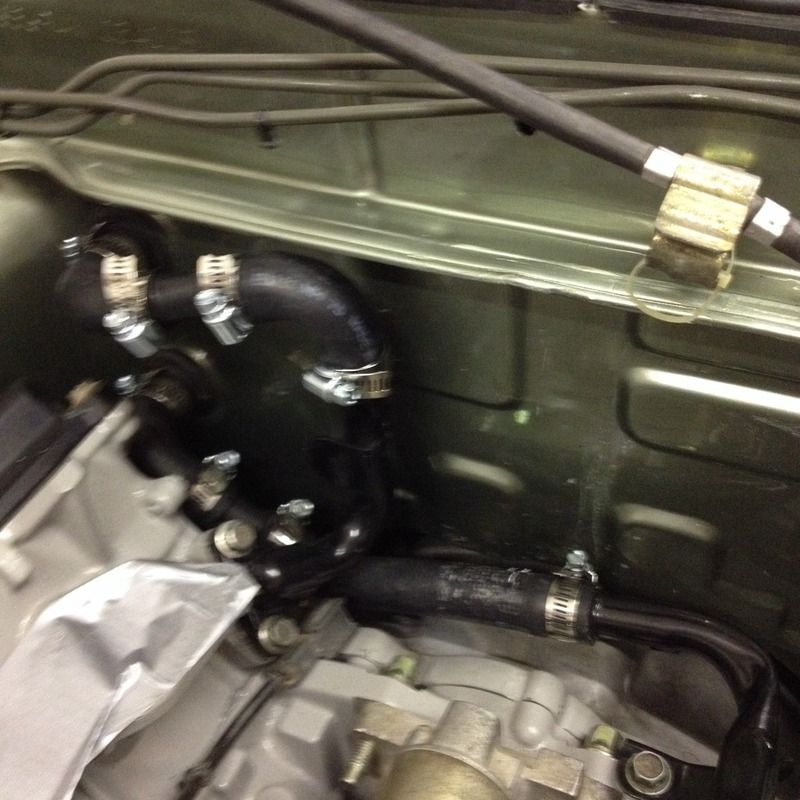
    The clutch line got did...and re-did. It's now an AN hose setup with banjo fittings for the master and slave cylinder.


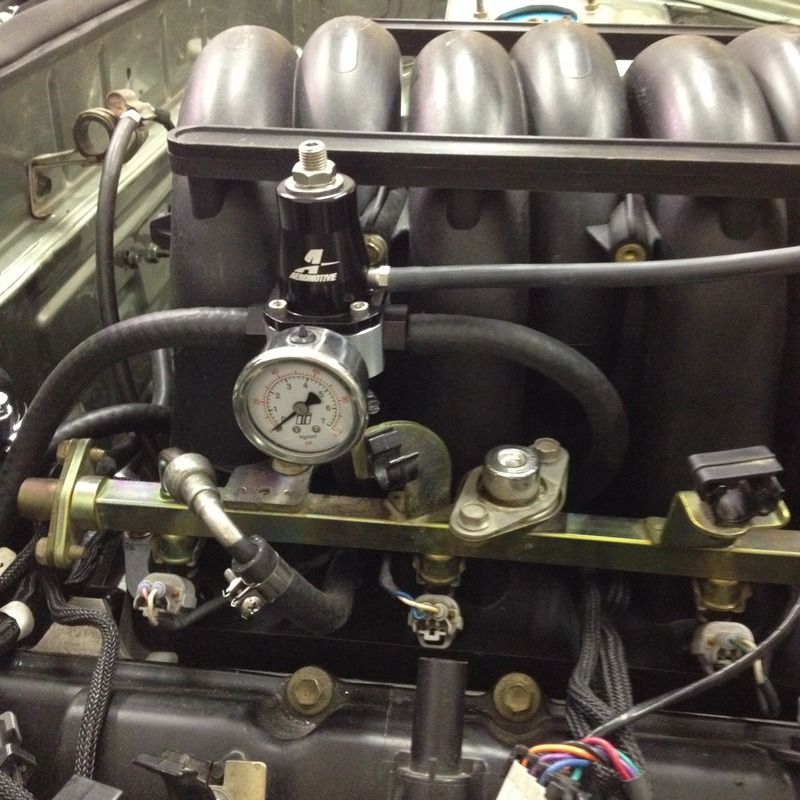
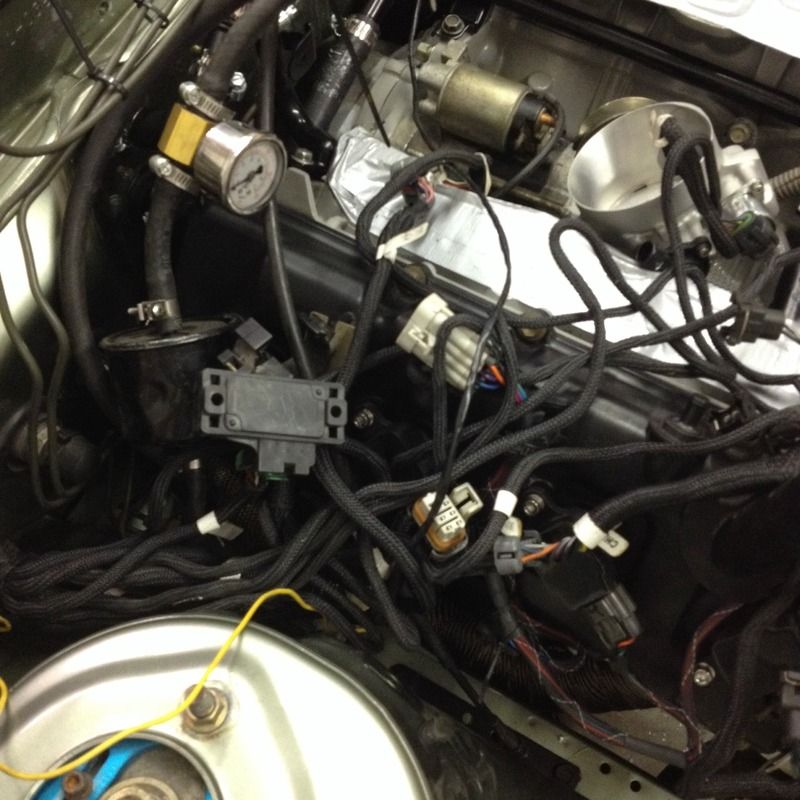
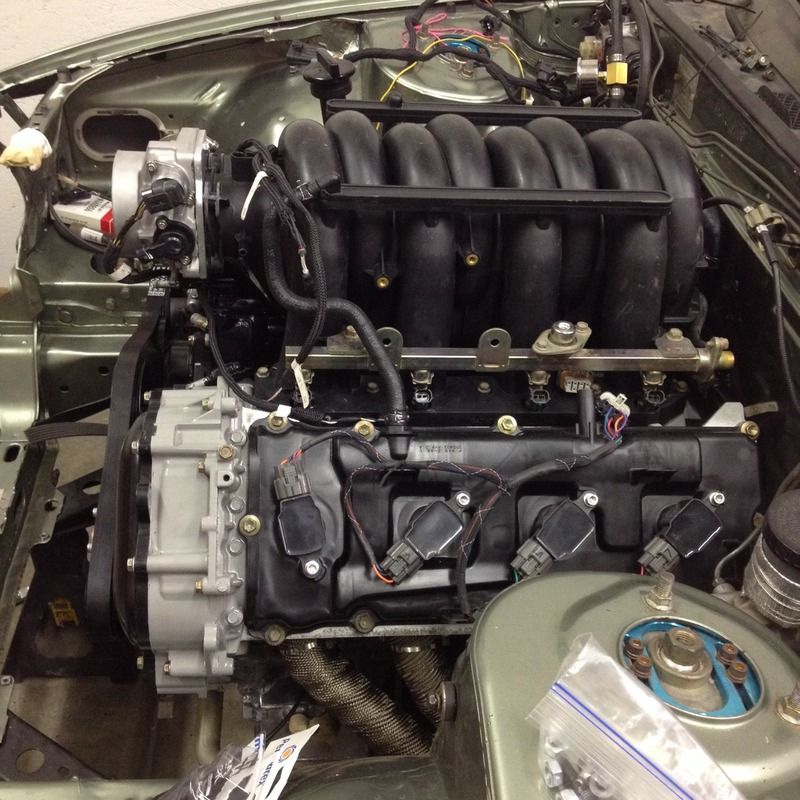
    The FPR found a home, albeit not a permanent one. It will get relocated when it's intake manifold time.


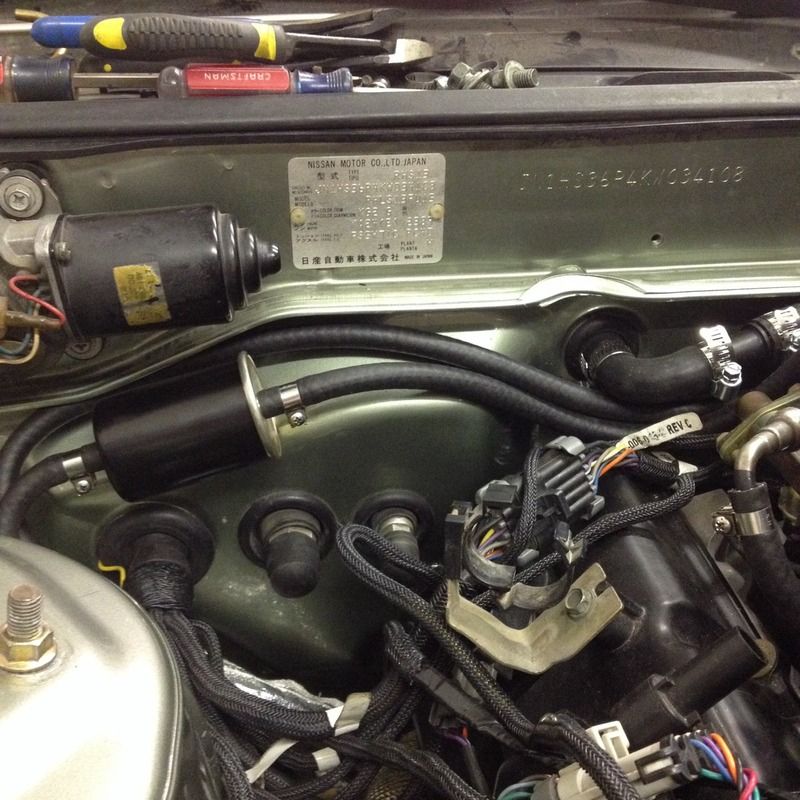
    And the fuel filter now resides on the firewall and completes the fuel system plumbing.


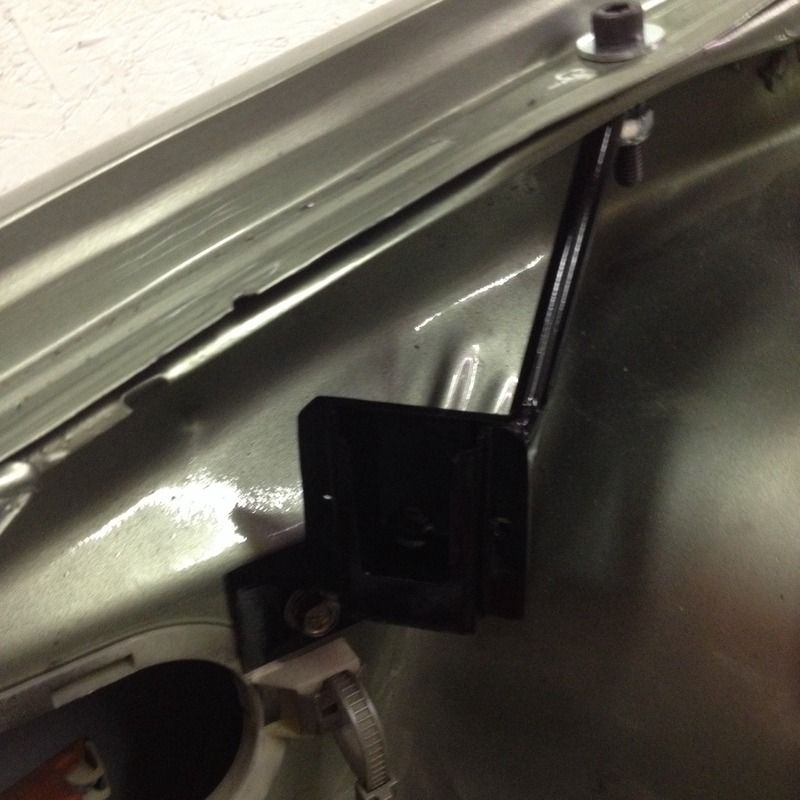
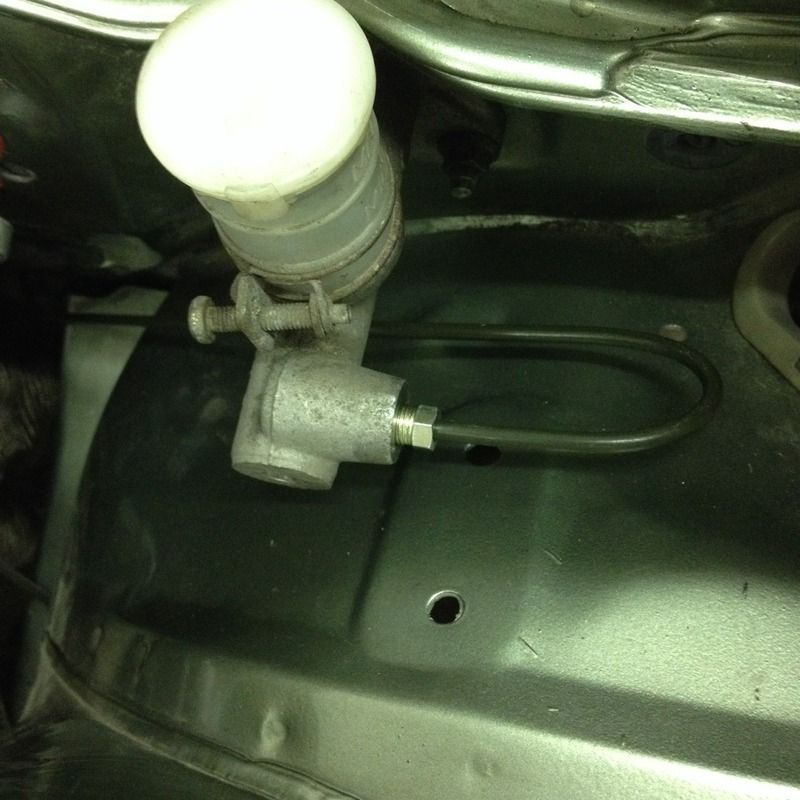
    A little bracket was whipped up...


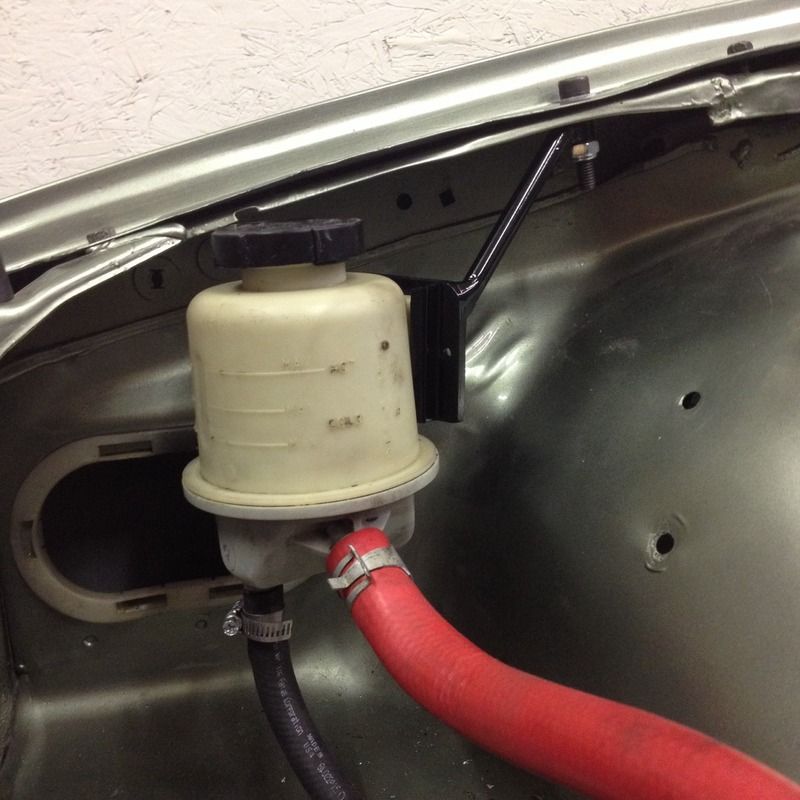
    ...which holds the power steering reservoir. This uses the stock Titan PS reservoir but a s-chassis one could be used as well.


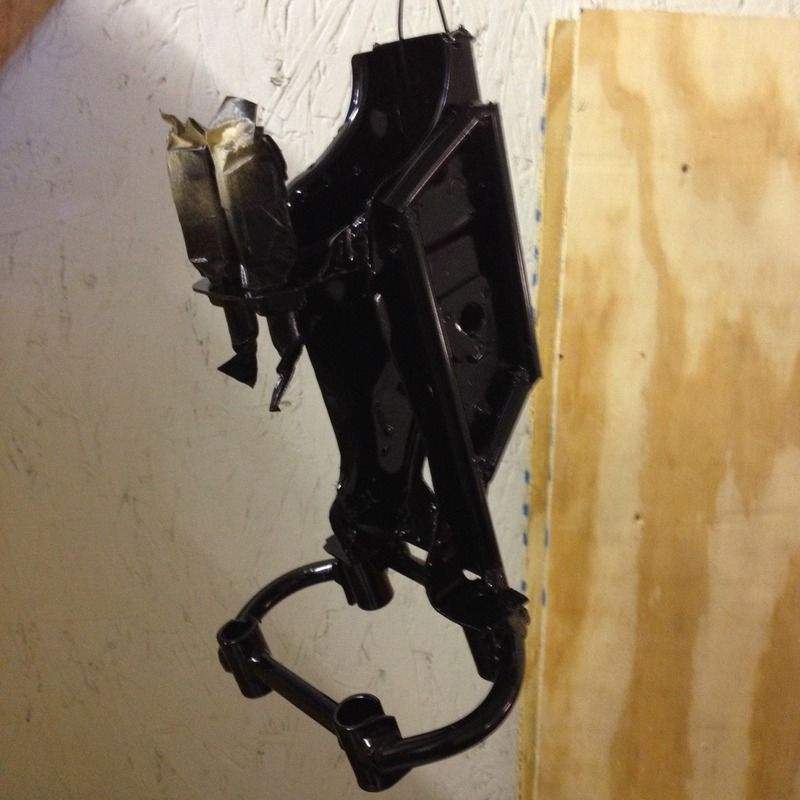
    On to the brakes, the modified brake pedal setup got a little paint. If you'll recall, we toyed around with ways to keep the stock booster setup. It wasn't in the cards so we're going boosterless. There's now a few kits on the market to make it an easy conversion. We wanted to try something a bit different which seems fitting for the build.


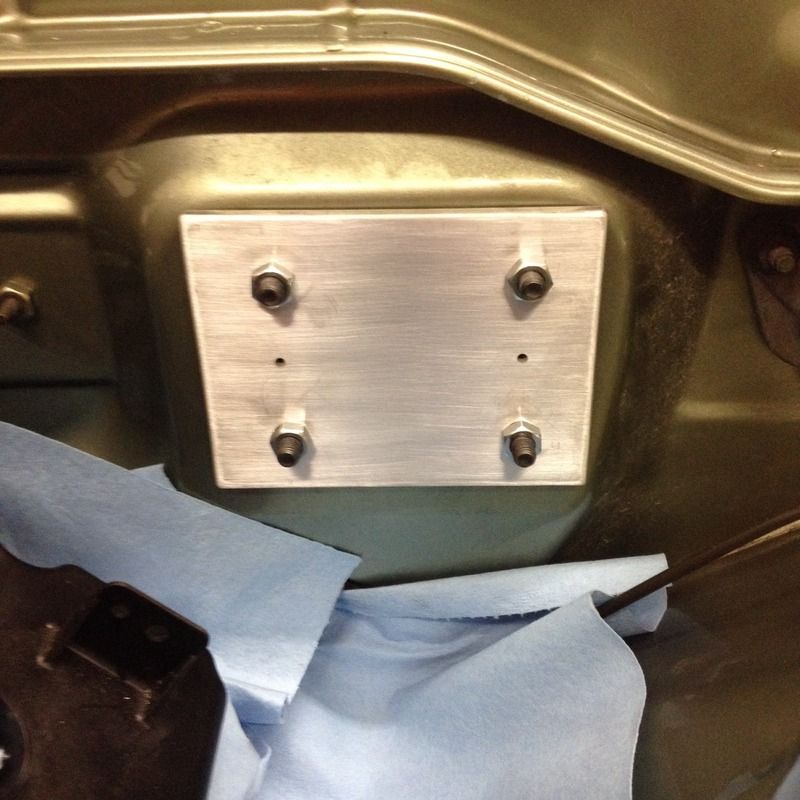
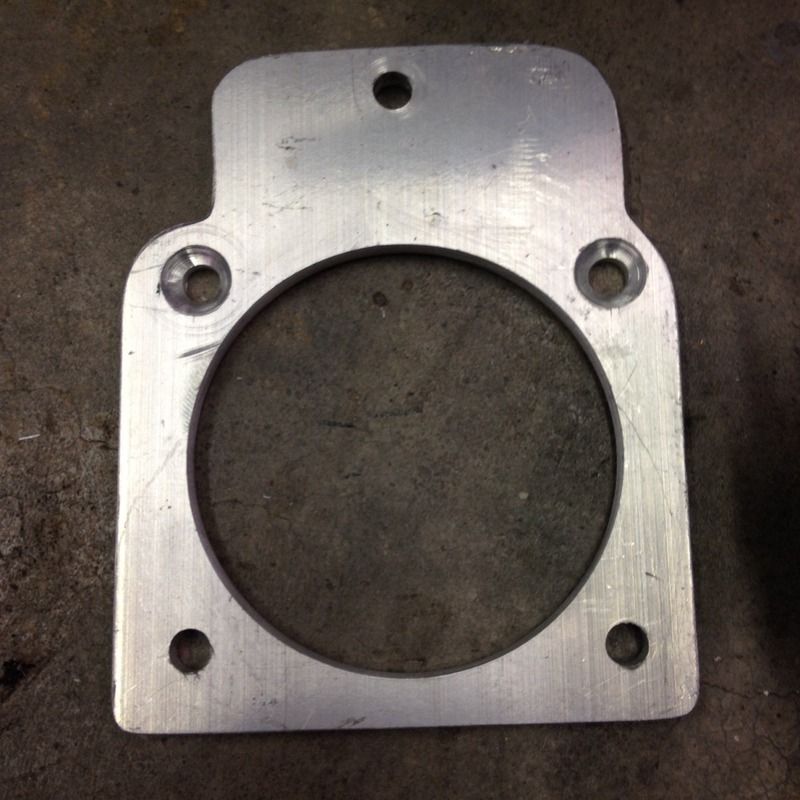
    Delete/mouting plate being made.


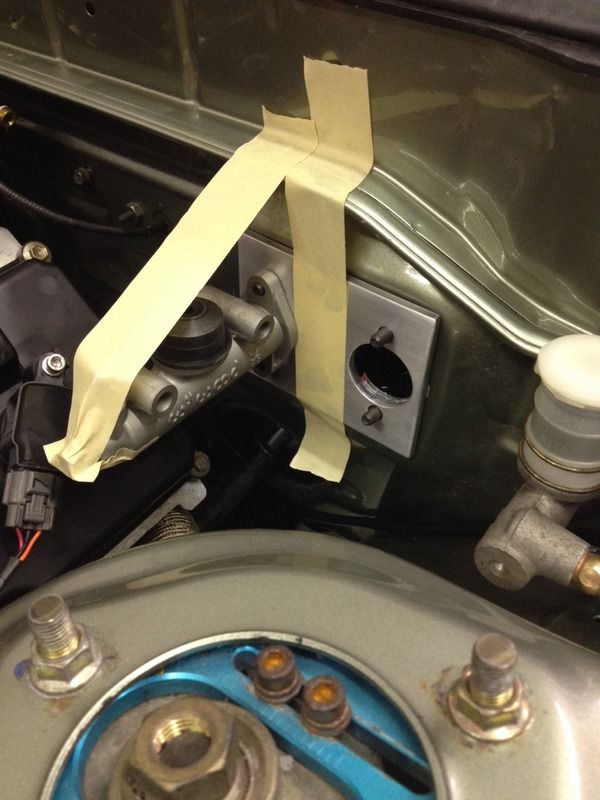
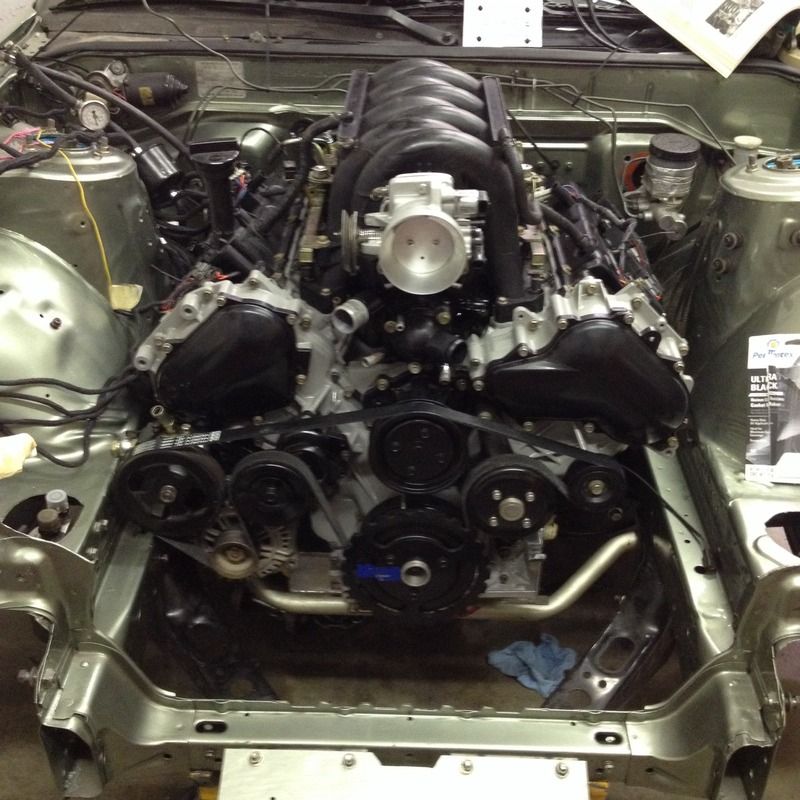
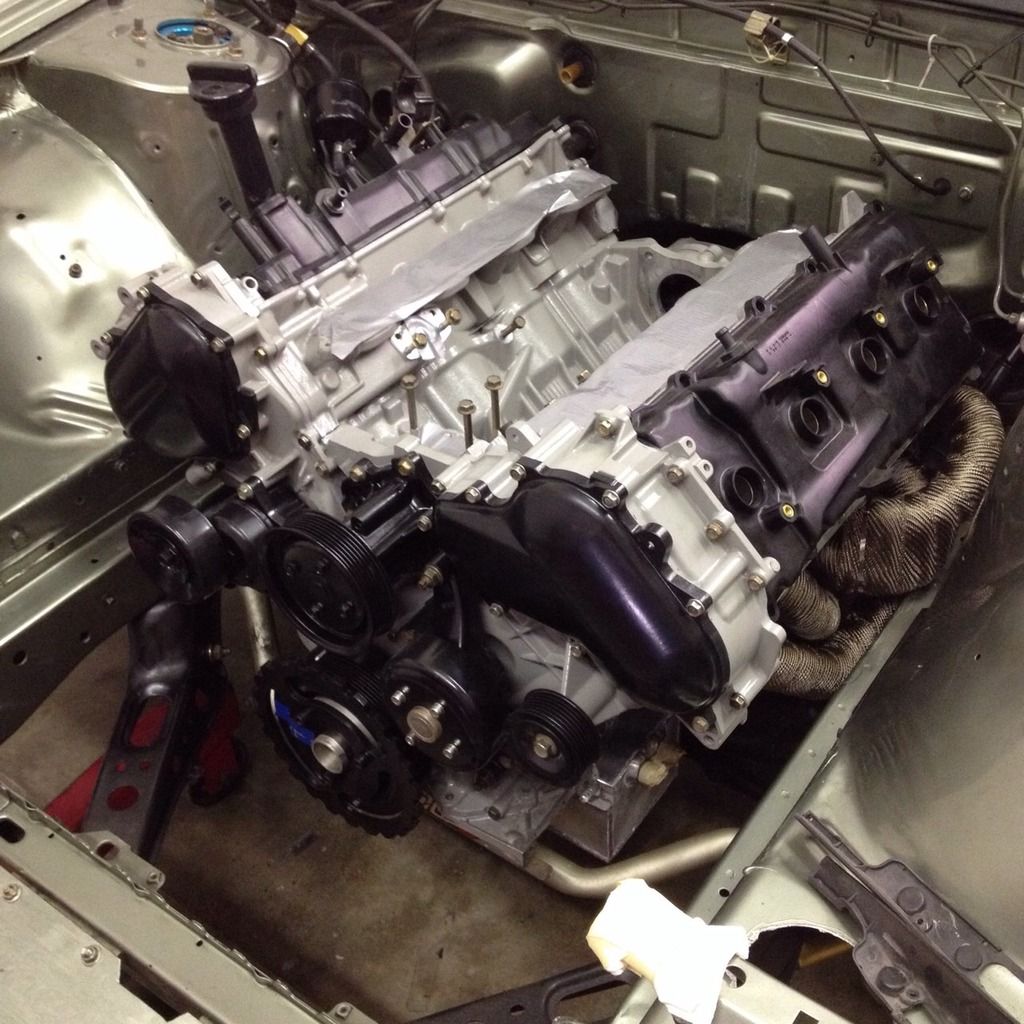
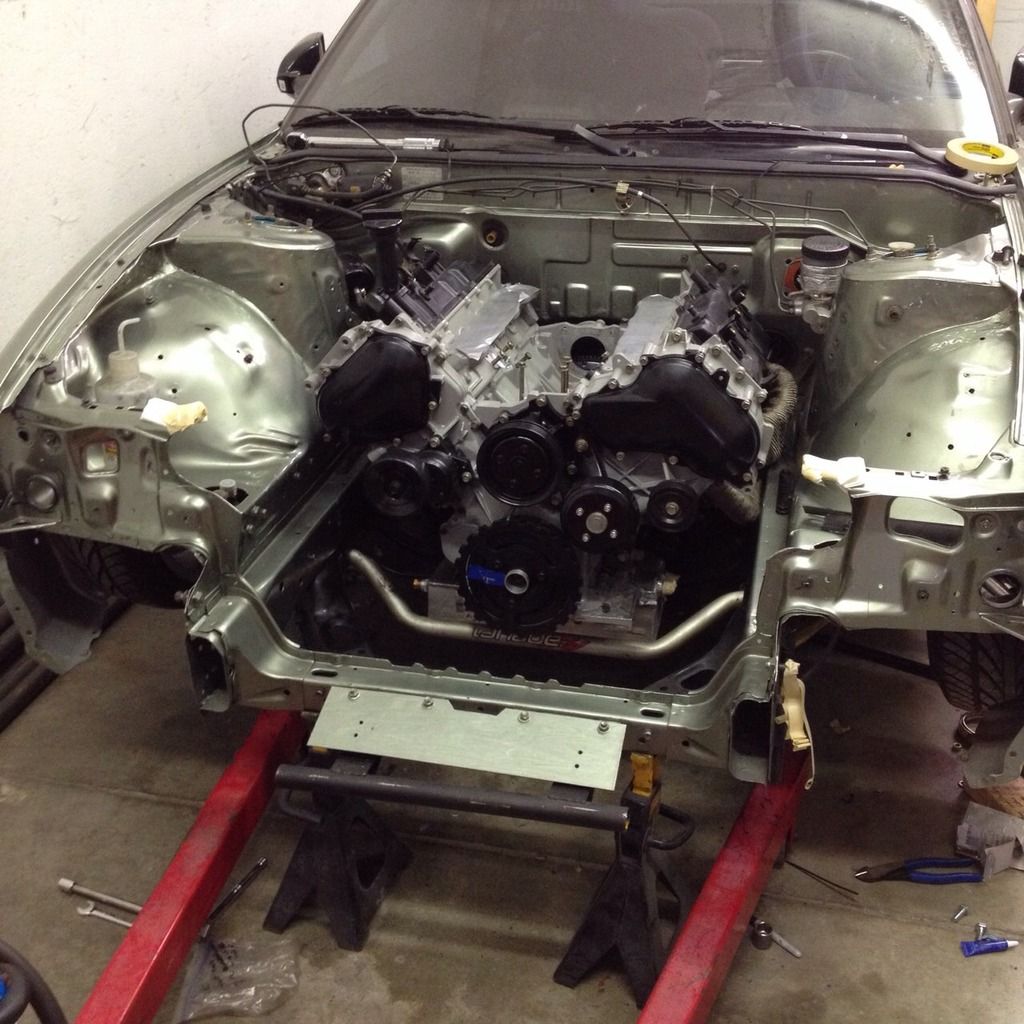
    The grand scheme coming together.


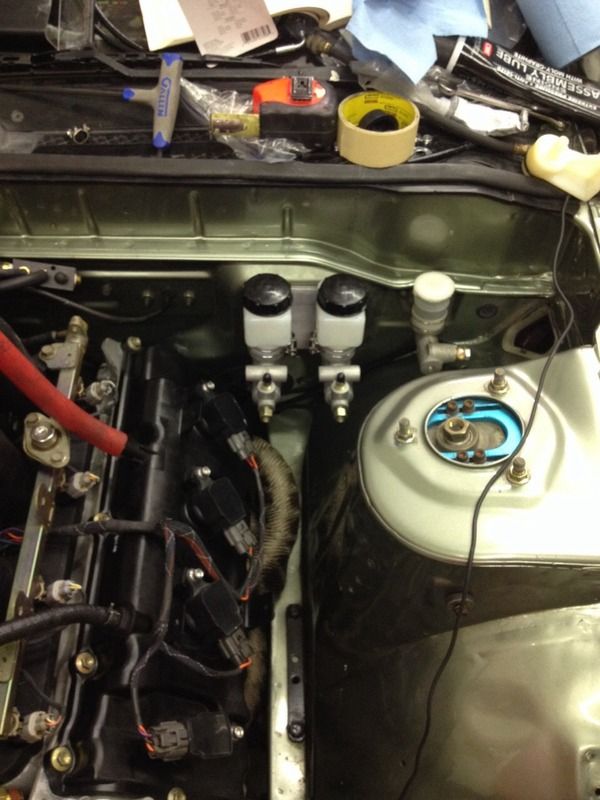
    And the new dual master cylinder setup in and waiting to be plumbed. There is a balance bar incorporated into the modified brake pedal.


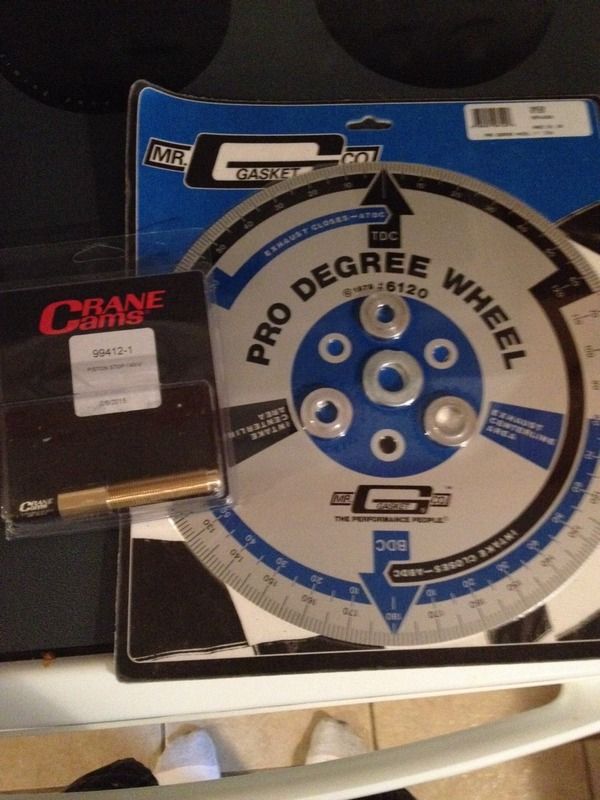
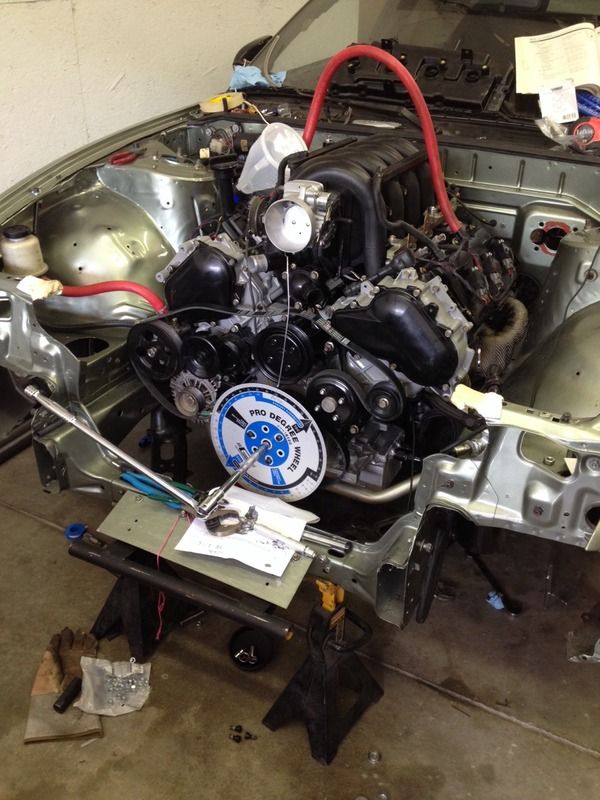
    The most recent project involved the above tools.


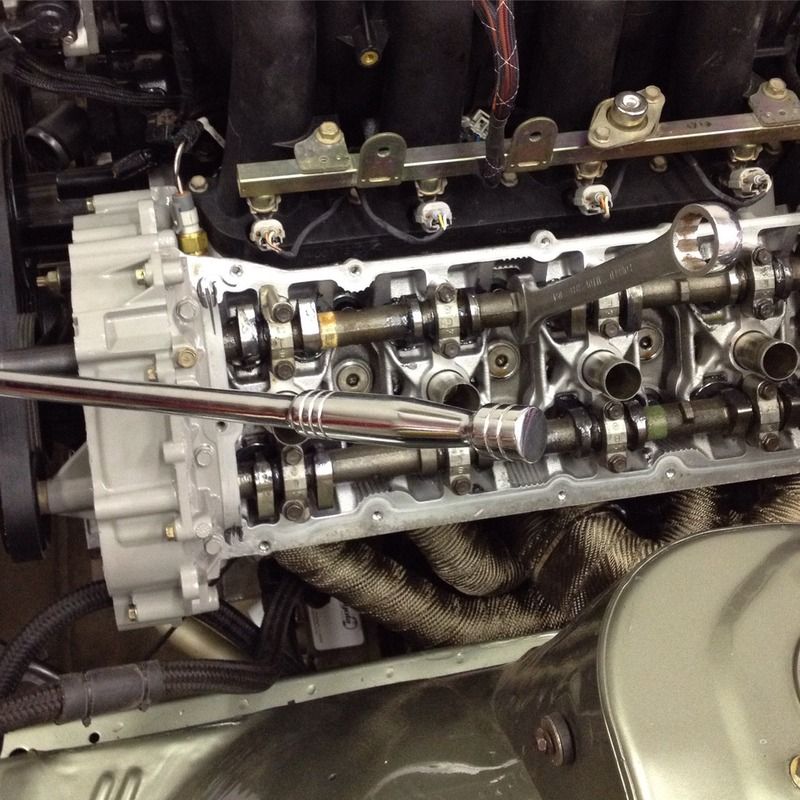
    Out came the intake cam - the one with the cam angle sensor marks.


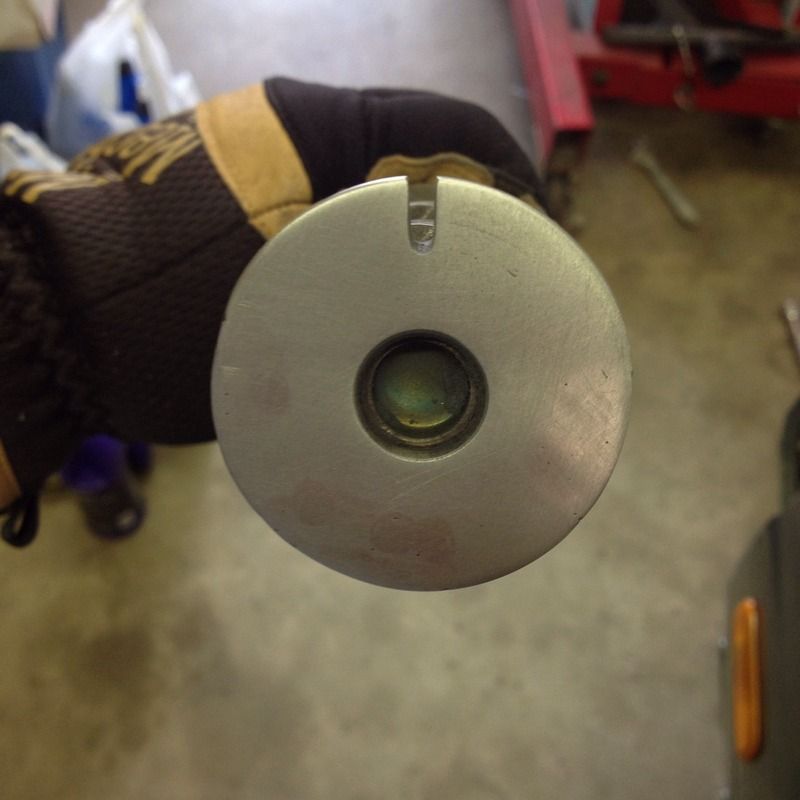
    The stock VK pattern is a 1-2-3-4 notch type pattern. The BigStuff3 needs a single notch so the unnecessary ones were filled and smoothed.


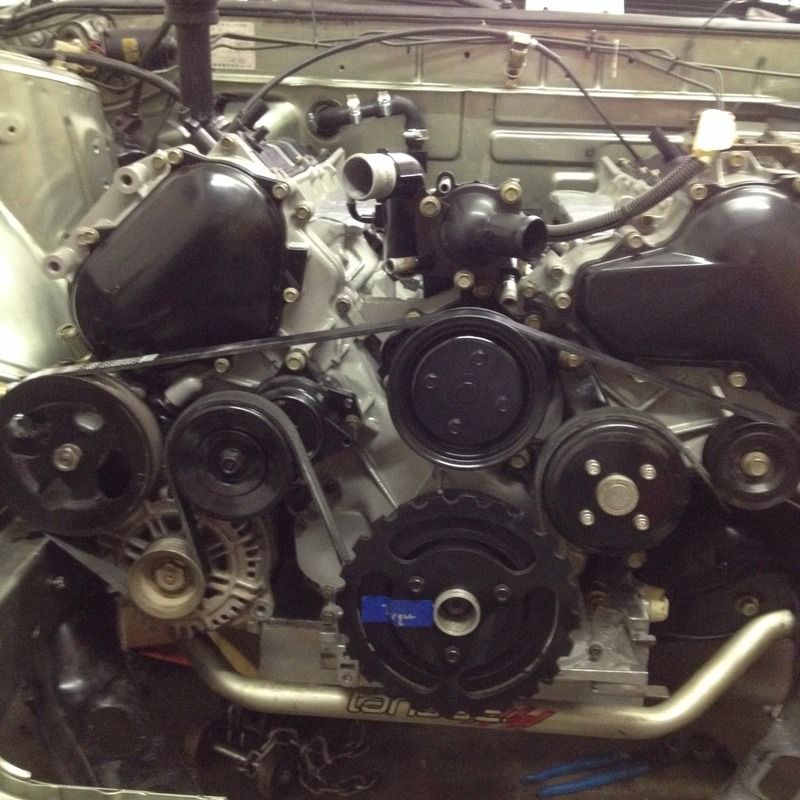
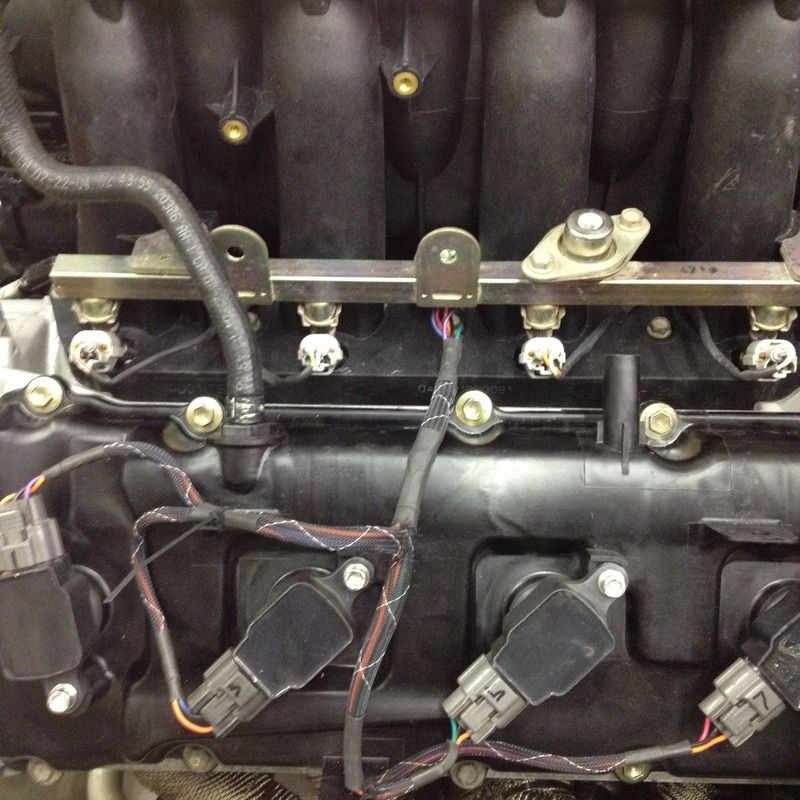
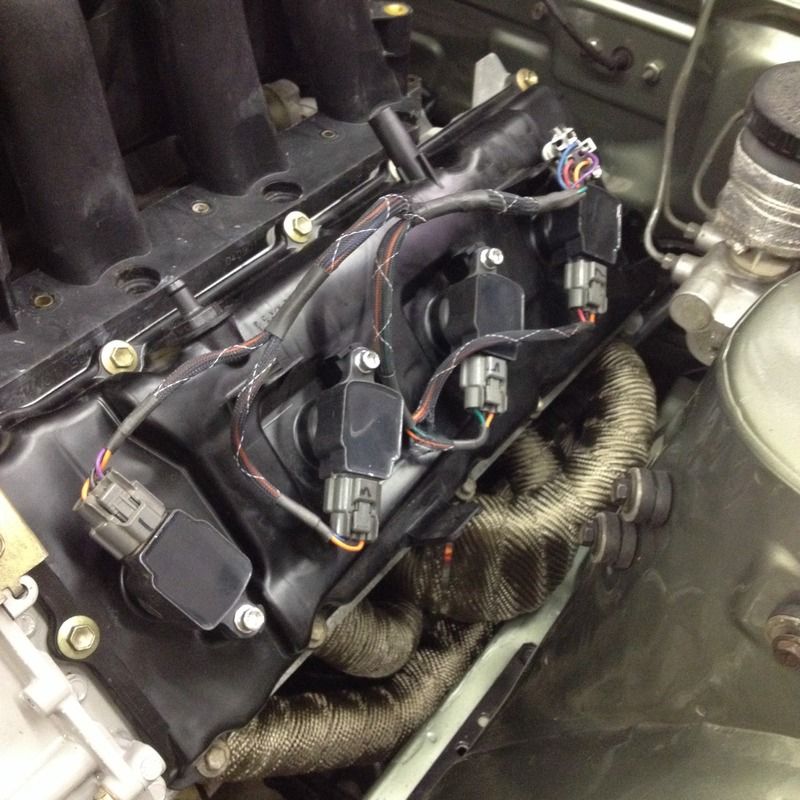
    And then things put back together which more or less brings us up to date.

    Greg is currently going through the checklist of connections and sensors to make sure the ECU is communicating with the engine. From there, we can maybe crank this thing???

    Leave a comment:


  • Poopy
    replied
    This is an awesome build. I can fully appreciate the absolute DIY hands on approach to everything. I had no idea sketchup could export to DXF, I use Sketchup for a lot of goofing around and modeling things I want to build...now it has another use! Thanks for that tip.

    I might even try to build headers now...you've inspired me. :P

    I bough the same welder but can't seem to get aluminum to work for me! Are you balling the tip or just using the well pointed tip for aluminum?

    Keep it up!

    Leave a comment:


  • TWM Performance
    replied
    This build is so well executed, it hurts.

    - Renato

    Leave a comment:


  • cruuz
    replied
    Just read the whole thread, sub'd and in for RAWR. great build both of you

    Leave a comment:


  • irritatedmax
    replied
    Originally posted by Robitussin View Post
    I love how you're putting a Nissan v8 in this instead of an LS. In for more!!
    That has always appealed to us as well. And with how cookie cutter these cars have become it's fun to be doing something different.

    Leave a comment:


  • Robitussin
    replied
    I love how you're putting a Nissan v8 in this instead of an LS. In for more!!

    Leave a comment:


  • irritatedmax
    replied
    We left off with the engine in the bay for the last time and now it's just ticking off items to get it ready for start up. These are the small jobs that suck up time but don't look that impressive in pictures. Either way, progress is progress!


    First up was the serpentine belt. We relocated the power steering pump so a different belt was needed. Here it is all together. Relocating the PS pump made it so clearancing the battery tray area isn't required, but not a required mod for the swap.


    Next was the heater core lines. Obviously there aren't any VK56 to S13 heater core hoses at the local parts store so here's the solution for now.


    And a pic of the part numbers for reference later. Those and two 5/8" to 3/4" hose splices and eight 1.24" hose clamps.


    We needed a throttle body solution as well. The stock Titan TB is DBW which does us no good so we opted for a LS2 TB. This one came from a seller on eBay freshly ported (80-90mm) and cheaper than OEM units including the sensors. There was a lot of positive feedback on them so it seemed like a win-win. The stock VK56 TB is only 70mm and a common gripe in the Titan community. We'll be developing an intake manifold down the road so this serves that purpose as well since we for sure won't be making it with a restrictive 70mm opening. It'll be cool to do back to back dyno pulls swapping only the intake manifold and see the differences.


    To make it work, Greg made up a little adapter plate.


    And bolted up it looks pretty darn good! This is an aspect of the build we haven't touched until now so it's kind of cool to see it come together.


    Intake on the car and the starter bolted on underneath, the engine is looking like an engine!


    This means we can move on to the other most fun aspect of building a car - wiring! Actually, if you'll recall, we kind of cheated here and bought Forsberg's old BigStuff3 ECU and wiring full setup from his old Z. This helped direct the TB purchase and simplified the wiring situation since it's nearly plug and play.


    Woot woot! It's coming together and looking like a complete engine package.


    This being the first of a few cars we've got planned, Greg laid out the stock VK harness to make a template. We'll be exploring different ECU options the next time around (probably AEM or MS3Pro since they're so popular and "supported") and likely making our own engine harness.


    Can we turn the key yet???

    Leave a comment:


  • M.Doban
    replied
    Well done! Great thread, cool progress pictures, and awesome work! Definitely excited to see this done. Love the level of fabrication as well. Sub'd

    Leave a comment:


  • irritatedmax
    replied
    Originally posted by Renchi_akuma View Post
    Awesome build cant wait to see this done!
    Thanks! And us either! Haha

    Leave a comment:


  • Renchi_akuma
    replied
    Awesome build cant wait to see this done!

    Leave a comment:


  • irritatedmax
    replied
    It's a big day around these parts! Parts are going on the engine for the last time - final assembly baby!


    This means we can finally install our prototype flywheel!! We worked with Spec for over a year to get this VK56-350Z conversion flywheel made. The setup features:
    -billet aluminum with replaceable friction surface (no need to machine it!)
    -additional thickness to compensate for the thickness of the transmission adapter plate (correct throw)
    -hollowed out backside to reduce rotating mass
    -Z33 clutch bolt pattern for use with any off the shelf 350Z clutch kit
    -stock VK56 ring gear for use with stock VK56 starter (no 350Z starter conversion)
    -adapter pilot bushing

    Basically, it's a legit aftermarket flywheel for the VK56 as if it came from the factory as a manual transmission. The only thing this prototype doesn't have is the factory trigger wheel since we will be running a crank mounted trigger setup (as will the majority of users most likely).


    It's a real work of art and truly an impressive piece. And for the part that everyone is concerned about - the price. Pricing should be on par with other Spec aftermarket flywheels!! A ton of bang for the buck! We'll keep you posted on details after testing.


    We paired the flywheel up with a Spec Stage 3 350Z sprung 6-puck clutch setup which should hold all the jam (gobs of torque) this engine will make.


    It is a very clean install! No sandwiching the stock flex plate with an aftermarket flywheel just to keep the ring gear. We have discussed adding the stock trigger wheel so if there is interest out there let us know!


    We can't thank Spec enough for dealing with all of our requests, questions, and nagging in getting this produced. During our initial inquiry phase, we got blown off/big-timed/ignored by a number of small and BIG clutch manufacturers out there, but Spec was on board and supportive from day one. Support those who support the community!


    Next up was the time consuming process of wrapping the headers. The titanium heat wrap adds some nice contrast.


    Oh yeah, it's a V8...let's do that whole process again.


    One last part to make/mod/adjust was the shifter setup, through the course of the build, you've seen us develop a few different shifter setups. Keeping stock shifter location has always been a priority for us as there are plenty of options out there for more track oriented builds that require you to hack the trans opening and ditch the interior trim. We want the interior to look stock so here is the latest version - which has already be modified from the picture!


    As you can see, we kept the stock shifter cup but shortened the bracket a BUNCH and made a relocated shifter linkage. The biggest reason for this setup was keeping the reverse lock out function; an important safety feature for a street car. Our previous heim joint shifter setup didn't have that function but, for a track car where you'll likely be in the lower gearing, maybe that isn't as important (but we weren't really keen on it). The goal for us was to have various setups to test and figure out what is best.

    A little video of it in action (not Greg's normal voice, haha).


    A picture (taken with a potato) of the interior showing the shifter location. Fits like stock.

    And finally a few of the engine sitting in the bay for hopefully the last time.


    Leave a comment:


  • rice4life
    replied
    This is perfection! Those are some real quality machines you have; I love the fact that you are keeping it mostly in house production. Anyone can go out and buy parts, but it really takes skill, determination, and creativity to fabricate your own parts. Great job! Mad respect for being so meticulous about this build too. This is definitely going to be the star of the offset kings meet imo.

    Leave a comment:


  • irritatedmax
    replied
    Originally posted by loekaaz View Post
    Oh this is guuuud!
    Originally posted by Dutch View Post
    Yes. Love it
    Originally posted by JJ. View Post
    Amazing!
    Originally posted by reiernumans View Post
    Dude, this car looks so perfect. From the wheels to the aero and color, it all works perfectly. Just that part alone was enough for me to make me drool all over my keyboard. Add in the swap, and I'm gonna be buying a new laptop soon. Keep at it, I'm gonna follow this one!
    Originally posted by 06RawRsx View Post
    Everything about this build is incredible! The car looks gorgeous, I wouldn't change a thing. Can't wait to see this up and running. Keep up the amazing work.
    Originally posted by TWM Performance View Post
    That's truly a beautiful build. Everything is perfect. Amazing fab skills too!

    Renato
    Team TWM Performance
    Can't thank you guys enough! Hearing words of support/encouragement for the build mean a ton and help push this forward!

    Greg's assessment of what's left: pull motor, wrap headers, paint exhaust, make shifter setup, plumbing, wire, tune, buff exterior. Still a bit left but at least it's "final" assembly work!

    Leave a comment:


  • TWM Performance
    replied
    That's truly a beautiful build. Everything is perfect. Amazing fab skills too!

    Renato
    Team TWM Performance

    Leave a comment:


  • 06RawRsx
    replied
    Everything about this build is incredible! The car looks gorgeous, I wouldn't change a thing. Can't wait to see this up and running. Keep up the amazing work.

    Leave a comment:

Working...
X