Announcement

Collapse
No announcement yet.

Pale Rider (moribund)

Collapse
X
 
  • Filter
  • Time
  • Show
Clear All
new posts

  • Pale Rider (moribund)

    There are some random build pics under my SN on IG gnarmantis if you want to see more

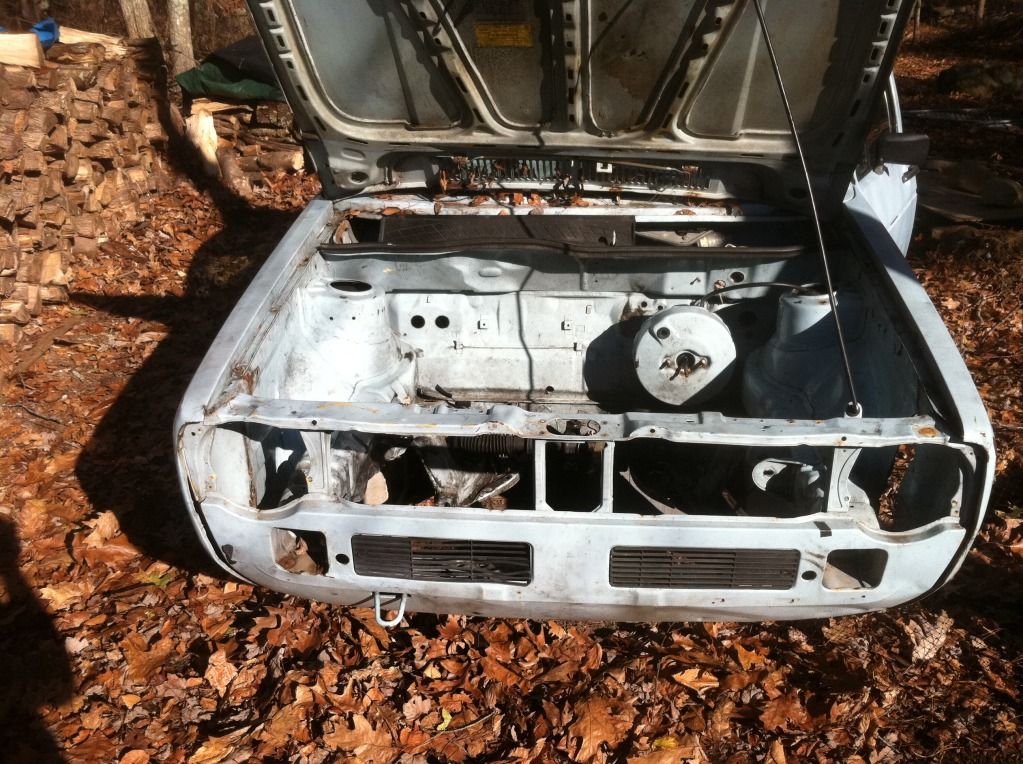
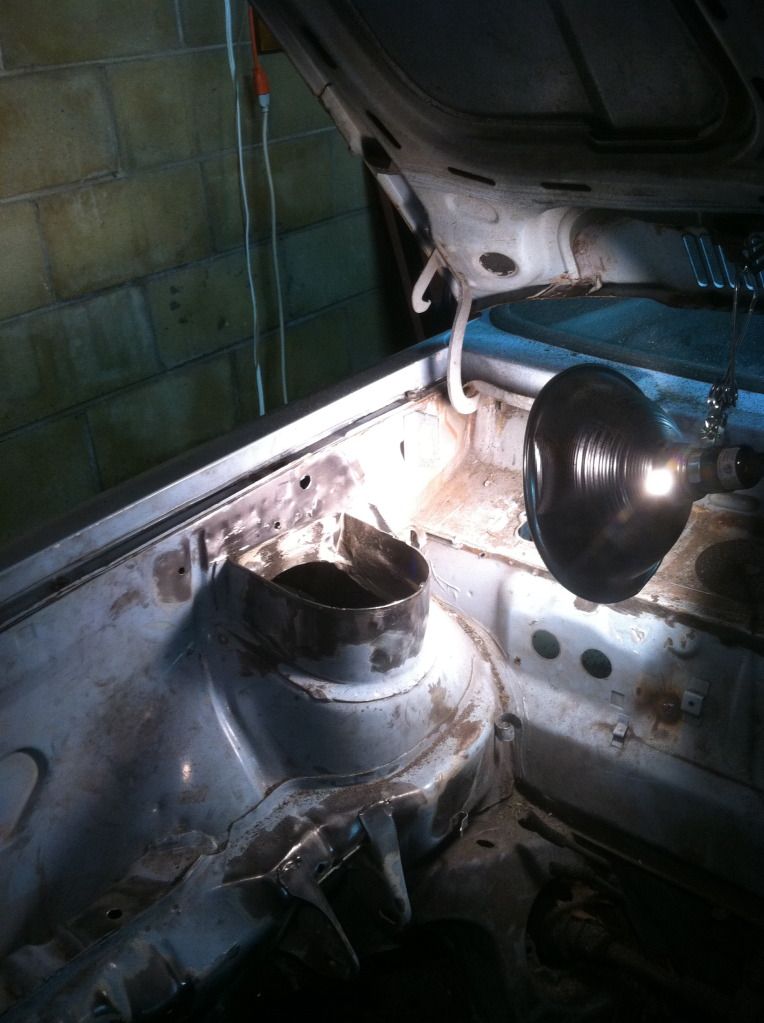
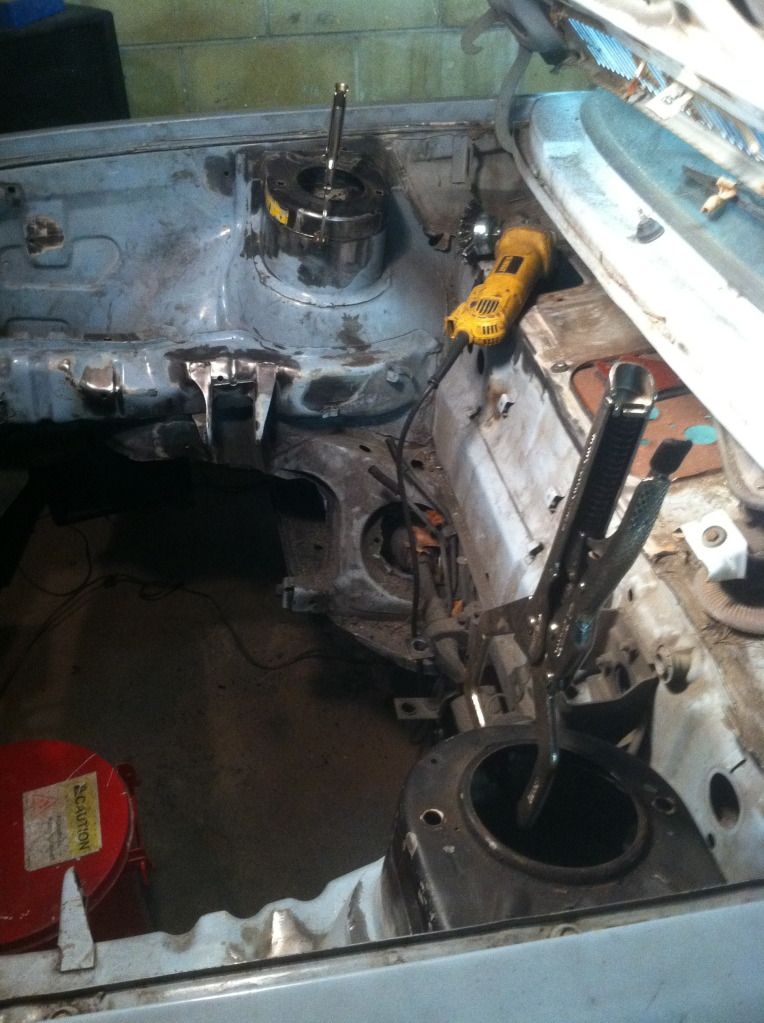
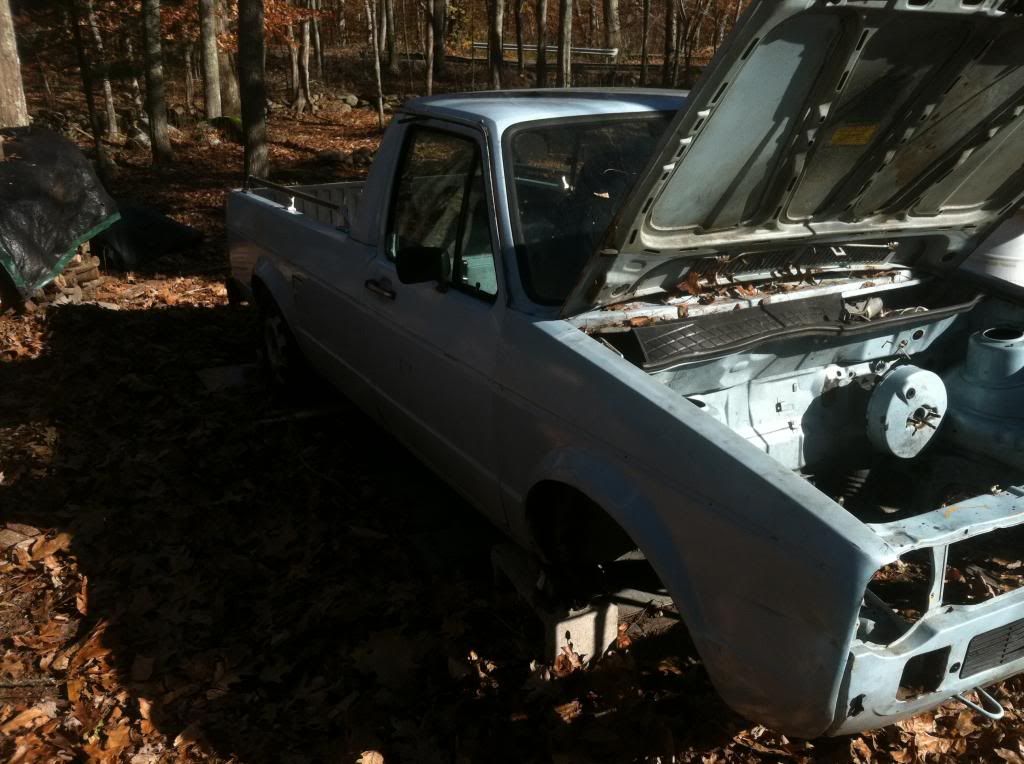
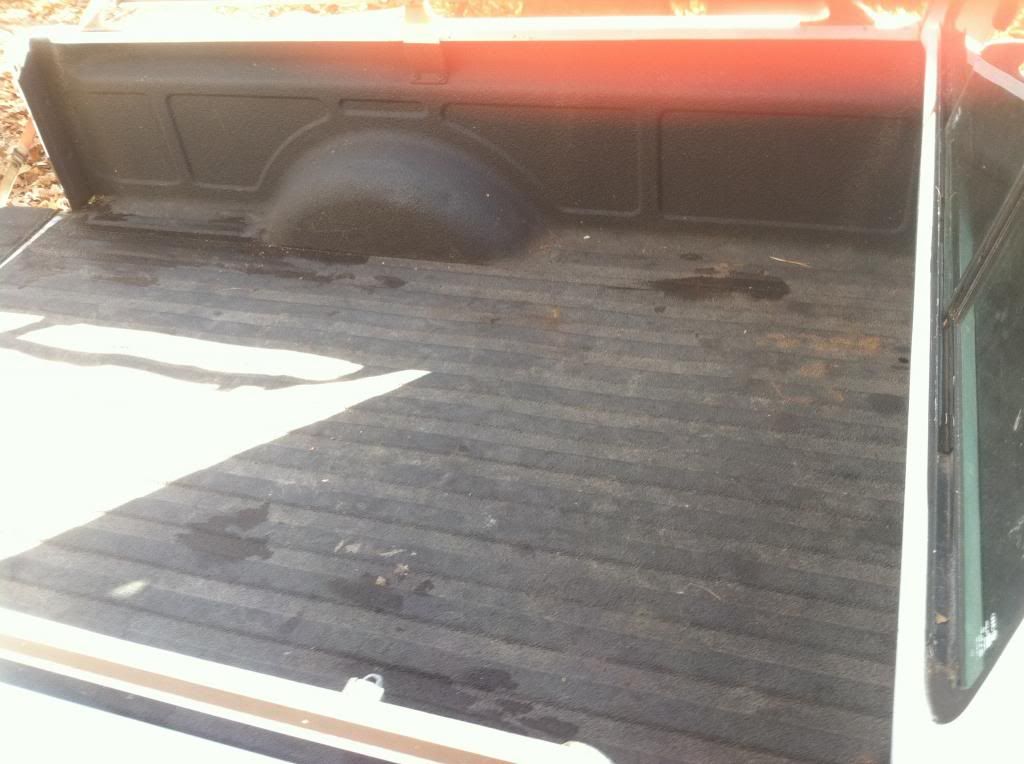
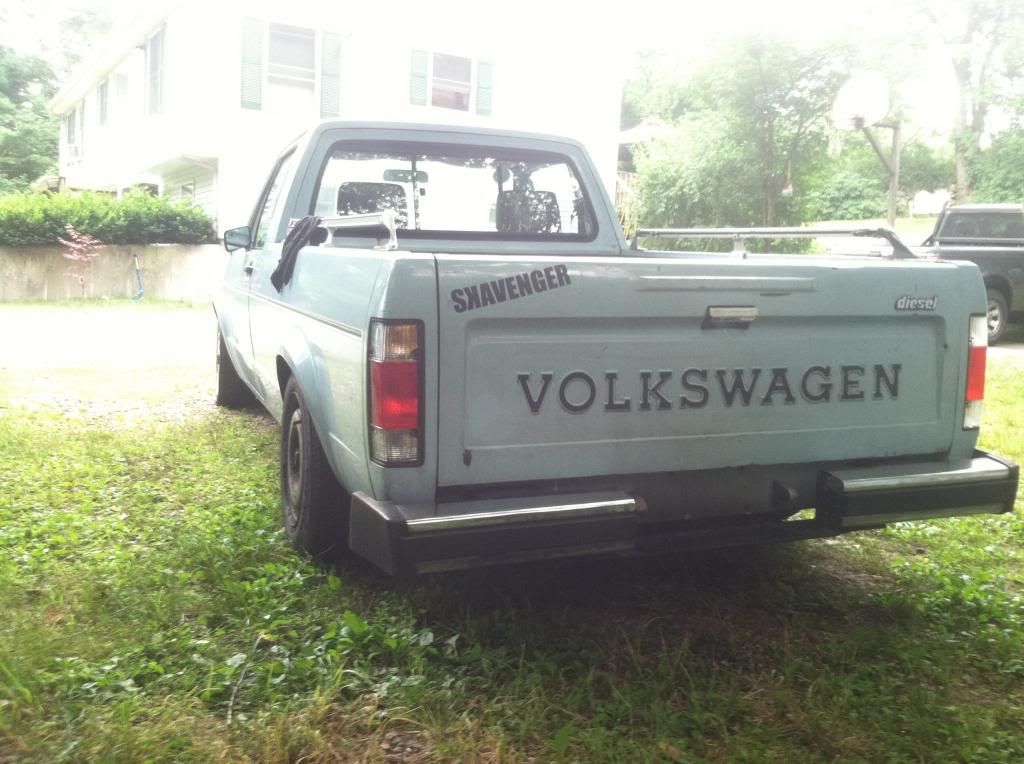
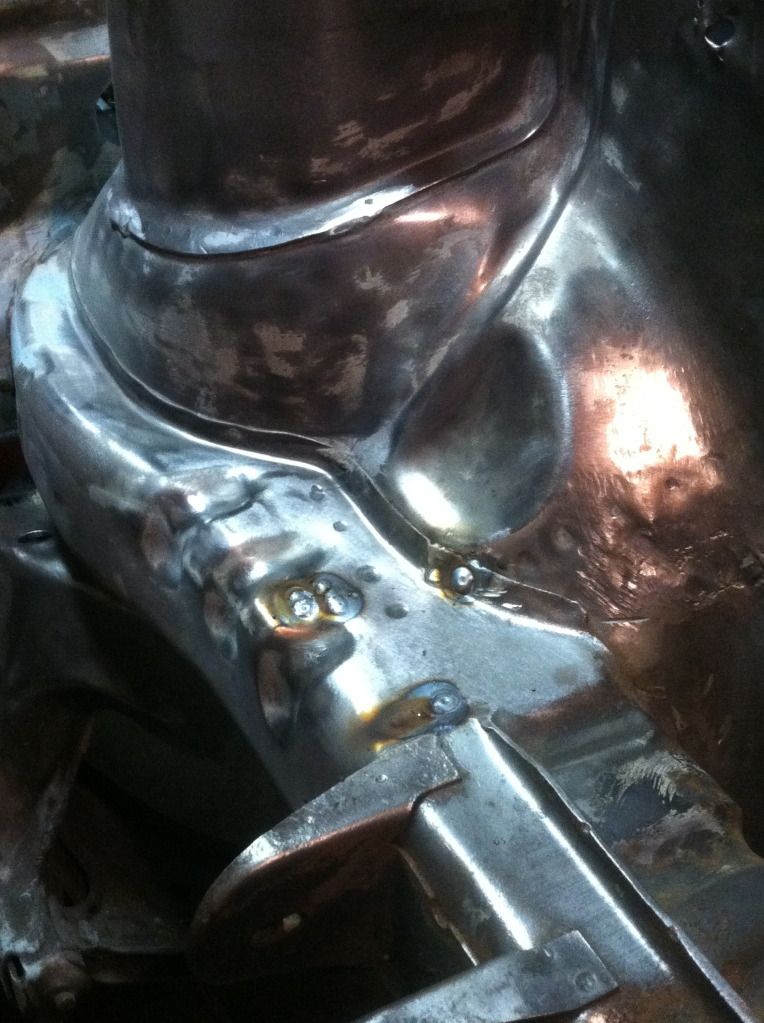
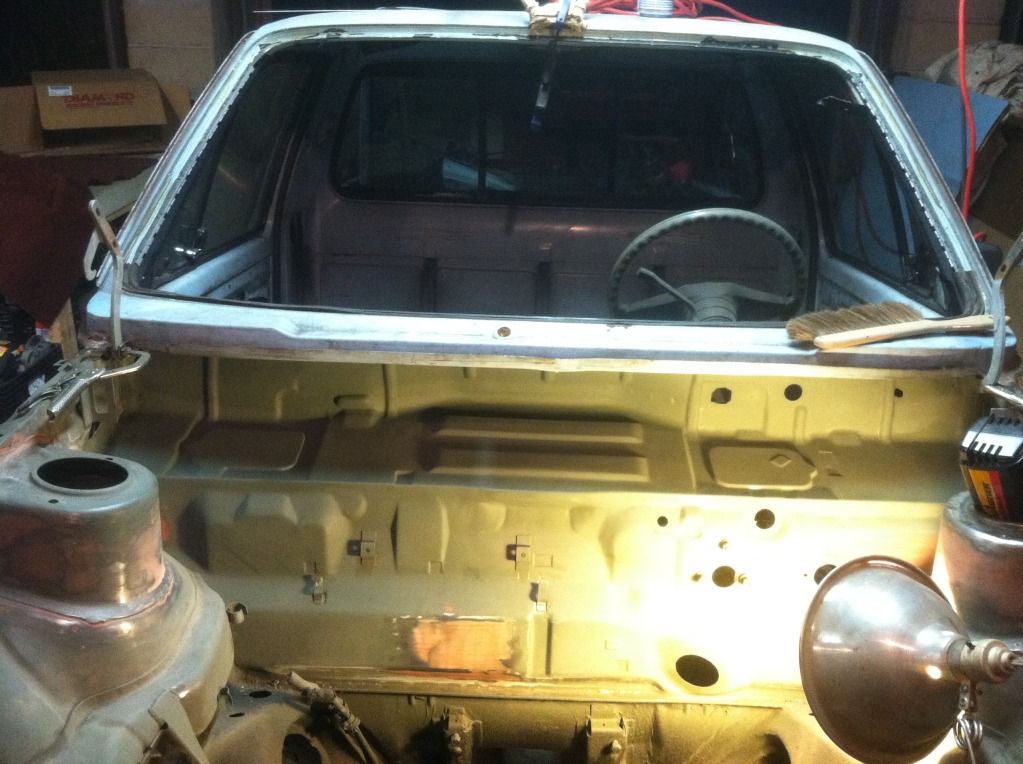
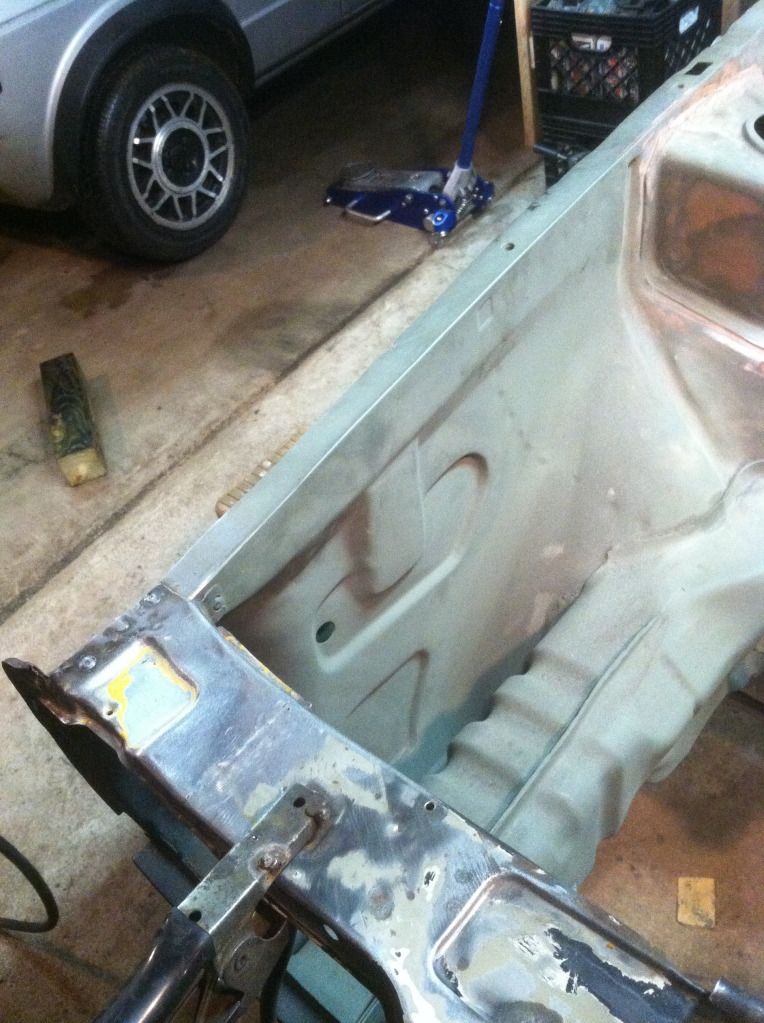
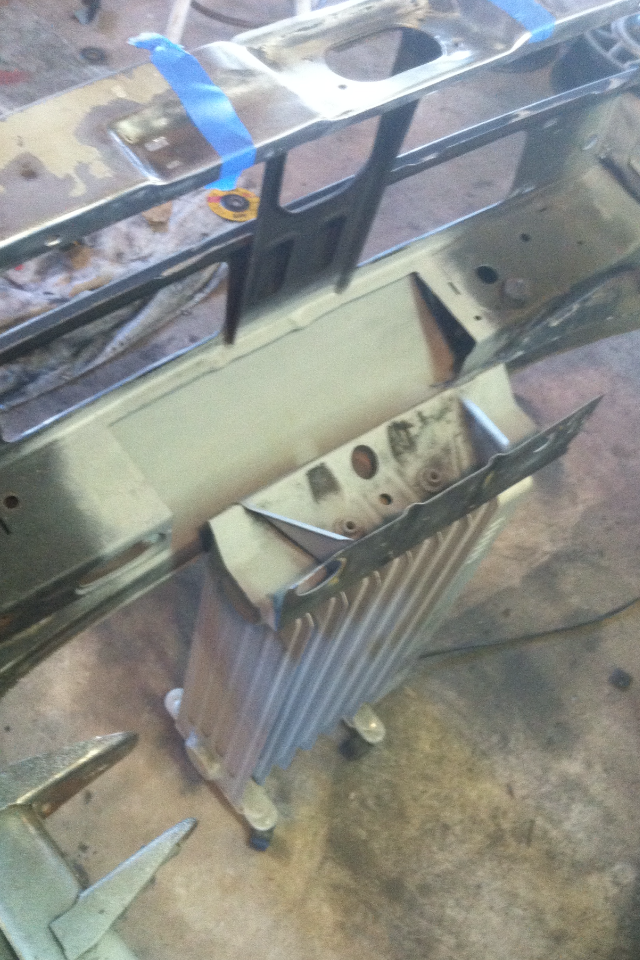
    picked up this shell from a good dude in VA. The truck is a former scene favorite - before the hand me down game started. Zero parts from the previous build came with the truck.


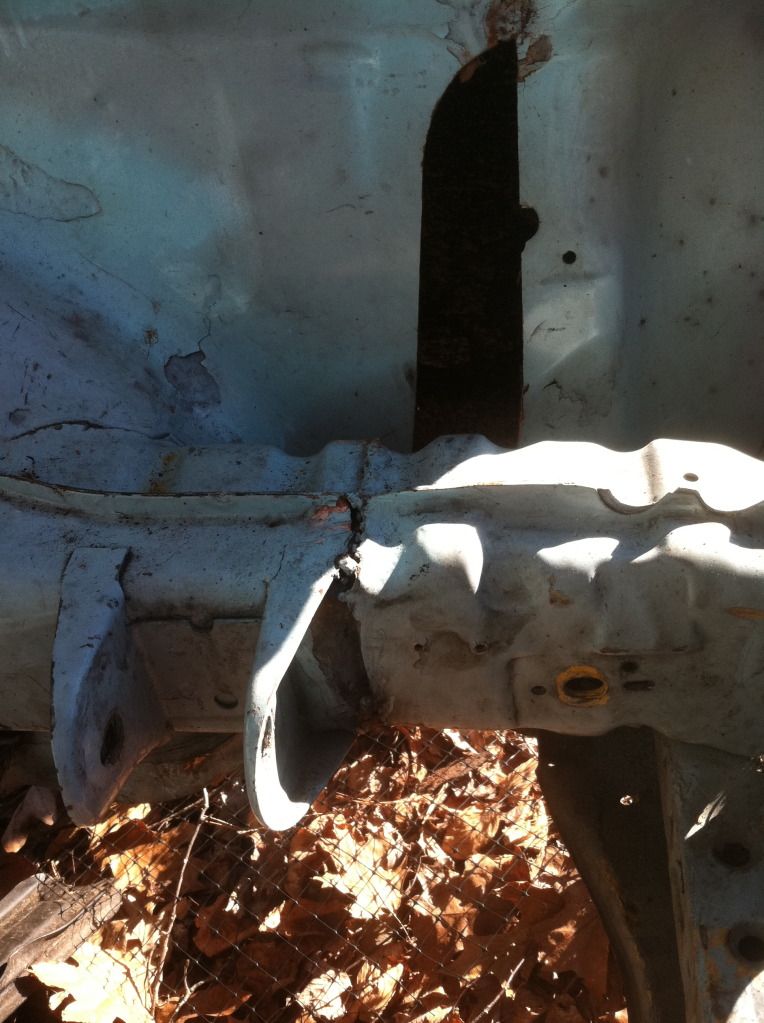
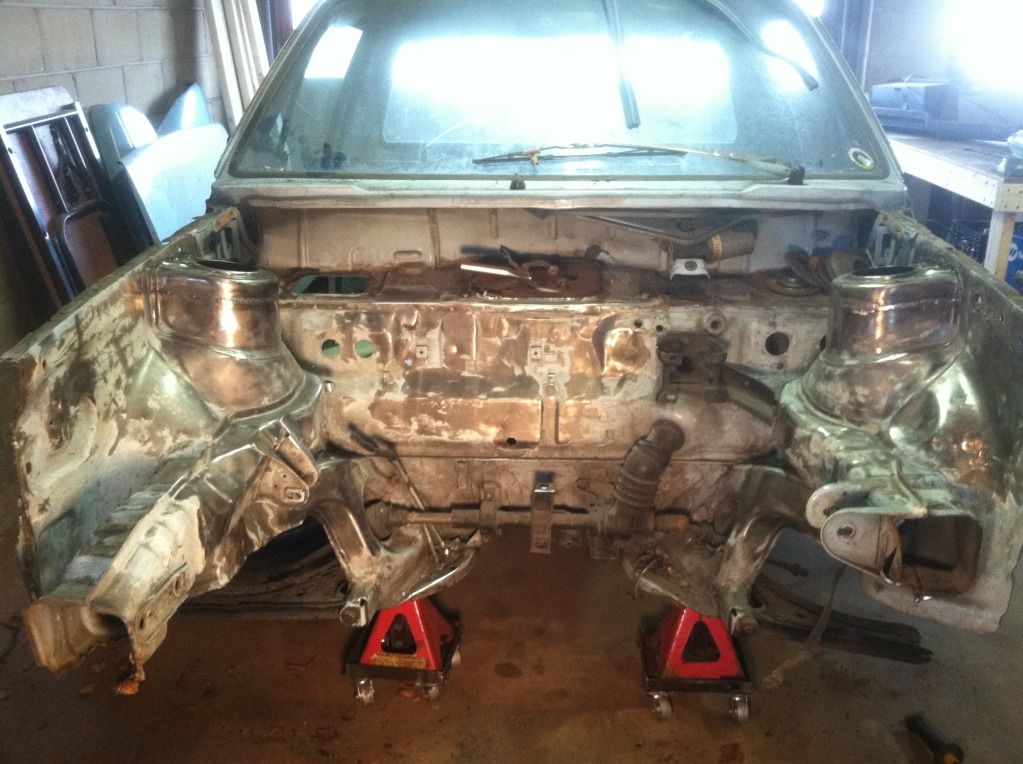
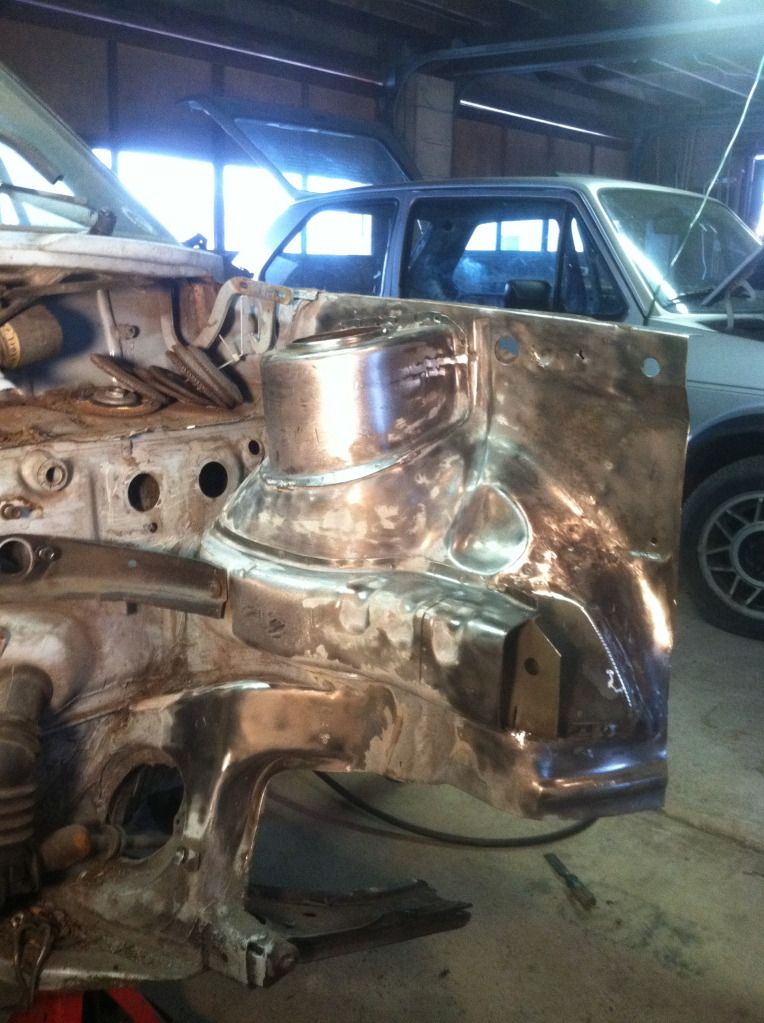
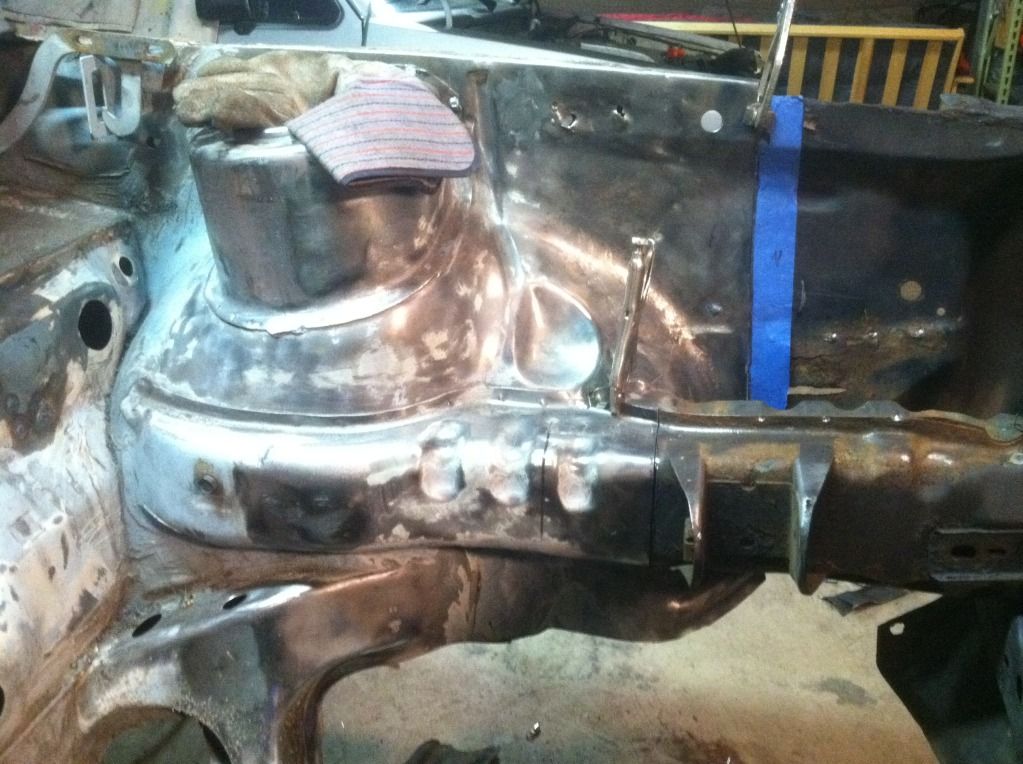
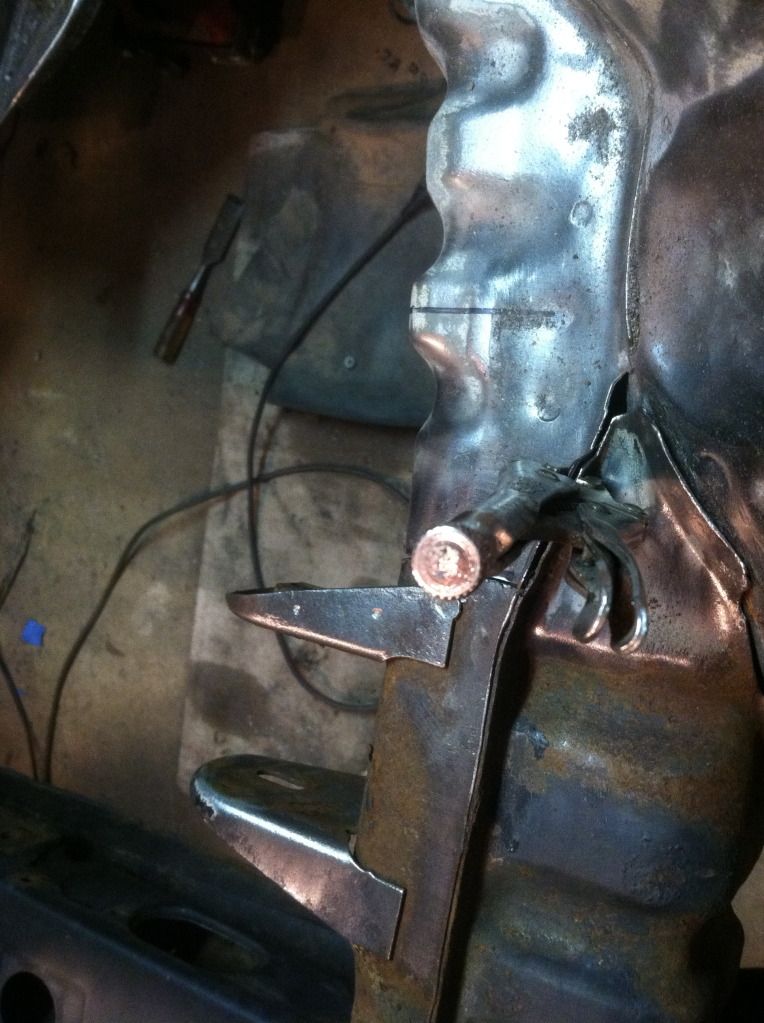
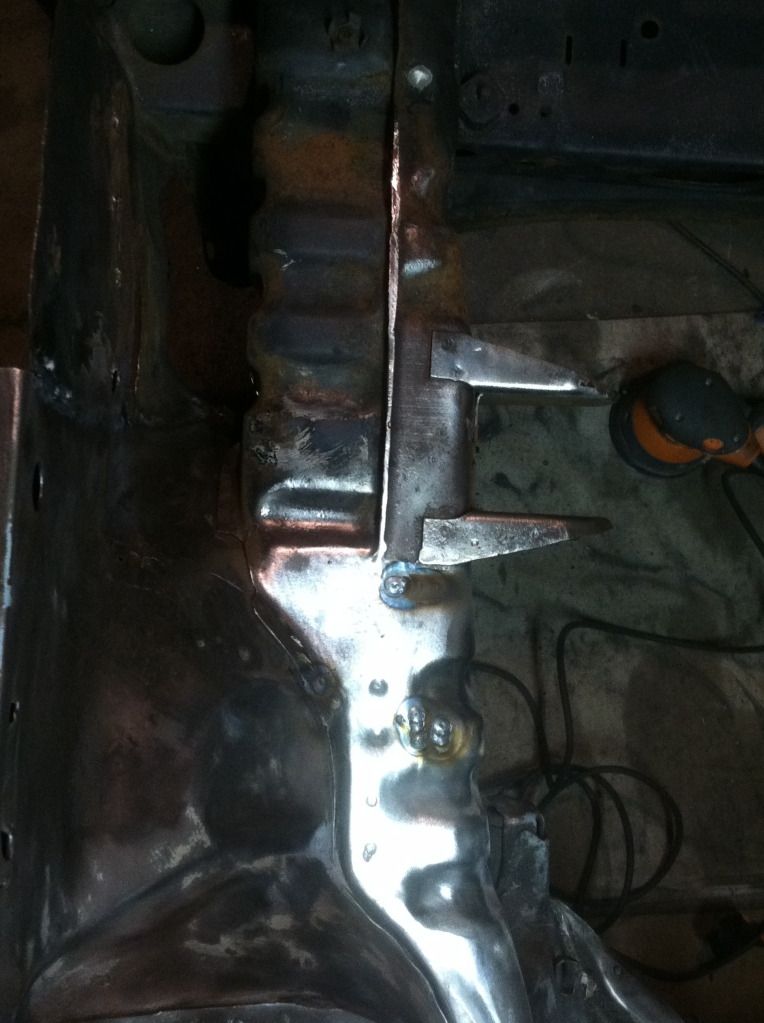
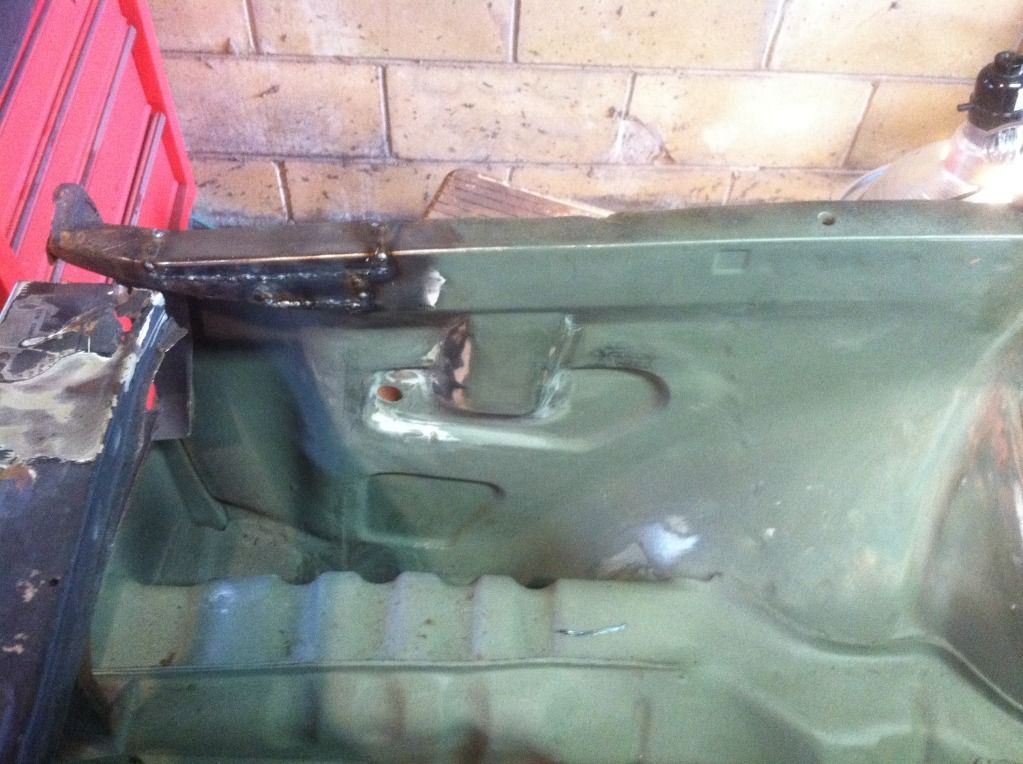
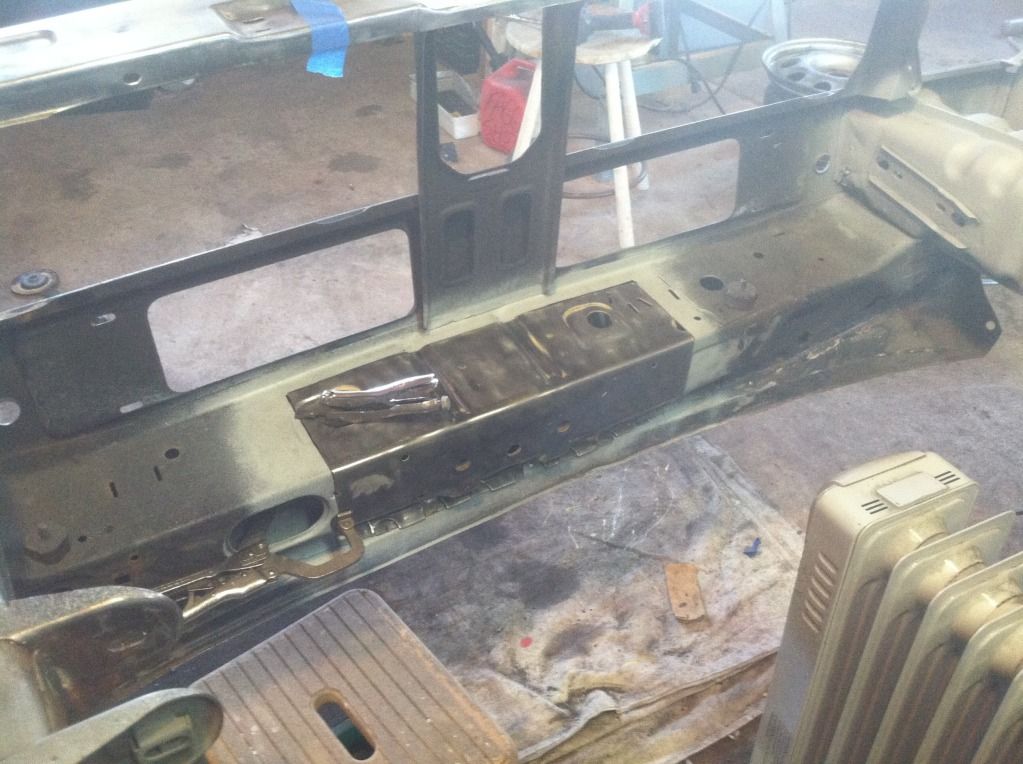
    The control arm bolt was chopped/ the nut on the inside has broken loose. It looks like someone clipped a manhole cover or something. The pinch weld is spread open under the control arm mount point.

    Last edited by Duchamp; 09-06-2013, 03:56 PM.

  • #2
    I picked up a one year only early westy front end local in BK (random as it gets) - and some strut towers for more low.


    I'm just raising the towers 1,3/8"


    Got the rain tray removed, and started prepping all the holes that will be welded up.

    Comment


    • #3
      pics of whole truck? looks like good work with raising the strut towers

      IG: Nick475

      Comment


      • #4
        Originally posted by Nick475 View Post
        pics of whole truck? looks like good work with raising the strut towers
        thanks man.


        The beds in great shape, and has been rhino lined though


        and the not so rad tail lights that were pulled immediately, and replaced with oem pieces.

        Comment


        • #5
          got the janky front end rough cut in preparation for the westy. Strut towers are welded up, and partly ground.


          I set up a square point to work off of using a laser/ level system and made some marks. DIssected the D side frame rail, and chopped the fender wing


          And the fronts just about ready to weld up.


          And you can see the nice tight seam behind the motor mount. Im using the blue tape to scribe the fender wing.

          Comment


          • #6
            got the front welded on. The frame rails skin is pretty thick, and easy to work with. I Managed to get it smooth using all metal. I didn't want any filler on an area that flexes so much. Just filling in a few low spots in the pics.


            Comment


            • #7
              I made this oem-ish looking heater core delete panel. Pretty stoked on it. Also started laying down some skim coats of filler.


              Addressed a few of the early westy shortcomings


              And reinforced the strut towers


              Comment


              • #8
                Looks great

                Comment


                • #9
                  Originally posted by Marius-Skau View Post
                  Looks great
                  thanks man.

                  the front motor mount on the westy rad support was trash, So I threw a new one on


                  Last edited by Duchamp; 09-10-2013, 03:52 PM.

                  Comment


                  • #10
                    annnnnd since I know all you MF'ers really care about are down n out


                    that test fit before powder/ final color. I'm not running flares.


                    I ran into an issue with the 2.5" exhaust going over the axle (flipped axle). It was pretty much destined to become a pancake. So I ditched the flpped axle and narrowed a new one. compensating for drop plates naturally. I now have suspension travel, and the exhaust wont be wrecked. The axle is slugged with 6" sections of 2 3/4" x 1/8" wall, dom tubing. The slugs had a 64th'ish spun off of them to allow for hammer fitment, over using a press.


                    And that flush fit 15"X 9.5" ET -3 ( pre pc)


                    post powder. Some of you have seen the color? :vampire:

                    Comment

                    Working...
                    X