Announcement

Collapse
No announcement yet.

FC RX7 5.0 race car thread

Collapse
X
 
  • Filter
  • Time
  • Show
Clear All
new posts

  • Teeson1111
    replied
    Originally posted by LaMaR- View Post
    Hopefully I can figure out something to make it sit lower.
    lemme know what you come up with! from what I see theres literally no more room, the oil pans highest point is almost touching the steering rack. Way I see it is a few options and none are simple.
    1: dry sump, might next you maybe an inch.
    2: custom tubular crossmember that relocates the rack (though I suppose that could be done to the stock one as well) this way is a lot of work as well as the change in steering geometry (bump steer!!) but the FD Ls kits deal with that.
    The other note is the fox oil pan sits just higher than the subframe, engine goes any lower its now in danger of a strike.
    If i had the skills/time/budget I would probably do option 2. tubular subframe may even stiffen up the front end more....

    any who llloooooonnnnggg time since an update (ok its been like 2 weeks) so here we go


    been listening to Manchester Orchestra lately, mainly Means Everything To Nothing but Simple Math has also had a spin. Just very passion filled raw kind of sound, and his lyrics just peak my interest.

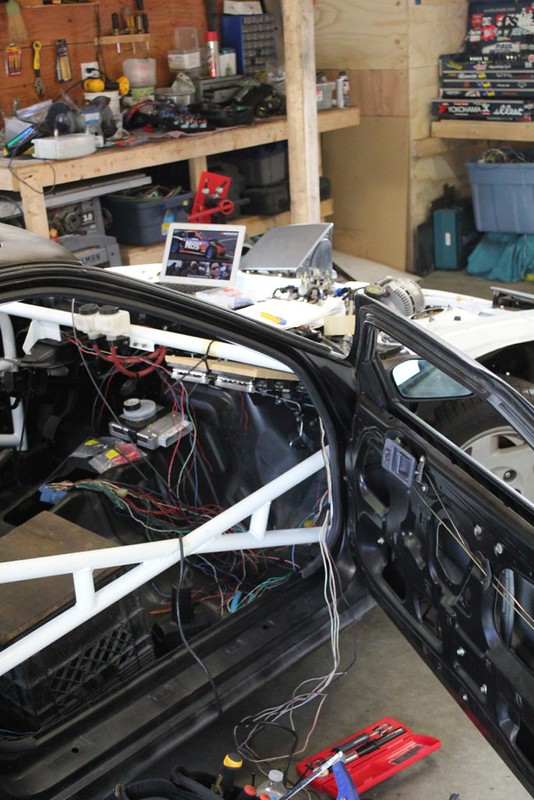
    So the thing with wiring is its very hard to jump into for just a few minutes. So I've been needing to dedicate an entire day or evening in order to get anything accomplished. So after a seriously long weekend and a few late weeknights its pretty much done!!!

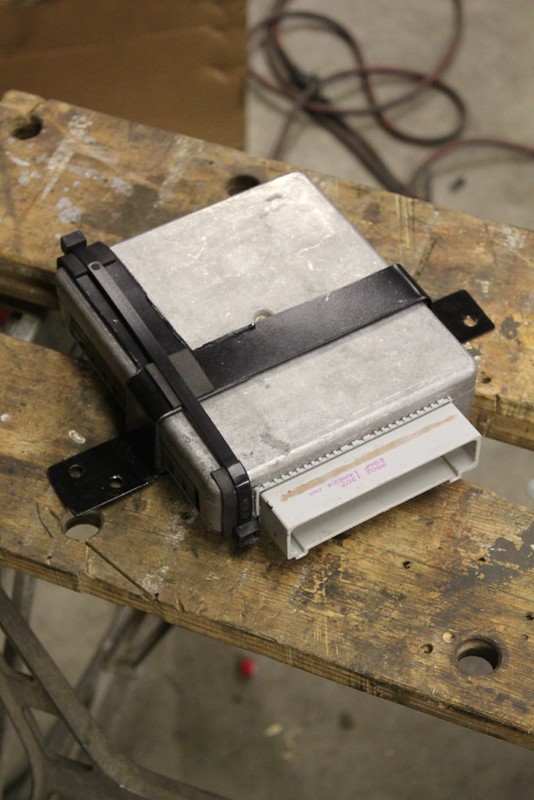
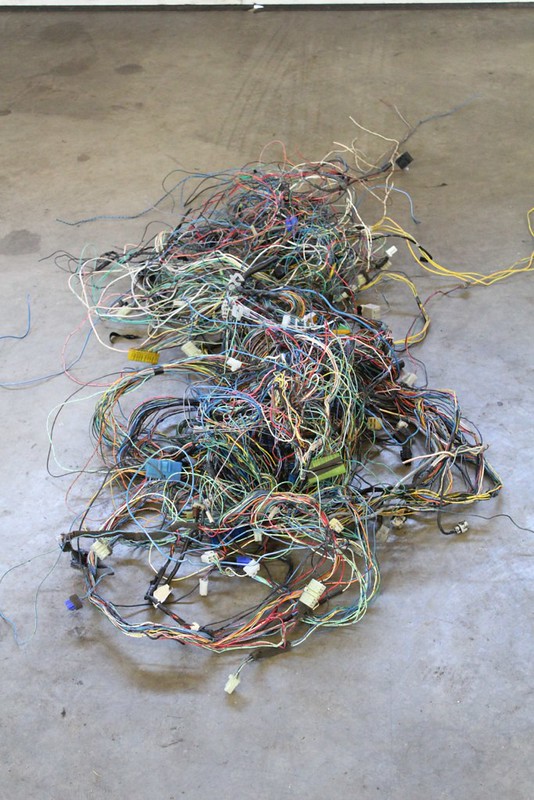
    so took the engine harness

    IMG_6244

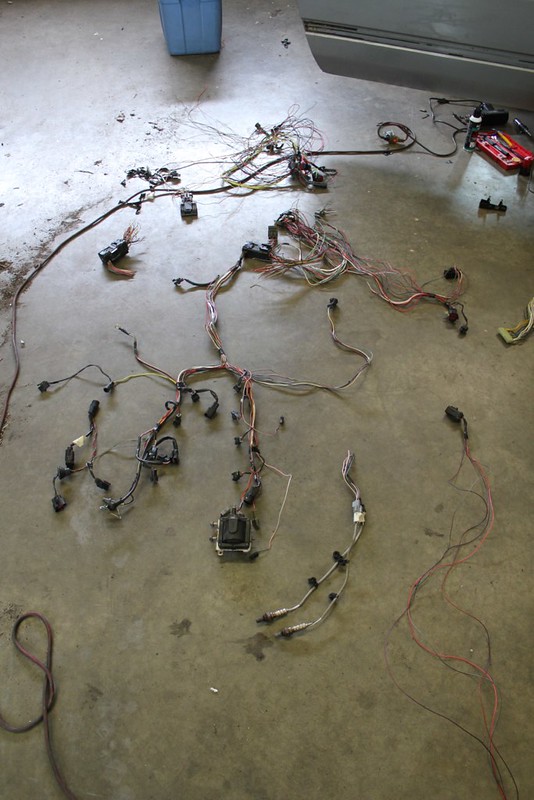
    gutted it like a fish. Ford makes all their harnesses (or they did back in '94) for all options so this m/t harness has auto wires and any other option the car could come with pre-wired. So all that junk came out as well as the emissions junk.

    IMG_6250

    So much better

    (lol can't even tell)

    I took the time to change a few things tho

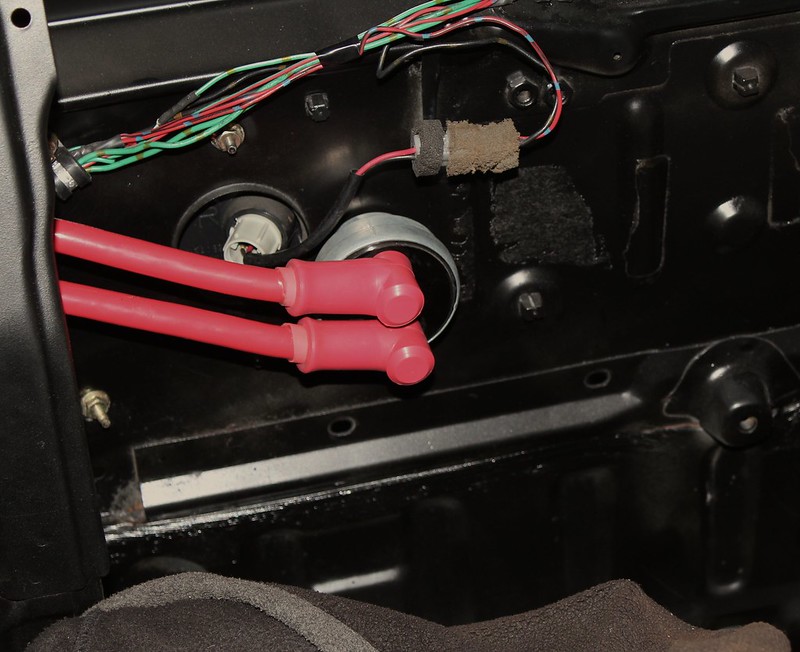
    The SPOUT pill for setting the timing used to be on the fender of the mustang, but I put it where they go on fox's

    IMG_6251

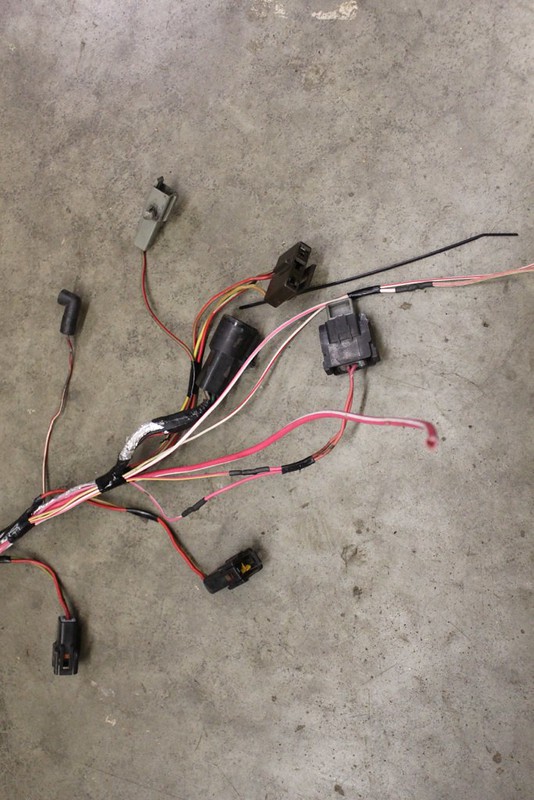
    much more convenient. My only fear is that the rest of the spout is shielded so if its a problem and I'm getting interference I will shield the re-located wires as well.

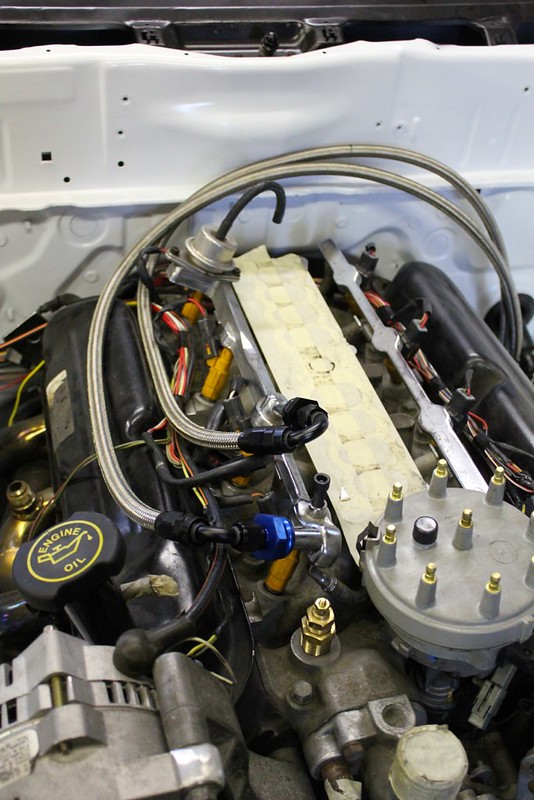
    also relocated the MAF and IAT sensors

    IMG_6252

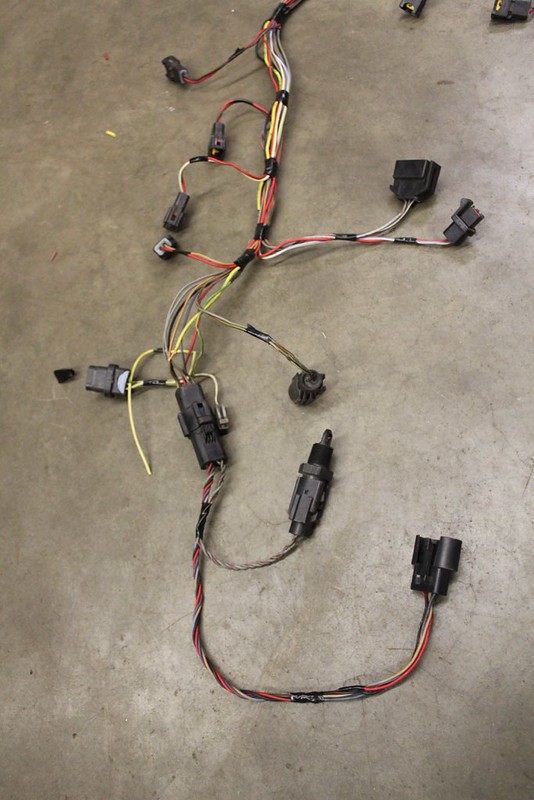
    as well as the 02 and transmission wires (no pic tho)

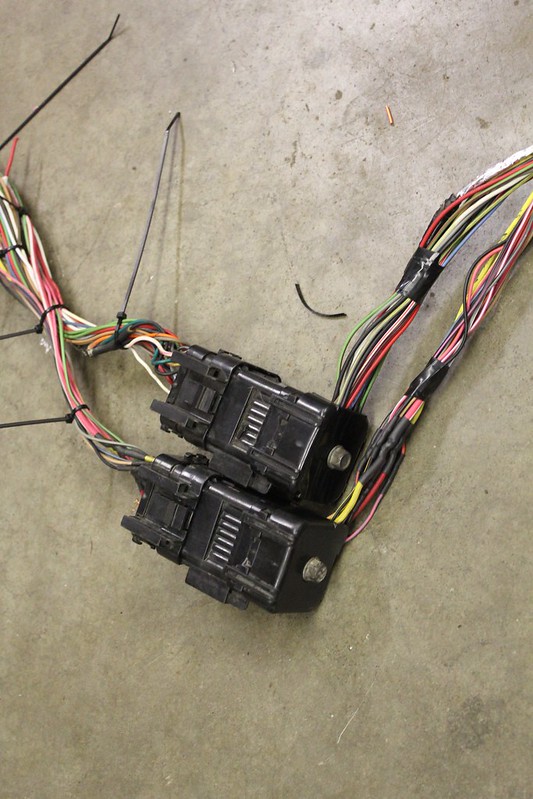
    the completed bulkhead connectors

    IMG_6253

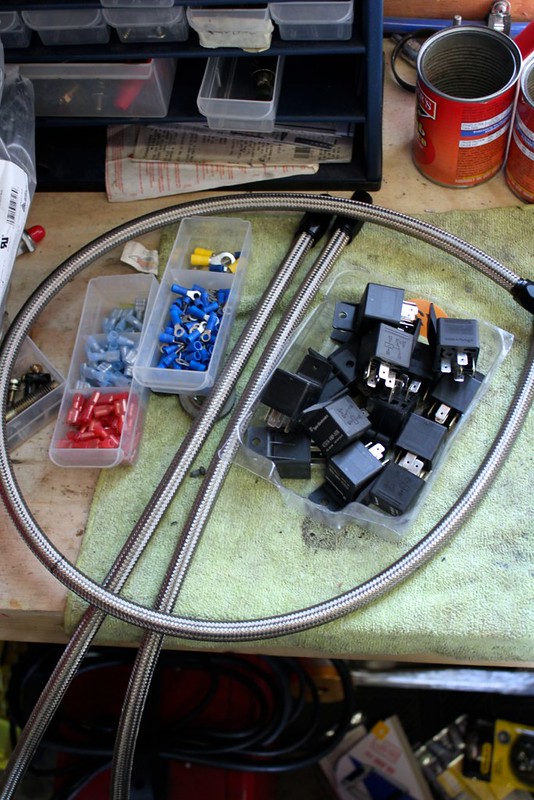
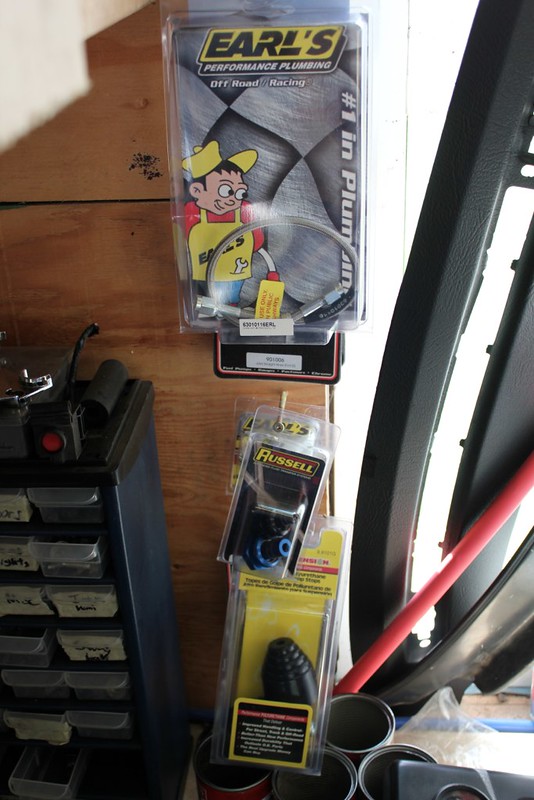
    then I made another stop at the race car candy land store

    IMG_6247

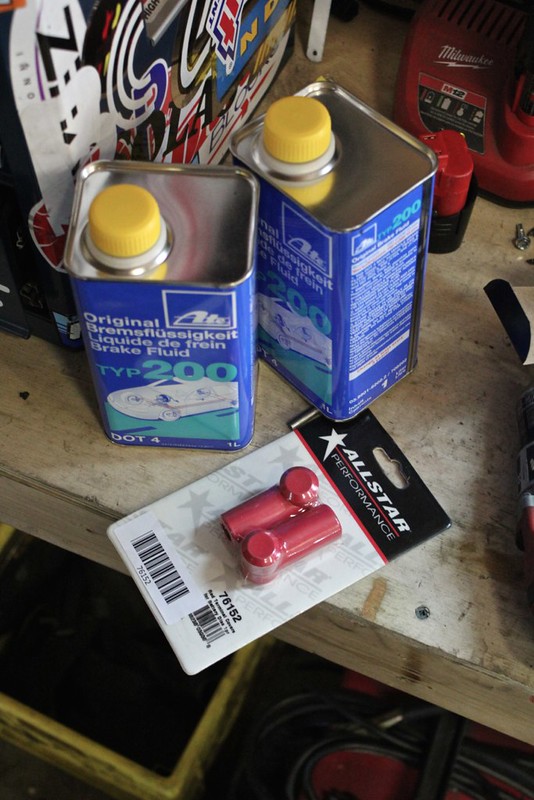
    but after I left I realized I should have grabbed another set of those power wire boots, I used these ones for the rear cut off switch. I want some for under the hood as well.

    also ATE Typ200 (cuz it was cheaper than blue, blaming you american DOT law thing)

    IMG_6257

    also got this, because I love these things and it was $3

    IMG_6254

    then the wallet started to hurt...

    IMG_6258

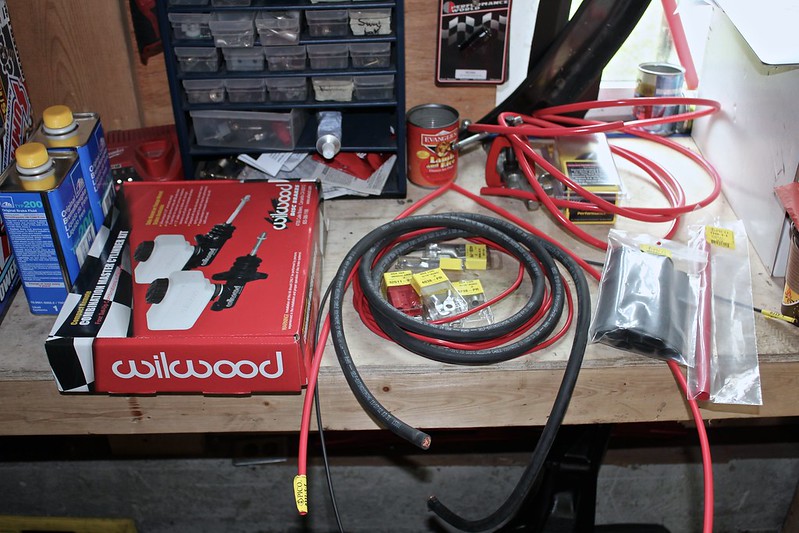
    bought the last of the wire I needed (well until I ran out of 8 gauge) we have black 1/0 and ring terminals and heat shrink, 4 gauge, terminals, heat shrink, and 8 gauge, terminals, and heat shrink. Also a quick disconnect for the ignition switch.

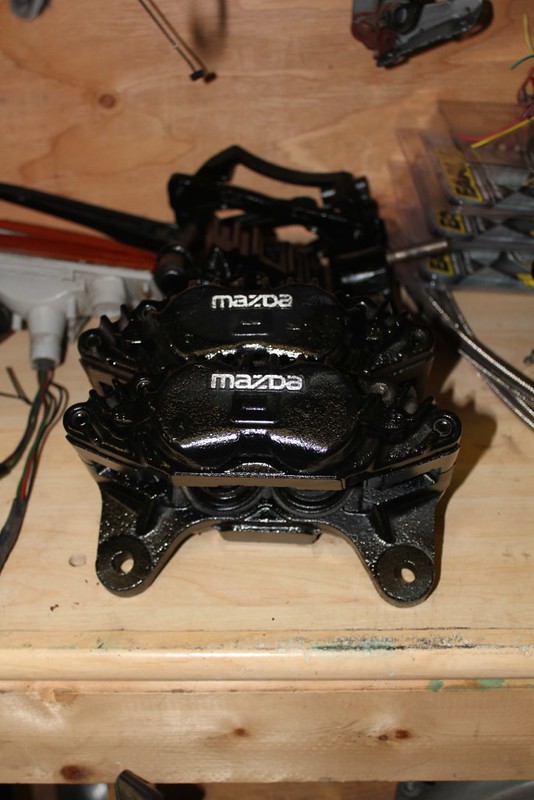
    And I pulled the trigger after much research and little math on what size master to use for the clutch. Went 7/8ths, which is supposed to be quite ideal.

    IMG_6264

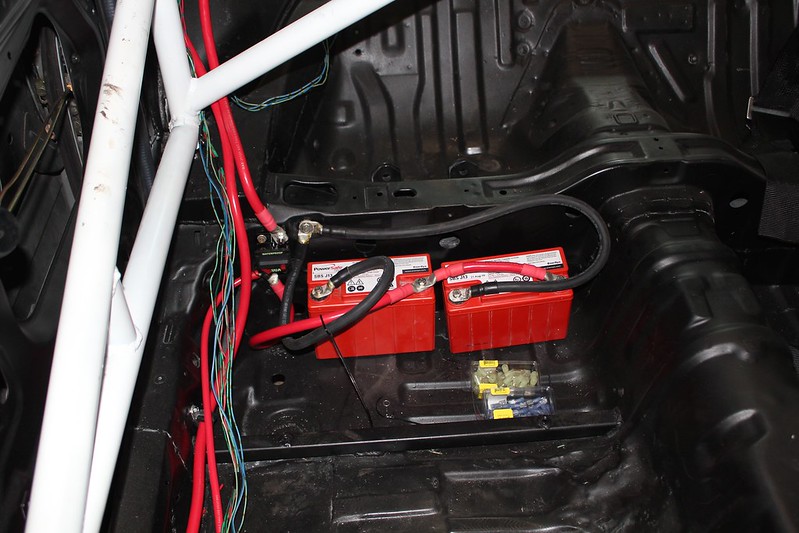
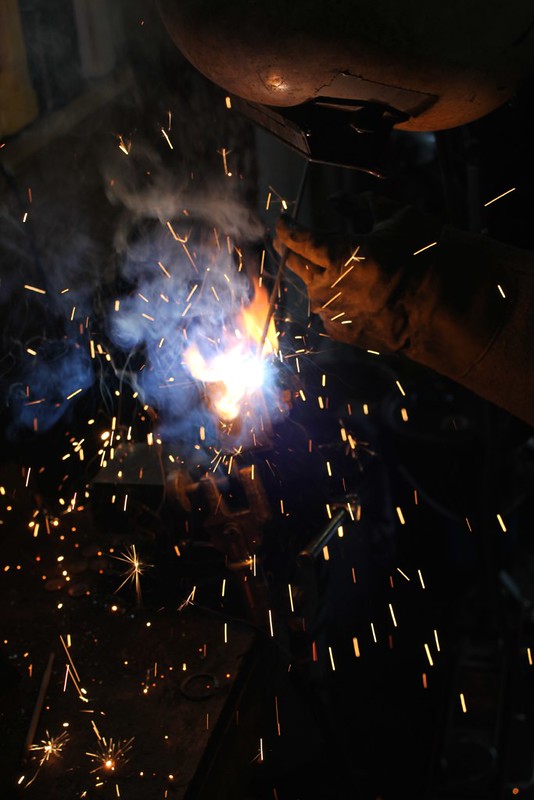
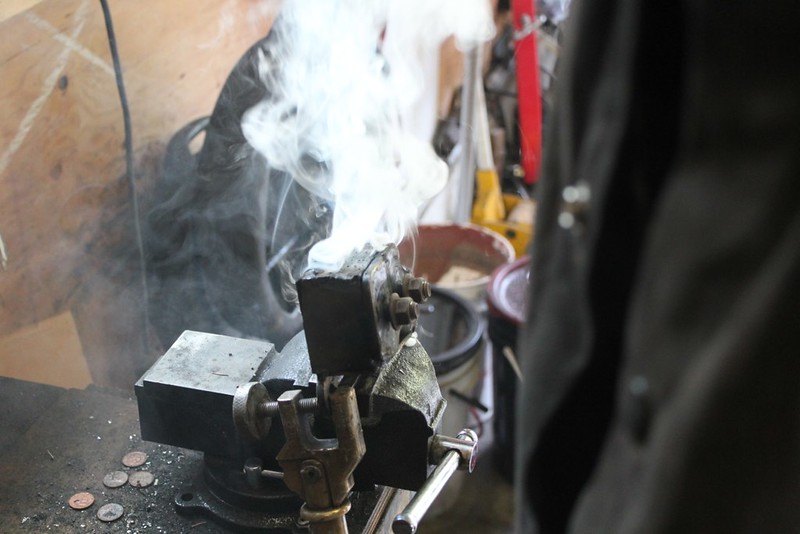
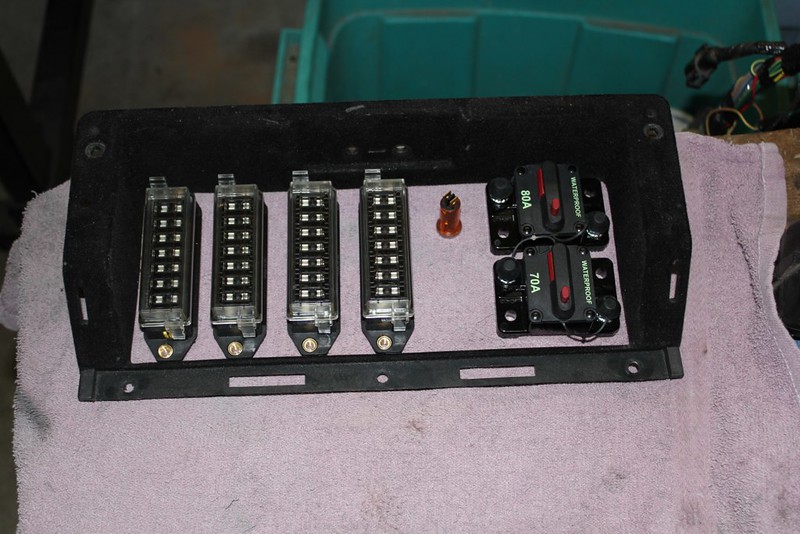
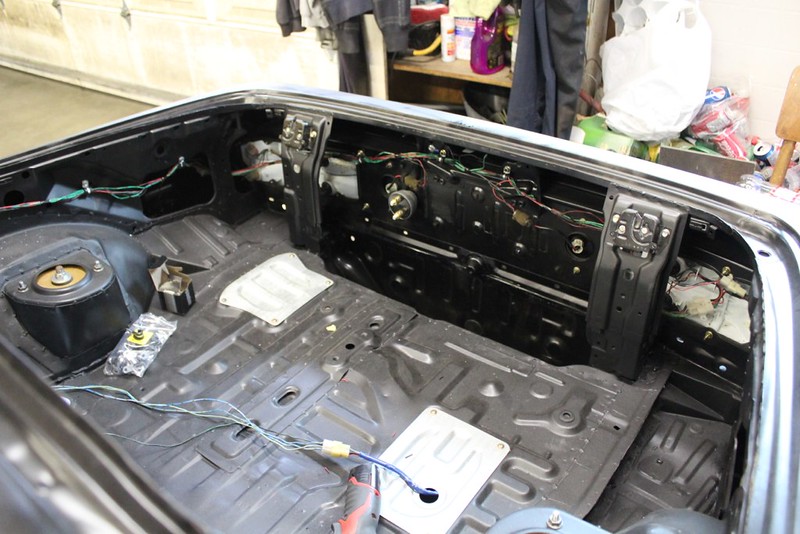
    finished up the battery area, well minus the box for them. Going to build and get one welded, but all in good time.

    IMG_6245

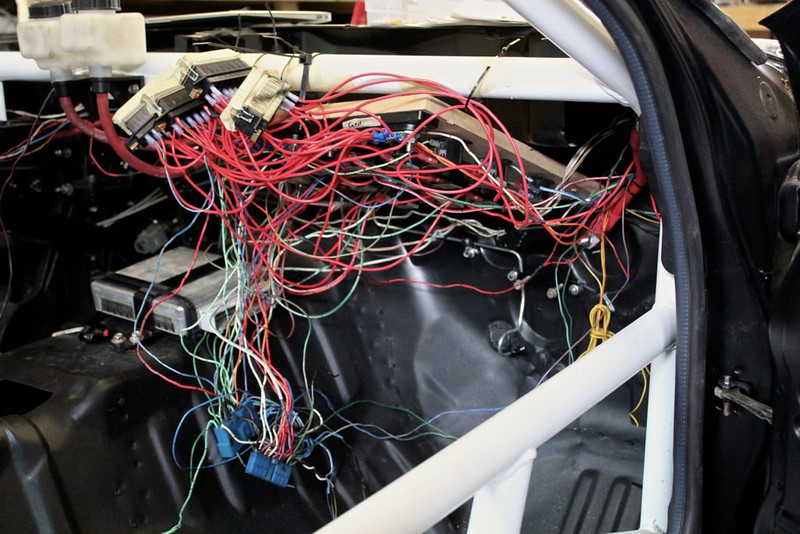
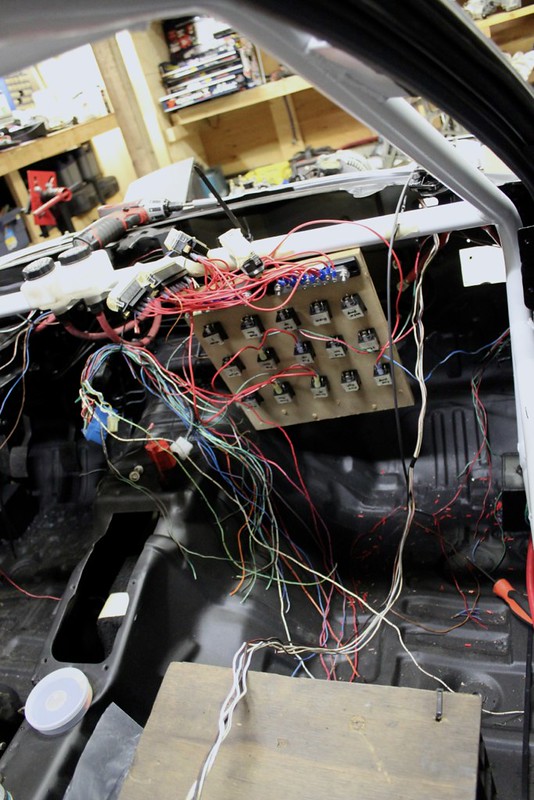
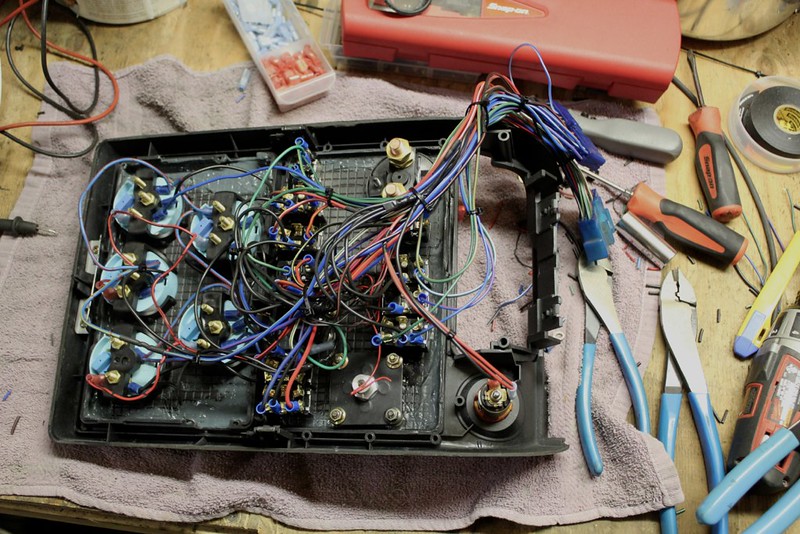
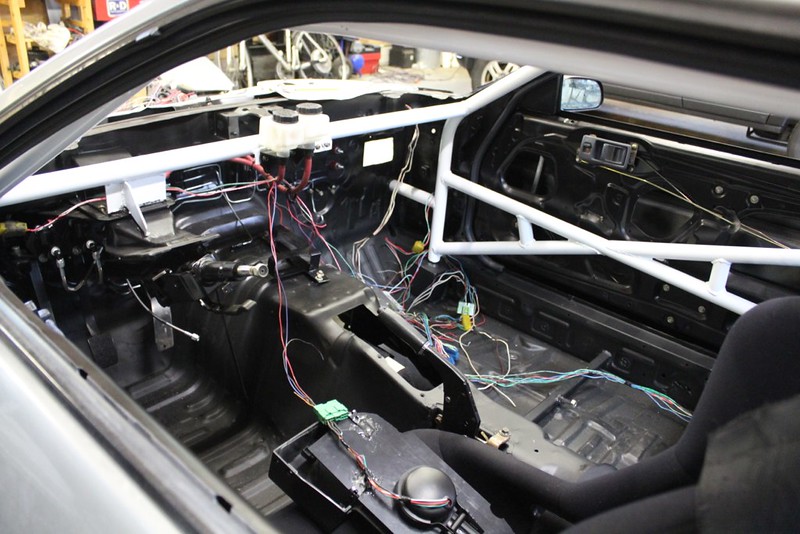
    this was getting out of hand... so I made it prettier (only took like a week)

    IMG_6265

    IMG_6266

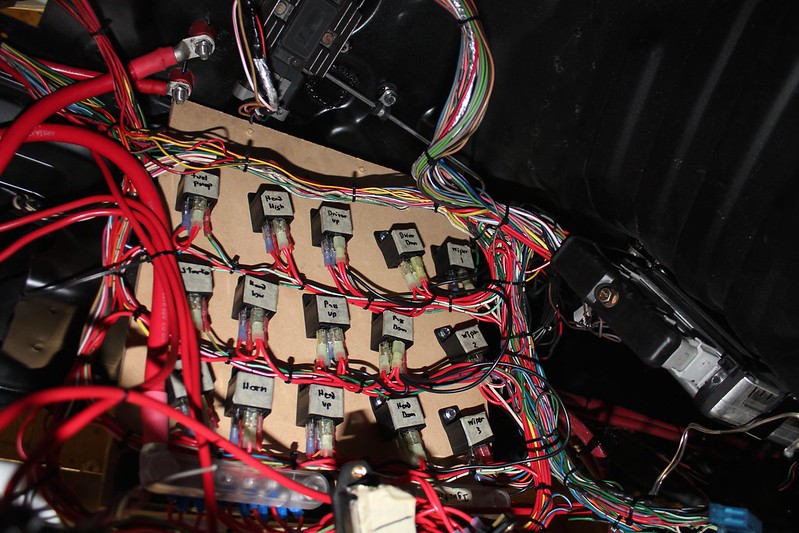
    still have a little more tiding to do, but the wipers aren't working and neither are my head light motors, so some de bugging will have to occur.

    IMG_6267

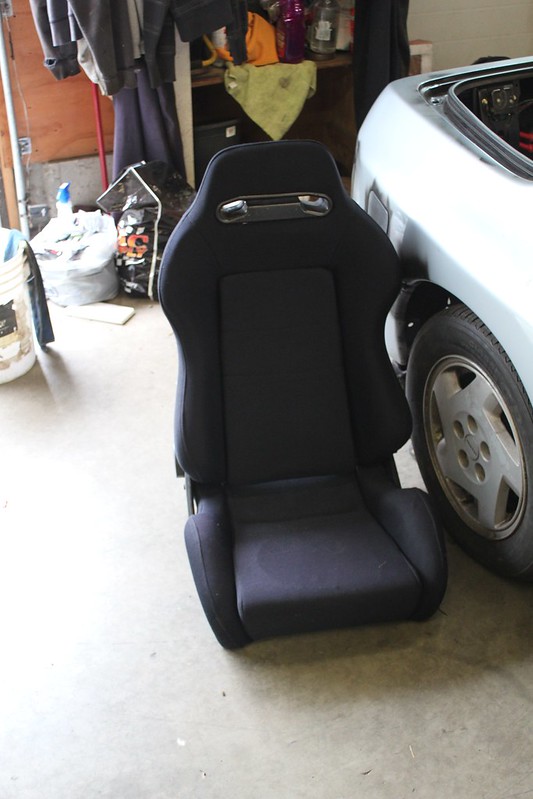
    got me a passenger seat finally. Well technically I still have to pay for it lol. Need to fab a mounting bracket for it and buy another 5 point belt.

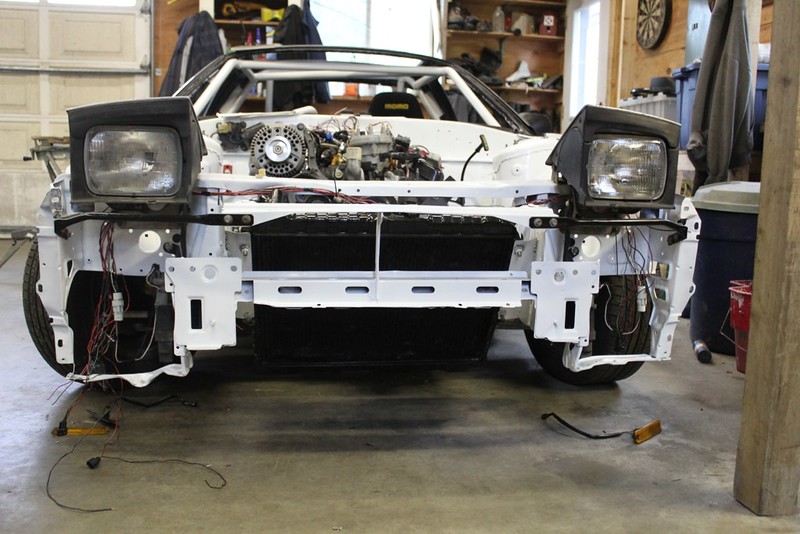
    The day this things runs I'm booking the windshield appointment. Its still going to be madness for the next 2 weeks at least doing all the small things. But to have the lights and things working is a huge motivator!

    Leave a comment:


  • LaMaR-
    replied
    Originally posted by Teeson1111 View Post
    yes it is, its the engine cradle. it bolts into the factory subframe and the engine mounts bolt to it.
    mixed reviews on fit, mine fits well but it also been installed for a while (I bought it used) a local guy bought one and his doesn't go in as easy...
    Yeah mine fits good, mines been running and driving for awhile though. I bought it with the motor in it already though. Upon return will be the first time the motor has been outta my car so I will get to see the actual mount. Hopefully I can figure out something to make it sit lower.

    Leave a comment:


  • Teeson1111
    replied
    yes it is, its the engine cradle. it bolts into the factory subframe and the engine mounts bolt to it.
    mixed reviews on fit, mine fits well but it also been installed for a while (I bought it used) a local guy bought one and his doesn't go in as easy...

    Leave a comment:


  • LaMaR-
    replied
    hey man just browsed through your whole thread again, is that large piece on the right of your trans mount your engine subframe from grannys? If so im hoping mine is similar when I get back to the states. Two more months of deployment lol.

    Leave a comment:


  • Teeson1111
    replied
    Originally posted by TeckniX View Post
    You should ditch the whole plastidip idea - You did really well painting the inside and roll cage (which one was painted first??)
    So just continue with that and paint the entire car!
    lol thanx! but no... It worked ok (looks better in pictures probably) I think because the stuff I painted was huge and flat. The hood and much of the body would be really hard to get clean with rattle cans.
    Plastidip offers the ability to change colour often too, and easy to repair

    I painted the cage first, then masked it and painted the interior.

    minor update:


    been rocking out to this. Found The Parlor Mob some time ago from a random snowboarding movie (Iseneven - Let's Go Get Lost (great movie)) and quite enjoyed the rest of the album. Haven't heard much of their new stuff but it seems a step away from the kinda small time rock band sound they have. I wish I could sing along a little better too, but it doesn't stop me from trying haha

    IMG_6242

    did some heavy gauge wiring

    IMG_6241

    quite time consuming actually heating up the terminal, filling it with solder, dipping the wire in it, heat shrink, route it and check length. Repeat. Then I ran out of 1/0 so I need like 3 ft more or so.

    IMG_6238

    tried (yes tried) to watch Formula Drift in Atlanta while working, but between my poor internet and the drift stream being cranky I didn't get to see very much. Oh well, Cory Hosford still liked my IG of it haha. Made my day.

    IMG_6240

    made a mock panel out of MDF I had laying around, this way I can change things if need be. I have it so I can swing it in and out of position so I can check wire lengths but still actually work on it.

    IMG_6235

    we attempted to weld that diff mount I modified... that didn't work

    IMG_6233

    the rubber was catching on fire and the gasses created were blowing holes through the weld pool. So after about halfway we just called it. I'll be buying a Parts Shop Max one later, this is more solid than the stock one still but not a permanent piece.

    IMG_6239

    went to the local ladies craft store and grabbed some foam and did this:

    IMG_6243

    The zap strap will probably not be staying, I'll get a huge worm gear clamp or something, but for now a pair of jumbo zap straps work well. ECU sits in there good, 2 layers of foam made a good snug fit.

    seems like every day is a trip to the parts store for some small thing, but I'm making progress. I know theres not much to see but theres a good amount getting done. I keep changing my mind on how to do things, and when I do I stop the portion I'm working on and figure out the changes before actually crimping/soldering/cutting. As I get closer to finished the faster it should all go.

    on a slightly different note I think my deadline is well dead. My buddy's most likely going to drive his dads 201x (haha not sure) Mustang instead of his fox body. My car which would be on stock wheels will kinda be out of place without his factory looking-ish Mustang there. So I'm kinda demotivated to get the car finished by then. I suppose the silver lining is less rush and stress which result in a better end result. I can enjoy the wedding and surrounding festivities a little more too I think...

    anyway I'll stop rambling and go do more wiring

    Leave a comment:


  • TeckniX
    replied
    You should ditch the whole plastidip idea - You did really well painting the inside and roll cage (which one was painted first??)
    So just continue with that and paint the entire car!

    Leave a comment:


  • Teeson1111
    replied
    Originally posted by Zach Thomas View Post
    Car is looking great! Reusing the factory harness has been a struggle for me as well, and having nearly non-existent soldering skills hasn't helped lol. I'm falling so far behind you, its hard to not run into the garage every time I see an update to this thread!

    On your 3 fuse panels you have...are those just the $10 apiece ones you can get on Summit and Jegs? I was thinking about using those as well, was just curious if they're decent enough quality. The glovebox setup will be pretty cool, I was going to shove it in the storage bins but I'm curious to see how yours turns out.

    Ya the fuse holders are Hella, very good quality.
    I would throw everything back there if I had an interior lol.. Glovebox ends up being a shorter run as well..

    Originally posted by aeok18109 View Post
    epic job here sir
    Thank you!

    Leave a comment:


  • aeok18109
    replied
    epic job here sir

    Leave a comment:


  • Zach Thomas
    replied
    Car is looking great! Reusing the factory harness has been a struggle for me as well, and having nearly non-existent soldering skills hasn't helped lol. I'm falling so far behind you, its hard to not run into the garage every time I see an update to this thread!

    On your 3 fuse panels you have...are those just the $10 apiece ones you can get on Summit and Jegs? I was thinking about using those as well, was just curious if they're decent enough quality. The glovebox setup will be pretty cool, I was going to shove it in the storage bins but I'm curious to see how yours turns out.

    Leave a comment:


  • Suburuuh
    replied
    Originally posted by Teeson1111 View Post
    Haha yup!

    Loved your bug eye when it was on works!
    Thanks! Kind of missing the Bug a bit after almost a year now.

    But this only fuels my veins with more exitement to do something new.
    Perhaps soon already, working on that as we speak.

    Leave a comment:


  • Teeson1111
    replied
    Originally posted by pDubs View Post
    Very nice work so far. I'll be checking in for updates for sure!
    Thanx! I'll keep posting them

    Leave a comment:


  • Teeson1111
    replied
    Originally posted by Suburuuh View Post
    The start (and running) of an engine in a build is like putting fuel on a fire!
    This gives even more motivation to continue and finish it.
    Haha yup!

    Loved your bug eye when it was on works!

    Leave a comment:


  • pDubs
    replied
    Very nice work so far. I'll be checking in for updates for sure!

    Leave a comment:


  • Suburuuh
    replied
    The start (and running) of an engine in a build is like putting fuel on a fire!
    This gives even more motivation to continue and finish it.

    Leave a comment:


  • Teeson1111
    replied
    Originally posted by Zach Thomas View Post
    Makes sense for the fuel lines haha.

    And I will probably try to go, I meant to last year but didn't make it. Even with my ultimate goal being to drift my car, I've been pretty lazy about making it to an event as even just a spectator lol. I've only been down to evergreen a handful of times to watch their open drift sessions, which became the reason I have the FC sitting in the garage
    nice, I'm going to drive mine down and go as a spectator this year methinks. If you go lemme know!

    updates, it feels like its been a while since i've updated.. work got busier and i've spent a bit less time on the car. Wiring also doesn't look like much progress but anyway:


    Seabird is possibly my favourite band ever (thats a ballsy title I know).
    kinda pop, kinda rock not really sure which category they fall into. Love the lead vocalists voice, he pulls of some amazing range and long winded stuff. Great live too, they didn't miss a thing. These albums are both amazing cover to cover, not very often do I find a band that can do that and back to back.

    finished the fuel tank mod

    IMG_6213

    IMG_6214

    didn't go back in as easily as I had thought.. some things just didn't want to line up. RTV'd the bananas out of the seal as to prevent leaking.

    IMG_6216

    got more thingz..

    IMG_6217

    some relays and wiring connectors, circuit breakers, fuse holders, a light for the CEL, wire, heat shrink, rubber P clips, pinion snubber, front brake lines and a buddy gave me the Russell EFI adapter that the local parts store is waiting for. It's blue so eventually I'll get a black one but hey it was free(ish).
    Also built all my AN line and put them on

    IMG_6219

    not too thrilled with how difficult it is to get them on.. going to move the flare down the tube a few inches. I wanted to be able to remove them with out have the car up, but the steering column and exhaust get in the way too much.

    mocked up the glove box

    IMG_6225

    still have to get some aluminum to make the panel for it but you get the idea.

    also finally got around to painting my brake callipers


    IMG_6218

    and sanded the mazda logo

    IMG_6227

    so I took that mess of wiring from before, and cut about this much out

    IMG_6215

    (most of it lol)

    then did the rear of the fuse panel

    IMG_6226

    I'm not overly thrilled with how this came out... its all functional but I feel if the wire were a bit longer I could've made it much tidier. The compromise of re-using factory wiring in an effort to save money I suppose. Couldn't imagine how much it would cost to buy all new copper wire...

    IMG_6228

    have the front of the car mostly buttoned up, I will be going back and covering it all in loom once I'm confident it all works properly. Even as I go through it I keep changing my mind and discovering flaws in my original plans.

    IMG_6229

    the rear of the car is done tho

    IMG_6231

    which now leaves me with the hardest part, the fuse and relay panel. Solder and heat shrink e'erythang takes time.

    also can't find the 02 harness... not sure if I got it with the engine. Not a huge deal as I want to put them out the back, as opposed to the ridiculous around the front and along the oil pan oem way.

    I feel as I'm about 30% through the wiring. Then buy fluids and start it up!

    Leave a comment:

Working...
X