Originally posted by Zach Thomas
View Post
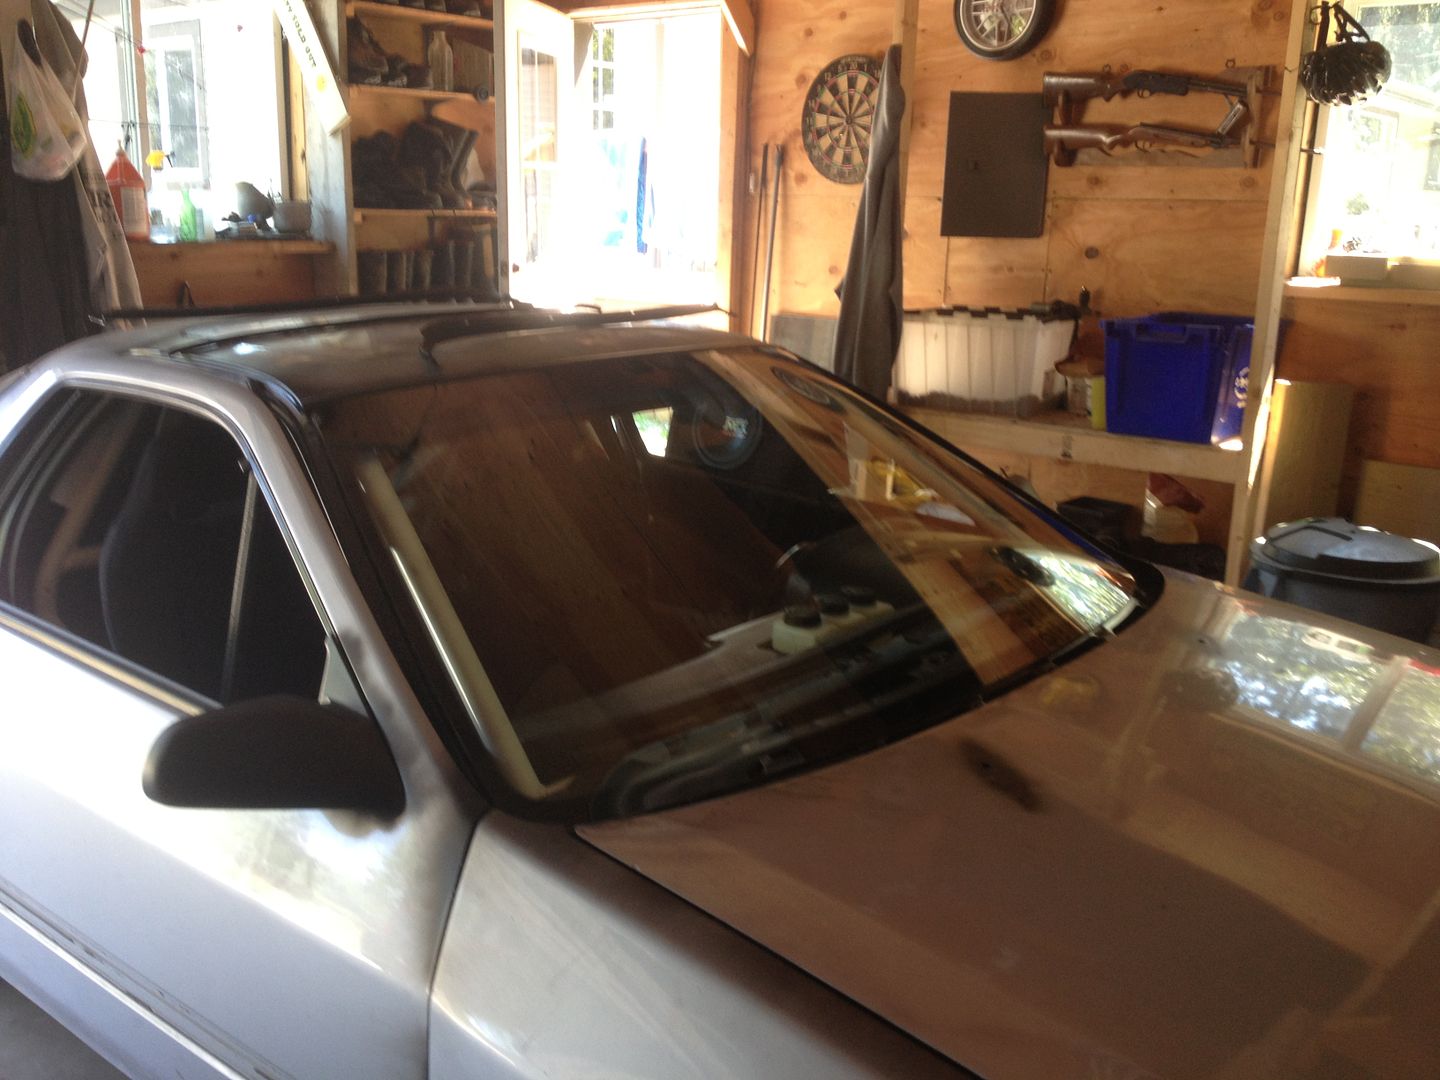
 How's your sunroof holding up as far as wind and water go? Or tell me you've been enjoying the car without it?


how to make anything more epic, add M83
So last monday I put day permits on it and took it down to a local mustang show. Its funny I was less hesitant taking it there than to a Rx7 meet.
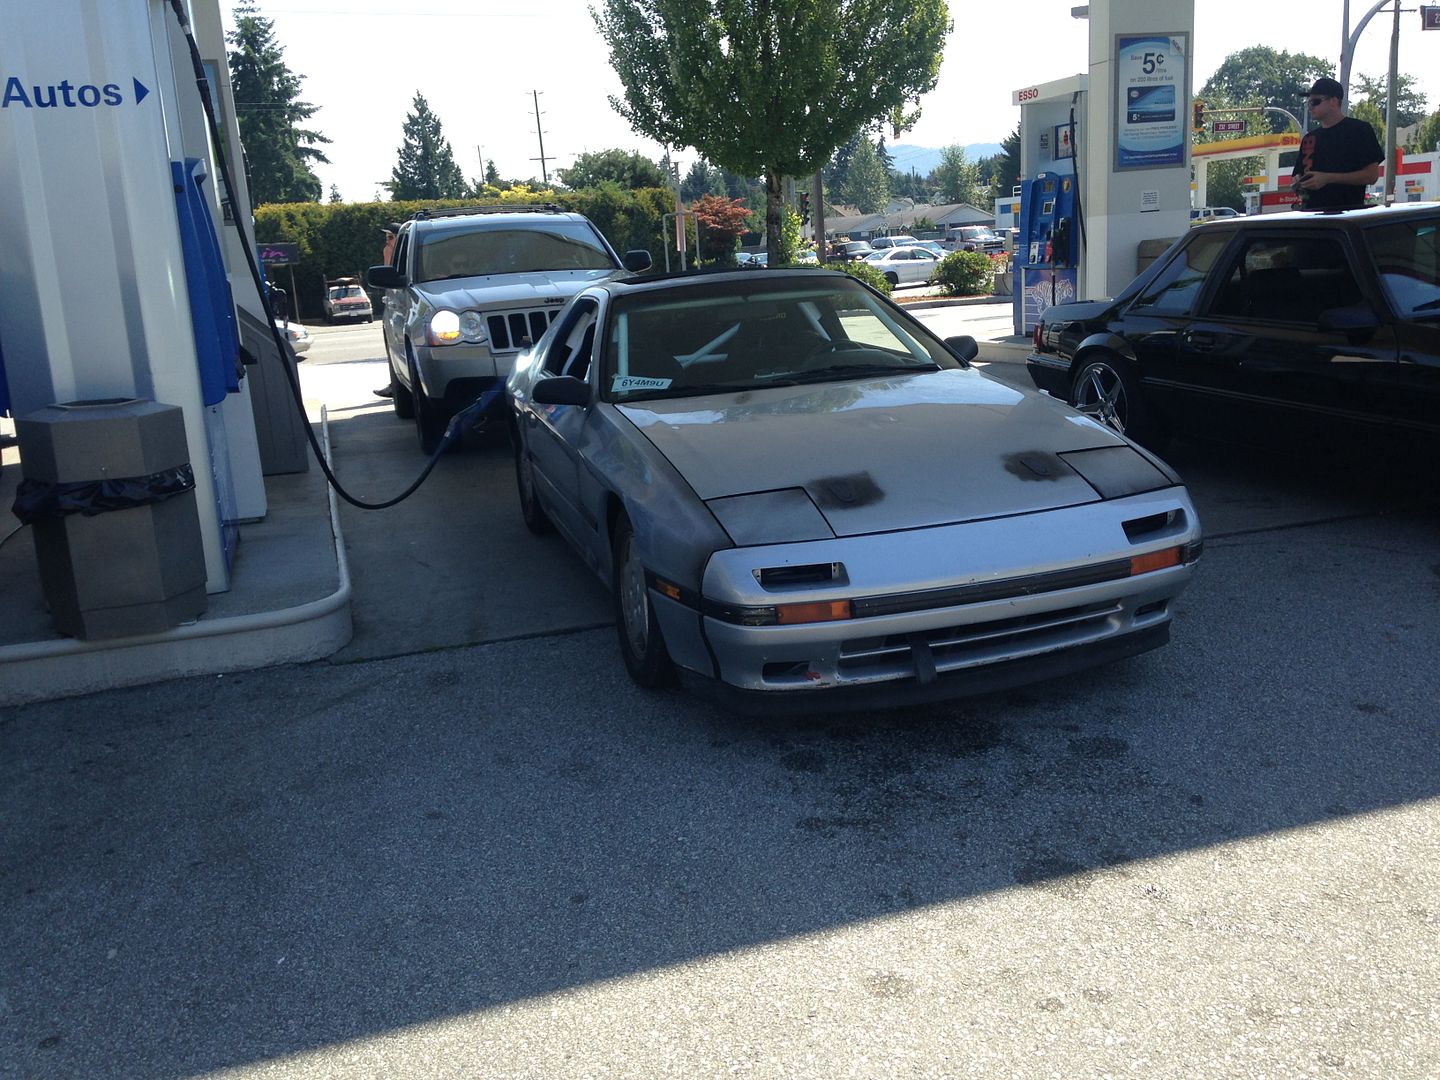
put some good ole premium in, and proceeded to shred tire for an extremely hot afternoon.
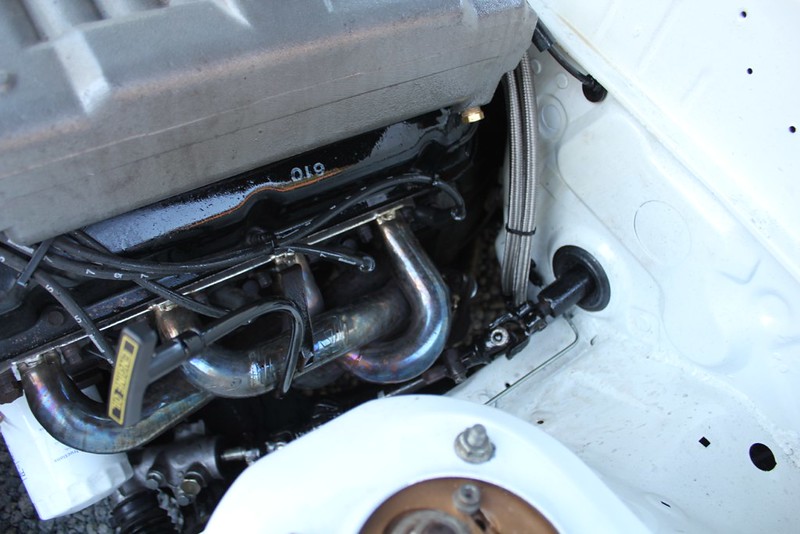
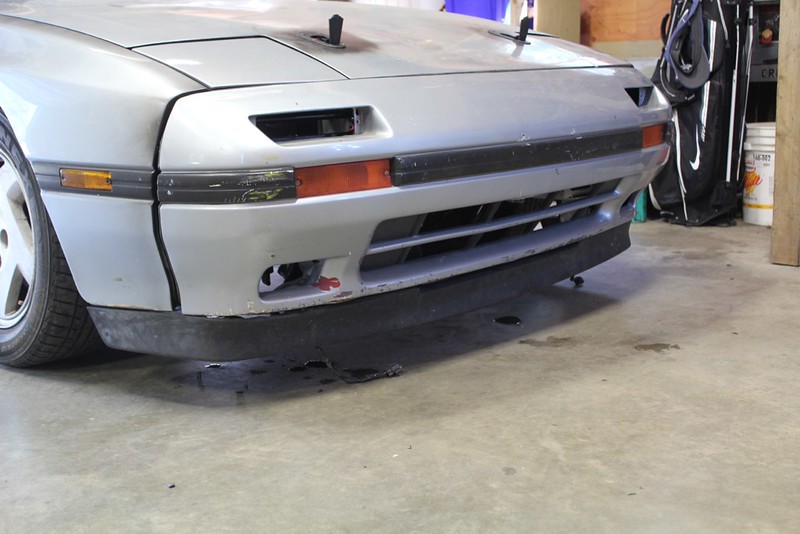
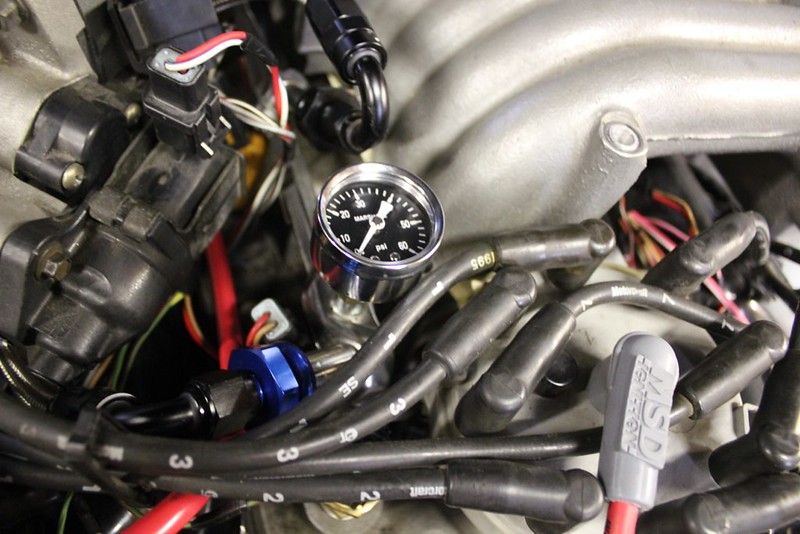
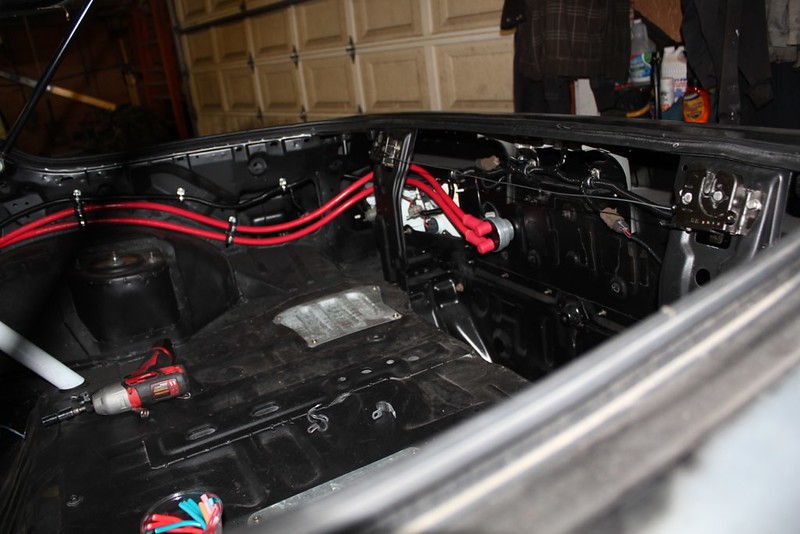
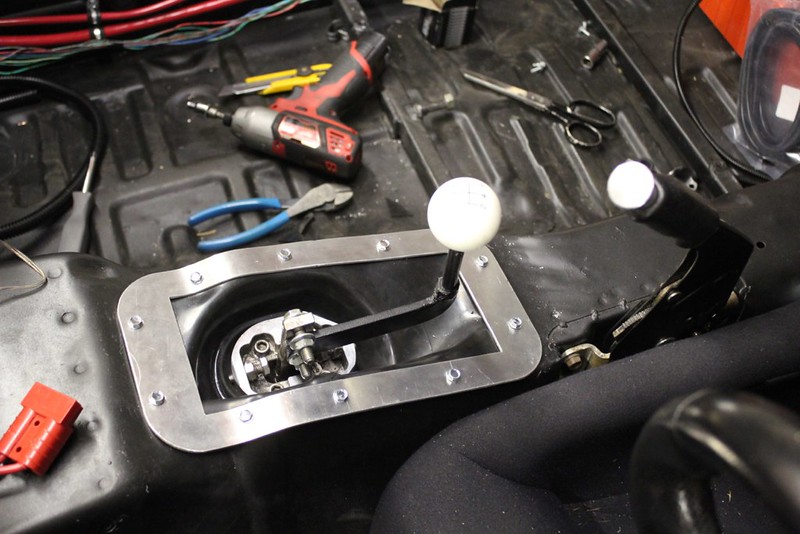
Car has no exhaust and next to 0 heat protection, and on a 30* day it was gross inside the cabin. The tunnel/floor must been 60*
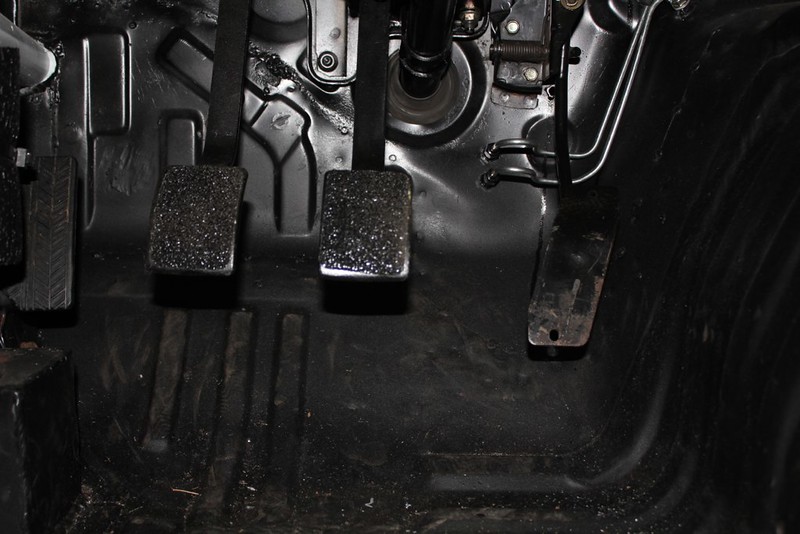
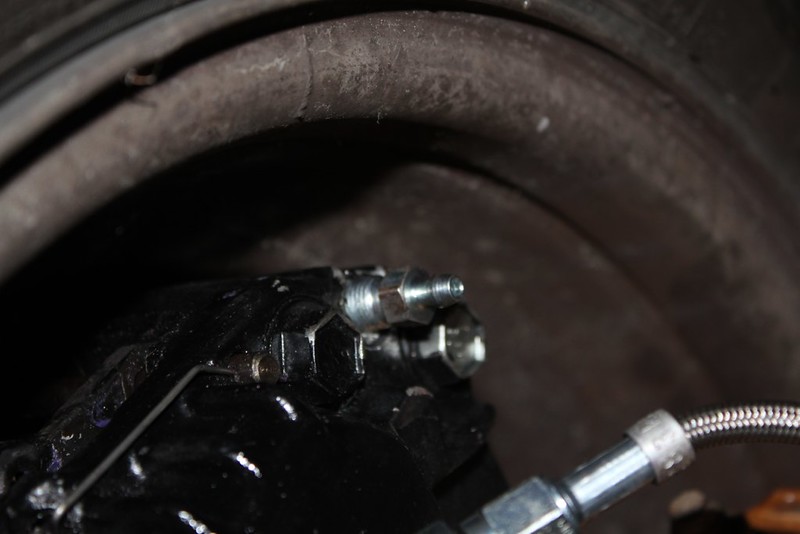
but the car handled it well, I haven't broken the diff. Didn't overheat or leak. Needs an alignment and I want to play around with the brakes a little more, pedal effort is super high.

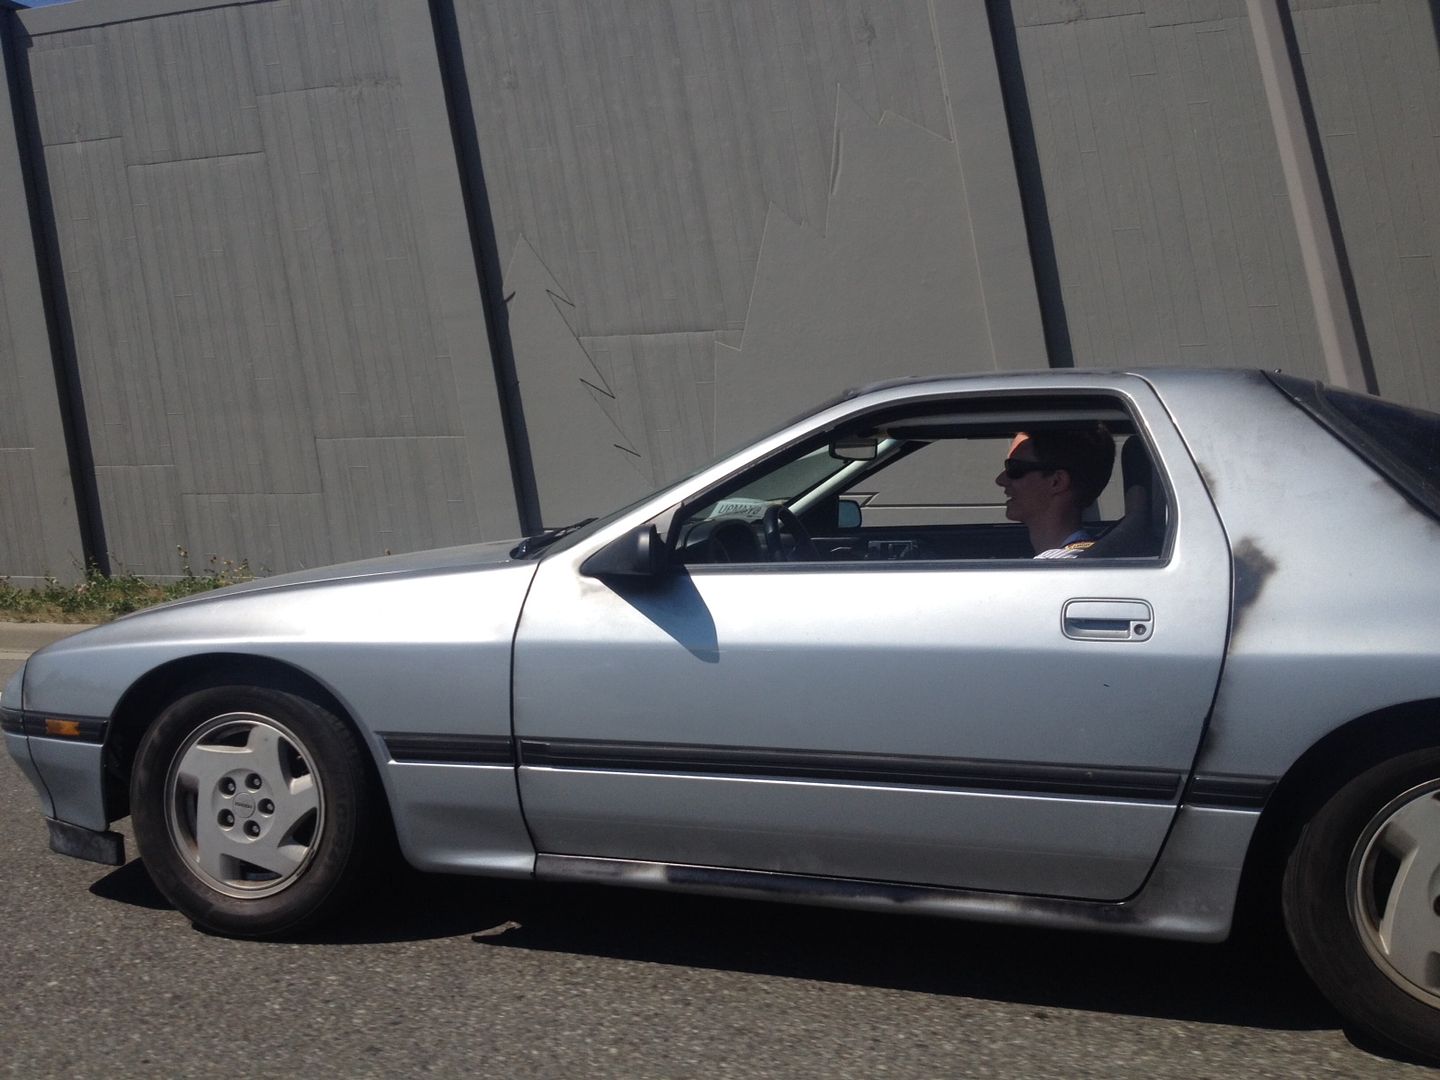
rolled down with a few buddies and a turbo fox, I was hoping moving in a group would hide how loud my exhaust was. but didn't get caught!
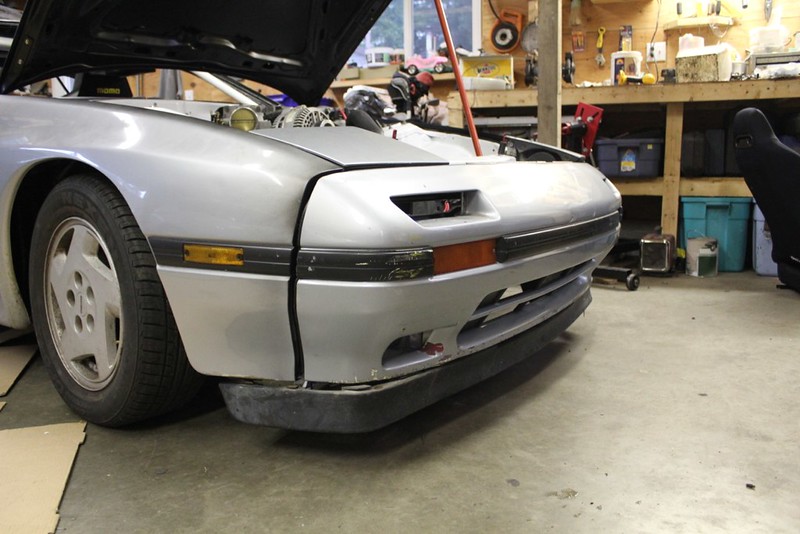
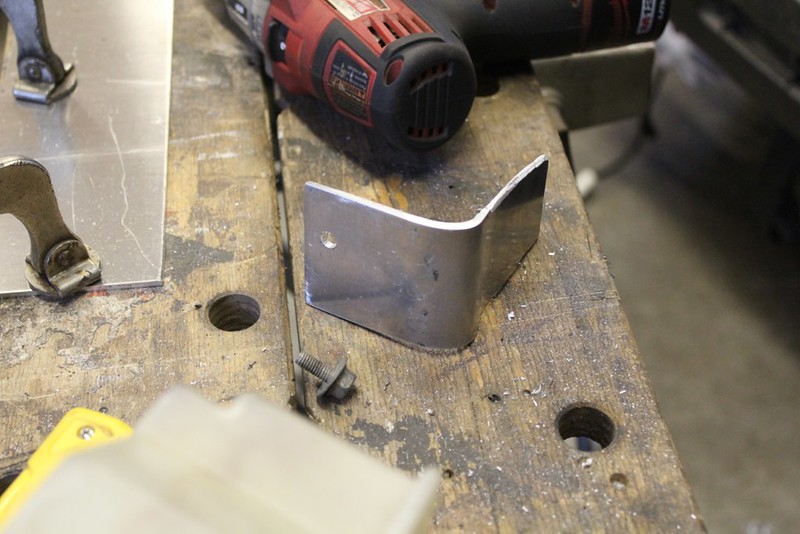
I also need a new passenger mirror
it kinda fell off when I shifted into 2nd. right after this some mustang tried to race me, but he had like 4 ppl in the car so he didn't stand a chance really.


")
Leave a comment: