

Been kinda listening to this Weeknd guy. Not my usual taste but so good to work to, great beats. Though every song seems to be about cocaine in one way or another. Much catchy.
Where I last left off I had a couple brilliant unnecessary make work project ideas.
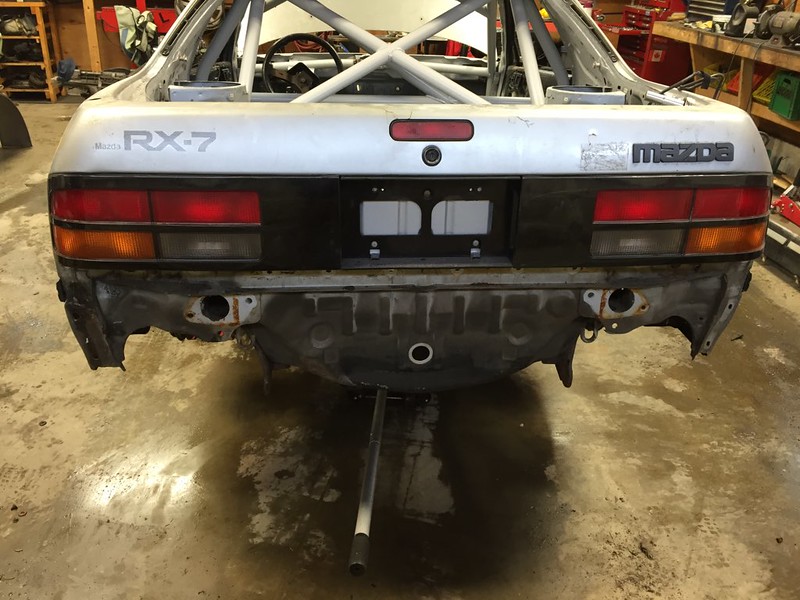
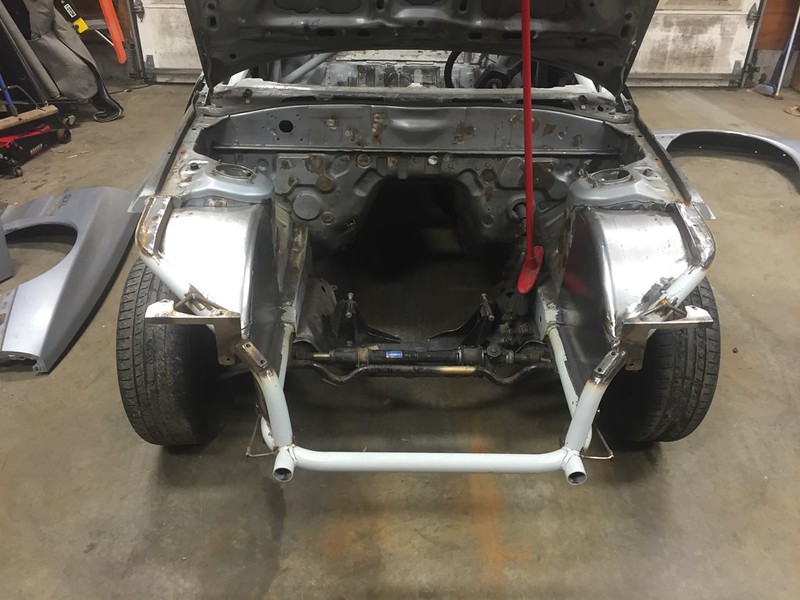
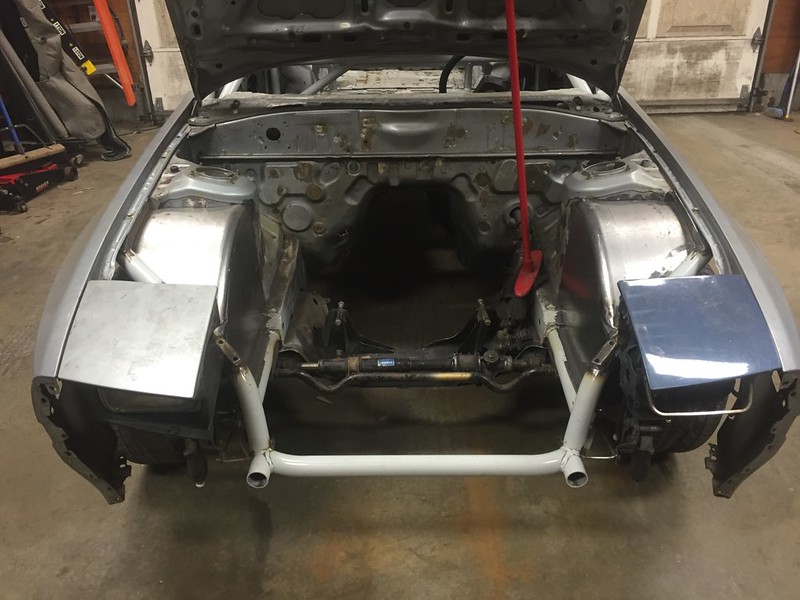
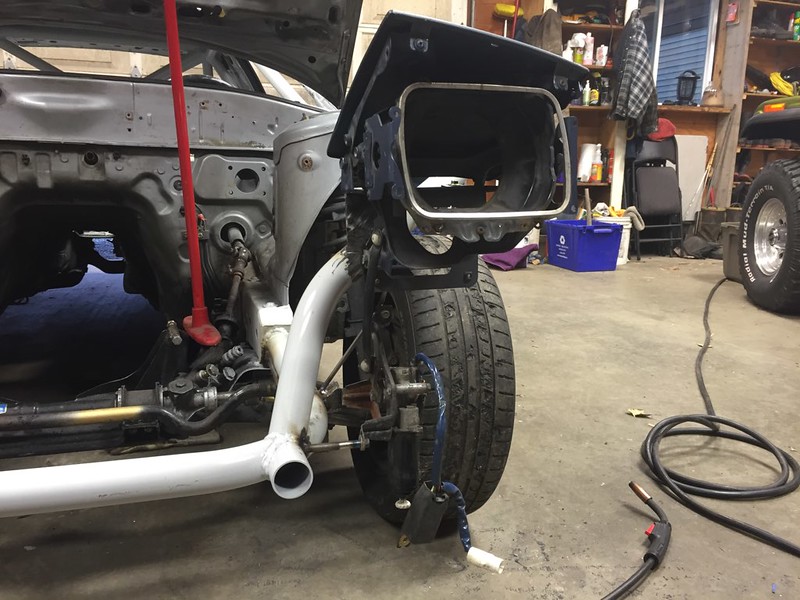
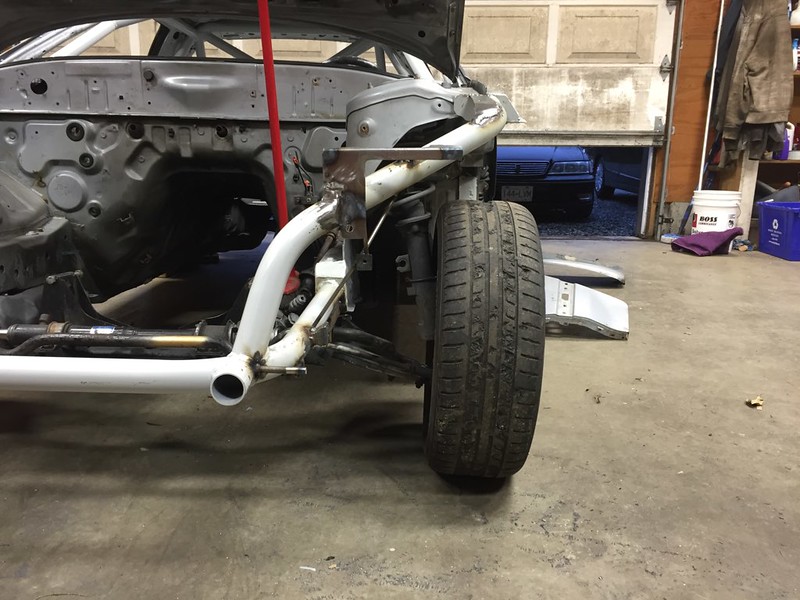
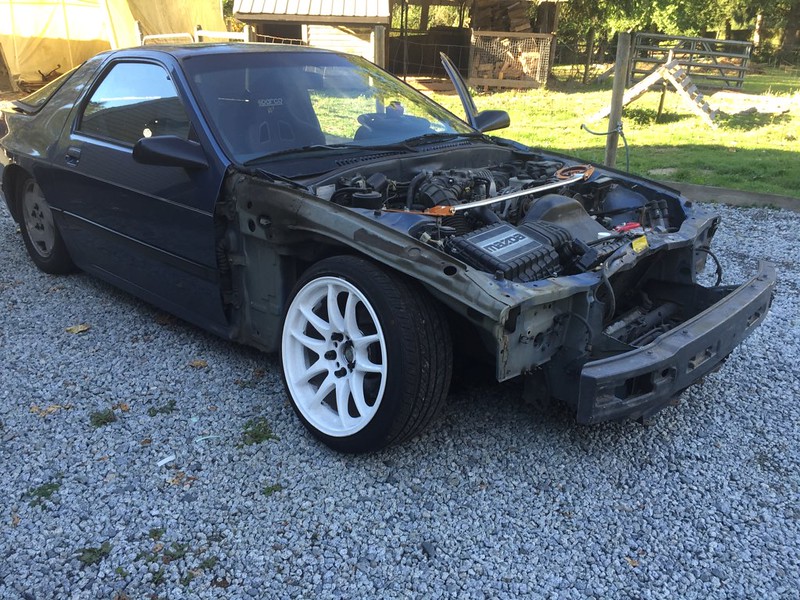
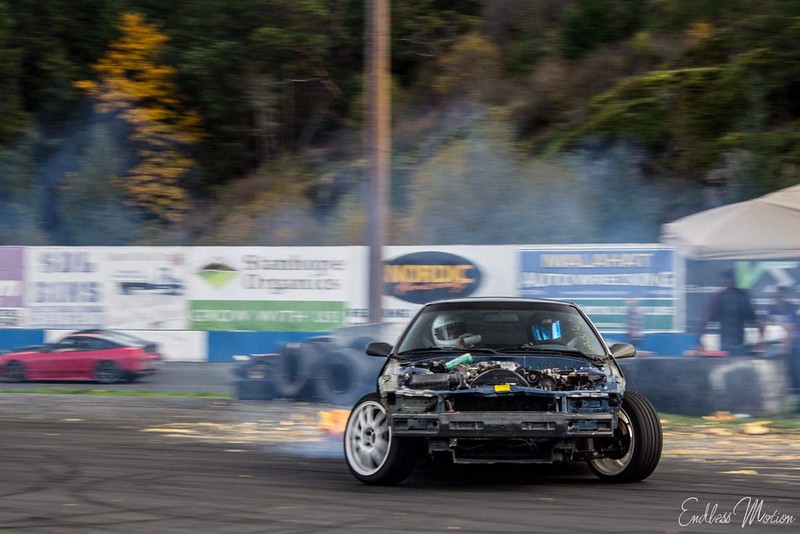
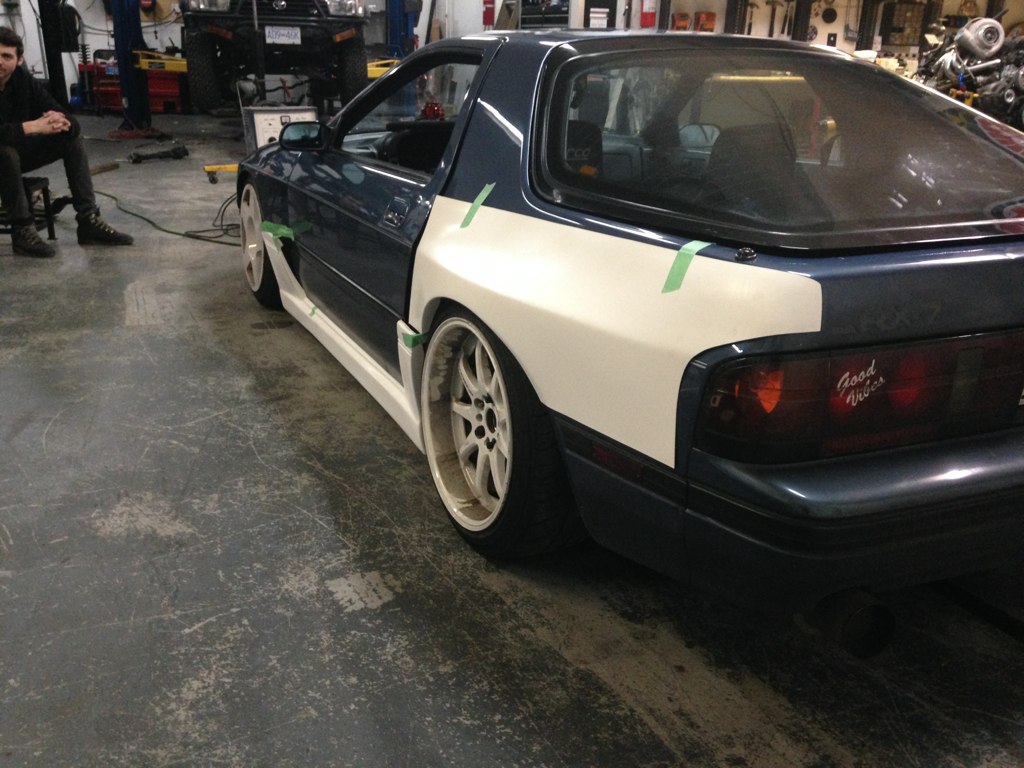
I've never liked how these cars look with the rear tire well hanging below the rear bumper. (also side note the rear crash bumper has some spring things in the mounts and not only do they do nothing, they weigh a lot) So I decided to make it more S Chassis like, cuz those cars look good with no bumper and no crash support.
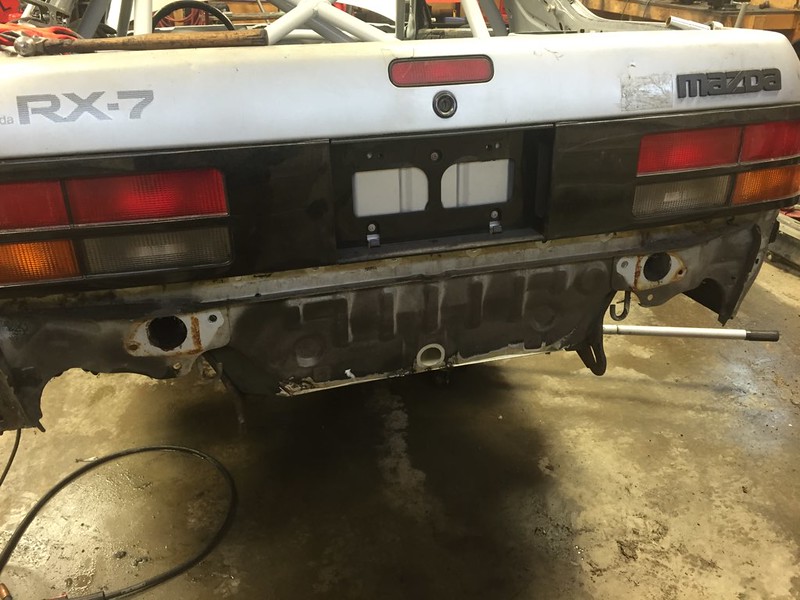

I forgot to take pics of the finished product, but needless to say it was a lot of grinding and welding thin crappy metal. And I later drilled a drain hole, as now its a great water catch.
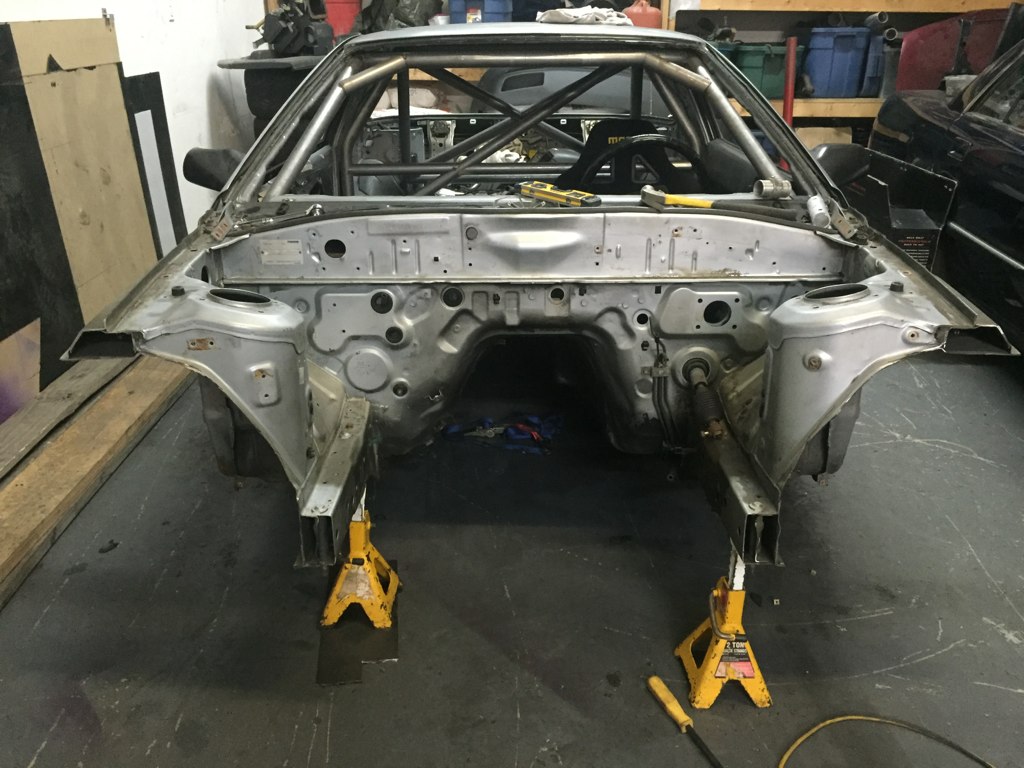
I started tackling the firewall and the rest of the engine bay smoothing

I don't know why it took me so long to buy a few of these magnet helpers. They are so handy.
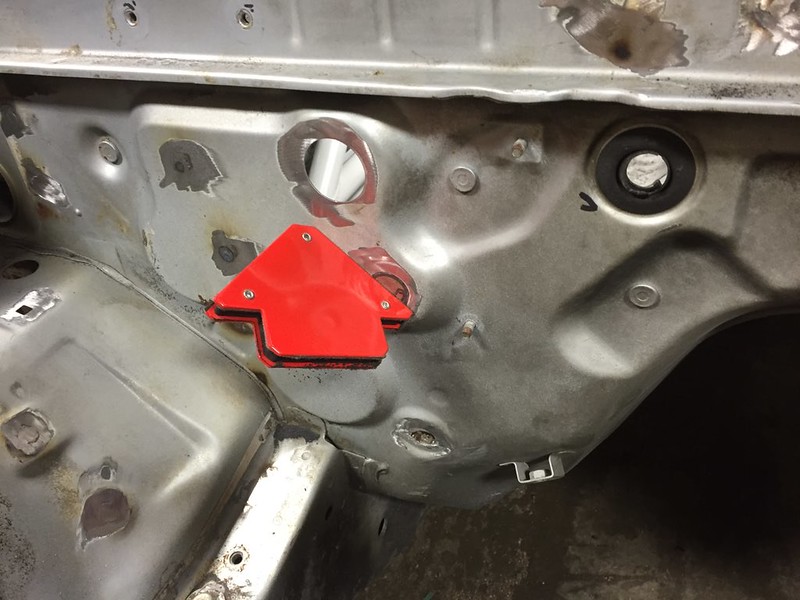

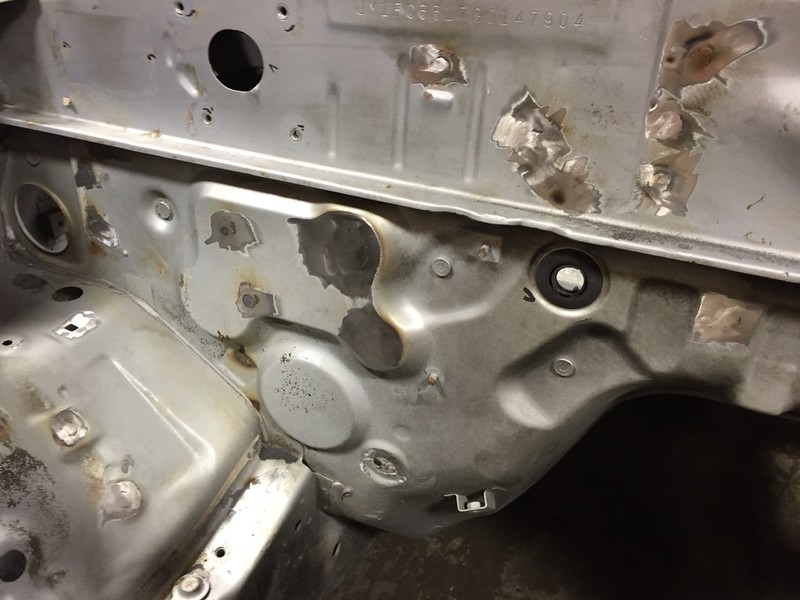
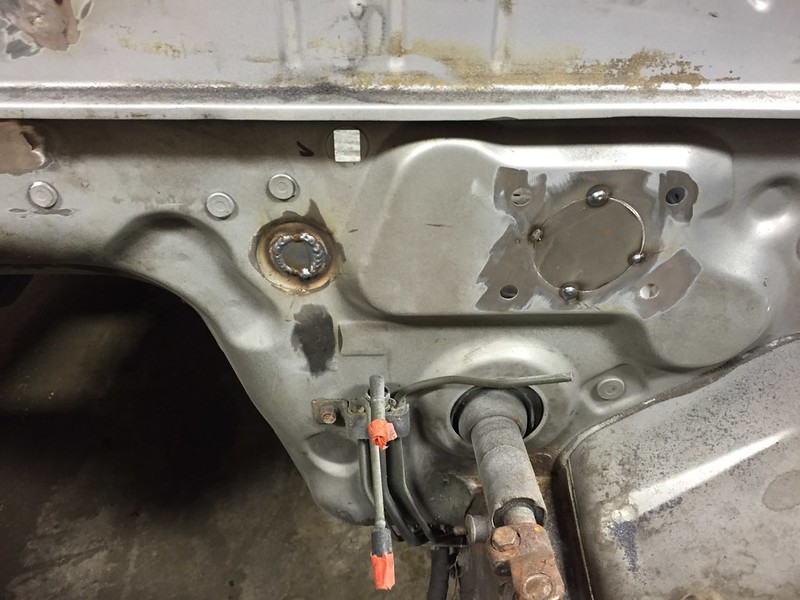
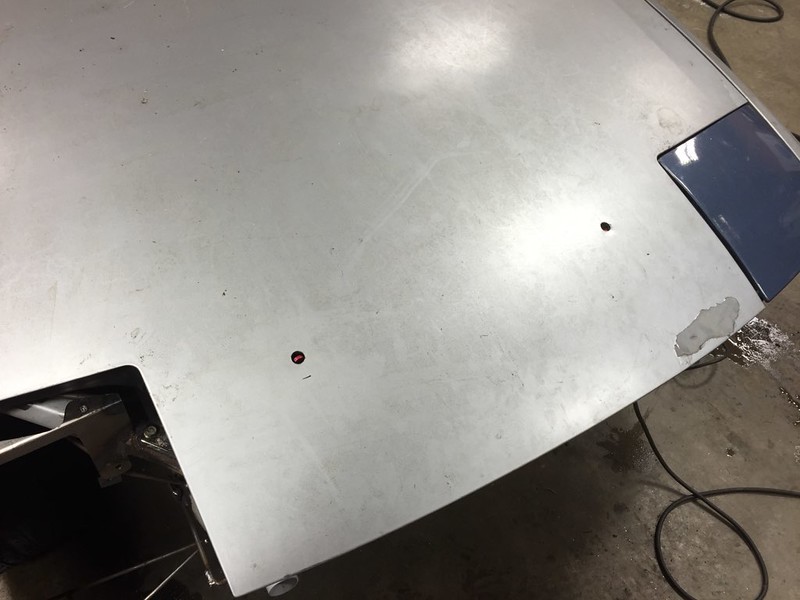
Basic process was take some scrap metal, hold it behind and draw the outline of a circle on it. Then cut and grind till it fit inside, then magnet and weld. The smaller holes I just fill welded and grinded flush. All of it will still need some filler to be perfect.
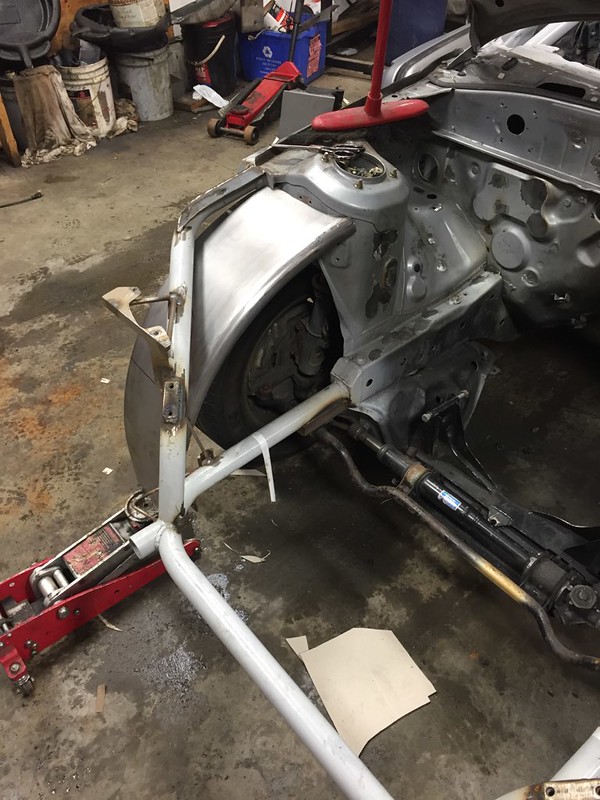
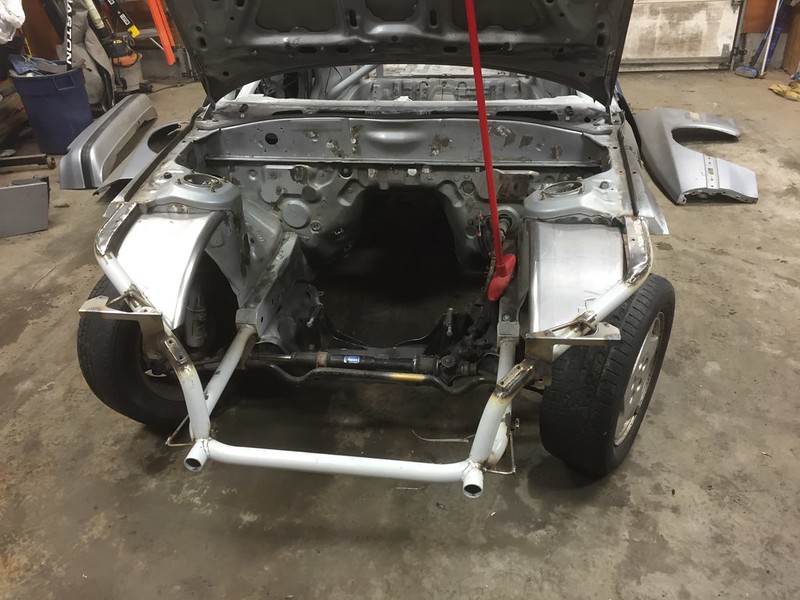
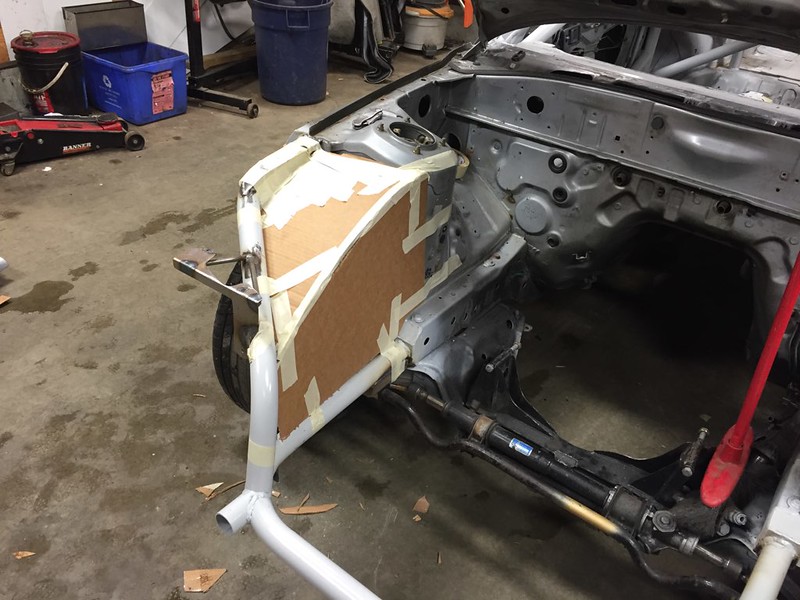
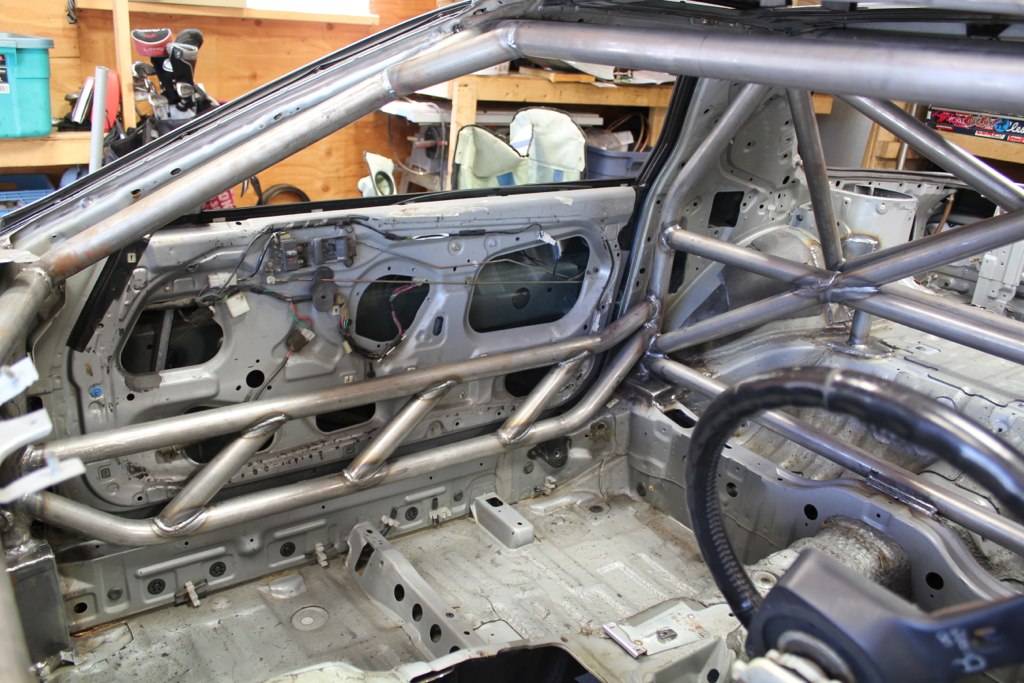
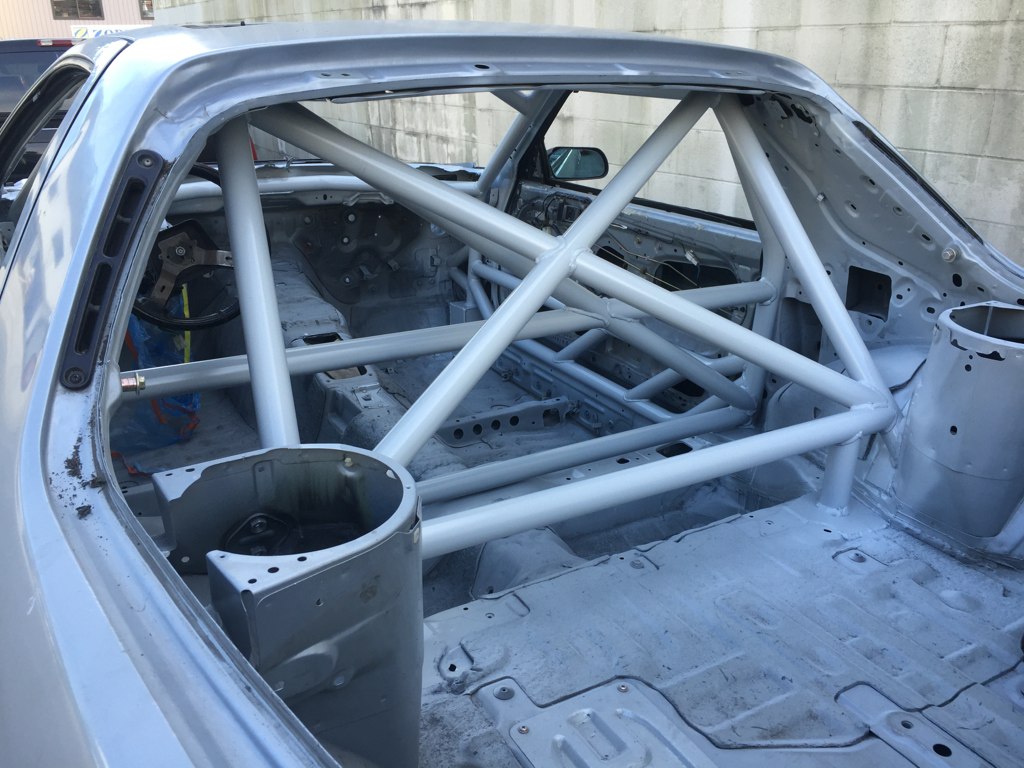
I've been on the fence about tubs. I really grew to like the look recently. But up until this point I had decided to not do them and had designed and built the tube front with that in mind. Buuuuuuuut I kinda changed my mind.

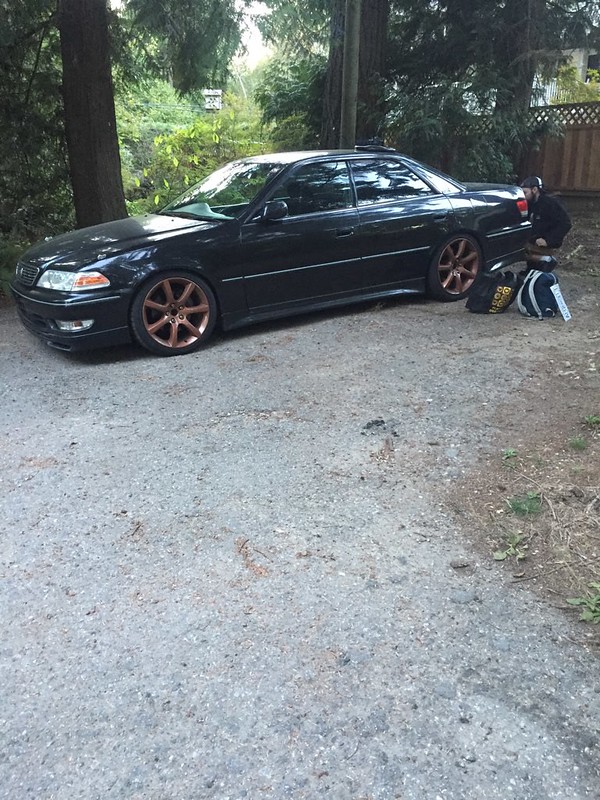
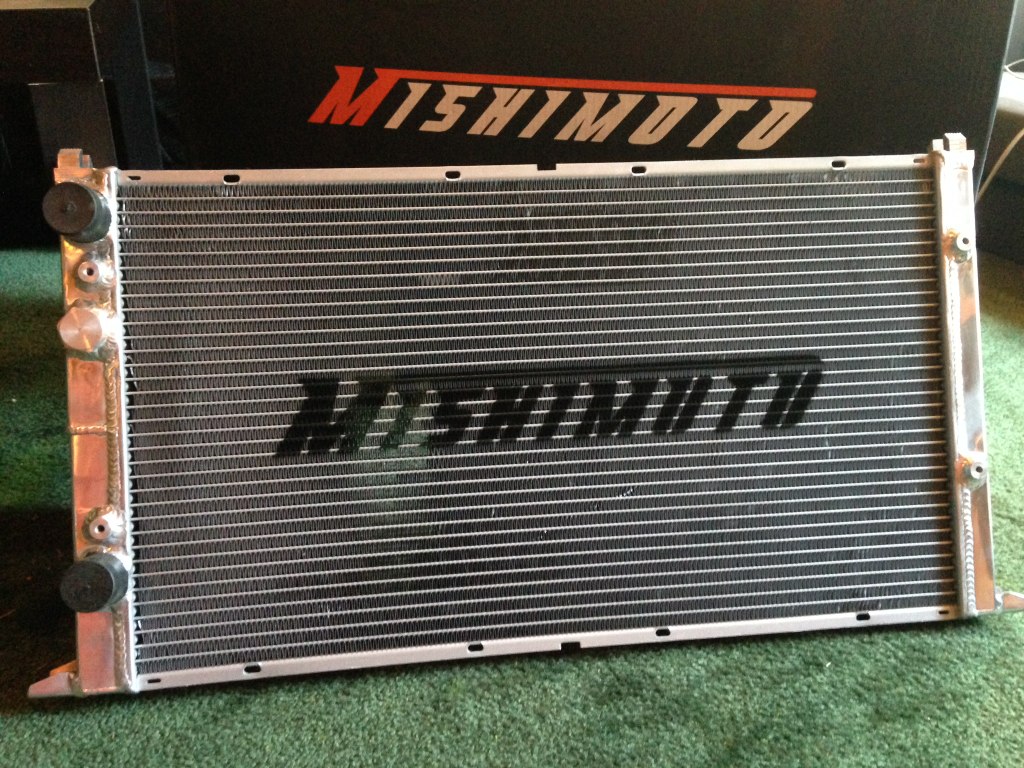
So while these were on sale I went and scooped one up. Managed to somehow fit it in the toyota..
I knew this was going to add a lot of fab time onto my schedule but I deemed it worth it. Keeps the engine bay a bit cleaner and makes the car that much more street style. I figure worst case I can always cut them out.
A tip given to me by a guy who's crashed a car or two and has seen what they can do told me to not do them. He said if you get in a crash it can pull the strut tower out of whack. I'm planning on holding each in with a bunch of tack welds and seam sealing it all for a seamless look.
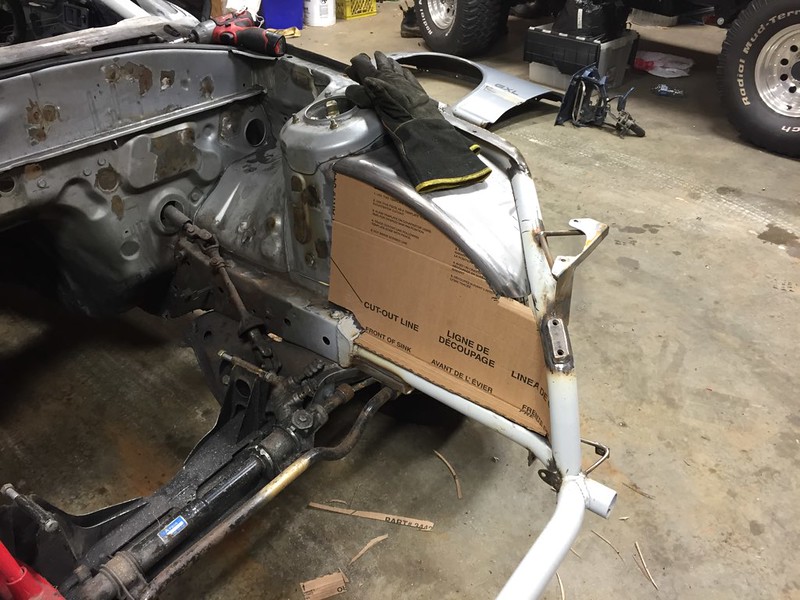
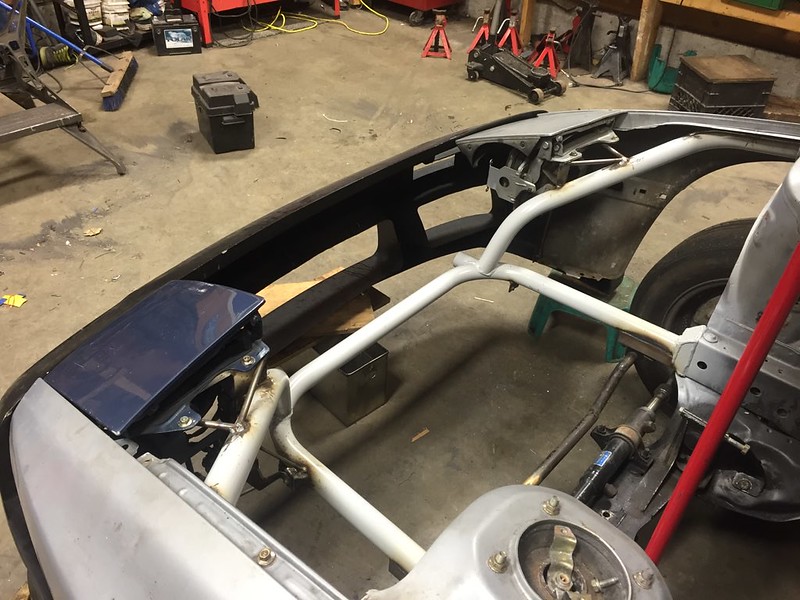
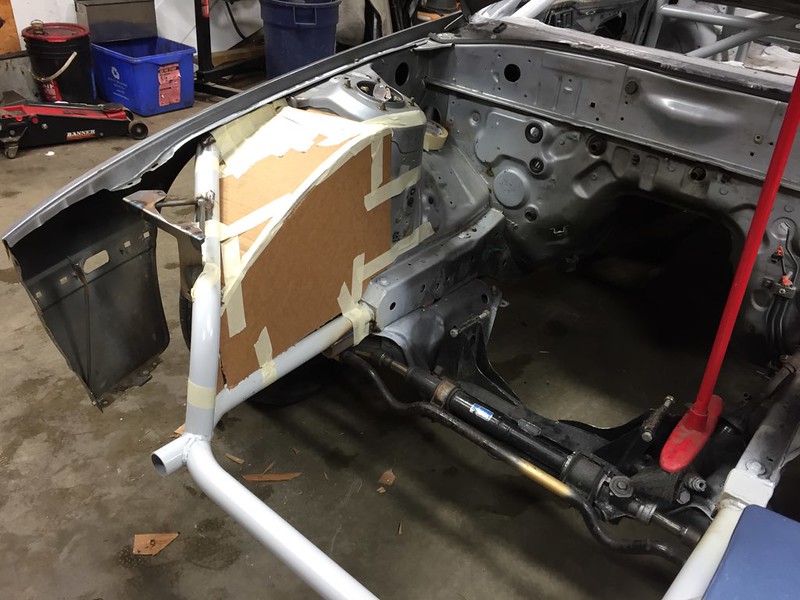
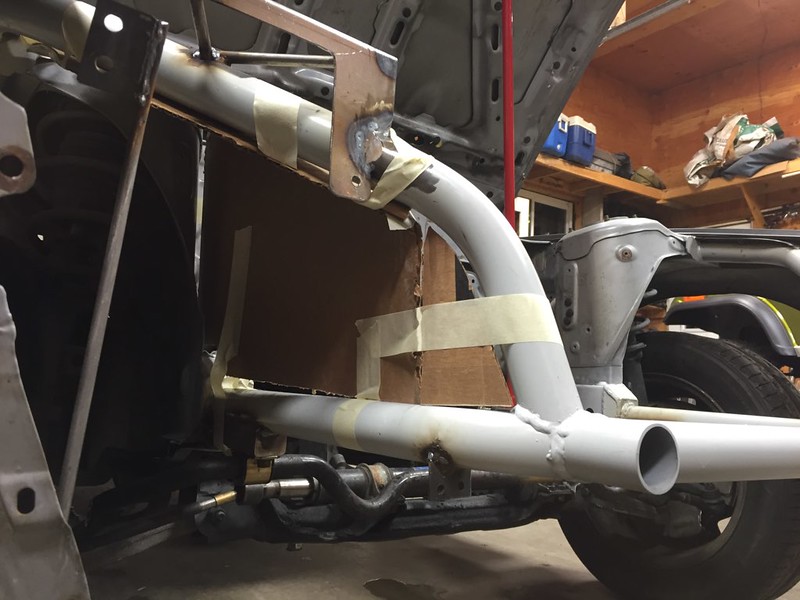
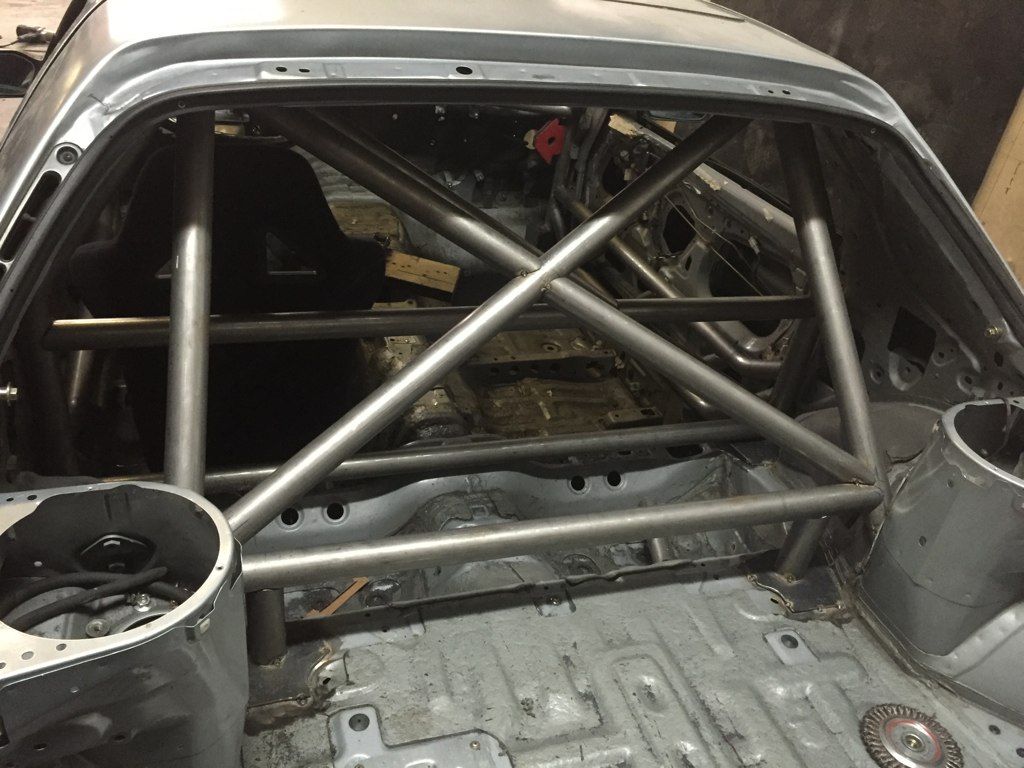
So many hours of deciding, and using cardboard to help figure out (these pics are actually from when deciding whether to do them or not) I had a game plan

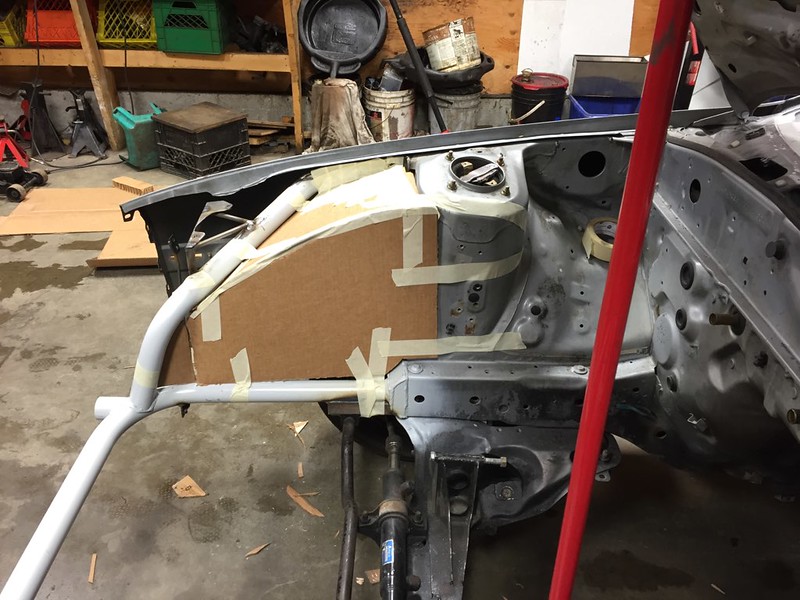

Spent a lot of time making sure the gaps were stupid tight. Which will be a waste of time after the first time I tap the car into something I'm sure but oh well thats drifting.
Then ran out of gas and moved onto something else.

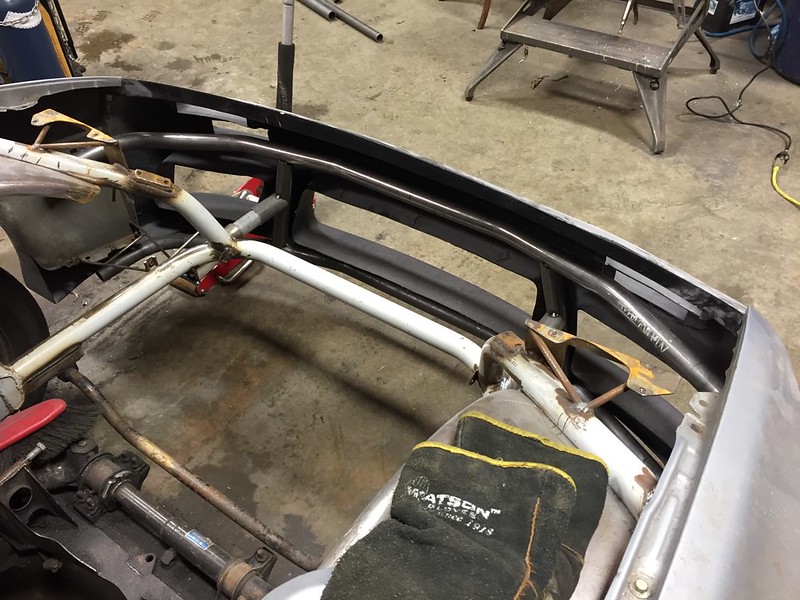
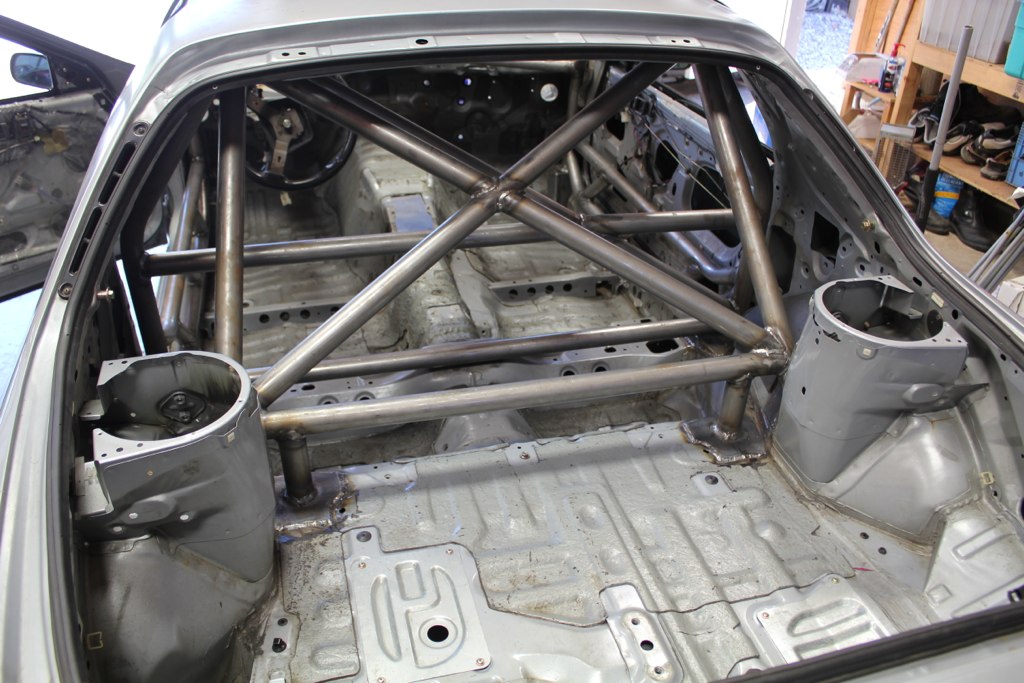
Long way off but trimmed the cubby frames around the cage.

Picked up bottle #3 of this project

Also had the metal place bend up the pieces for the tub fills while I was there. A little 1' lip on a big sheet that I will trim down to fit.

like so

Heres a pic of the bending rig I came up with to do the one corner
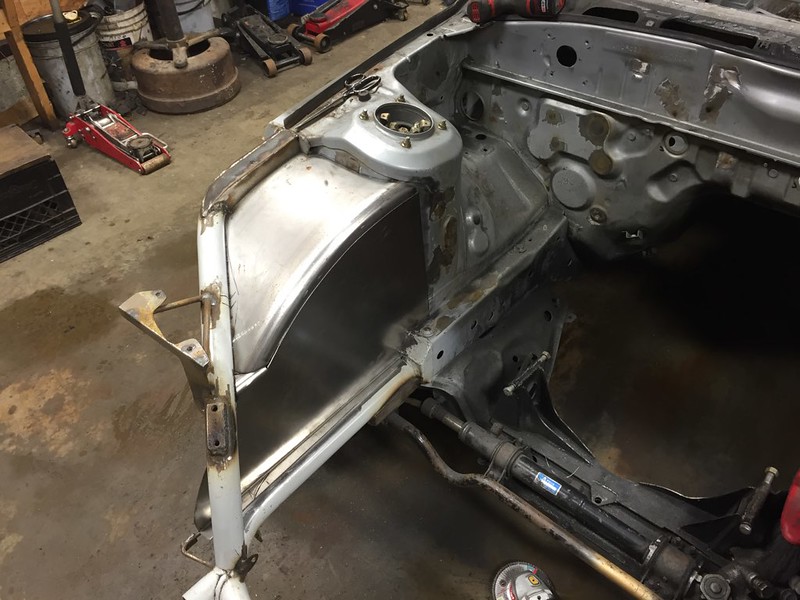
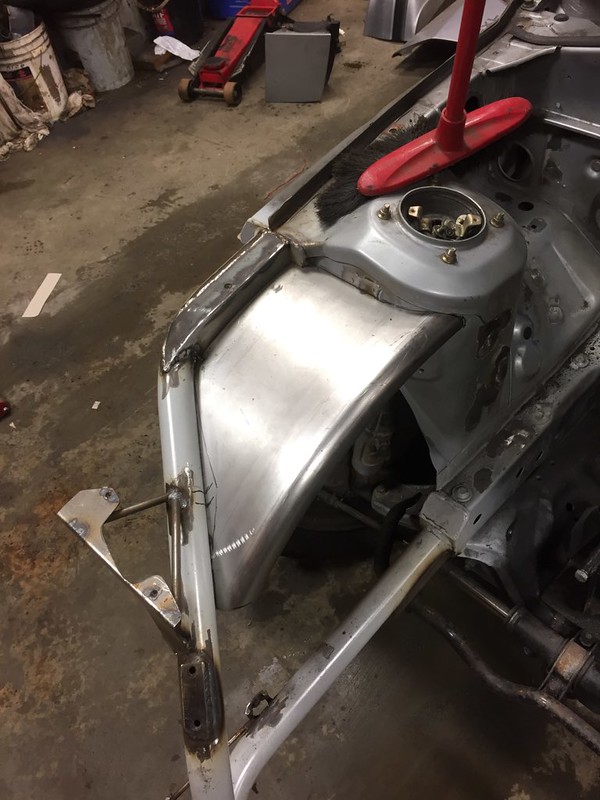
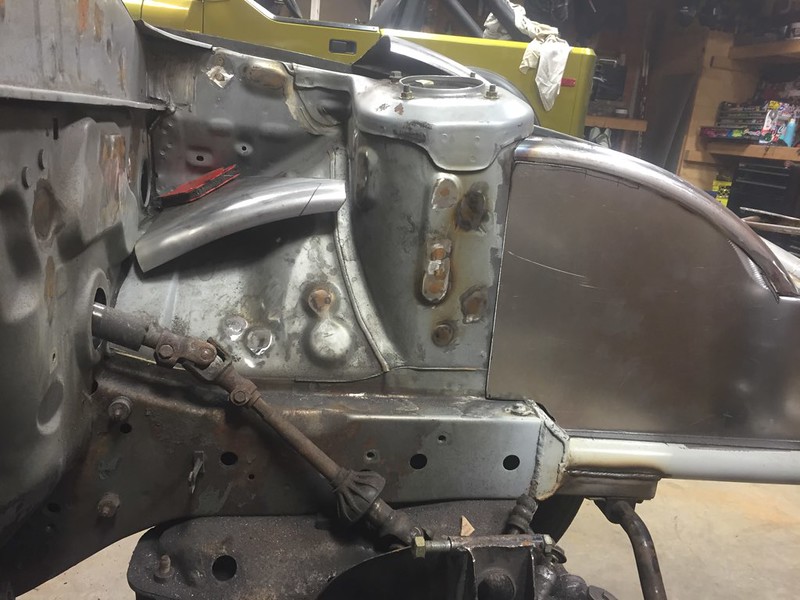
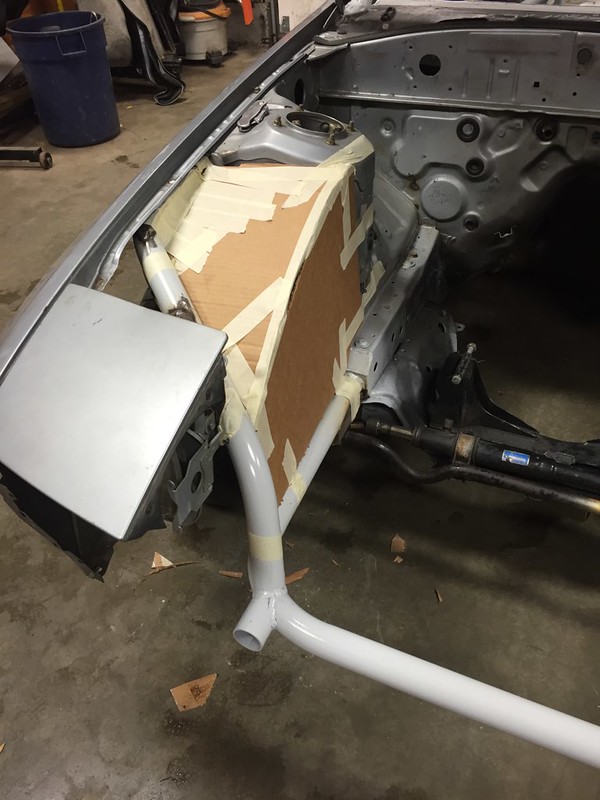
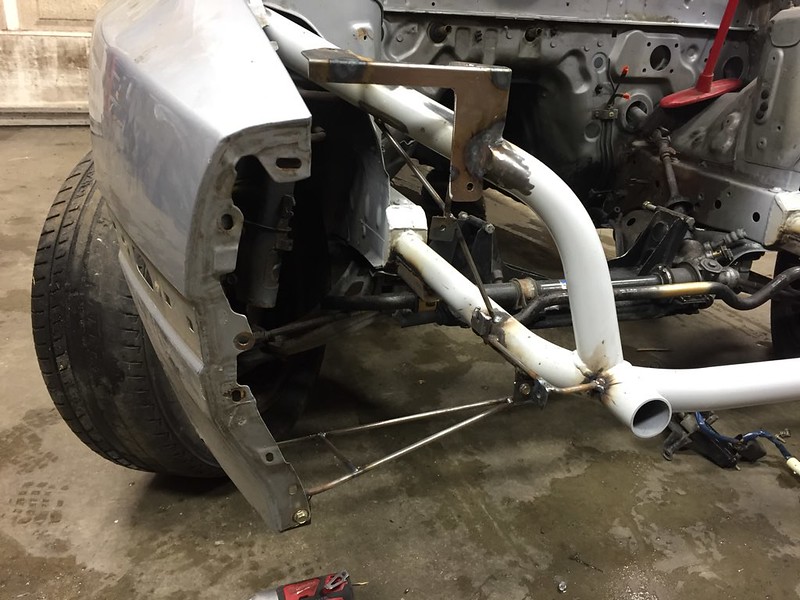
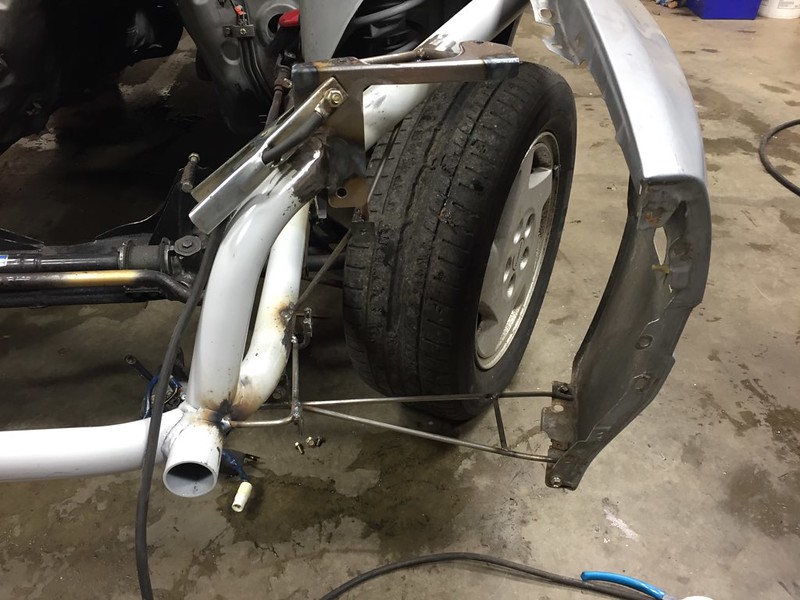
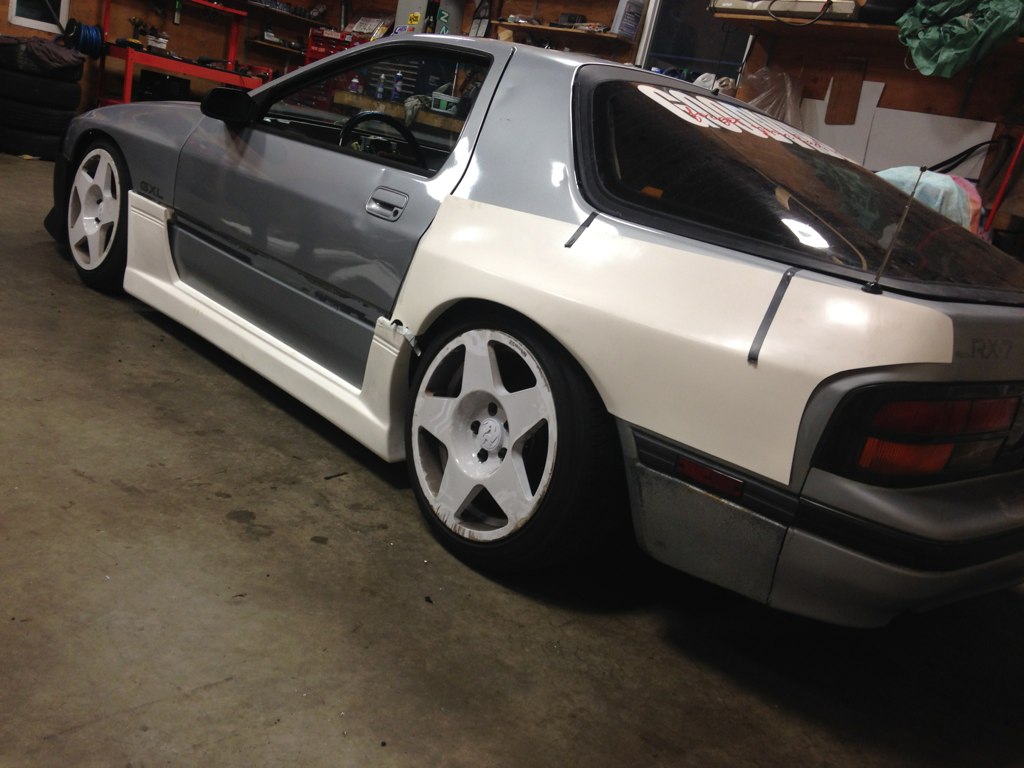
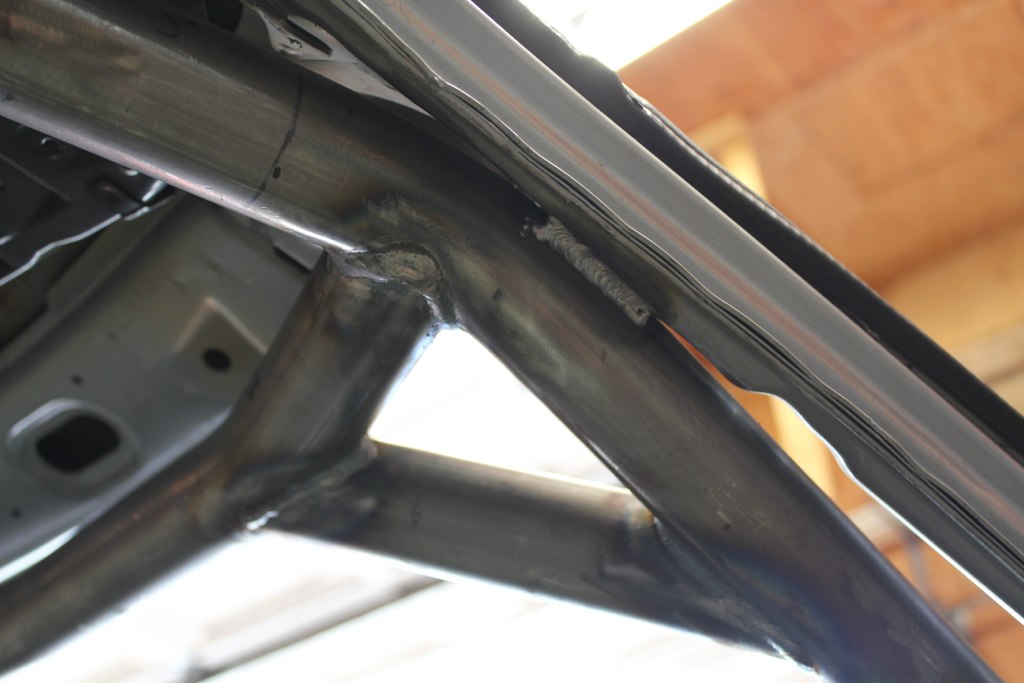
The spot where the fill meets the fender and the tube was kind of an awkward one. But I strived to make it as small an area as possible, and am pretty happy with how it came out.
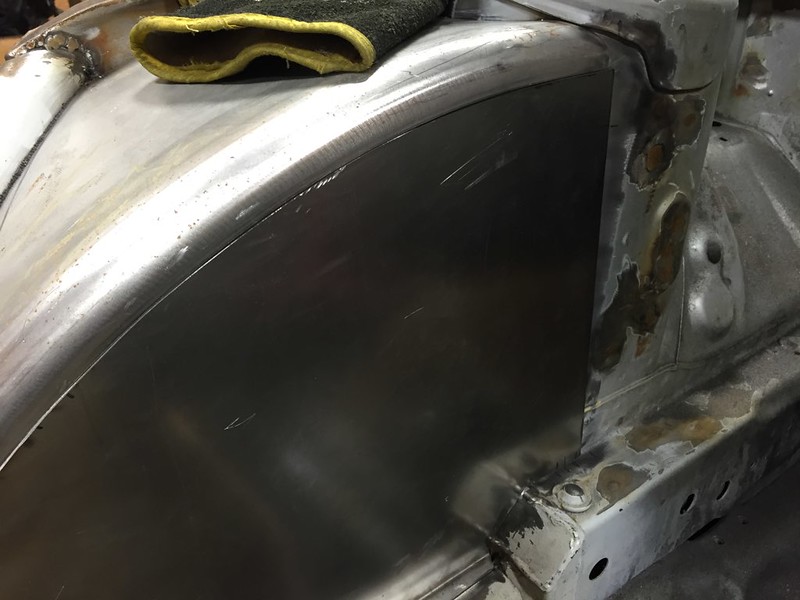
keeping the gaps real tight

angle of this pic makes the gap look really big but its not much larger than the others. That was a tough area to kinda guess where to cut then bend it, struggle to fit in place, shave down some more and then find out you went too far in one area. Did some adding to a few edges.
But came out good. Once its seamed and painted I'll never be able to tell.

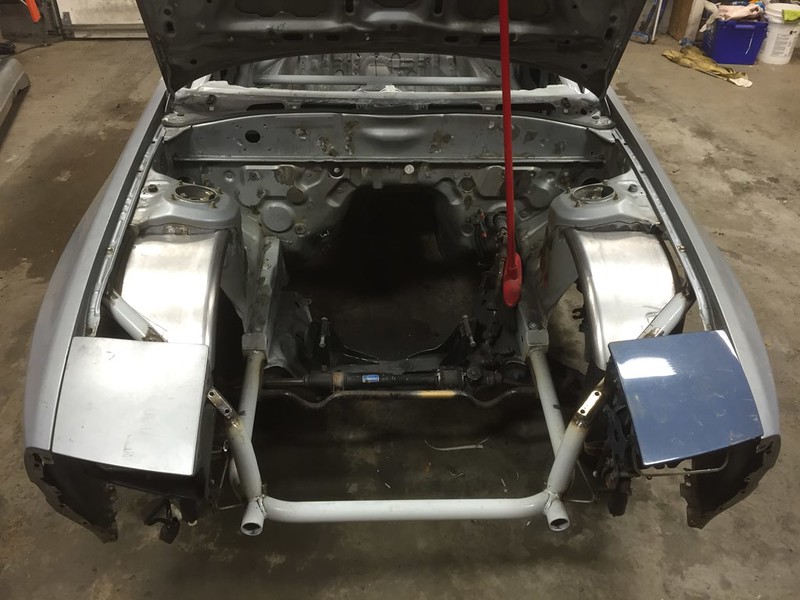
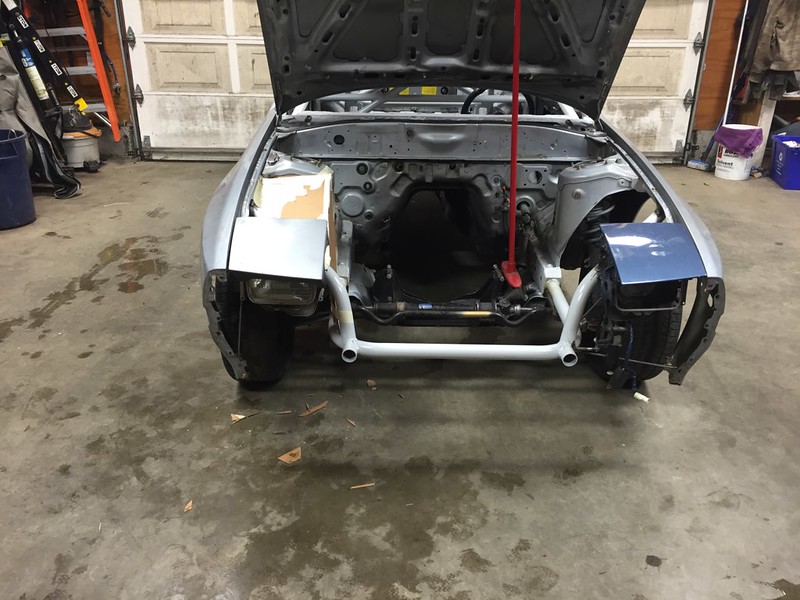
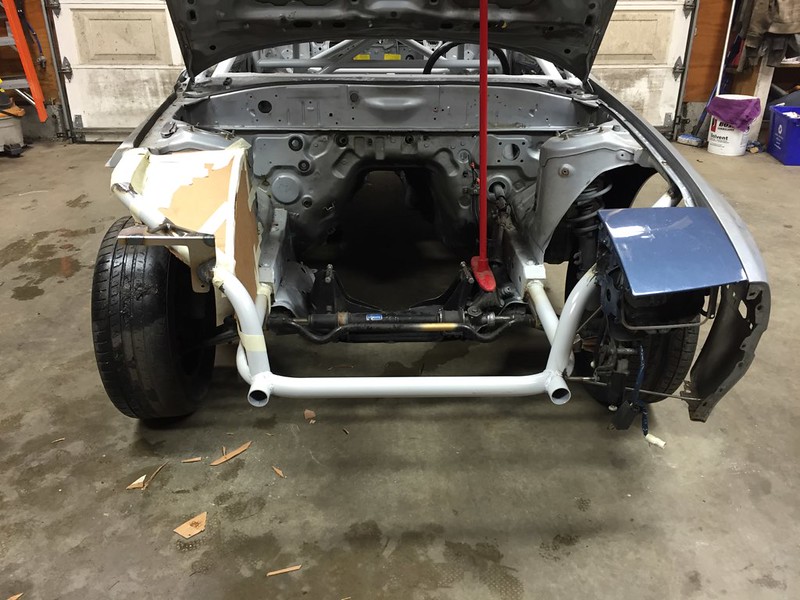
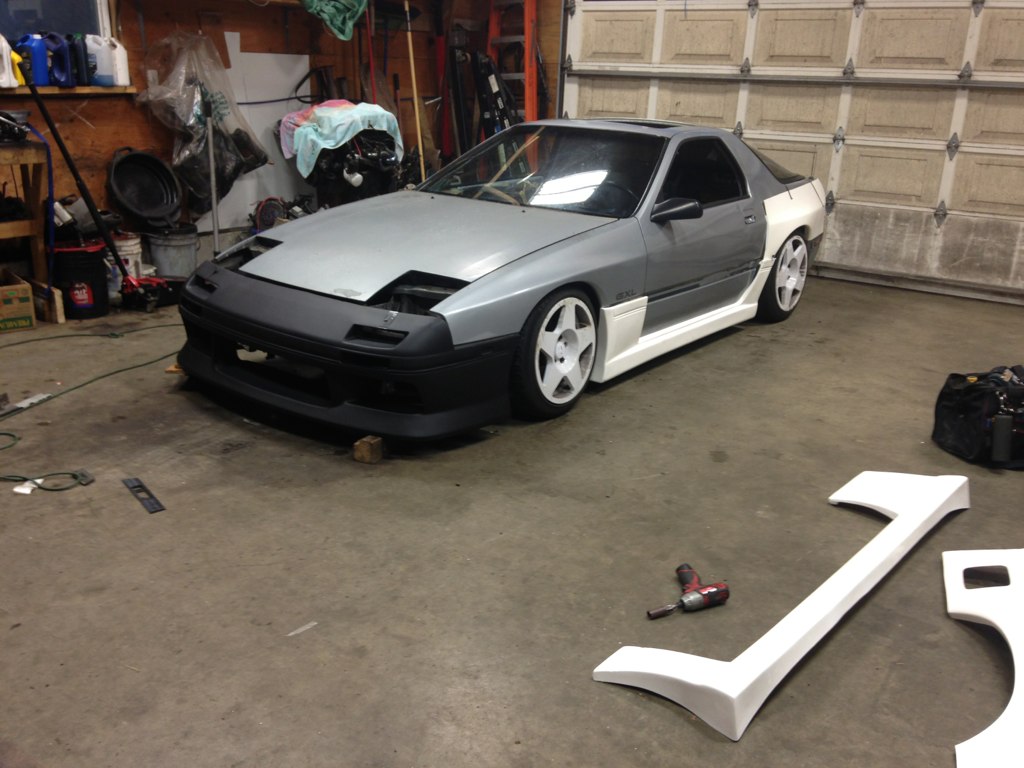
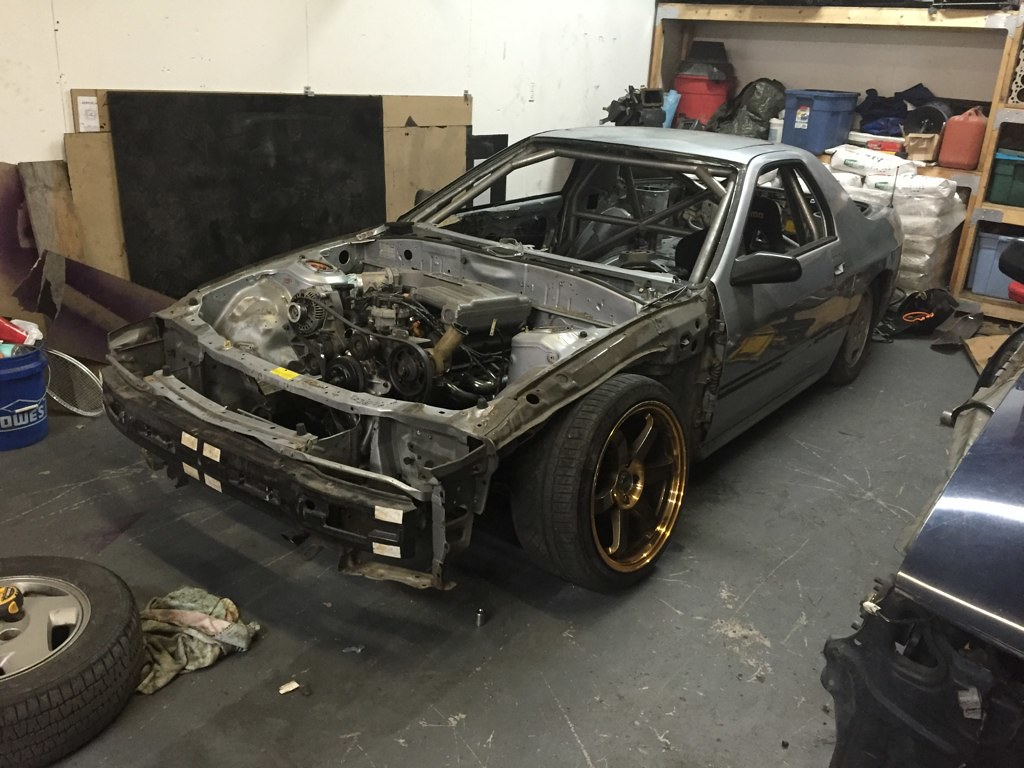
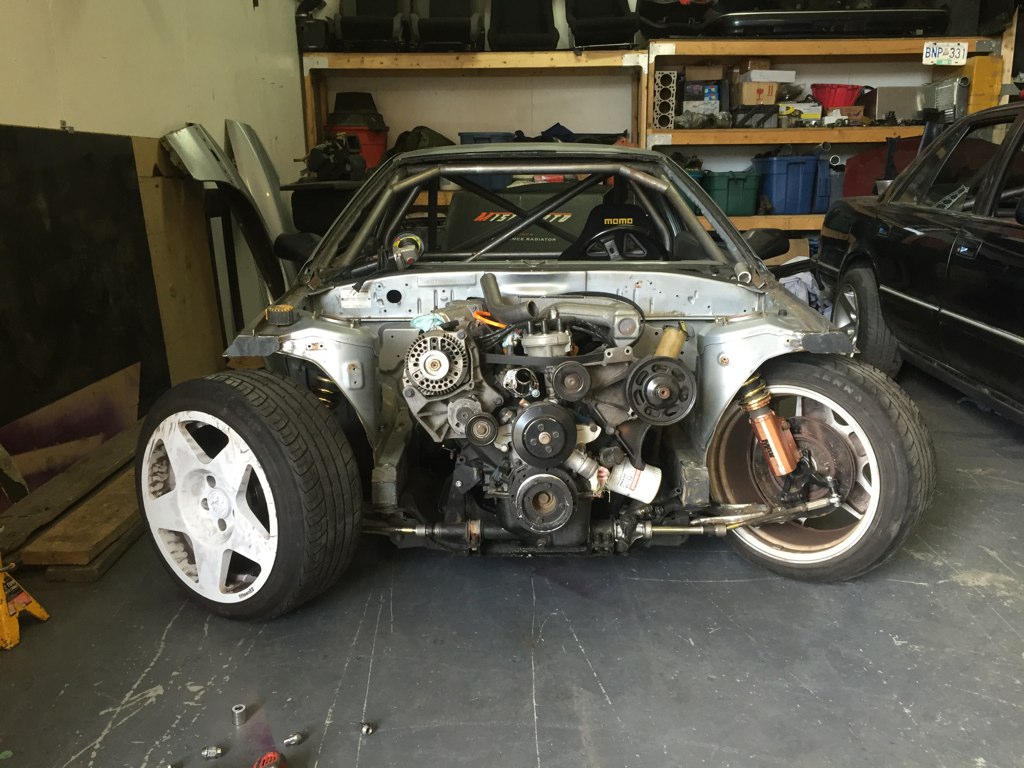
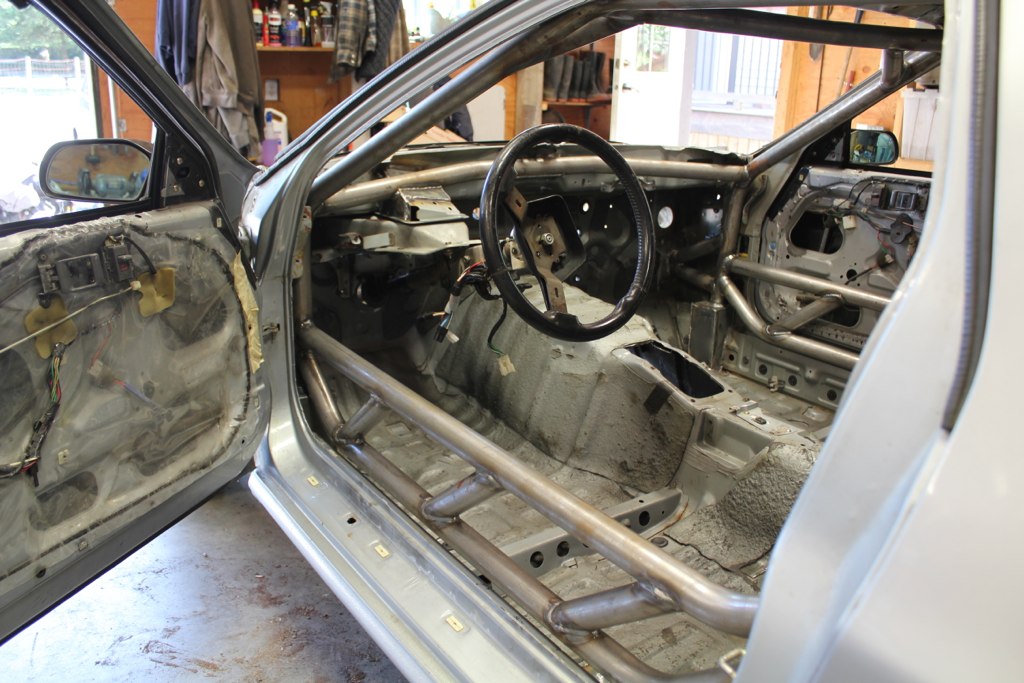
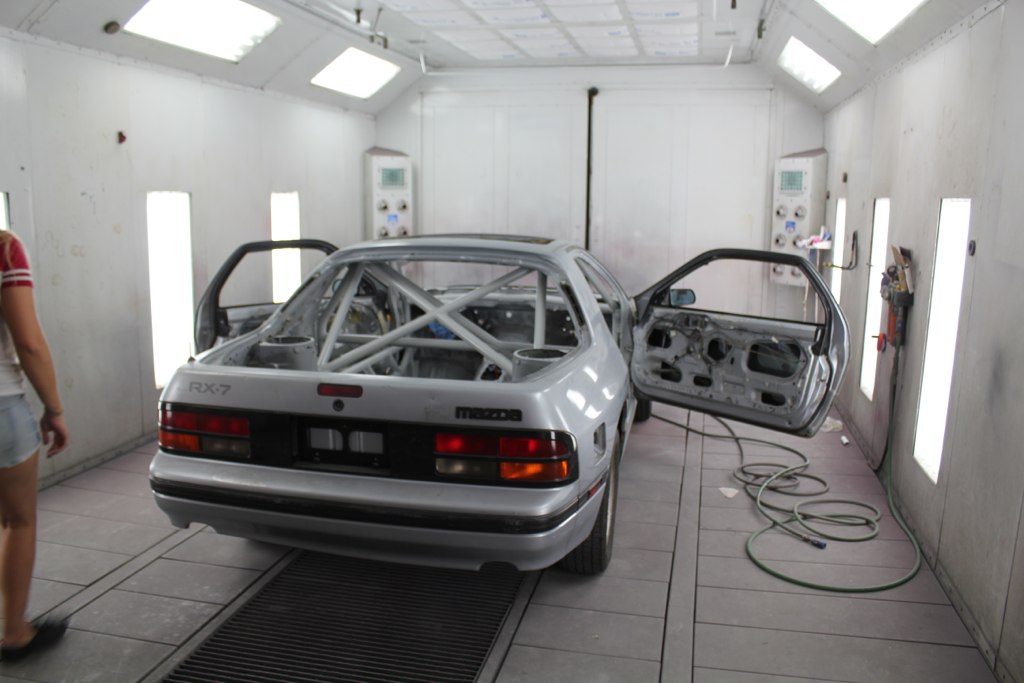
I'm big on how this car looks when fully dressed but also while its fully naked and the steps in between.

Around here I was very into how it looked with the tubs and nothing else on. It looked fine with the fenders and headlight in but not when those were off. Not too interested in throwing all that work in the bin yet I decided maybe it'll grow on me and carried on.
I've been reading through Engineered to Slide's hilux build, not only inspiring work the hours that dude put in were crazy. He is also completely not afraid of cutting off a piece he's not happy with regardless of how much work it was to make. That kinda added a new element to how I was looking at my own work.
I'm refusing to weld them in yet, until I have some primer to put on them right away. With the tent situation the way it is the car now hides in the tent but under a tarp. We have been getting a ton more snow than expected and when its not snowing it's raining. The car has started building up light surface rust all over the bare areas. As much as this pains me theres little I can do about it yet.
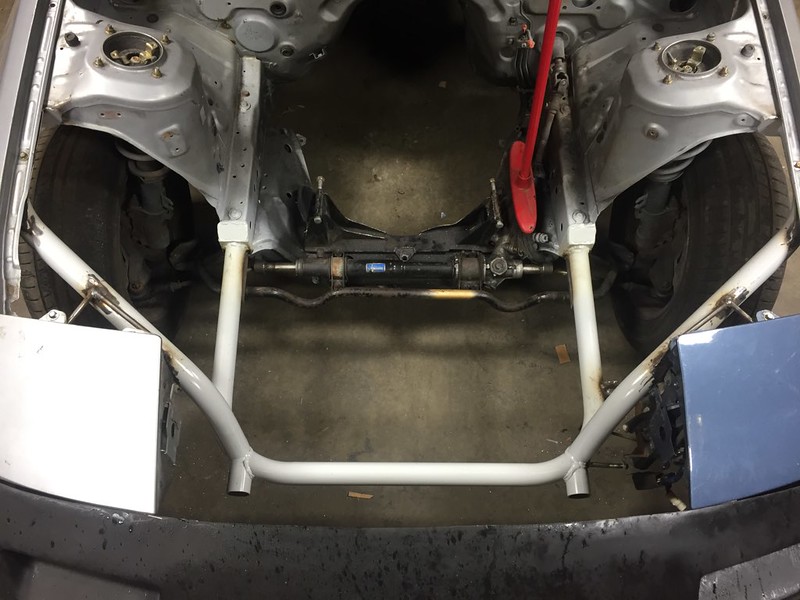
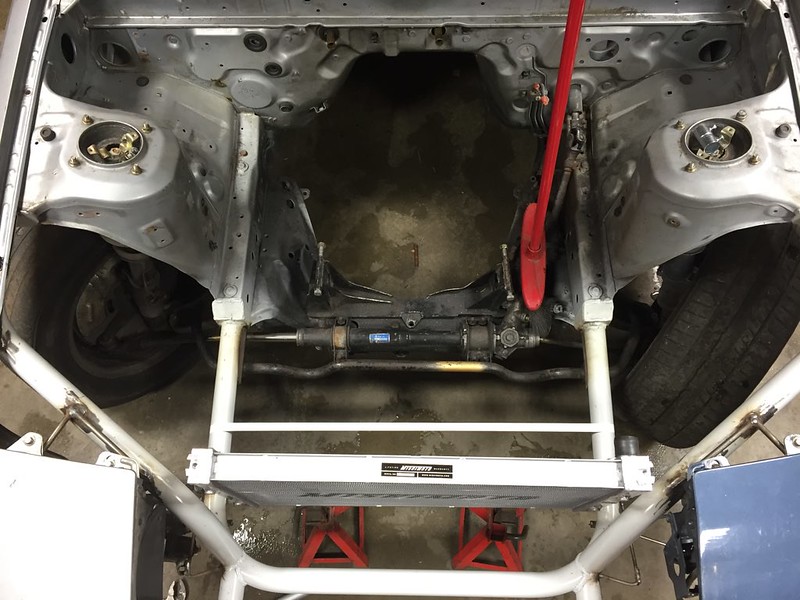
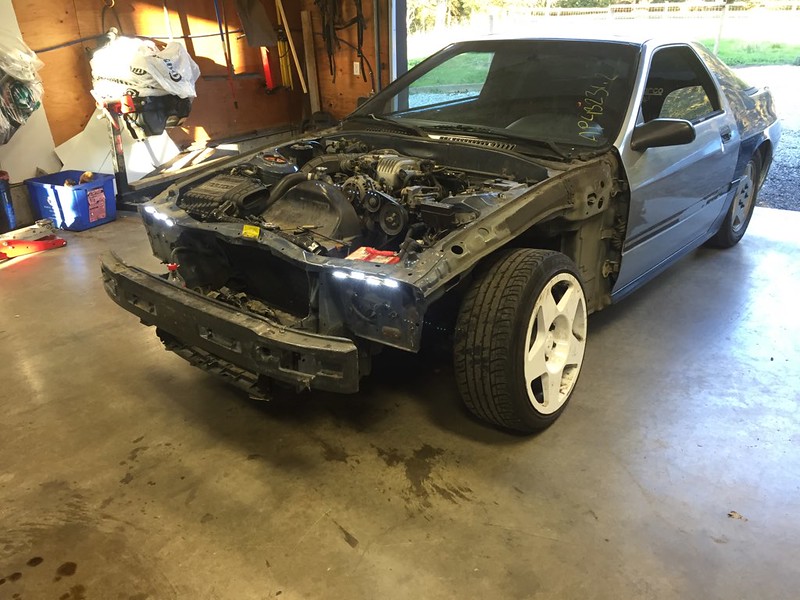
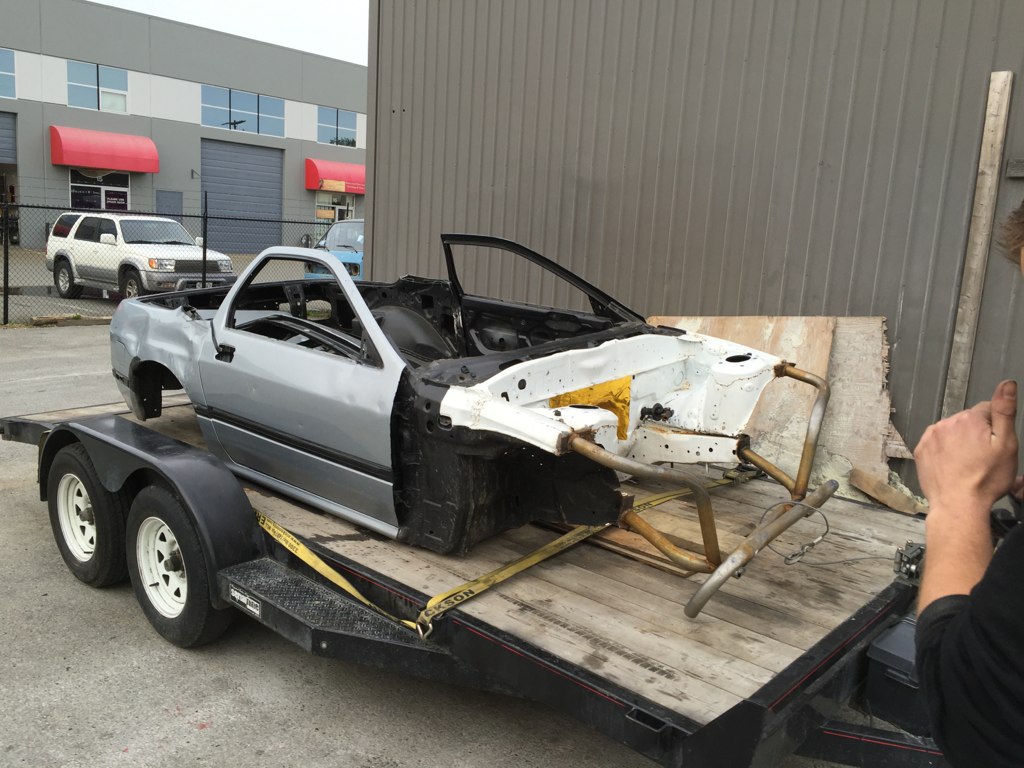
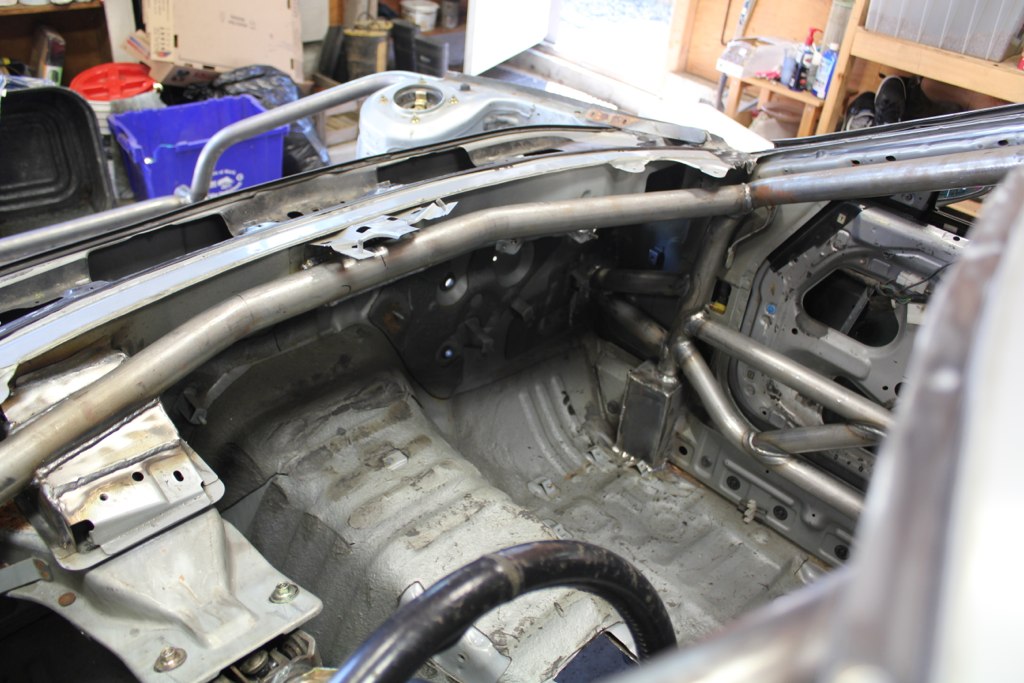
So that done, the next thing was to cut more car out.
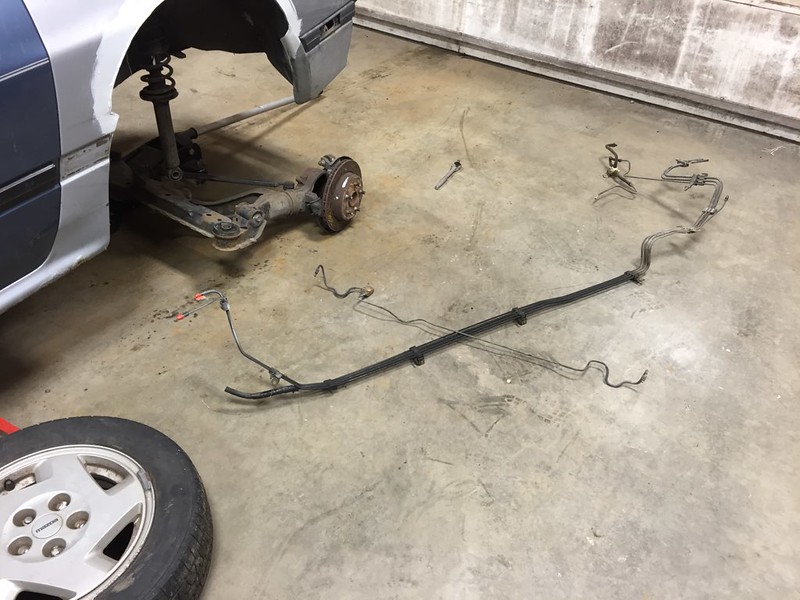
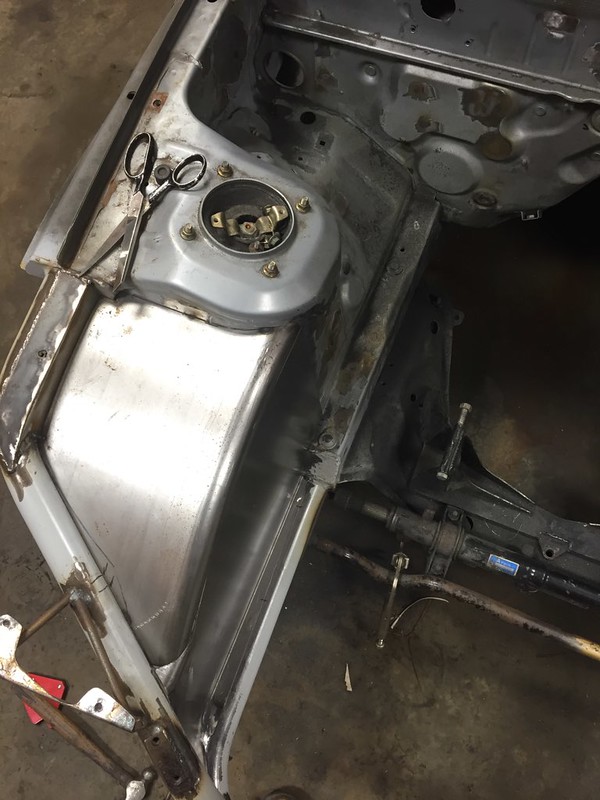
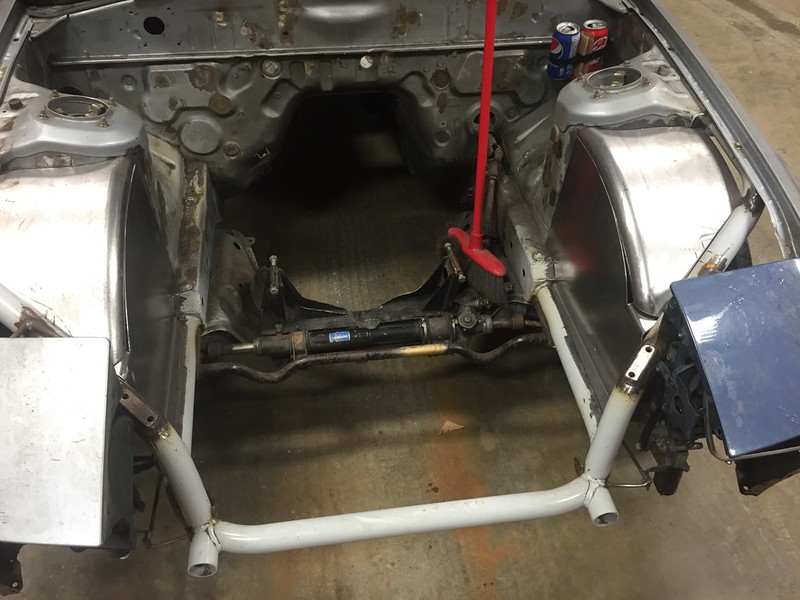
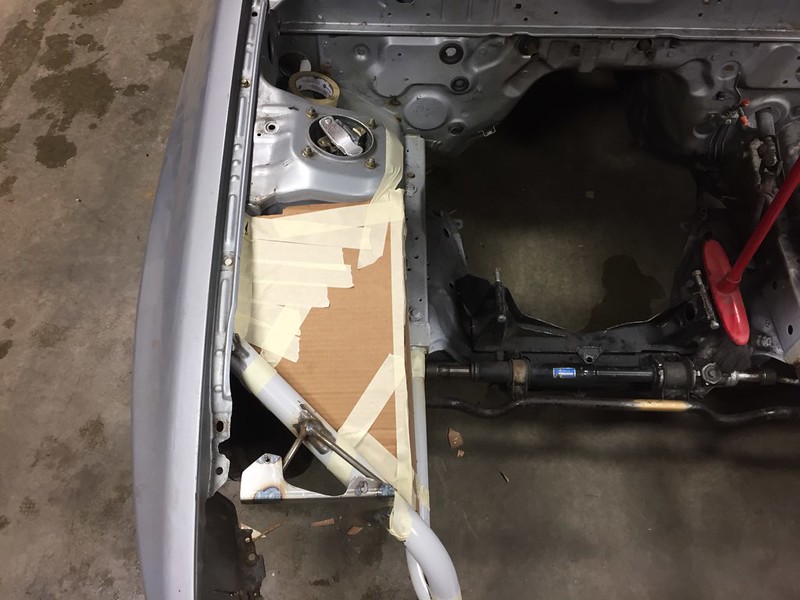
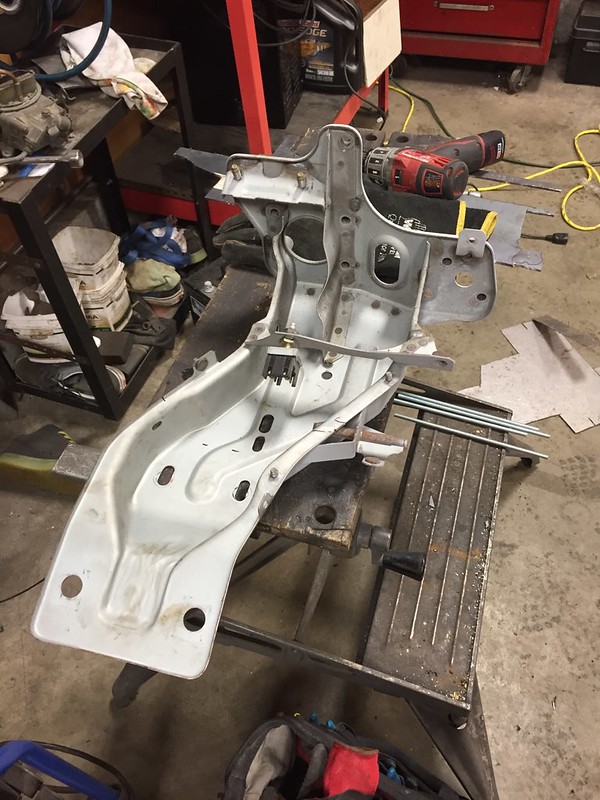
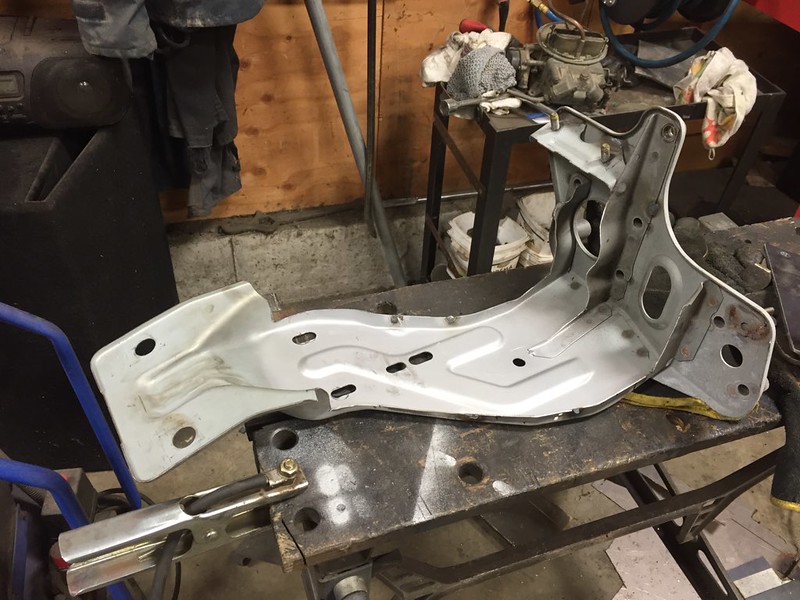
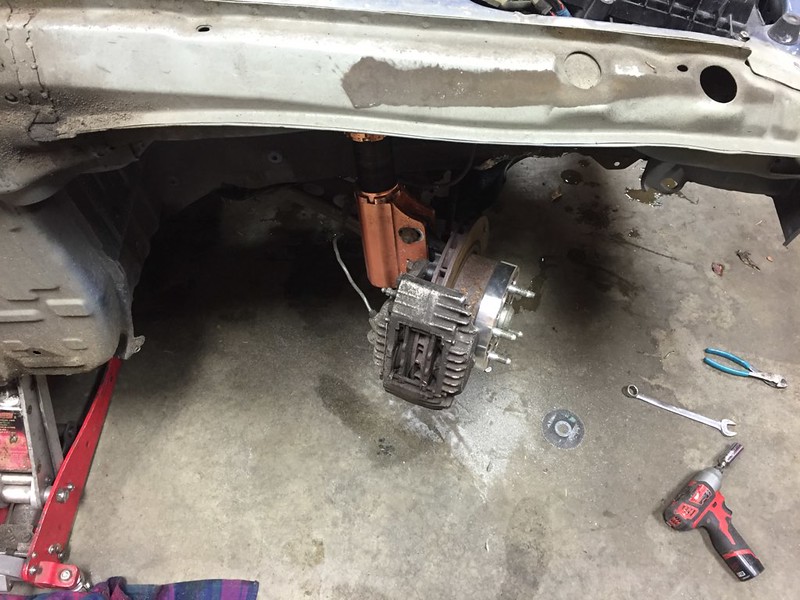
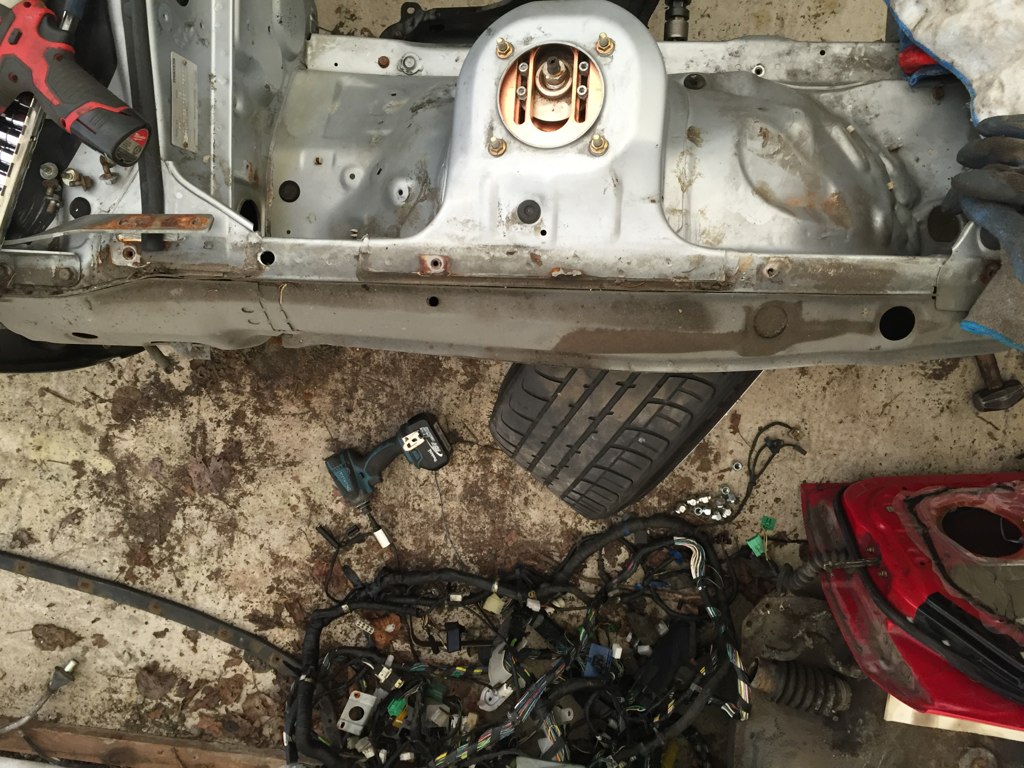
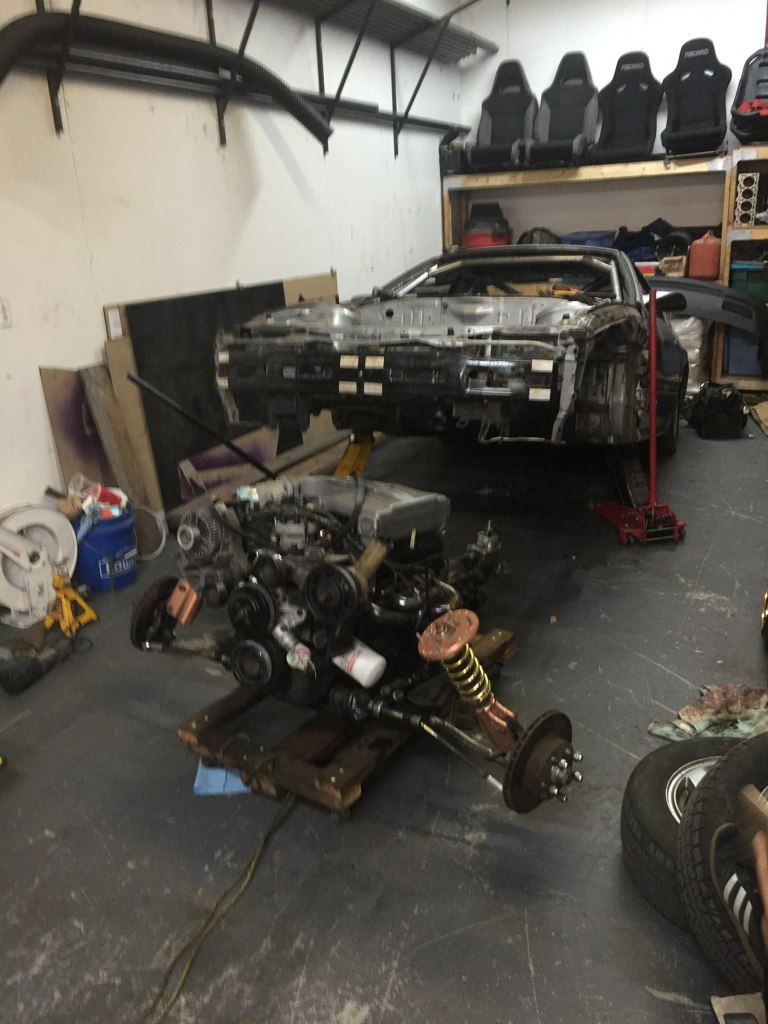
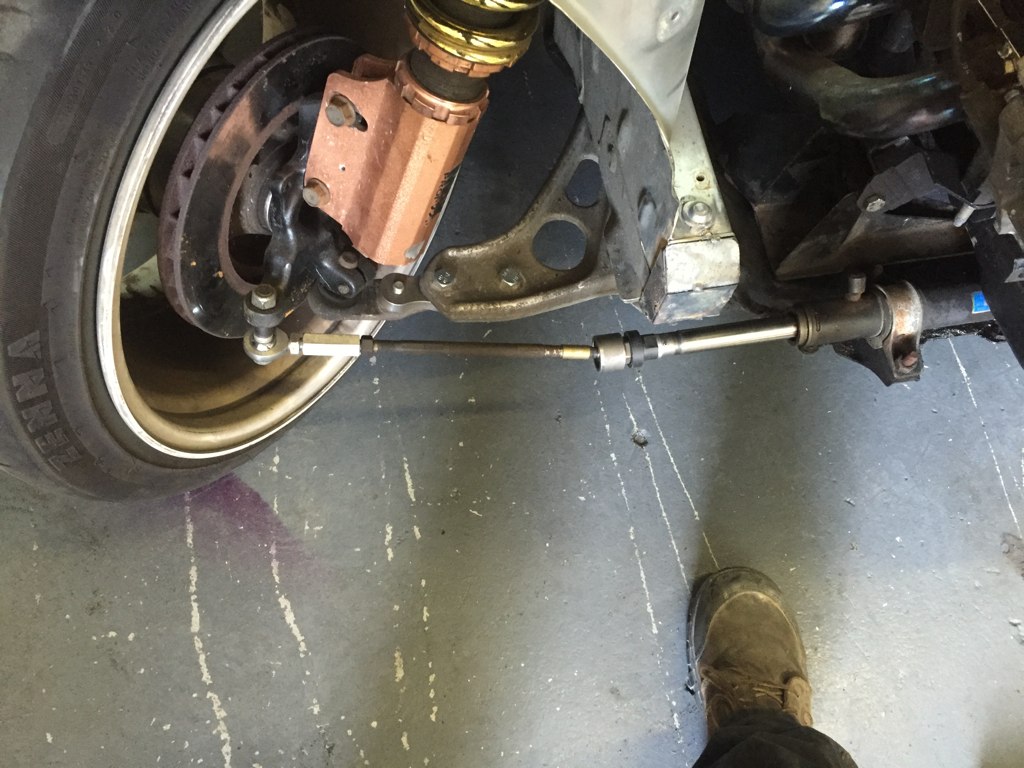
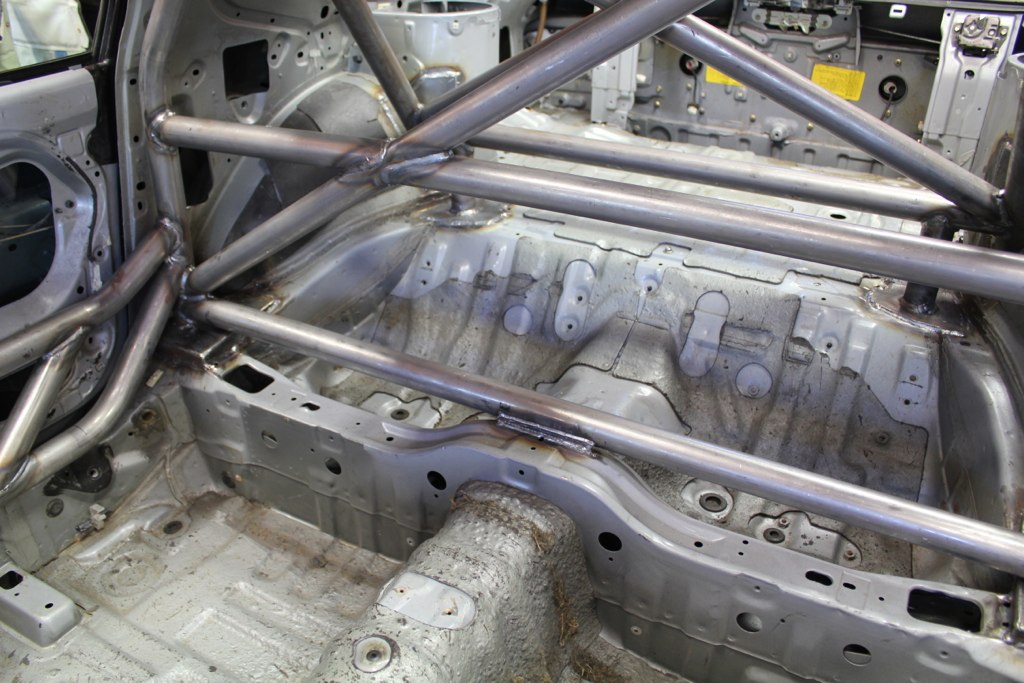
first had to take out the fuel lines and the subframe

And remove all of the bump in the bottom of the cubbies. When you install Parts Shop Max subframe risers, the toe arms, trailing arms and subframe move closer to the car. This combined with how low a ride height I want to be at and running 0 camber means the floor can't be there. Last time I took a hammer to it but I wanted to be better this time. I also plan on mounting the battery and a few things in the cubbies so a flat floor makes it easier.
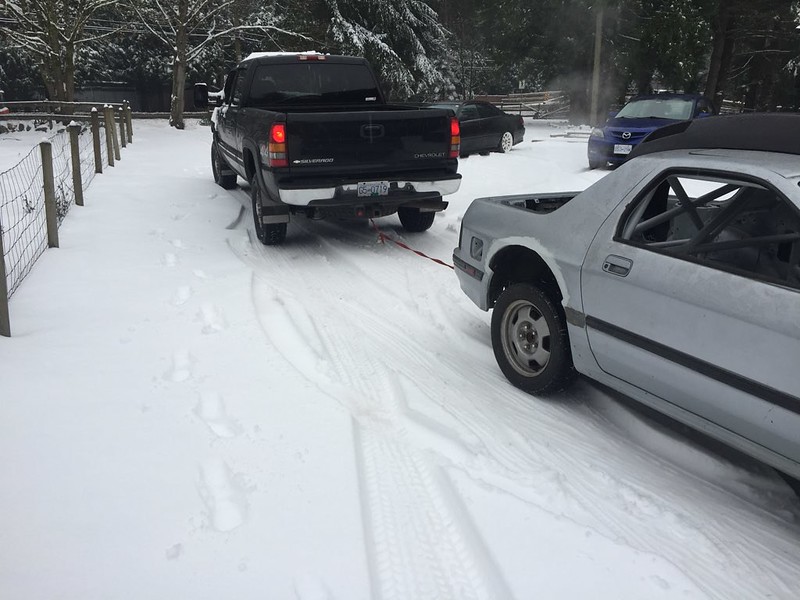
Finished cutting and trimming the pieces to fit, (but lol forgot to take a picture naturally) and decided before I do any final welding I should test fit the subframe. Which is on the missile car. Which is parked outside...

So thats gonna have to wait till like march lol.
Before I forget, boxing week brought upon me great deals. I needed some 18V drills for work and love the M12 stuff I have from Milwaukee already. Local place had a deal on where you buy the drill set and get a free grinder. Nice having 2 grinders again and the cordless part it handy. Its a shame it rips through batteries so fast haha.

Have a whole family now. The impact actually has enough torque to remove lug nuts so thats sweet.
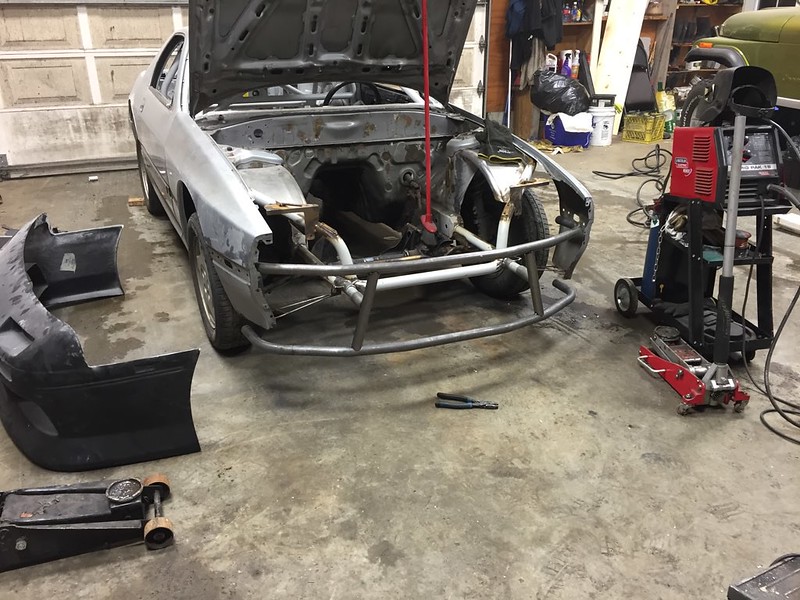
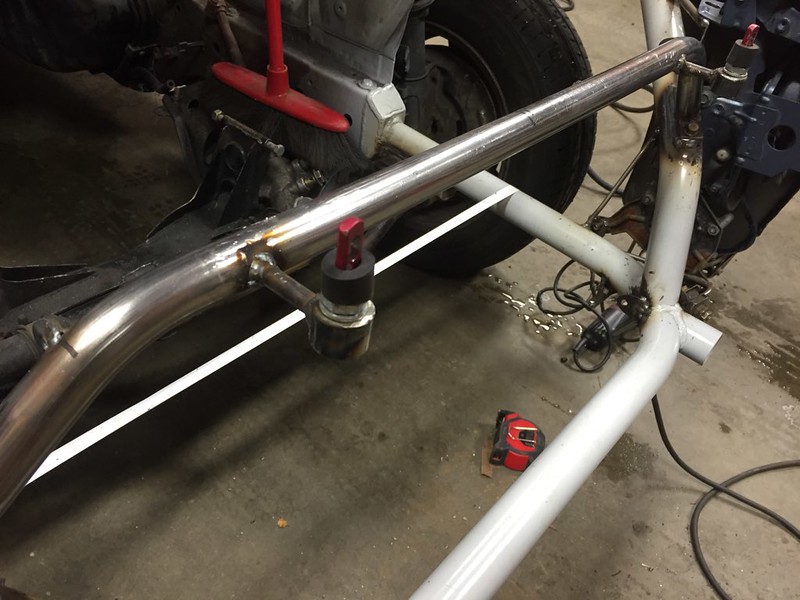
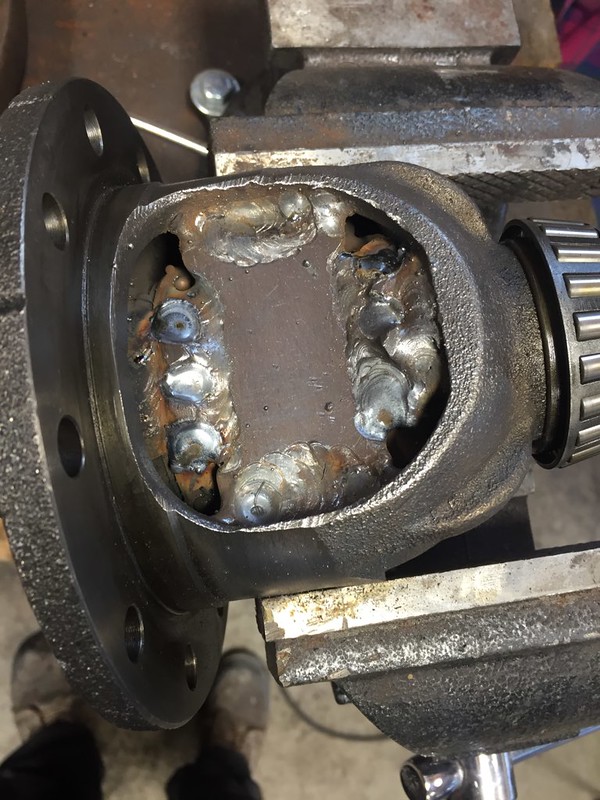
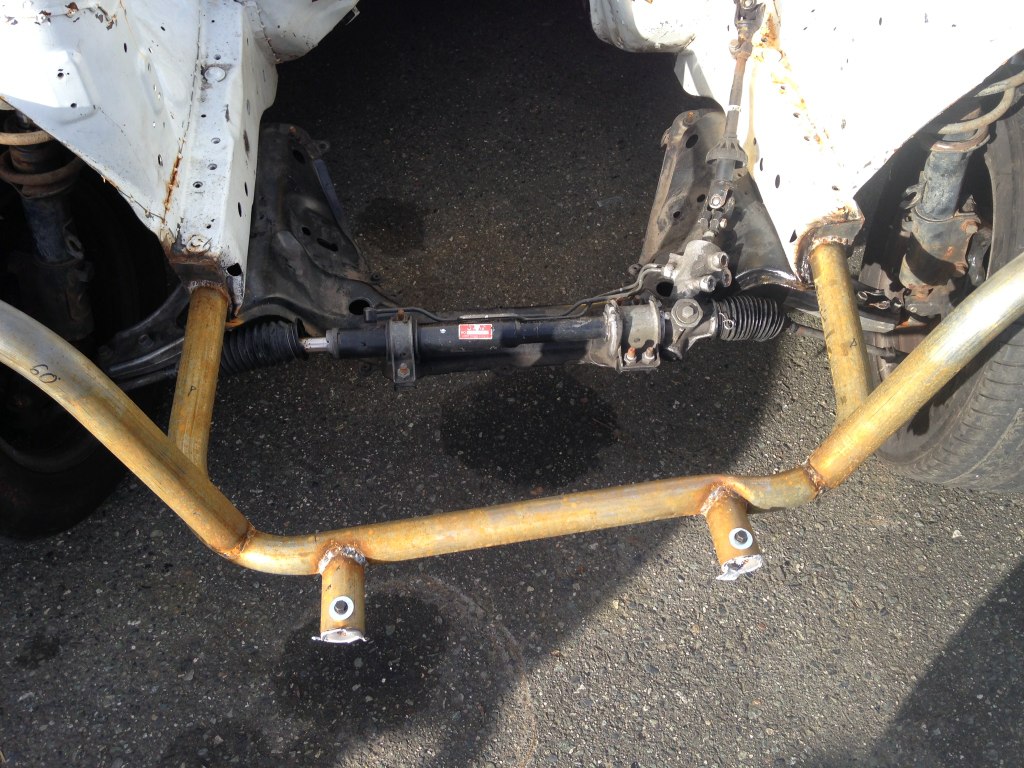
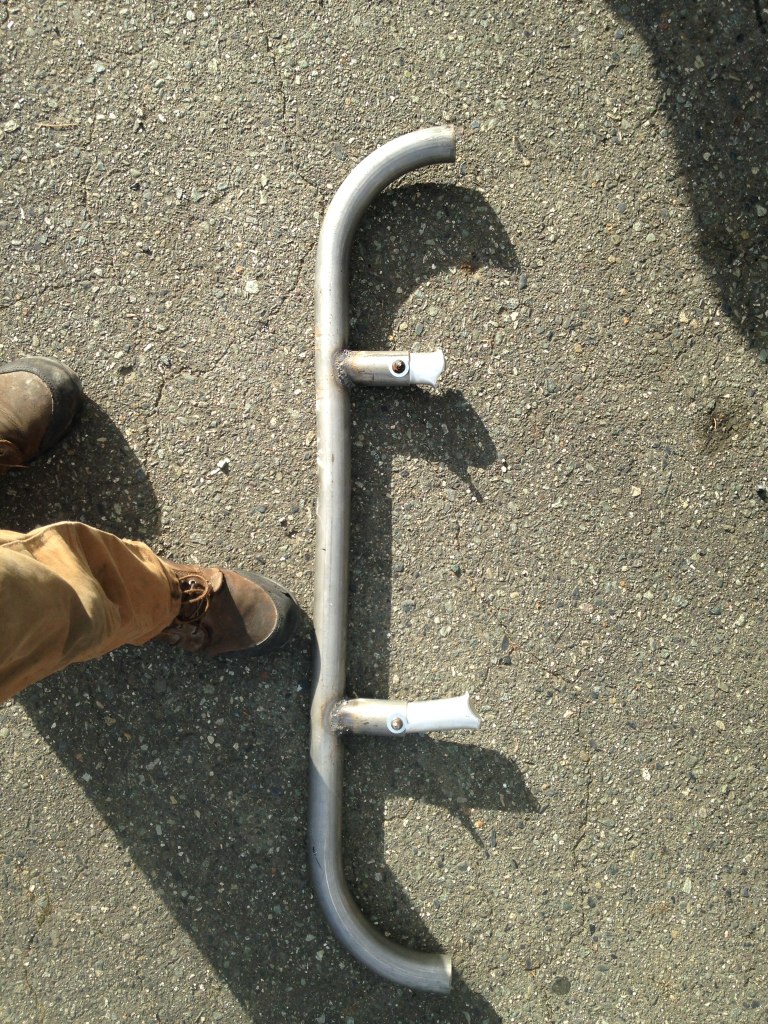
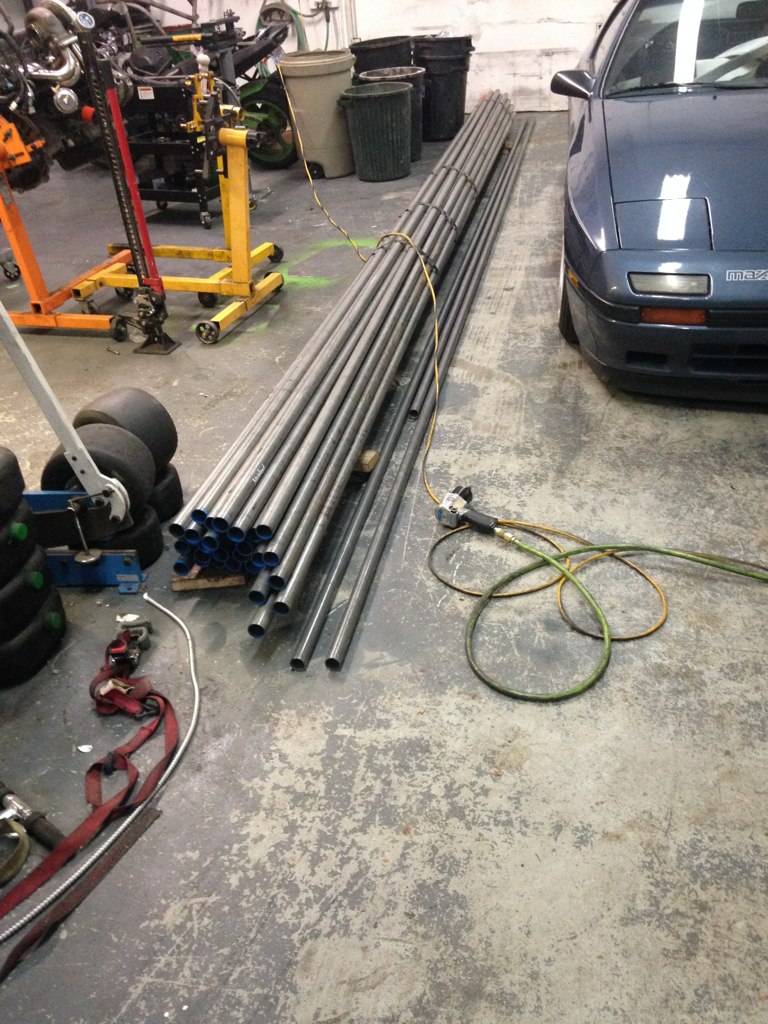
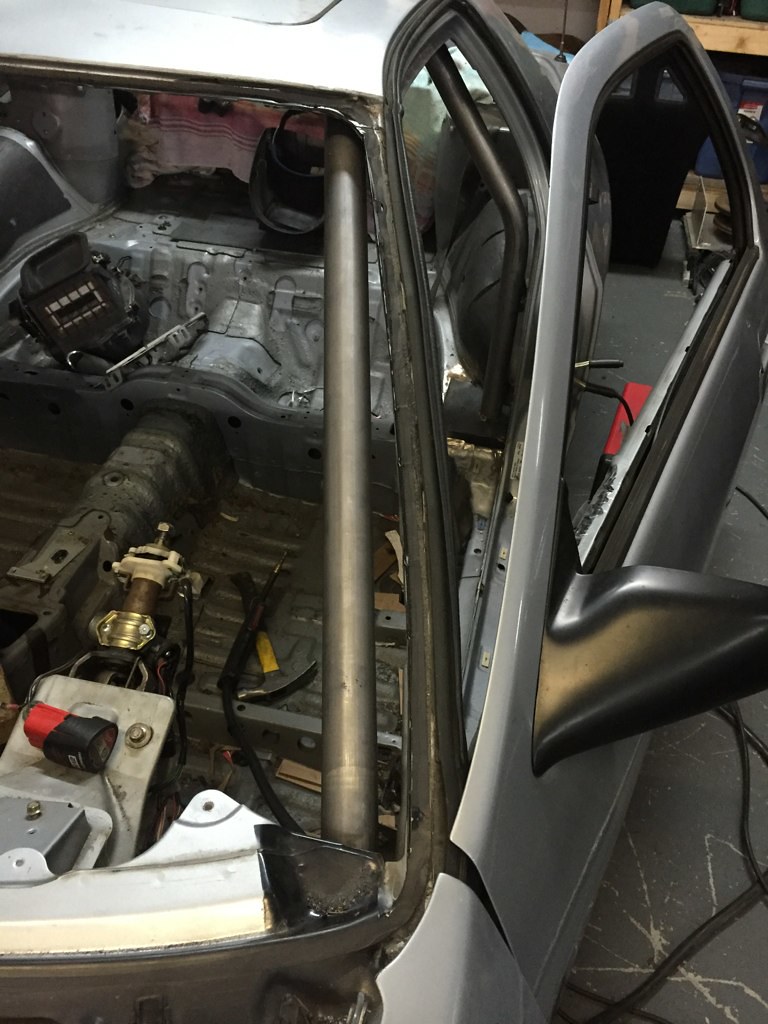
Per Gaelen's recommendation about tubs he also told me to make the bash bar out of a really thin wall tube. It took only like 6 weeks to get (kinda silly), and I wish they had some on hand first because when I picked it up it was really thin. I figured we use .095 wall and thats pretty strong so the next size down .065 wall is like exhaust tubing lol. Gave it a shot aaaaannnnndd

nope.
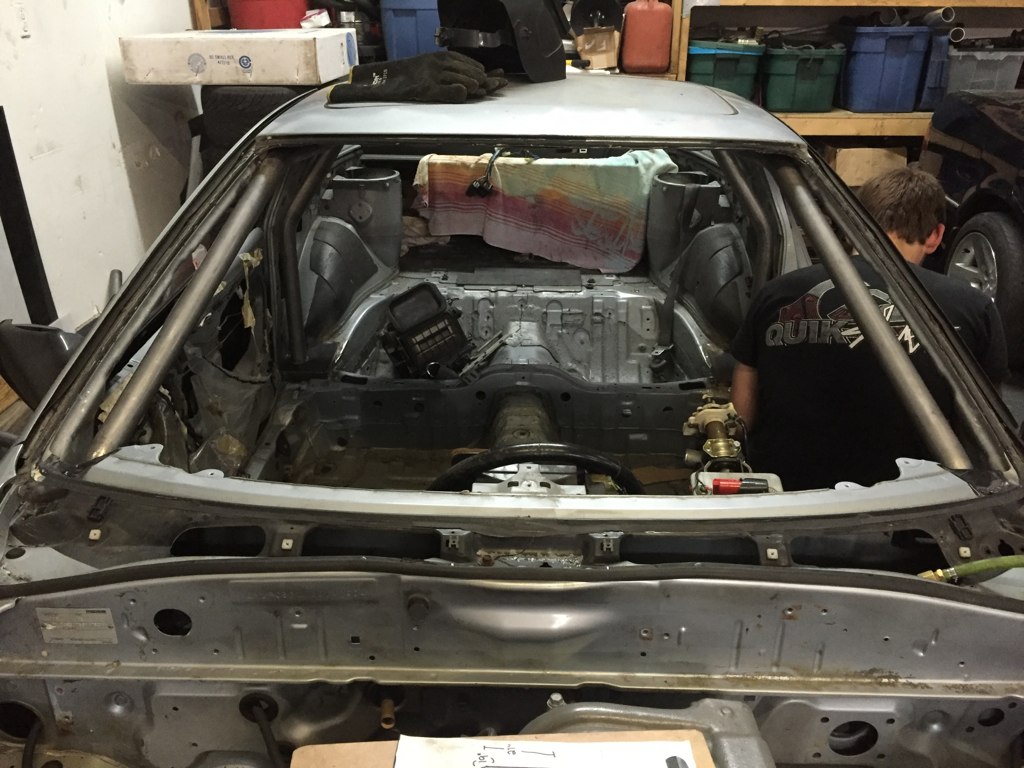
fun fact, with some creativity you can fit and 8' tube in a sedan.

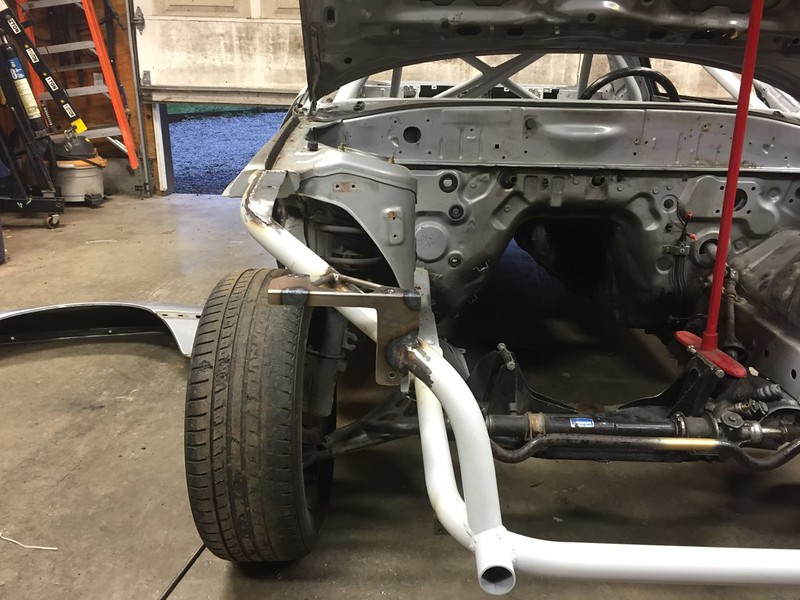
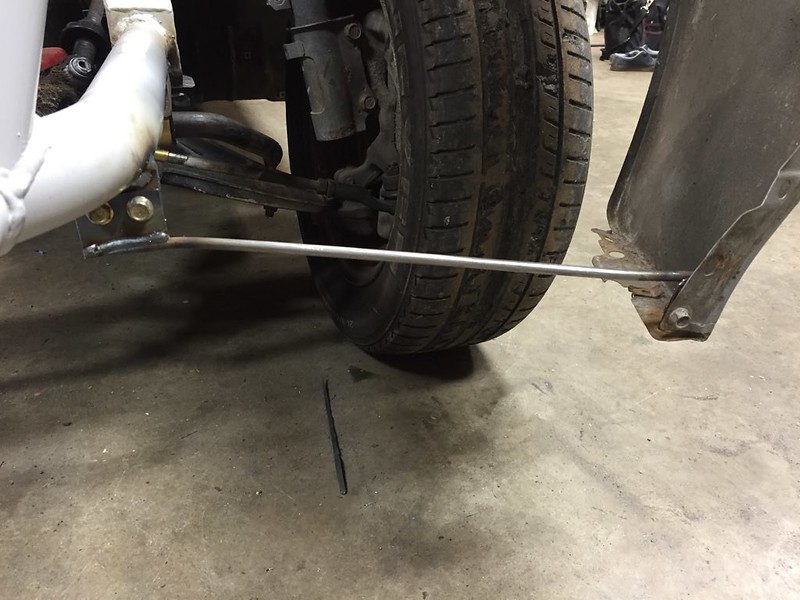
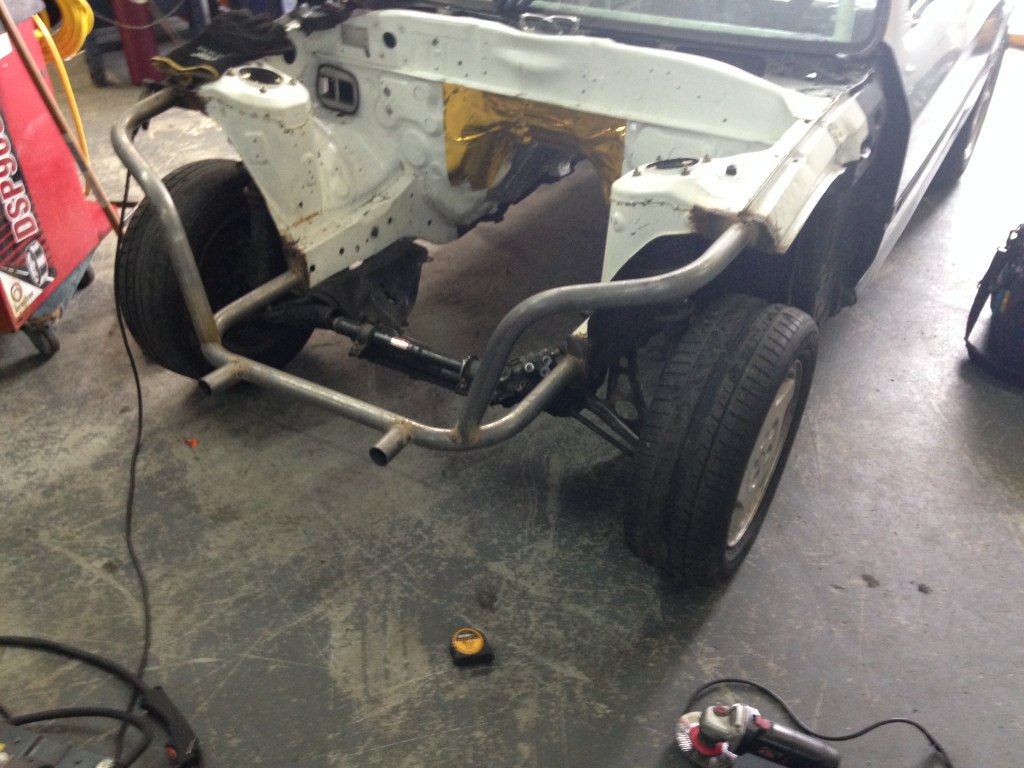
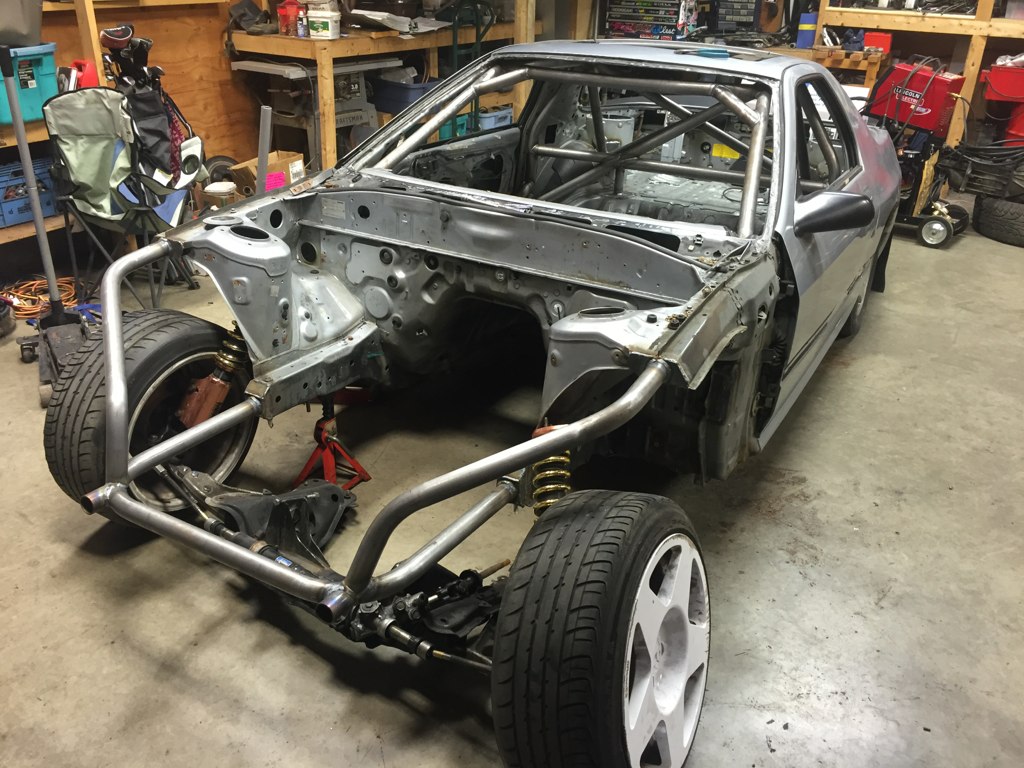
So stole some 1.5 0.95 wall off Neil and bent up 2 pieces based off templates I made using the bumper.

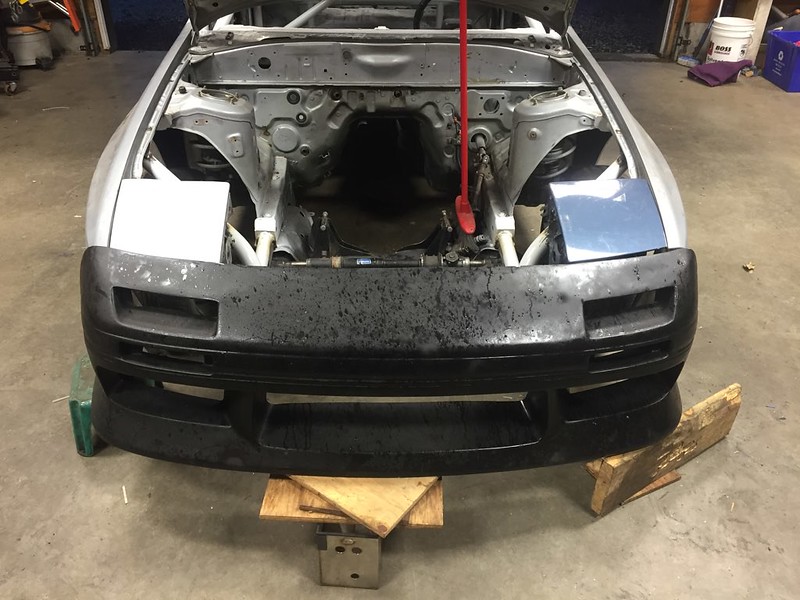
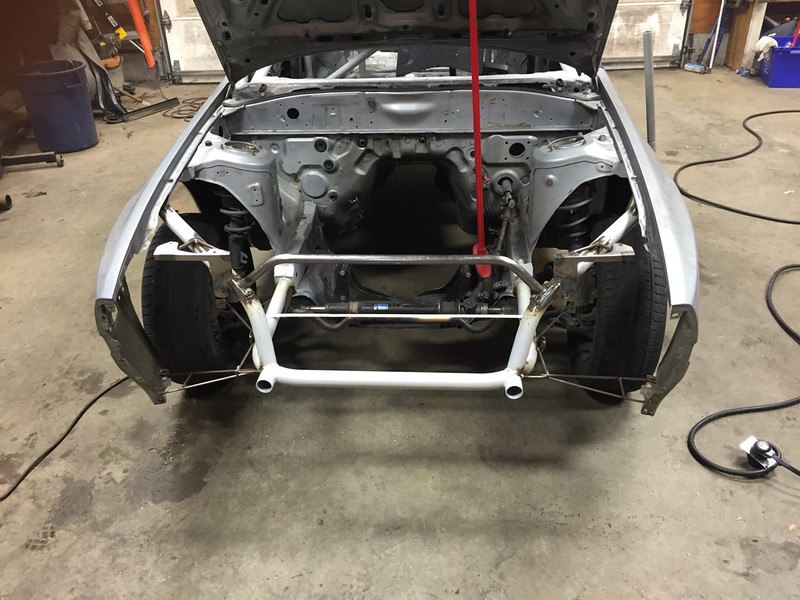
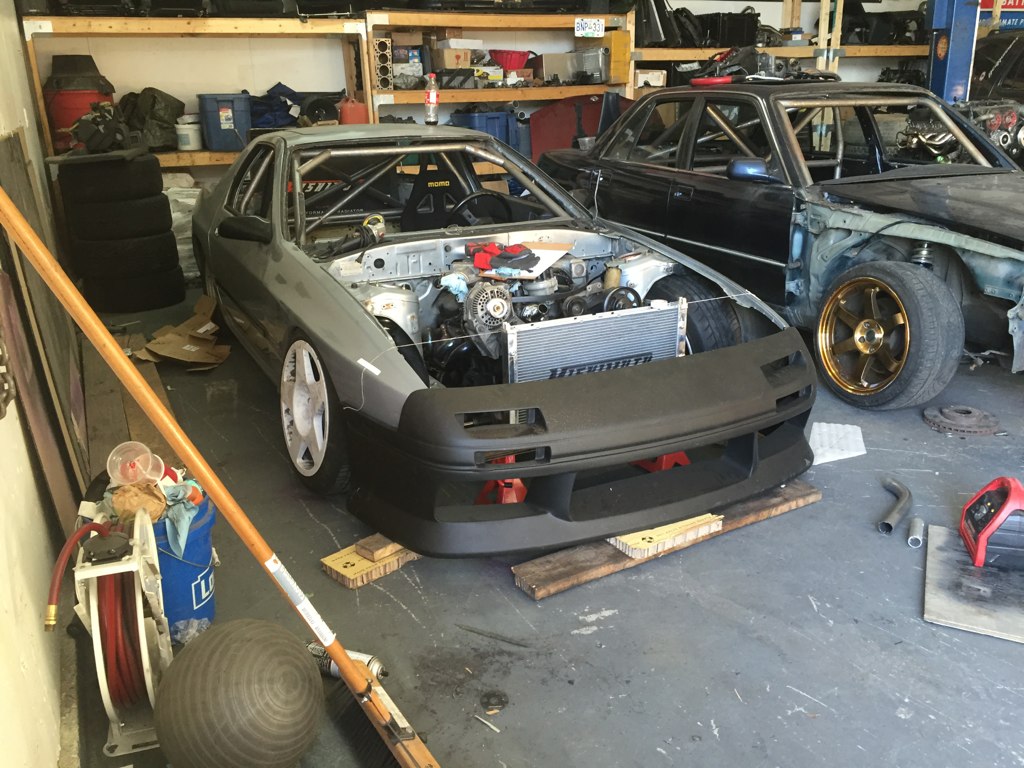
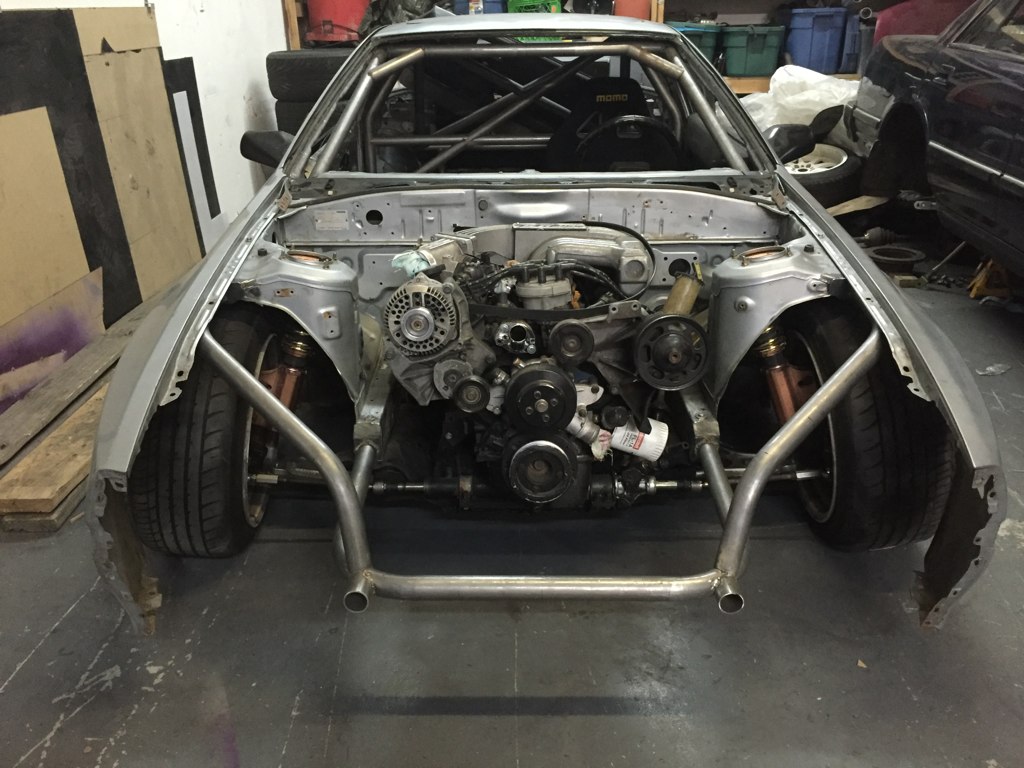
Went and started fitting the bumper, now I don't really know what I'm doing here as I've never fit a kit before. But it doesn't seem like rocket science. Big surprise though, rep kit fits like a rep, poorly

With the bumper in place a lot closer than it was I released a problem that I somehow missed before.

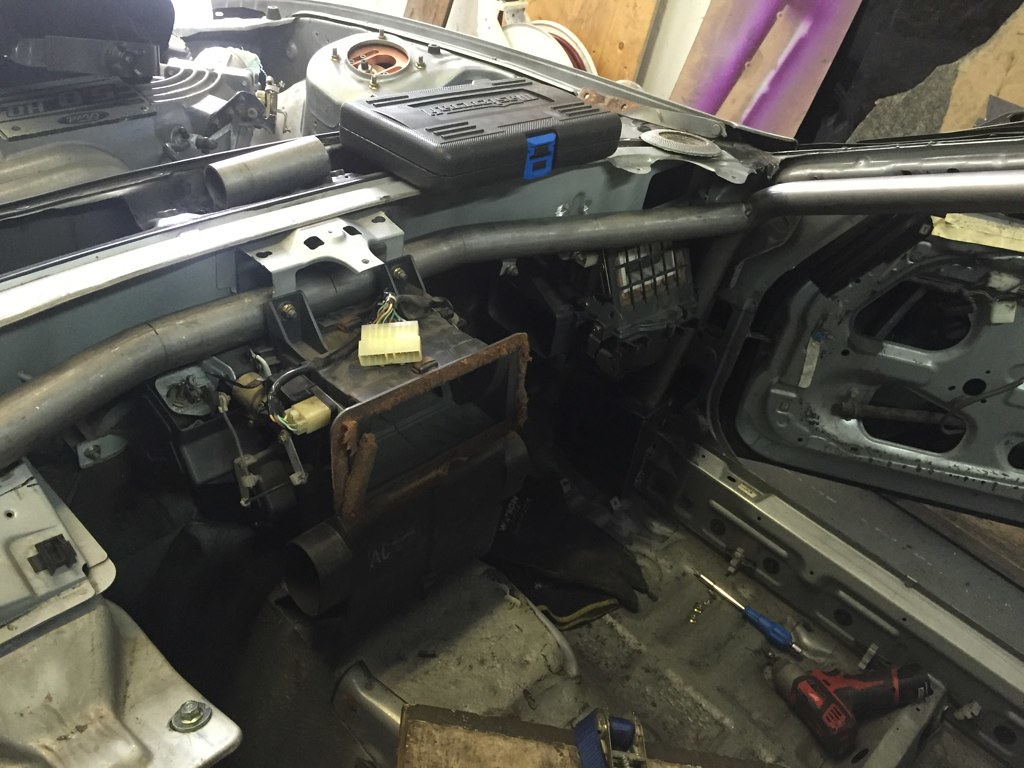
The mounts for the bash bar are a little bit close for the centre vent. Now I could have shaved the vent and cheated the angle of the tube a bit but thats not howI roll.

So out comes the grinders and to take it back down to nothing

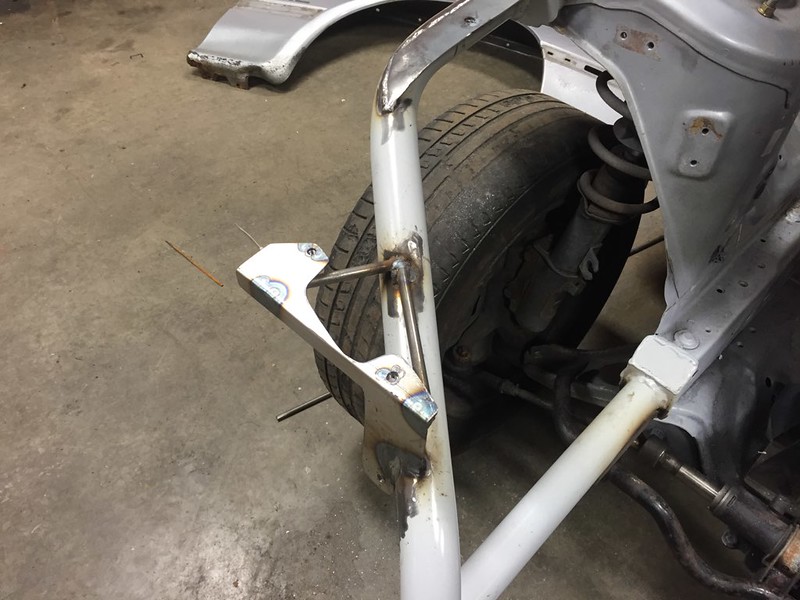
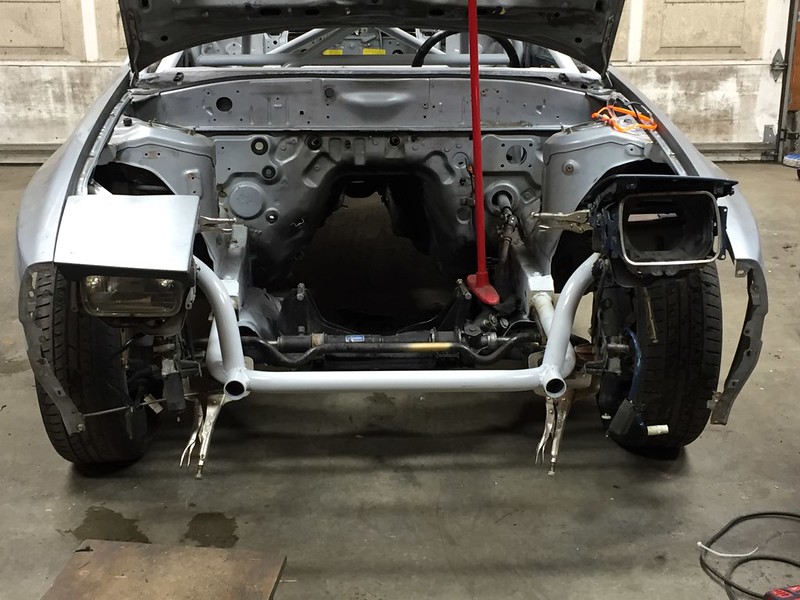
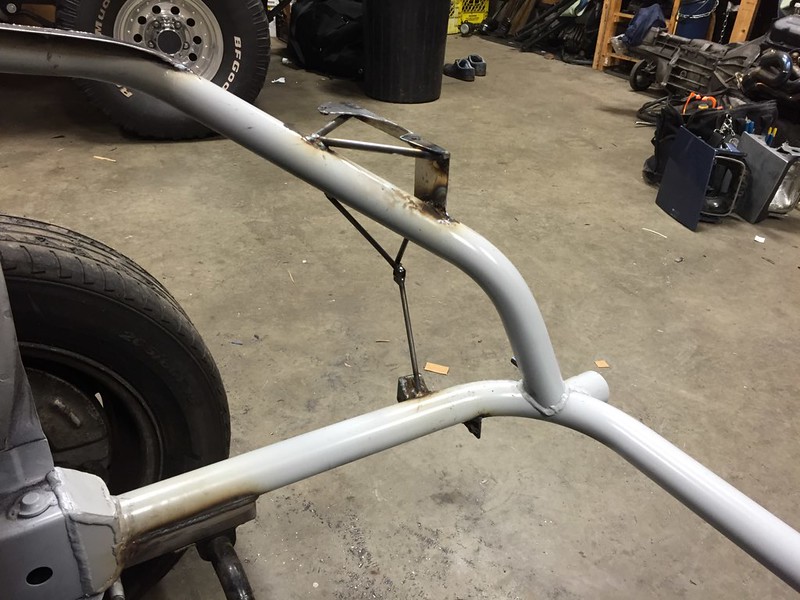
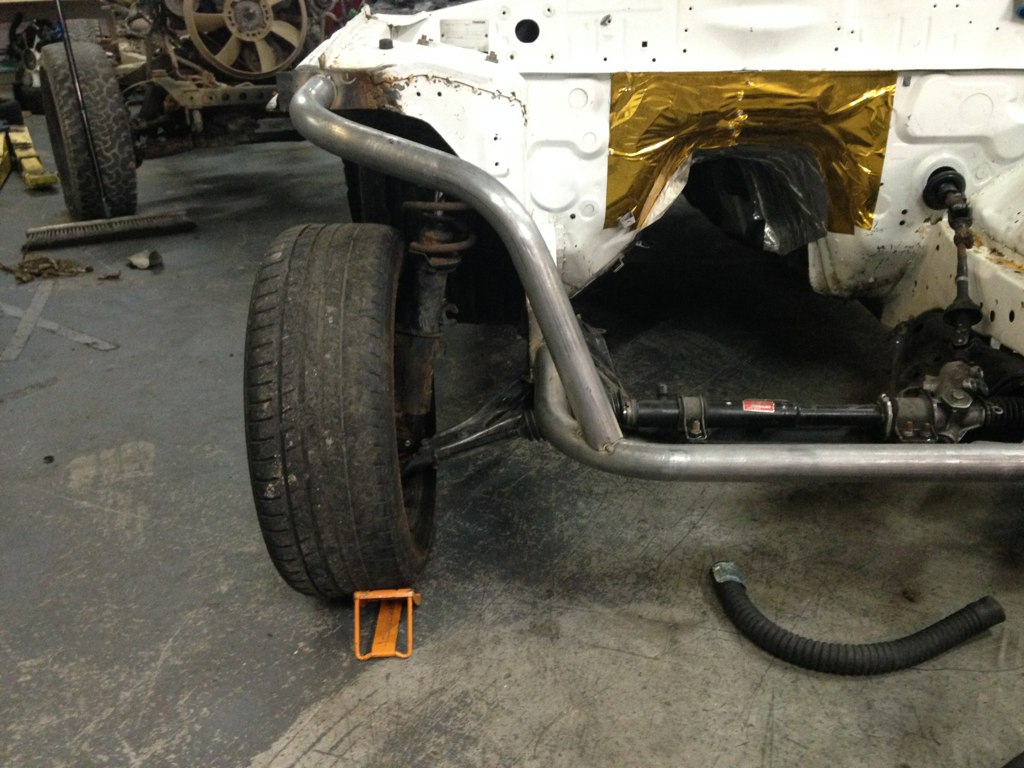
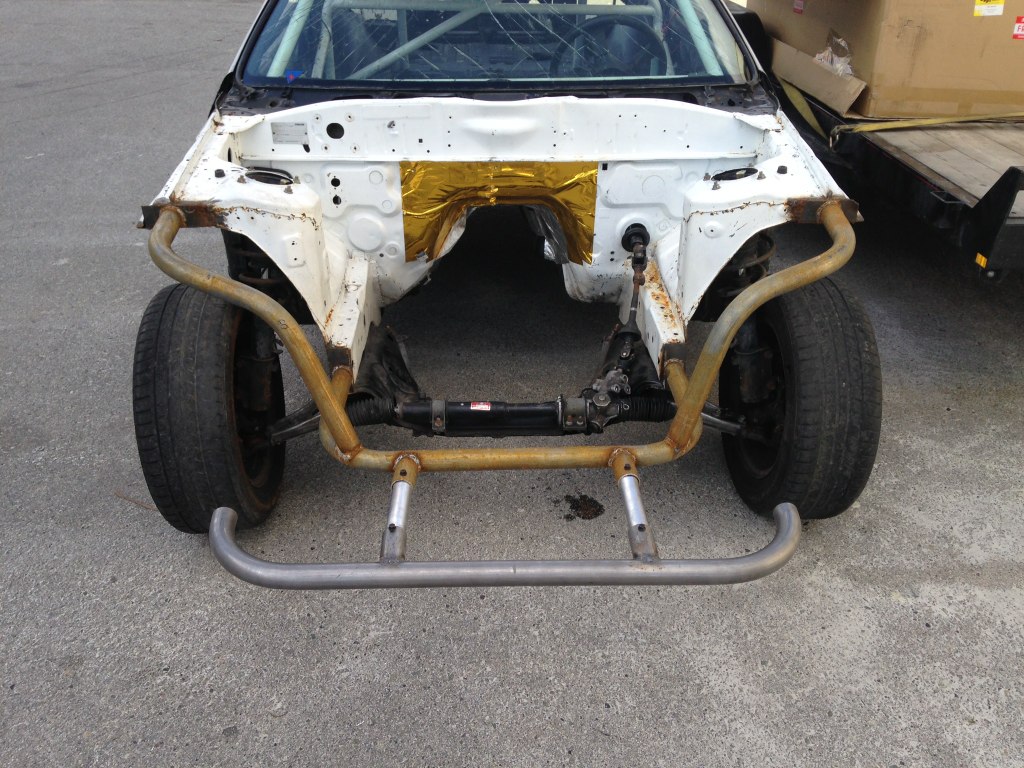
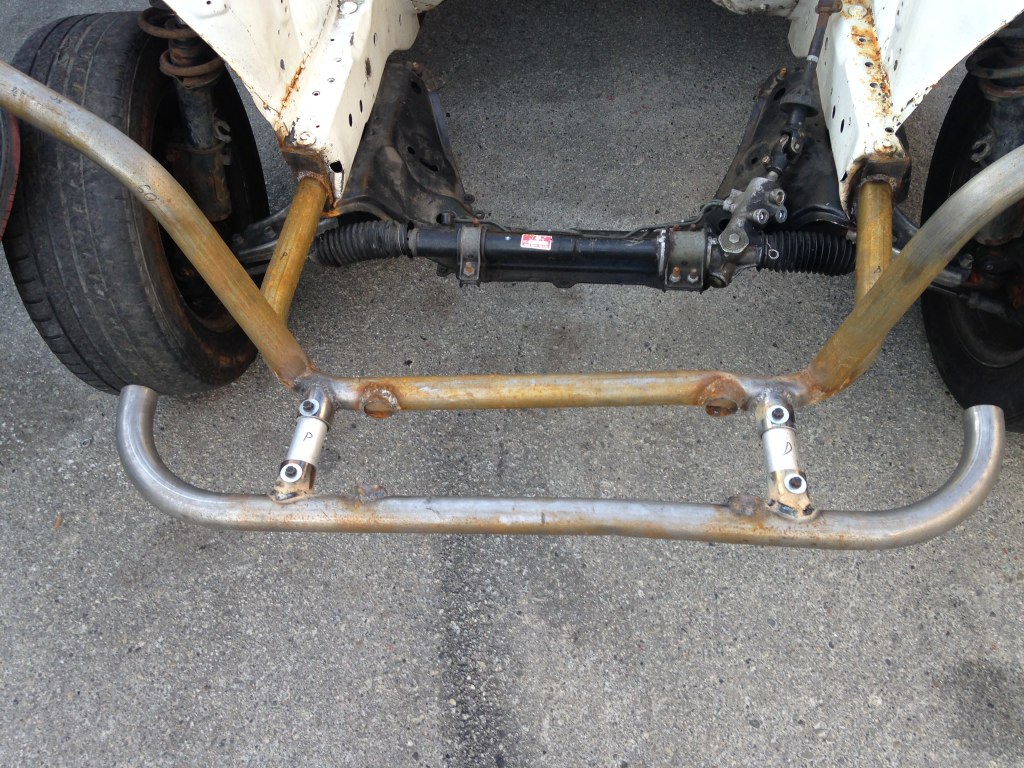
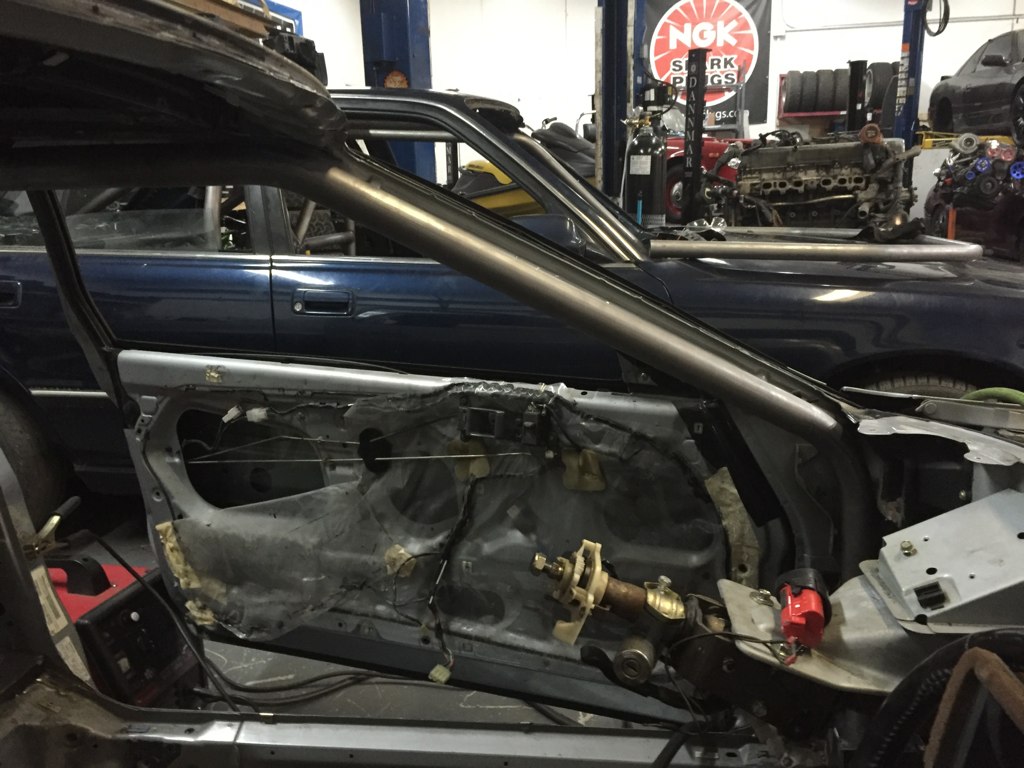
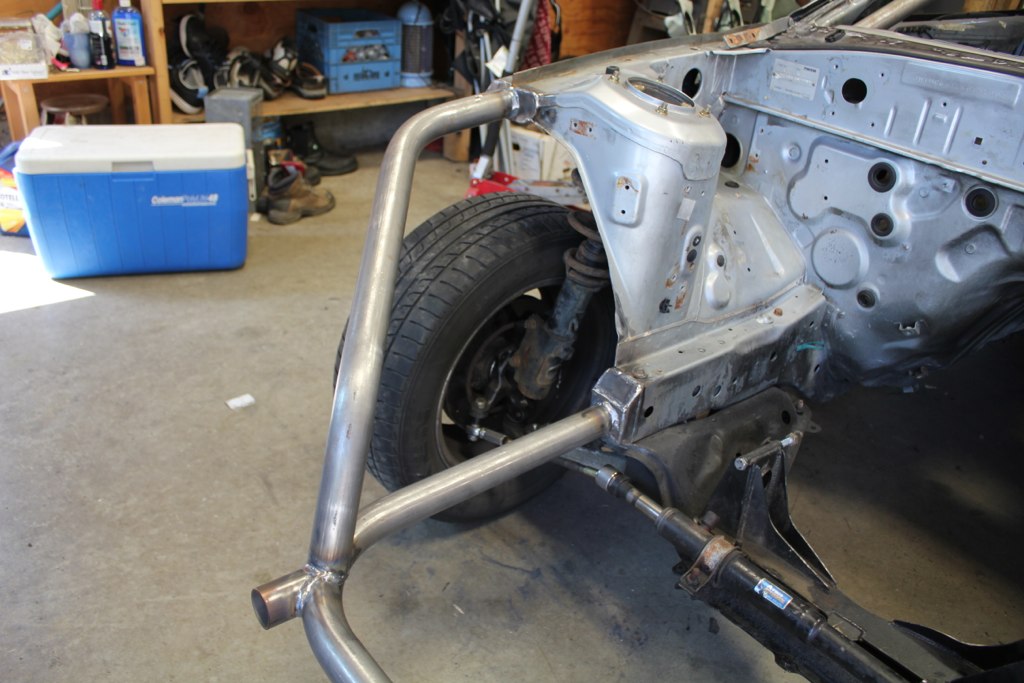
And fixed. First location was keeping the tubes all merged in the same place. This is still pretty close to that but now has the bash bar mounts more inline with the frame rails, so I guess thats an added plus.
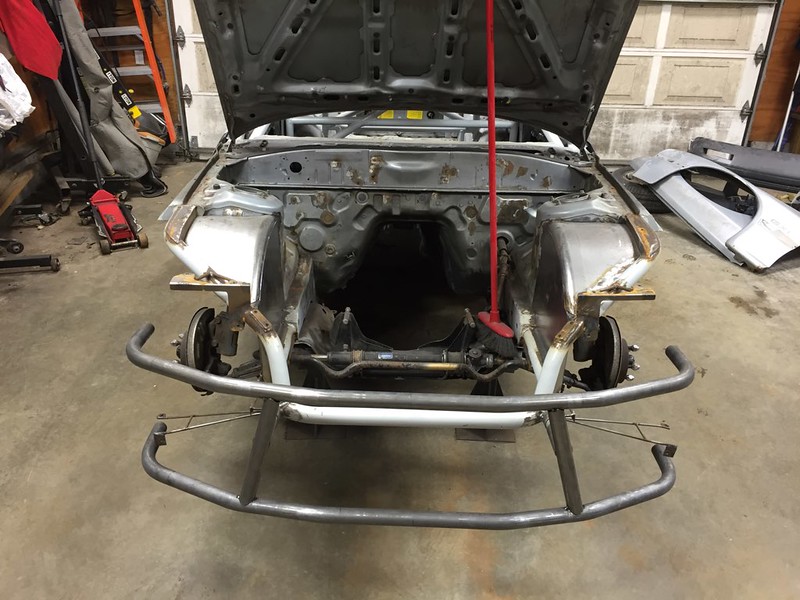
Then start to fit the bash bar in place to realize another problem. The bottom of the bumper flares out considerably more than the stock bumper. But this flare starts at the top. I gave myself some room inside the bumper when making the template, just to be on the safe side. But the metal factory fenders are right in the way. Some trimming of the, will probably have to occur as well, but I'm going to have to re do the top bar. I can get it in place if I wiggle it in there, and then put the crumple pieces in, but I'm not ok with that.

It also just barely contacts the headlight surround trim. The difficulty of bending a piece when the tube bender is in the next town.
However

Me and my welder buddy Andy have bought a Jd2 bender between us. He has been doing side work for off road vehicles and wanted one to make stuff for that. I wish we had done this like a year ago but I can still do my bash bars front a rear and do any future repairs with it.
His company is now Heavy Artillery Fabrication if you wanted to check him out on instagram.
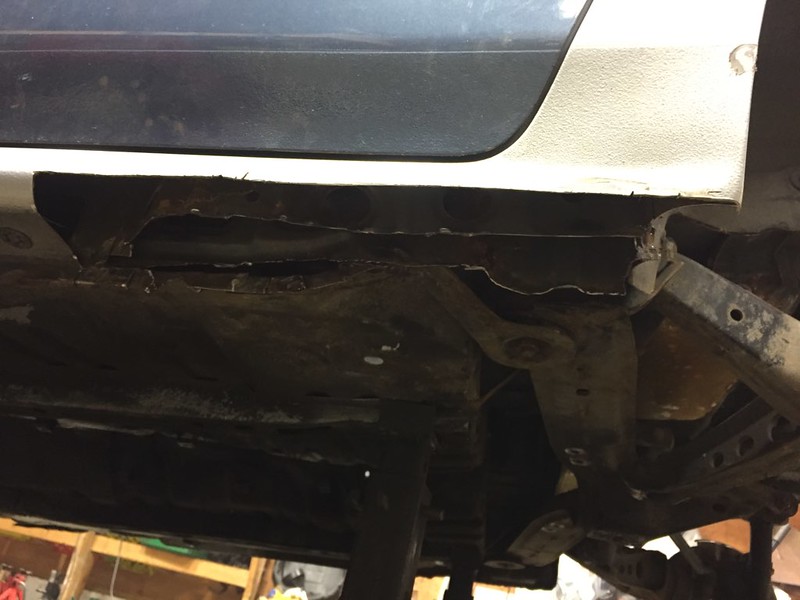
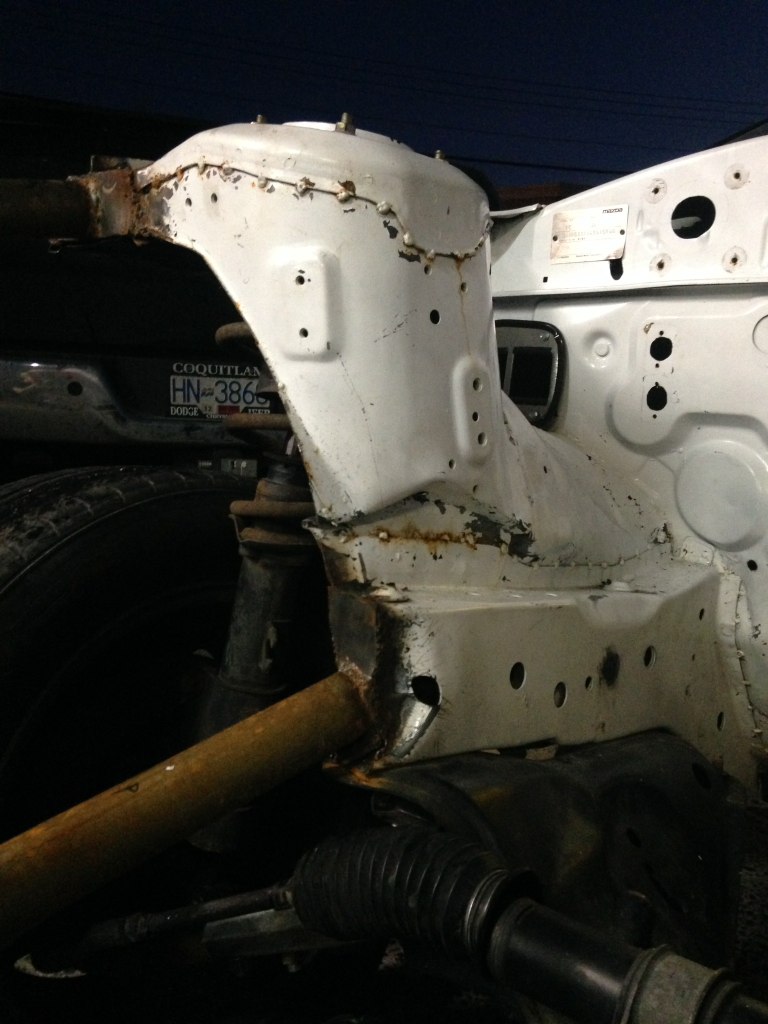
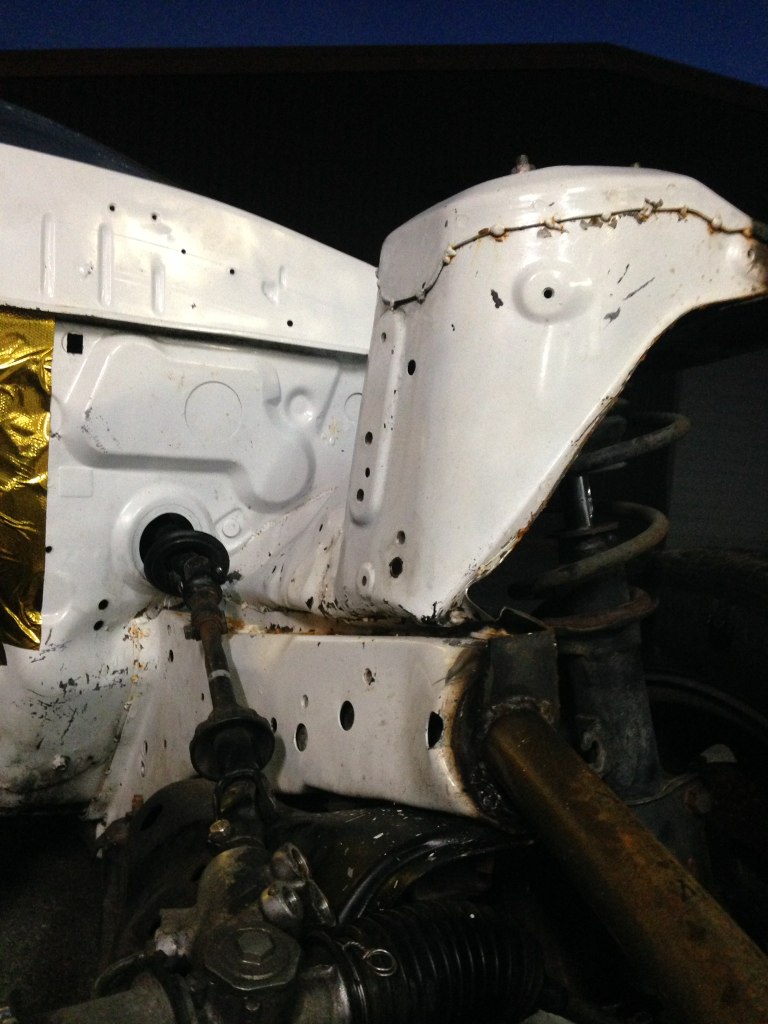
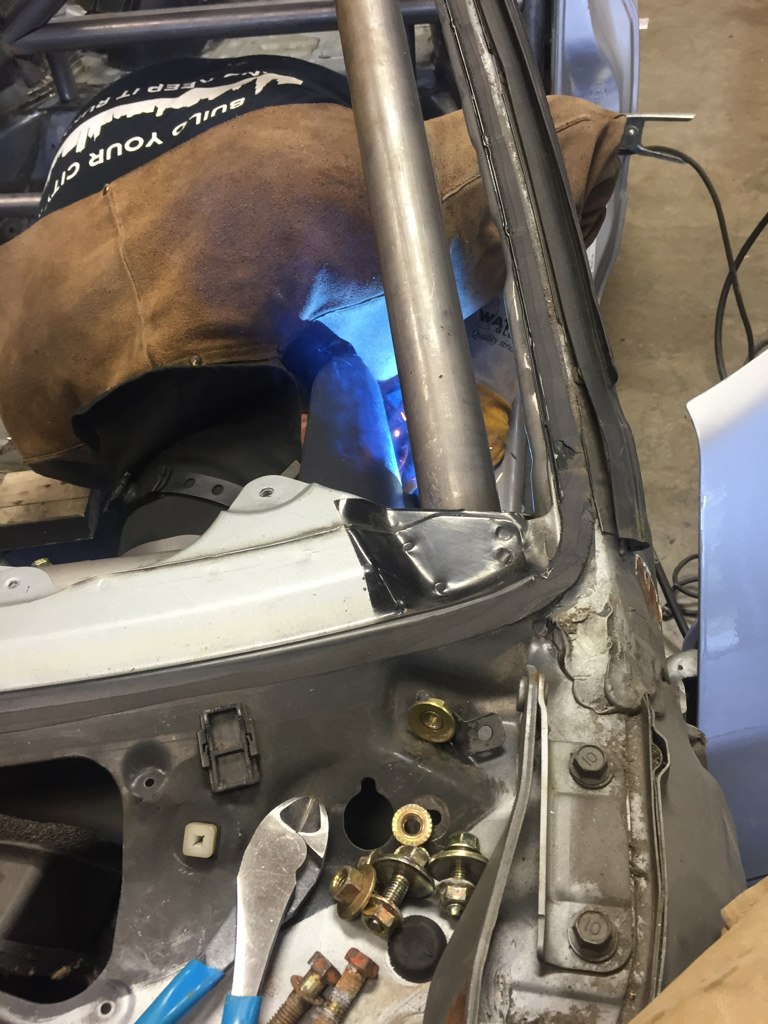
Then I started on the part I've been dreading doing. Rust repair. Its always on of those things that you think "oh it won't be that bad" and then you start and keep finding more and more and more.


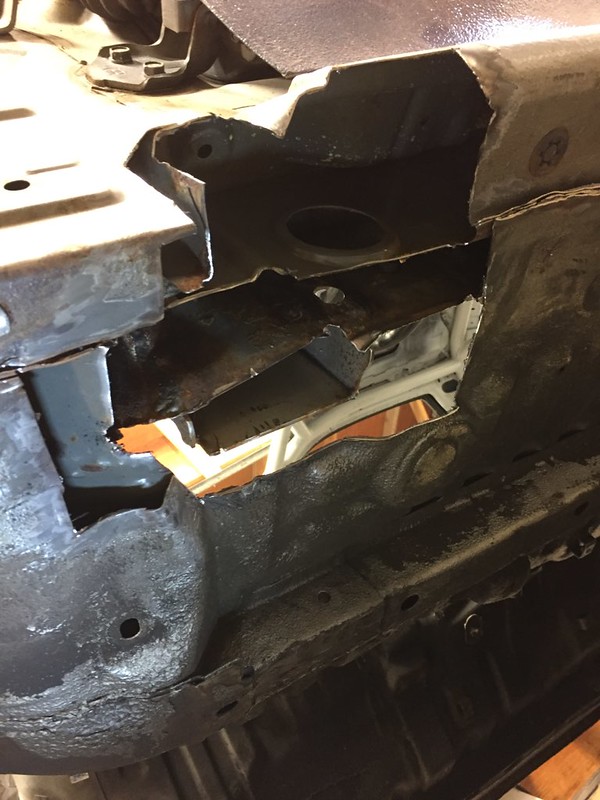
It's also gross and rust bits rain down from above, and the metals thin and covered in primer paint and or this wax stuff that they fill the rockers with so it welds poor. This car had it in basically each corner, I was expecting it here under the drivers feet because it seems like every S4 has rust there. Also under the antenna where the wheel well meets the interior.


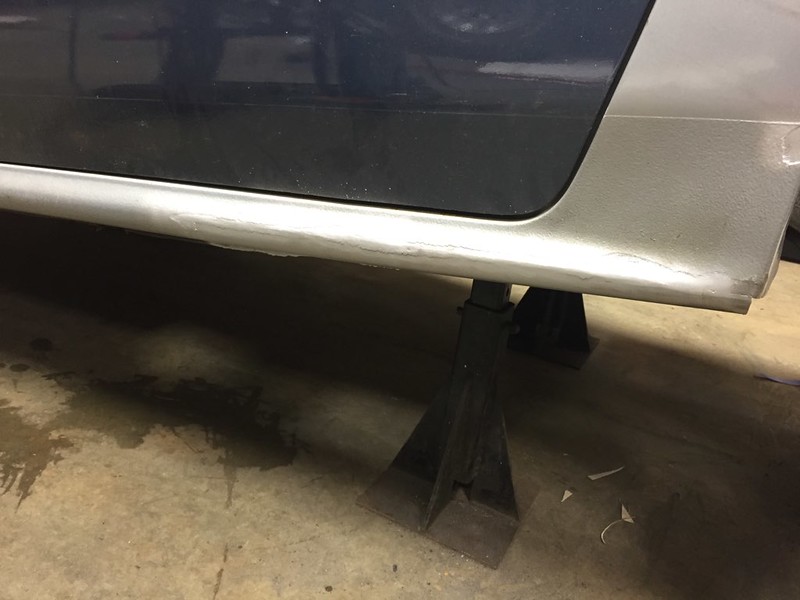
Patched it up best I could keeping each layer there and connected at the pinch where it should be. Weld thru primer is your new best friend as well as a good wire wheel.

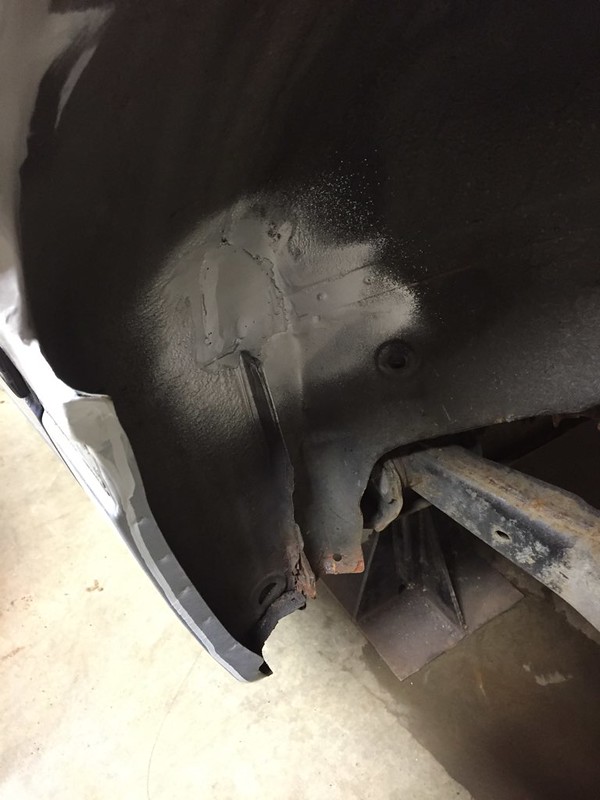
Passenger front side

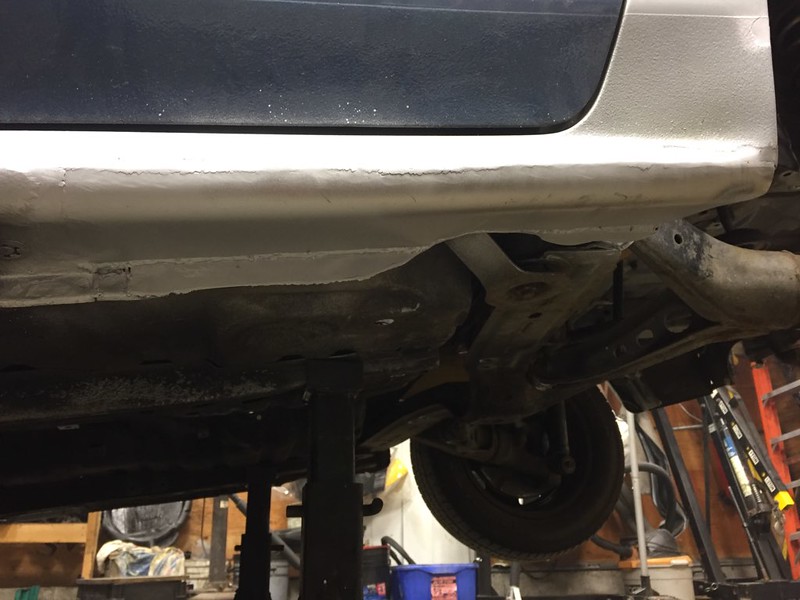
Driver rear was really bad too.
I still have the passenger rear corner to do. Not sure how bad it will be yet, but my dad is redoing the kitchen so I can't make a dirty mess in the garage right now to finish it.
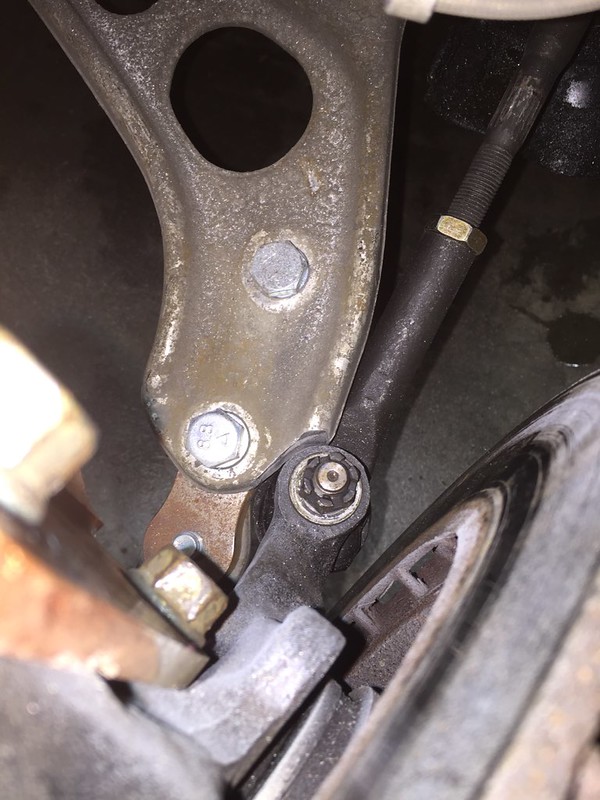
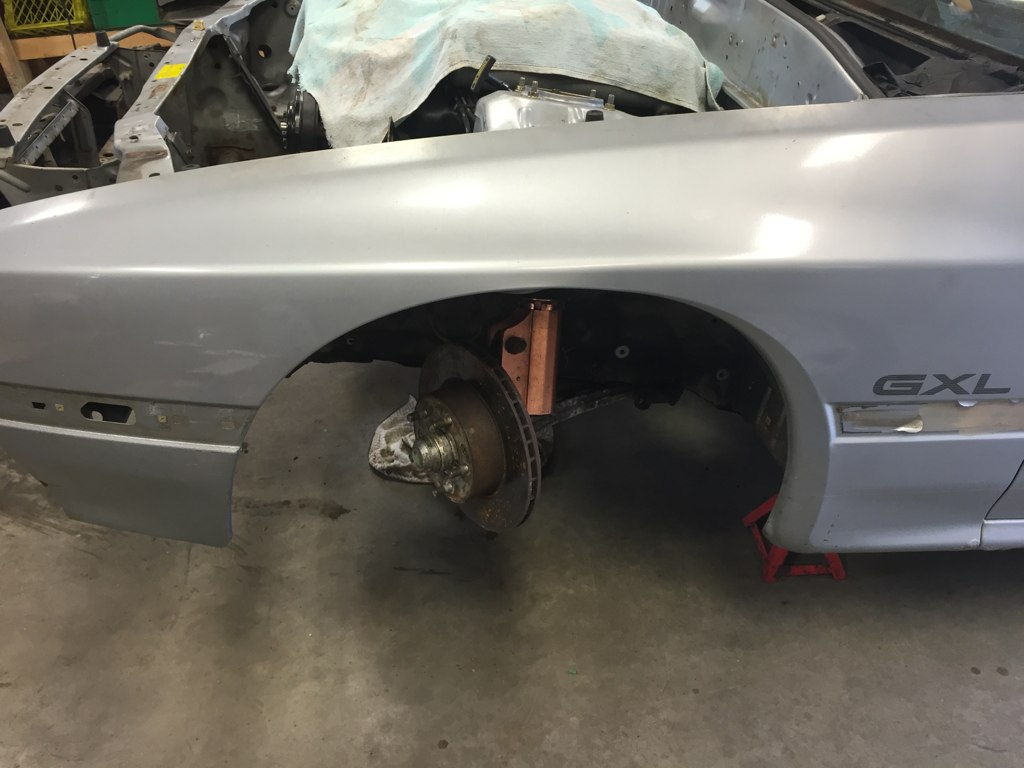
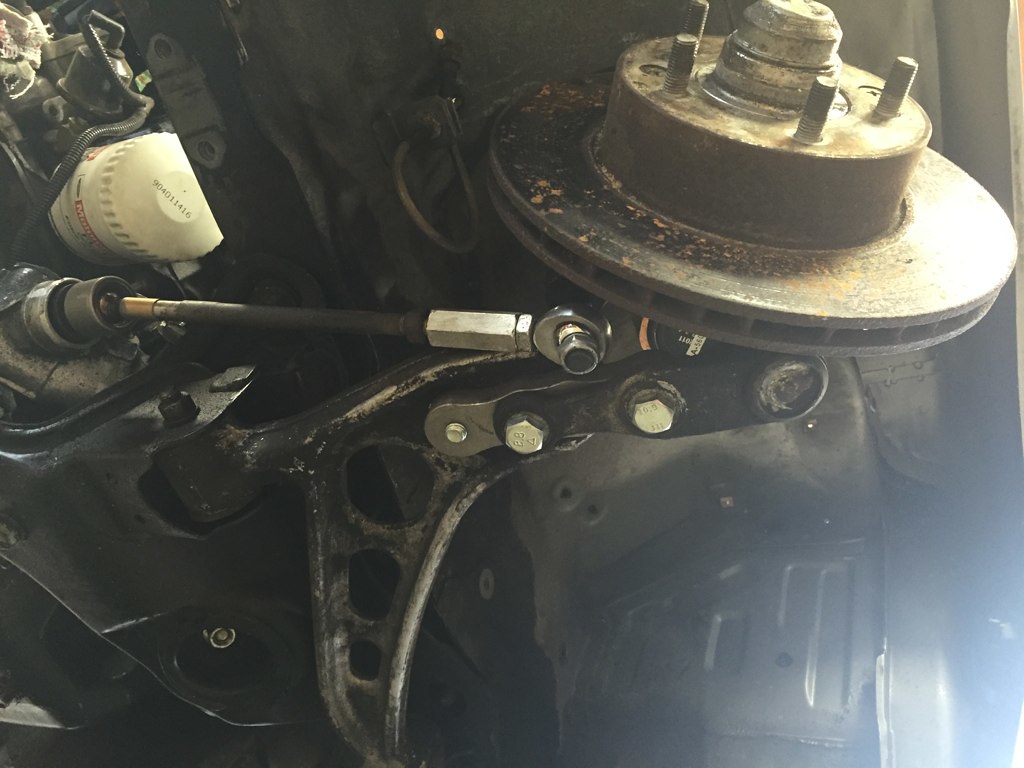
Got some new new though
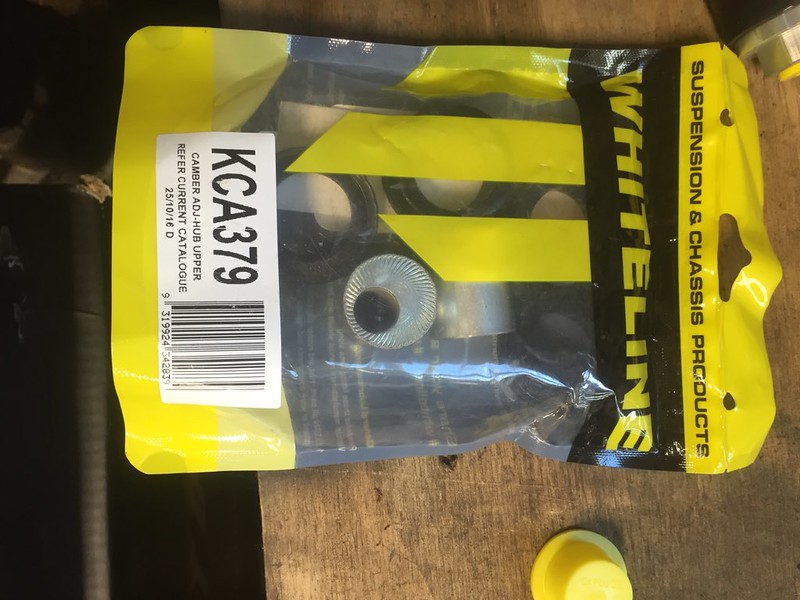
Not totally sure about these, but I'll give them a try. White line says they change camber at the knuckle, which will hopefully allow me to get all the way past 0 degrees and allow my camber bar to not be maxed out. I fear they might rotate in the knuckle but we'll have to see.

Now I ordered this based on specs. I knew it was gonna be rather big but on paper it outflows basically all other fuel filters, has a 7 micron filtering and is serviceable. Once I received it I now see its actually meant for like gasoline pumps, and has a max rating of 50 psi. Not sure if I should use it but provided my fuel pressure is fine and stays at 40 I don't see an issue besides finding a place for the it to fit. Had to laugh when I was looking up info on it though, apparently its a very common DIY weapon silencer.
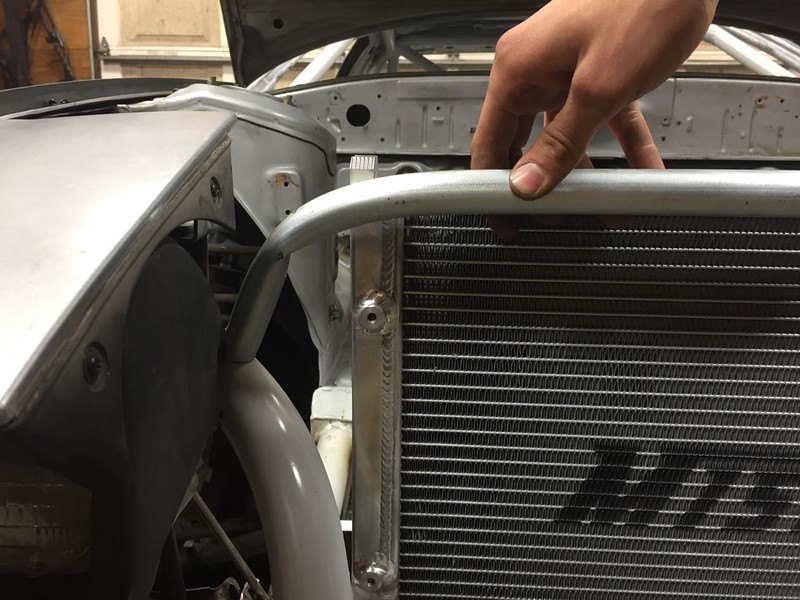
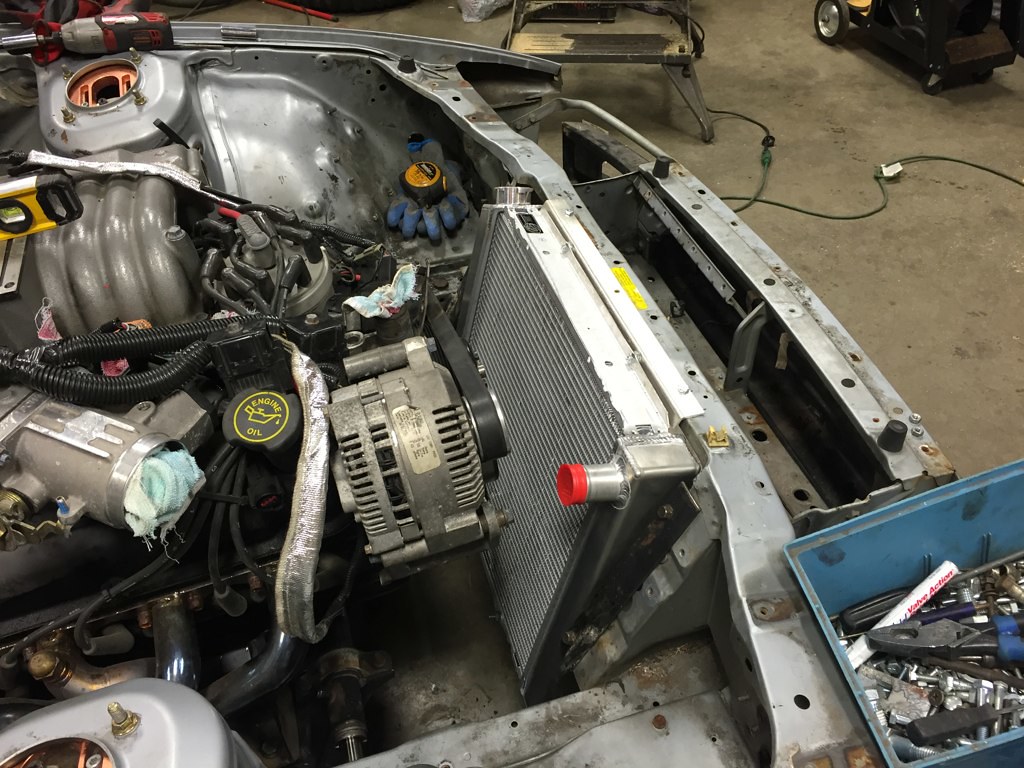
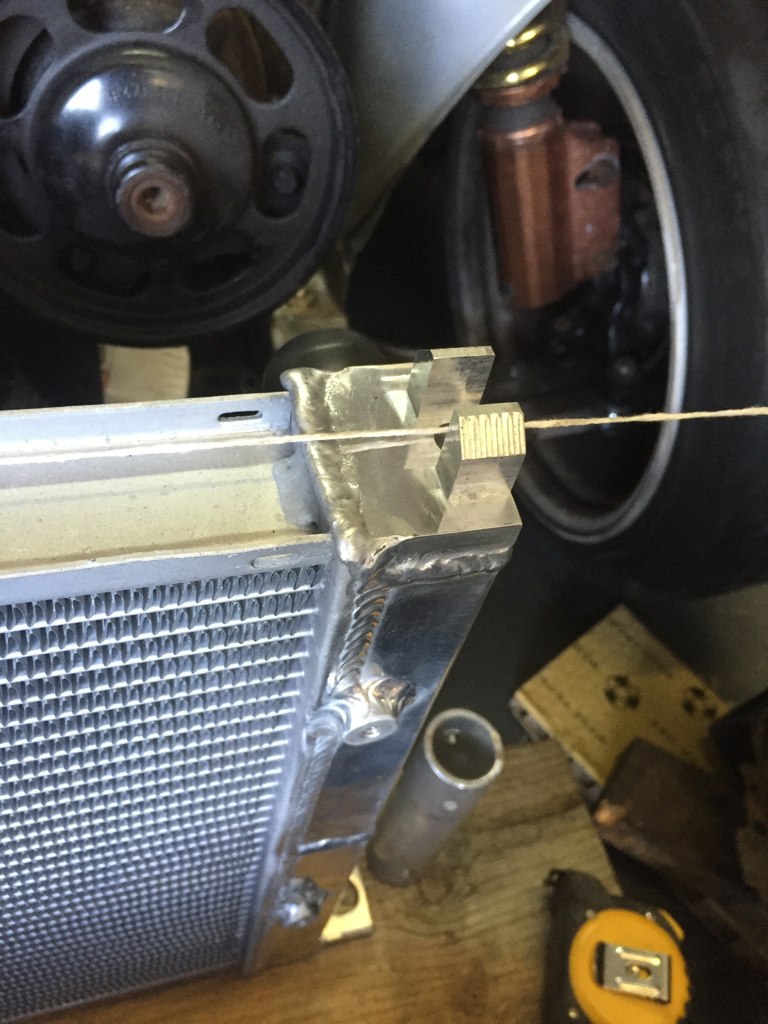
Got the thing I was in real need of to mockup the rad mount, these Derale fans


I knew when I ordered them they were gonna take some trimming to fit. But between the two of them they flow 4000 cfm. I've got some ideas, I'll make them work.
I'll be re-using these again

60 amp max current relays. The fans come with some cheapo ones but meh.
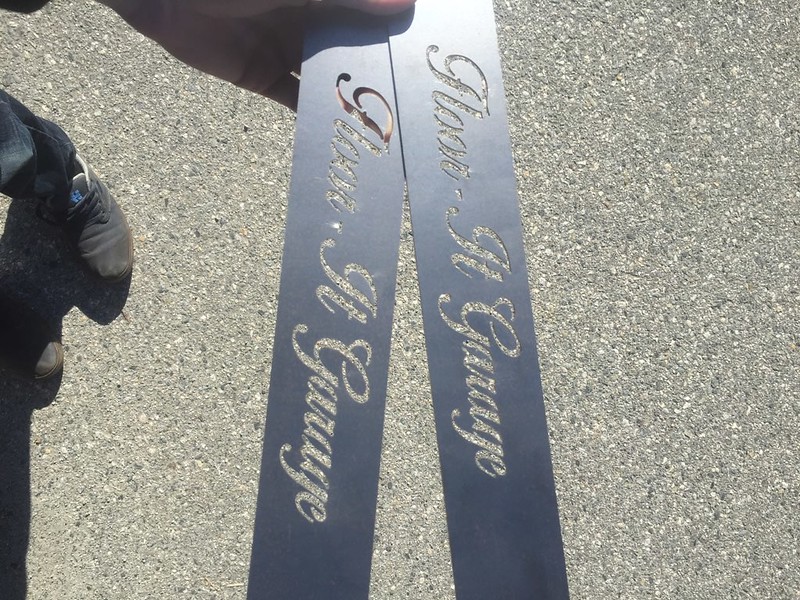
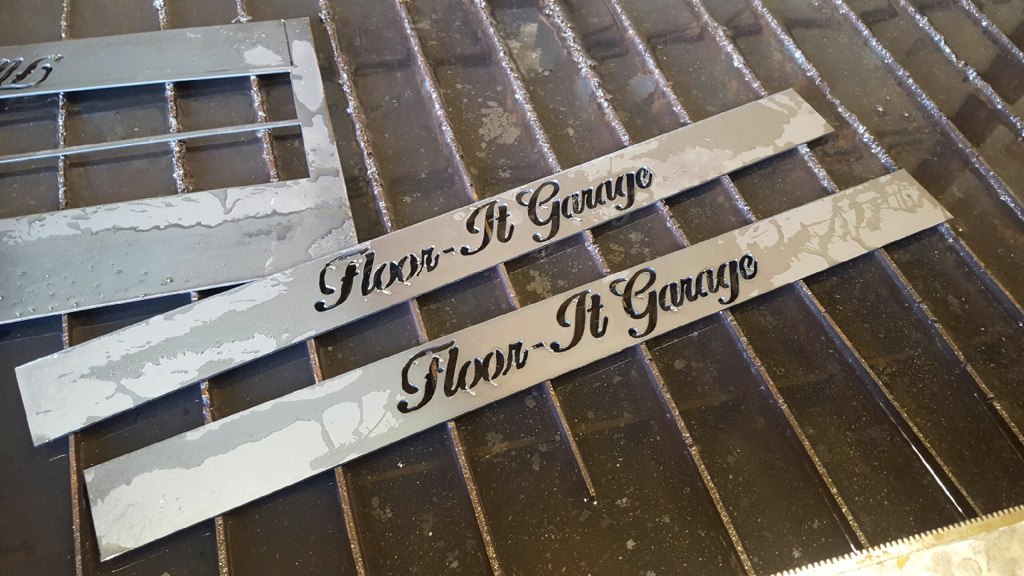
Got these done (finally). Tried 2 different plasma CNC tables and neither of them were up for it, so I had to find a laser. Local place I hang out at sometimes Serial Nine gave me the info for the guys that cut all their metal. So big ups to the guys at Brenco for helping my out with this.

Very excite.
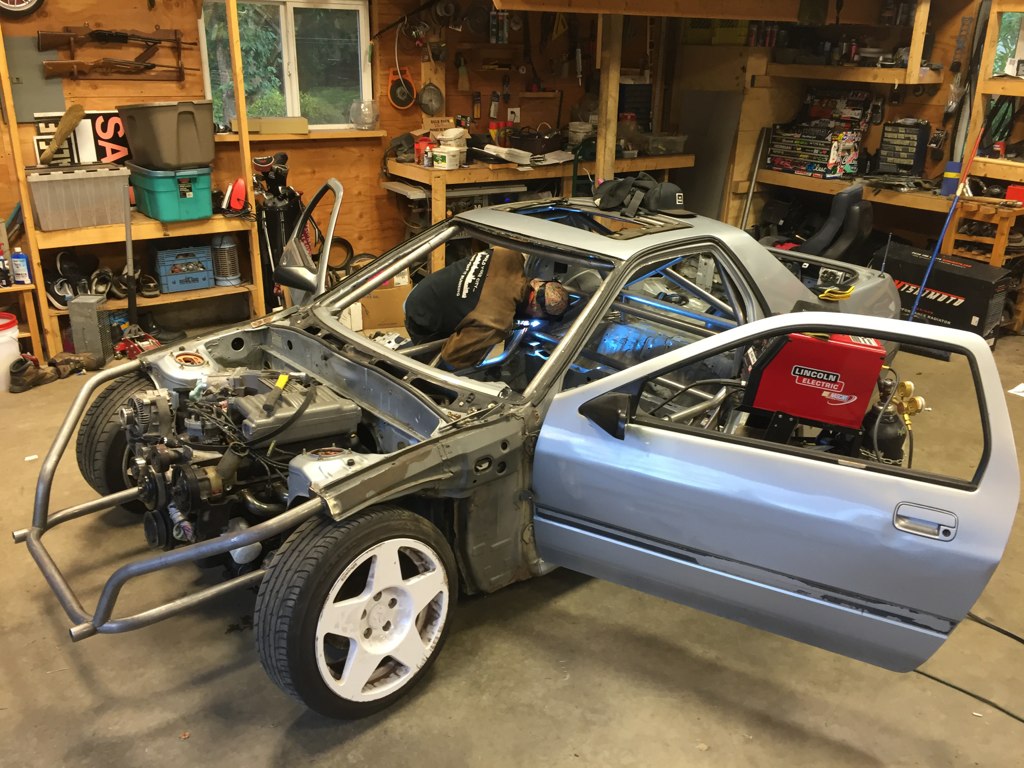
So like I mentioned, dad had the garage on lockdown for his kitchen reno, I had to keep it clean. So I moved onto the next thing up the to do list that didn't involved cutting, welding or grinding.
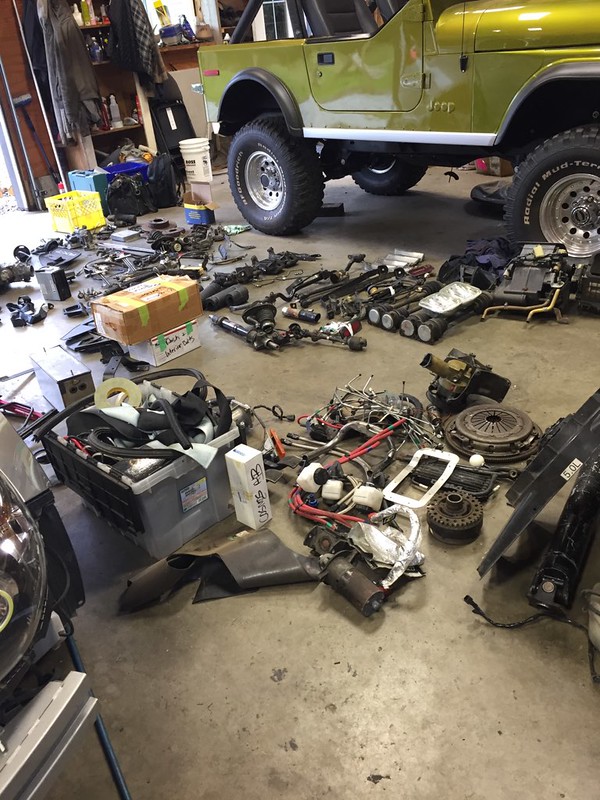
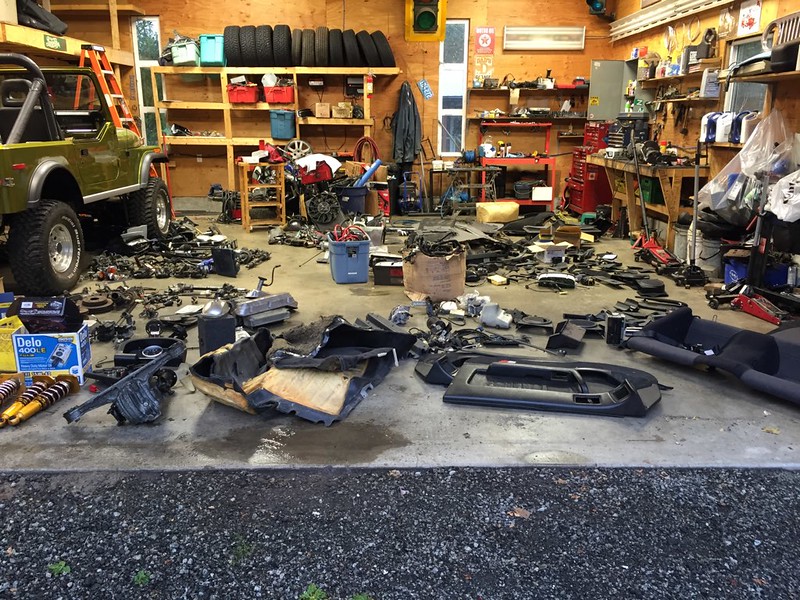
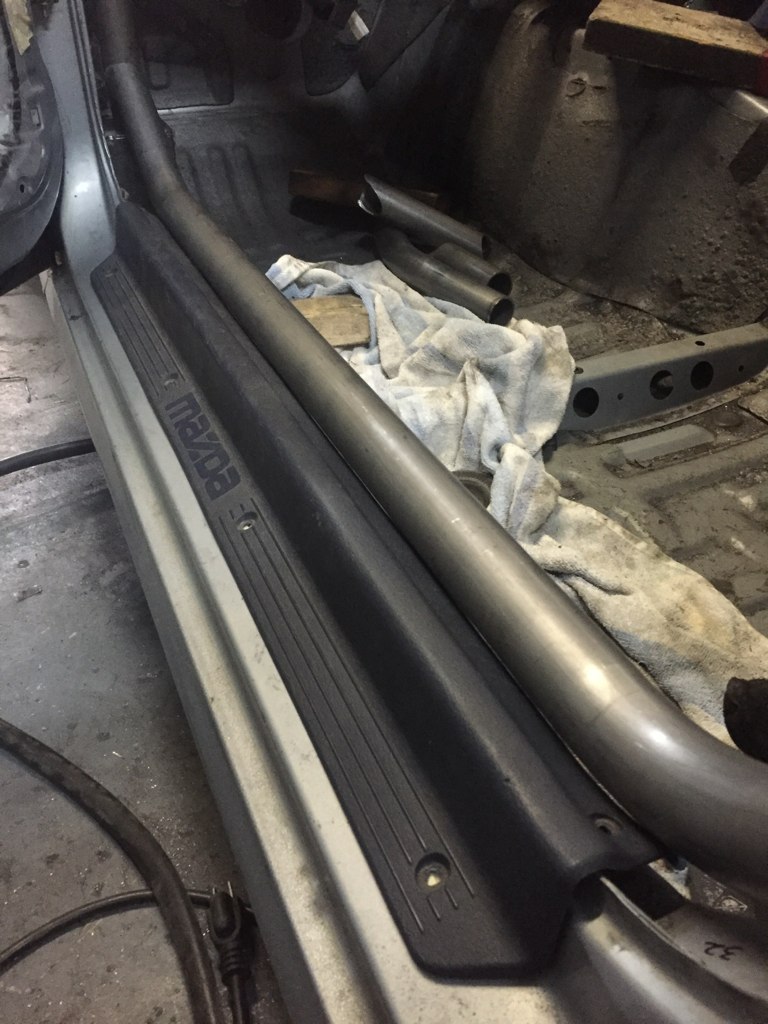
Pulled down and organized the interior pieces I have

Trimmed the ECU bracket to fit. conveniently my old 5.0 eco bracket fits on it so I guess ill use that.

Trimmed kick to fit

Started the rear panels


Threw the cubbies in a trimmed up the carpet. I knew this already but the cubbies won't be able to flip open anymore. Going to have to come up with a solution to remedy this. Thinking black Dzuz fasteners or try use the key lock on them.

Going to use velcro once the interior is painted to hold the carpet all nice and together and in place.

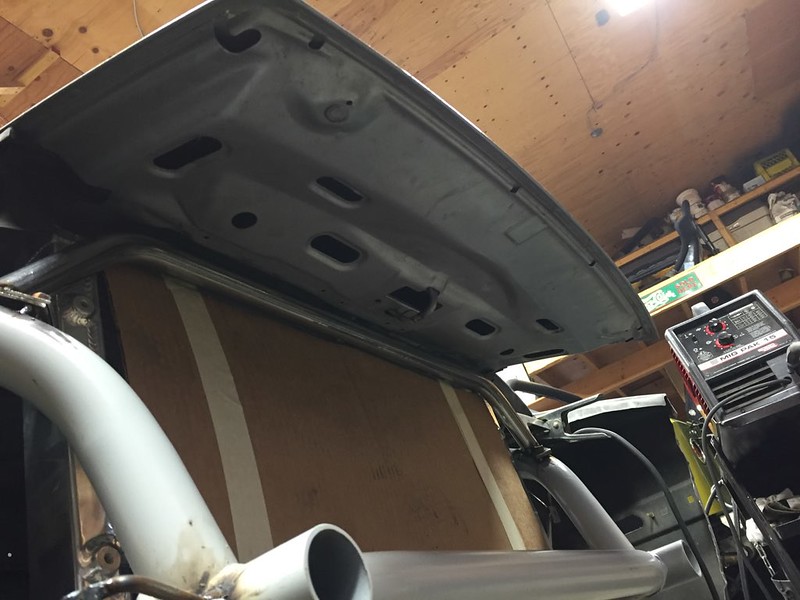
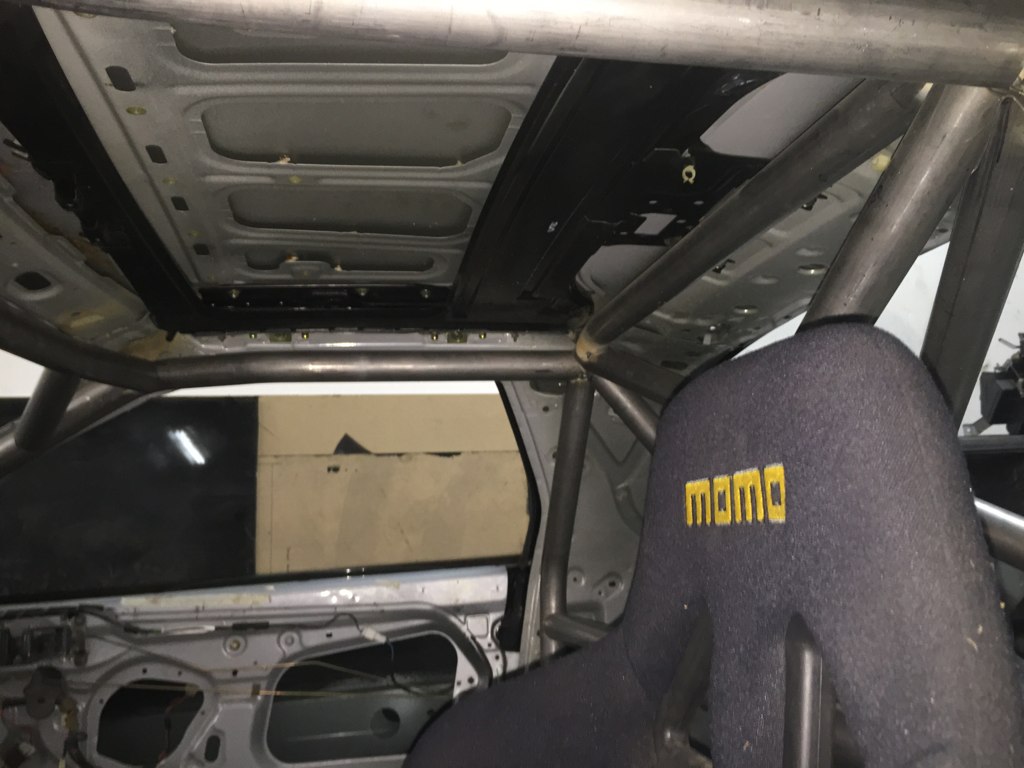
It was a battle but got the headliner to somewhat fit. Only took cutting it into 2 pieces.

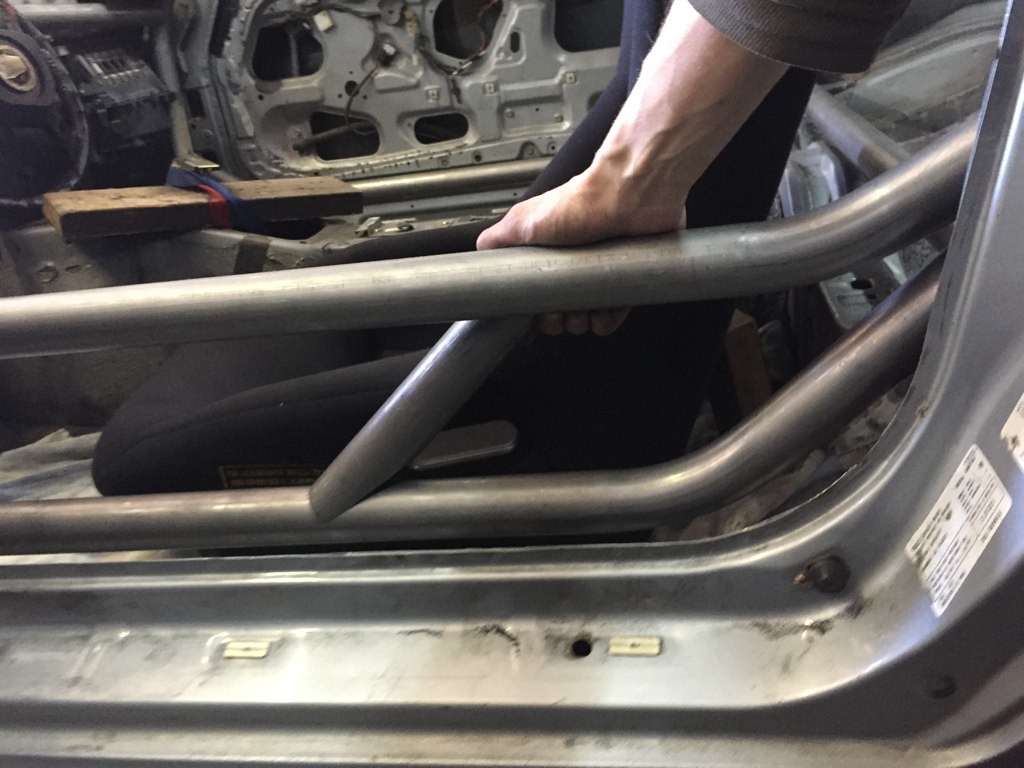
Picture doesn't do it justice but these side panels juuuust fit in there. Have to kinda force them in but it all fits.

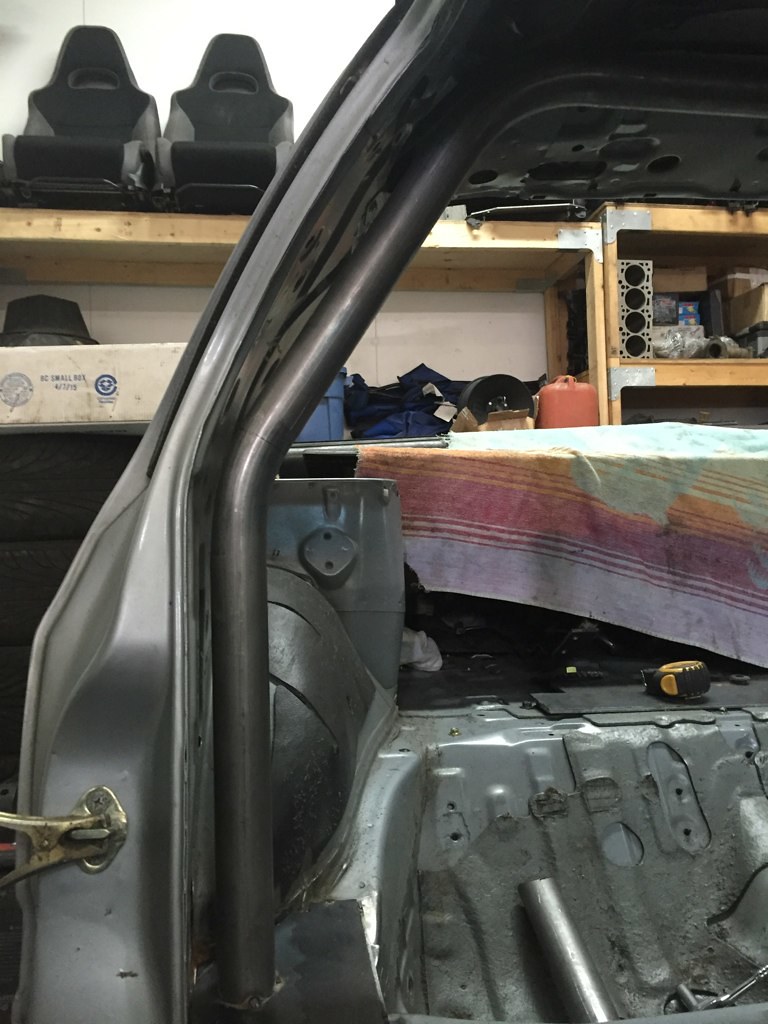
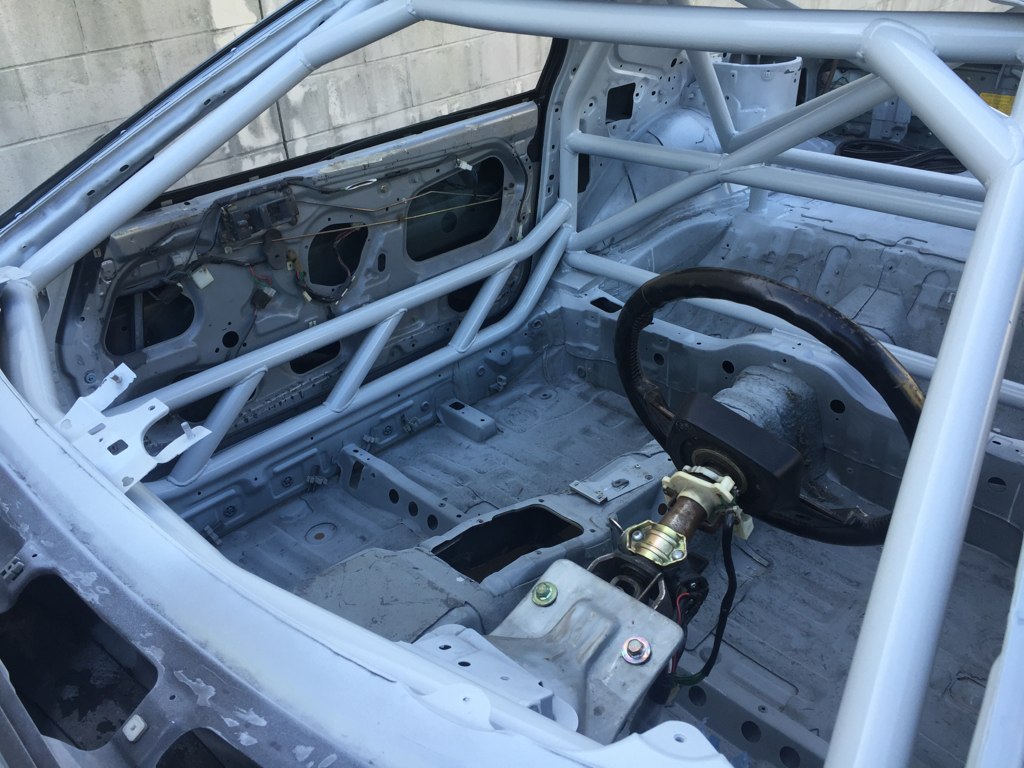
Here's another pic with the A pillar gussets in place. You can see I also started trimming the dash top piece but stopped until the gusset is actually welded in place.

tiny little piece of A pillar being used up there. Kinda unnecessary but can't help it.

the rest of the A pillar that I can actually use

Have another thing to figure out. The vents that blow air at the windshield obviously don't fit anymore with a roll cage in the way. They are pretty close but I'm likely going to have to cut and glue to get something that will fit.
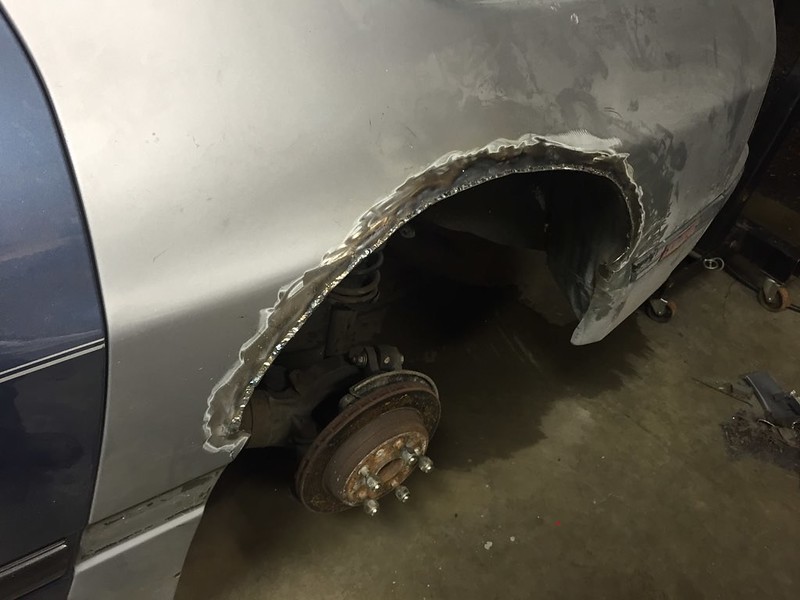
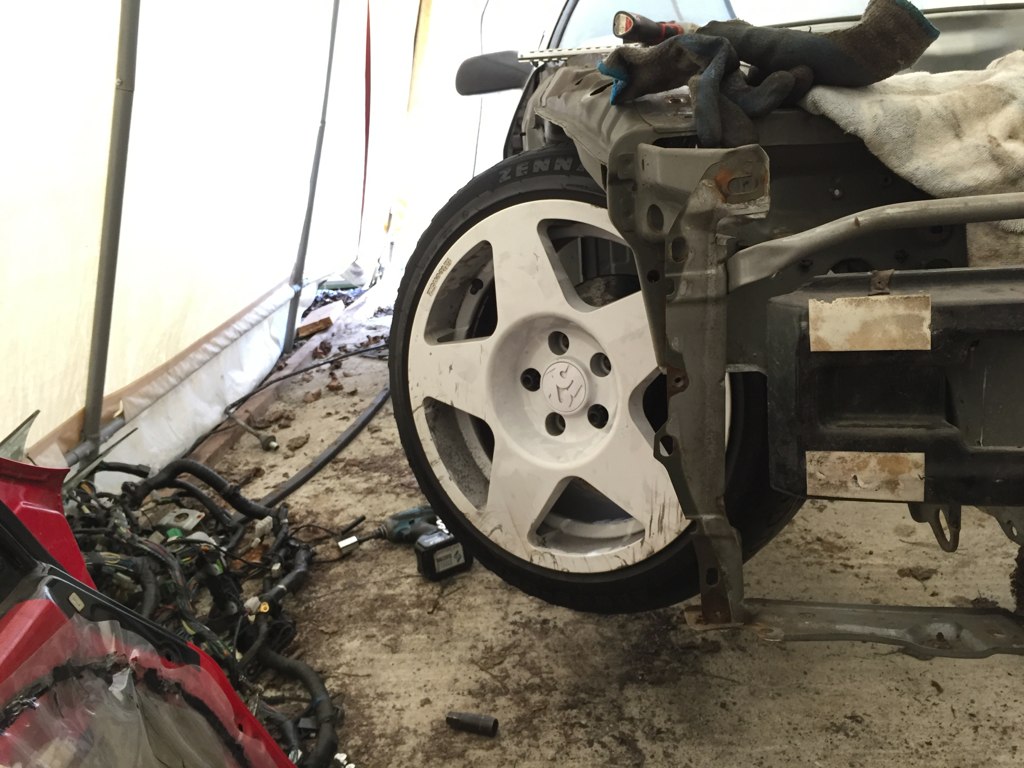
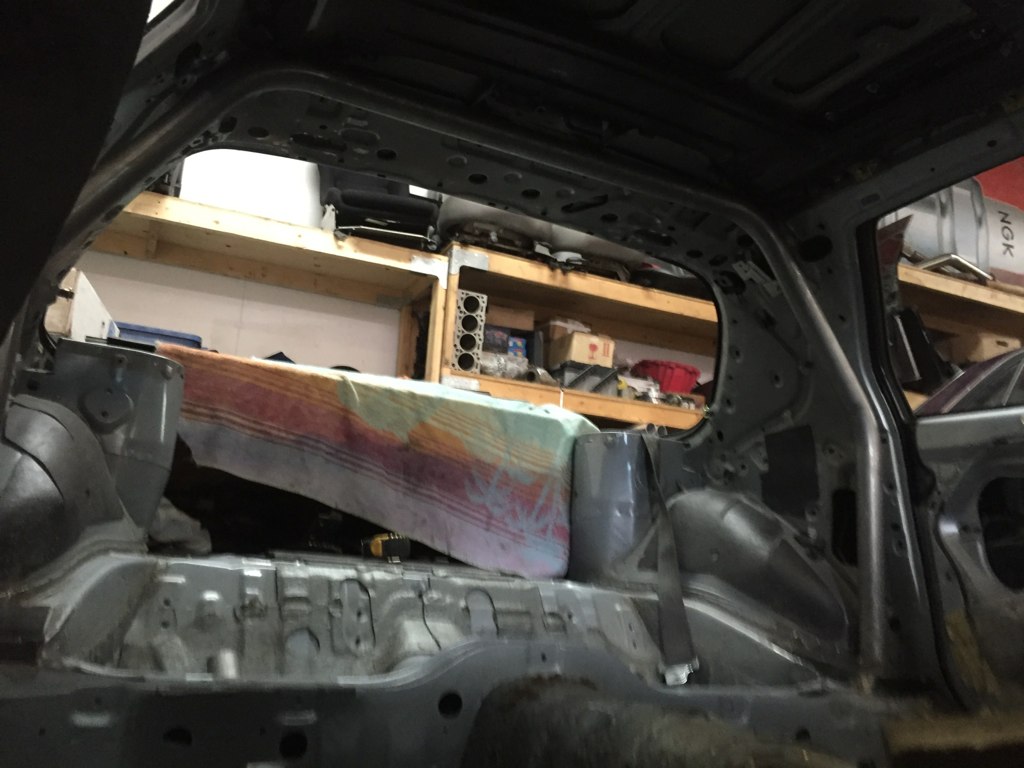
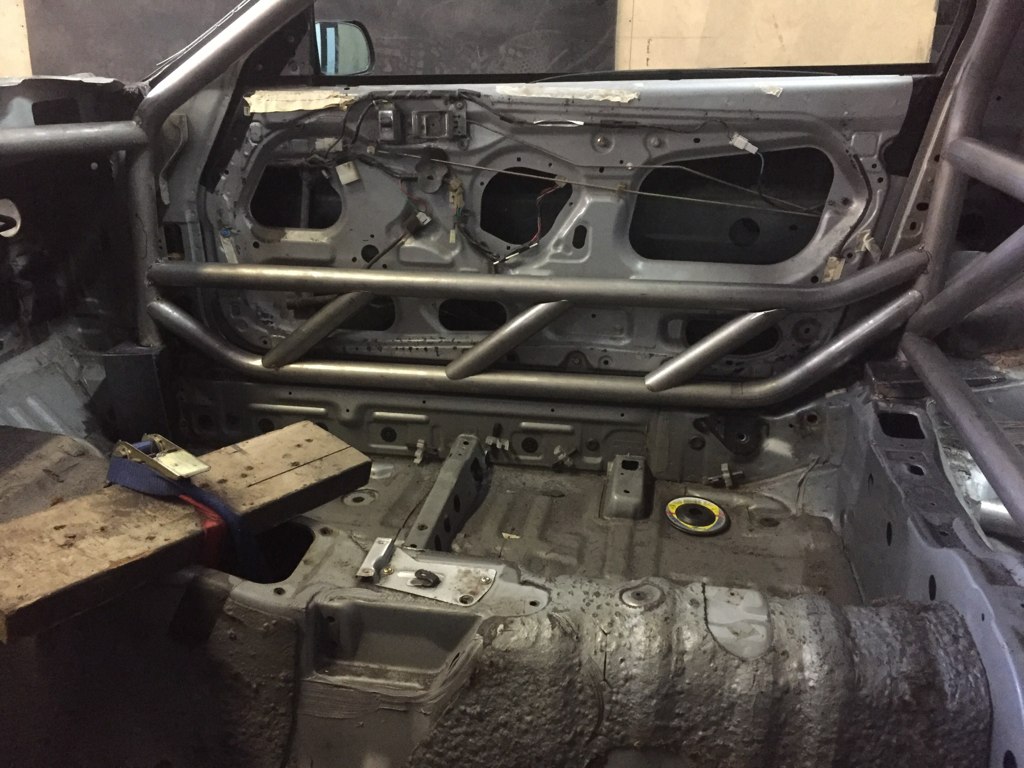
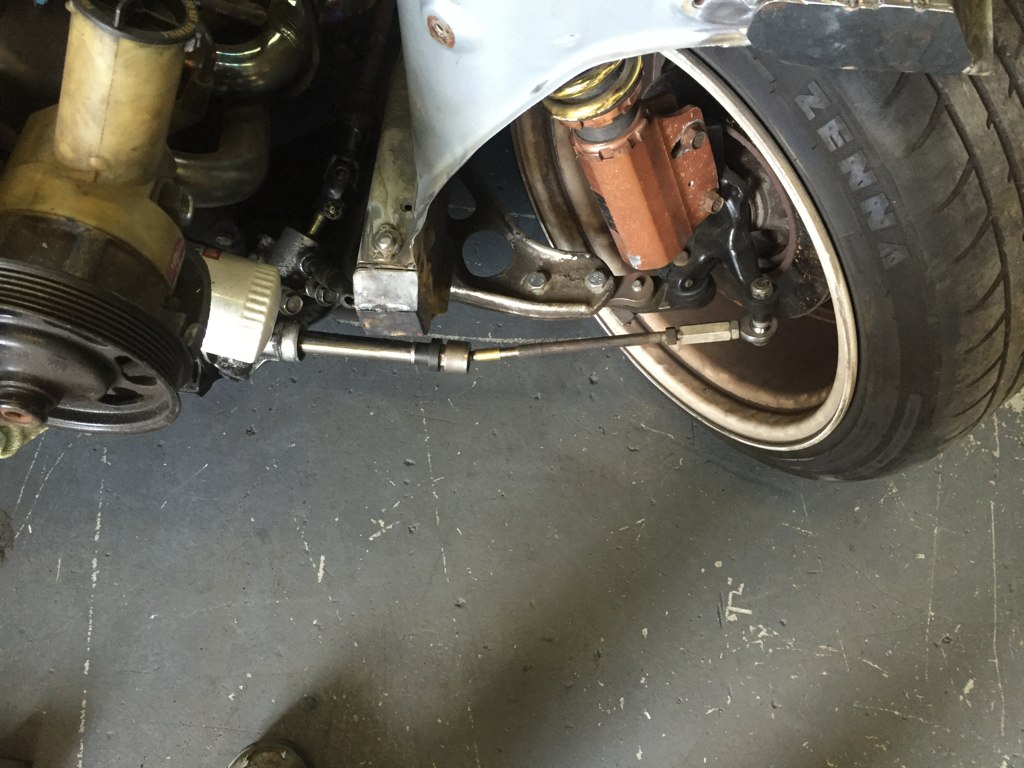
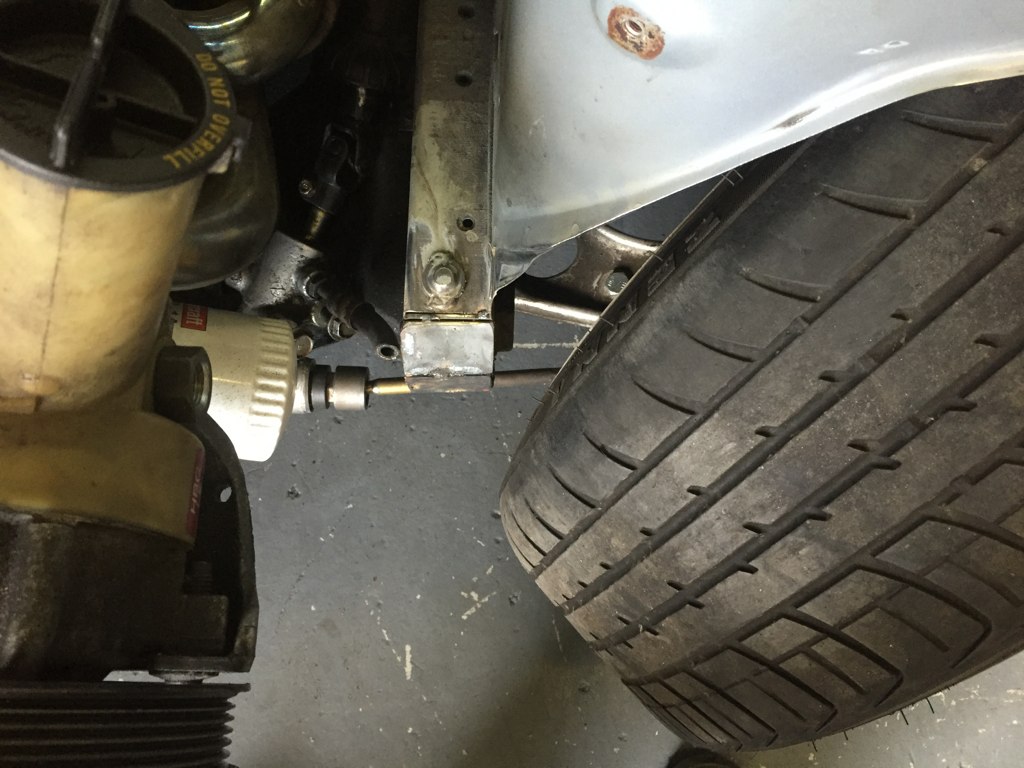
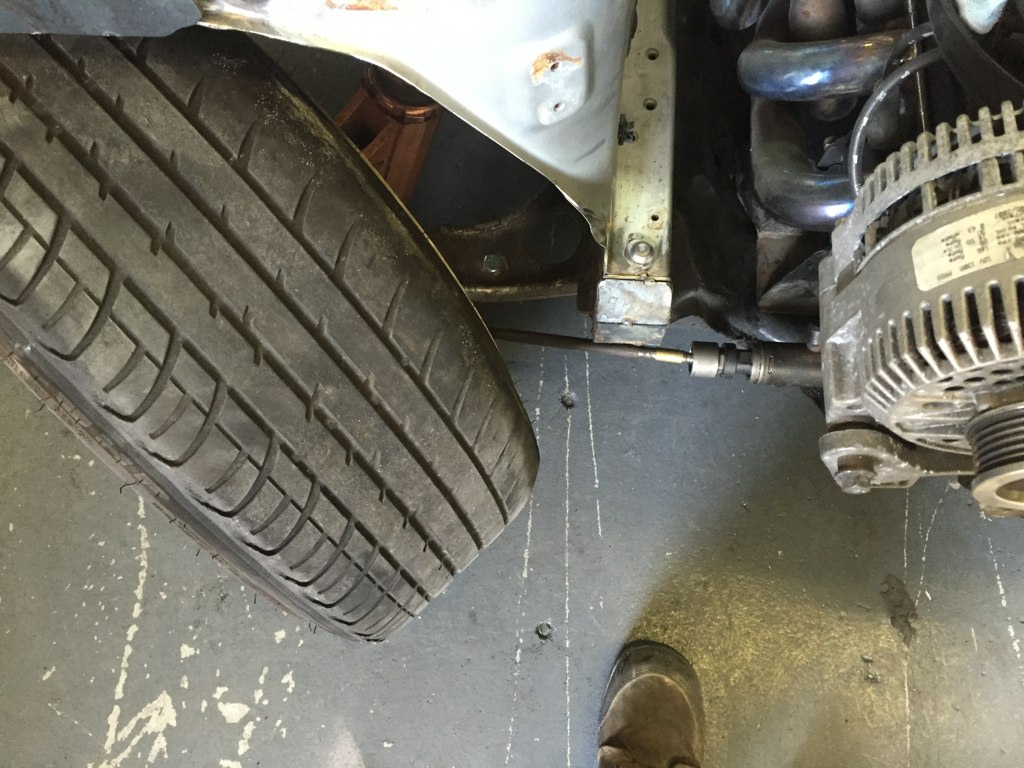
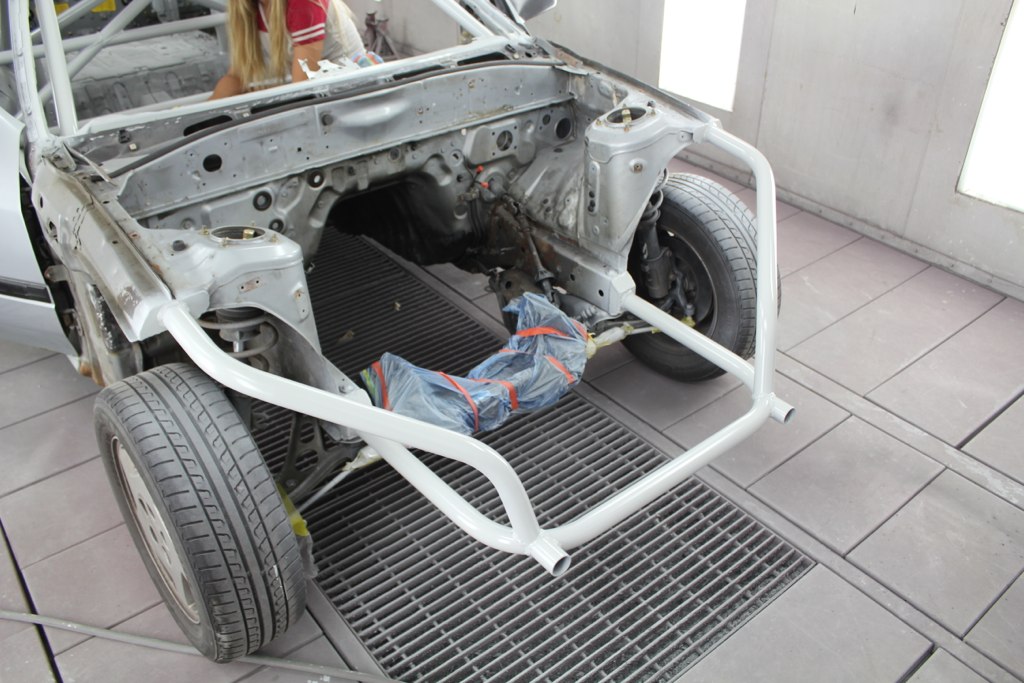
Have spent tons of time grovelling over what I should do behind the tubs...
Theres a little corner I had to hammer for wheel clearance, so now what to do with the space.


A full rear tub is cool but takes up too much space that I need to mount things. Also makes getting at the rear of the engine too difficult.
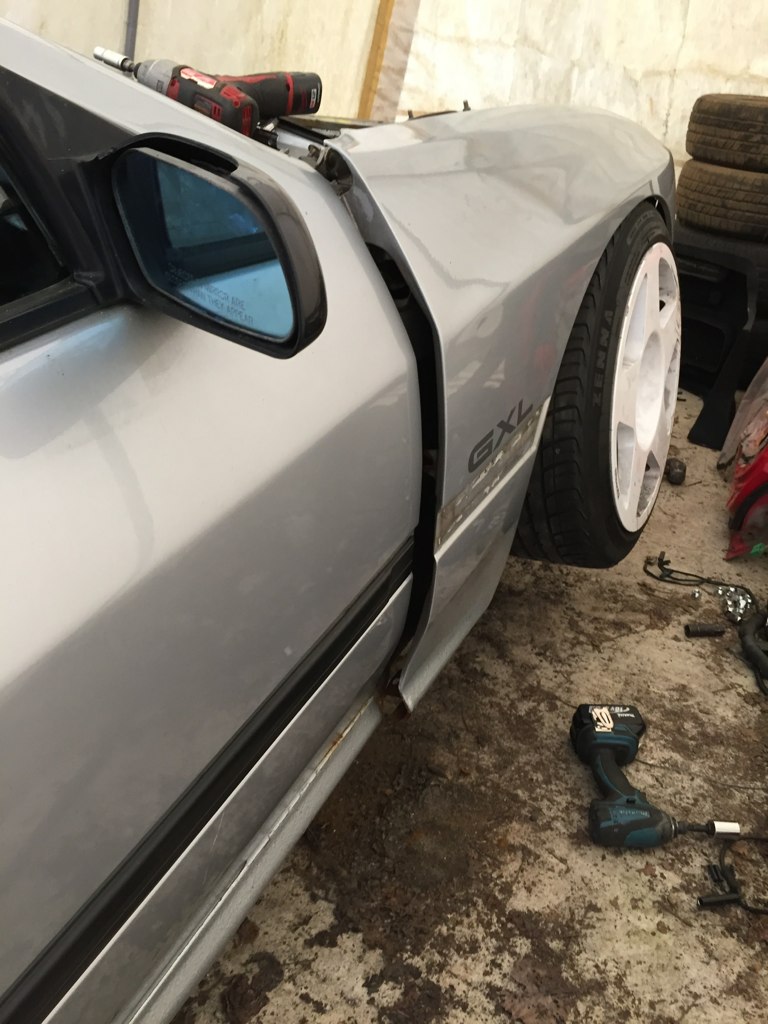
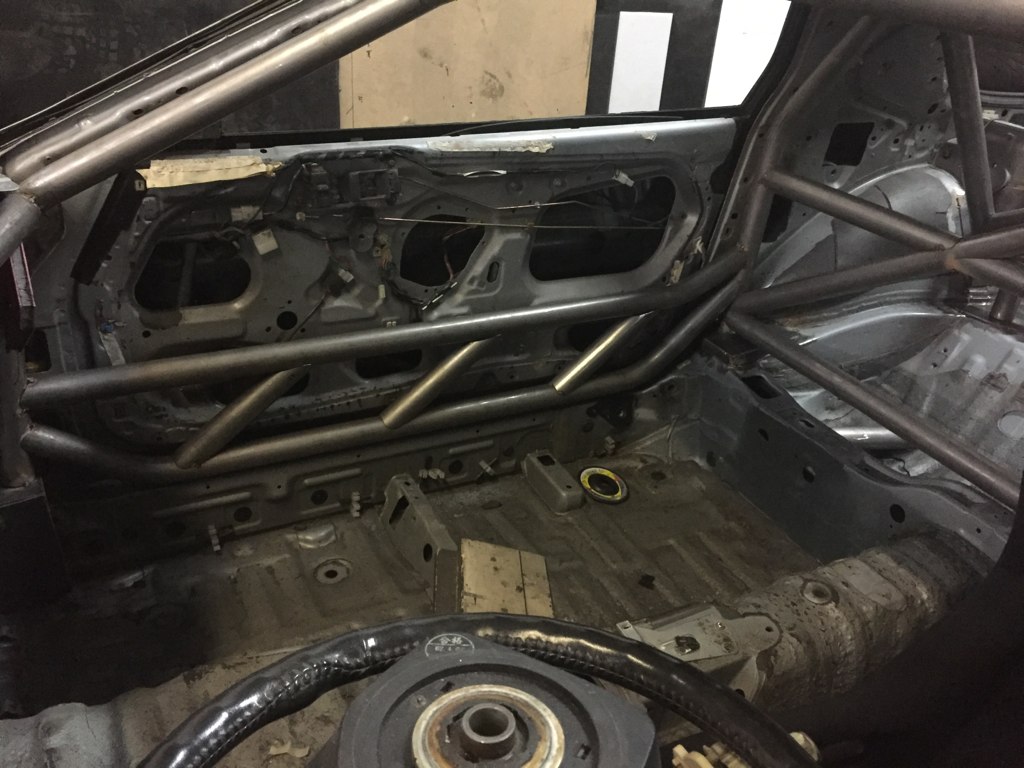
Tried a larger piece of fender

And a smaller one.
I don't like any of it. I thing ill go with a flat ish piece that curves over where the corner was. Make it look oem ish.
I will try to update more frequently. Maybe. Probably not though. But maybe


Leave a comment: