 Tweet
Tweet
I'm a fan of the bowtie but I can certainly appreciate everything going into this build. Excellent work so far.
-
Sup. Call me Z.
My Accord "build". -
Comment
-
hell yea! the cage turned out awesome dude!Comment
-
Wow. Remarkable setup. I know this is late, but what did you use to seal up and make your gauge cluster and switch panel so smooth?Comment
-
I don't know if it's been mentioned or not yet, but if you need more hood clearance you can always mill the lower intake some if needed. Or drop mounts possibly.Comment
-
hasn't been mentioned here, but I am aware yes. My bigger concern is the distributor. I have heard rumours that marine caps sit lower. I plan to trim in the inside of the hood as well.Originally posted by RuizGT View Post
as for drop mounts, its very close to the steering rack as it is, not sure how much lower I can go there lol
thanx!Originally posted by Terkill View Post
Its a 2 part bumper repair plastic. about a 3/5 on the flexibility options. flashes in 20 mins, is good for some structure and for the most parts it finishes pretty bubble free. I still ran a "glaze'" or "icing" over it after. then sanding. can't forget all the sanding. then primer, more sanding, primer, sand, paint, wet sand (repeat until basically perfect�.)
thanks man!Originally posted by Belvader View PostComment
-
Sweet build! I would love to build one of these with a 5.0 to make into a strictly drift car... Your car is looking good! Can't wait to see more updates!
But then I would need a truck and a trailer... which is more $$$.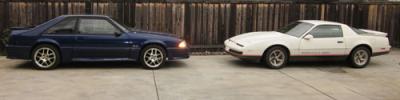 1988 Pontiac Firebird Formula 350-
Heads Cam Intake Procharged T56 Moser 9* Tokico Suspension
1990 Ford Mustang GT 5.0- Stock
1993 GMC Typhoon Garnet Red #1519- Stock
Comment
-
Ya drift car is the goal here, but I want is presentable enough that I can take it to other events (autoX, drag) and not get kicked out. they don't like the whole drift style thing really lol.Originally posted by Bullydawg View Post
thanks for the encouragement!
so not the most successful parts runs so far, I forgot to check if my PO box was open on thursday (it wasn't) and I received someone else's parts from Racing Beat. Trying to figure out where it went wrong�. sigh.
I just want to drive it already
Comment
-
so a bit late but heres an update:
tonights weapon of choice:
.jpg)
The Arkells - Jackson Square
Arkells are a very distinct sound, a love it or **** it type. good rock and roll, great to work too. The whole album is good, but sounds similar.
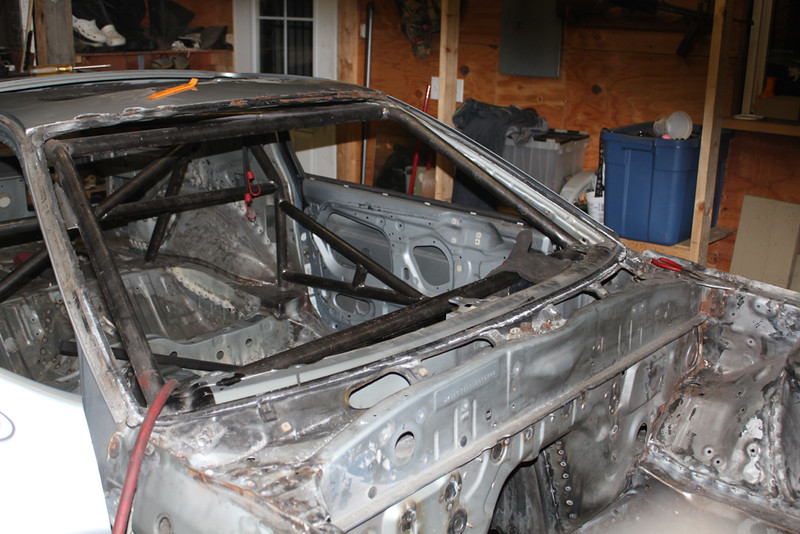
So cage is aaaaalllllllllll done. gussets, plates, the works. Can't thank my homeboi Andy enough for helping make that possible.
I'll have to take more pics (i forgot to take specific ones) to show off the complete thing.
moving on,
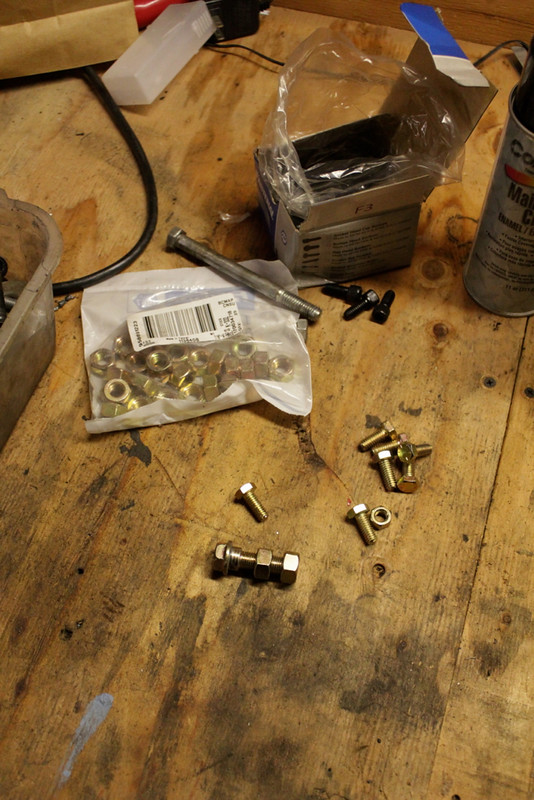
got some gr.8 hardwares to mount the seat, some spares for the engine mount and a few for the kit that were missing. Man I love that golden Zinc coating look
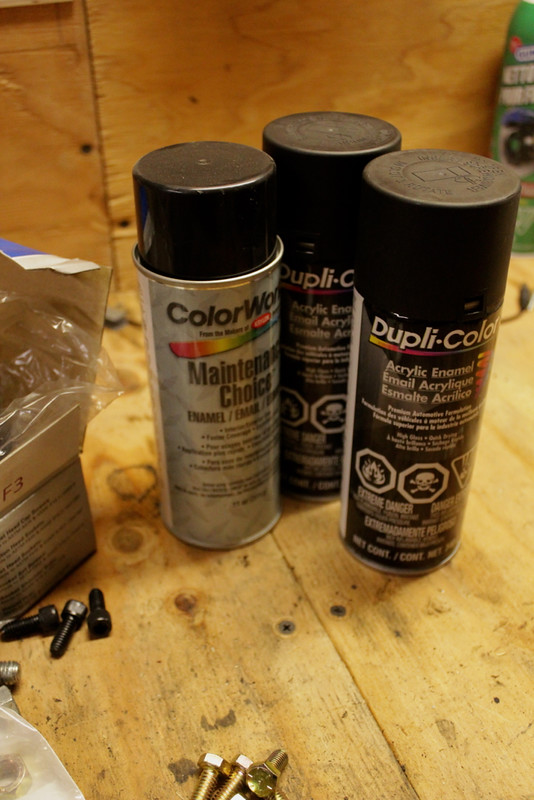
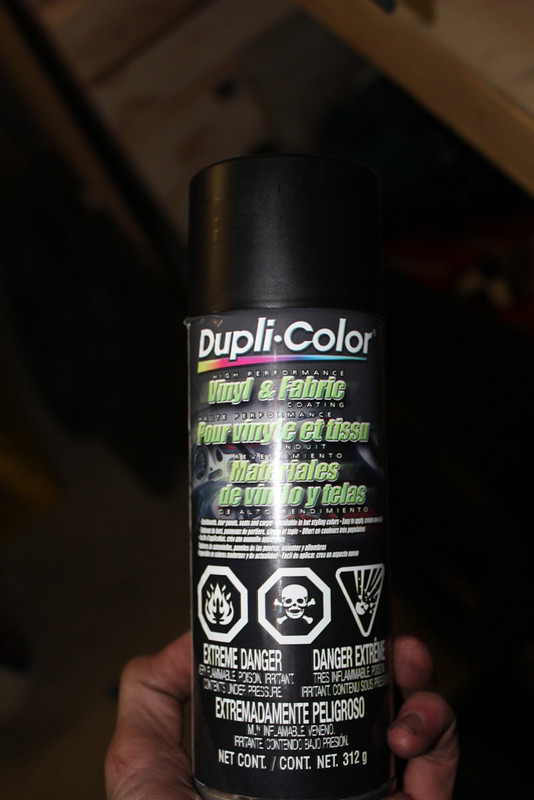
got some paint, I'll need to do some stuff sooner than later to prevent rust from starting. Honestly not looking forward at all to all the sanding and paint prep required in the coming months
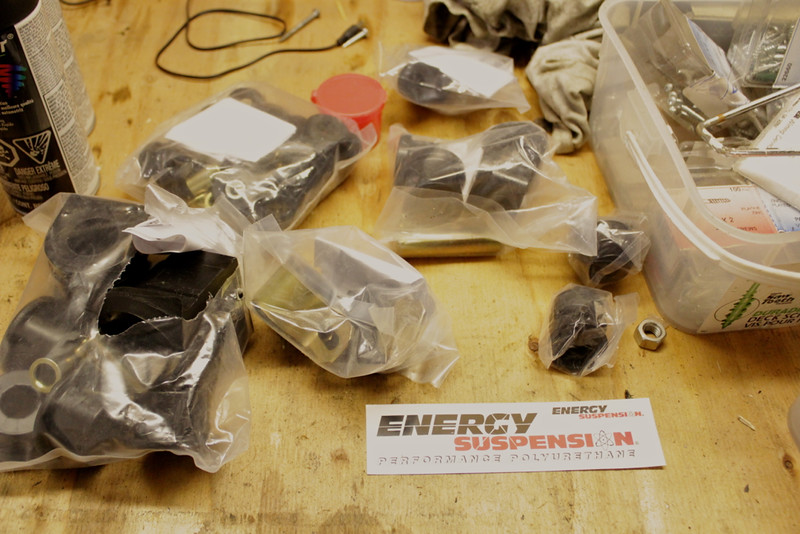
and well speaking of gold
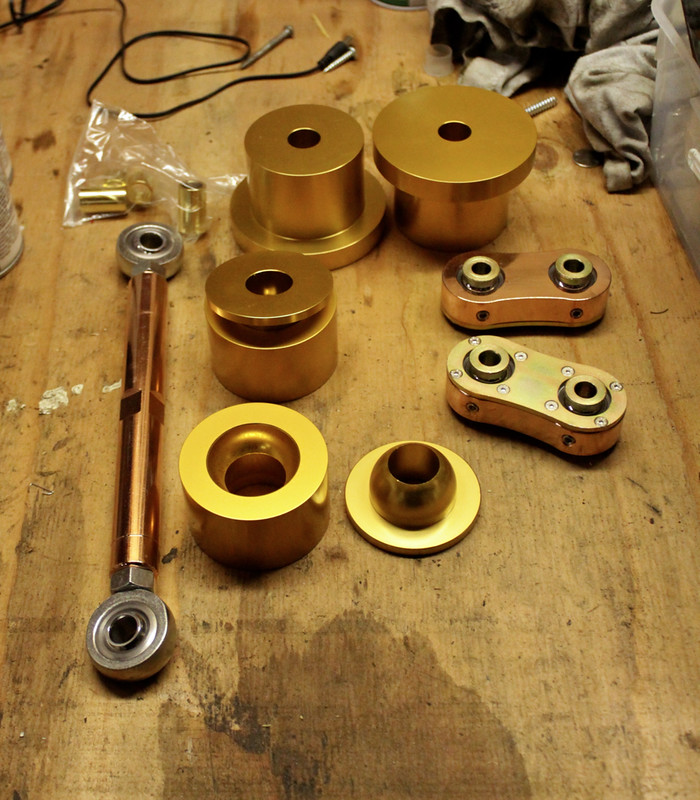
Parts shop max order came! this stuff is beefy, and shiny. Theres actually a lot of little marks and scratches on them, though they were wrapped well for shipping. I don't care really, I'll do worse getting them in probably. No one will see when they're in the car anyway.
We have here
Camber link
Solid diff riser bushings
Solid subframe bushings that tilt
Revised length trailing arm links, which are built. I hear a lot of people break the AWR adjuster ones, it'll take a nuclear explosion to wreck these (famous last words right therrr)
this is all designed to work together, which is why I bought it kind of as a kit.
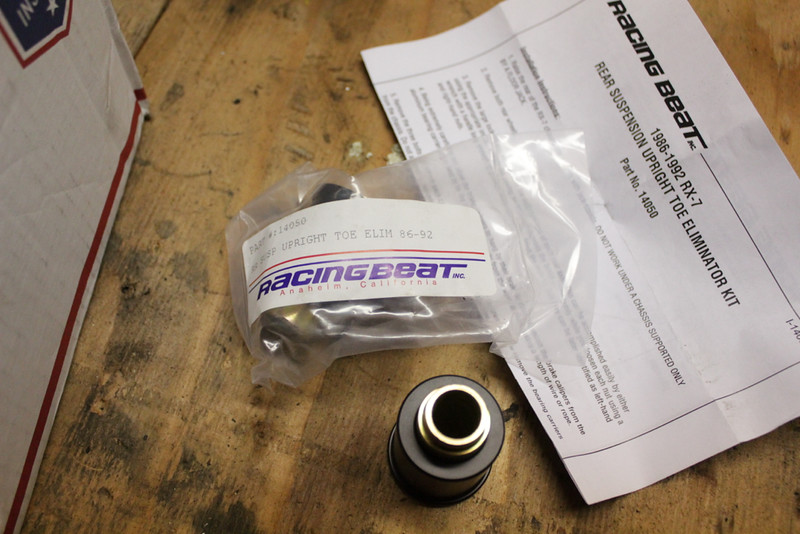
also got these. What a fiasco, Canada post worker delivers a package that wasn't mine to my house when only my mom was home. She signed and paid the duty ($50!) and gave me the box and bill, to which I quickly figured out wasn't mine. I called the owner, who's name and number were on the side on 3 different tags and gave it to him. 2 days later after no help from racing beat (who are not getting future business) or CP or border services, same post worker knocks on my door to explain he made a mistake. 3 hours later he found my package. somebody switched invoices on them at the border methinks. everyone blames each other. /rant
played with these a bit too, they look good.
and with new parts,
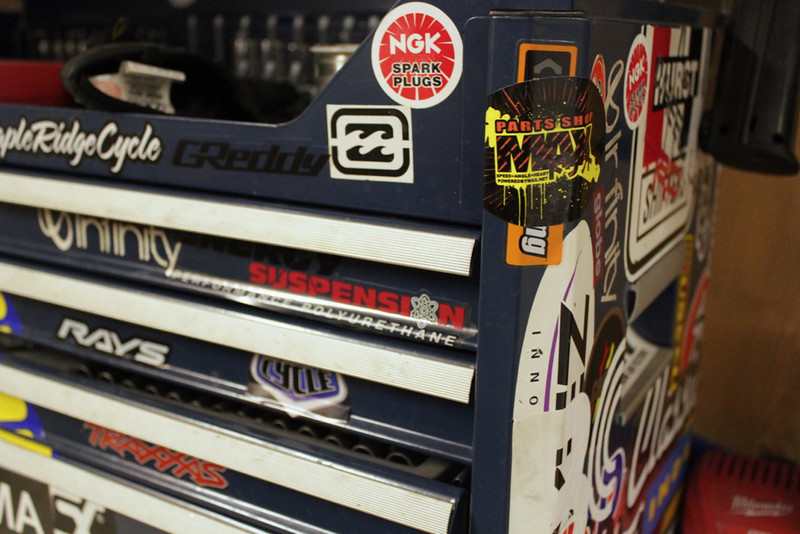
new stickers!
Tonight involved more tidying of the work space, and the car. Clean clean clean. fit fit fit.

after a lot of aggravation, I had made a new mess and got the seat and pedals securely mounted. I'm quite in love with the seating position and pedal placement. Every where I looked people always have the brake closer to the gas. Keeping it on the other side of the steering column however means I can take the pedals out without removing anything else, and lets my big feet heel toe real nice, and I can left foot brake easier. This is going to be so much nicer than hitting my knees on the steering wheel like in most other cars.
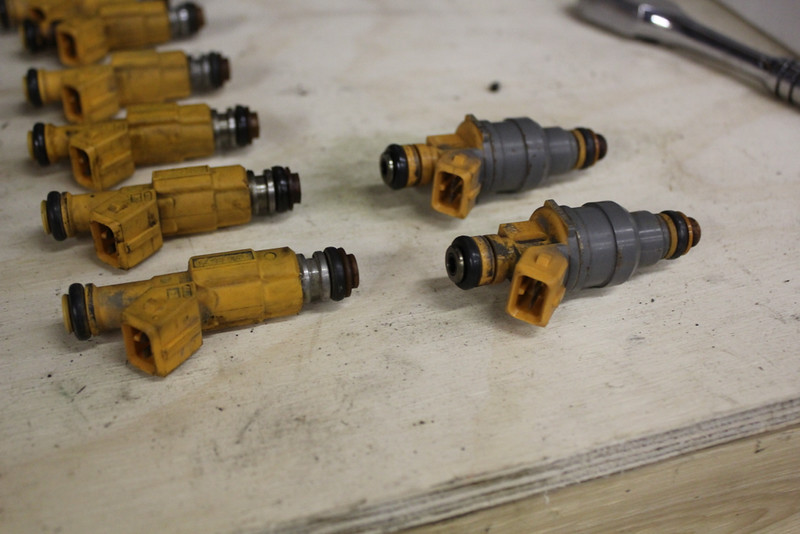
Swapped my injectors to explorer ones. They are the same flow rating, but the spray pattern is newer/better. Can't argue with upgrades I have lying around.
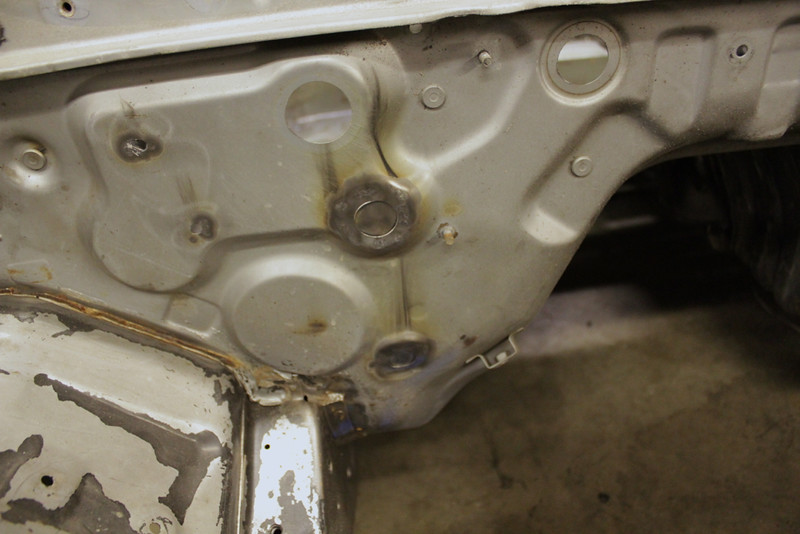
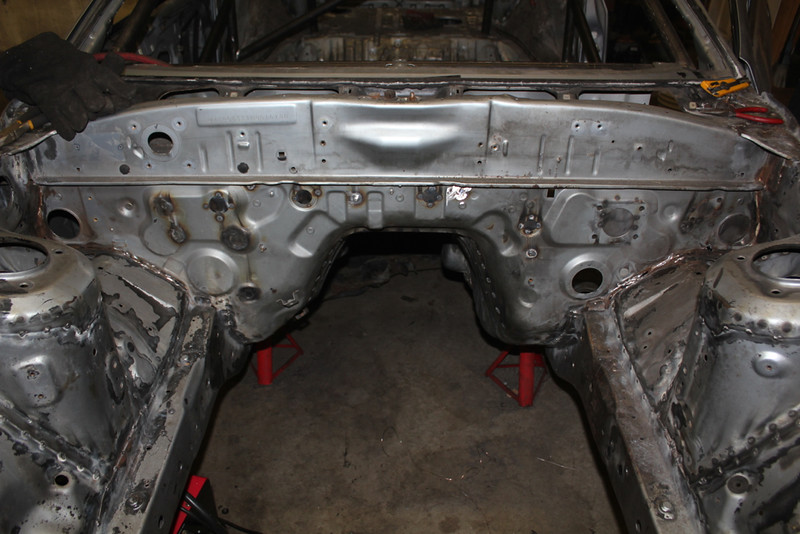
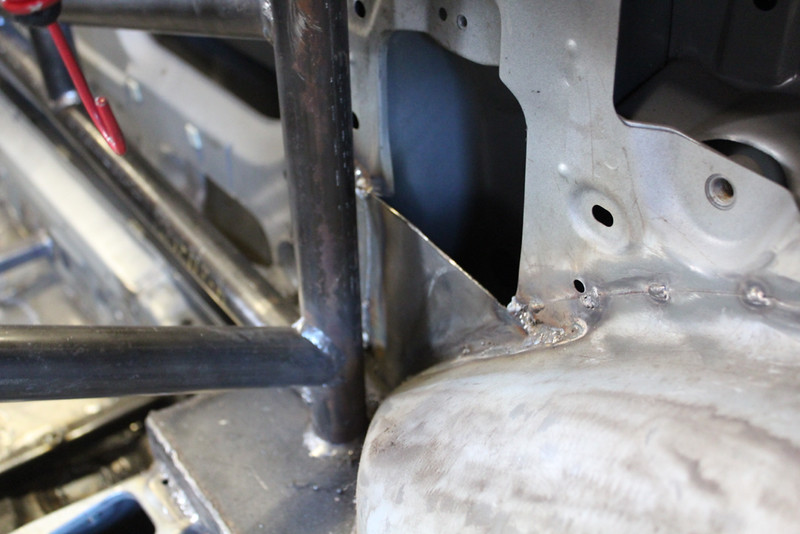
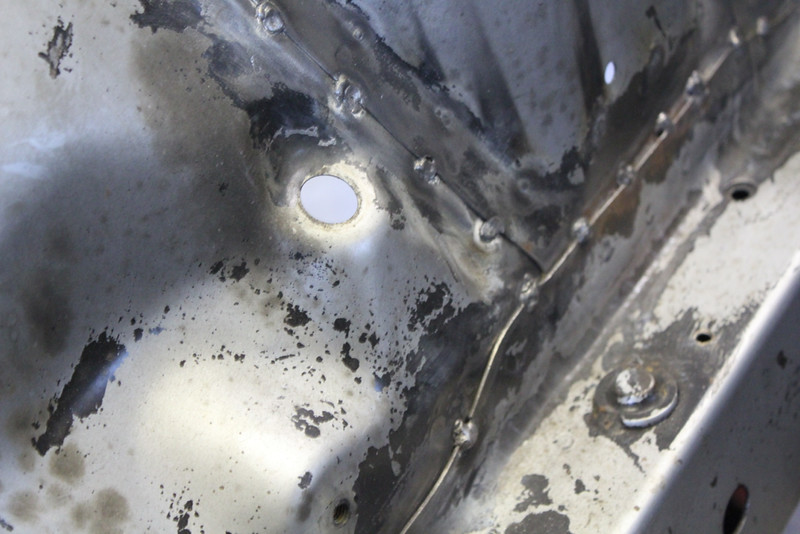
Couldn't decide what to do with the firewall. Didn't want holes everywhere. Didn't want to spend the time shaving it. I like the race car look with the bay all full of unused holes. I found a perfect solution. Tacked sheet metal from the inside to cover the holes. After some sealer, some sanding and a bit of paint it'll look ideal.
mocked the stock radiator, well actually its not stock. It's a premium oem replacement, ditches the plastic ends for all copper everything. I think I'm going to use it until its a problem, then get a nice aluminum one.
The 5.0 fan fits quite well actually, not going to take much effort to make it work.
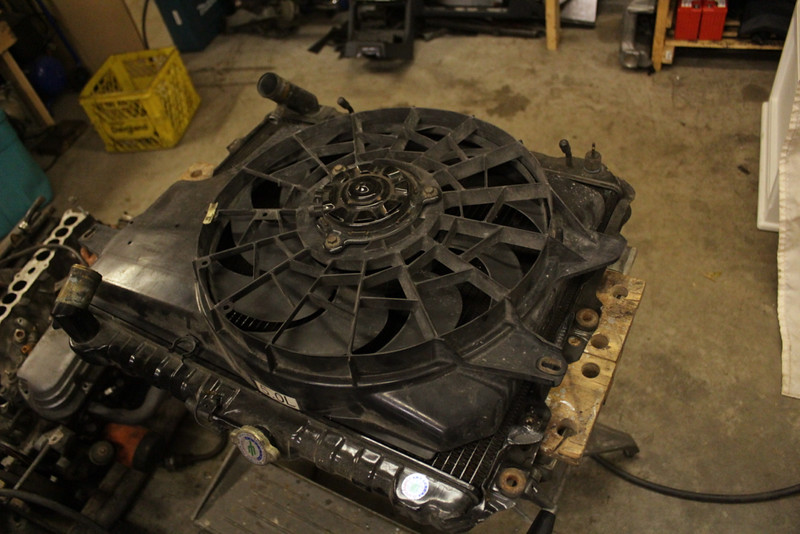
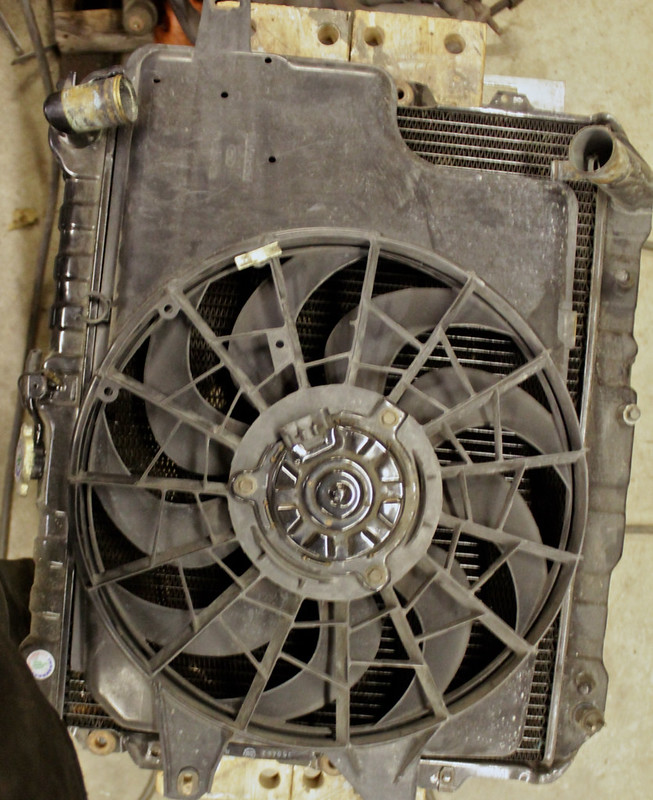
It is kinda thick however. I'm already positive i'm going to have to move it forward and change the angle because the V8's balance hangs farther forward.
I was given this
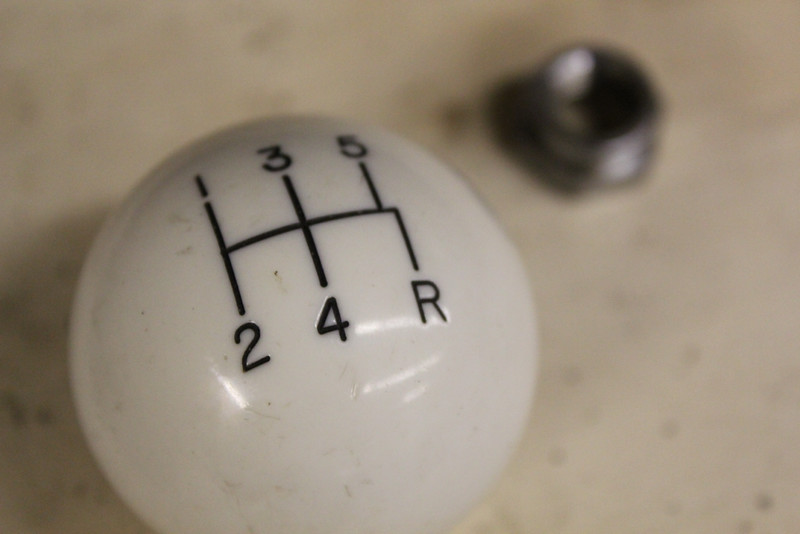
I have always loved and wanted one of these cue ball shifters. It's gonna fit right in with the rest of the interior too.
up next in the near future: Stitch welding, and fitting the engine in. hopeful start the welding by next week provided the holidays don't get too cray.Comment
-
What's the hold up? Holidays are over! Haha.
I had a question for you that I couldn't find an answer for: have you test fit the engine with the SN95 oil pan? Everything I read online says the fox body oil pans are basically the same but on Granny's they specifically say you need a fox oil pan
Comment
-
haha glad to hear somebody's paying attention. I've been slacking putting together an update.Originally posted by Zach Thomas View Post
Far as I know the pans are the same. I haven't put the engine in the car, just a block. But i have trial fitted the granny's kit on the SN block, and It clears the Granny's kit fine. The blocks are the same so I'm not worried there. I am worried I may have to modify the trans mount because the SN trans is bit longer. It's nearly a negligible amount (like a 1/4") but we'll have to see when I drop it in. Which I hope is soon����
So small update,


I have been listening to City And Colour's last 2 albums. Fell in love with this band when Little Hell Came out, always liked the older stuff but this did it for me. Hurry And The Harm is similar and still very good. Puts on a good show, I think Dallas Green has made City And Colour more rock and roll since Alexisonfire folded. Can't wait to see him again this summer.
Been a bit slowed down by the holidays, but the holidays do bring other things as well..
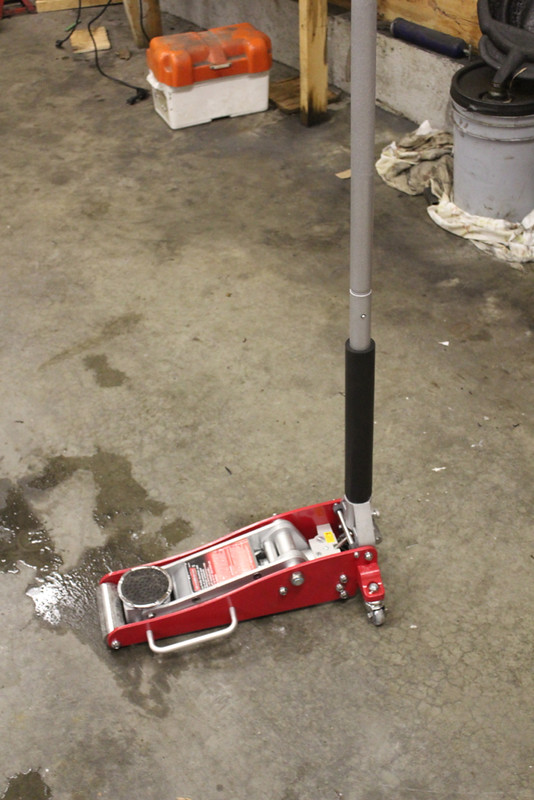
Low pro jack, aluminum, foldable, pretty perfect for a portable track jack
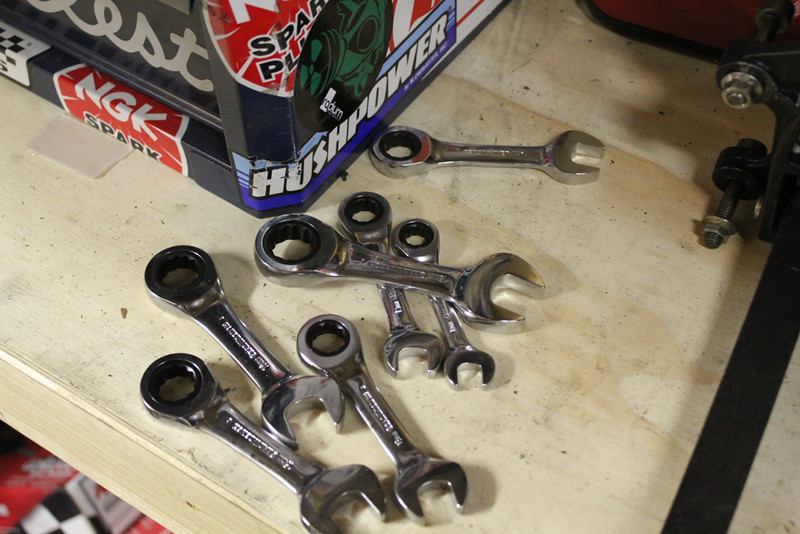
Rache-ty wrenches! The best thing since sliced bread, and they're the stubby variety, which is nice cuz I don't own either rachets or stubbys.
finally got this in, not sure when I'll get to painting the dash. Need to wait till the weather warms up methinks.
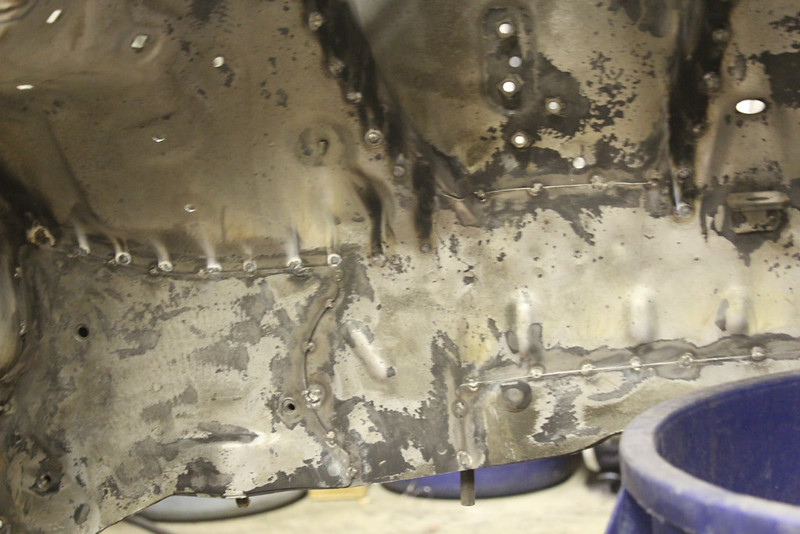
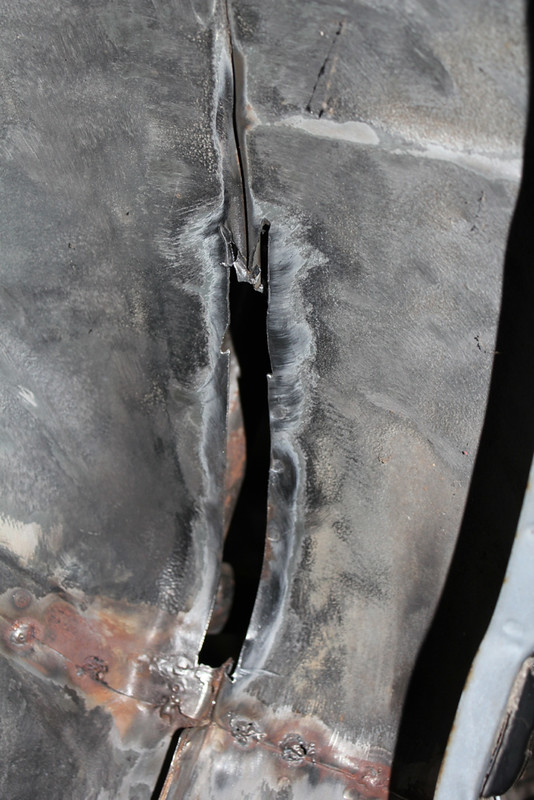
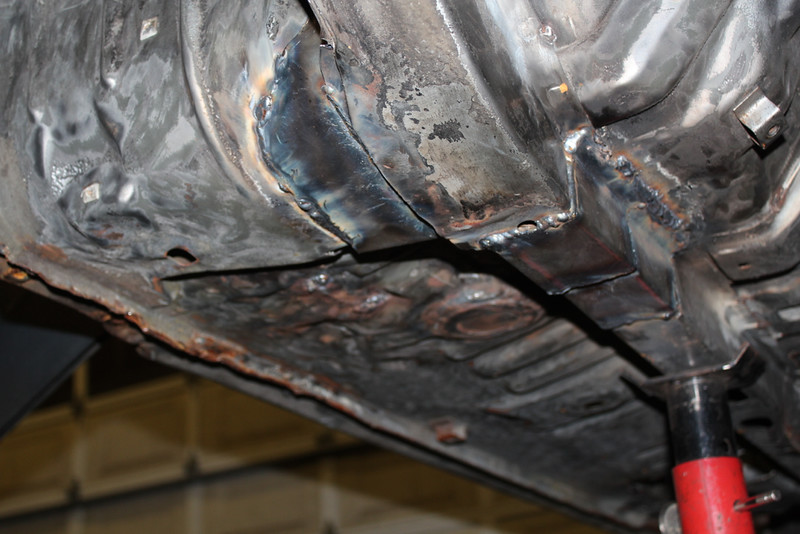
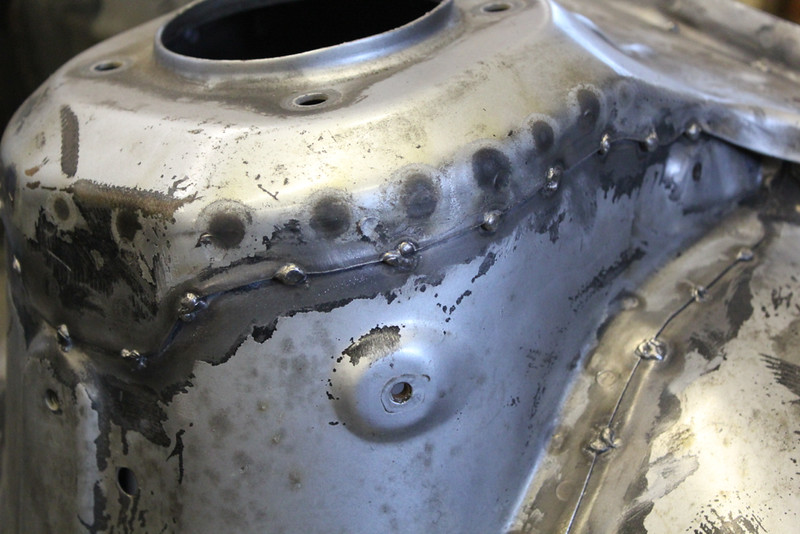
Now not super proud of my stitch welding. I was basically still learning how to weld when I started. So some of its not the prettiest, and in these pics none of it (except engine bay) was cleaned with a wire wheel yet. I did my best to get all the seam sealer and undercoating out before welding, but that doesn't always happen. And the welder I was lent isn't the best..
But the bright side is the whole car is done. I may have a bad weld or two here and there but those few aren't going to ruin the whole car. I got a lot better over the course of the car and saved the interior and engine bay for last.
got the firewall more or less the way I want it
I'll have more pics as I clean the interior. The whole car is a mess right now.
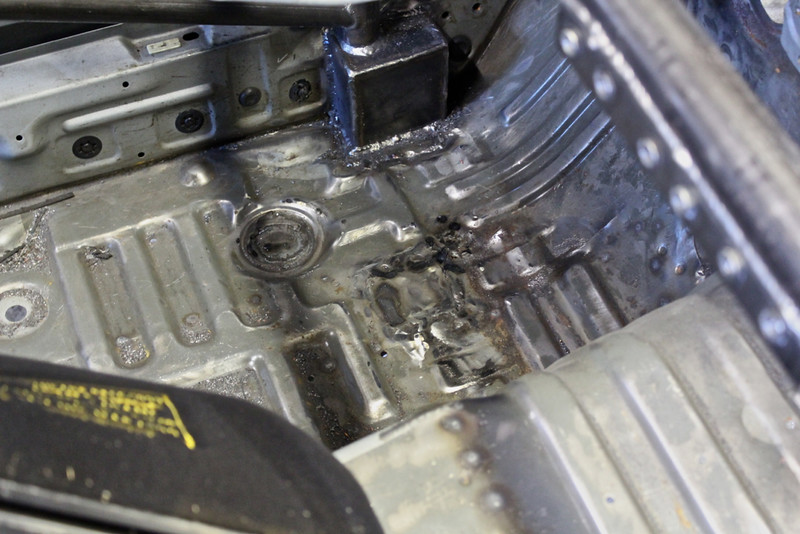
The other item on the list that requires a welder is fixing the areas of rust the car has. theres a spot in each wheel well, a few in the floor and one bad one on the pass subframe area.
so out with the bad
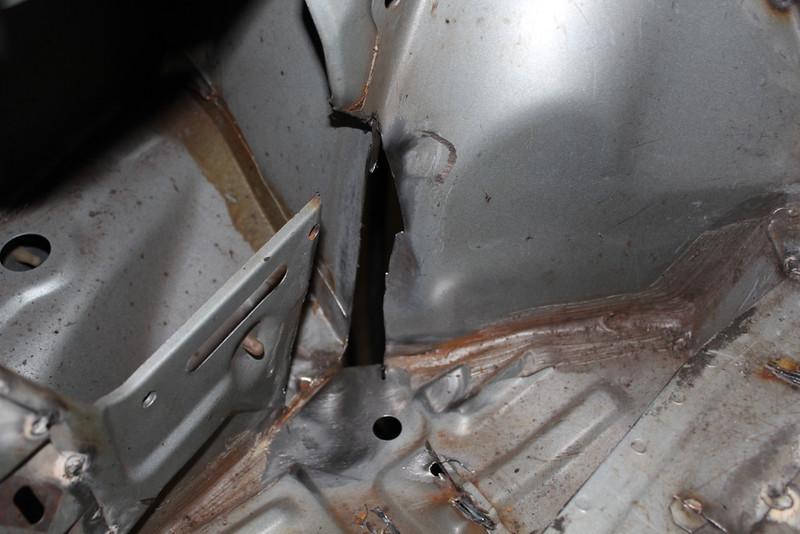
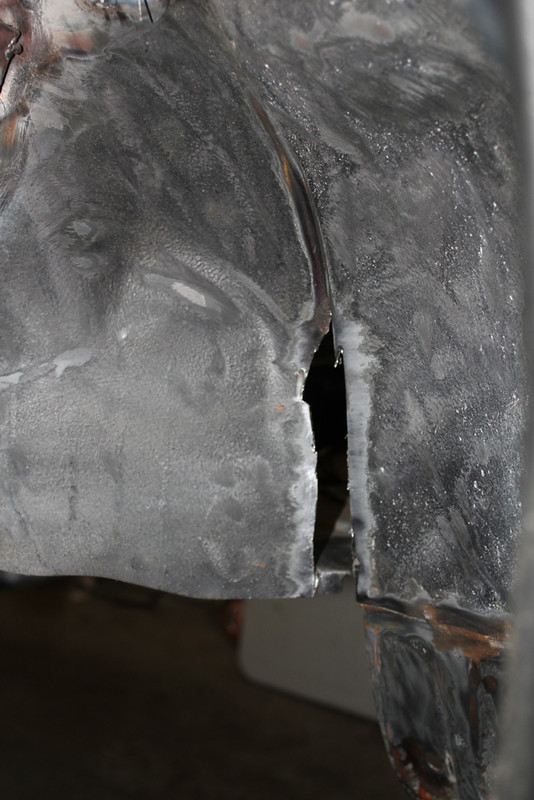
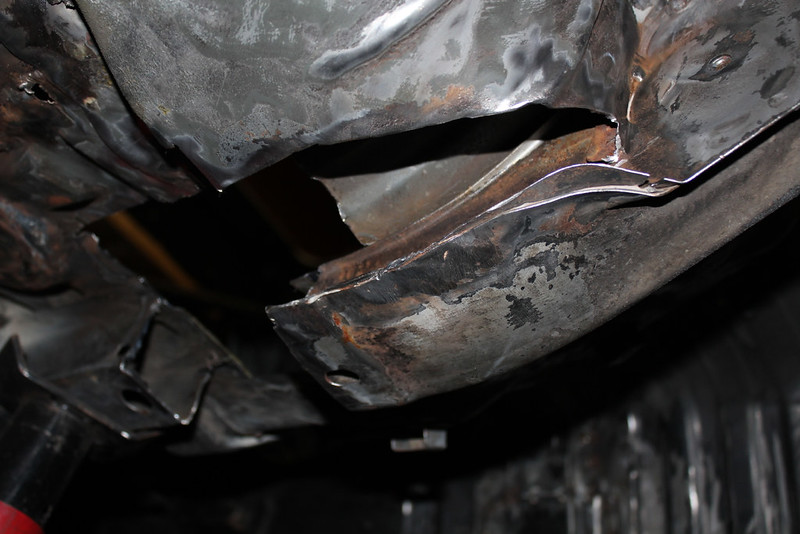
make some patch pieces
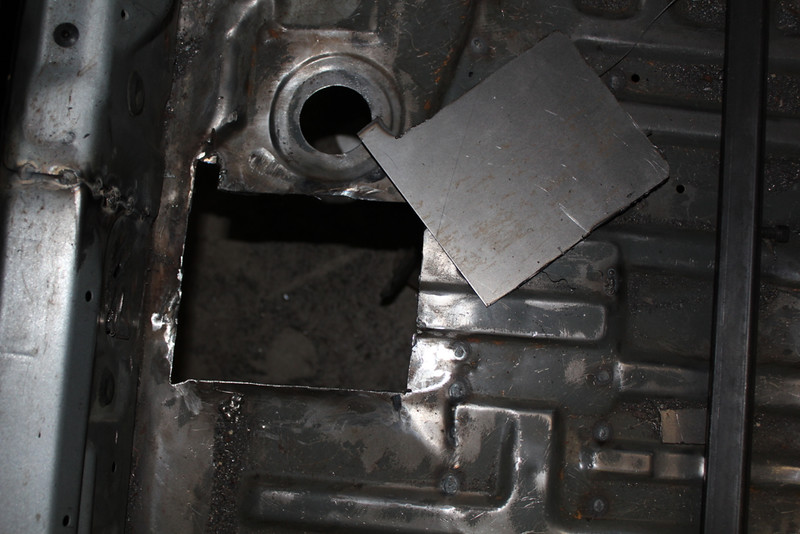

and start fitting them in
^ this is where we ran out of gas. again.
(for some reason my camera makes everything look rusty, I promise its not that bad! must be dust or something)
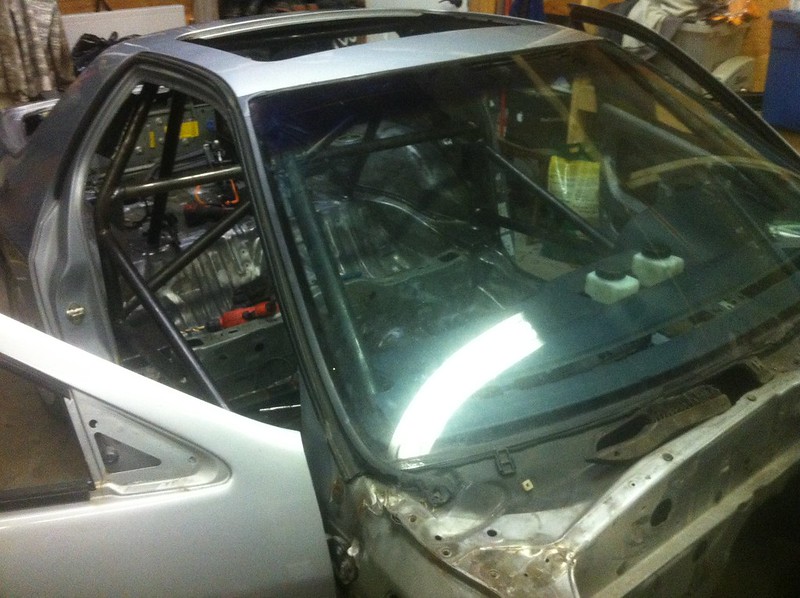
Now really bummed about this next part. So theres a little bit of rust bubble above the windshield, it needed to at least be looked at. At the same time I noticed that the inside and parts of the outside of the windshield were all covered with girding/weld slag, so I tried to scrape them off. Well they came off, but they had melted the safety glass layer on the inside. So I need a new windshield. *sigh*
so out it came. I was really trying to avoid that because I don't see a new one being cheap, and now I can't drive it until I get a new one. This really made me sink, I've got so much time into this thing. I'm really done with fab too, but this is the home stretch. After tomorrow I can move on to not metal work.
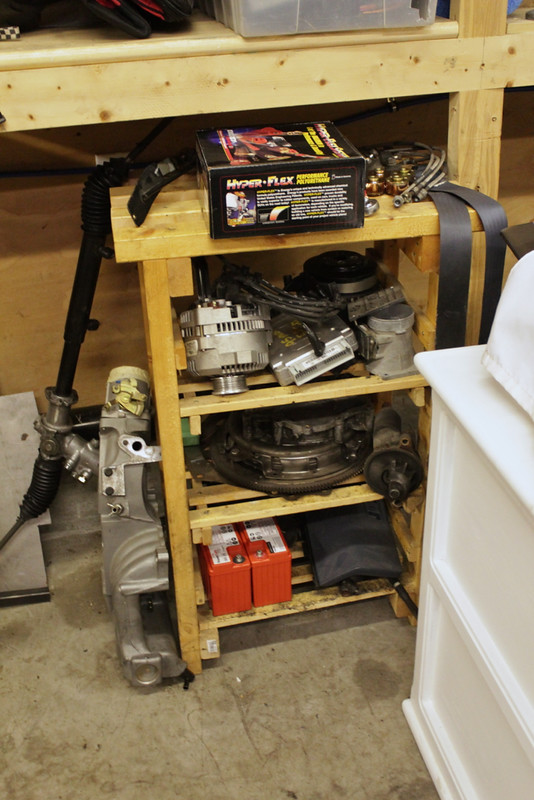
I've disassembled the front and rear subframes. Perfect time to pull in some favours and clean/paint and install all those new bushings.
more to come, thanx for looking!Comment
-
The win is strong with this onesigpicComment
-
thanx man!Originally posted by EasySpeed*Inc View Post
With help, got all the serious welding done tonight. Still have a few small holes to patch, and a mount or two to make after the engine is in place and I can measure clearances etc.
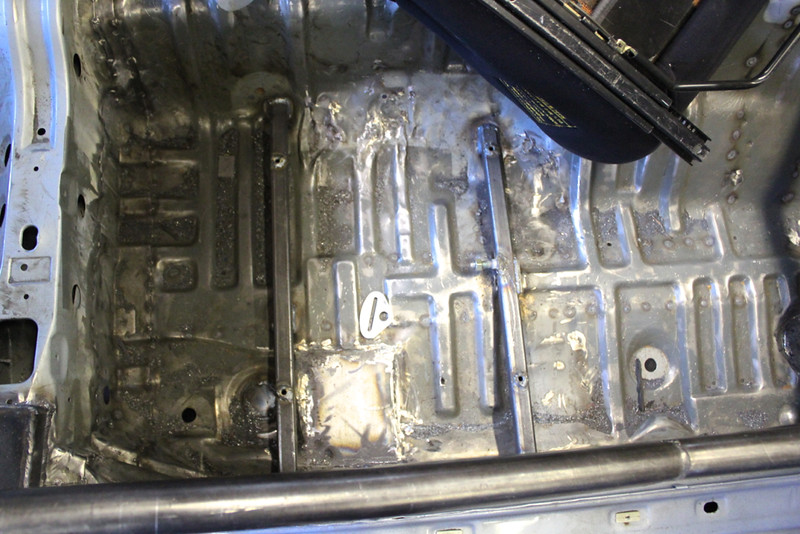
rust is fixed. seat mounts done. belt mounts done. cars stitch welded. firewall is filled.
oh and the subframes are out and apart. Have some paint and bushings to do! am kinda excited to do anything besides fab/weld right now lol.
more pics tomorrow (hopefully)Comment
-
I like this threadComment
-
more to add from yesterday,
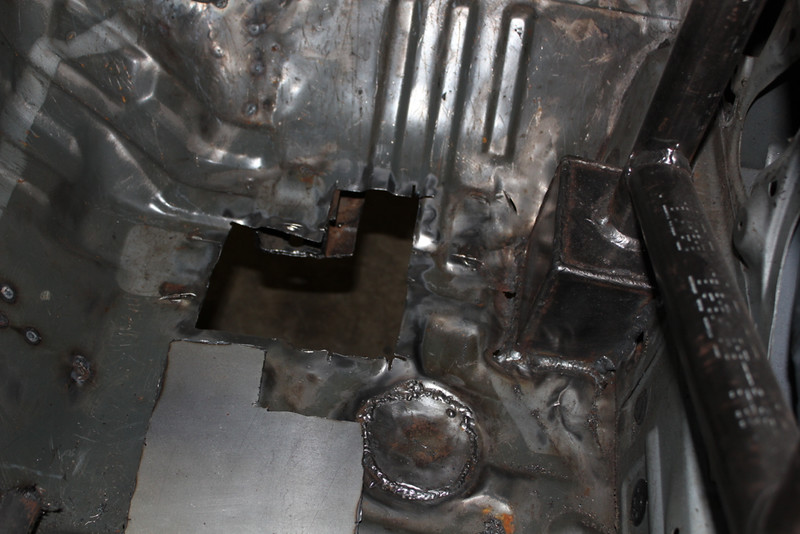
fixed
fixed
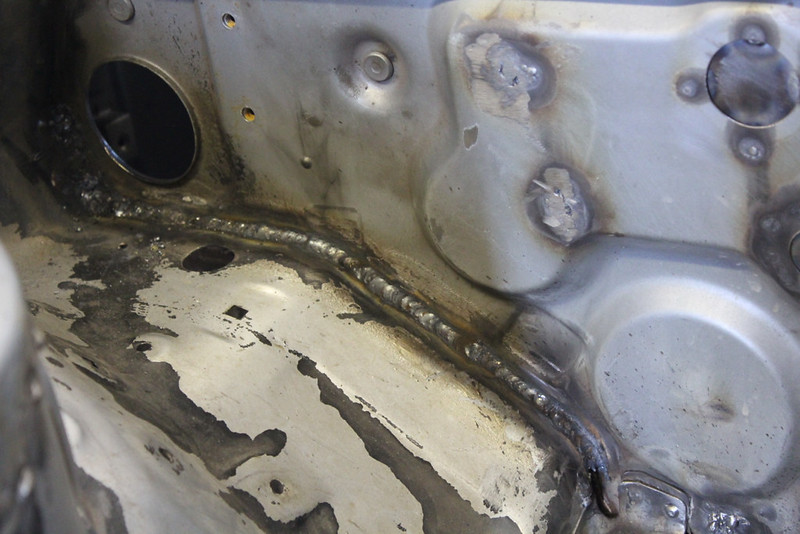
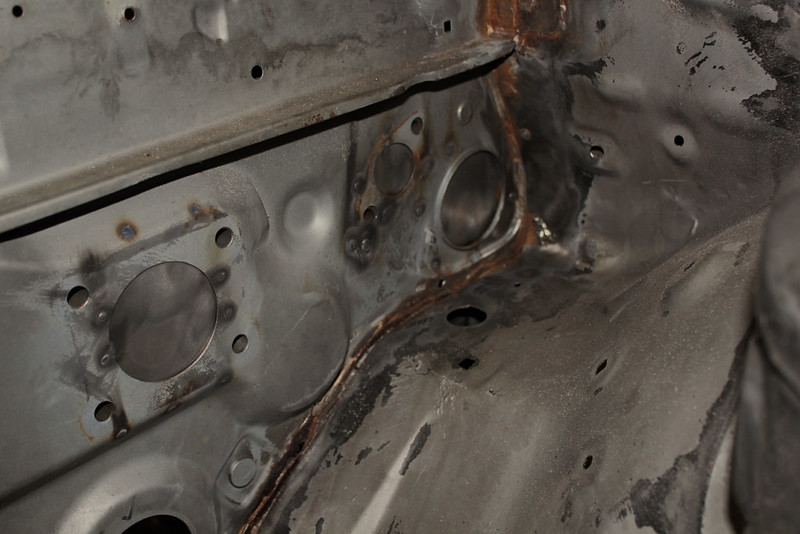
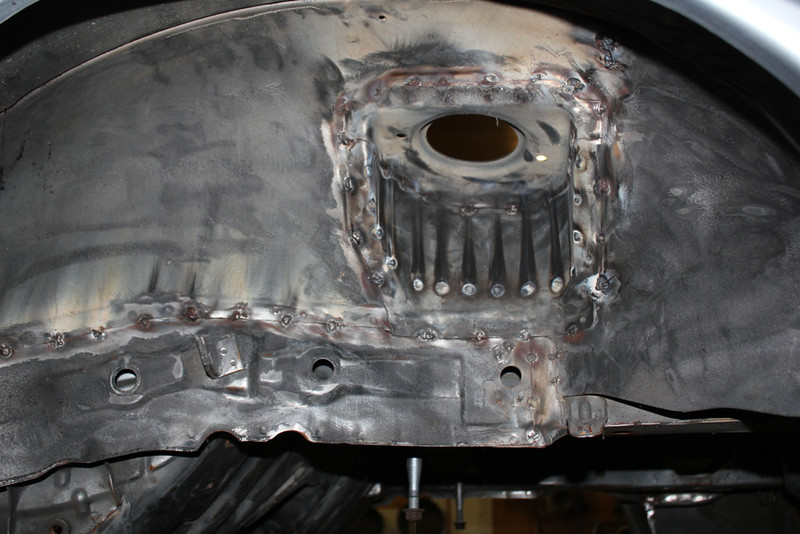
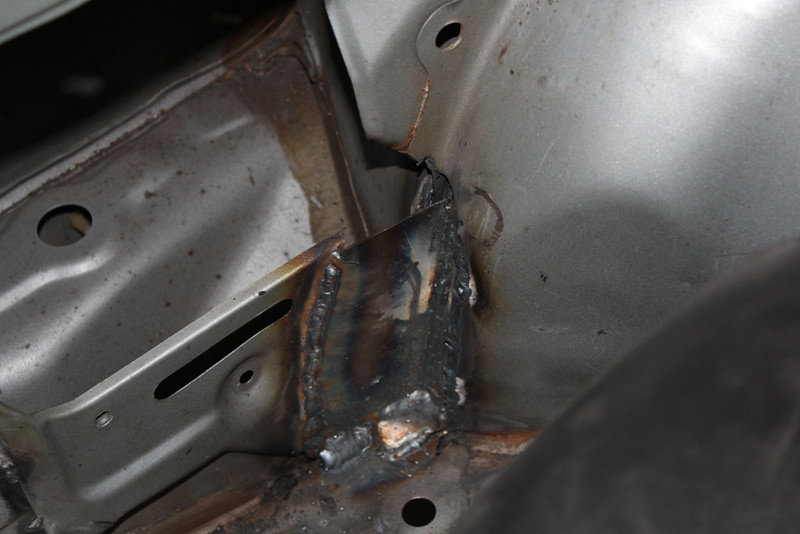
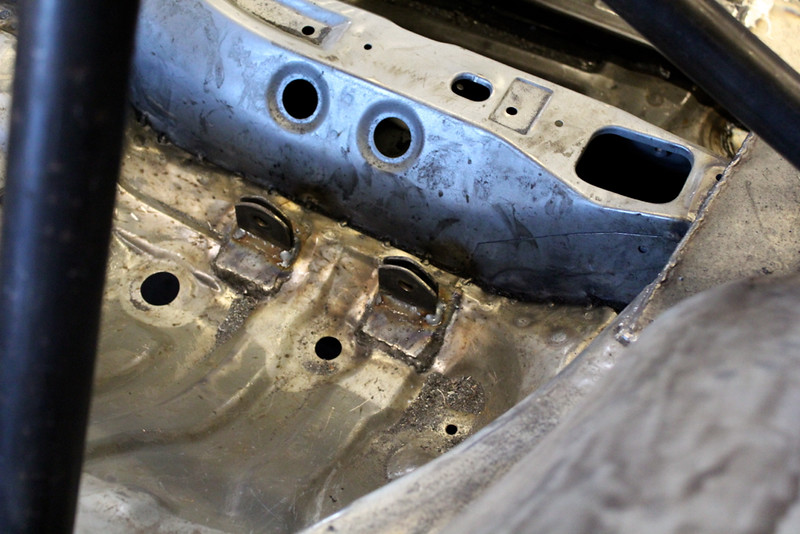
fixed. This was a tough one, as all the metal (well basically) that attached to the firewall had rusted away to almost nothing. this makes for bad welding, so after a good grinding welding commenced. Worked out really good for what I was expecting. My welder buddy certainly earned his Mcd's.
and then
and then
all the pass seat mounting and harness mounts
meanwhile I took a grinder to those patches
came out ok ish. might need more.
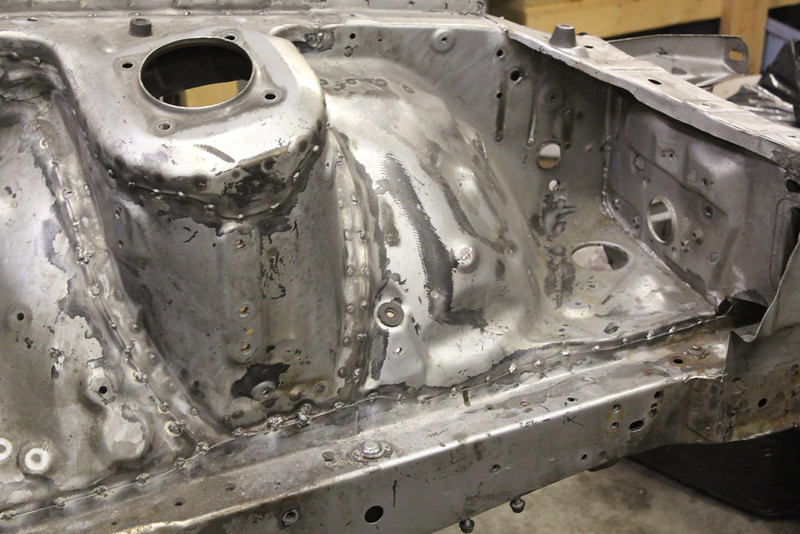
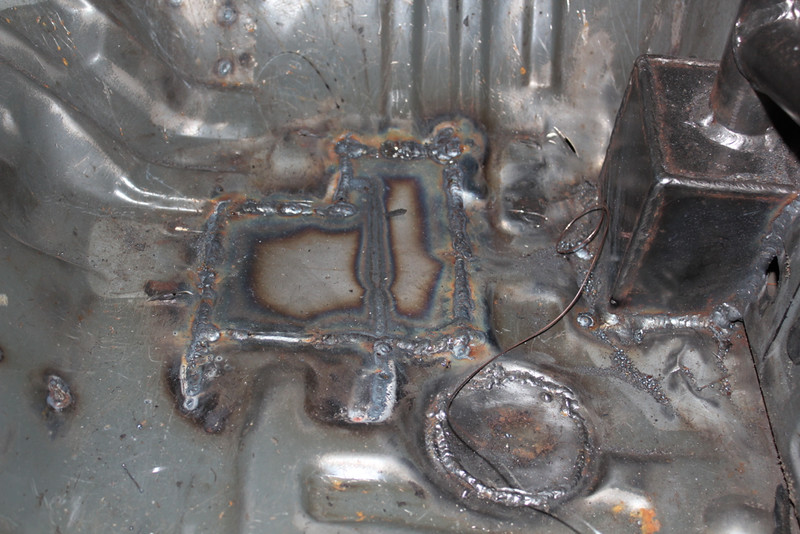
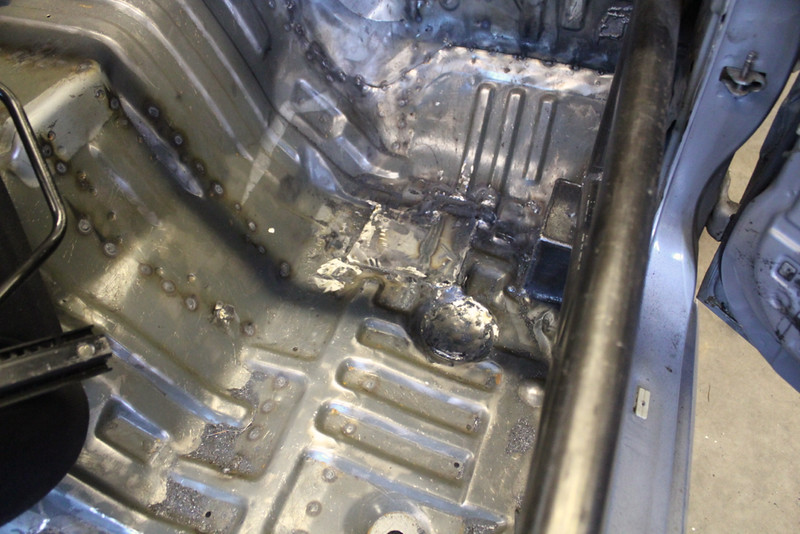
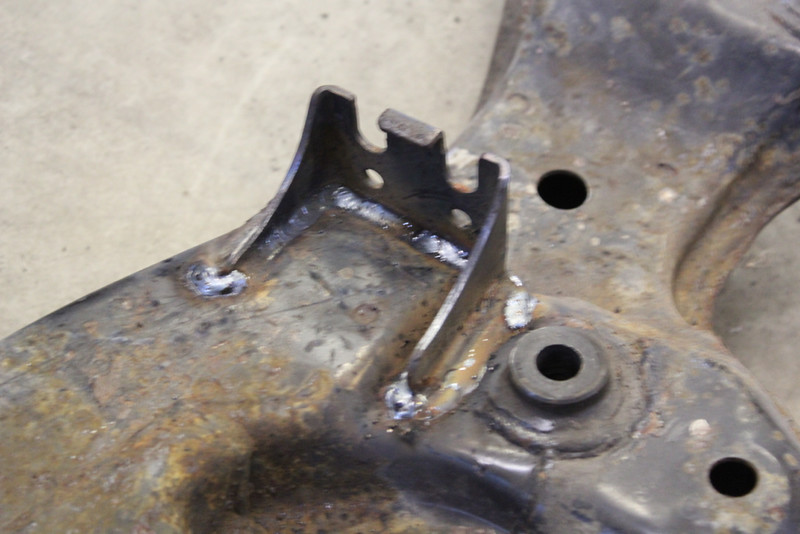
strengthened up the front diff mount
heres a few close ups of my stitch welding. lol would've been so much nicer with a better welder. oh well, I'm told its strong just not super pretty.
and now onto not welding,
Those DTSS bushings are gonna be a pain
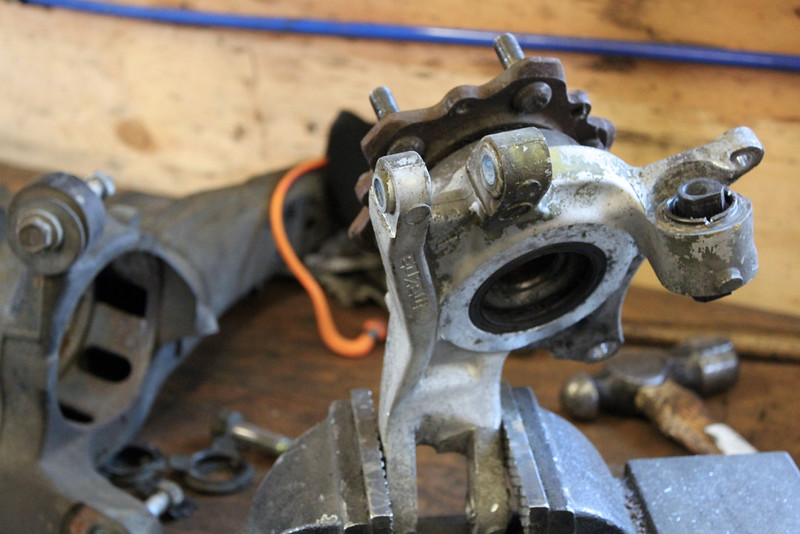
gonna take some heat, a press, and probably cursing lolComment
 )
)
Comment