 Tweet
Tweet
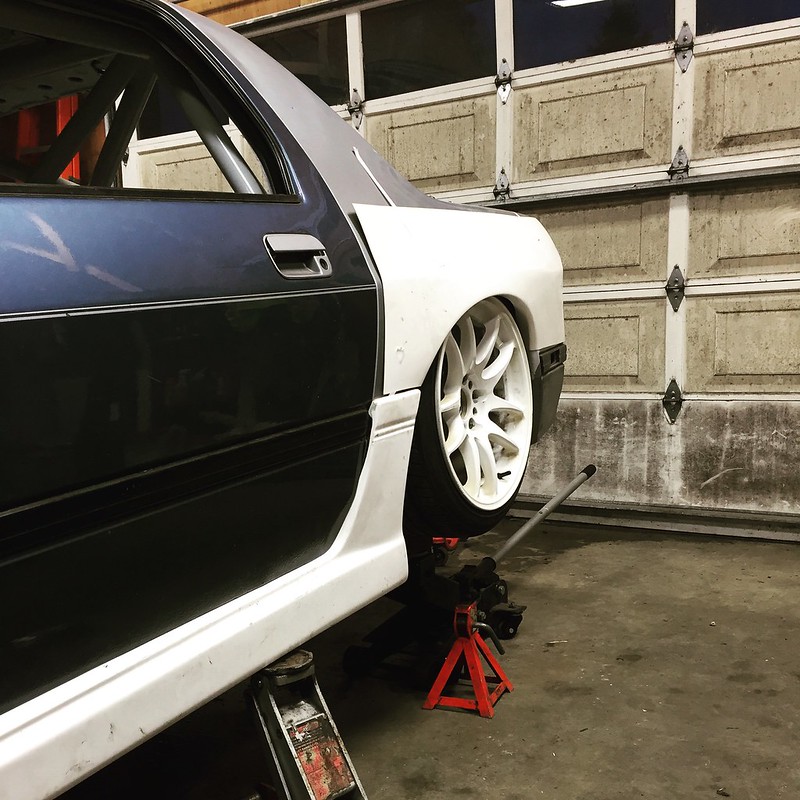
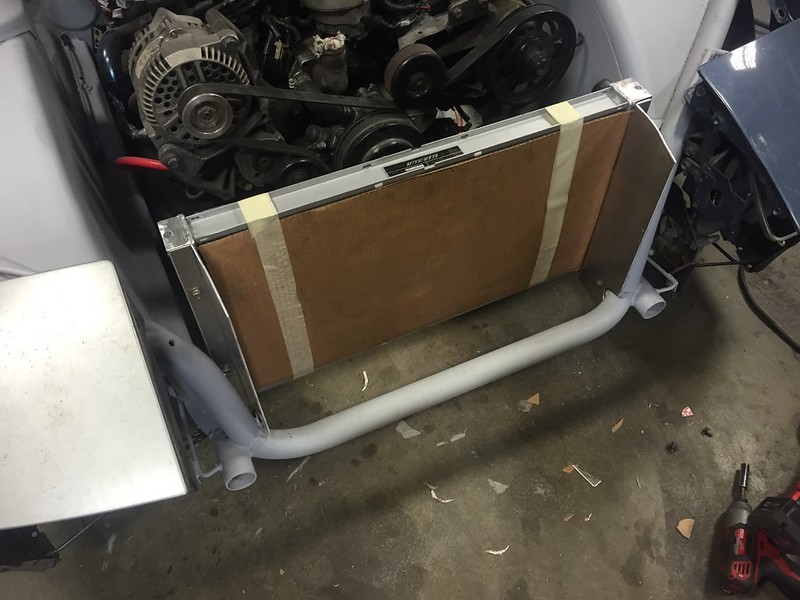
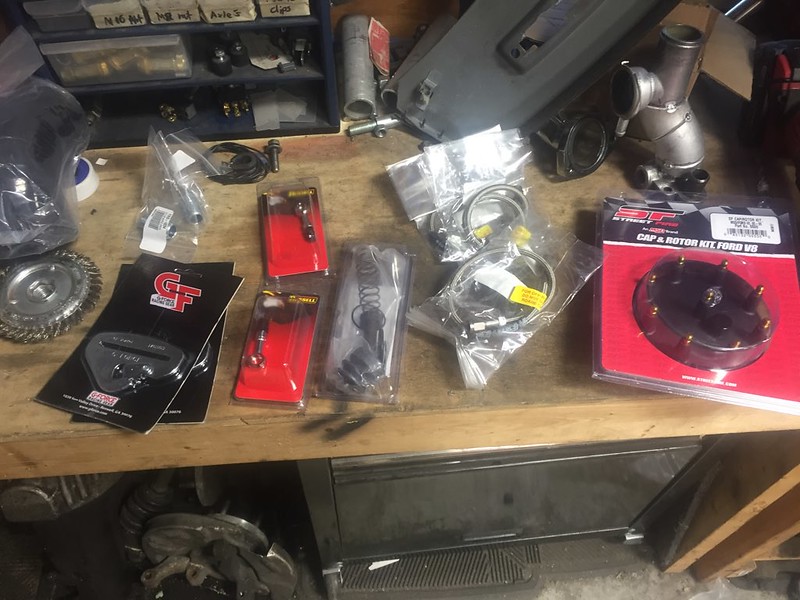
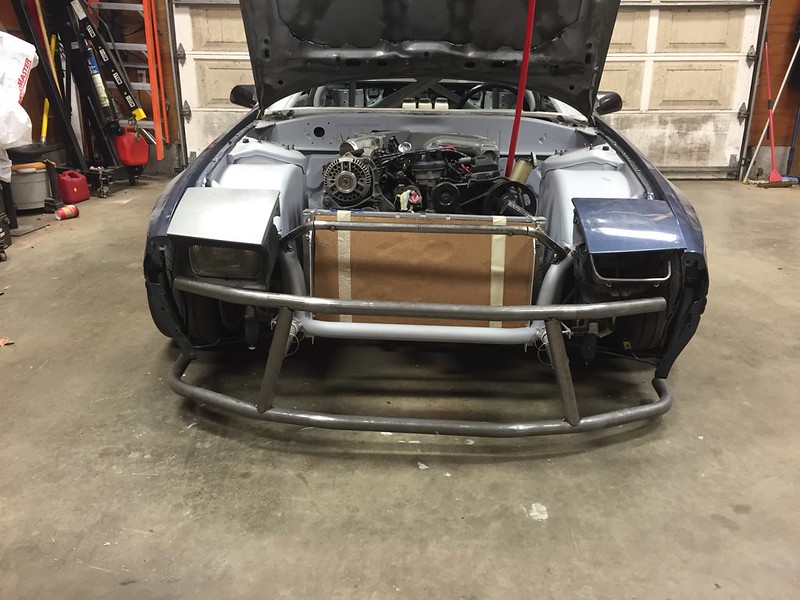
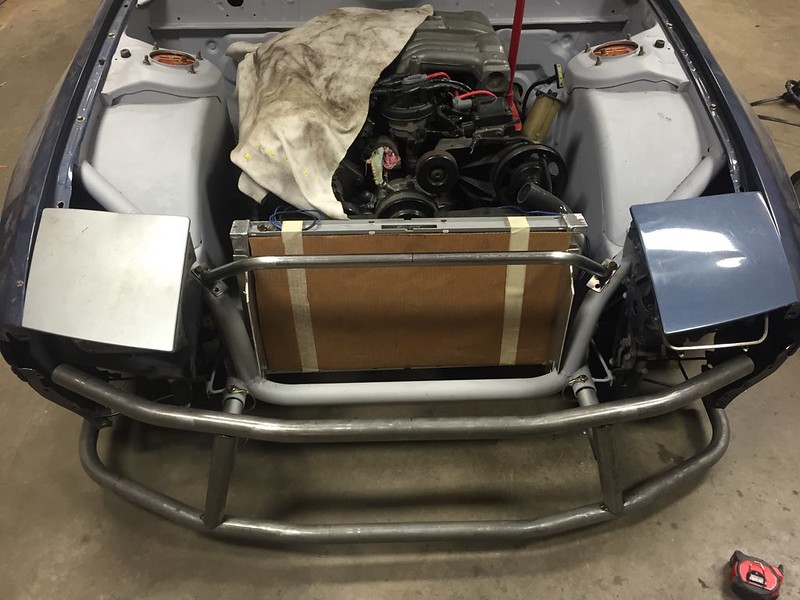
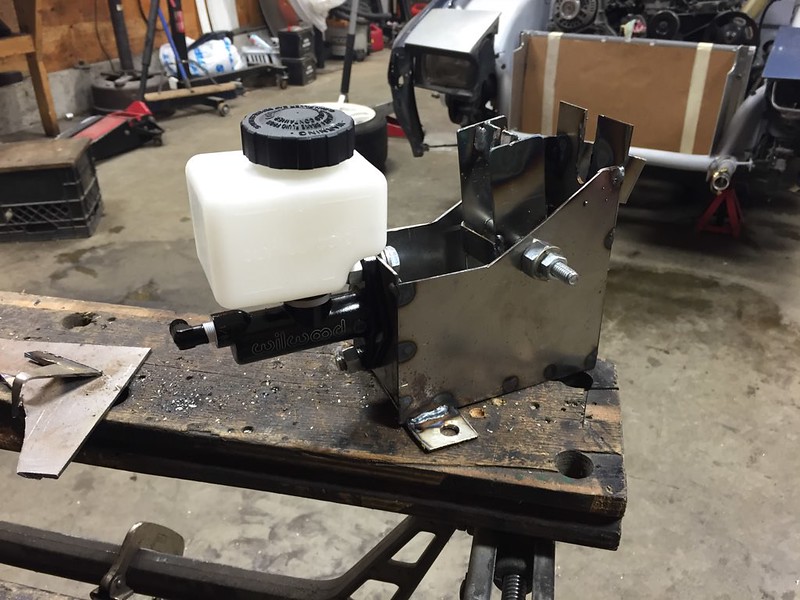
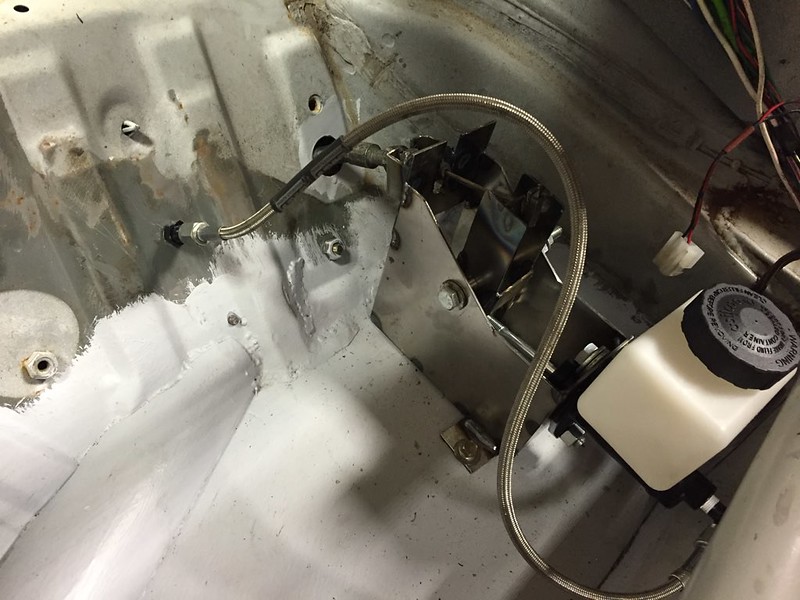
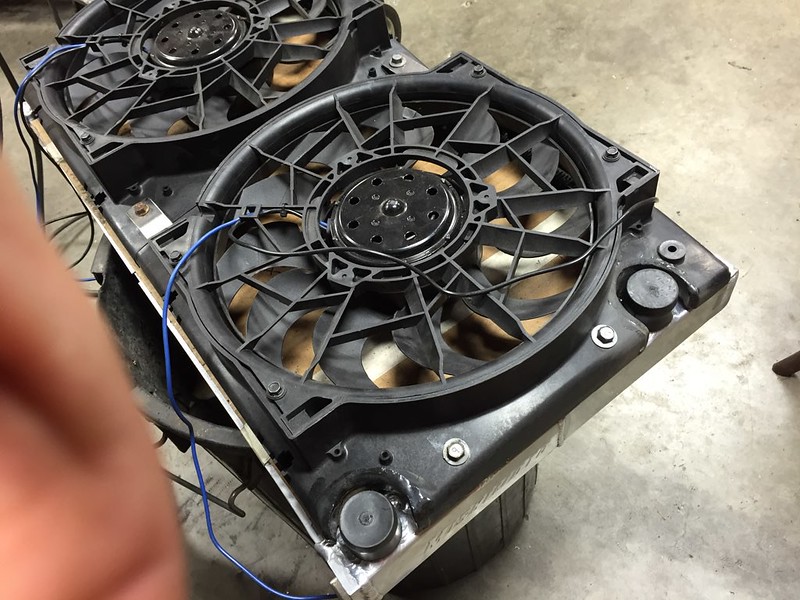
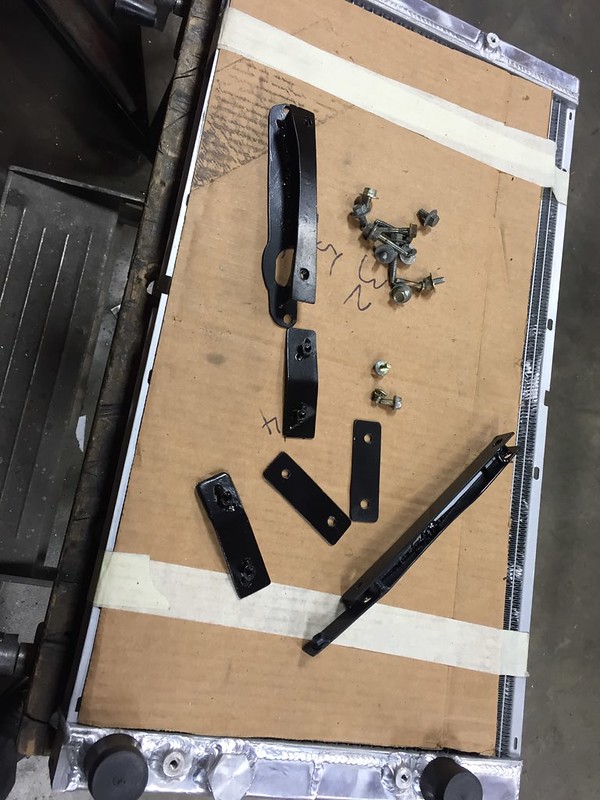
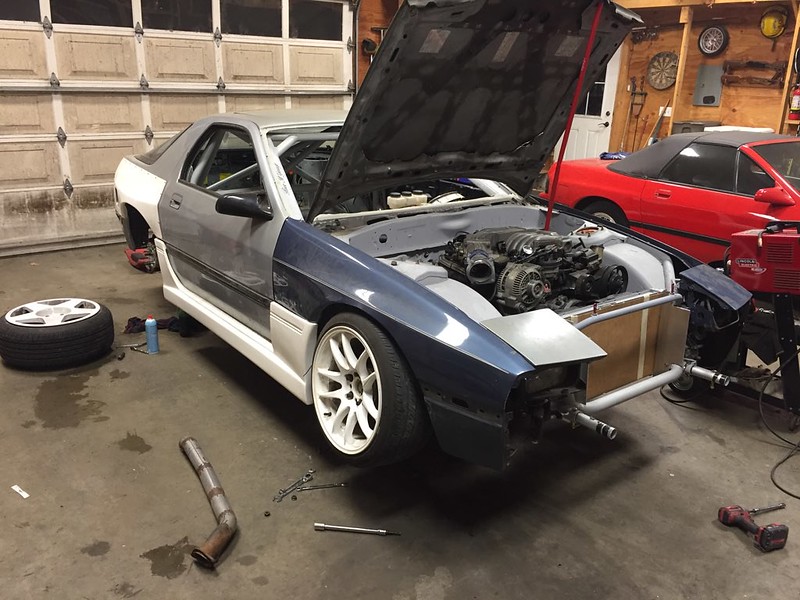
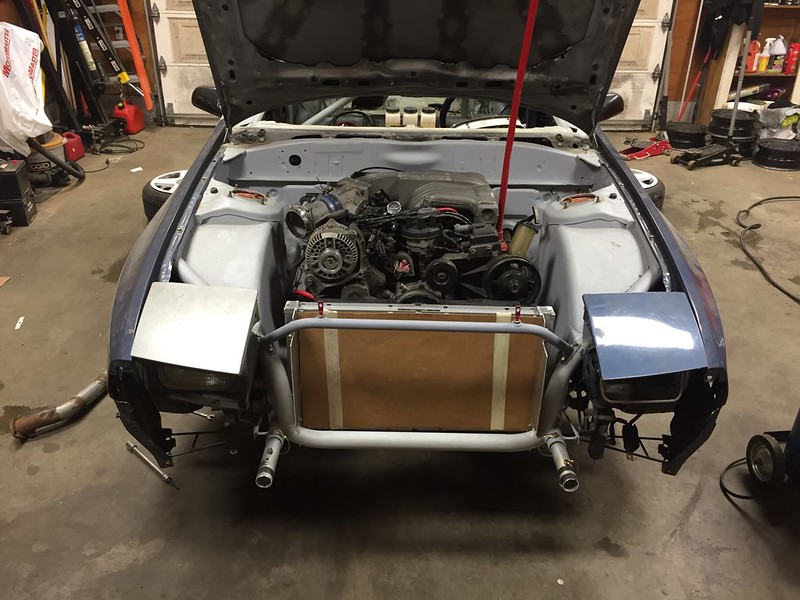
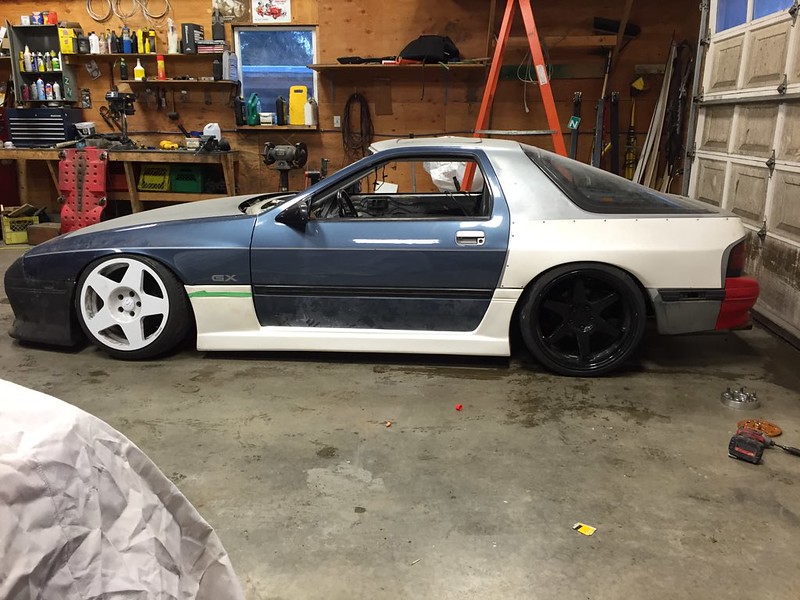
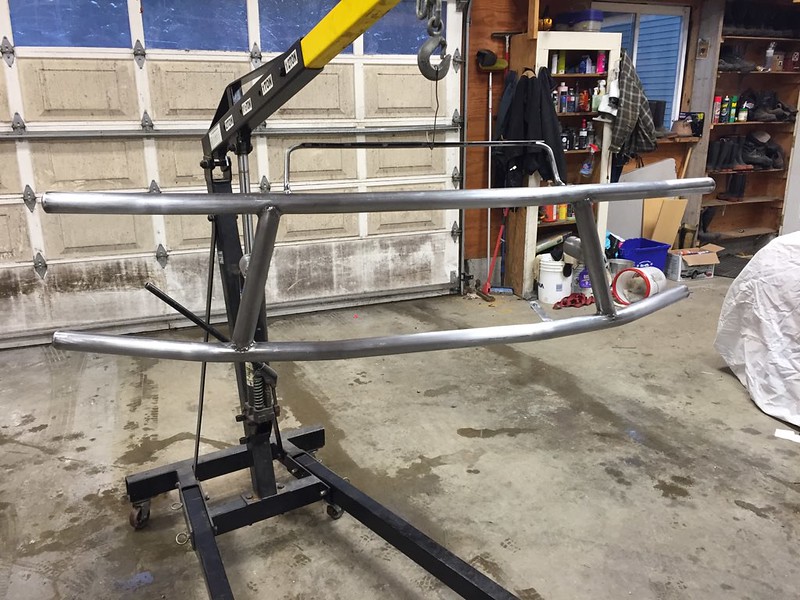
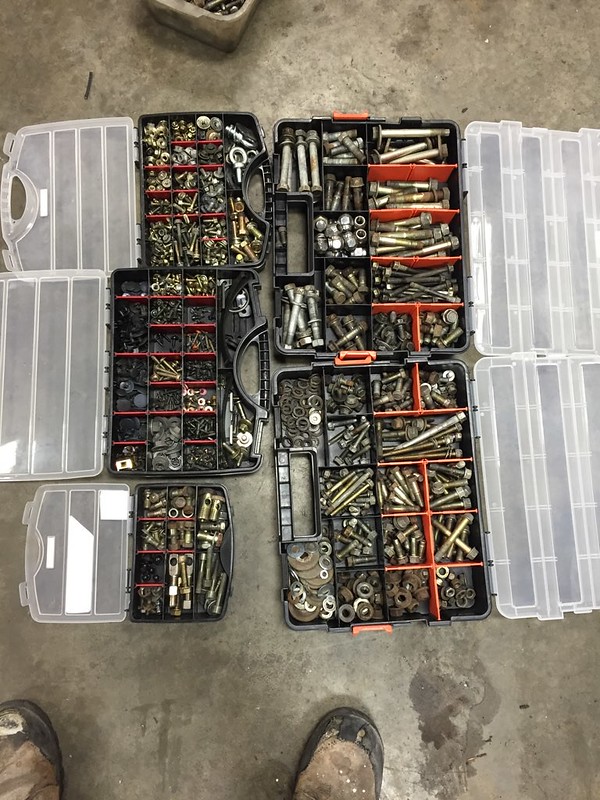
Great reads at work. Looking forward to using this as a guide for my build 

 Untitled by Tyson Floris, on Flickr
 Untitled by Tyson Floris, on Flickr
 Untitled by Tyson Floris, on Flickr
 Untitled by Tyson Floris, on Flickr
 Untitled by Tyson Floris, on Flickr
 Untitled by Tyson Floris, on Flickr
 Untitled by Tyson Floris, on Flickr
 Untitled by Tyson Floris, on Flickr
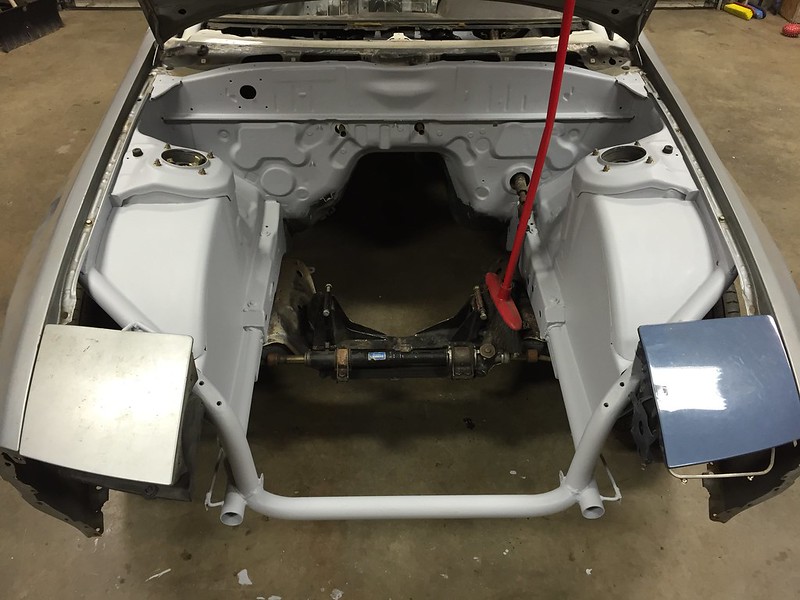 Untitled by Tyson Floris, on Flickr
 Untitled by Tyson Floris, on Flickr
 IMG_1842 by Tyson Floris, on Flickr
 IMG_1843 by Tyson Floris, on Flickr
 IMG_1845 by Tyson Floris, on Flickr
 IMG_1846_2 by Tyson Floris, on Flickr
 IMG_1847 by Tyson Floris, on Flickr
 IMG_1848_2 by Tyson Floris, on Flickr
 IMG_1913 by Tyson Floris, on Flickr
 IMG_1849 by Tyson Floris, on Flickr
 IMG_1863 by Tyson Floris, on Flickr
 IMG_1867 by Tyson Floris, on Flickr
 IMG_1869 by Tyson Floris, on Flickr
 IMG_1870 by Tyson Floris, on Flickr
 IMG_1871_2 by Tyson Floris, on Flickr
 IMG_1872 by Tyson Floris, on Flickr
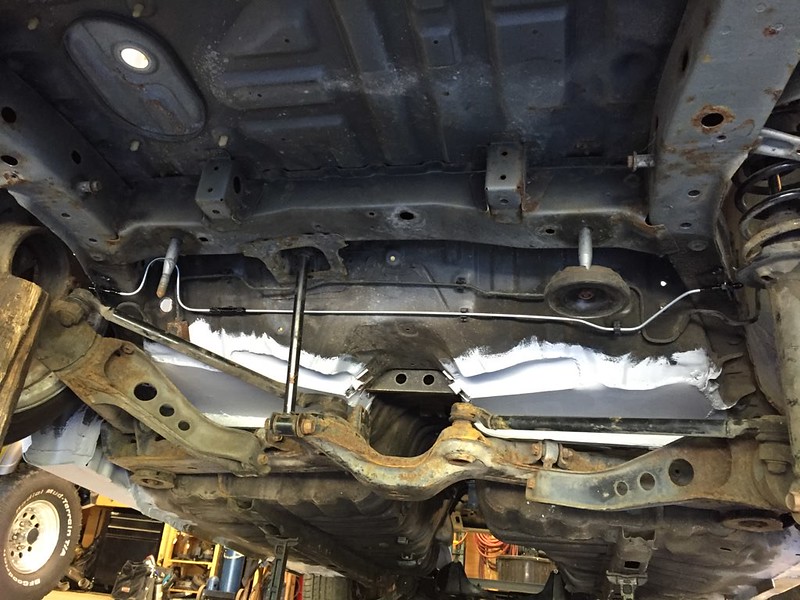 IMG_1877 by Tyson Floris, on Flickr
 IMG_1864 by Tyson Floris, on Flickr
 IMG_1865 by Tyson Floris, on Flickr
 IMG_1879 by Tyson Floris, on Flickr
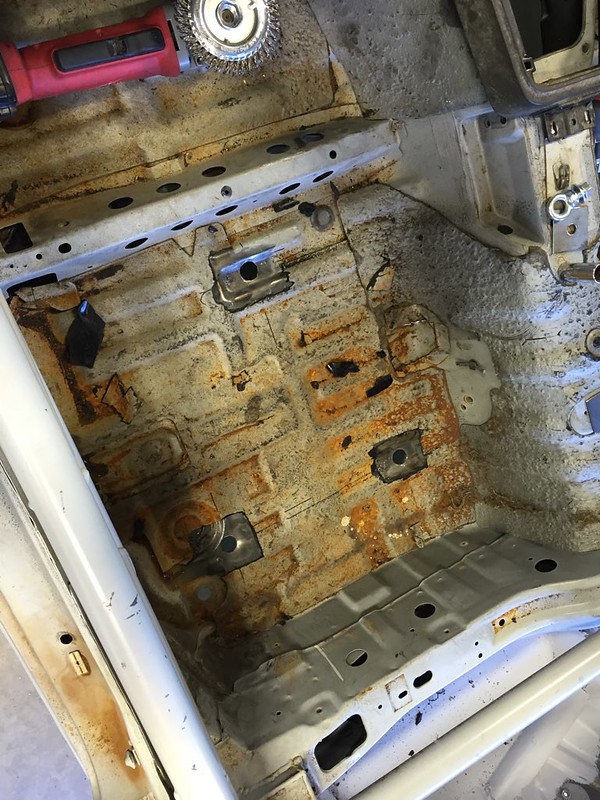 IMG_1880_2 by Tyson Floris, on Flickr
 IMG_1883 by Tyson Floris, on Flickr
 IMG_1884 by Tyson Floris, on Flickr
 IMG_1886 by Tyson Floris, on Flickr
 IMG_1912 by Tyson Floris, on Flickr
 IMG_1889_2 by Tyson Floris, on Flickr
 IMG_1907 by Tyson Floris, on Flickr
 IMG_1918 by Tyson Floris, on Flickr
 IMG_1921 by Tyson Floris, on Flickr
 IMG_1922 by Tyson Floris, on Flickr
 IMG_1923 by Tyson Floris, on Flickr
 IMG_1919 by Tyson Floris, on Flickr
 IMG_1962 by Tyson Floris, on Flickr
 IMG_1920 by Tyson Floris, on Flickr
 IMG_1963 by Tyson Floris, on Flickr
 IMG_1924 by Tyson Floris, on Flickr
 IMG_1925 by Tyson Floris, on Flickr
 IMG_1927 by Tyson Floris, on Flickr
 IMG_1928 by Tyson Floris, on Flickr
 IMG_1929 by Tyson Floris, on Flickr
 IMG_1959 by Tyson Floris, on Flickr
 IMG_1961 by Tyson Floris, on Flickr
 IMG_1958 by Tyson Floris, on Flickr
 IMG_1960 by Tyson Floris, on Flickr
 IMG_1943 by Tyson Floris, on Flickr
 IMG_1944 by Tyson Floris, on Flickr
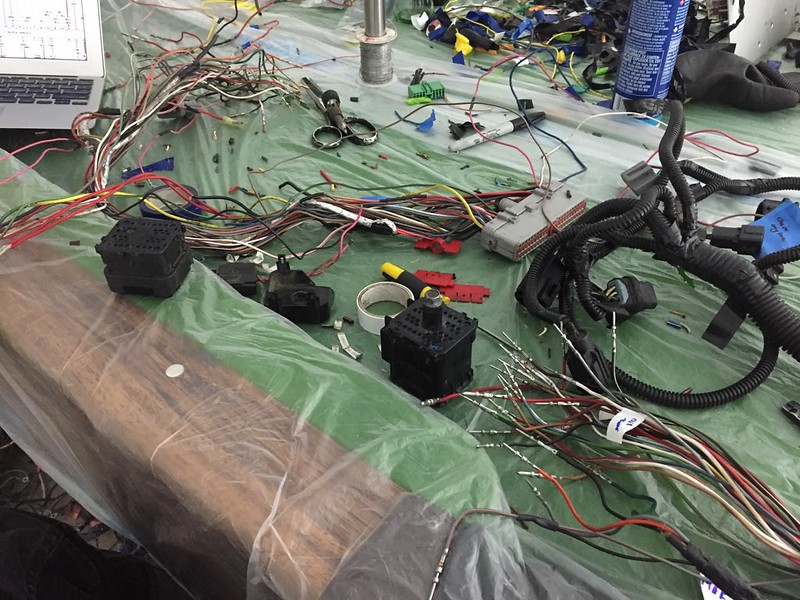 IMG_1982 by Tyson Floris, on Flickr
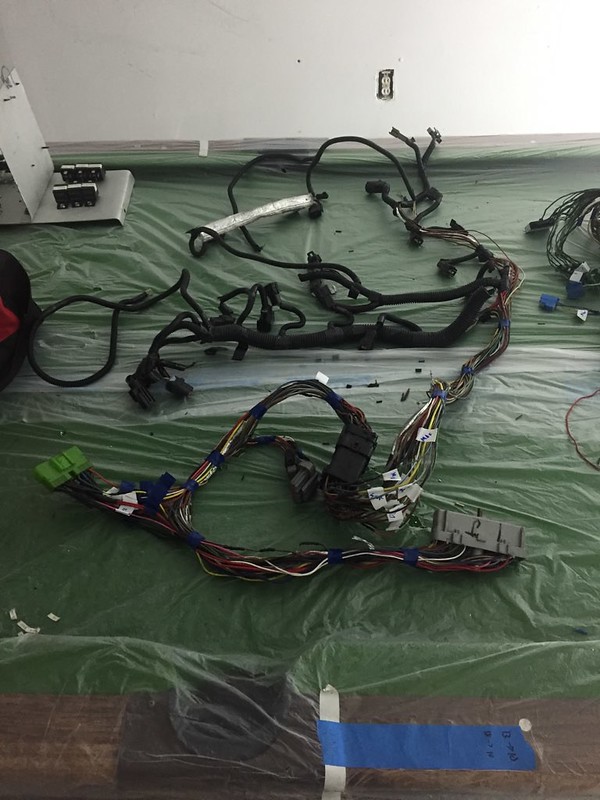 IMG_1985 by Tyson Floris, on Flickr
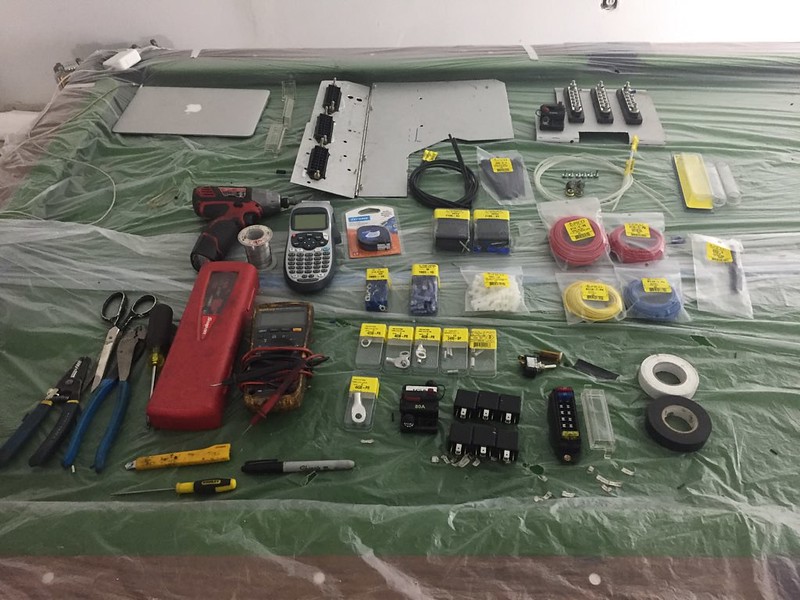 IMG_2010 by Tyson Floris, on Flickr
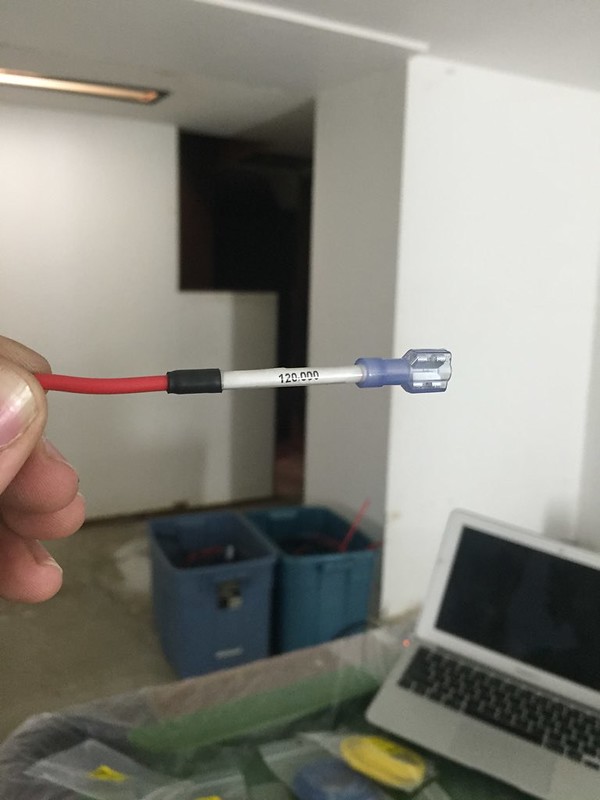 IMG_2013 by Tyson Floris, on Flickr
 IMG_2014 by Tyson Floris, on Flickr
 IMG_2015 by Tyson Floris, on Flickr
 IMG_2024 by Tyson Floris, on Flickr
 IMG_2025 by Tyson Floris, on Flickr
 IMG_2071 by Tyson Floris, on Flickr
 IMG_2045 by Tyson Floris, on Flickr
 IMG_2075 by Tyson Floris, on Flickr
 IMG_2074 by Tyson Floris, on Flickr
 IMG_2073 by Tyson Floris, on FlickrIMG_2073 by Tyson Floris, on Flickr
 IMG_2037 by Tyson Floris, on Flickr

 IMG_1949 by Tyson Floris, on Flickr
 IMG_1950 by Tyson Floris, on Flickr
 IMG_1956 by Tyson Floris, on Flickr
 IMG_1955 by Tyson Floris, on Flickr
 IMG_1951 by Tyson Floris, on Flickr
 IMG_1954 by Tyson Floris, on Flickr
 IMG_1952 by Tyson Floris, on Flickr
 IMG_2039 by Tyson Floris, on Flickr
 IMG_2041 by Tyson Floris, on Flickr
 IMG_2068 by Tyson Floris, on Flickr
 IMG_2069 by Tyson Floris, on Flickr
 IMG_2090 by Tyson Floris, on Flickr
 IMG_2040 by Tyson Floris, on Flickr
 IMG_2092 by Tyson Floris, on Flickr
 IMG_2093 by Tyson Floris, on Flickr
 IMG_2094 by Tyson Floris, on Flickr
 IMG_2095 by Tyson Floris, on Flickr
 IMG_2096 by Tyson Floris, on Flickr
 IMG_2142 by Tyson Floris, on Flickr
 IMG_2145 by Tyson Floris, on Flickr
 IMG_2146 by Tyson Floris, on Flickr
 IMG_2148 by Tyson Floris, on Flickr
 IMG_2150 by Tyson Floris, on Flickr
 IMG_2147 by Tyson Floris, on Flickr
 IMG_2153 by Tyson Floris, on Flickr
 IMG_2152 by Tyson Floris, on Flickr
 IMG_2151 by Tyson Floris, on Flickr
 IMG_2156 by Tyson Floris, on Flickr
 IMG_2157 by Tyson Floris, on Flickr
 IMG_2158 by Tyson Floris, on Flickr
 IMG_2159 by Tyson Floris, on Flickr
 IMG_2164 by Tyson Floris, on Flickr

 IMG_2187 by Tyson Floris, on Flickr
 IMG_2188 by Tyson Floris, on Flickr
 IMG_2189 by Tyson Floris, on Flickr
 IMG_2191 by Tyson Floris, on Flickr
 IMG_2192 by Tyson Floris, on Flickr
 IMG_2197 by Tyson Floris, on Flickr
 IMG_2198 by Tyson Floris, on Flickr
 IMG_2199 by Tyson Floris, on Flickr
 IMG_2200 by Tyson Floris, on Flickr
 IMG_2201 by Tyson Floris, on Flickr
 IMG_2202 by Tyson Floris, on Flickr
 IMG_2204 by Tyson Floris, on Flickr
 IMG_2205 by Tyson Floris, on Flickr
 IMG_2203 by Tyson Floris, on Flickr
 IMG_2219 by Tyson Floris, on Flickr
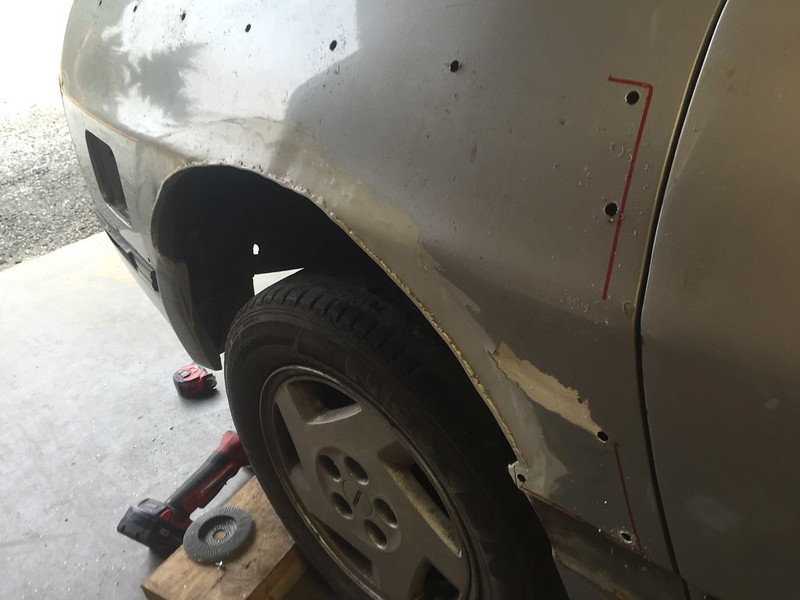 IMG_2220 by Tyson Floris, on Flickr
 IMG_2221 by Tyson Floris, on Flickr
 IMG_2222 by Tyson Floris, on Flickr
 IMG_2229 by Tyson Floris, on Flickr
 IMG_2224 by Tyson Floris, on Flickr
 IMG_2223 by Tyson Floris, on Flickr
 IMG_2230 by Tyson Floris, on Flickr
 IMG_2231 by Tyson Floris, on Flickr
 IMG_2232 by Tyson Floris, on Flickr
 IMG_2234 by Tyson Floris, on Flickr
 IMG_2242 by Tyson Floris, on Flickr
 IMG_2246 by Tyson Floris, on Flickr
 IMG_2247 by Tyson Floris, on Flickr
 IMG_2248 by Tyson Floris, on Flickr
 IMG_2249 by Tyson Floris, on Flickr
 IMG_2254 by Tyson Floris, on Flickr
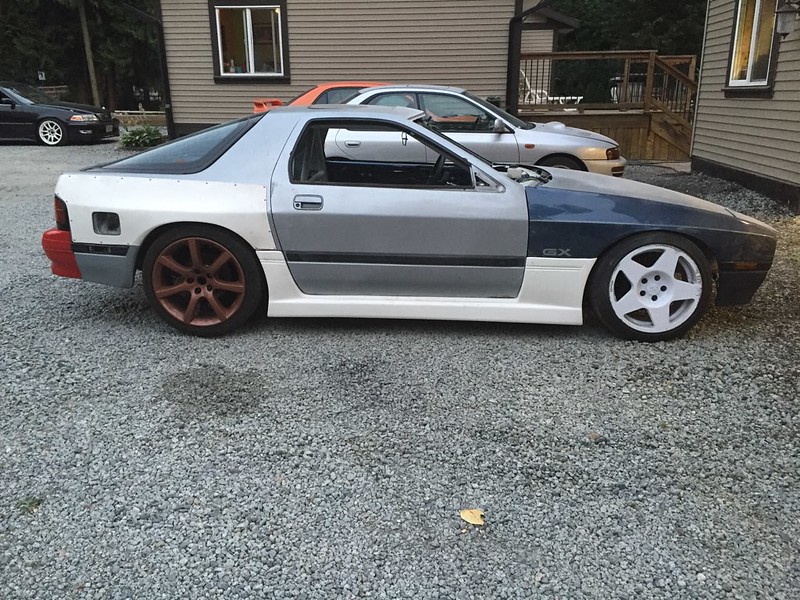 IMG_2257 by Tyson Floris, on Flickr
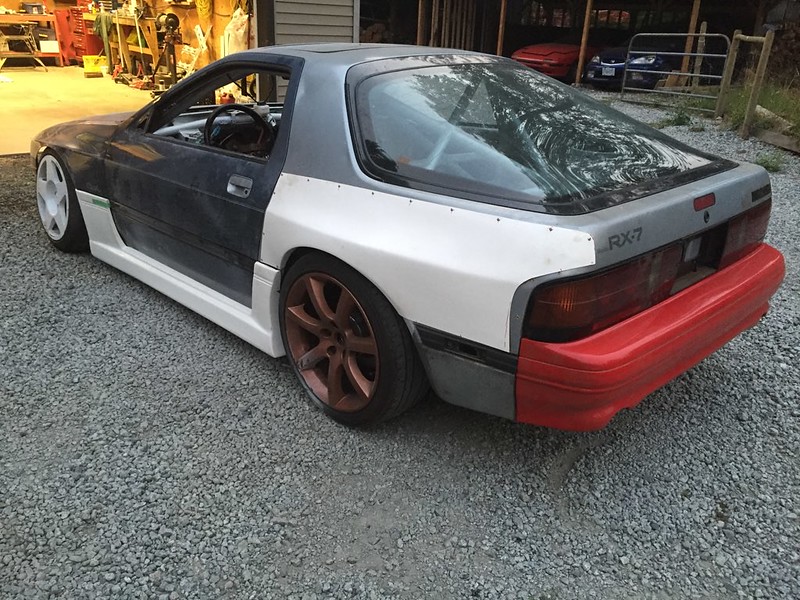 IMG_2261 by Tyson Floris, on Flickr
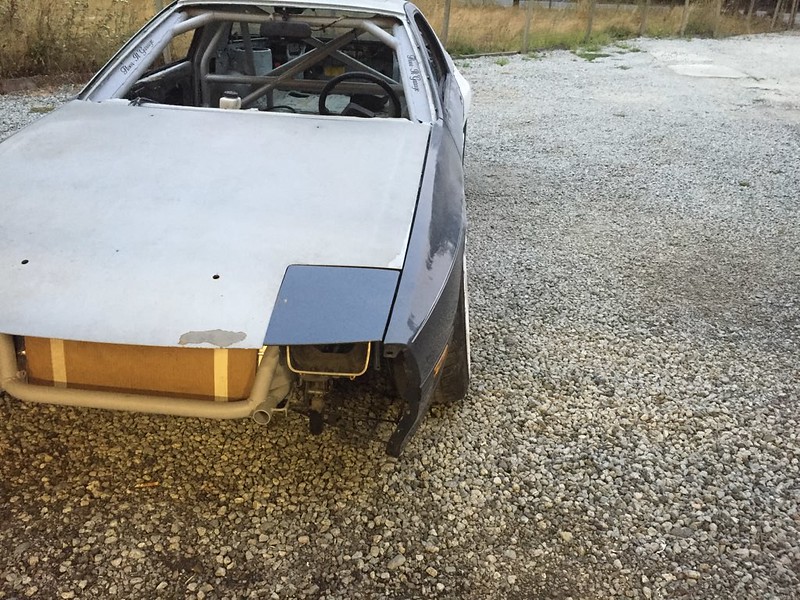 IMG_2260 by Tyson Floris, on Flickr
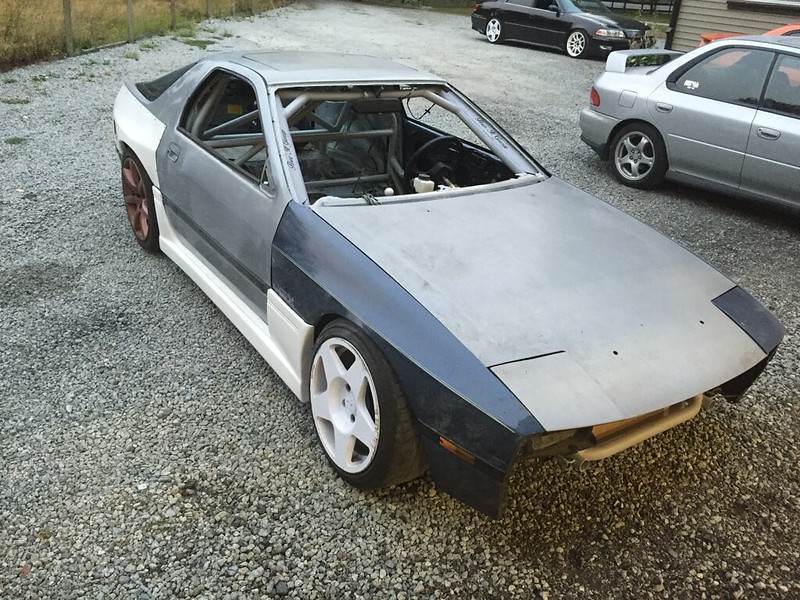 IMG_2258 by Tyson Floris, on Flickr
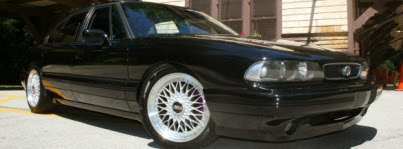


 '
'


Comment