Announcement

Collapse
No announcement yet.

The Lovely Truckling- '77 F100 build

Collapse
X
 
  • Filter
  • Time
  • Show
Clear All
new posts

  • The Lovely Truckling- '77 F100 build

    This is my ugly duckling, or lovely truckling. something like that.

    With more and more truck builds popping up, figured I should finally start a thread. I checked out this truck about a year before buying it. It was way out of my budget, so I bought another truck as a winter beater (which is now my daily.) Sold off my second 350z and a bagged AMC I had to pick this up.

    Easy to say I'd been planning this build in my head for over a year. I work a lot, so I play with this in the night or two I get off each week. My goal has been to do it right the first time with the best parts I can afford. So far I'm mostly pleased.

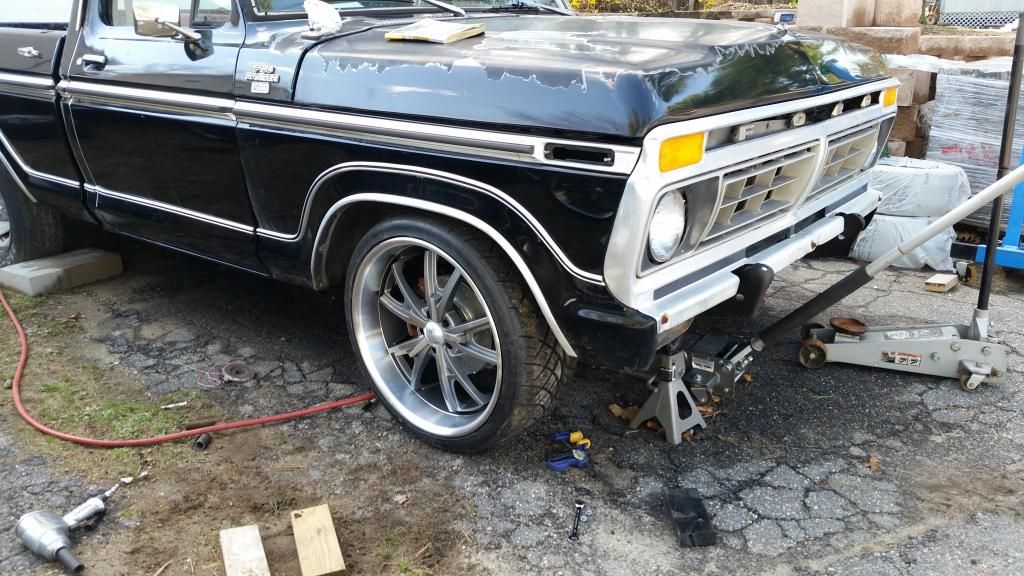
    It's a '77 F100, clean southern truck driven up to salty New England. 302ci, c4 auto. Exactly what I wanted.

    As I bought it, bone stock minus the exhaust:


    Picked up an 05 Crown Vic front clip to swap in:


    front clip came off as one piece, then pulled the motor:


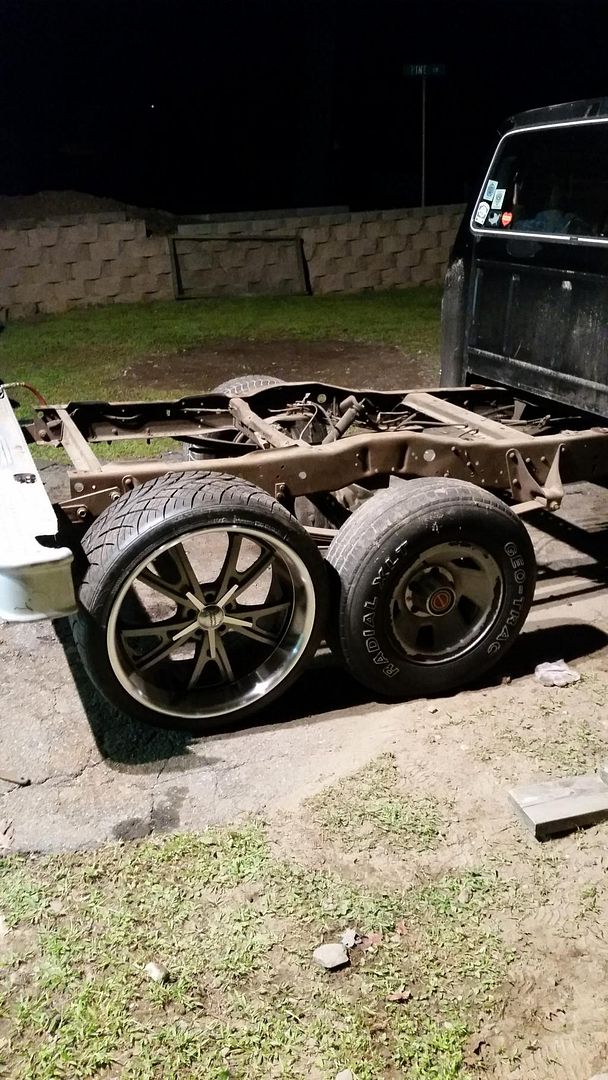
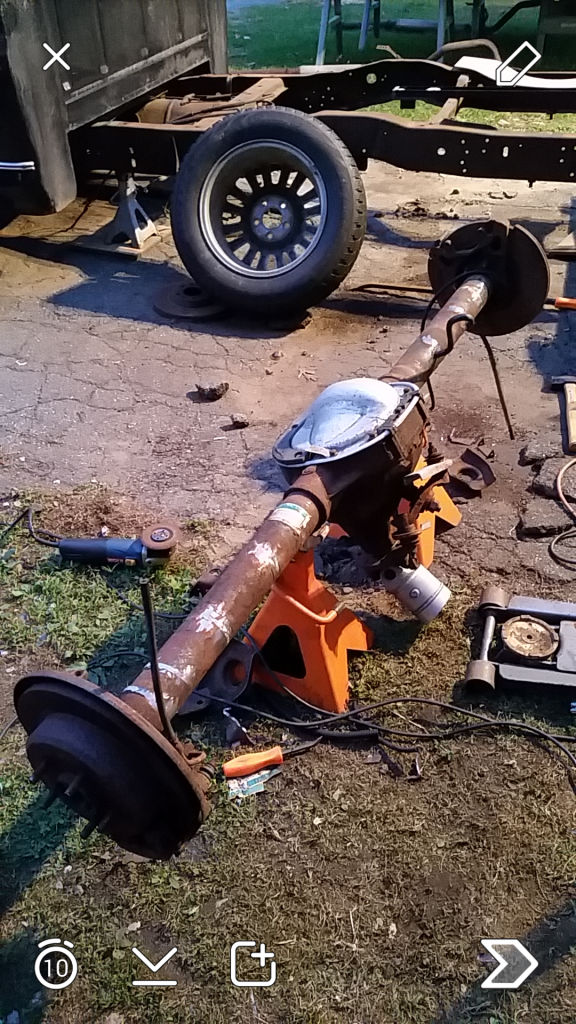
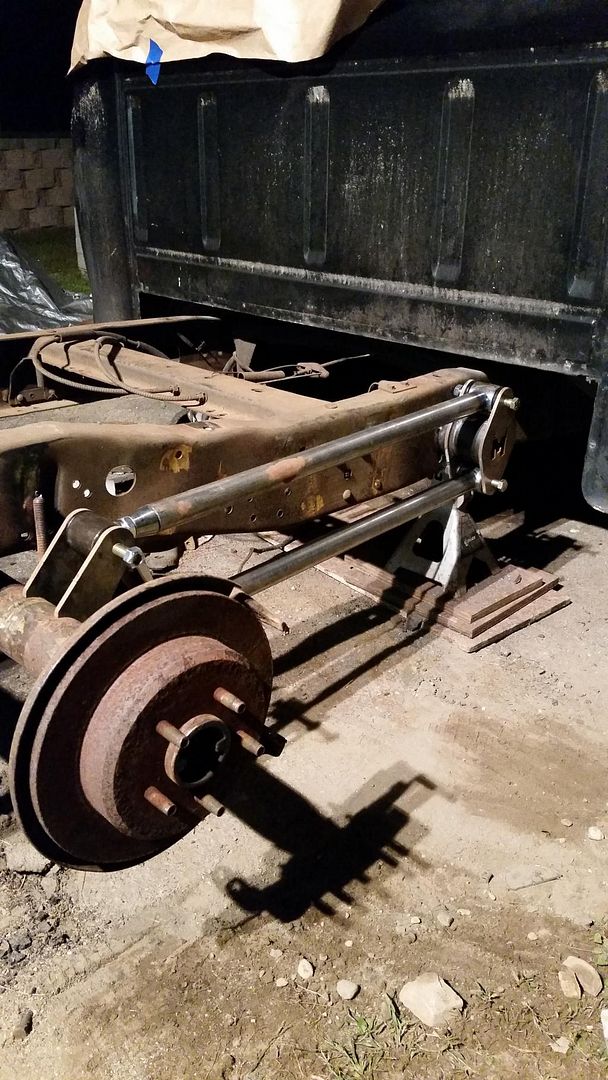
    Next up the suspension comes out.
    Last edited by Rocknthehawk; 08-12-2013, 05:51 PM.

  • #2
    Very cool platform. Can't wait to see what you do!

    IG: Nick475

    Comment


    • #3
      Up to this point I've only owned New England vehicles (10 or 11 to be exact). This truck is by far the easiest I've ever worked on. Every bolt came out with hand tools. Exhaust took a little heat, but the manifolds came off by hand. The i-beams and springs came off by hand. It's unreal. The last truck I took the i-beams off of took a full day, this took less than twenty minutes.


      Most people will agree one of the most time consuming parts of the CV swap is removing the stock crossmember. On newer trucks, it's welded in. I didn't take many pics, as I was on a roll, but it took an hour or two to cut/grind/chisel the stock ford rivets out and clean up the frame. Rivets are quick work with a grinder, cut off wheel, and air chisel.


      At this point I had a bare frame from the firewall forward. The crown vic clip was rolled in so I could clamp it to the frame and take measurements.


      This explains why the CV clip is a great swap. Lower bolt holes drilled:


      Upper bolt holes drilled:


      If you get the whole crossmember with the frame rails, you can cut the stock CV sleeves out (they're only welded on top of the stock frame rails), slip them in to the Fseries frame, and it goes together just the same.


      Also got the steering done. Lower u-joint for the CV rack is a 3/4" mustang v-style u joint. Summit #BRG-014955

      Comment


      • #4
        This is my favorite bodystyle of Ford pickups, though I have to say I'm partial to the '78-'79 front end.

        Looks like it's off to a good start. I'll be watching to see where this one goes!


        Comment


        • #5
          Originally posted by Oh Damn, it's Sam View Post
          This is my favorite bodystyle of Ford pickups, though I have to say I'm partial to the '78-'79 front end.

          Looks like it's off to a good start. I'll be watching to see where this one goes!
          Haha for some reason my brother says the same thing. When I bought this, I got a '78 parts truck with it.

          We left off with the crossmember being bolted in and the steering being done.

          Up next was the motor mounts. There's about a billion different ways to do it. My choice was to use the stock mounts, and modify them to bolt to the CV crossmember.


          Fast forward. I have pictures somewhere, but they're not totally relevant. I plated the frame, replaced the upper control arms, lower balljoints, and new struts for the time being.


          New drilled and slotted rotors, new calipers, and stainless hoses


          The 302 got a set of hooker headers and went back in:


          New booster and master. Also used Nicopp tubing for all the lines. Bends wonderfully, really pleased with it. It's hard to see, but I put a wilwood prop valve on the frame:

          Last edited by Rocknthehawk; 08-12-2013, 06:49 PM.

          Comment


          • #6
            I love this. Seems like Everybody's doing the CV swap on Alot of trucks. C10's, F100's. Dodges. I'll be doing it on whatever 2wd truck I pick up lol
            Originally posted by Jesus Christ
            he mustve enjoyed that bj.

            i know for a fact you chubby bitches could suck the air bubbles out of a brake line

            Comment


            • #7
              I like where this is headed. Subbed for more.
              Sup. Call me Z.
              My Accord "build".

              Comment


              • #8
                Originally posted by benz88 View Post
                I love this. Seems like Everybody's doing the CV swap on Alot of trucks. C10's, F100's. Dodges. I'll be doing it on whatever 2wd truck I pick up lol
                I think Fast and Loud showed the masses that it's a viable option. I looked at three other trucks last year with plans on doing the cv swap, just took a while to find one i couldn't live without. I actually looked at a dodge sweptline last summer, but I was sick of rust repair and passed on it.

                I appreciate the positive feedback. I've been holding off posting most of this online until I felt like I'd actually accomplished something. Currently I'm cleaning up the front end before putting it back together. I got a new steering rack, need to order new tie rods and figure out my power steering lines.

                Oh, and i forgot these goodies showed up. I think I've changed my mind on the bags I'm using, but I got a great deal. For the front, I'm going to use an air strut or slamair shock. I know other guys have bagged the cv clip with these, but I'm not comfortable not having shocks. I plan on at least trying to hit the autocross course when it's all done.


                Comment


                • #9
                  It'll be a bit before I can get to it...but I found a rear I've been waiting for, and couldn't pass it up. I want to get the front totally done before I start the rear. I'm not doing much to the engine right now, I have a spare 302 out of the parts truck I'll work on over the winter (while trying to fit in time for my '78 GS550).

                  it's been the second biggest expensive, but I picked up a 2004 Cobra IRS assembly, with a maximum motorsports grip kit installed. The grip kit new would've cost more than I paid for the whole thing.

                  Comment


                  • #10
                    in for this! awesome stuff.
                    1980 Rabbit L 1.5d // 1984 Rabbit GTI 16v Sprintex // 1980 Caddy 1.8t swap in progress // 2015 GTI Autobahn DSG LP (wife's car) // 2013 GTI Wolfsburg 6MT (totaled) // 2015 GTI SE IS38 (parted out) // 1981 Caddy 1.6 diesel (parted out)

                    Comment


                    • #11
                      Originally posted by Rascal View Post
                      in for this! awesome stuff.
                      So random this got bumped the same day I came to post some updates. I have a habit of just taking pics and getting work done, and updating later.

                      Fast forward to the beginning of October, where I've left it for the winter (other than setting the bed on).


                      Gotta figure out where to upload a bunch of pics, or resize them on Imgur. Basically just pics of finishing the front air struts and getting the crown vic crossmember to lay. I sold the IRS and bought a MMW parallel 4 link and watts link. Notched the rear and got the link setup in, only thing left is the rear bag mounts but it's at least rolling right now.

                      Comment


                      • #12
                        Wow...realizing how long ago I posted this. Hadn't even ordered the wheels yet.

                        Copying my posts from Fordification.

                        I bought a set of AirLift SlamAir shocks. I'm not willing to give up shocks just to run air on the CV clip.

                        I did a quick test fit. The pictures aren't worth posting, more for my reference. I'm moving and can't really blow the suspension apart again for another couple weeks. I will say, it's going to be really tight. With a quick test fit of a stock strut top hat loosely bolted on, the bag will contact the inside of the CV tower.
                        The Slamair's:
                        Free Shipping - Air Lift AirOver Shocks with qualifying orders of $109. Shop Shocks and Struts at Summit Racing.


                        Top mount:
                        Free Shipping - Air Lift AirOver Shock Mounting Ends with qualifying orders of $109. Shop Shock Mounts at Summit Racing.


                        Bushing:
                        Free Shipping - Air Lift AirOver Shock Mounting Ends with qualifying orders of $109. Shop Shock Mounts at Summit Racing.


                        Total was $833.95, which isn't terrible. I can't believe AL charges $86 for the stupid lower bushing, which is pretty much a necessity.

                        I have to start by saying I'm really annoyed by the lack of information from Air Lift. There's zero dimensions for the hardware and I'm really confused if I'm missing a couple things or not. It would have been nice to know the dimensions of the stud mount and the bushings.

                        That said, I think they'll work alright. The lower control arm bolt will need to be changed to use the AL bushings. I wonder if maybe the shoulder on the stock bolt could be turned down. I'll need to modify the stock top hat a bit, but I think that will work. The stock bushing is a little too big; I'll make an insert the right size of the AL shock. I'll need to figure out the air line and where to run it as well. I have to pull the shock back out and check it out.

                        Fully compressed (or pretty close):


                        22x11 American Racing Daytona wheels all around. 295/30/22


                        Lift at 100psi:


                        Pulled the bed off...


                        and I'll pick up from there when I can get my pics organized

                        Comment


                        • #13
                          The front inner fenders are resting on the tires, I still haven't cut them out. It still has a ways to go down.


                          Stripped everything on the rear:


                          01 Crown Vic rear with all the brackets stripped:


                          First mock up of the 4 link:


                          I have more detailed pics of everything but haven't posted them anywhere. Basically for the front I used the stock tophats and just cut the spring retainer off. Welded a washer in to fit the airlift bushing/post, and bolted them in with some minor clearance work on the crossmember.

                          Comment


                          • #14
                            I took a bunch of pics in between of notching the frame...but they mostly ended up on instagram. Pretty basic off the shelf 10" notch. I ordered the wrong tubing for the bridge but ran with it anyway (1.5" DOM 0.5" wall). I left the rear bridge bar long on the outside for shock mounts. Watts link was pretty straightforward after I got the 4 link lined up and welded in.

                            In this pic it's not on the ground, the brackets for the bags were resting on the rear holding it up.


                            My driveway has a huge dip in the middle, so it holds it up from going as low as it can...but I set the bed on, and that's how it sits until spring.

                            Comment


                            • #15
                              that looks effin sick!

                              Comment

                              Working...
                              X