 Tweet
Tweet
Hey hey, figured i'd write up a build thread since the intalls all done... & holding air haha. I know quite a few people are gonna **** on the car & its colour, they can politely go insert a dildo up their own arse's. Constructive criticism welcomed though  Also i like thorough build threads so here goes.
Firstly huge thanks to Ty from Forge Wheels. He also runs the Aussie leg of Airrex. Install was quite quick with his help. I shouldnt say with his help, he did all the real work & I helped where i could & just asked a billion questions so i know how it all works so i can trouble shoot problems down the track.
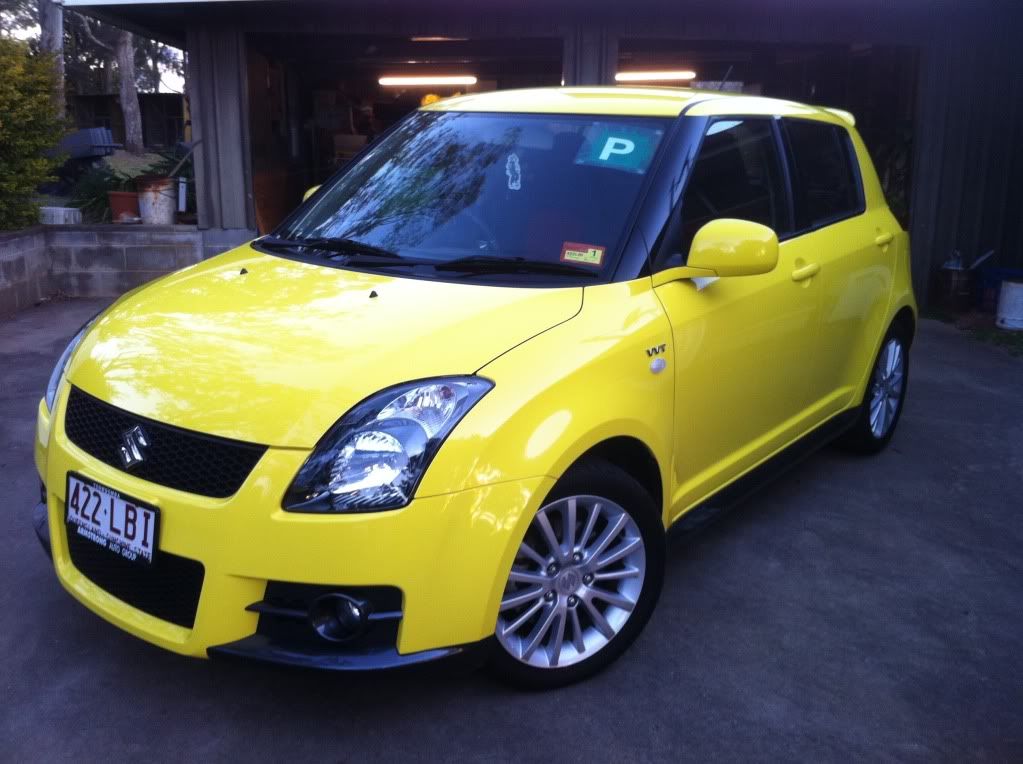
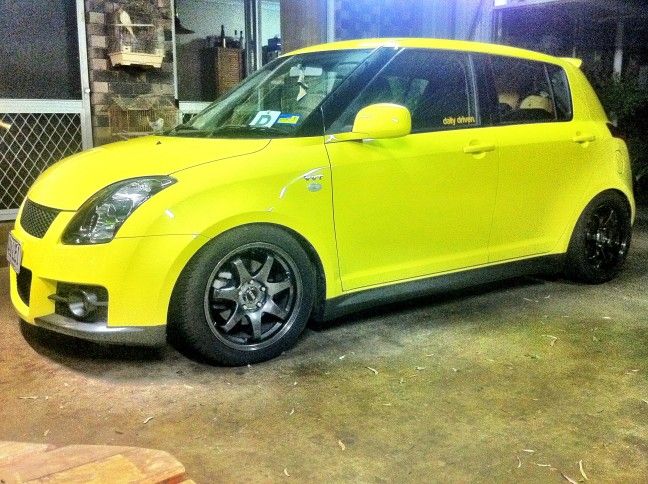
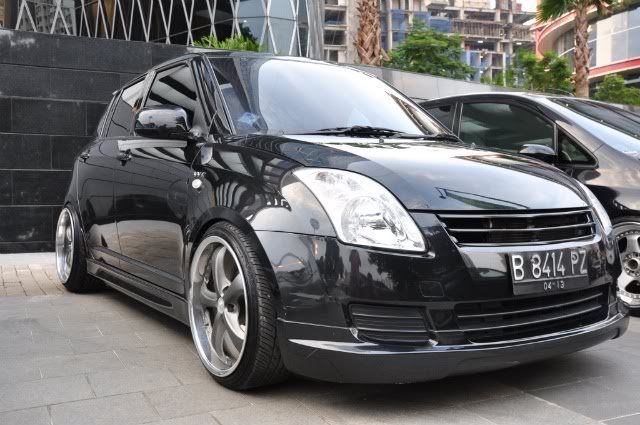
So like the topic title says, I own a yellow Suzuki Swift Sport. Unfortunately America missed out on this awesome little car, but we all know the japs know how to build cars & these are everywhere over there, & Australia.. & all over Europe too. Its a 1.6 motor, that could really have done with a turbo model (especially the sports model). But there's a great aftermarket for them, so I am spoilt with choices for turbo's & superchargers along with all other parts. Anyway enough selling the car to those that dont know them. Here she is.
First few days i had the car
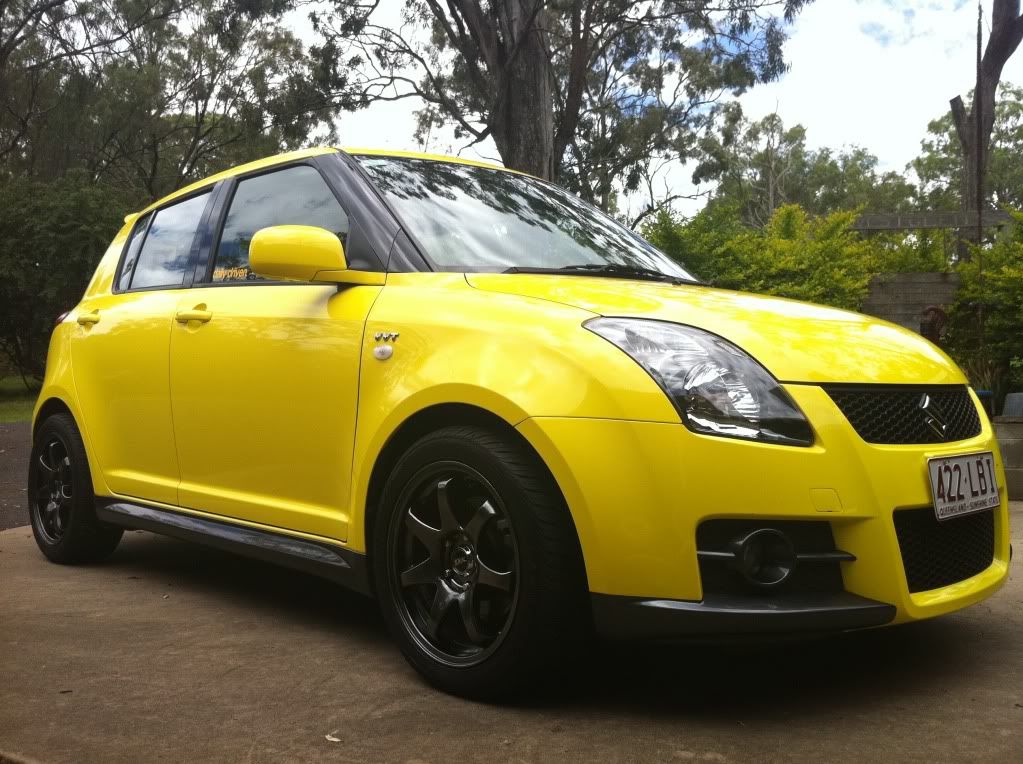
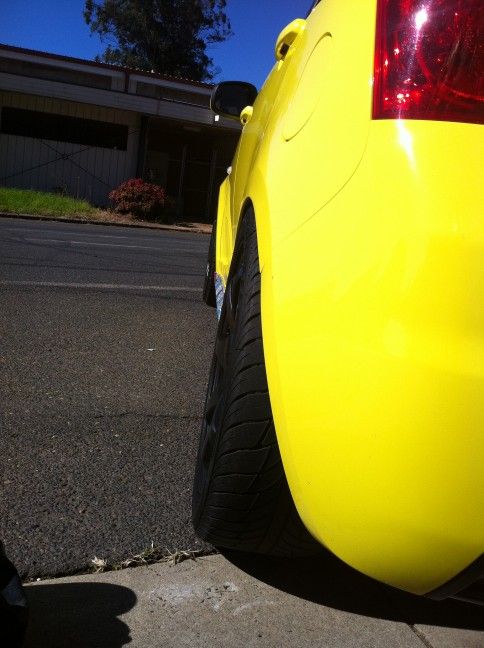
Like alot of people i didnt plan to do much to her but that changed quick haha. So picked up some xxr-522 16x7 et25 which looked much better on the car.
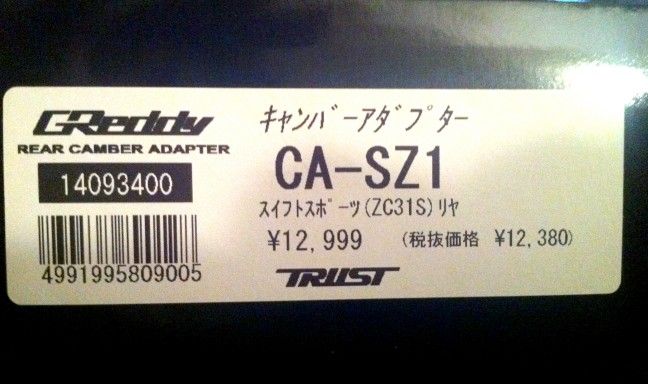
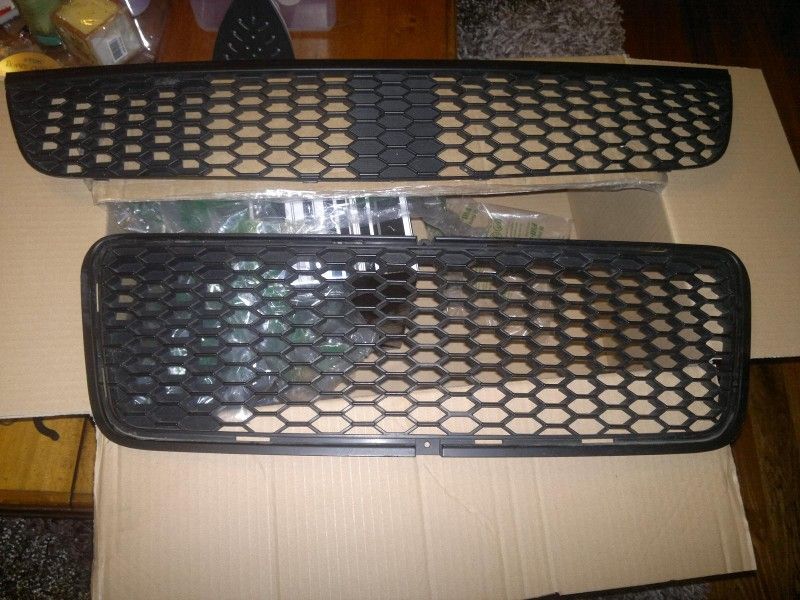
Then a short while down the track got Buddyclub N+ coilovers & GReddy camber plates for the rear with Whiteline camber bolts for the front. Also got a badgeless front grille.
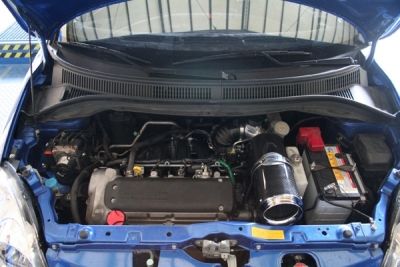
Picked up a muffler & Simota CAI which added some much needed noice. Its not stupid loud & is great when accelerating but drops off with out the dreadful drone at high speeds. Got a Monster Sport short shifter too around then. Only posting a pic of it to show what the motor looks like in a swift, not my car ether but exactly the same
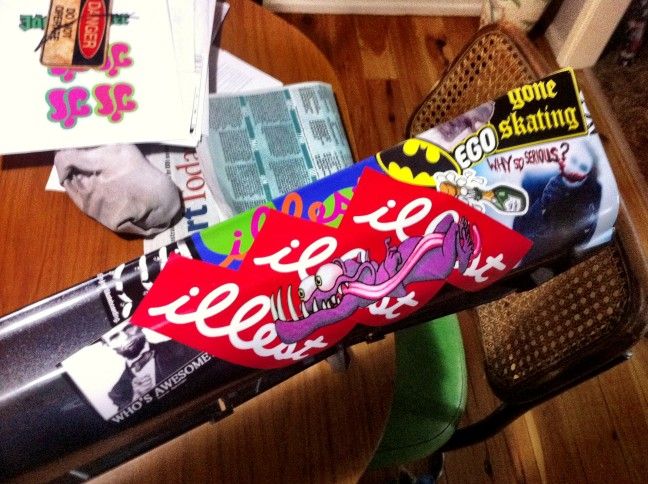
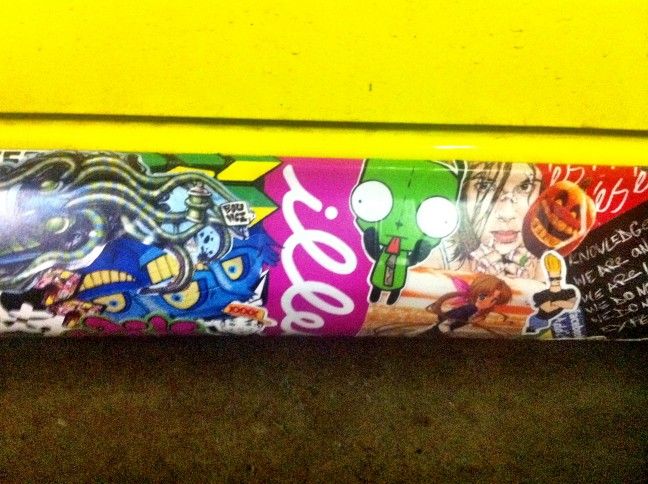
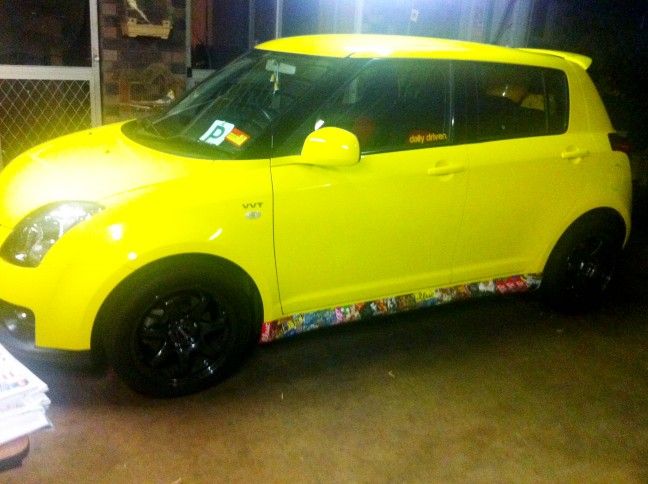
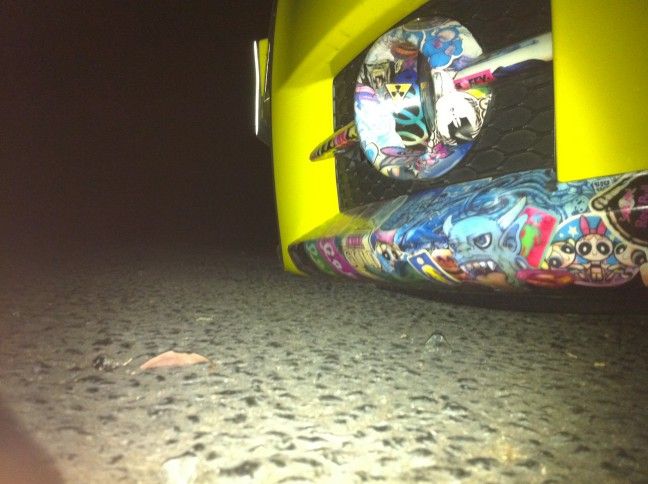
That was ok for a while. But like most it wasn't low enough for my liking, so i spun the coils down. & stickbombed the lower part of the body kit. Now i'll just say that when this was first done it was amazing looking, but i had made the stickers my self & the ink on them faded really quickly.

i was happy how it sat
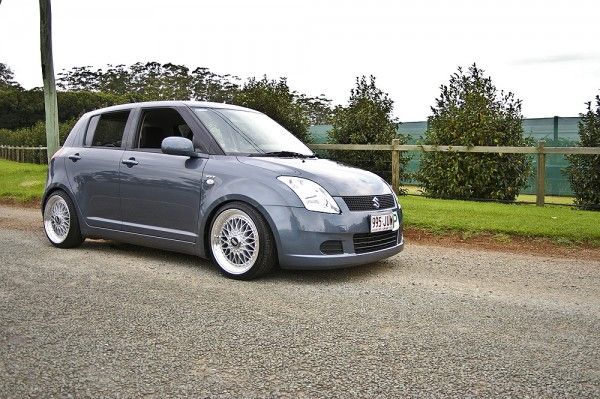
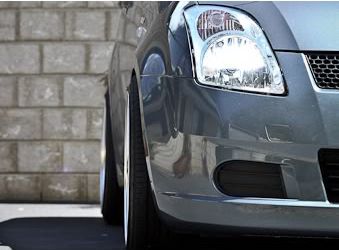
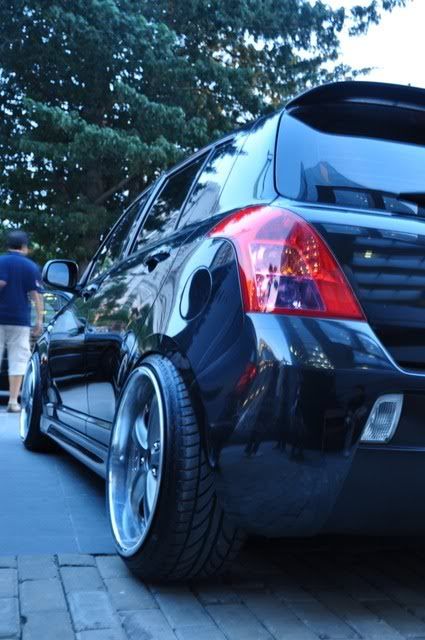
After a long time looking a swifts like these, i knew i needed to go lower & wider
So now to the actual bag build. I signed up to this site, & started talking to people. I had looked at AirRunner, Air Force, UAS before signing up (did find it strange that both UAS & AirRunner have the same Swift pictured for there set ups), but learnt of AirRex only once i had signed up. I was always going with Accuair for the managment side of things. After a bit of time talking to a few people, a friend of my missus happened to say that her boyfriend was getting wheels made by a guy & that he also did airbags.
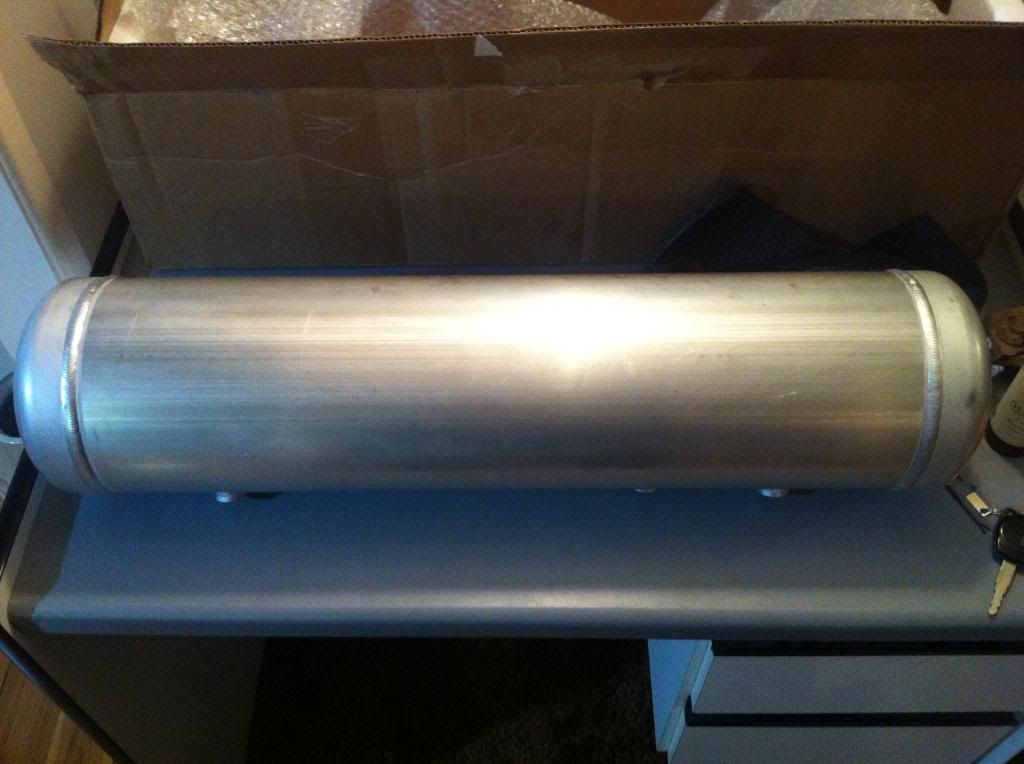
Anyway asked Ty a billion questions & ended ordering through him. Got the tank off him first cause i wanted it painted a certain way. So picked it up looking like this
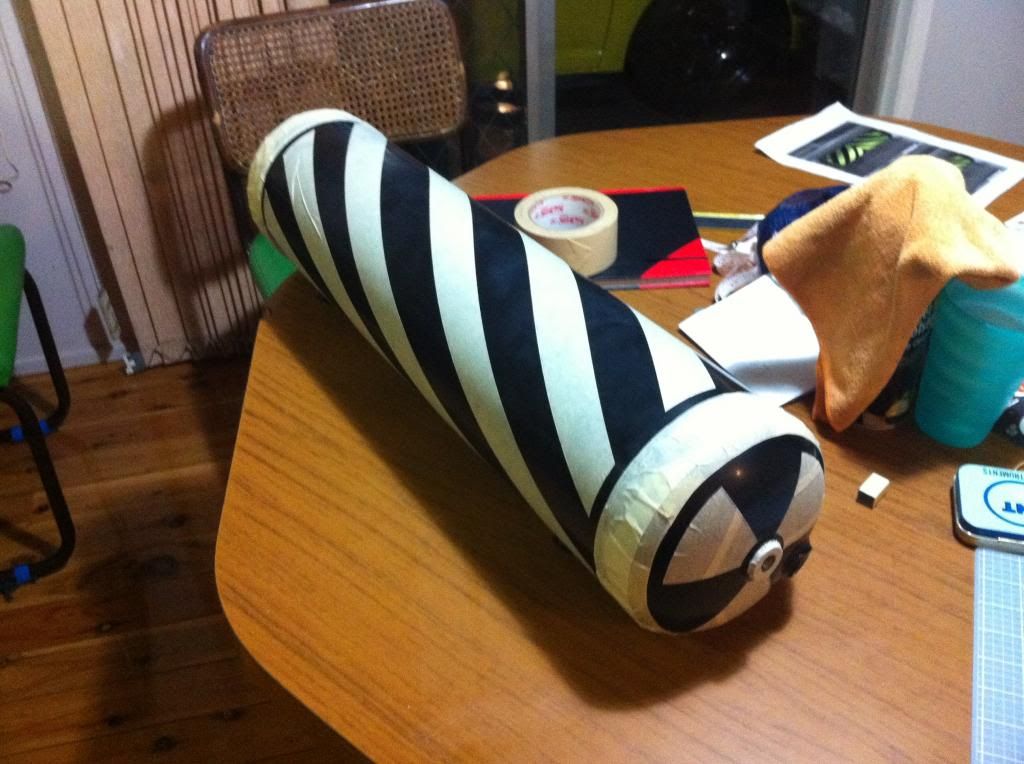
Got its first coat of paint then took it back home & tapped it up & took it back & got the next colour done, yellow, colour matched to the car haha
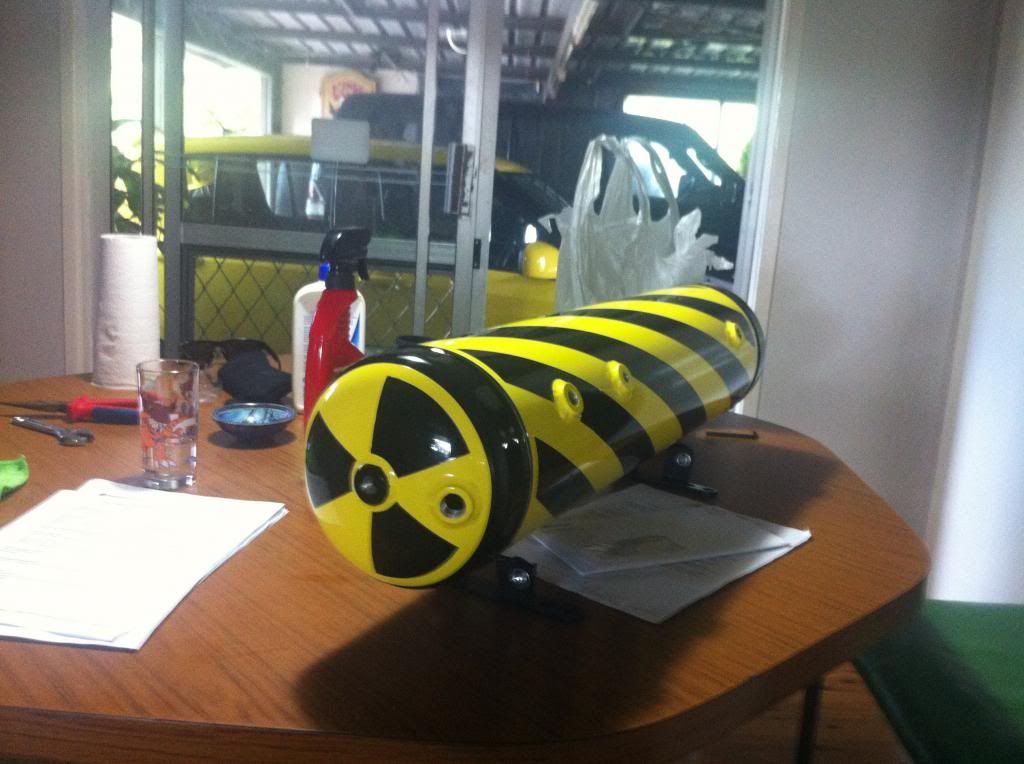
& the bomb was born! tested it in the car.
Then given back to Ty who put it all together

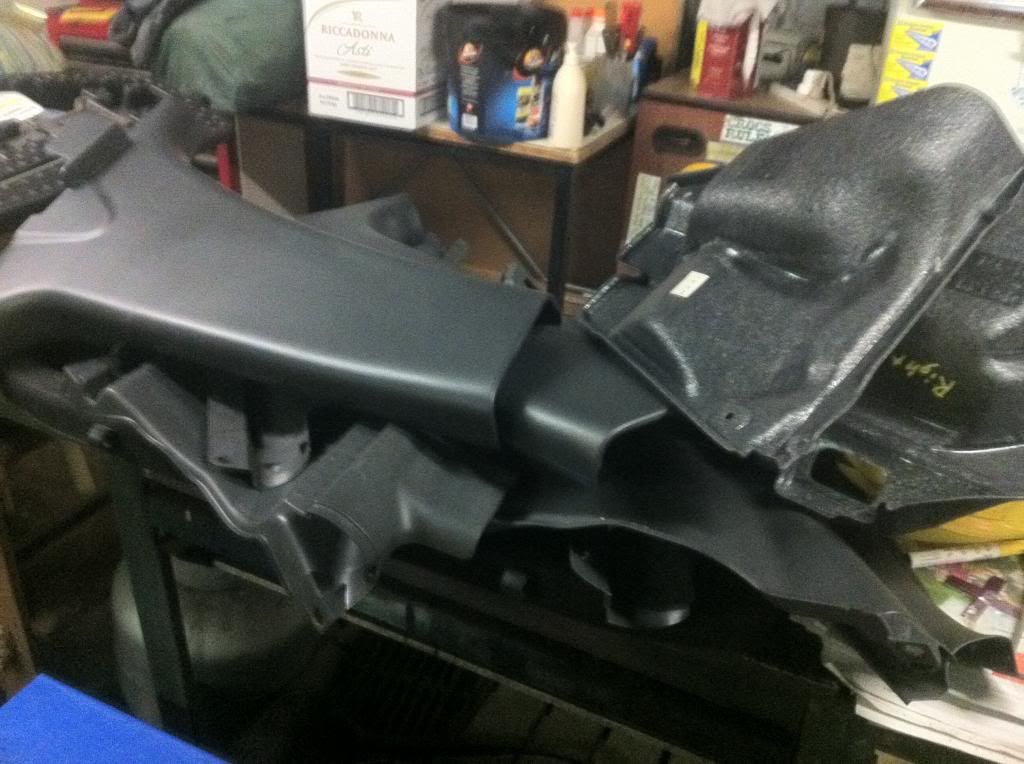
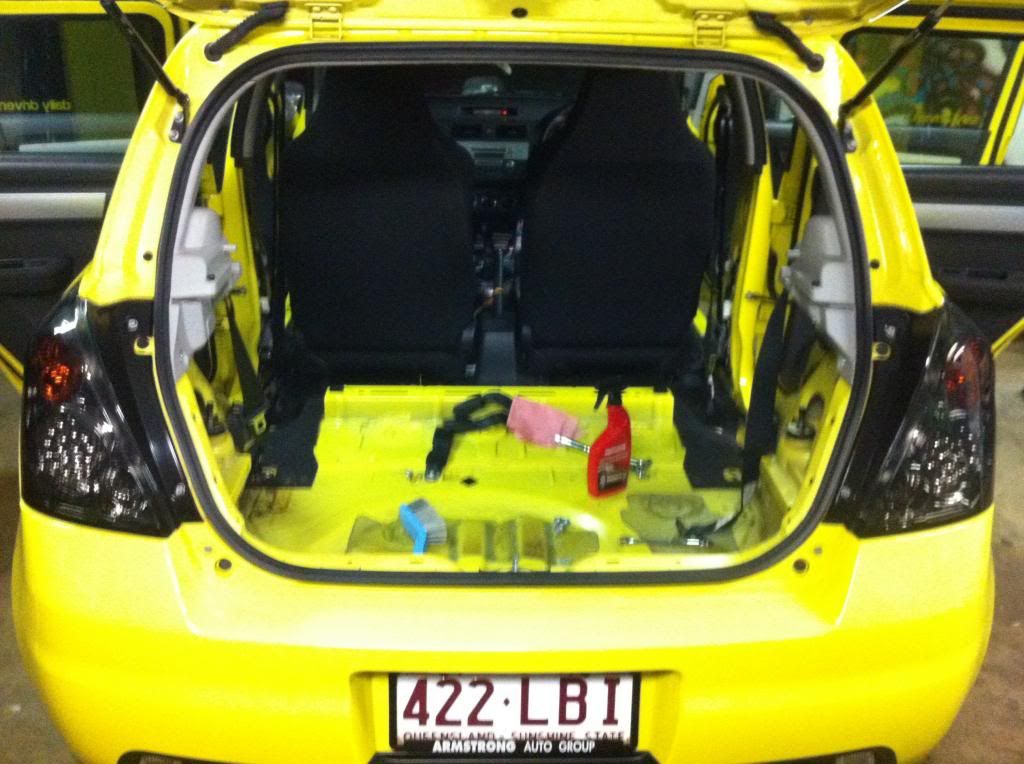
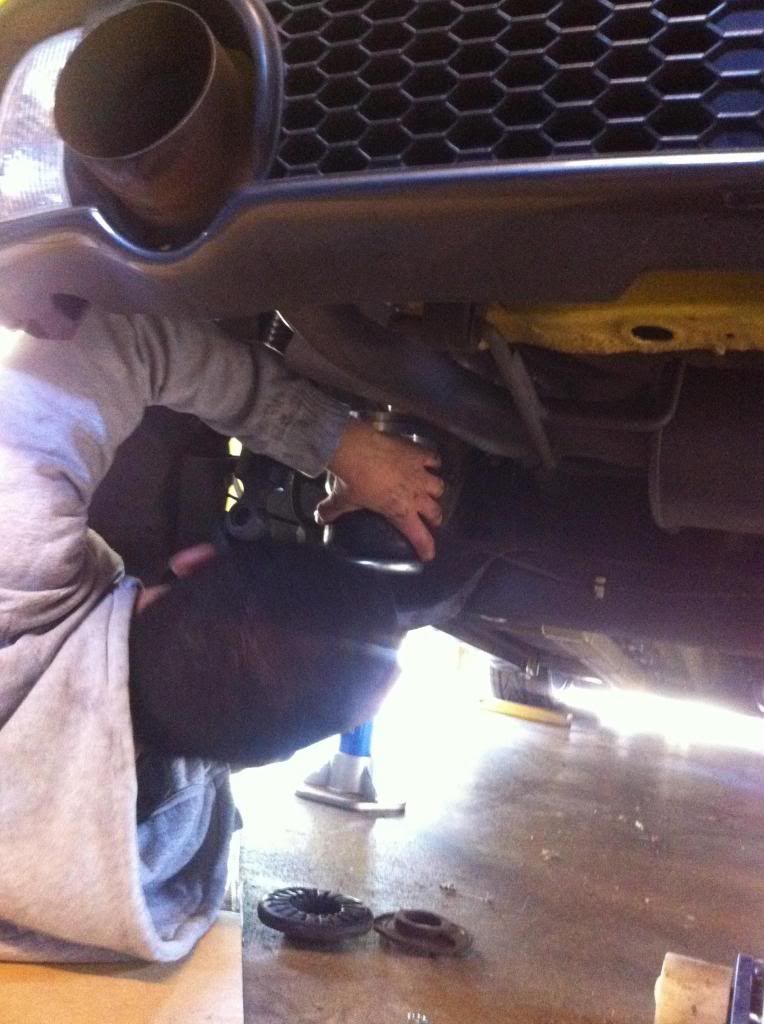
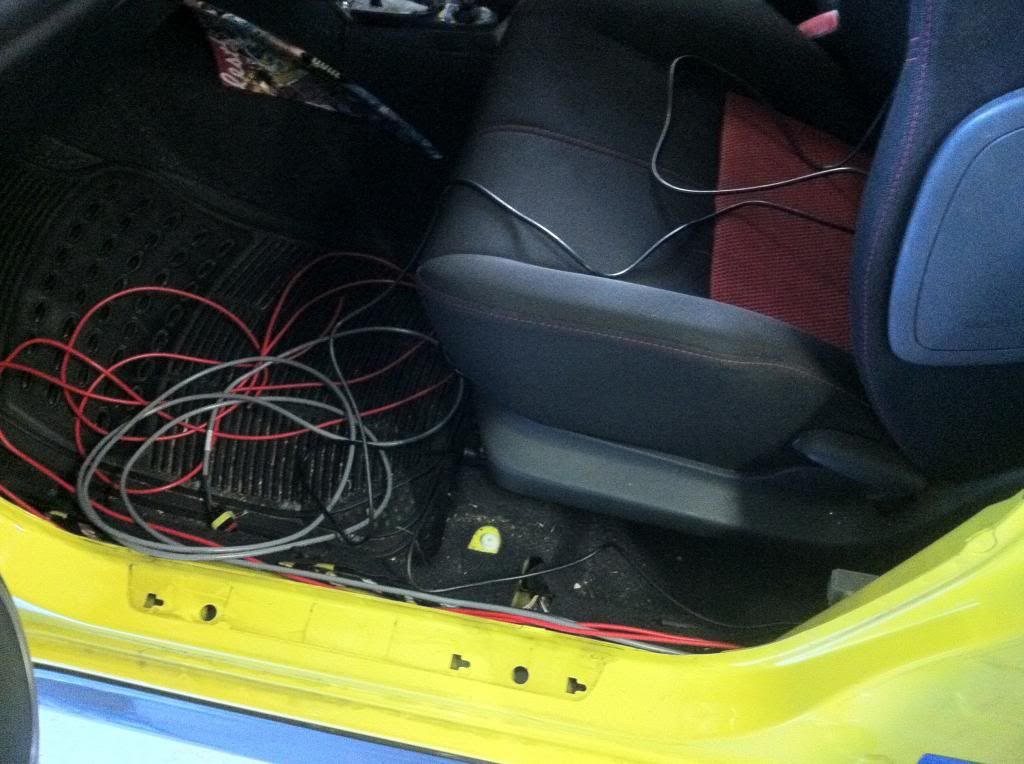
So now the install could begin. It took us 3 days to do. First off it was out with the interior panels & rear seats, & gave it all a clean (found $10 in coins).
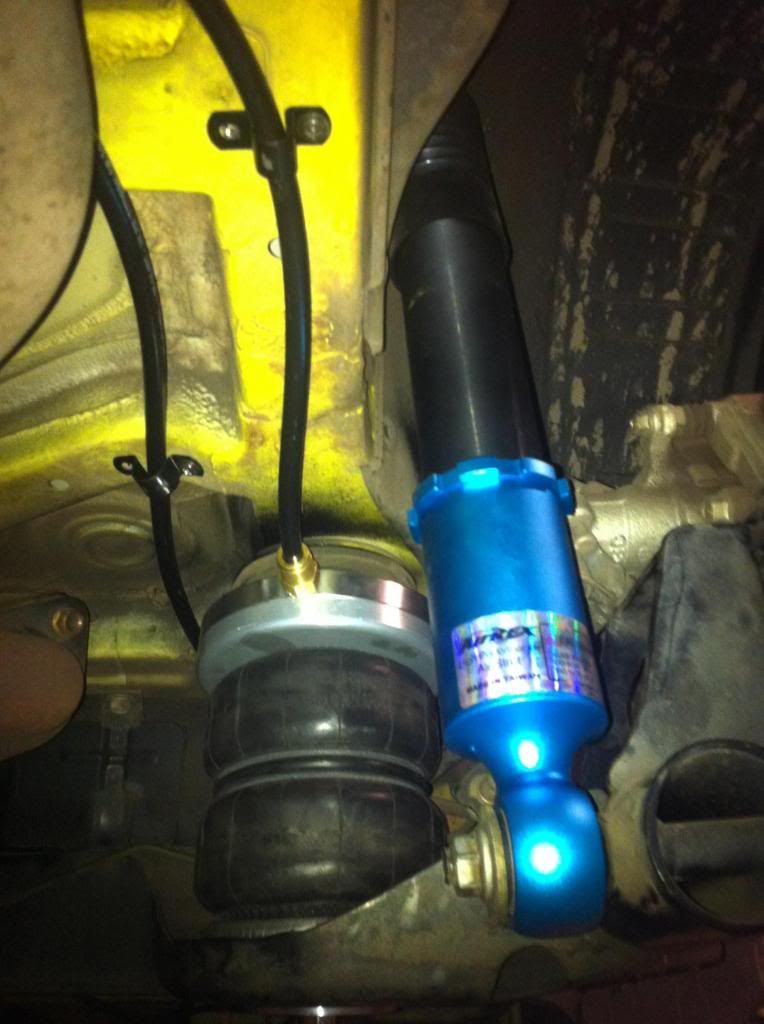
Then we went to work removing the Buddyclubs & installing the AirRex struts.
Out with the old
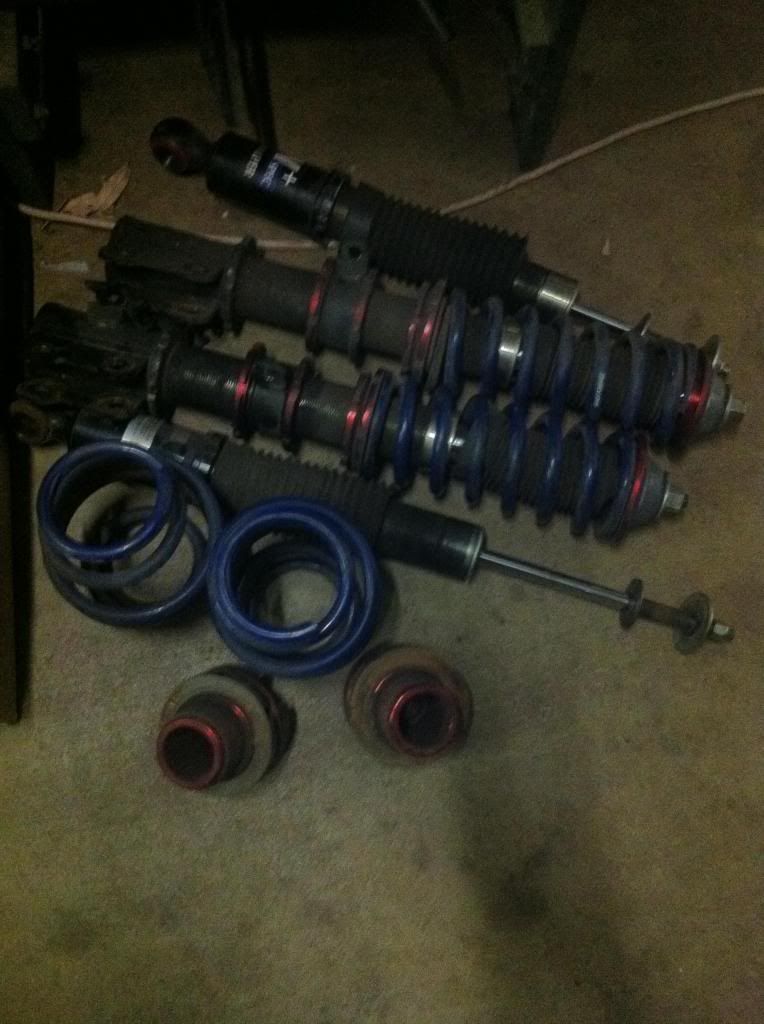
In with the new
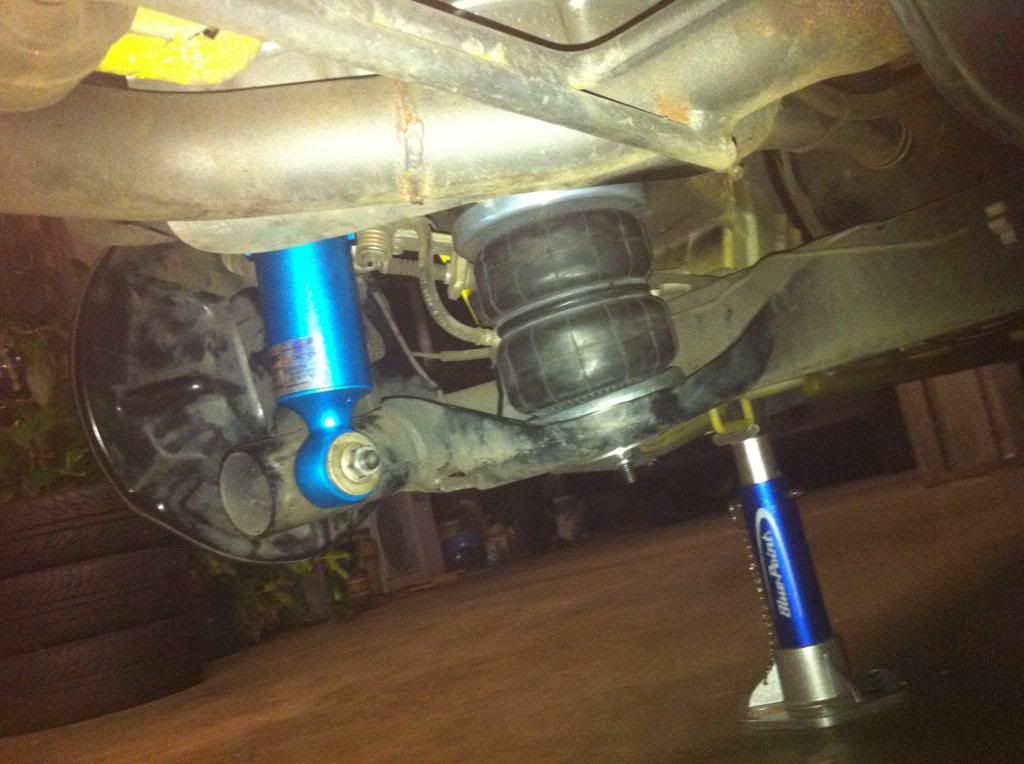
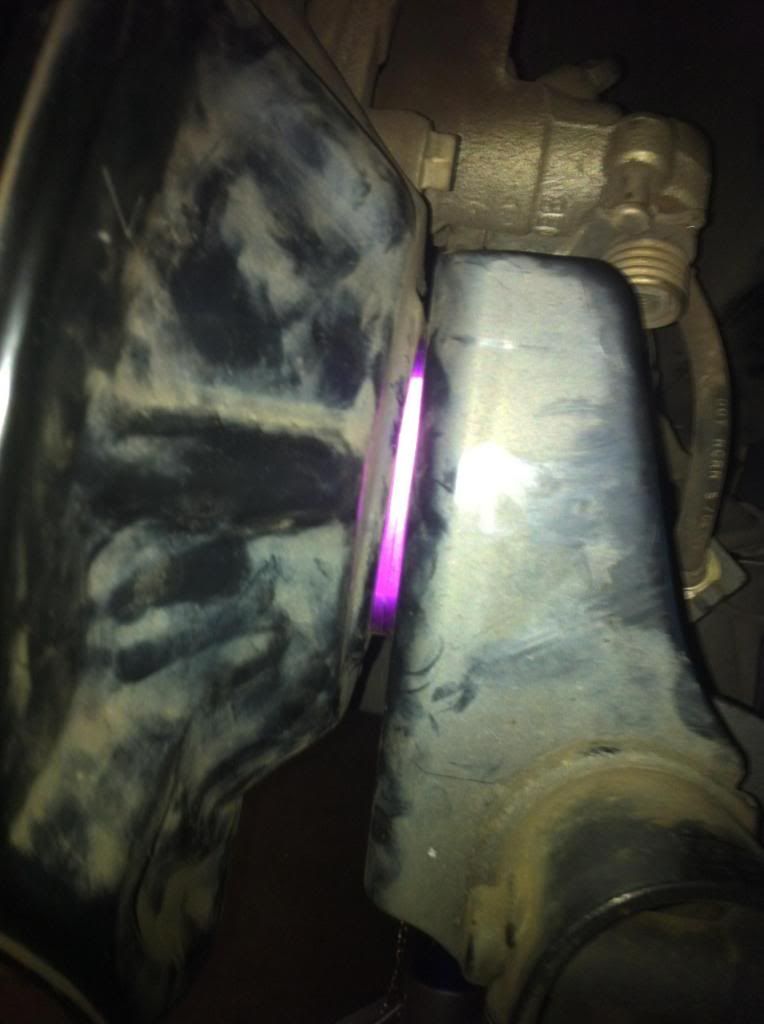
Now the struts were meant to be no modifications needed, but we found we could get it to sit close to a inch lower if we cut a piece out in the back. No brainer really, bye bye unneeded metal.

Then ran all the wires.
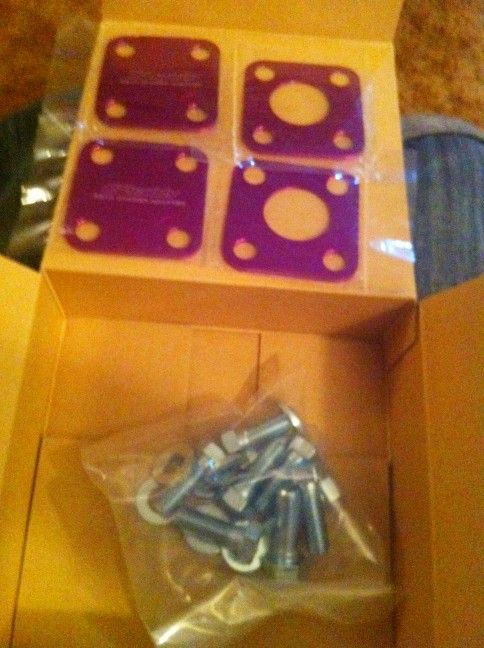
Also added a second GReddy camber plate to the rear. Now running 4� camber in the rear, will be running the same in the front when im finished.
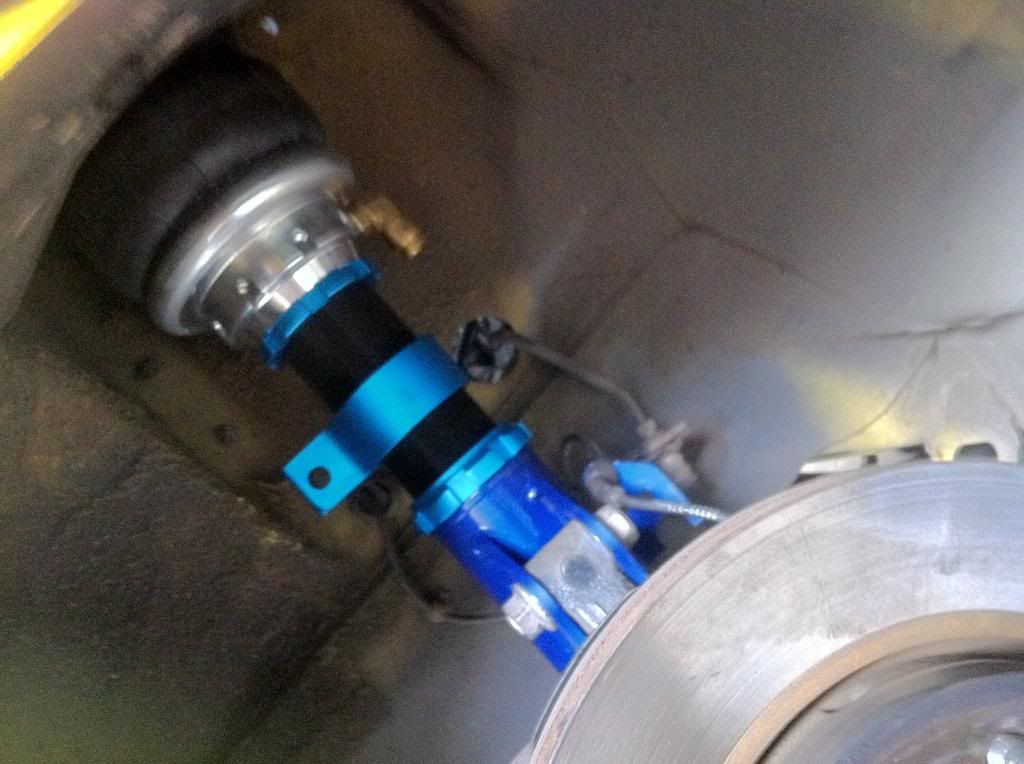
Next was air lines.
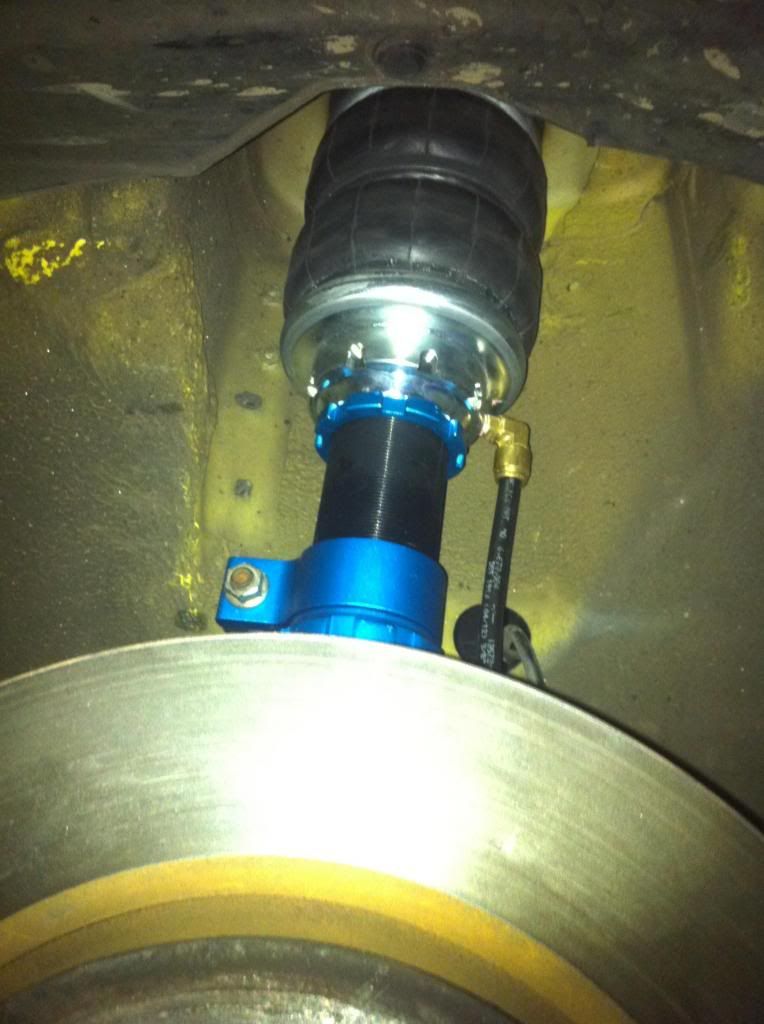
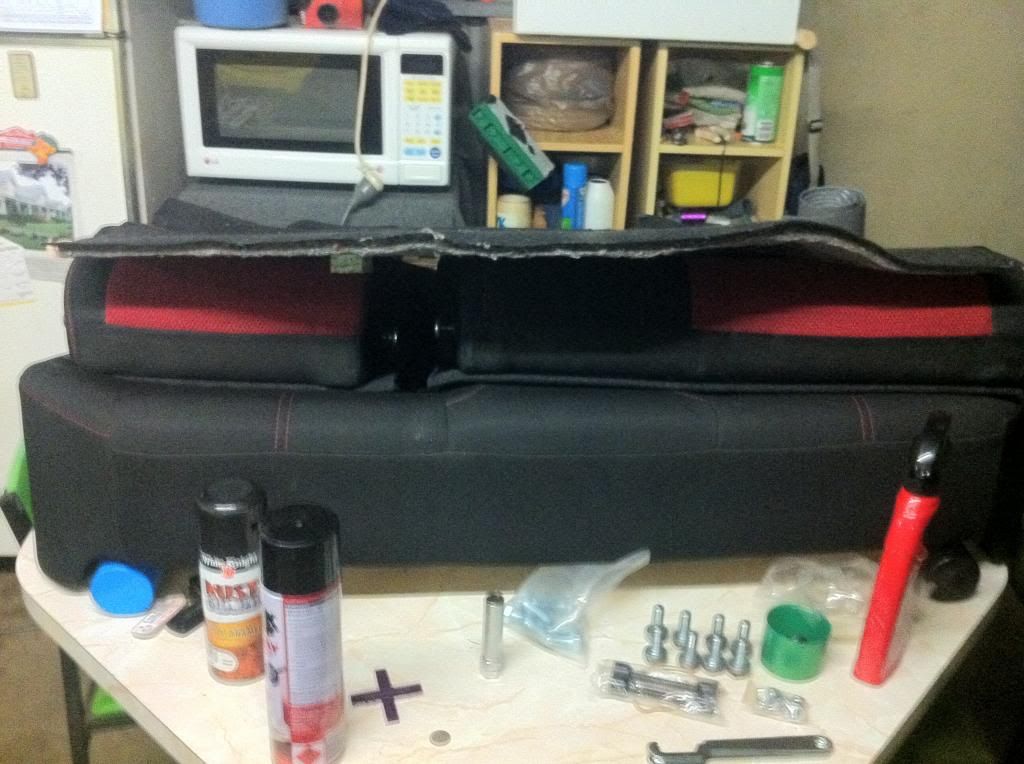
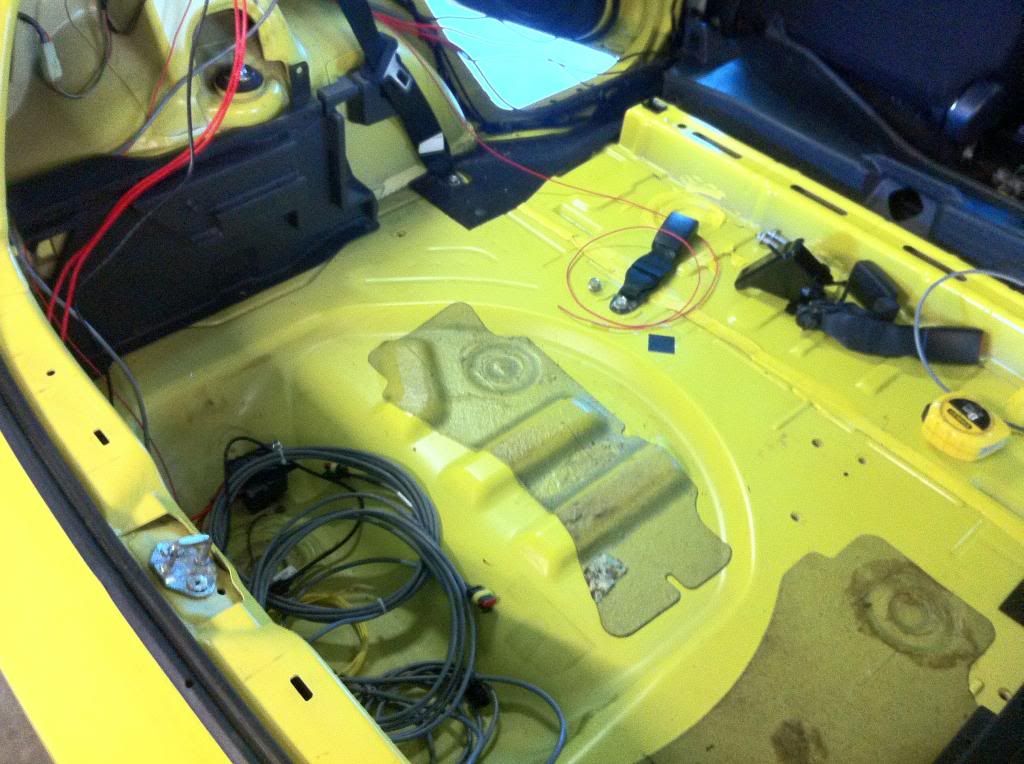
Made a fake floor to sit everything on, connected the wires & air hoses.
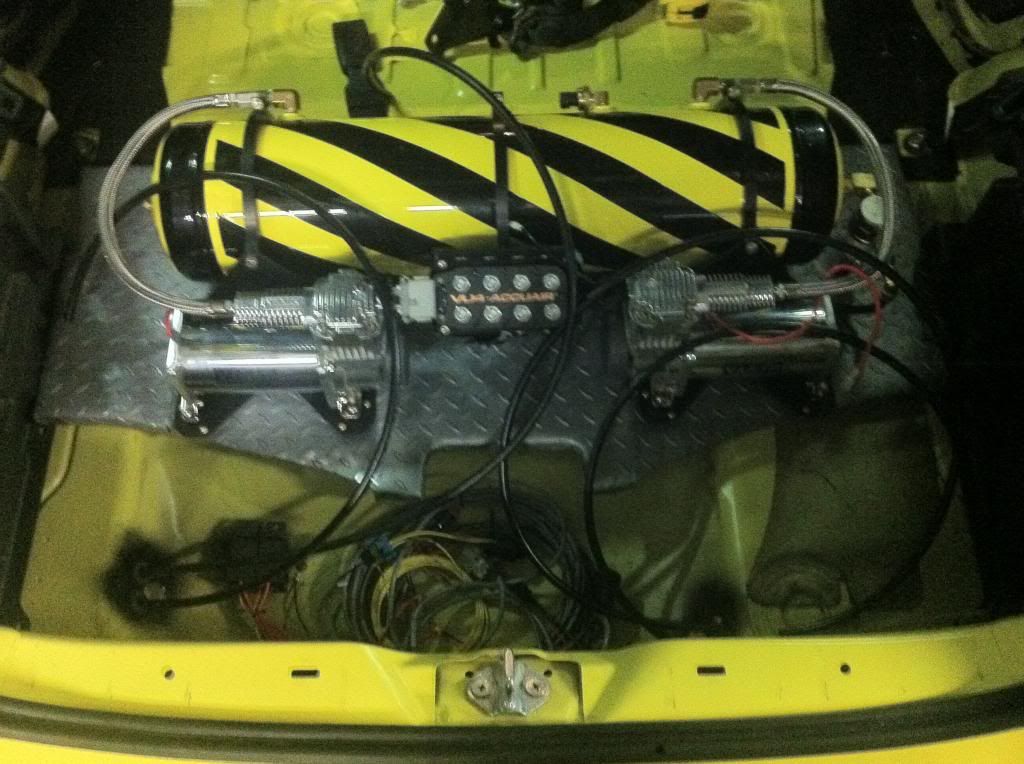
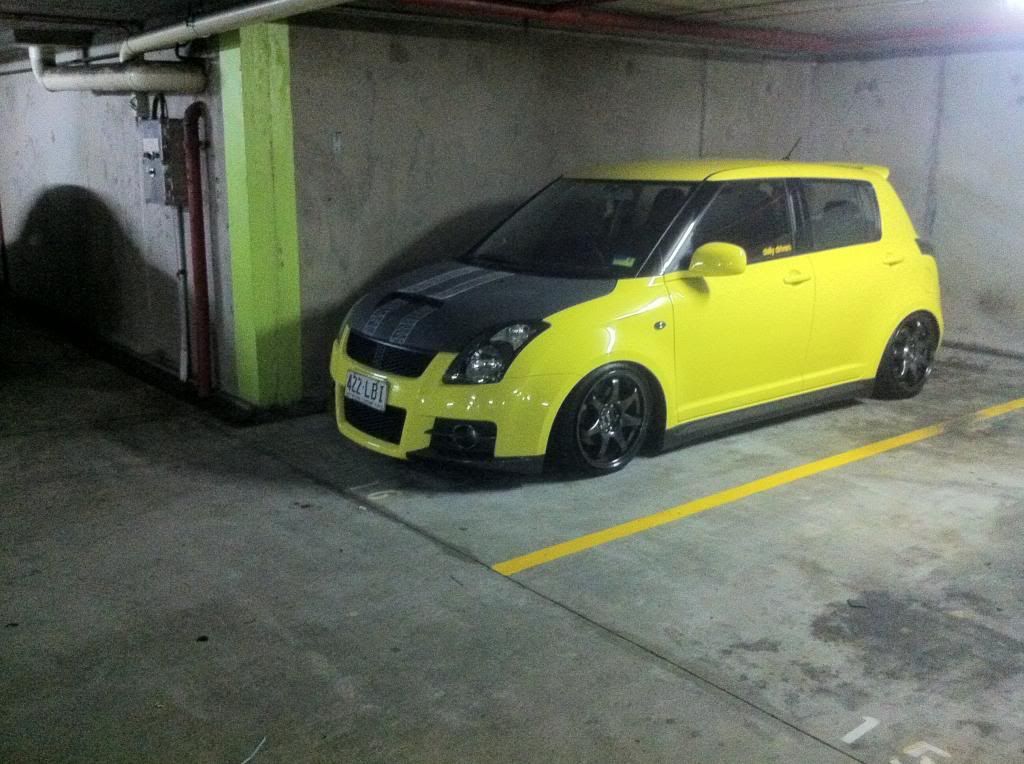
& thats the first 2 days. The car was bagged, pretty much a switchspeed install, now the e-level & i-level where left. This is it air'd up & on stockies, airred out pics still to come
This time i drove to Ty'd place & we went to work. Didnt take any pic's this day unfortunately but took the good part of the whole day. So pretty much a trouble free install... bar braking a connecter off in one of the bag ports & freaking out, wasn't stuck tight & was easily removed.
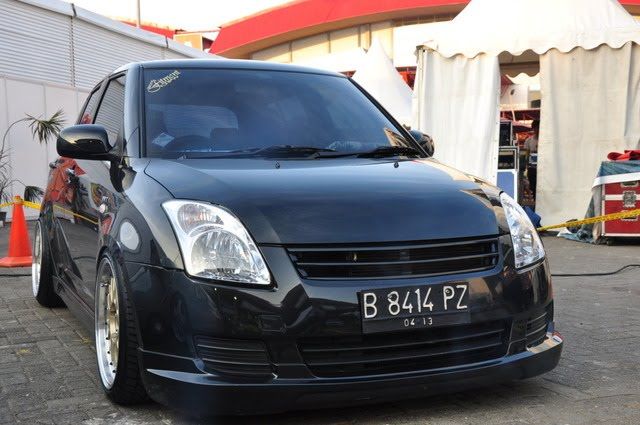
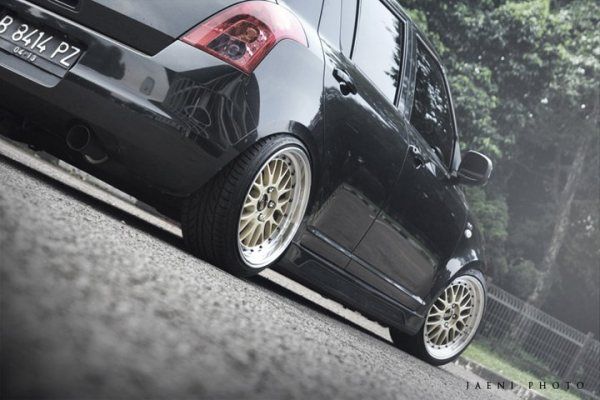
Here she is:
HAHA funny pic, anyway here she really is, i dont have a picture of the boot. Its very bomb looking haha:
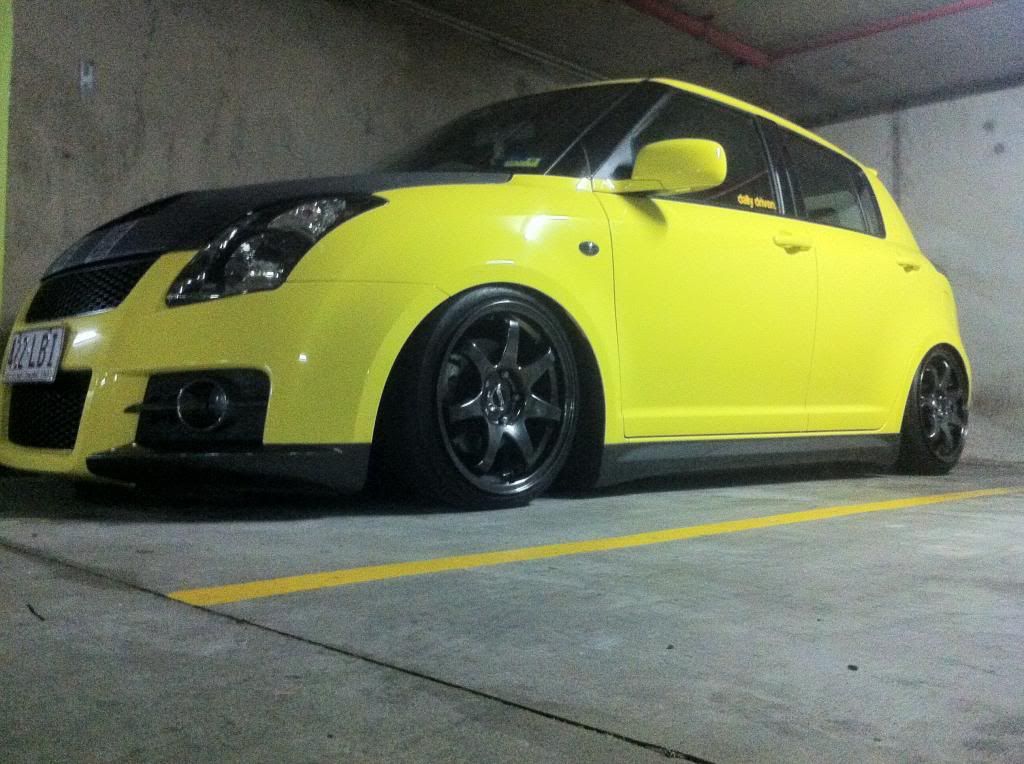
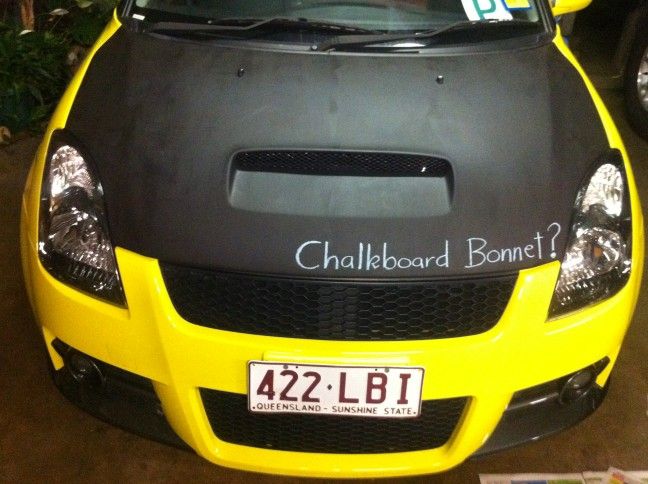
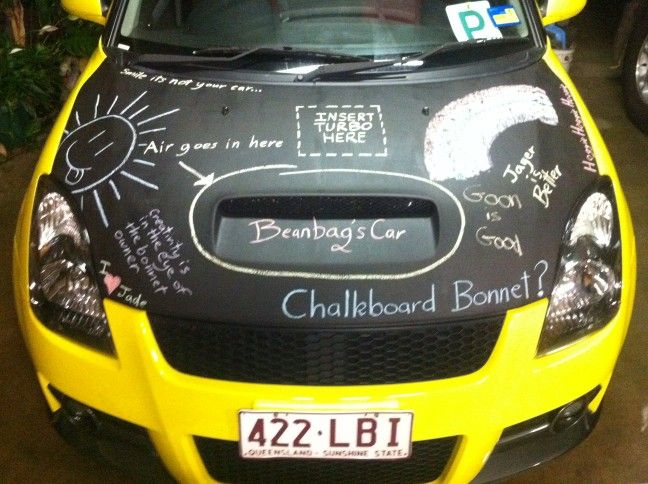
Oh you may have noticed the bonnet too, its a frp mini style bonnet for the swift which i painted with blackboard paint.
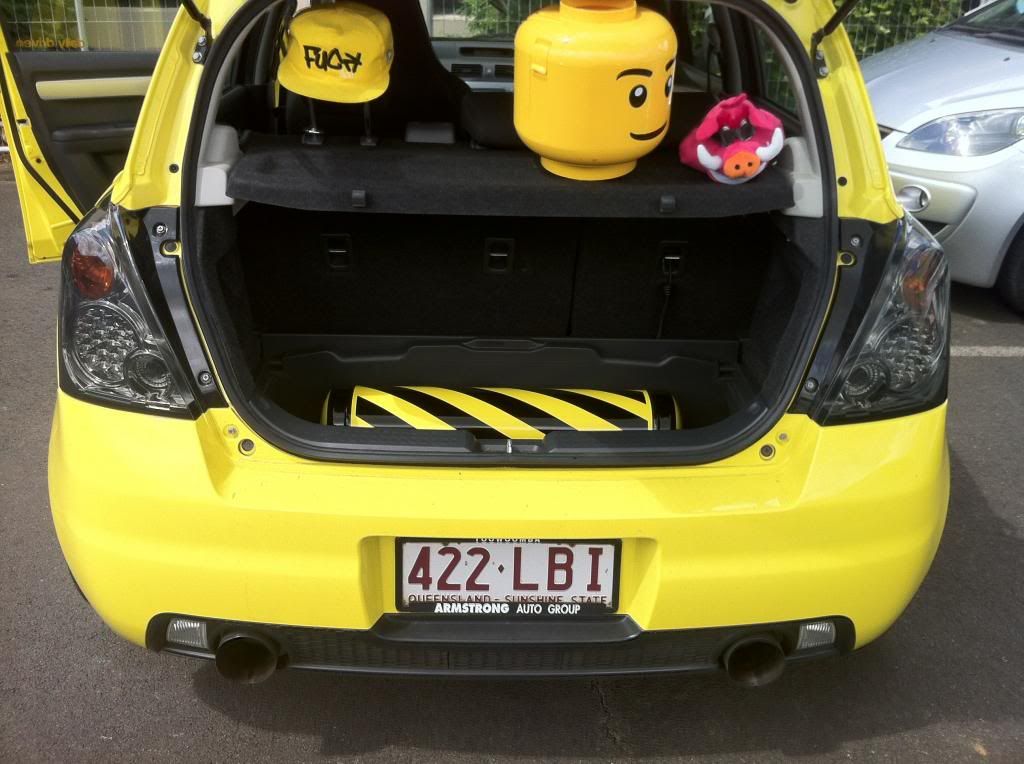
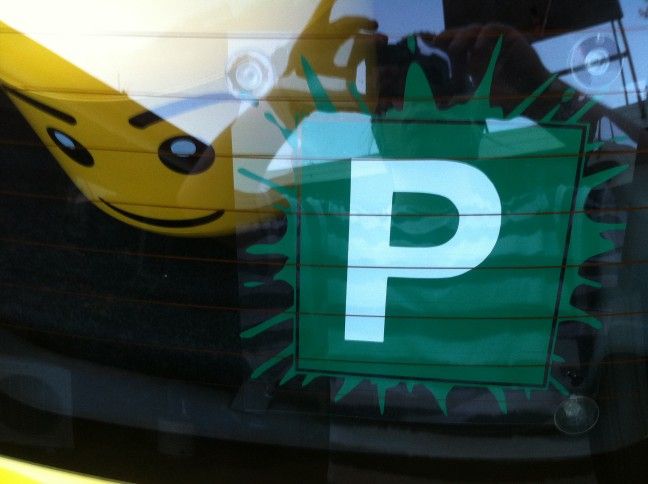
Next is wheels & interior, then turbo or supercharger. Anyway tell me what you think. I'll post up some photoshops of wheels later, gonna get a set made through Forge Wheels. ill finish up with a bonus pic of my rear window buddy
Also i like thorough build threads so here goes.Firstly huge thanks to Ty from Forge Wheels. He also runs the Aussie leg of Airrex. Install was quite quick with his help. I shouldnt say with his help, he did all the real work & I helped where i could & just asked a billion questions so i know how it all works so i can trouble shoot problems down the track.
So like the topic title says, I own a yellow Suzuki Swift Sport. Unfortunately America missed out on this awesome little car, but we all know the japs know how to build cars & these are everywhere over there, & Australia.. & all over Europe too. Its a 1.6 motor, that could really have done with a turbo model (especially the sports model). But there's a great aftermarket for them, so I am spoilt with choices for turbo's & superchargers along with all other parts. Anyway enough selling the car to those that dont know them. Here she is.
First few days i had the car


Like alot of people i didnt plan to do much to her but that changed quick haha. So picked up some xxr-522 16x7 et25 which looked much better on the car.

Then a short while down the track got Buddyclub N+ coilovers & GReddy camber plates for the rear with Whiteline camber bolts for the front. Also got a badgeless front grille.


Picked up a muffler & Simota CAI which added some much needed noice. Its not stupid loud & is great when accelerating but drops off with out the dreadful drone at high speeds. Got a Monster Sport short shifter too around then. Only posting a pic of it to show what the motor looks like in a swift, not my car ether but exactly the same

That was ok for a while. But like most it wasn't low enough for my liking, so i spun the coils down. & stickbombed the lower part of the body kit. Now i'll just say that when this was first done it was amazing looking, but i had made the stickers my self & the ink on them faded really quickly.


i was happy how it sat

After a long time looking a swifts like these, i knew i needed to go lower & wider


So now to the actual bag build. I signed up to this site, & started talking to people. I had looked at AirRunner, Air Force, UAS before signing up (did find it strange that both UAS & AirRunner have the same Swift pictured for there set ups), but learnt of AirRex only once i had signed up. I was always going with Accuair for the managment side of things. After a bit of time talking to a few people, a friend of my missus happened to say that her boyfriend was getting wheels made by a guy & that he also did airbags.
Anyway asked Ty a billion questions & ended ordering through him. Got the tank off him first cause i wanted it painted a certain way. So picked it up looking like this

Got its first coat of paint then took it back home & tapped it up & took it back & got the next colour done, yellow, colour matched to the car haha


& the bomb was born! tested it in the car.

Then given back to Ty who put it all together

So now the install could begin. It took us 3 days to do. First off it was out with the interior panels & rear seats, & gave it all a clean (found $10 in coins).


Then we went to work removing the Buddyclubs & installing the AirRex struts.
Out with the old

In with the new


Now the struts were meant to be no modifications needed, but we found we could get it to sit close to a inch lower if we cut a piece out in the back. No brainer really, bye bye unneeded metal.

Then ran all the wires.


Also added a second GReddy camber plate to the rear. Now running 4� camber in the rear, will be running the same in the front when im finished.

Next was air lines.


Made a fake floor to sit everything on, connected the wires & air hoses.

& thats the first 2 days. The car was bagged, pretty much a switchspeed install, now the e-level & i-level where left. This is it air'd up & on stockies, airred out pics still to come

This time i drove to Ty'd place & we went to work. Didnt take any pic's this day unfortunately but took the good part of the whole day. So pretty much a trouble free install... bar braking a connecter off in one of the bag ports & freaking out, wasn't stuck tight & was easily removed.
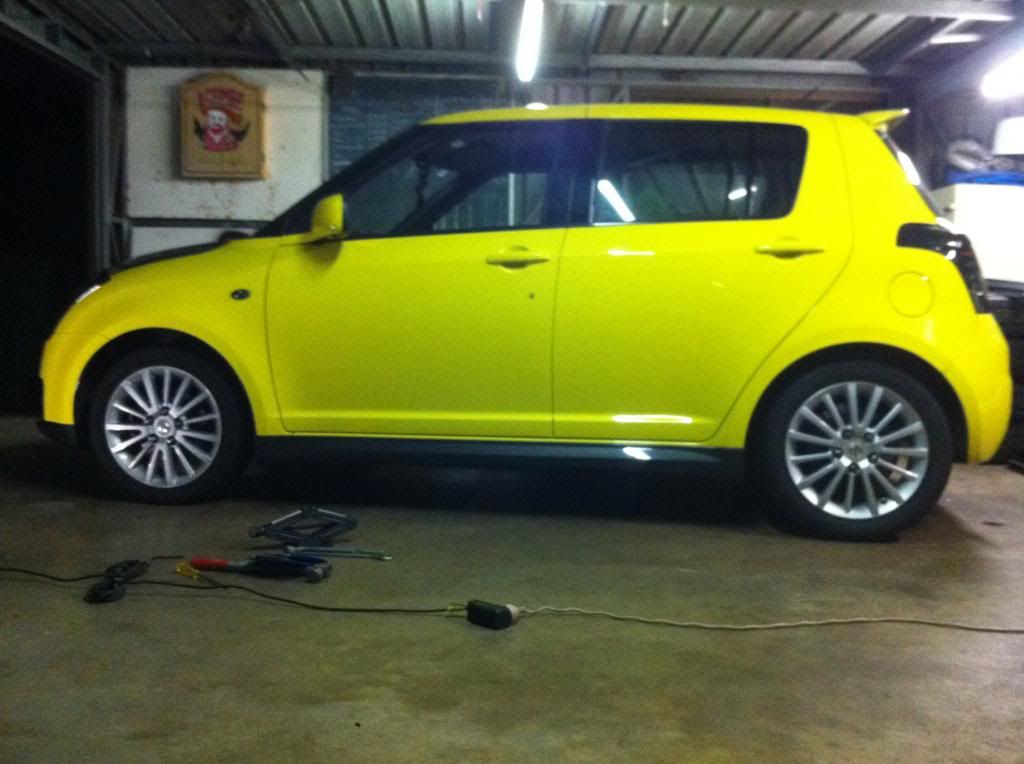
Here she is:

HAHA funny pic, anyway here she really is, i dont have a picture of the boot. Its very bomb looking haha:


Oh you may have noticed the bonnet too, its a frp mini style bonnet for the swift which i painted with blackboard paint.


Next is wheels & interior, then turbo or supercharger. Anyway tell me what you think. I'll post up some photoshops of wheels later, gonna get a set made through Forge Wheels. ill finish up with a bonus pic of my rear window buddy


 id want to drive it around aired out


Comment