-
Looks amazing! Get some rear spacers on there and it will be perfect.Leave a comment:
-
Thanks! Mysteriously this morning when I went to mess with it again, I found the front was willing to come down another 3/4" or so, and I'm a lot happier with how it's sitting.Originally posted by skiierman View Post
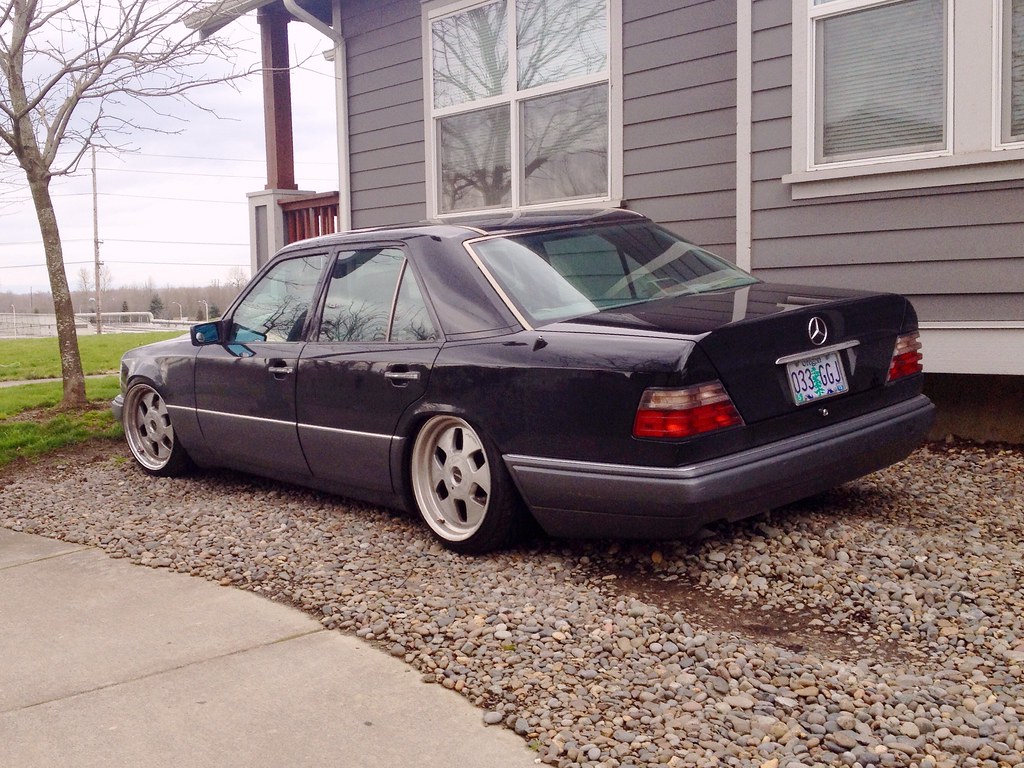
I also brought the rear up by 1/2" to even up the fender gap front to rear:
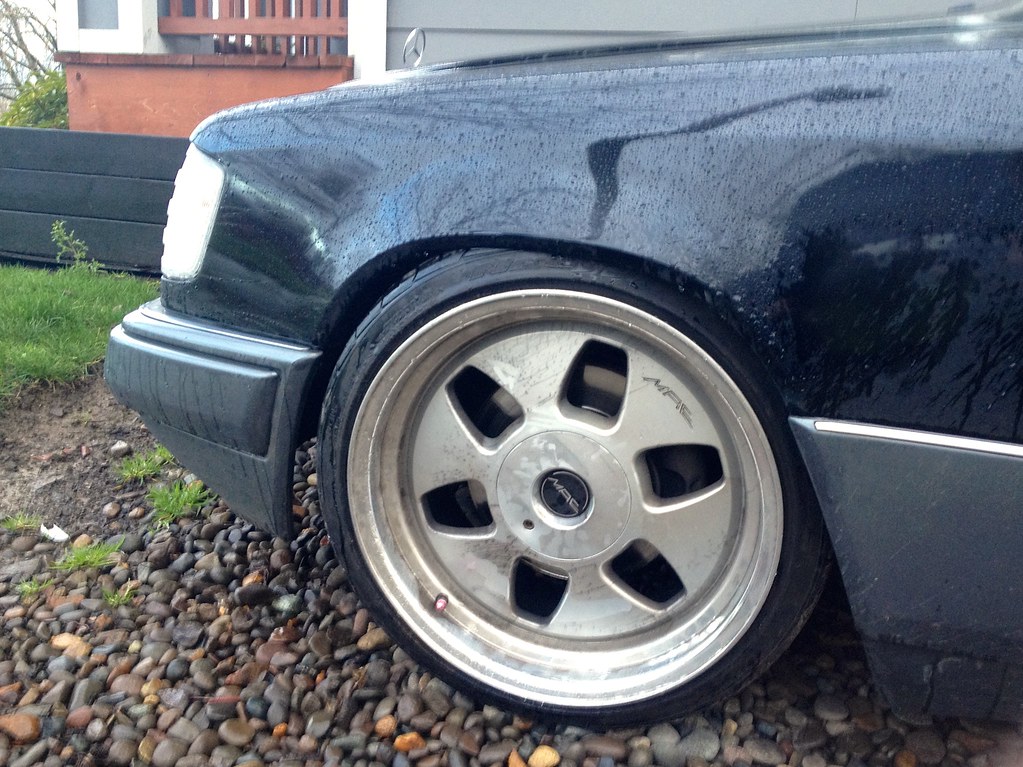
I'm very happy with how the front is sitting in terms of wheel offset, but it's clear the rear needs 15mm or so of spacers.
I took the beast on its first drive on the finalized air ride system today, and I have to say, I am exceptionally pleased with it. It drives beautifully - nice and soft like stock closer to factory ride height, and stiffening up perceptibly as the ride height is lowered. No scary noises whatsoever, and the handling remains predictable and safe-feeling. I could probably use ever-so-slightly more damping out of the shocks, but the stockers are pretty stiff as-is, and it's not bouncy even run low.
It feels just completely crazy that I've got the air ride done. 261 days of halting work Last edited by Oh Damn, it's Sam; 03-07-2014, 10:27 AM.
Leave a comment:
-
dam that looks awesome, drop the front a little and raise the rear just a tad, and you will be perfect. If you are having strut length issues you can run e36 struts (like you said above) in the front, and old ford falcon front shocks in the rear.Leave a comment:
-
Thank you! Yeah, I've been absolutely blown away by the FI sub. It's pretty ridiculous sealed away in my trunk; I can't imagine it in a little truck cab!Originally posted by REVOofRustler View Post
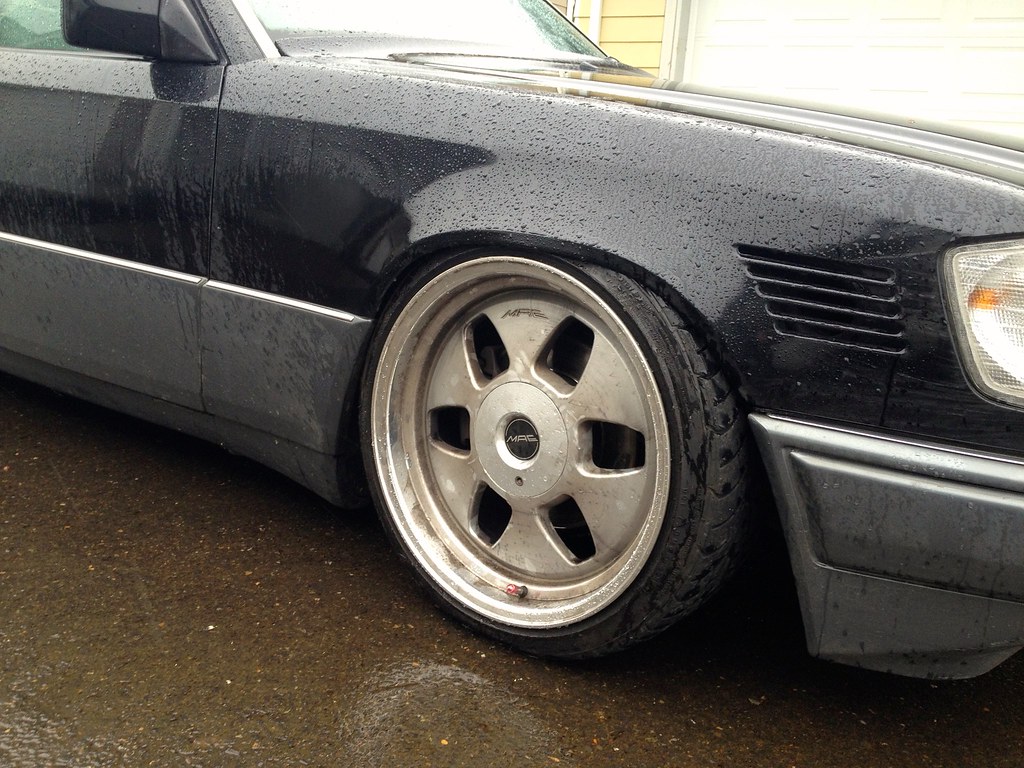
In spite of the fact that the car is absolutely filthy from sitting outside all winter, I thought you all deserved a pic or two of how it's sitting at the moment. I think the front is being limited by a combination of the fenders and the front shocks, which ought to be cleared up a dose of AMG fender spacers and R129 top mounts:
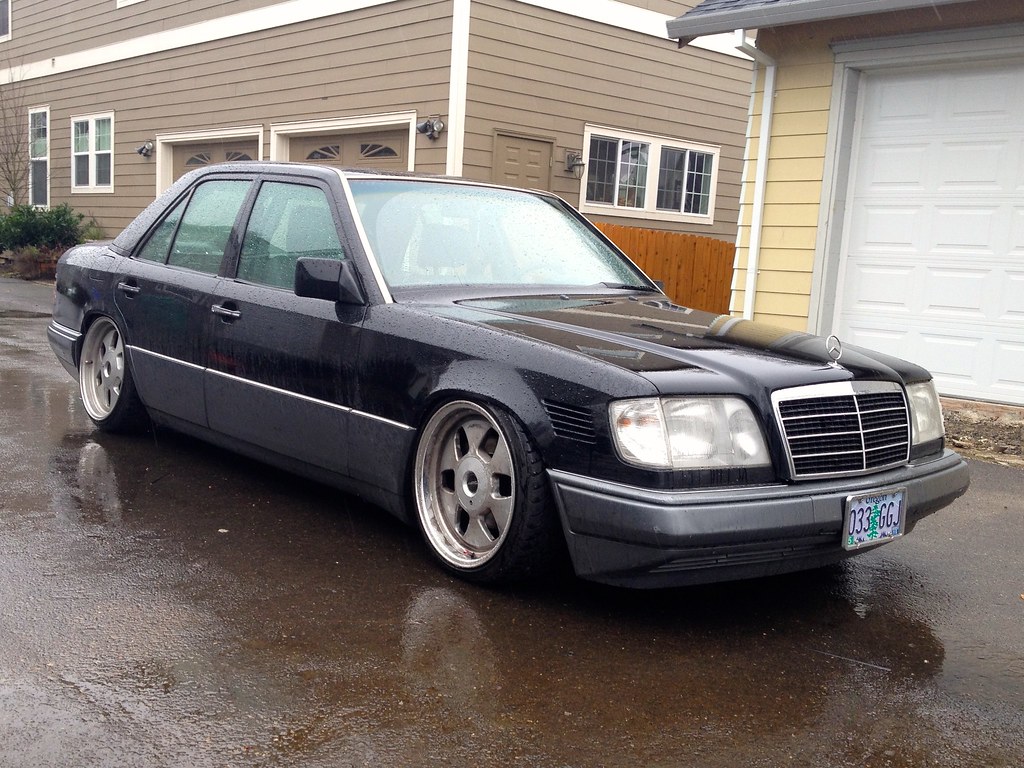
And the whole package for the time being:
I know it's a little hard to tell with the terrible photo on my equally-terrible gravel parking pad, but that should give you all an idea where we're at. Right now, the rockers are level to the ground, but I think I want to bring the rear up just a hair to make it look more level. If I do that, I can space the rear wheels out by 15mm or so to make the lip of the wheels flush with the outside edge of the fender, like the front. I certainly welcome any thoughts you all have on how to get it sitting just perfect.
Right now, though it can't really drive and it's not sitting perfect, it still feels so good to have the hard part of the build done. I can't thank you all enough for your kind words and comments so far during the build. Nice pics will be coming soon to reward you all for your patience
Leave a comment:
-
I'm loving the build man; especially the audio portion! I've got a Fi Q12 as well in my truck running off a Crescendo BC2000d and I love the thing!Leave a comment:
-
Apologies for the terribly slow responses everyone! Grad school and all. I do have a little good news for y'all. But first:
I measured mine and they look like they're 3/16" (not sure on the thread pitch) and 3/4" long. They may be metric, however, which would be 5mm, I believe? I looked on MAE's crappy website, and it looks like they've started making the classic Crown Jewels again, so you might actually be able to get the factory bolts. See also: oooh it's a websiteOriginally posted by Chigga View Post
Thanks! I'm actually still on stock shocks for the time being. The rears have enough compression range to suit my needs with the bumpstop removed, though I'm wanting about 1/2"–1" more on the front. Lots of people do run the E36 coilovers in the front, though I admit I know next to nothing about the setup. SorryOriginally posted by HILLTOPHOODZ View Post
EDIT: DO NOT USE THESE MEASUREMENTS! I've discovered some rubbing, so I'm working on making some adjustments. See this post.Originally posted by Ey3dol View Post
I finally finished up the front install this morning, so I've got some measurements for everyone!
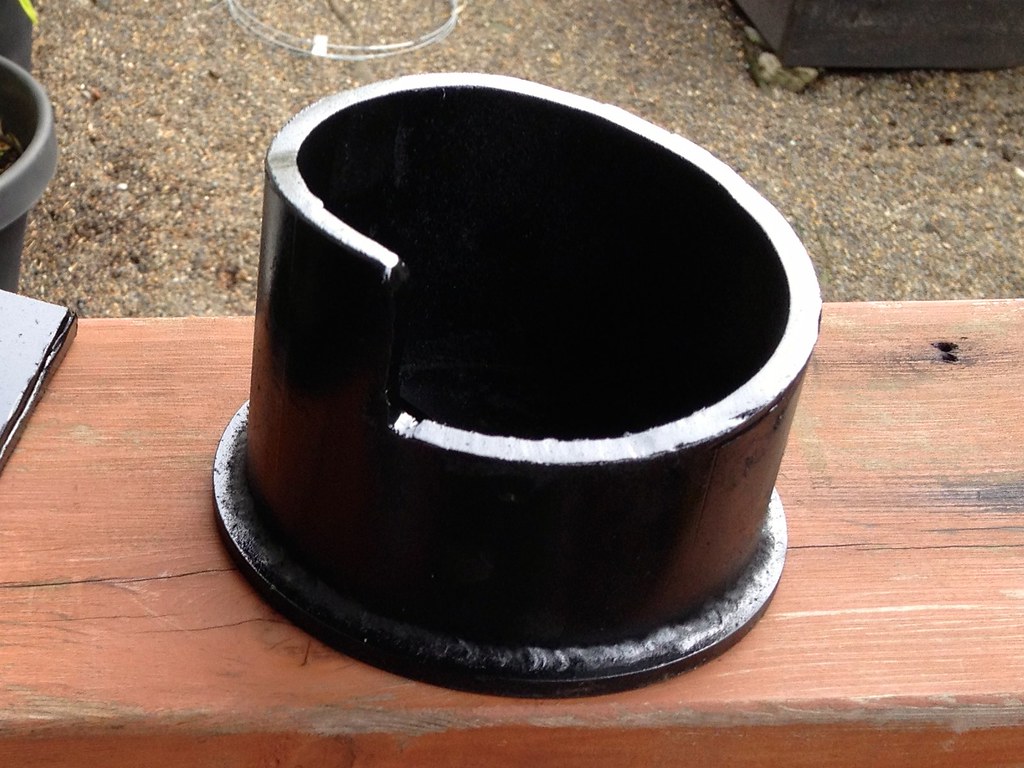
On the rear, I trimmed both the upper and lower brackets down by about 3/4" and installed them without the rubber isolator at top. The way the spring pockets in the LCAs are formed, this will kick the mounts in at just enough angle that the bag will clear the shock, though it is extremely tight.
The front is more complicated, as the LCAs aren't mirror images of each other, and they are formed with a spiral stamping to fit the spring, which makes mounting a little more complicated. On the driver's side, I cut the lower mount in a spiral to fit the spring spiral on the LCA, though I cut it in a steeper spiral to slant the mount inwards. The spiral is cut at 1 1/4" per rotation. Here's a pic to illustrate what's going on:
The right is a different story, due to how the spring spiral stamping is placed on the LCA. Here I simply trimmed the lower mount by approximately 5/8" to make it the same overall height off the surface of the LCA when mounted. Due to how the spring pocket spiral thing is formed on the right LCA, this will kick the mount in at about the same angle as the left side. Kinda weird that it's not symmetrical, but that's Mercedes for you. On both sides, the upper mount went untrimmed.
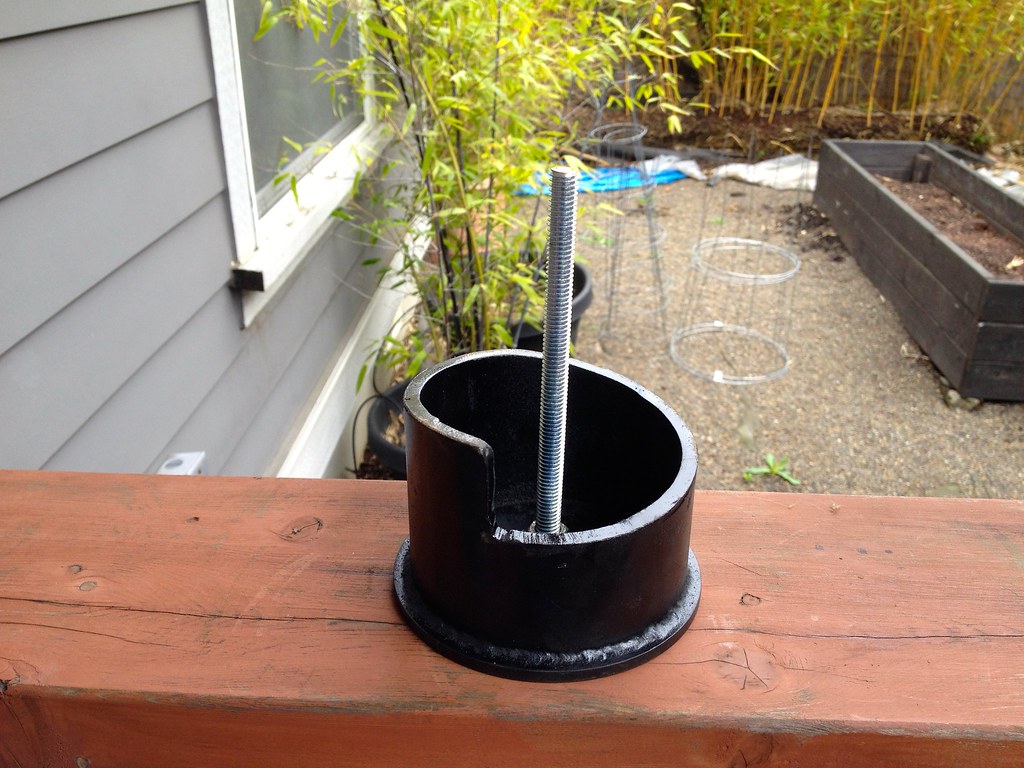
On the rear, both the upper and lower mounts simply float in their spring pockets, which seems to work great, especially since I can't drive without a little pressure in the bags due to fenders running into tires. The front upper mounts similarly float in their pockets. The front lowers, however, due to the lack of deep spring pockets on the LCAs, needs to be captured by something. To that effect, I had a 3/8" nut welded center on the lower mount plate. I could have used the center threaded hole in the SS-5 bag, but I believe these are aluminum threads, and I don't trust those for shit. Into the nut is threaded a 6" piece of all-thread, Locktited and jammed in place with another nut. Please excuse my horrible mess of a backyard:
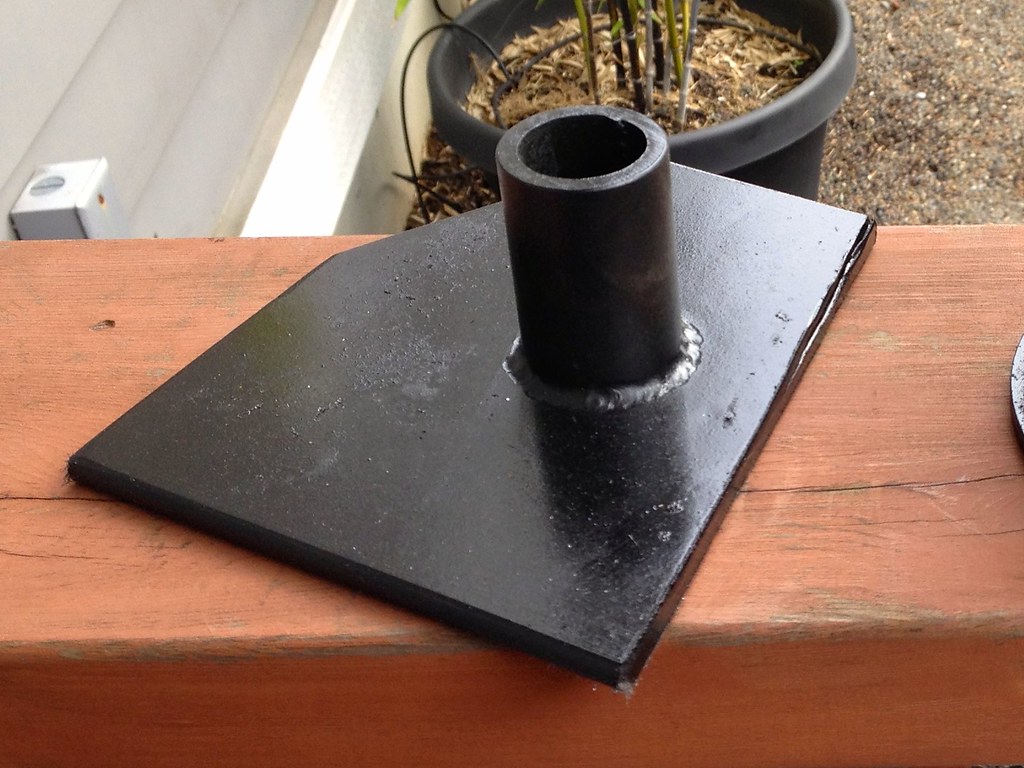
Here's where what I've been calling the "sandwich plates" come in. These are simply a 6" square piece of 1/4" plate with a 1" x 2" piece of pipe welded at center. I punched a 3/8" hole through the plate and trimmed the plate down to fit cleanly under the LCA:
The pipe then fits through the spring compressor hole in the bottom of the LCA, keeping the sandwich plate (and what it's attached to) located. The all-thread slips through the hole in the plate, and it's captured in place with a copiously-Locktited nut like so:
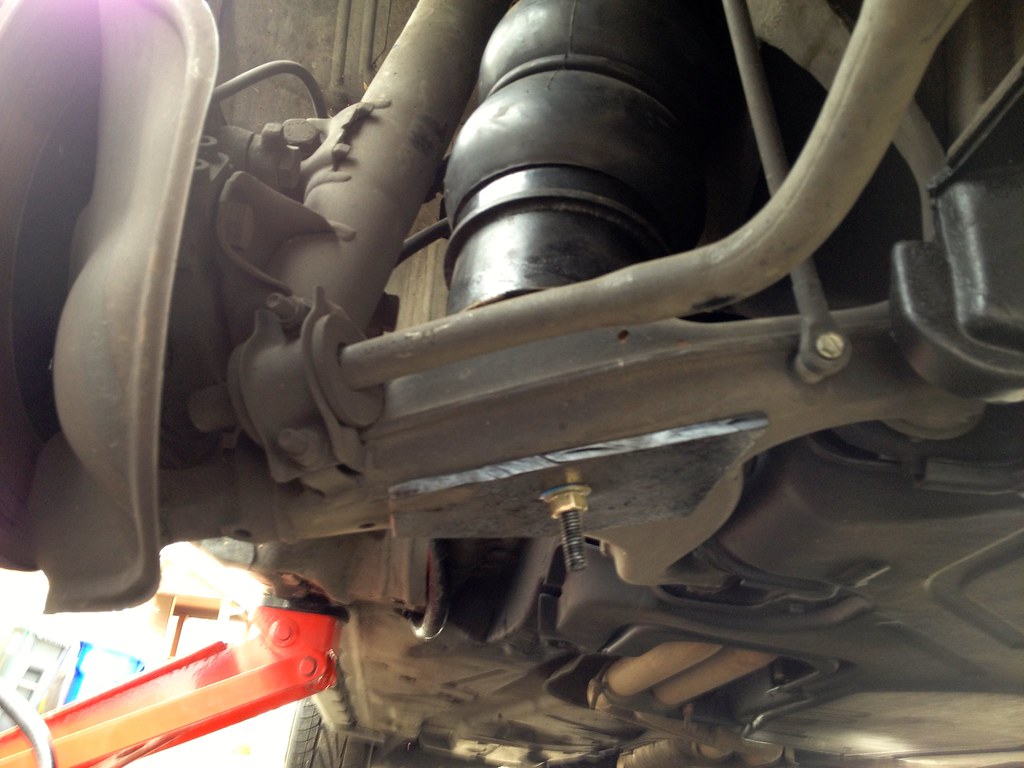
I'm going to leave that little bit of thread hanging down, since it's useful for getting the sandwich plate sucked up to the control arm. Here's how everybody looks mounted up:
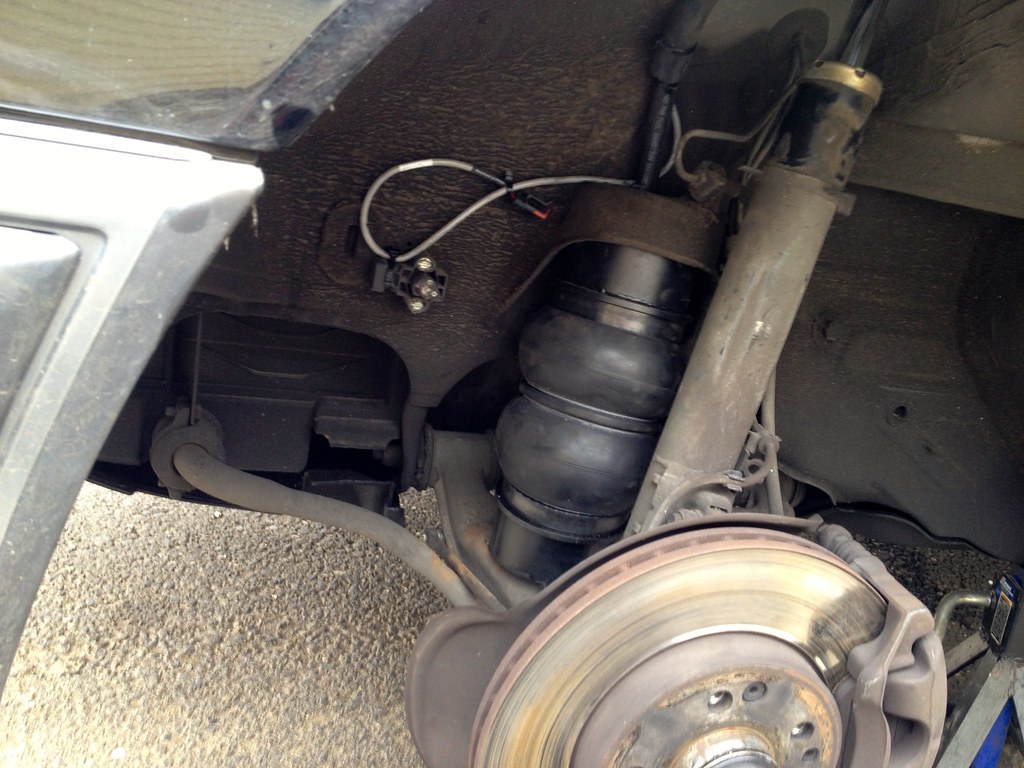
If you look closely, you'll notice the mysteriously missing plastic arm on the AccuAir height sensor. That's kinda my fault . Where I've got the sensors mounted currently, the inner lip on my wheels rubs the sensor arm at full lock, which I managed not to notice until the wheel basically cut the arm in half. Luckily, new plastic arms are all of $15 from BagRiders, so I've got some replacements on the way. As soon as they arrive I will mount the sensors somewhere out of harm's way, probably further forward on the little sheet metal brackets that the sway bar bushings live on. Until then, I basically have two settings: all up or aired out, which is why I don't have pics yet.
More soon!Last edited by Oh Damn, it's Sam; 04-28-2014, 03:33 PM.Leave a comment:
-
mint setup man, im running 18s on my w124 aswell, ive had a good gease at the builds on here . I see e36 struts on the front and saab 9000 or something on the rear? do you have/know any more details about how to do this?also are you going to attempt to do it. and what year e36 strut? the hole shock from bmw is it a bolt off bolt on swap over into the w124 in the front?Leave a comment:
-
Do you know what size is the screws for the center caps? I've been trying to source the secure screws for my MAE centercaps and can't find out what size or what fits.Leave a comment:
-
nice! im going Accurair E-level, just waiting for it now still need to make a thread. What did you end up trimming the backets down to?
Leave a comment:
-
That looks so good, love it tucks with the low in the back can't wait to see this fully dumped and fitted. Gives me motivation to start my w124
Btw my buddy got a 94 e420 benz same exact color like yours, the only difference its a V8 lol. Huge motor, gas mileage will be amazing haha. But anyway he might stance his and ill get to mine eventually and when you get yours we should roll together to RDM. We could make a w124 benz mob.Leave a comment:
-
PREPARE YOURSELF... FOR THE LAMEST UPDATE EVER!
That's cause... um... it's not done yet. sorry...Originally posted by Kinghorn View Post
I have a boatload of lame excuses, but it basically boils down to classes kicking my ass. I am officially sick of grad school. I did get to spend all day yesterday wrenching on the rear suspension, and it is DONE back there.
I know I said that before, but I have a totally good excuse. See, the way the trunk is laid out, there's not really a great place to run air lines and sensor wiring into the wheel well. Plus, these Mercs don't have rear fender liners to hide tubes and such, which makes it all the more a PITA. Originally, I ran the rear lines into the cabin and then through a hole in the front of the wheel well, right about midway down the back of the seat. This worked fantastically with the stock wheels on the rear. But then I tested the MAEs.
Uh oh. Rubbing extraordinaire. I actually had to drive around lifted in the rear for a day or two until I could look at it, and let me tell you, 2" of lift in the rear on stock suspension in the front upsets the car's handling something FIERCE.
I had a rethink, and found two lovely drain plugs on either side of the "frame" rail in the trunk, where the trunk dips down into these goofy little pockets. Turns out it's perfect, everything's nicely-protected, and no rubbing!
k. MAEs back on, air it out, and... SHABLAM:

That puts the lowest part of the rocker panel about 3" above the ground, give or take, with the lowest subframe member I could measure about 2". I don't know if that counts as low enough, but it certainly seems low to me. If my maths are correct, that's a 4" drop.
Today I have a brake job to do on a little Mitsubishi, and then it's time to start fighting with the front suspension.
You know, Dano was talking about the RDM meets earlier in the thread, and I'm thinking about it. Seems like it's pretty chilled-out, which is my kind of scene.Originally posted by skiierman View Post
ALRIGHT EVERYONE, sorry for the lame update, I'mma get back to work right-a now!Last edited by Oh Damn, it's Sam; 06-10-2014, 09:19 AM.Leave a comment:
-
Throw the 18's on and air it out! and how can you not share photos of this beautiful 124 fully bagged? must see pictures, but car looks on que so far man!Leave a comment:
Leave a comment: