 Tweet
Tweet
Hey all!  Just a heads up, i LOVE posting pics, so it'll be a pretty heavy thread.
Some of you may have caught my well overdue Introduction post but if you haven't, check it out.
Anyway, I'm as keen as mustard to change that shit run of luck! (and average steering)
I picked up this E36 in pretty average condition back in Feb 2012 from Sydney to which I thought was near perfect condition through an on-line car site. Unfortunately, I never got a hold of a photo to show you all of the condition it was in.
Just to kick start my build, I had a few lowlifes steel the front wheels overnight while i was getting it ready for roadworthy. Disgusting...

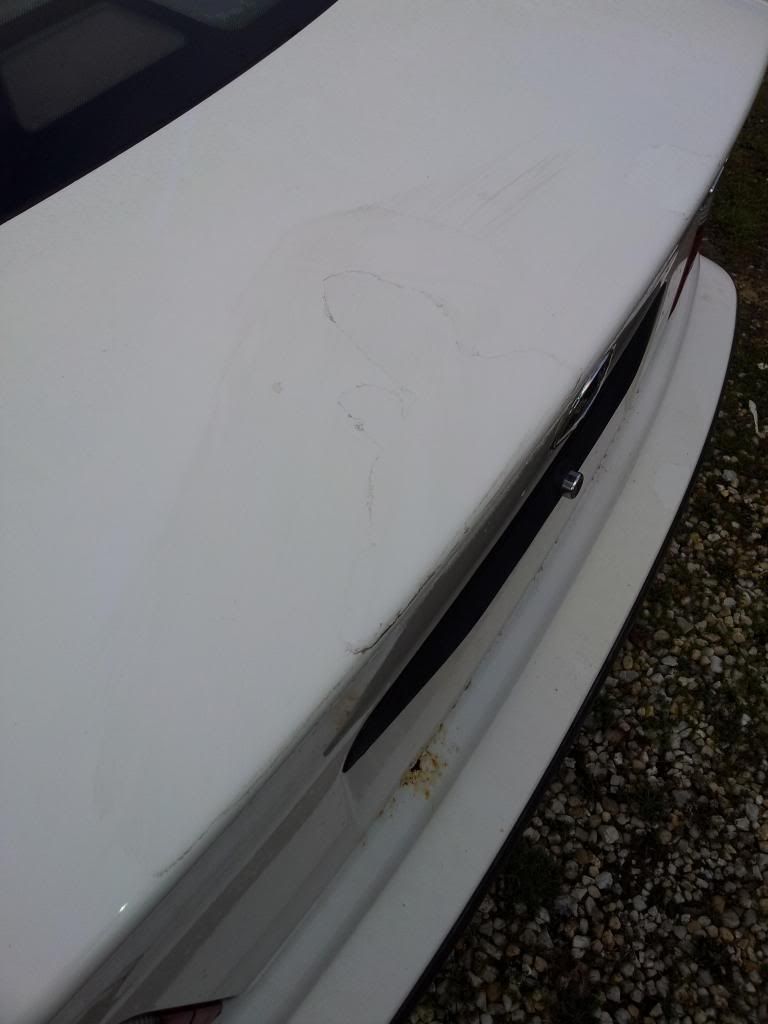
But moving on, i found that it needed a bit of work aesthetically. I had some clear peeling around the car, mainly the boot lid but also the doors and quarter. The bonnet was a different shade of white too the front bar and that was a different match to the guards. So i decided to give it a full respray. I wasn't too sure on the colour choice at the time, but i have decided to go with a clean bright shade of white. Alpine white never really did it for me.
Luckily my dad owns and works at the local panel shop, so I've had the advantage to drop in after hours and tinker away at it and I've also been luckily enough to work odd days with the painters and panel beaters.
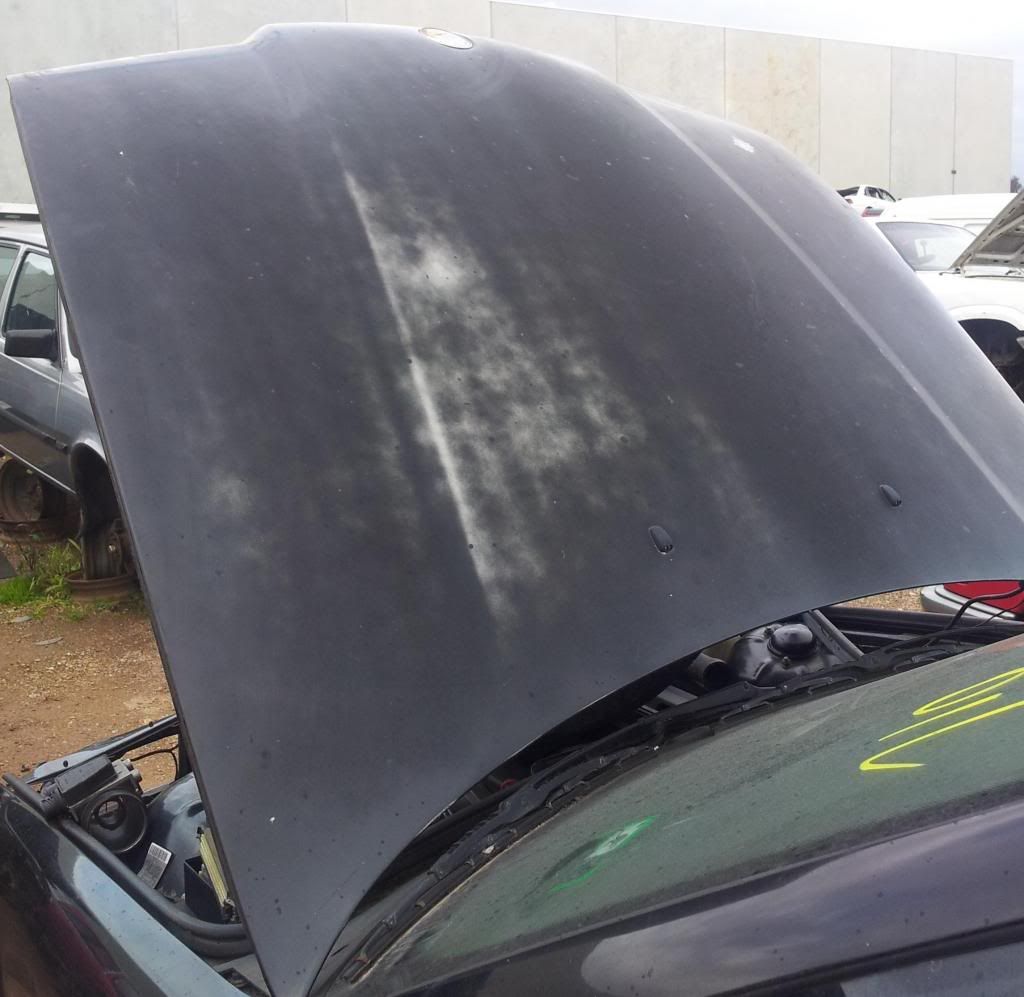
After having a good look into my bonnet, it was full of hail storm damage and general dents. I came across another bonnet for super cheap and knew i couldn't pass it up.
I got straight into paint stripping it and getting it in for high fill. Here's how i went!
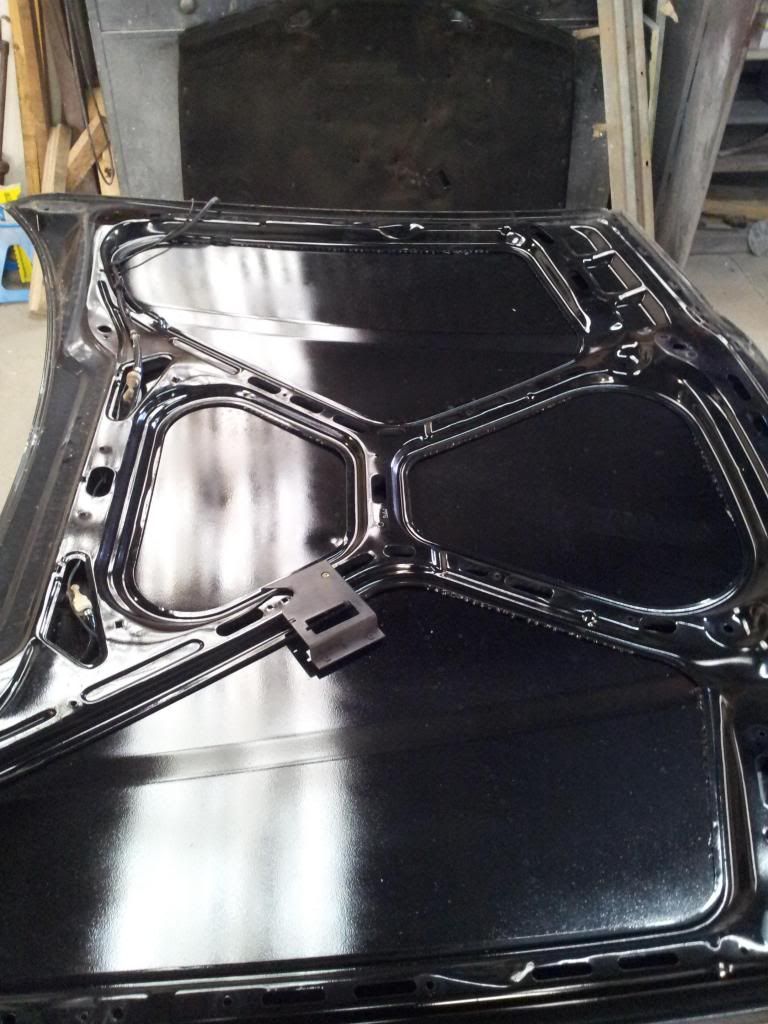
Stripped it. All naked and not very sexy...
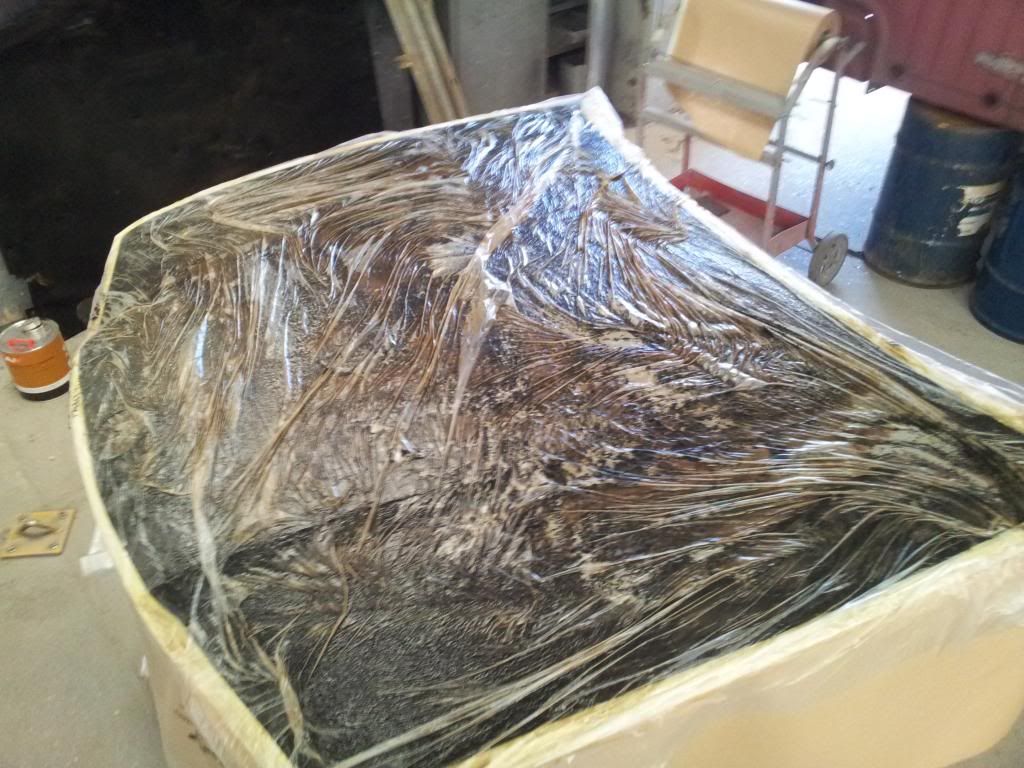
Masked it up ready for paint stripping and also scratched the hell out of it with some 36 grade!
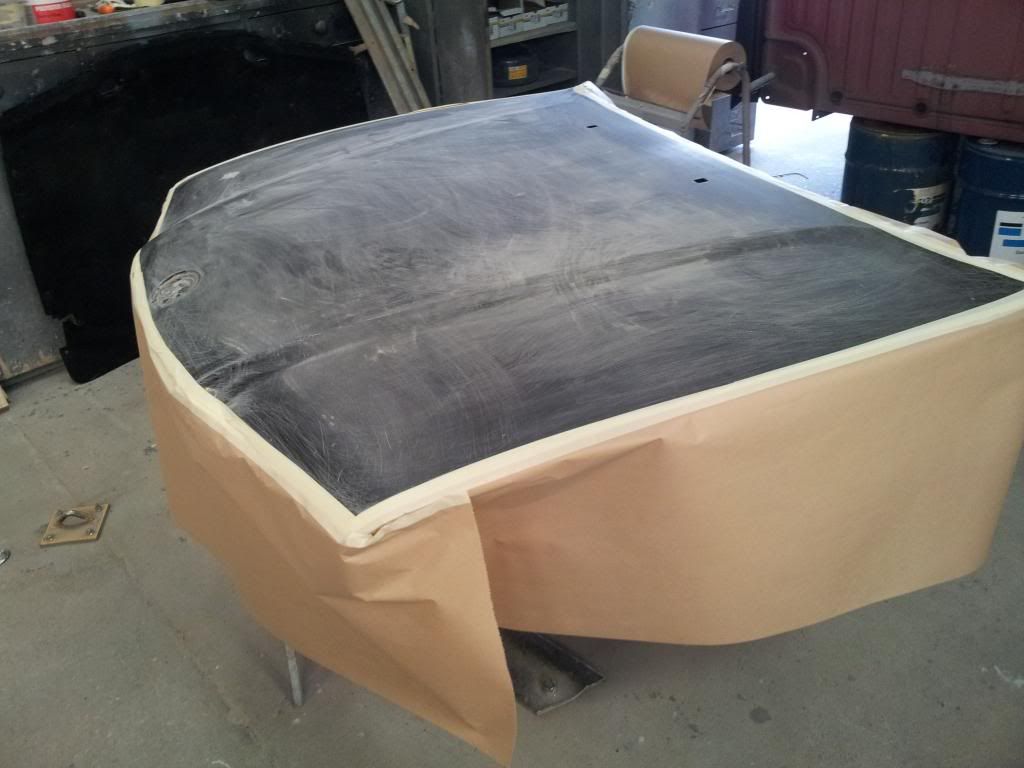
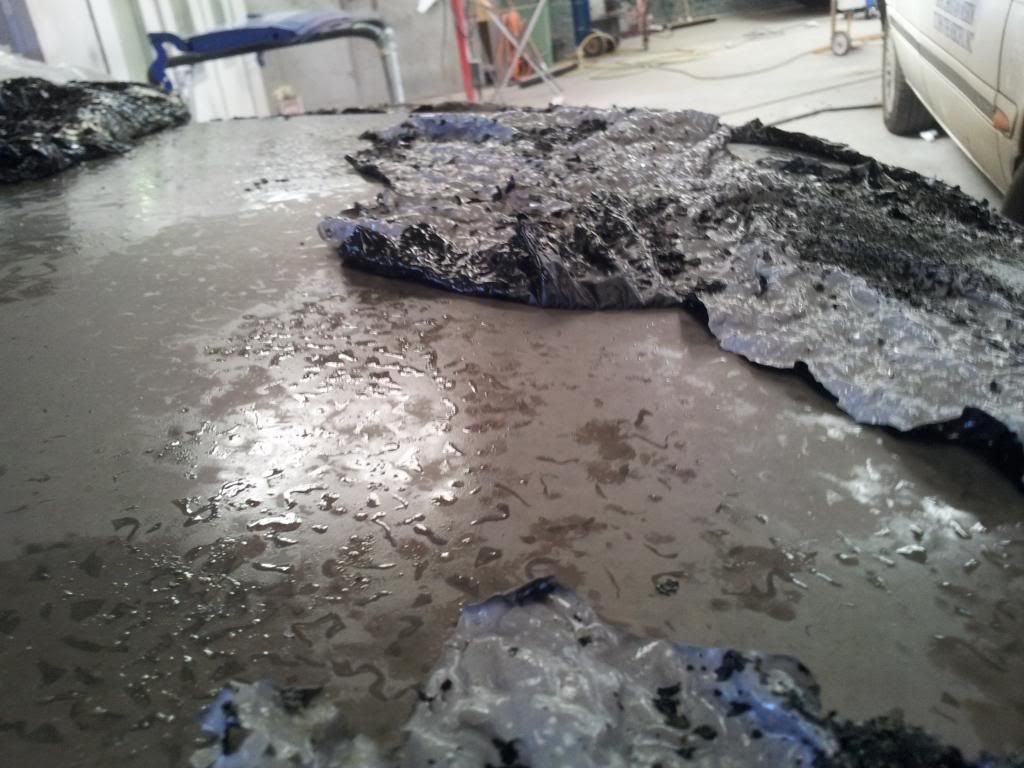
After about 45 minutes of it doing its stuff, here's how it looks. Peeling off so easily
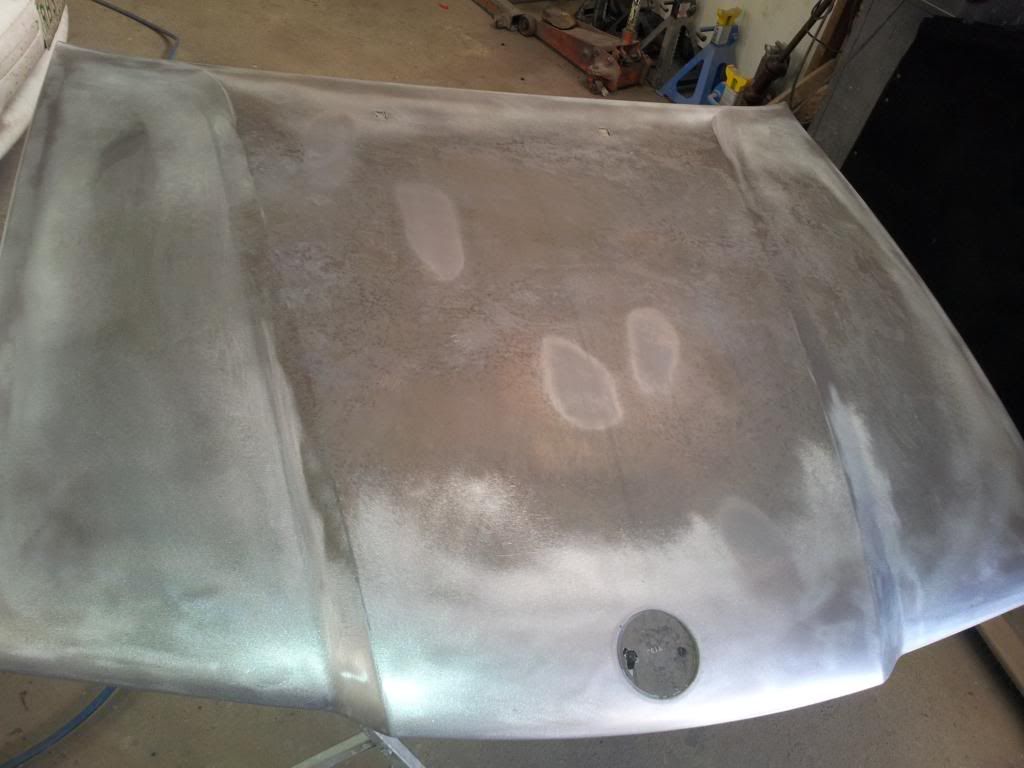
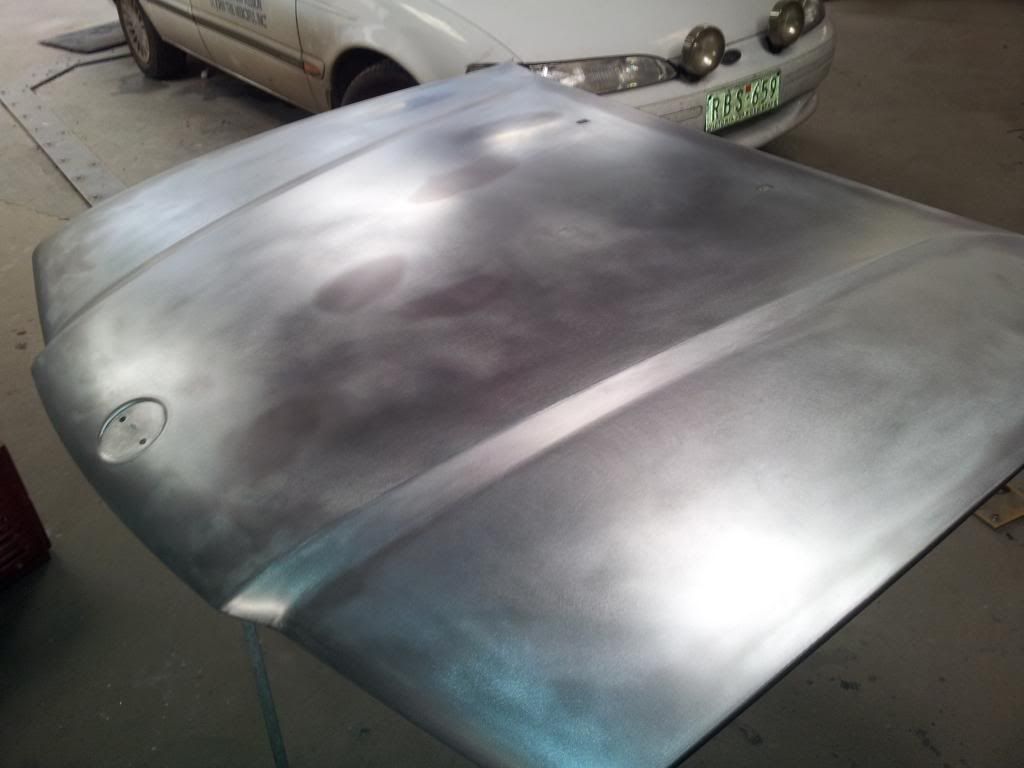
After some sanding, it came out alright. Just a couple of dents to lift and it'll be ready to go!
Alright! enough with the bonnet...
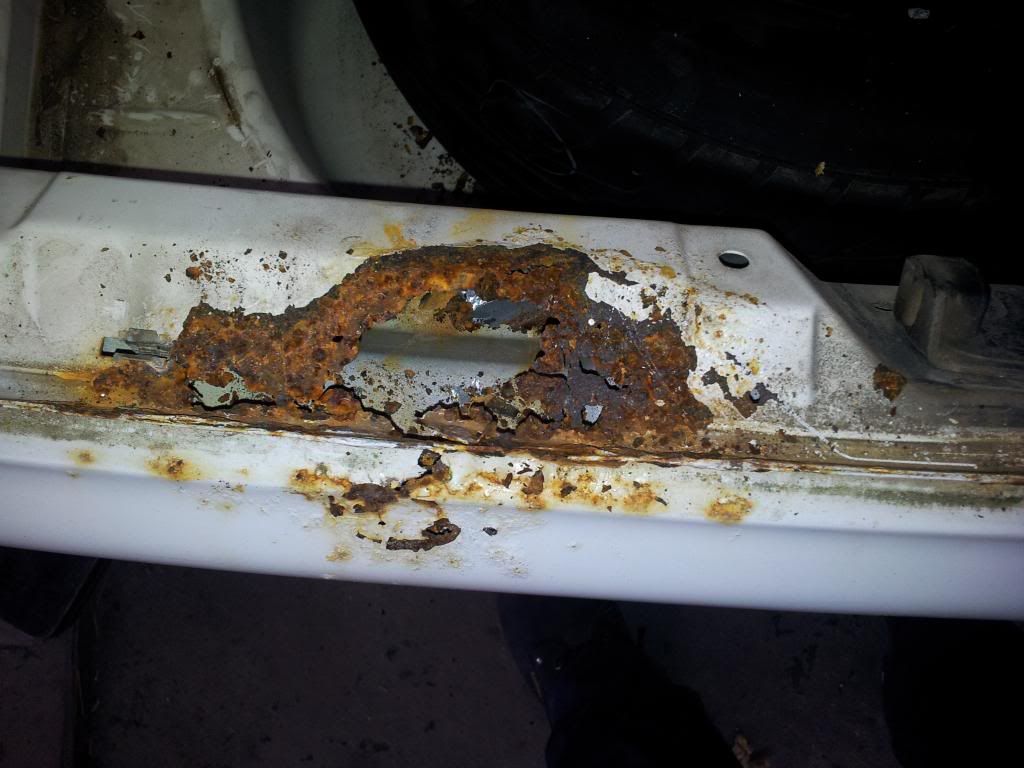
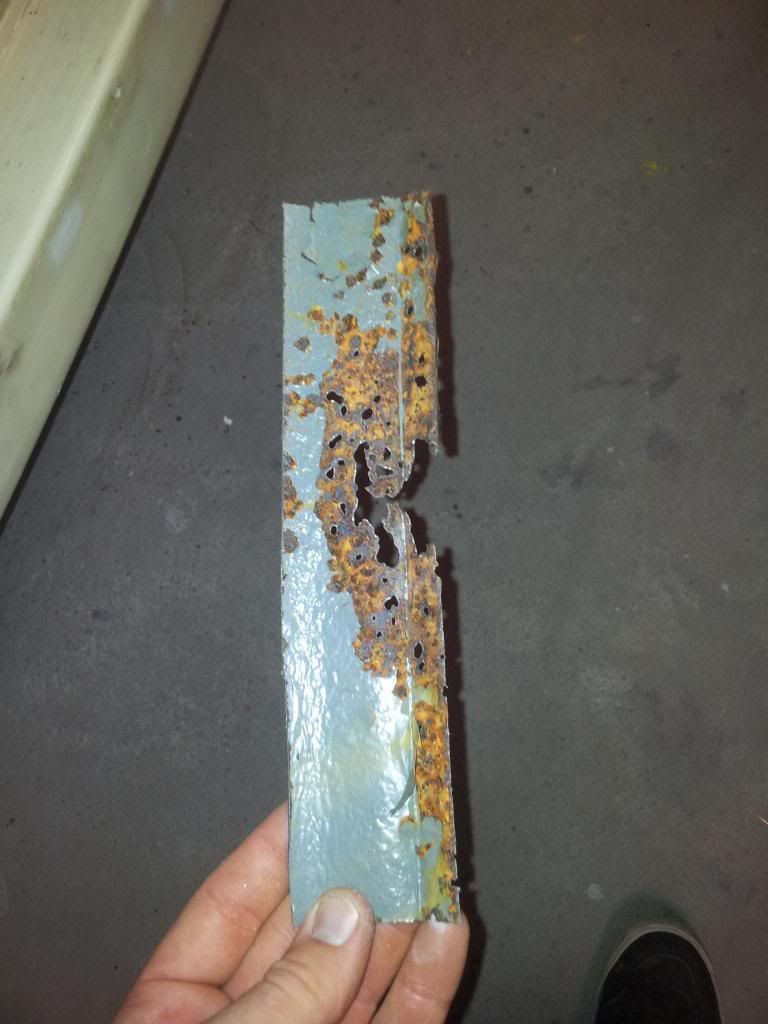
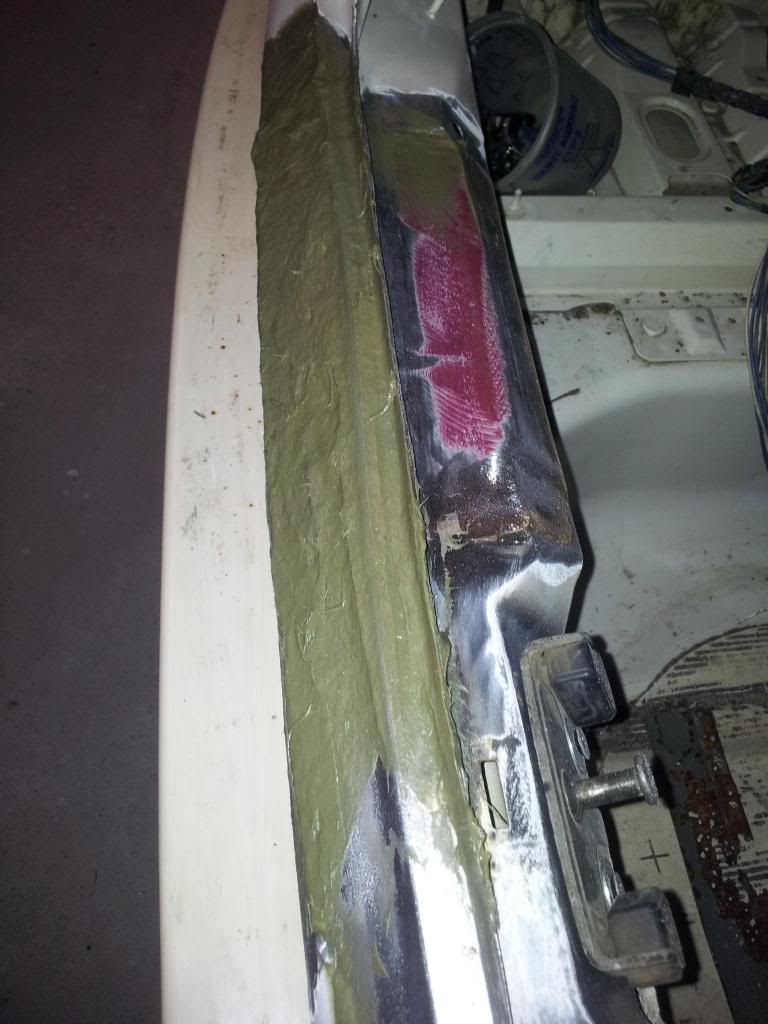
After stripping the bonnet out, I came across some pretty average looking cancer. I had a idea it was there, but not too this extent
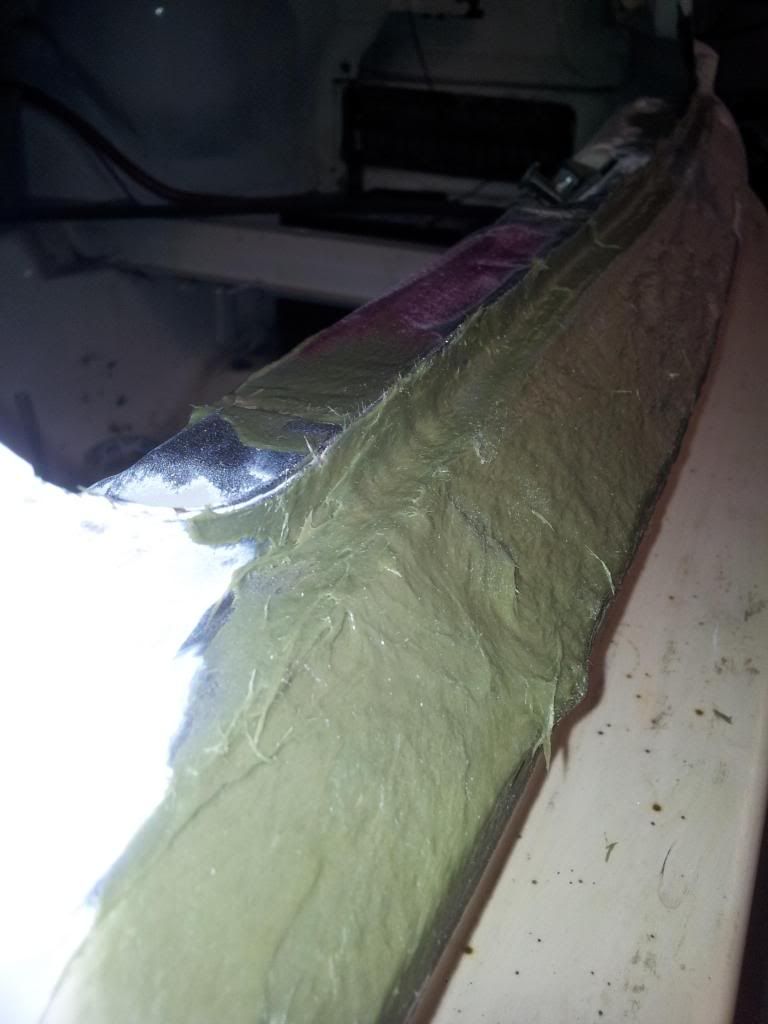
I did some searching around the local wreckers for the beaver panel to replace it but itd be a bit of work and not to forget, costly. Ill have it fibreglassed later on
I got stuck into sanding shortly after! this was awesome, pulling it all apart and ripping all the paint off.
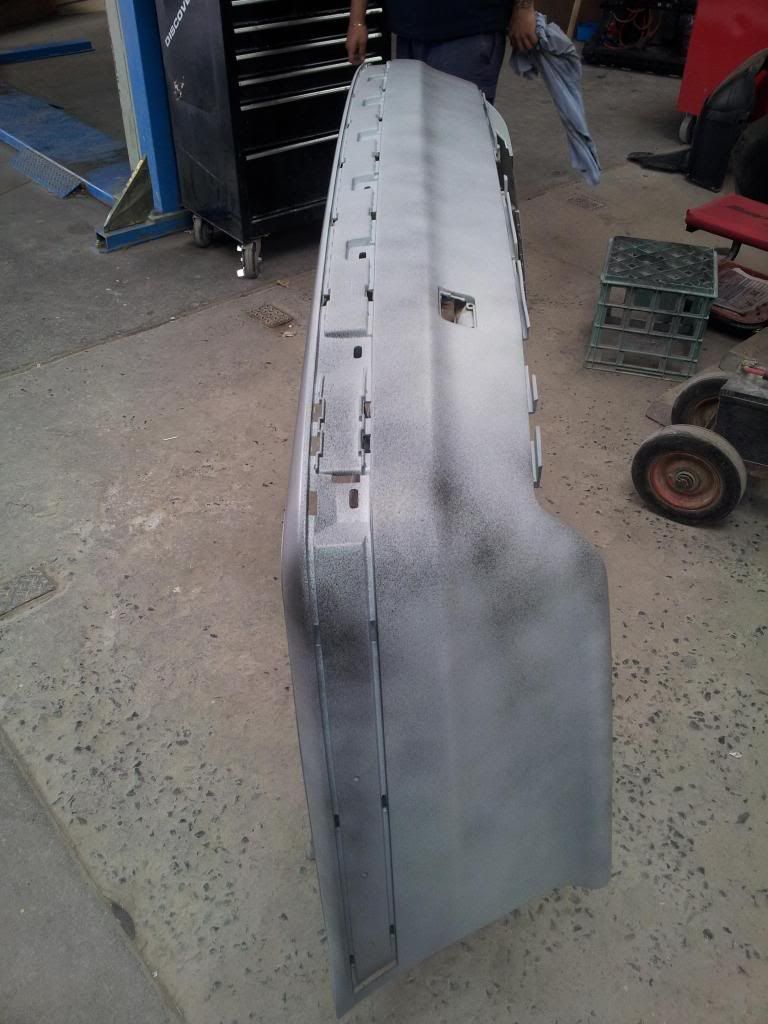
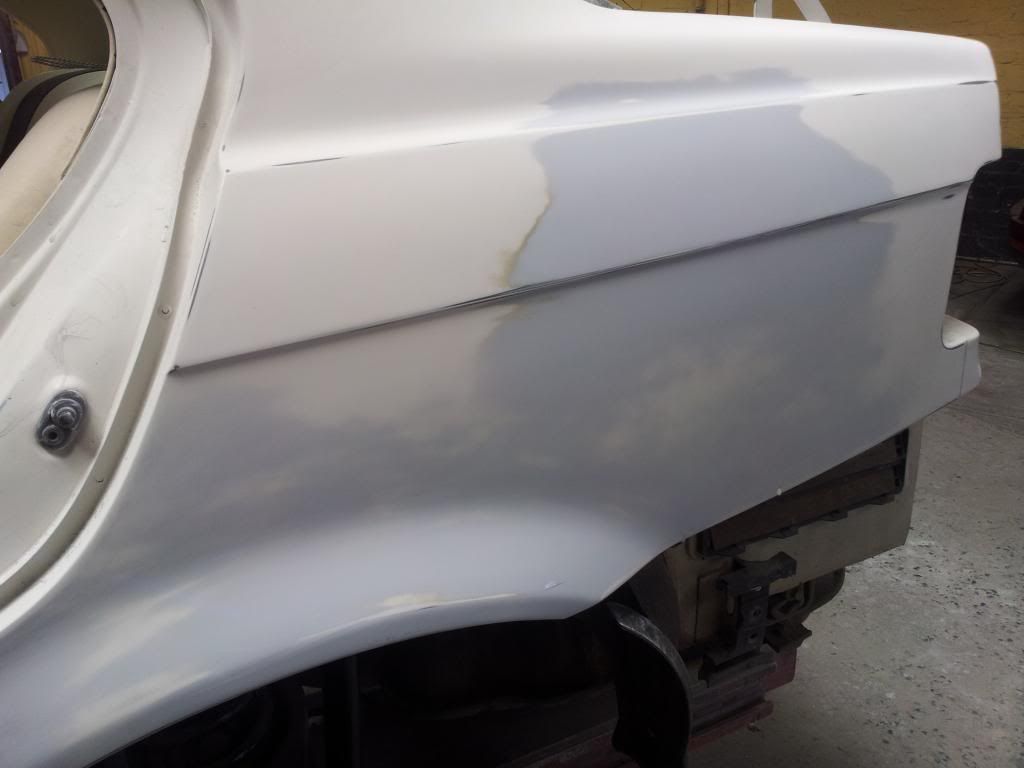
First off was the rear bar. sanded it back and high filled it. Gave it a spray of black as a guide coat for later on.
The same with the boot lid.
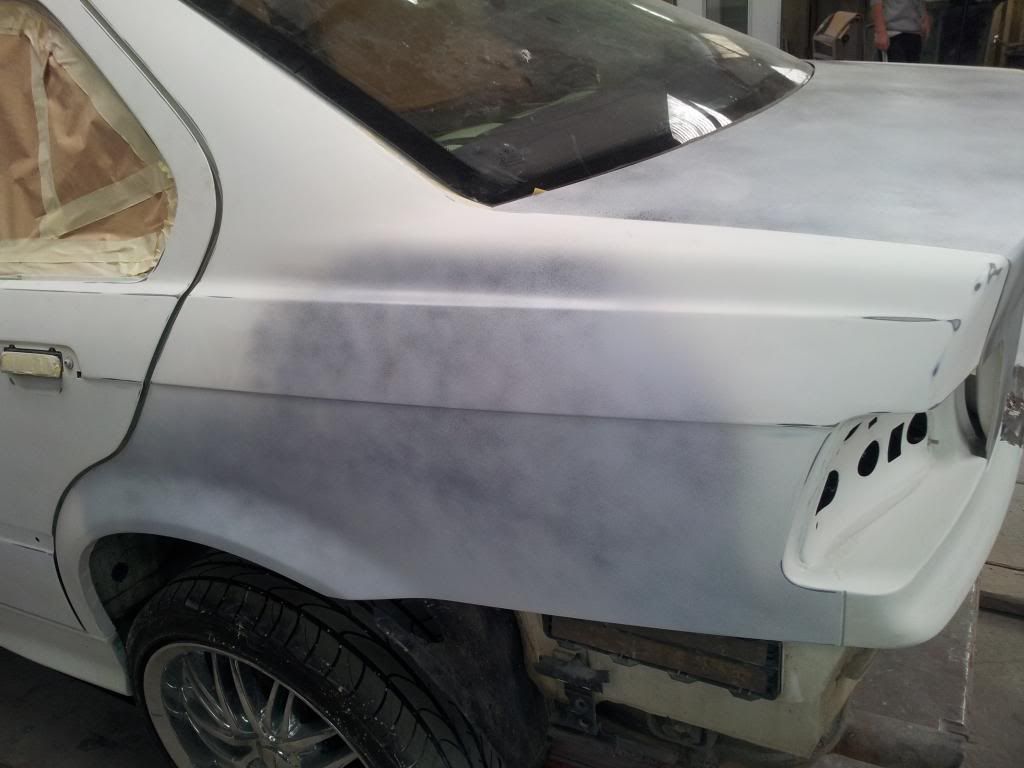
Just gotta work on not rubbing through my edges :/ But it did bring to light the dent in the middle of the quarter panel. It's not really visible with the current lighting.

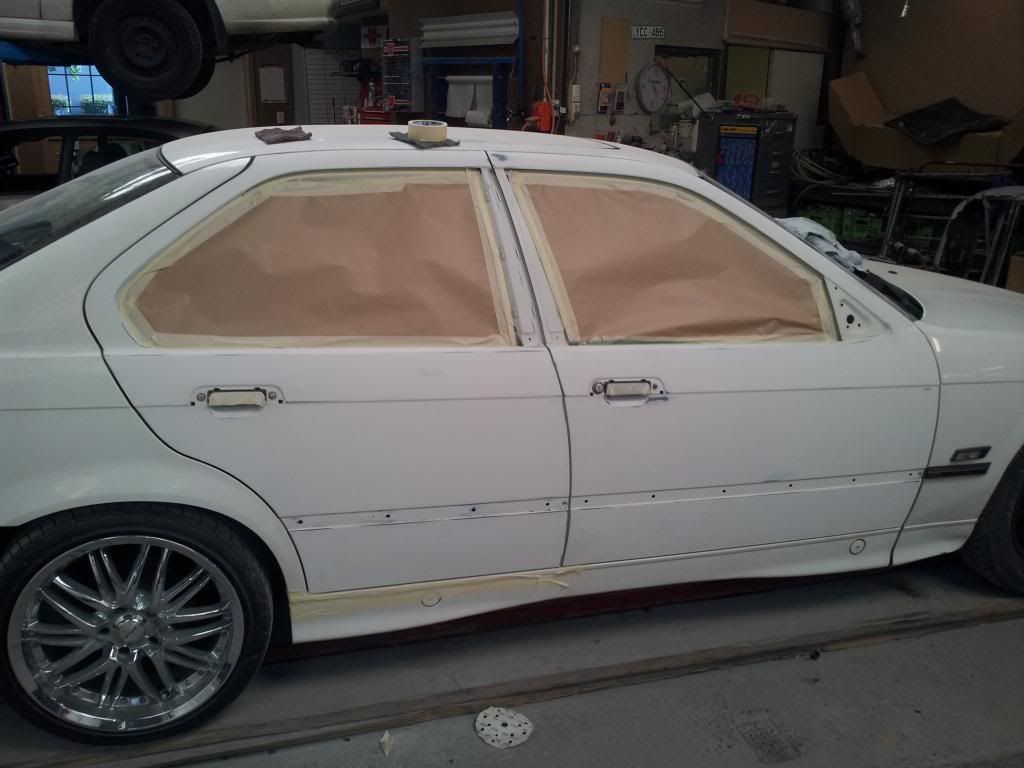
doors done
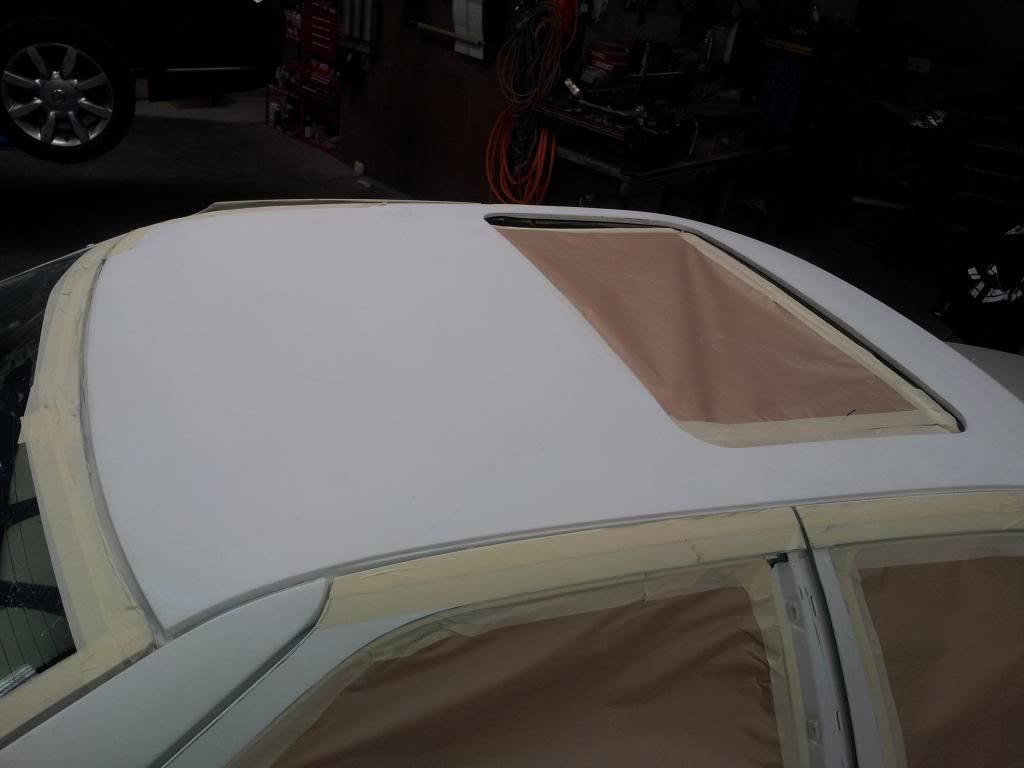
along with the roof
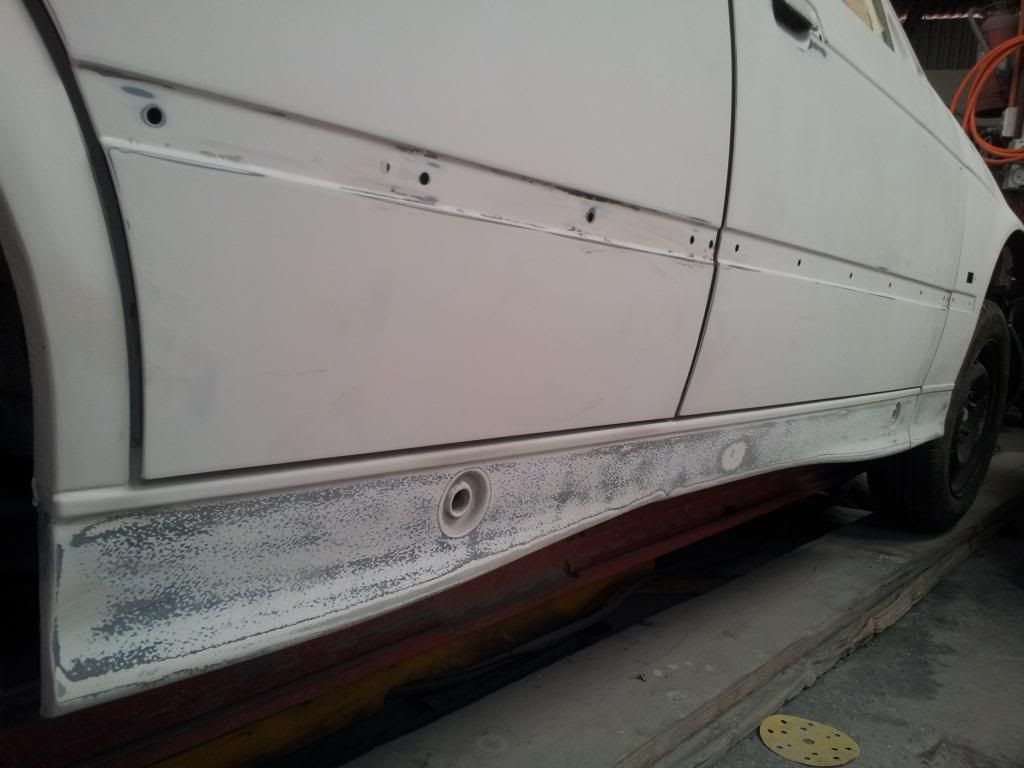
I never liked the stone guarded finish along the sill's so I sanded them out.
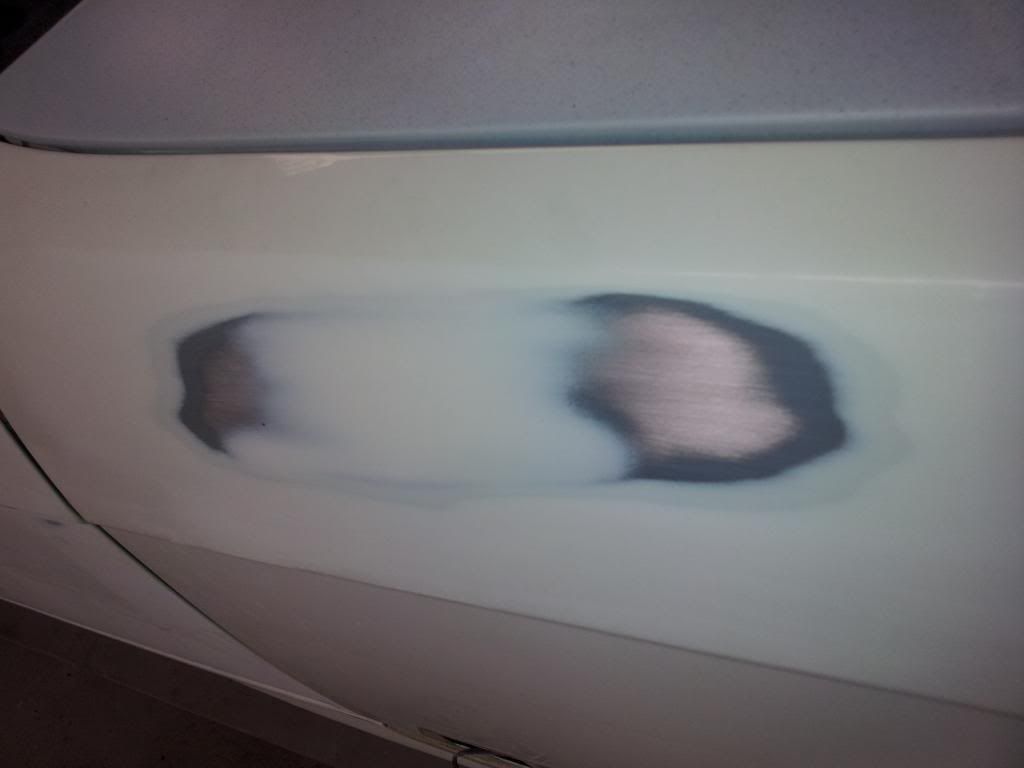
I had one of the panel beaters pop up a dent in the guard. Cant feel a thing!
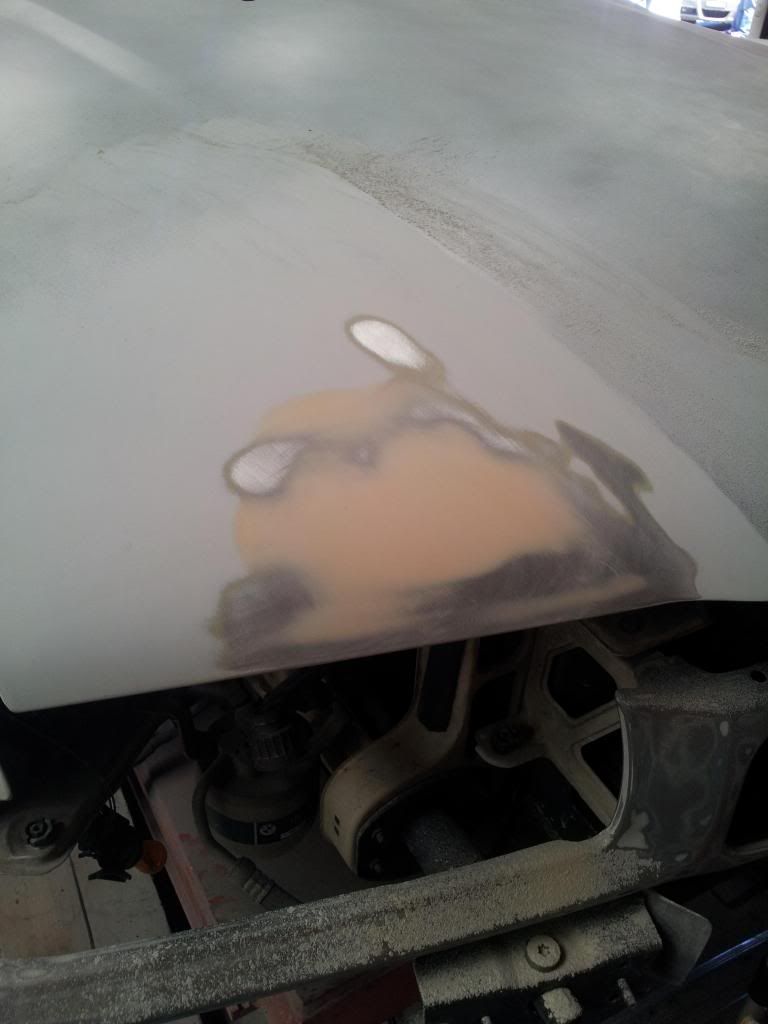
High filled and guide coated the bonnet but found a dent! Bastard!
Since we were high filling anyways, we masked and filled the quarter with the dint. Sanded it back ready for paint.
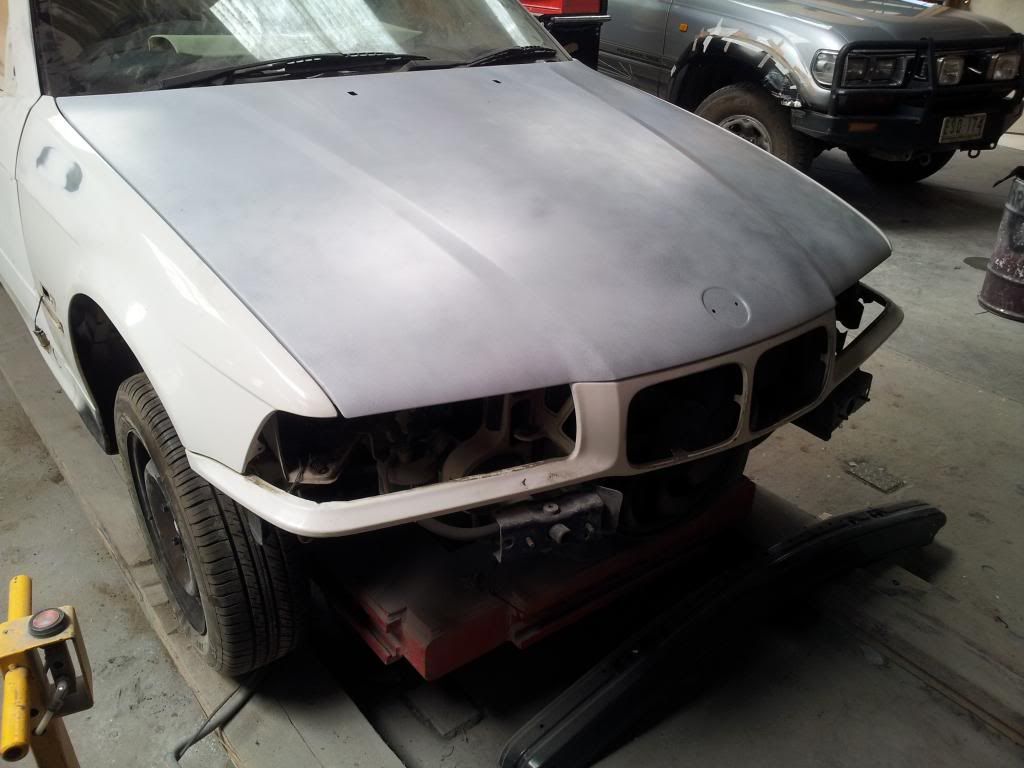
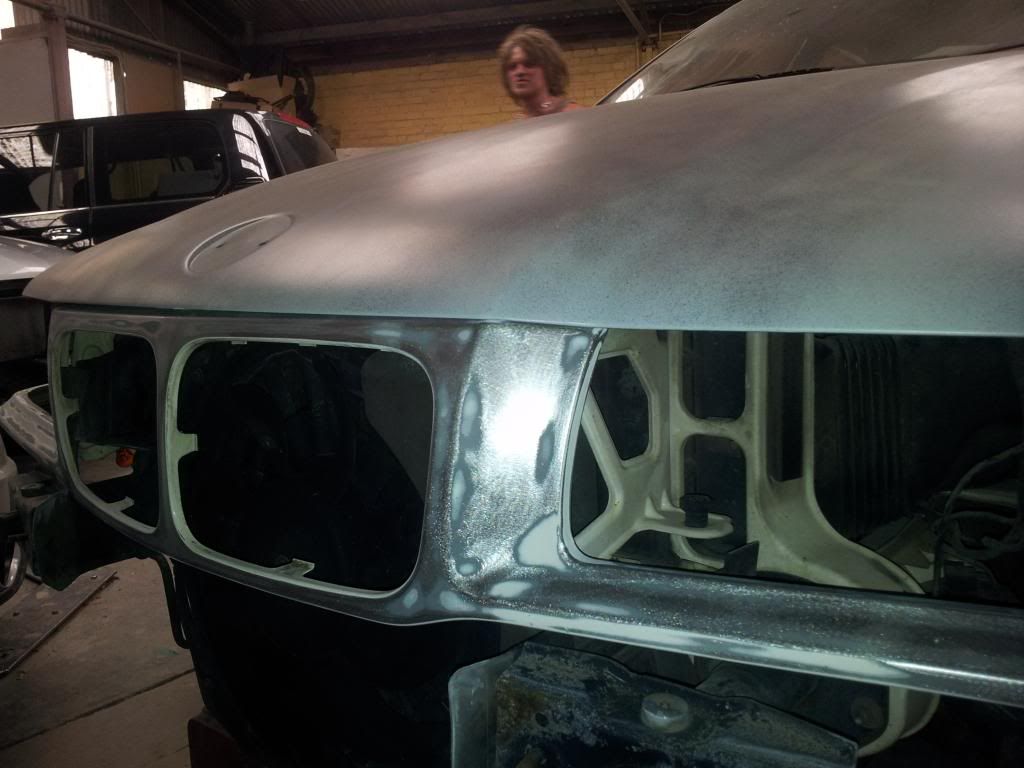
Next up was to attack the nose cone. This was absolutely shagged in the way of small dents and deep scratches. I did what i could by hand and orbital sander but the painter and i decided that we would use a wet on wet primer and it should hide anything obvious.
My old boy suprised me after work by having the dent fixed up while i was at work.
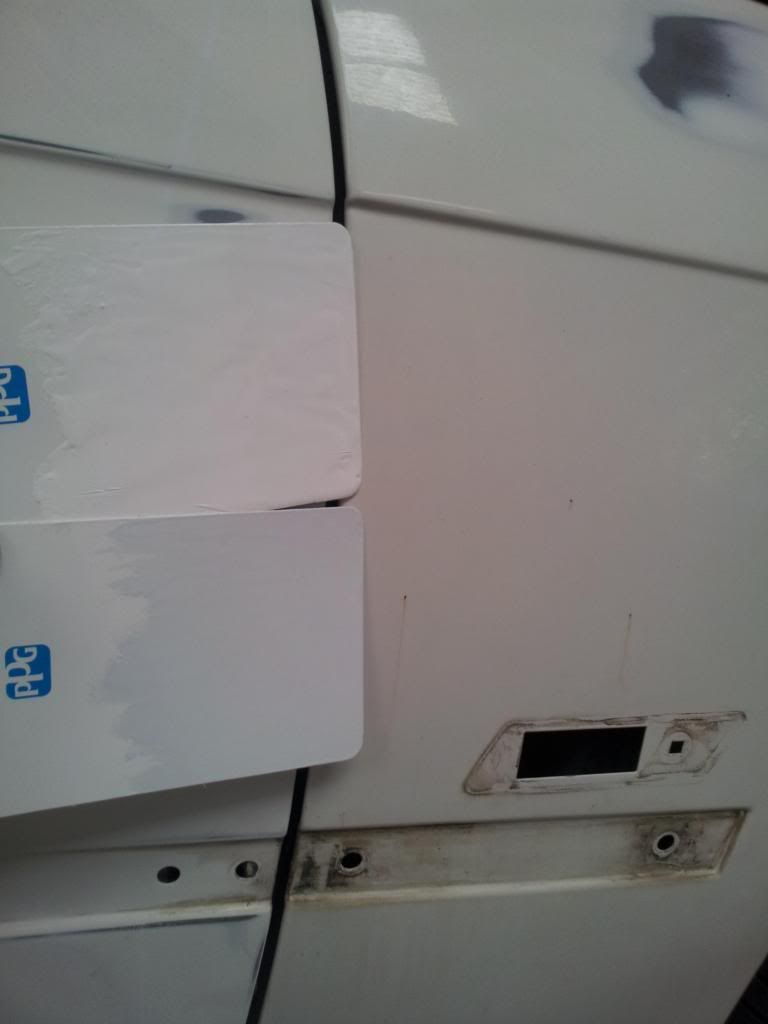
That day, i was curious about what colour to go with after seeing a Audi TT in Ibis White. That was throwing my decision with a white tinter. I mixed up a few mls of each and compared the pair. The lighting and a camera phone didn't do Audi much good but it still proved a point. I wanted whiter than the Ibis white. Tinter it is!
It wasn't long after this, it was all ready for paint! So excited to see at least a couple parts get some of that magical wet stuff on 'em. First up was the doors!
Before...
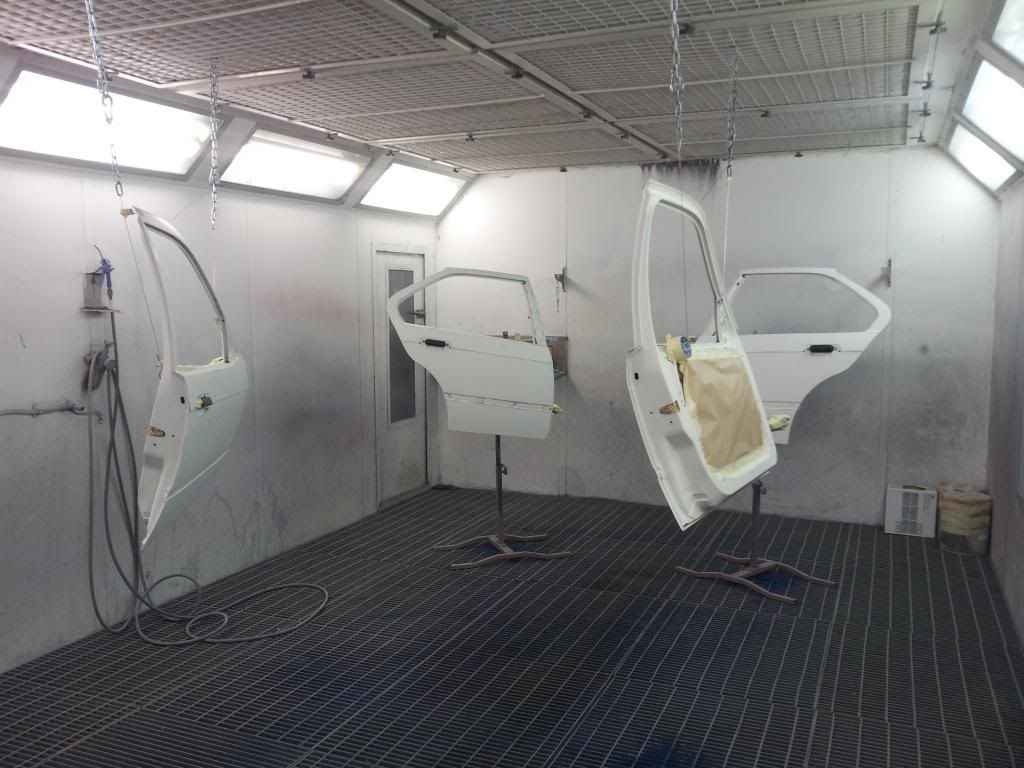
After!
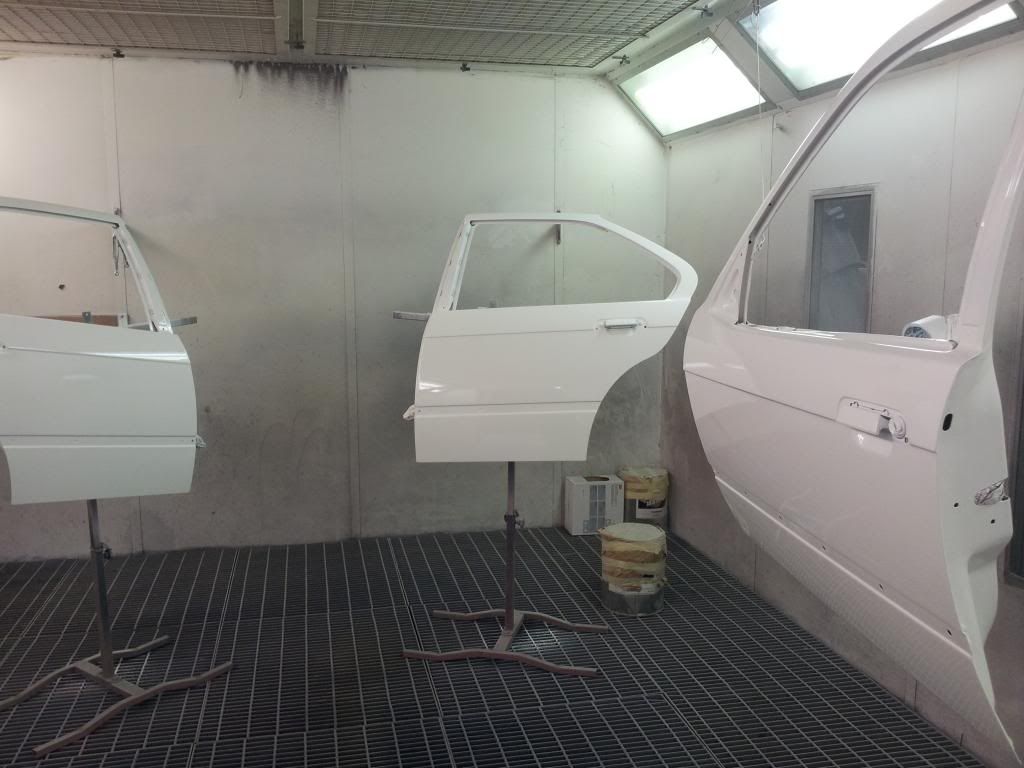
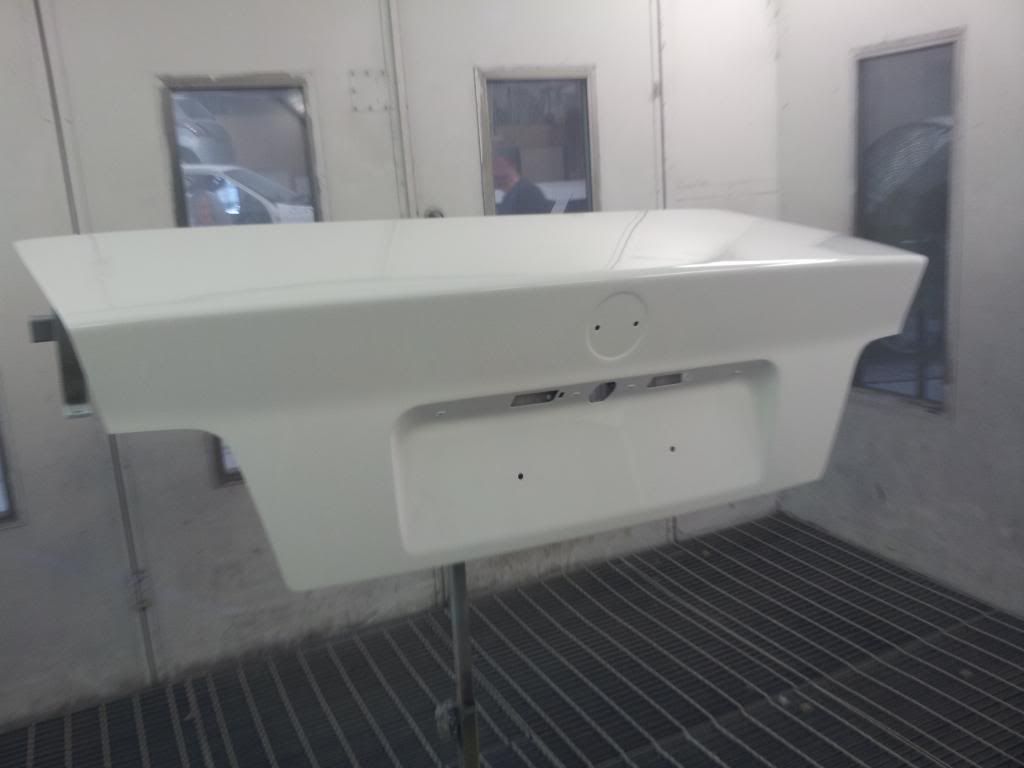
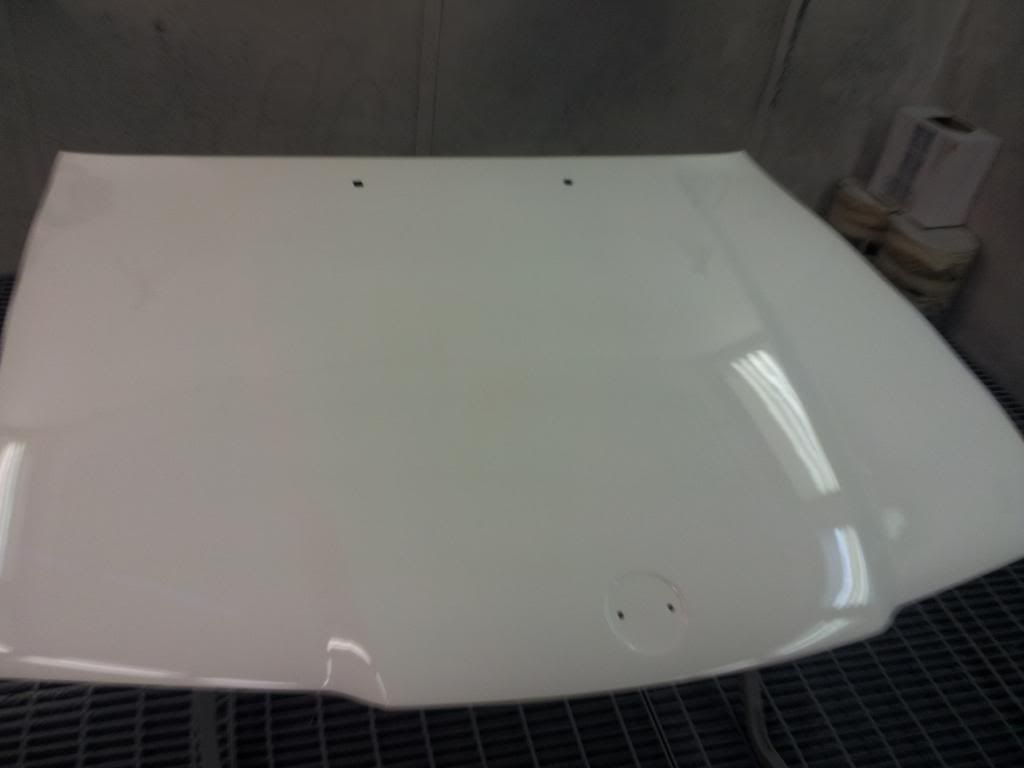
And for our next contender, the boot lid and bonnet.
Before i get to the body spray, I picked up some wheels from the motherland. Thankfully we have our friend over in Germany - Dr.AK.
he had these beauties send over to me here in Melbourne, Aus.

They come in at, 17x8/ 9 Style 5's.
Still yet to fit them up.
The car rolled in to the booth to get its makeover once and for all.
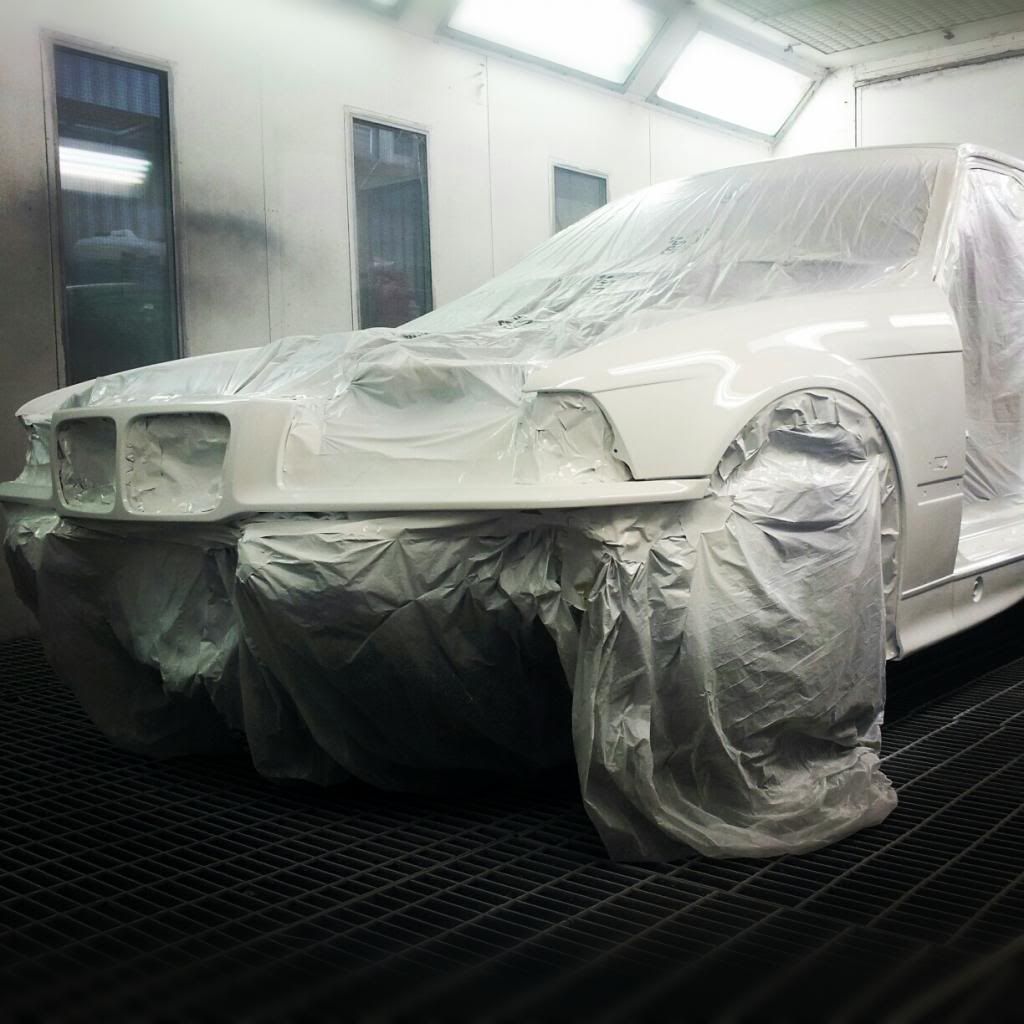
And it rolls out a new car!
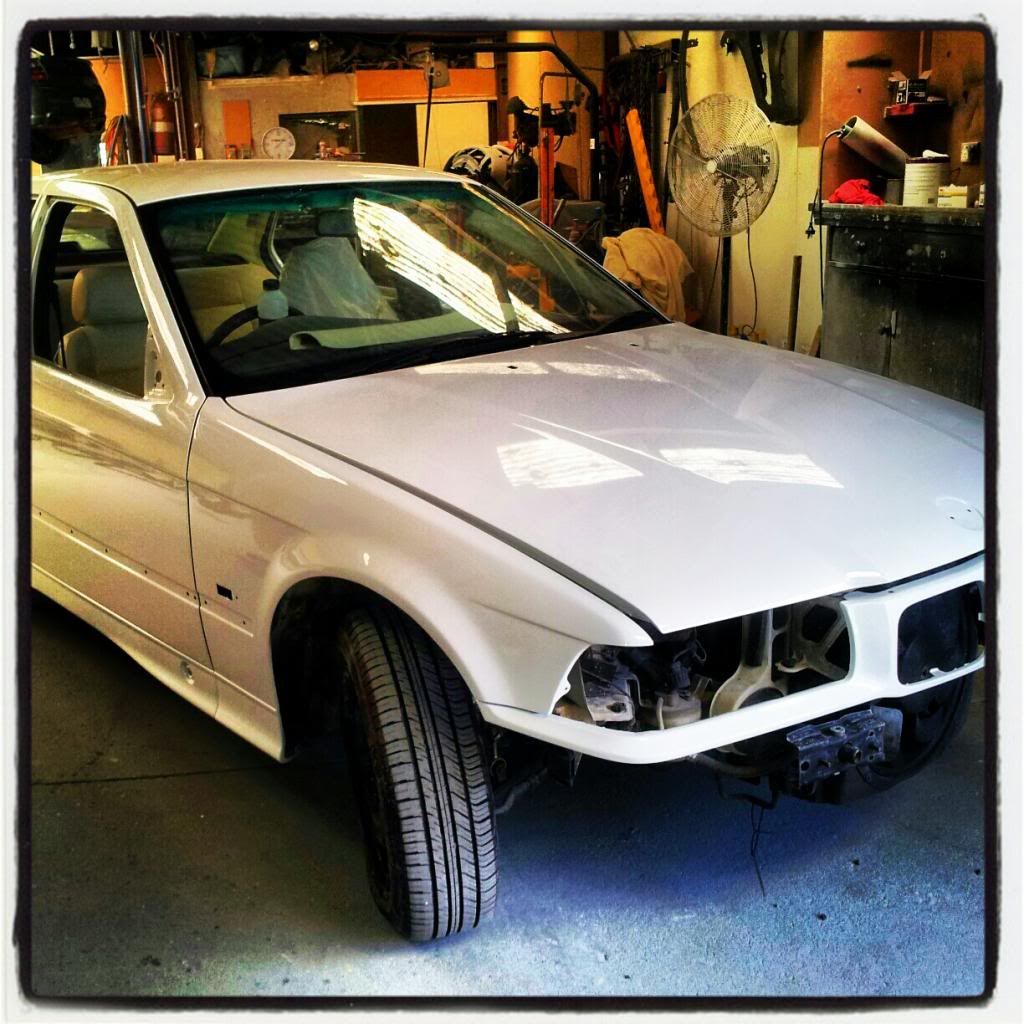
Just to show the colour difference, even with a phone pic and more than average lighting, its still amazing. Much more so in real.

So stoked with the results. The colour is more than i could have hoped for. Some of you (most of you) will probably disagree and tell me that i should have kept the original colours, but hey, its my daily. Not yours.
But just to break the original boundaries even more, i went with the crazy idea to completely disregard the distinct black band around the 36's. I've colour coded all the plastics. Including the door handles and surrounds, m3 style door moulds and the moulds on the M3 style Front bar. But i dont have a camera phone at the moment so i cant show you the outcome just yet.
I guess i'll leave that as a bit of a teaser for my next post.
Also, il show a little about how the fibreglass repair in the rear went.
Josh.
Just a heads up, i LOVE posting pics, so it'll be a pretty heavy thread.Some of you may have caught my well overdue Introduction post but if you haven't, check it out.
Anyway, I'm as keen as mustard to change that shit run of luck! (and average steering)
I picked up this E36 in pretty average condition back in Feb 2012 from Sydney to which I thought was near perfect condition through an on-line car site. Unfortunately, I never got a hold of a photo to show you all of the condition it was in.
Just to kick start my build, I had a few lowlifes steel the front wheels overnight while i was getting it ready for roadworthy. Disgusting...
But moving on, i found that it needed a bit of work aesthetically. I had some clear peeling around the car, mainly the boot lid but also the doors and quarter. The bonnet was a different shade of white too the front bar and that was a different match to the guards. So i decided to give it a full respray. I wasn't too sure on the colour choice at the time, but i have decided to go with a clean bright shade of white. Alpine white never really did it for me.
Luckily my dad owns and works at the local panel shop, so I've had the advantage to drop in after hours and tinker away at it and I've also been luckily enough to work odd days with the painters and panel beaters.
After having a good look into my bonnet, it was full of hail storm damage and general dents. I came across another bonnet for super cheap and knew i couldn't pass it up.
I got straight into paint stripping it and getting it in for high fill. Here's how i went!
Stripped it. All naked and not very sexy...
Masked it up ready for paint stripping and also scratched the hell out of it with some 36 grade!
After about 45 minutes of it doing its stuff, here's how it looks. Peeling off so easily
After some sanding, it came out alright. Just a couple of dents to lift and it'll be ready to go!
Alright! enough with the bonnet...
After stripping the bonnet out, I came across some pretty average looking cancer. I had a idea it was there, but not too this extent
I did some searching around the local wreckers for the beaver panel to replace it but itd be a bit of work and not to forget, costly. Ill have it fibreglassed later on
I got stuck into sanding shortly after! this was awesome, pulling it all apart and ripping all the paint off.
First off was the rear bar. sanded it back and high filled it. Gave it a spray of black as a guide coat for later on.
The same with the boot lid.
Just gotta work on not rubbing through my edges :/ But it did bring to light the dent in the middle of the quarter panel. It's not really visible with the current lighting.
doors done
along with the roof
I never liked the stone guarded finish along the sill's so I sanded them out.
I had one of the panel beaters pop up a dent in the guard. Cant feel a thing!
High filled and guide coated the bonnet but found a dent! Bastard!
Since we were high filling anyways, we masked and filled the quarter with the dint. Sanded it back ready for paint.
Next up was to attack the nose cone. This was absolutely shagged in the way of small dents and deep scratches. I did what i could by hand and orbital sander but the painter and i decided that we would use a wet on wet primer and it should hide anything obvious.
My old boy suprised me after work by having the dent fixed up while i was at work.
That day, i was curious about what colour to go with after seeing a Audi TT in Ibis White. That was throwing my decision with a white tinter. I mixed up a few mls of each and compared the pair. The lighting and a camera phone didn't do Audi much good but it still proved a point. I wanted whiter than the Ibis white. Tinter it is!
It wasn't long after this, it was all ready for paint! So excited to see at least a couple parts get some of that magical wet stuff on 'em. First up was the doors!
Before...
After!
And for our next contender, the boot lid and bonnet.
Before i get to the body spray, I picked up some wheels from the motherland. Thankfully we have our friend over in Germany - Dr.AK.
he had these beauties send over to me here in Melbourne, Aus.
They come in at, 17x8/ 9 Style 5's.
Still yet to fit them up.
The car rolled in to the booth to get its makeover once and for all.
And it rolls out a new car!
Just to show the colour difference, even with a phone pic and more than average lighting, its still amazing. Much more so in real.
So stoked with the results. The colour is more than i could have hoped for. Some of you (most of you) will probably disagree and tell me that i should have kept the original colours, but hey, its my daily. Not yours.
But just to break the original boundaries even more, i went with the crazy idea to completely disregard the distinct black band around the 36's. I've colour coded all the plastics. Including the door handles and surrounds, m3 style door moulds and the moulds on the M3 style Front bar. But i dont have a camera phone at the moment so i cant show you the outcome just yet.
I guess i'll leave that as a bit of a teaser for my next post.
Also, il show a little about how the fibreglass repair in the rear went.
Josh.


Comment