Announcement

Collapse
No announcement yet.

KE10 Corolla - slow project and lots of photos

Collapse
X
 
  • Filter
  • Time
  • Show
Clear All
new posts

  • KE10 Corolla - slow project and lots of photos

    Hey, i'm Jeff I thought I had better try and write a build thread seeing as I spend so much time on here anyway..
    Probably long winded and boring.. But it’s just as much for my reference as yours, any questions just ask.. I am just over a year into this build.. it is super slow as I’m still learning, working full time and trying to buy tools as well as car parts.. :/


    So it was a probably two years ago now when a mate of mine called me up and said his "new" car was out the front and I should come and have a look.

    It was a ke20 corolla, in its full glory with a blue rattle can paint job and a black painted hood... It was rough to say the least.. Dents, rust mix matched rims and just generally a bit shit... But from then on I realised that when I could afford it I needed an older car, this was when I became a corolla fan.


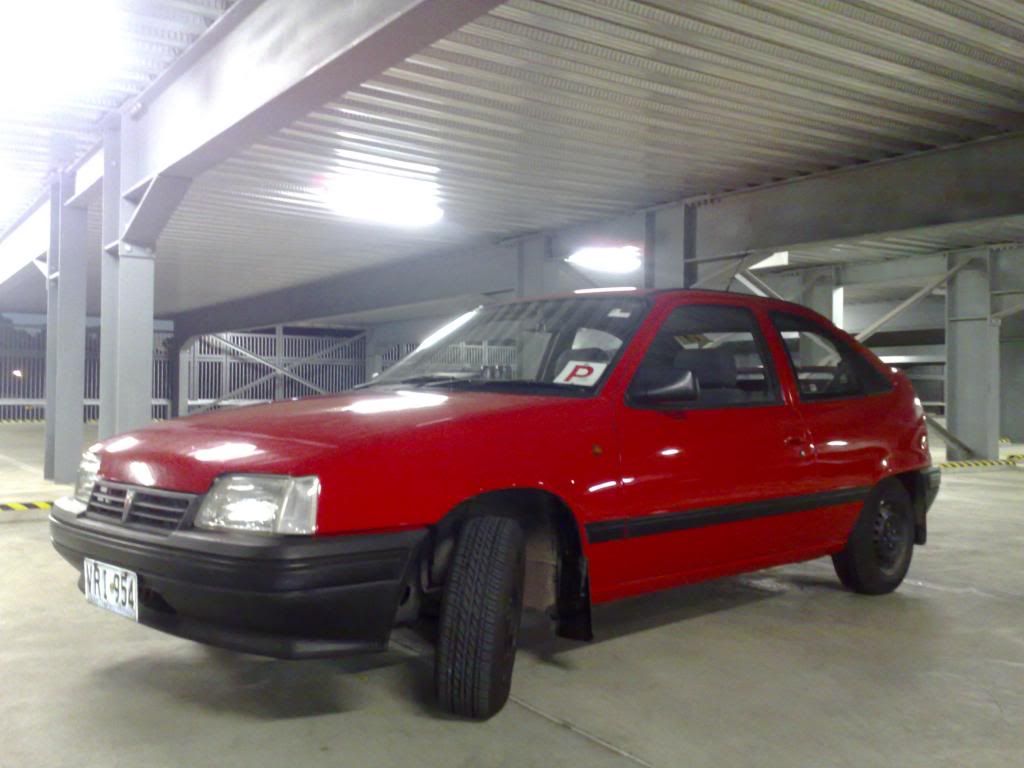
    Having just got my license I had a little Daewoo for a daily driver to get me to school and work..


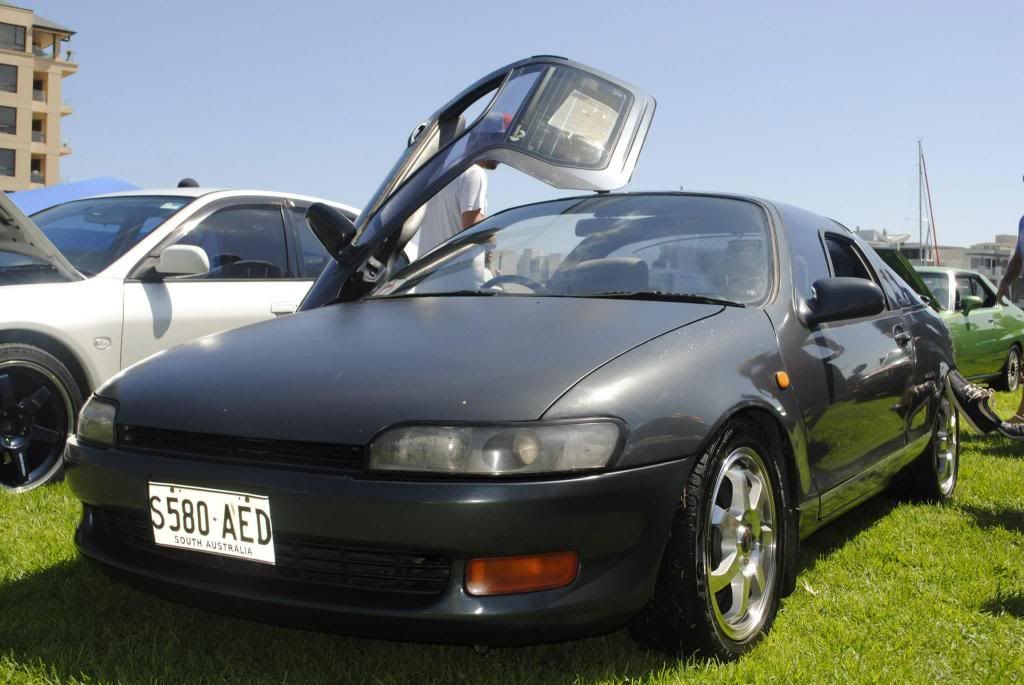
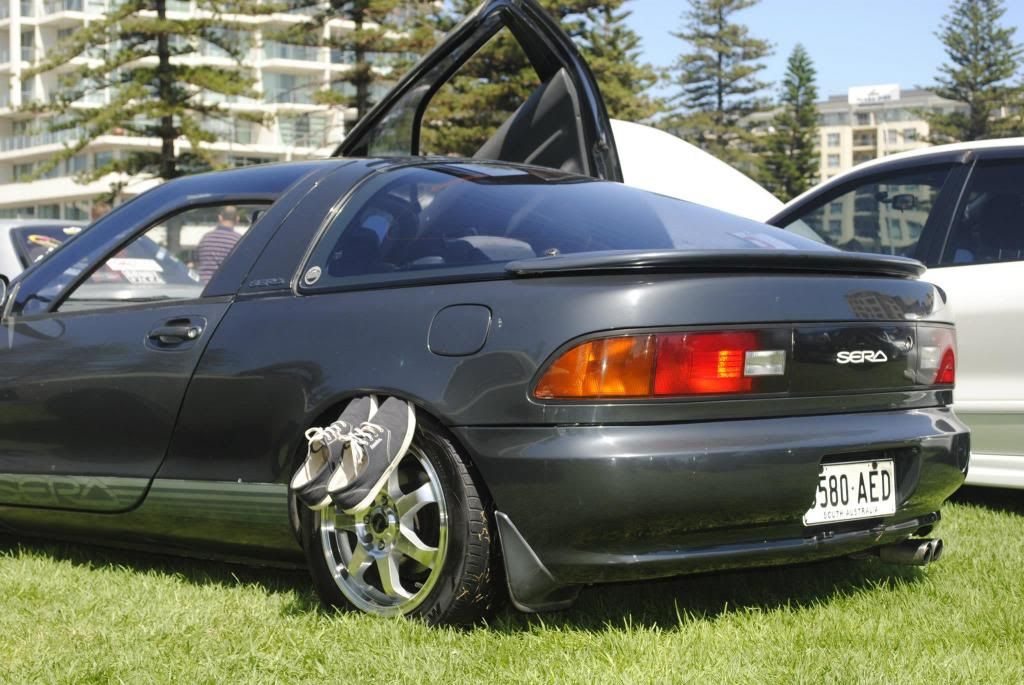
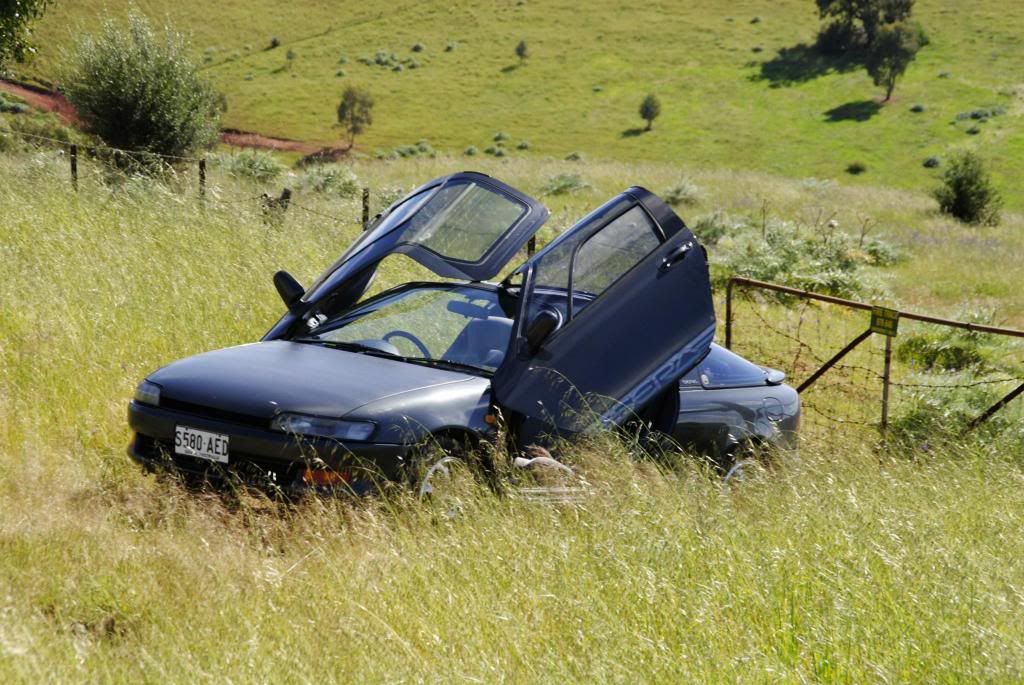
    But I already had a project car which was a Toyota sera 1990 that I got from my dad who found it in a paddock super cheap.. So I spent year 11 and 12 working part time to pay to fix it up.. And I still own it now.


    After learning a lot about cars and wasting all my money.. I decided towards the end of year 12 that the corolla Jackson had was pretty cool.. Drawn to Toyota's and especially old ones I began looking..
    Shovel nose Coronas, crowns, Cressida’s and pretty much anything...
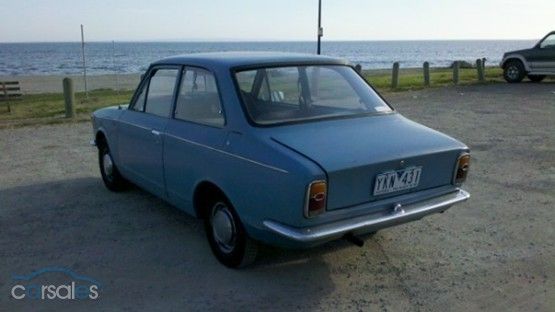
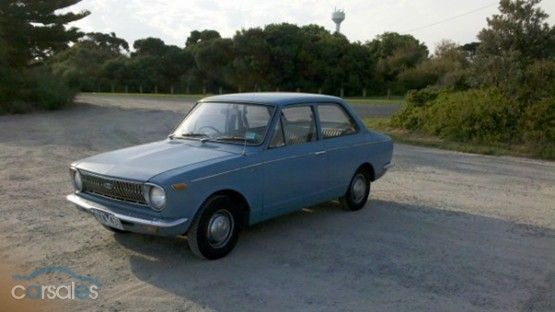
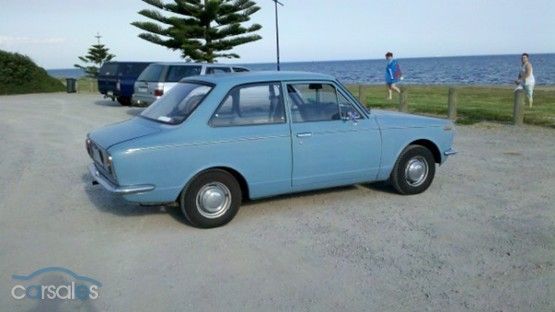
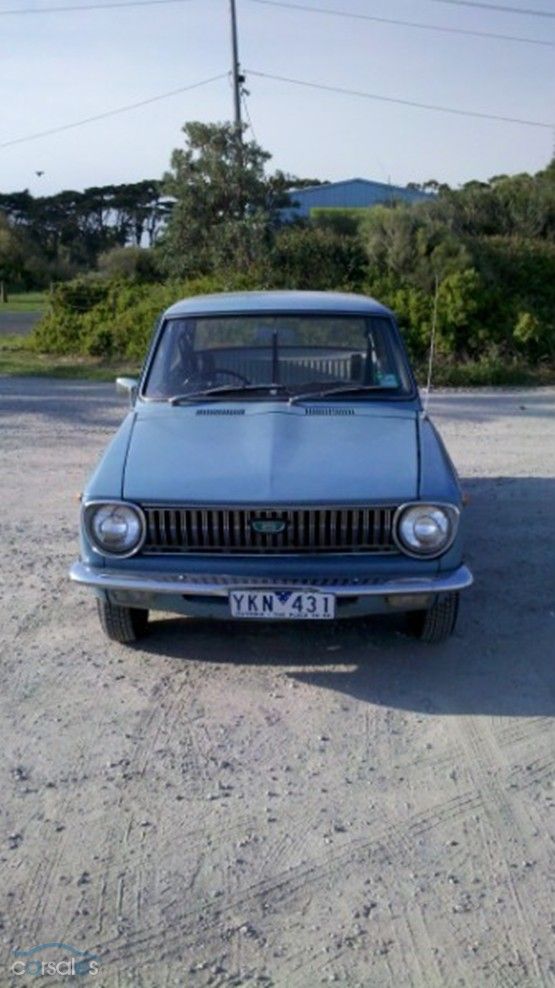
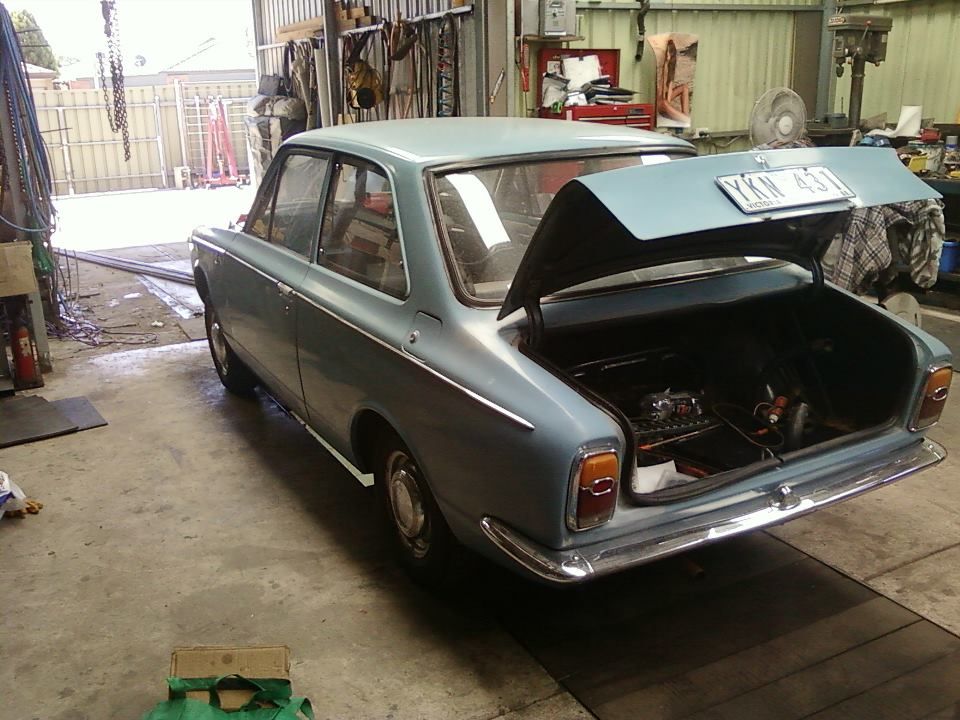
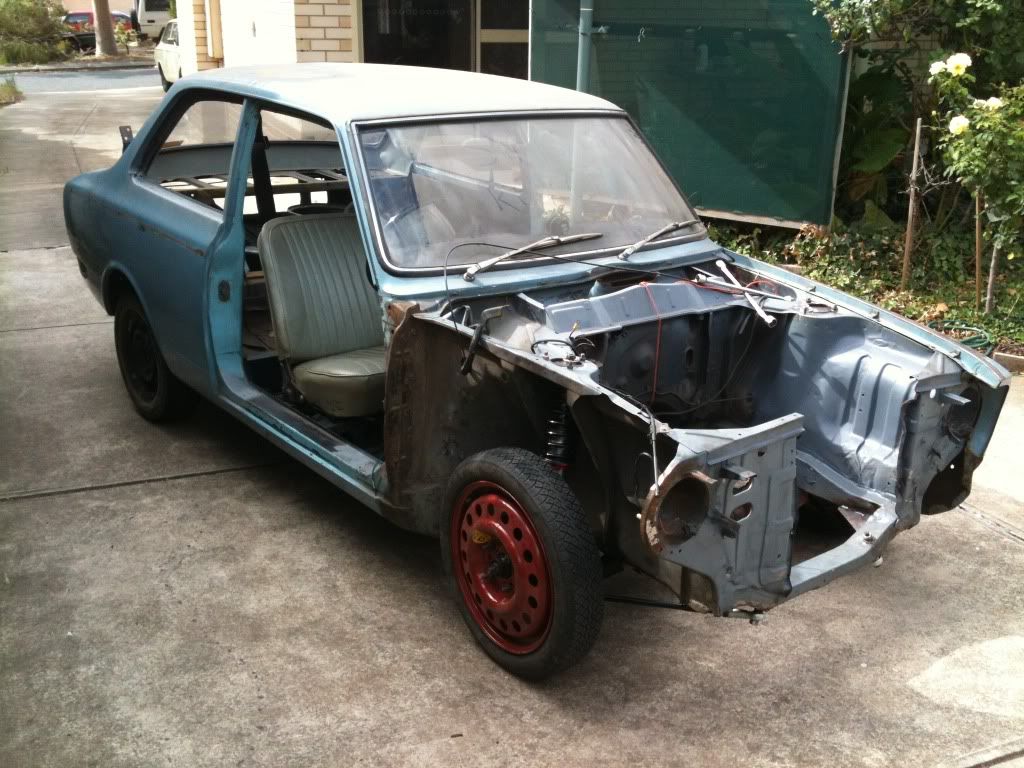
    I stumbled upon a ke10 corolla while sitting in a car park wasting time surfing the net. It was in Victoria around 800km's away, $4000 was a bit steep but I rang him anyway after less than 5 minutes on the phone I had talked him down to 3k.. Still too much so I left it for the time being.. I kept checking almost daily. About 6 week's later I had enough cash, a weekend off and the price had dropped once again. So I rang my father and decided to make the trek.. We jumped in the sera, no air con or radio and drove the 800kms interstate. we pumped up the tires, registered and put fuel in the new KE10 and were on our way home before we knew it... Now being a 1969 2speed auto 1.2L it was slow... i am talking 85 km/hr flat foot the whole way home... So 23 hours and 55 minutes after leaving home we walked back through the door.
    It was an interesting trip home to say the least.. Fumes leaking in, air coming through the windows, firewall and pretty much everywhere else.. The thing I noticed in this painfully long drive was that it drove like a bucket of bolts, with no brakes.... Purely awful.. But it sure had character..


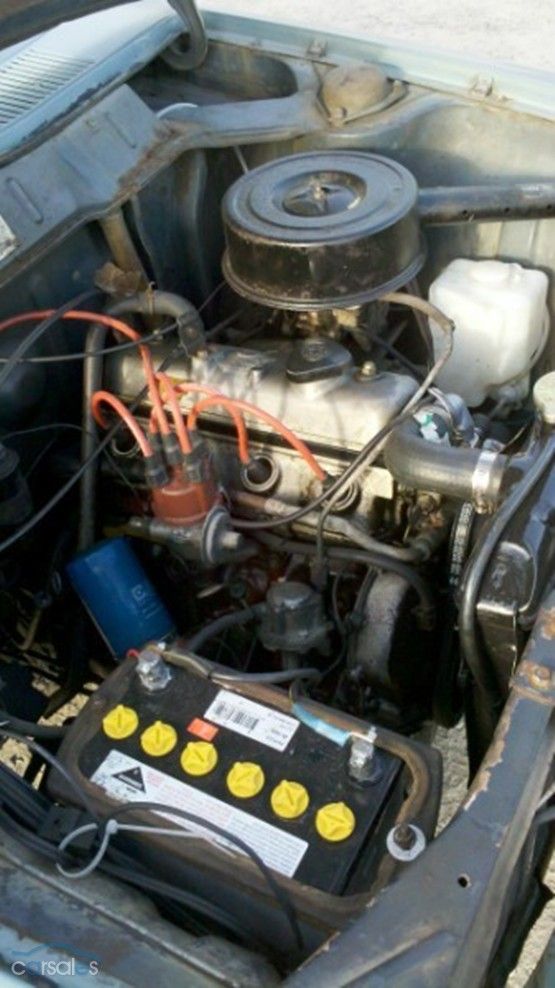
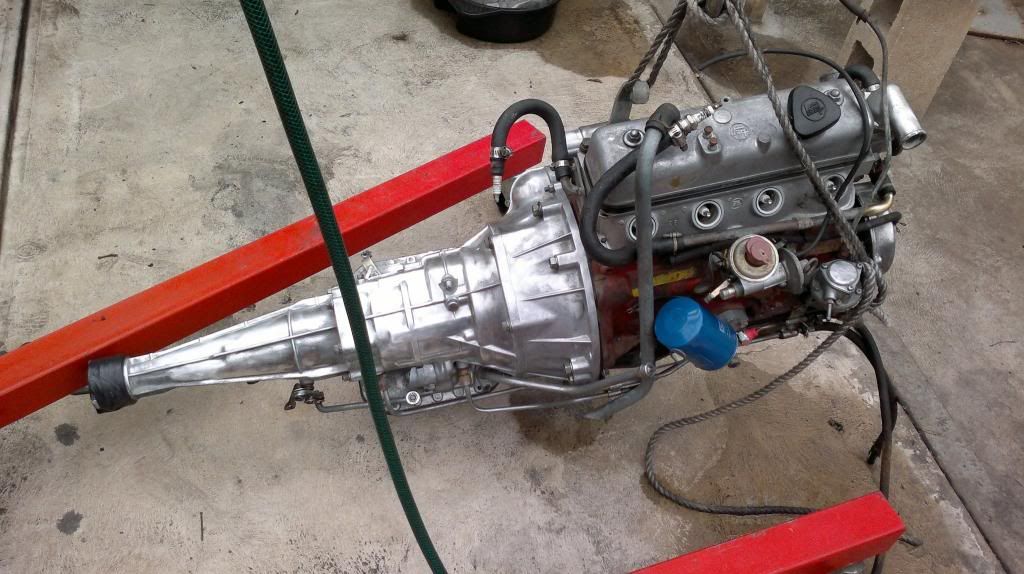
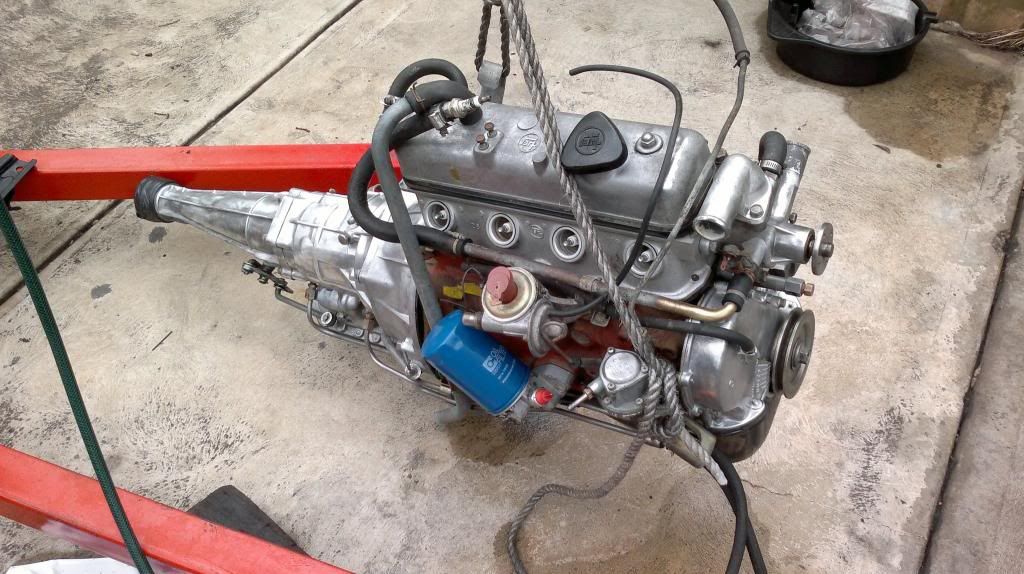
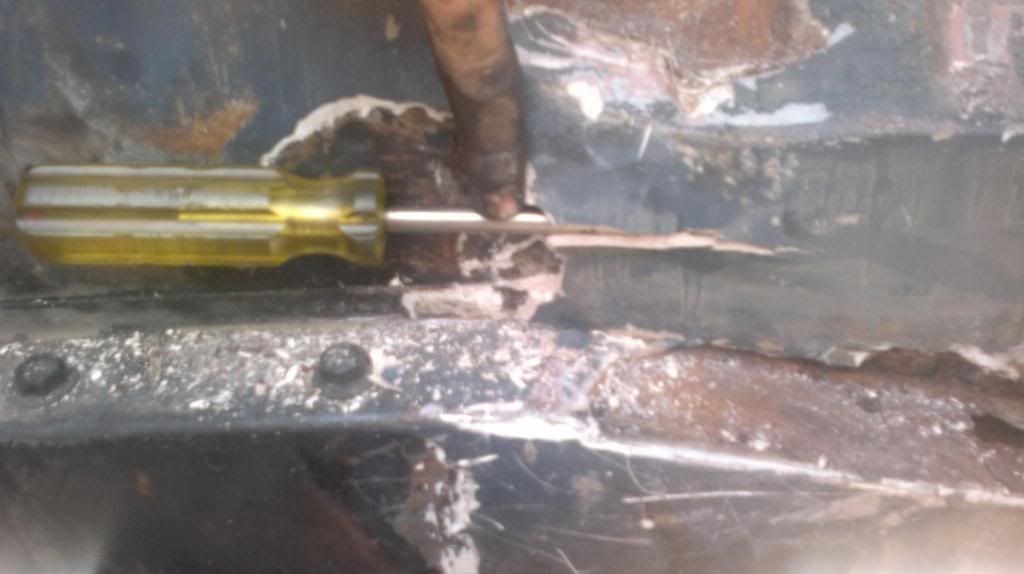
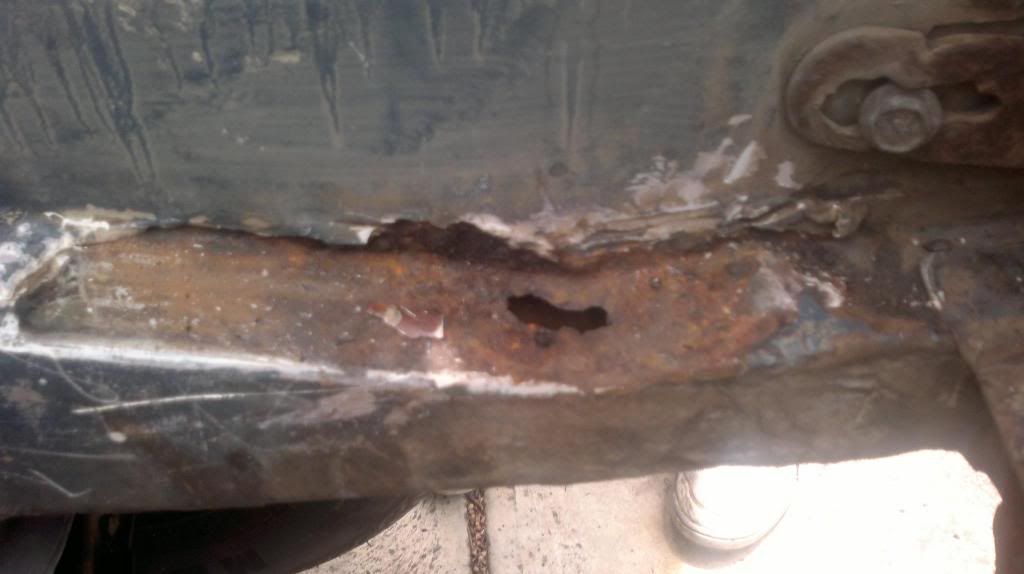
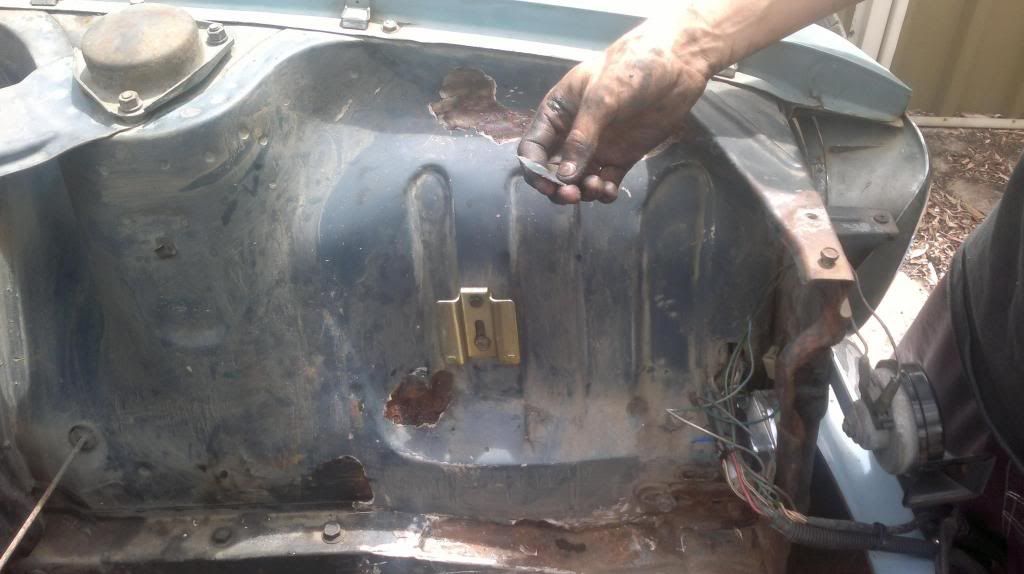
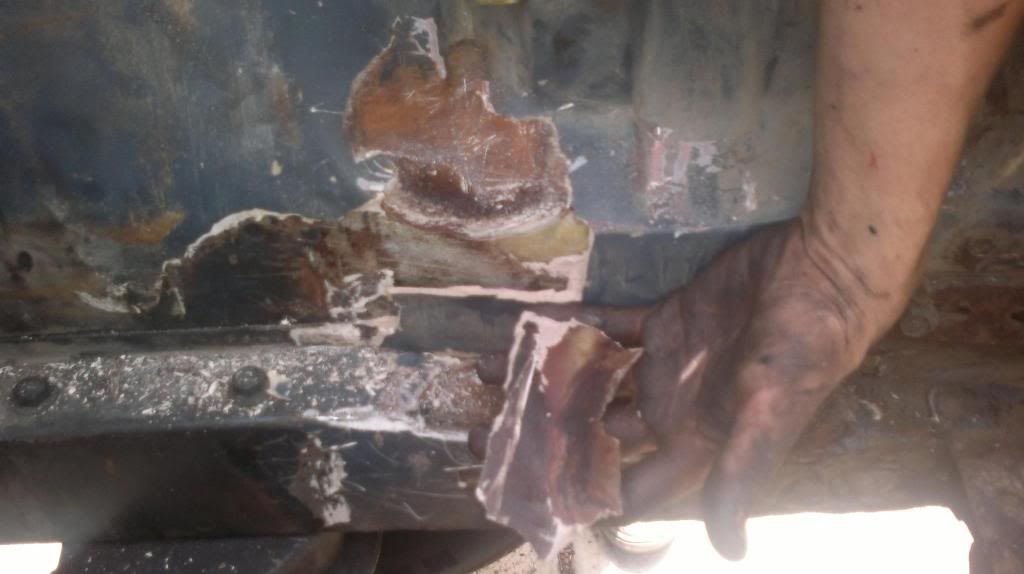
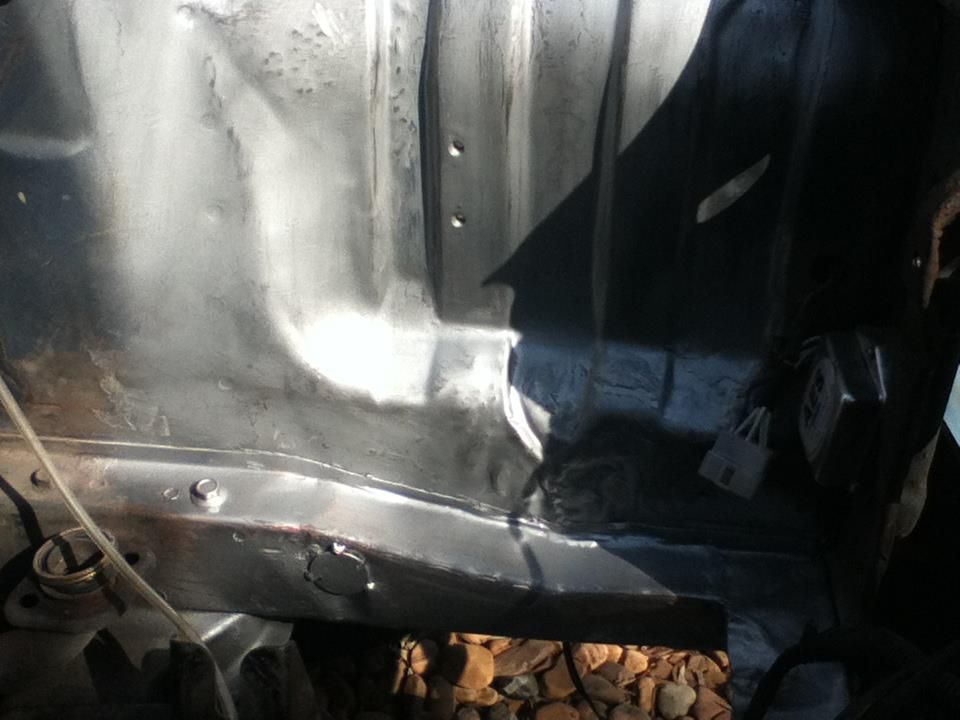
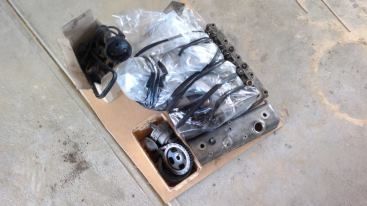
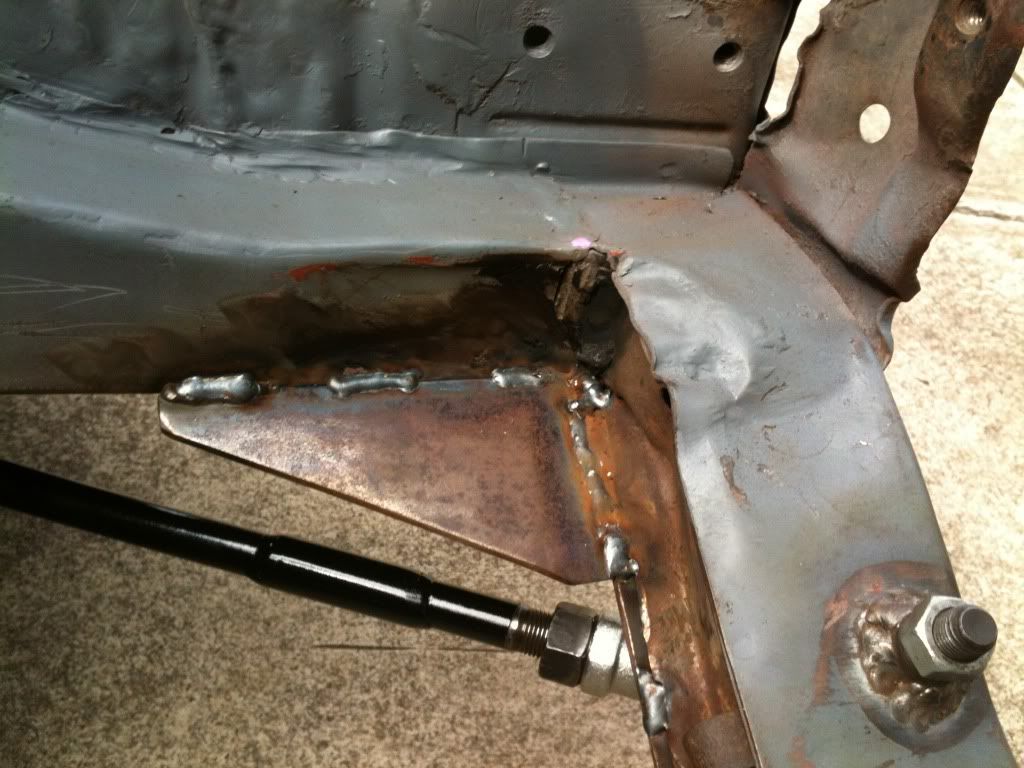
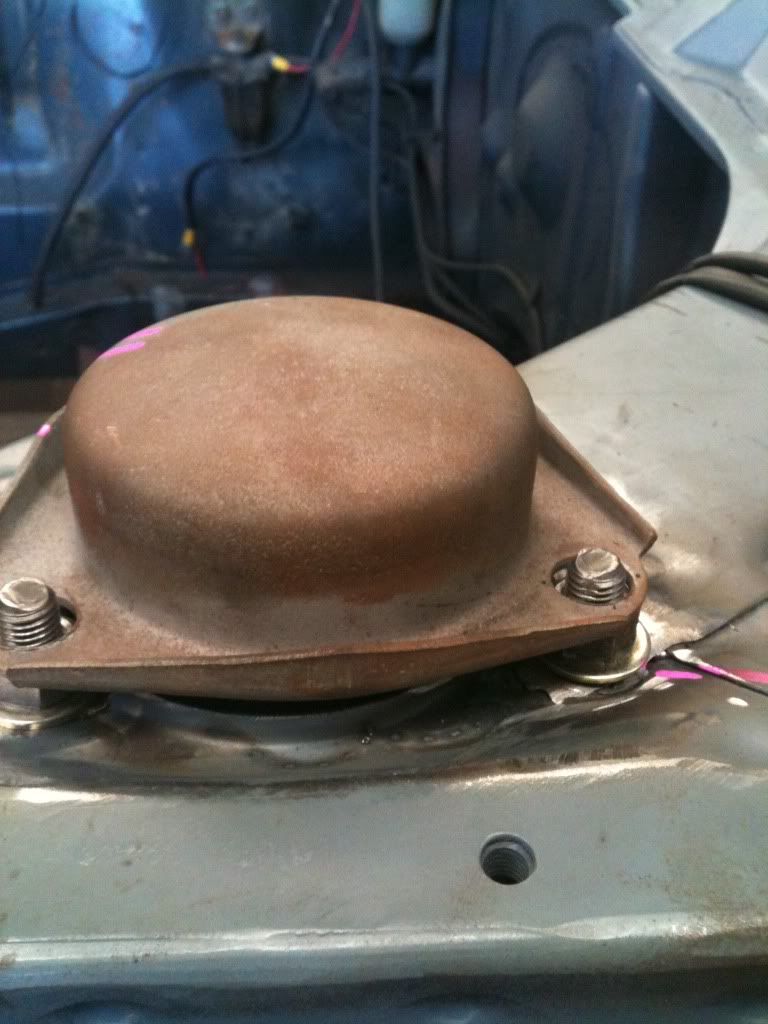
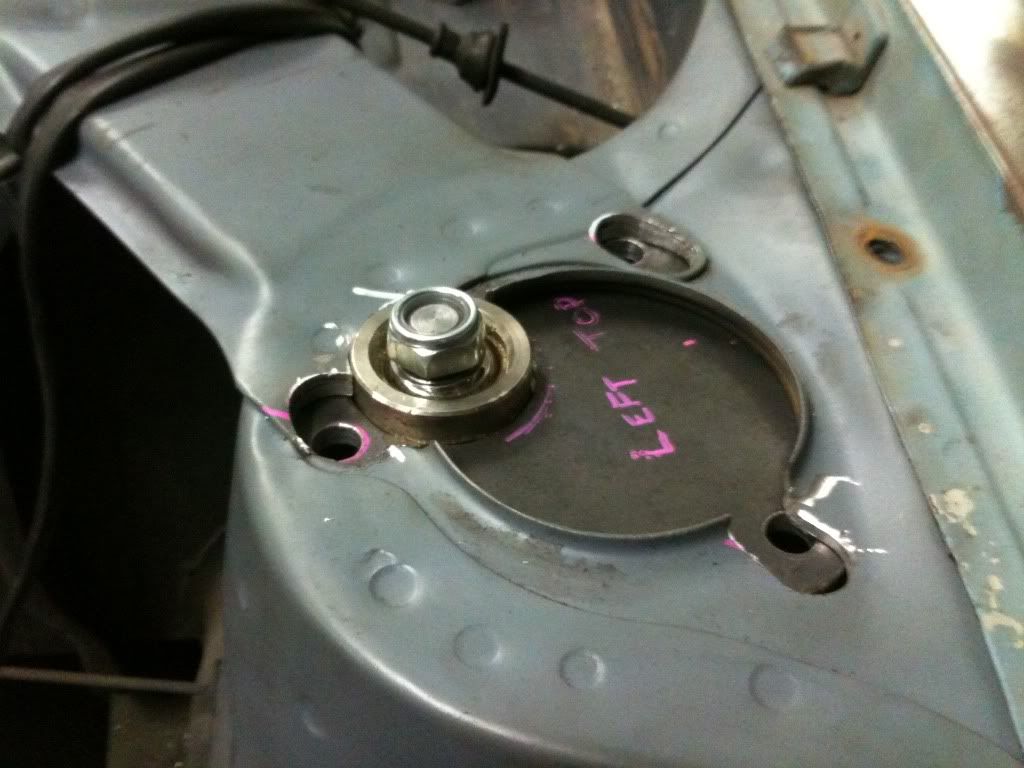
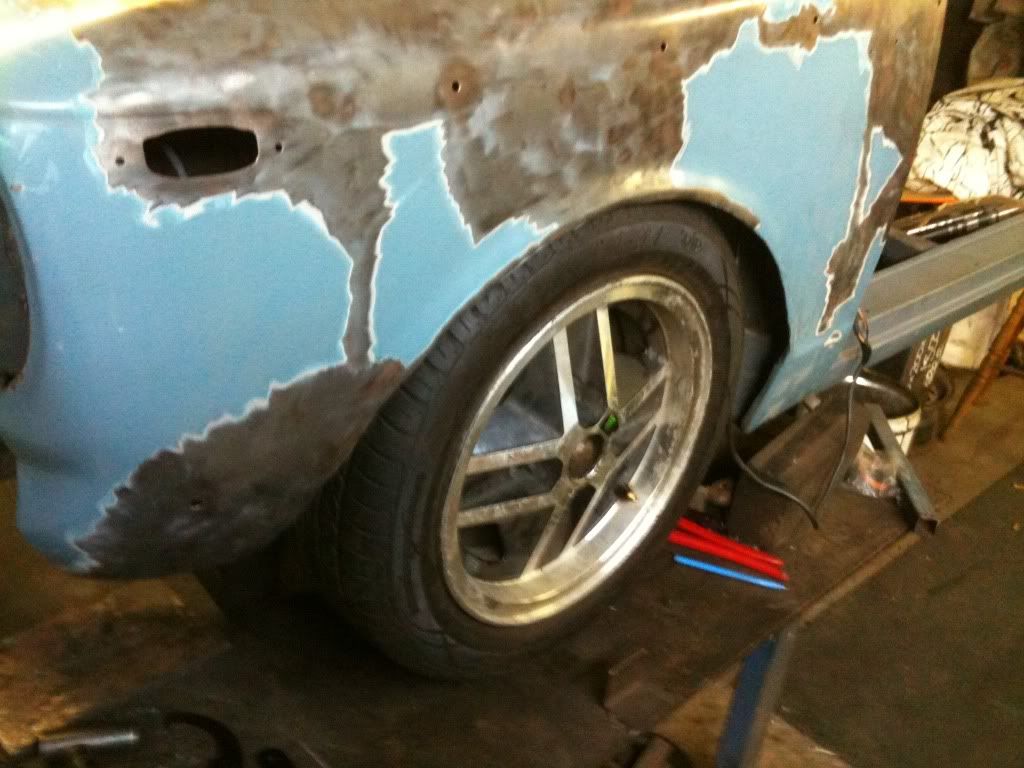
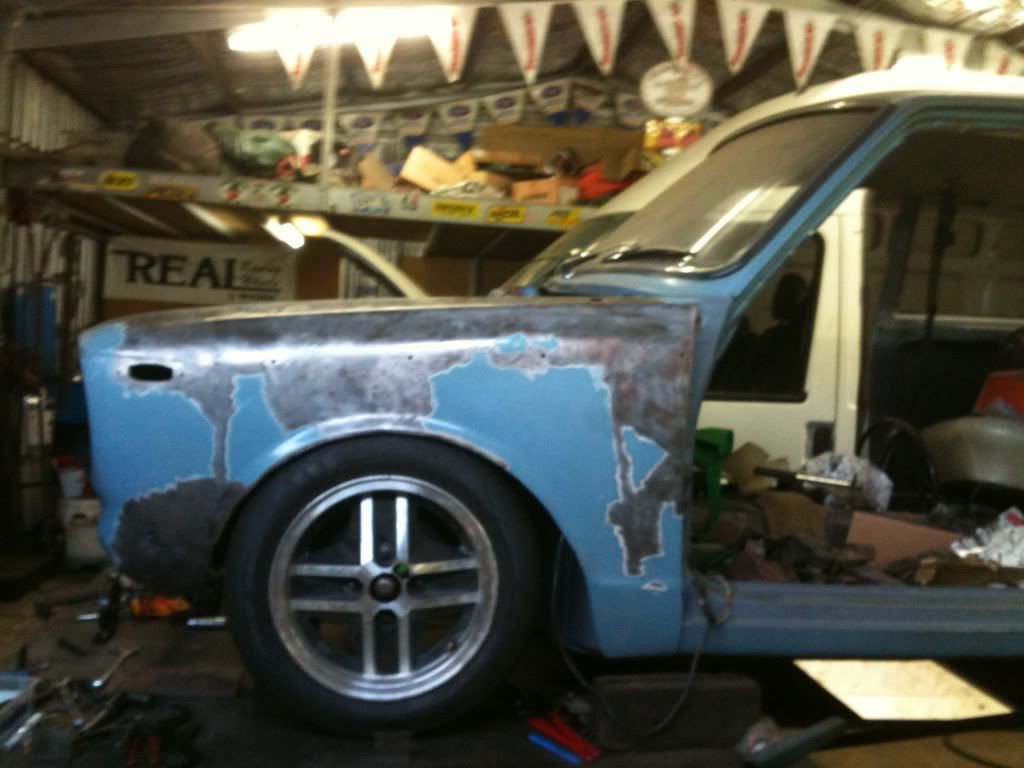
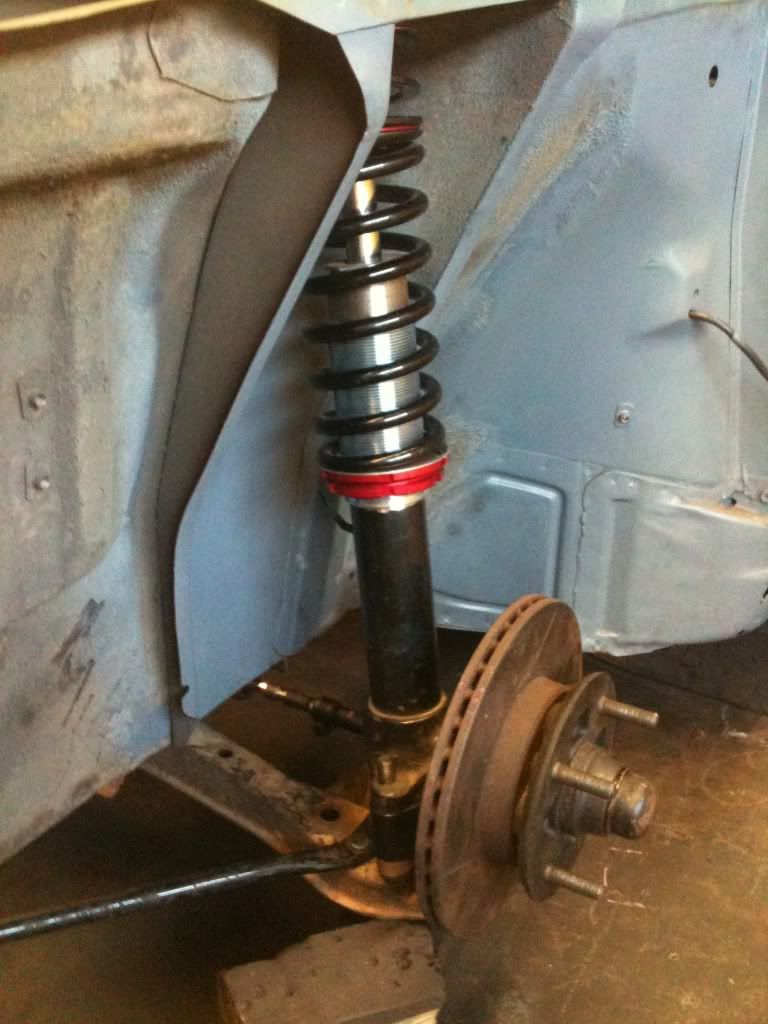
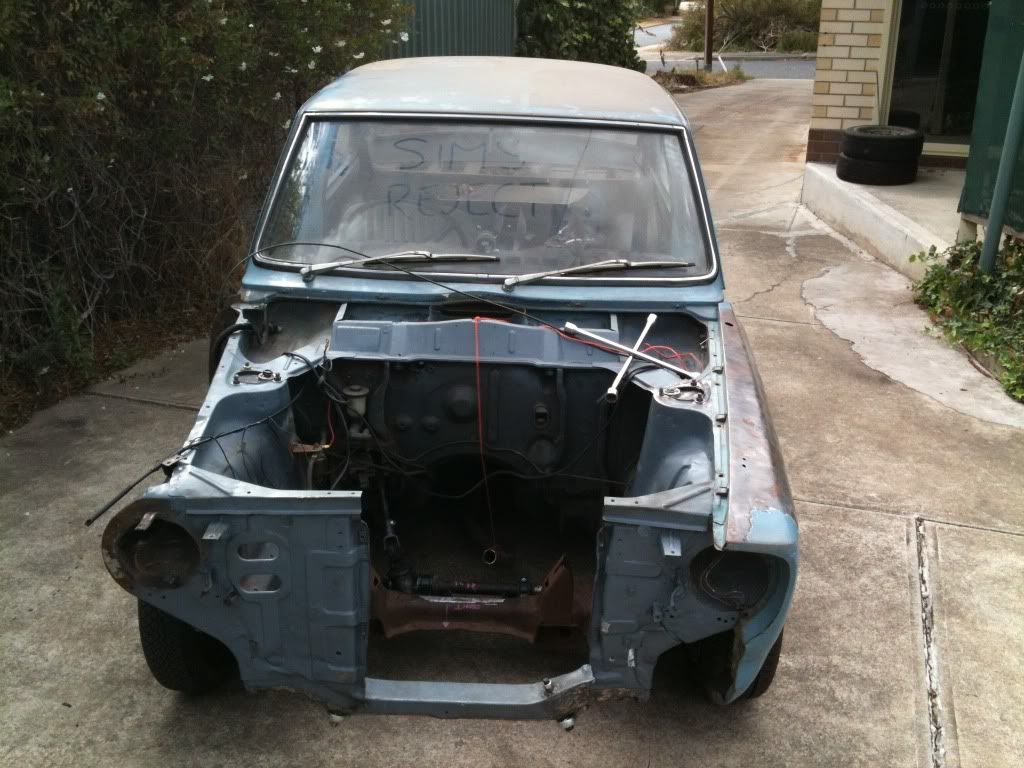
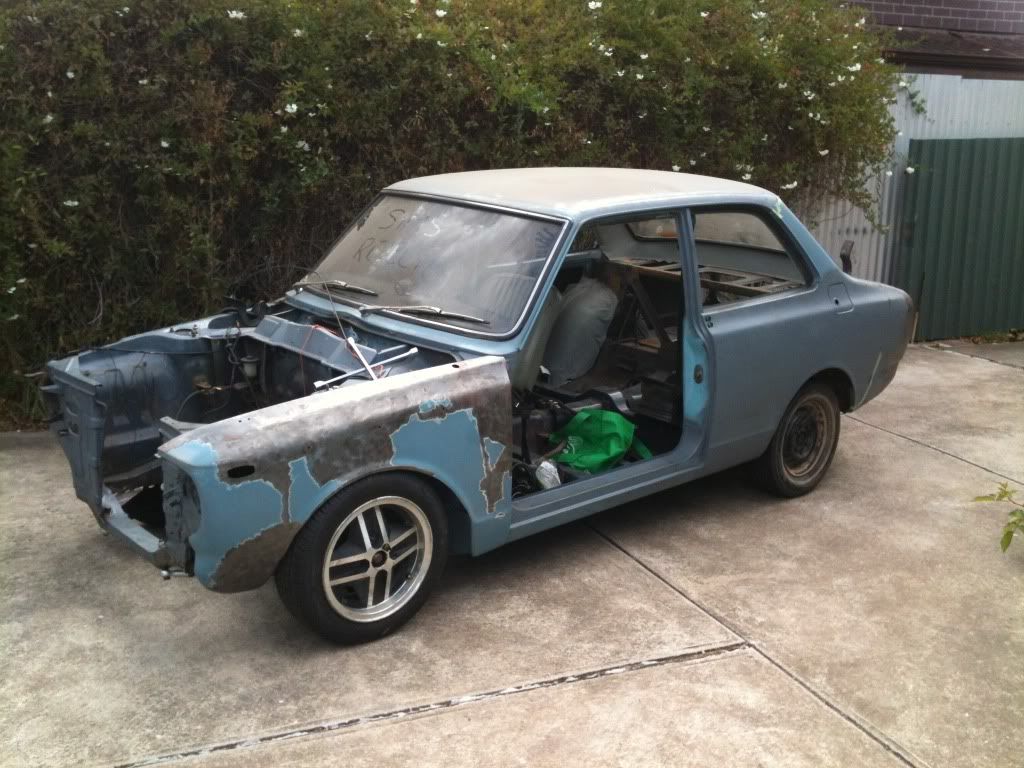
    So I drove it around for a week or two, then needed to get the rego swapped over to South Australian rego. I took it to my mechanics and ripped the engine out to clean up the rusty crap and clean off some of the grease and 40 years of disgust. That's sort of when excrement dusted the walls. It had been in an accident or 10.. I began stripping all the paint from the front window forwards to see all the damage... To shorten the story slightly. Bog, bog everywhere. Chassis rail and all. I fixed and tidied what I could and took it to get the rego swapped. thankfully all went smoothly and I drove it around for another month or two.


    Heaps more to come!

    ill try and upload at least once a week until im all up to date....

    thankyou for reading
    Last edited by JeffTree; 02-12-2014, 01:41 AM.

  • #2
    That sera is so incredibly cool! Does it go back in time when you hit 88 mph?

    Nasty bit of rust you found there, good luck with fixing it.

    Comment


    • #3
      Are you going to be doing an engine swap in the KE10? 2spd auto sounds painful to me. Keen to see this restored, I'm sure you'll do it right
      Welcome to StanceWorks
      Originally posted by Stupid Kid
      You're the worst everything everywhere

      Comment


      • #4
        Dutch stance - thanks dude, it's getting pretty rare now they made just under 16000 in the early 90's.. And I doubt it wouldn't to 88mph haha

        Floating dino - it will happen 
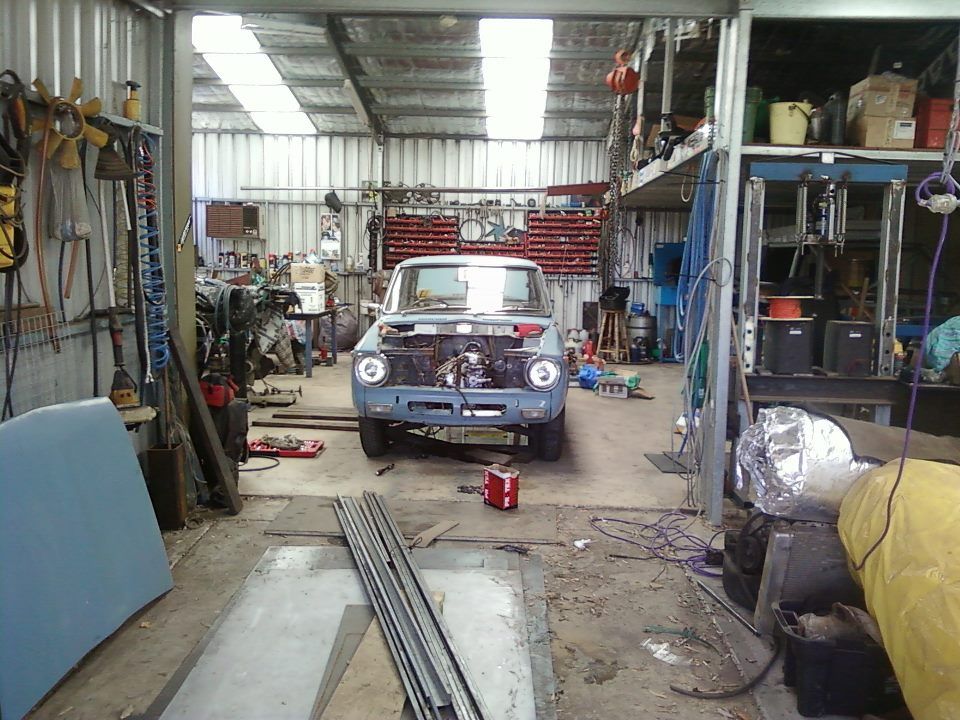
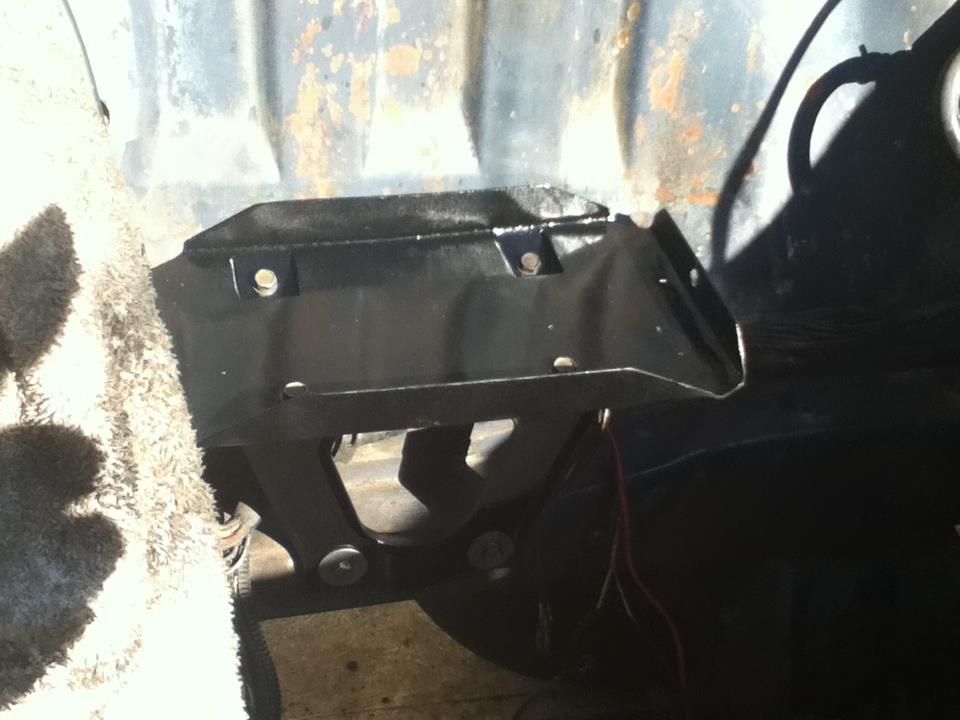
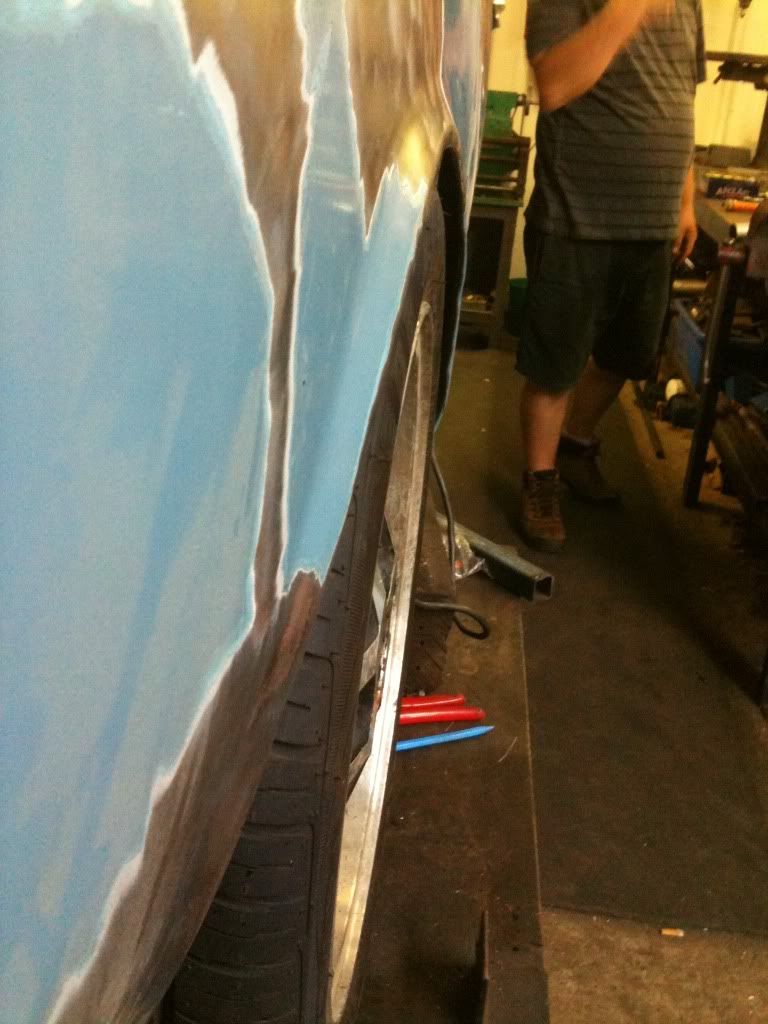
it's all in the making but I have finished many jobs it's sort of just all the jobs get 70% done then I move to the next one but now that I have moved houses and have a decent shed its all coming together

        Comment


        • #5
          Well i'll be watching this. Looks like a fun project
          1999 SL2 Saturn Build rip
          1998 EK hatch Civic Build

          Comment


          • #6
            I'm going away this weekend and will have plenty of time to write up the rest of the thread, but until then I thought it may be best to show you how it is sitting current so thatthis thread doesn't get brushed off to much

            Comment


            • #7
              Not a bad start. I **** when people intensely clean their motors, makes mine look so nasty and makes me look lazy. Oh, and rust sucks! Have fun with this.
              The only thing lower than my standards is my truck.

              Build thread!!!

              Comment


              • #8
                isuzu pickup - purely did that so it would pass easier haha.

                bare with me... its kinda long and the pictures greatly vary in quality... since i have started the car has been stripped and i have started stripping the paint to.. so it looks a little rough..


                As I cannot weld, my mechanic (a friend of the family) instructed me as to where I needed to cut and I took the top layer of steel off of the RHS chassis rail. We then fabricated a new piece out of 4mm plate. The steel around the chassis (other than the top) were in good condition so that was a huge bonus. Clamped, welded and a little tidy up with a grinder and this is what we have now.


                With the help of a mate I put the engine back in and re assembled the car. In the process of doing this I realised the battery holder, which was meant to be solid was now just a frame hardly holding the battery in.. Therefore I had to quickly fabricate up a new one.


                When I went to regency (vehicle check centre) I was starting to stress a little as I have only heard bad things about the workers there defecting cars for little things, and as this particular corolla is a bit rough it was making me a little uneasy.. My number was called, and I drove in expecting the worst. Literally 5 minutes later I was driving out. The corolla was completely fine and passed easily. Granted it may have had something to do with the fact that as I drove in the inspectors face lit up seeing a ke10 “like the one he learned to drive in”.. but hey.. I’m not complaining.


                After driving about for a bit I decided it was super slow and I just couldn’t bare it any longer. I decided to do a manual swap onto the current 3k engine (1.2L), though after a little research I found that a 4k (1.4L) was a better platform and with a little work they can have 70-90hp, which has to be at least double the current standings..
                I spent a few weeks on the forums meeting people and trying to find out exactly what I had to do. (I was pretty rookie then) it was then I found a thread from a local guy (now a mate) had a semi rare 5k engine with a small turbo putting out 170+hp.. After having a chat I was sold on the idea of forced induction, it so happened that he had a spare 5k.. which I bought.. then a stack more parts.

                LONG STORY SHORT…er

                I have in my possession,

                All the gaskets and seals for the conversion

                TOMEI pushrods, from a Datsun A12 surprisingly

                Double row strengthened valve springs.

                A low comp head (from a 4k engine) complete.

                A 5k block,

                350 Chevrolet solid lifters (apparently they fit)

                An sc14 supercharger (I prefer instant power, but can always change to turbo later)

                I have a boost ground cam to pick up

                And I also have a freshly ground crank to go get as well..

                and a few other things.. missing pistons, bearings and bolts

                and two or three 5 speed gearboxes..

                the engine is still a few months off being complete but that’s the rough idea..


                I was in search of some older bucket seats to sort of stay periodically correct (looks wise). While on one of my regular u-pull-it trips for random bits and pieces, I noticed a sign that said “any seat just $11 this month”. So I had a search around, really just wasting time like normal, when I stumbled across an Alfa Romeo sprint, with some decent looking front seats, a little rough but decent shape and had potential. Paid some guy $5 to borrow his allen keys, ten minutes later I was trying to squeeze two of these into a lancer :/ probably a bad move on my part but I did it..


                Recently I decided to make the seats some new brackets to mount it to the corollas seat mounts, few bits of 5mm plate, and few welds and some grinding later.. I had these.


                Ke20’s are slightly wider and a bit longer so the cross member is thicker therefore the bolt holes didn’t line up to bolt to the chassis so I worked out where the engine would sit in a Ke10 and where it would sit in a Ke20 then I drilled the holes so that the engine would sit in the same spot. I had to reinforce the cross member because the bolt holes weren’t where they needed to be.


                Because a Ke20 cross member used lcas (Lower Control Arms) instead of wishbones. I worked out which were the longest ones out of the corollas and that came to be the Ke55. The longer lcas made the struts sit further apart which gave negative camber rather than positive (in theory). I had to slot the cross member so I got a little bit more width and now it sits at negative 1 camber.
                Bad picture sorry..

                Ke10s originally have a steering box, which is sloppy and unpredictable. So I got a Steering rack and pinion out of a Ke70 because they’re more common and use much better technology. Not to mention they’re easier to replace. I cut the steering mounts off a Ke20 and cut them out of a Ke70 that way we had the Ke70 steering rack mounts so that we could copy them onto the Ke20 cross member. I got some steel and made brackets to put the Ke70 mounts onto the Ke20 cross member so then I could use the bushes and mounts out of a Ke70 cause they’re more common and easy to replace if they wear out. I had to shorten the tie rod ends (cut about an inch out of each side).


                Next, Ke70 steering column was put in because it’s collapsible and if I happen to crash, I won’t break my face. It’s stronger and more reliable not to mention more accurate as far as steering goes. It’s also thicker and has actual bearings that hold it in. Its longer, therefore sits closer to you and you can actually get your foot off the clutch. New mounts had to be made as it wasn’t a direct bolt in; I made a 5mm steel bracket. To get it central to the seat, I had to move it an inch and a half further away from the centre of the car.
                I’ll be using Ke10 indicator stalks and column cover to keep the original look but I’ll still need to make brackets


                Once I had the new steering column mounted and fitted centrally, I realised that the steering wheel (which I purposely made closer) was a little too close. I decided to leave it for the night and went to a mates house.. Where I spotted an old wood grain 2 spoke steering wheel which was relatively flat, and thus sat slightly further away.
                After mentioning it to him.. I walked out with it free as it didn’t fit corollas so he had no use for it (he’s a corolla nut to)..
                Being a little bit more ambitious than him.. I went to the spare rolla shit pile I have in my shed and found the old ke70 wheel that came with the column. Seen as it was rotten and pretty munched sorta just…. Went axe murder on it and cut it up with the grinder, and then got on the lathe and just made it fit into the wheel. Tacked it in place and hey presto..


                The next problem was that the nut that holds the wheel on stuck out a bit, and looked hella dodgy. So I made this little doughnut thingo that I will get re trimmed soon to go with the rest of the interior.


                The Ke10 manual pedal box had to be heavily modified as the pedals didn’t clear the steering column. I made an extra bracket to ensure that the steering column stayed in place. The pedals are still in production but will be finished in no time.


                As I’ve taken out the transverse leaf spring the lcas will be free to move back and forwards. So that when you accelerate they will go backwards and when you break they’ll go forwards. To do this I had to drill two holes in the front cross rail, I had to put in steel sleeves in, and they are welded in. Through the sleeves, are half inch high tension bolts and they’re holding the rose joints onto the front rail which will hold the castor arms in place. To prevent any extra stress caused by this I reinforced the front rail to the side rails.


                So that I could have the car lower and looking better and to keep the shock/travel rate the same I purchased some Celica shock inserts that were 60mm shorter thus gave 60mm drop right away. Then I shortened the Ae86 struts that I bought by 60mm. This allowed me to change the stud pattern that is more common and you can get better wheels for. Another bonus was the better selection of shocks, if they needed to be changed in the future, finally the sturts can also accommodate for bigger brakes (not drums).
                (I bought some JFZ’s which are older willwoods )


                Because the strut towers in the Ke10 are much smaller I needed to get a smaller diameter spring because the Ae86 springs didn’t fit. The fact that it’s a coilover kit allows me to change the height at a later date if need be.


                As the track is now wider the wheels sat outside the guards. To get them under the guards I made customs strut tops out of old adjustable camber tops and made a bracket to hold the camber top bearing. This gives me both castor and camber as well as being under the guards. Because the Ae86 struts were shortened 60 mm the roll centre of the car was out and the lcas were almost bottomed out meaning it would not have driven very well. I needed to make some roll centre adjustment blocks (60mm) to space the lcas down so that you could actually turn and go over bumps and not get bump steer therefore not crashing into a bush.


                Anything that can be worn out by being old second hand parts were replaced. Unlike a lot of people I wouldn’t put second hand parts in if they could go wrong before I even get to drive.
                I sourced some reproduction mg fender mount mirrors, which are kinda close to the stock JDM Ke10 ones.. which I like heaps better than the door mounted mirror on one side… cheap Toyota..


                and this is how she stands now..


                still a little left to update.. and its not in the order that i actually did it.. so pictures wont be in order.. but hopefully it makes sense...
                ill finish the updating this week sometime hopefully.


                hope you guys are enjoying the build so far.

                - JeffTree

                Comment


                • #9
                  Good work so far mate. Was good to meet you the other night, promising so far for the little Corolla.

                  Keep it up and hope to see it completed in the near future.

                  Comment


                  • #10
                    Good progress man! Not so 4x4 status any more!
                    If you make 150hp, it'll be pretty quick I reckon. I love that you are making all the stuff work the way you want it.
                    Originally posted by Stupid Kid
                    You're the worst everything everywhere

                    Comment


                    • #11
                      Good work dude, good to see another SA build thread on here

                      Comment


                      • #12
                        Dvious - good to meet you too man, thanks doesnt look like to much but has been a lot of work

                        Floatingdino - thanks dude, they are the smallest tires i can find for my 14's but i have slightly wider rims coming soon, these are 14x5.5j and have 14x6j for the front coming so hopefully that should be enough to get it down more.. There isnt much space in these narrow ke10's.. Also i dont see the point if its not working the way i want

                        Sleeper - thanks dude saw you build last night, looks awesome and all the stuff i have made you have the production stuff i didnt even know was avalible

                        Comment


                        • #13
                          so far so good,make me wish i had a KE10 instead of the rust bucket i have now..LOL

                          Comment


                          • #14
                            Awesome update was awesome!

                            Can't wait to see this come to fruition. Will definitely be keen to lend a hand when possible.
                            IG: @sebastienaudeon
                            1974 Porsche 911S

                            Originally posted by TRaNz
                            *pats Sebs head*
                            there there.
                            keep calm, go mash your face on a car window.

                            Comment


                            • #15
                              Originally posted by JeffTree View Post
                              Sleeper - thanks dude saw you build last night, looks awesome and all the stuff i have made you have the production stuff i didnt even know was avalible
                              All good man, cheers for liking the car, if youve got the tools and skills to make it why not, makes the car more sentimental to you.

                              Comment

                              Working...
                              X